How to Draw a Compass Rose – A Step-by-Step Compass Sketch Tutorial
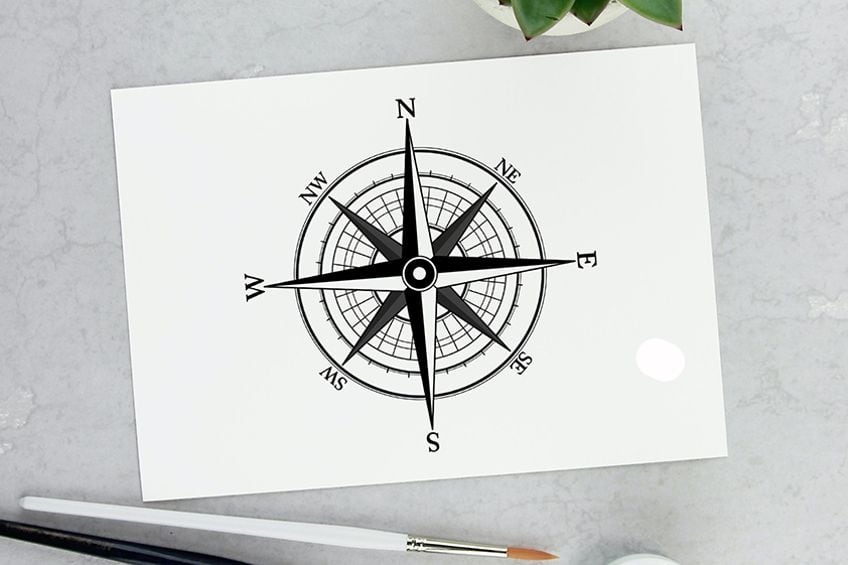
Ever since the invention of the compass in the 12th century, explorers and mariners have been using them to navigate their way through the world. Before the compass, the stars were the guiding lights for those who set out to discover the unknown treasures of our planet. In this tutorial, we show you how to create an easy drawing of a compass. We begin our compass sketch with some simple construction lines, and then begin to add the details of our easy compass rose. Join us in a new voyage of discovery as we learn how to draw a compass sketch.
Easy Compass Rose for All Artists to Try
You’ve followed the right directions to find this tutorial! Now join us and learn how to draw a compass rose in only 9 simple steps! This is a fairly easy drawing tutorial, made even easier by our detailed steps that break the process down into manageable parts. We begin by constructing the base shape, before adding additional line details and then shading our easy compass rose. You can see an outline of each of the steps in the collage below.
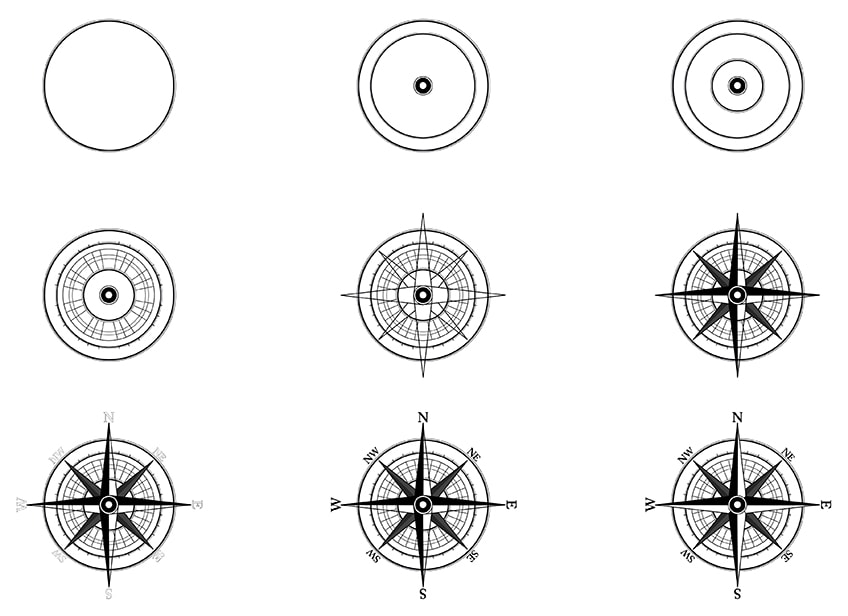
You will see that there is no use of color in this compass rose drawing. The question of medium is still relevant, as the later steps require some dark grey and black shading. You are welcome to use whichever medium you feel most comfortable with or most inspired by. Our compass sketch tutorial is written for a painting medium, but this does not mean you need to use paint. Whether you typically use a digital drawing tablet, or you prefer to use coloring pencils, you can simply adjust the steps to suit your process.
Gather your drawing supplies, find somewhere comfortable to sit, and let us begin learning how to draw a compass rose outline.
Step 1: Create the Compass Rose Outline
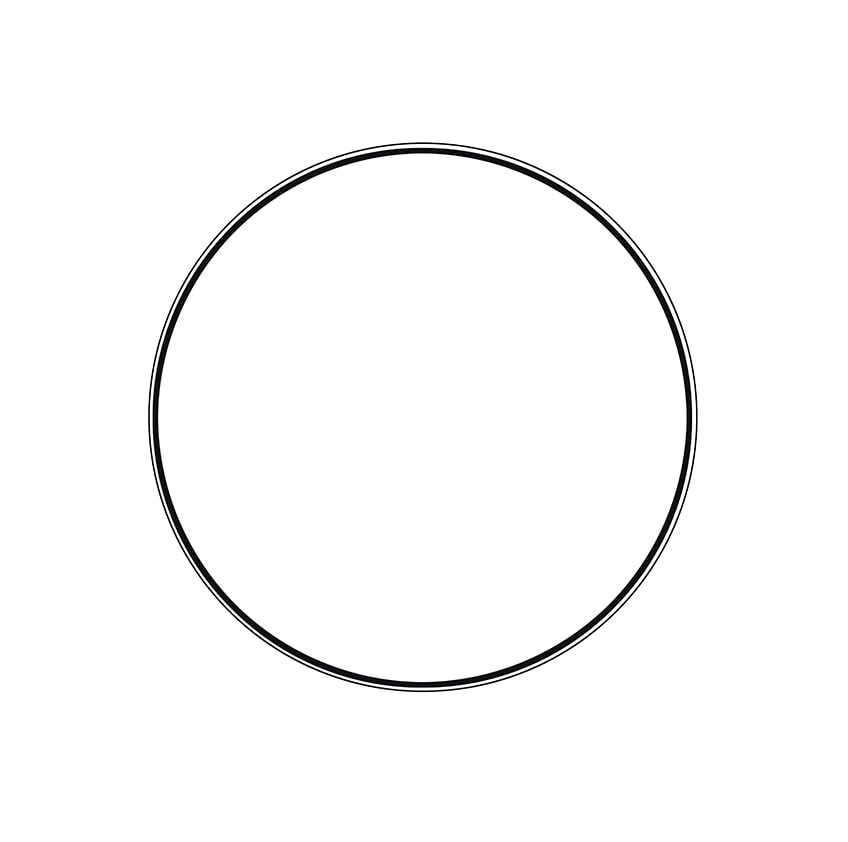
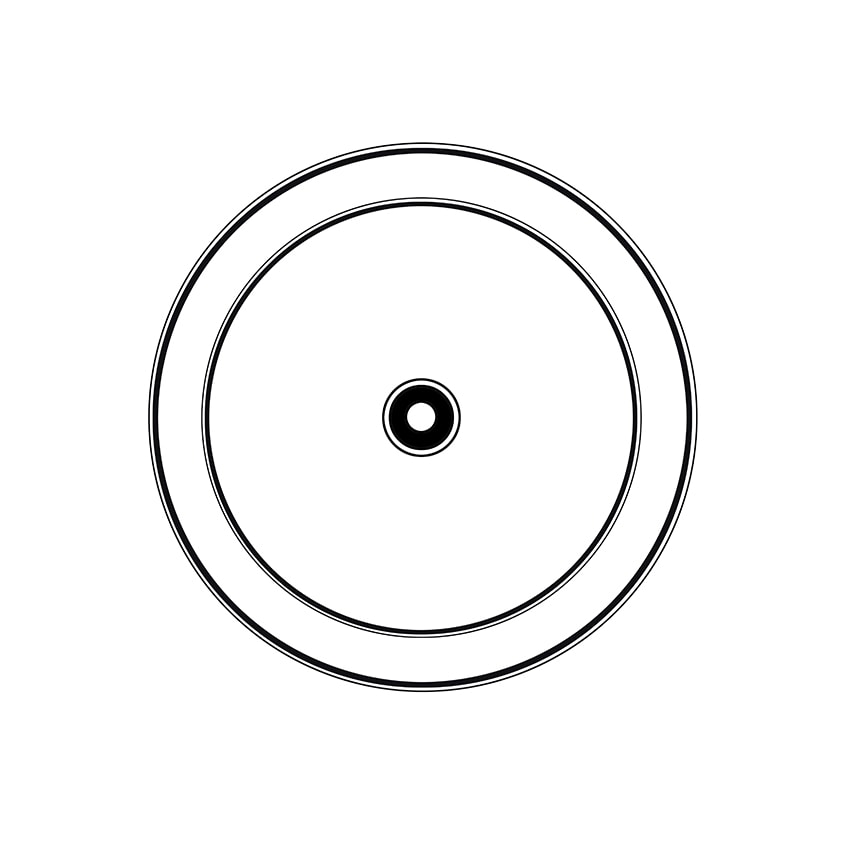
The base of our drawing of compass is a simple circle. While this first step is very easy, we do suggest that you spend time ensuring that your circle is as perfectly round as possible. If you do not feel confident drawing a freehand circle, you can simply find a round object of the right size to trace. Find the center of your drawing canvas, and draw a large circle. You can then, very carefully, draw a very thin outline circle that is just outside the first circle.
Step 2: Draw the Inner Circles of Your Easy Compass Rose
In this step, you are going to repeat the previous step twice, within the first compass rose outline. Begin with a slightly smaller circle, creating the thicker line and the thinner outline circle. For the innermost circle, you can create a very thick outline.
Finally, create a fragile ring around this large thick circle.
Step 3: Shape the Final Inner Circle of Your Compass Sketch
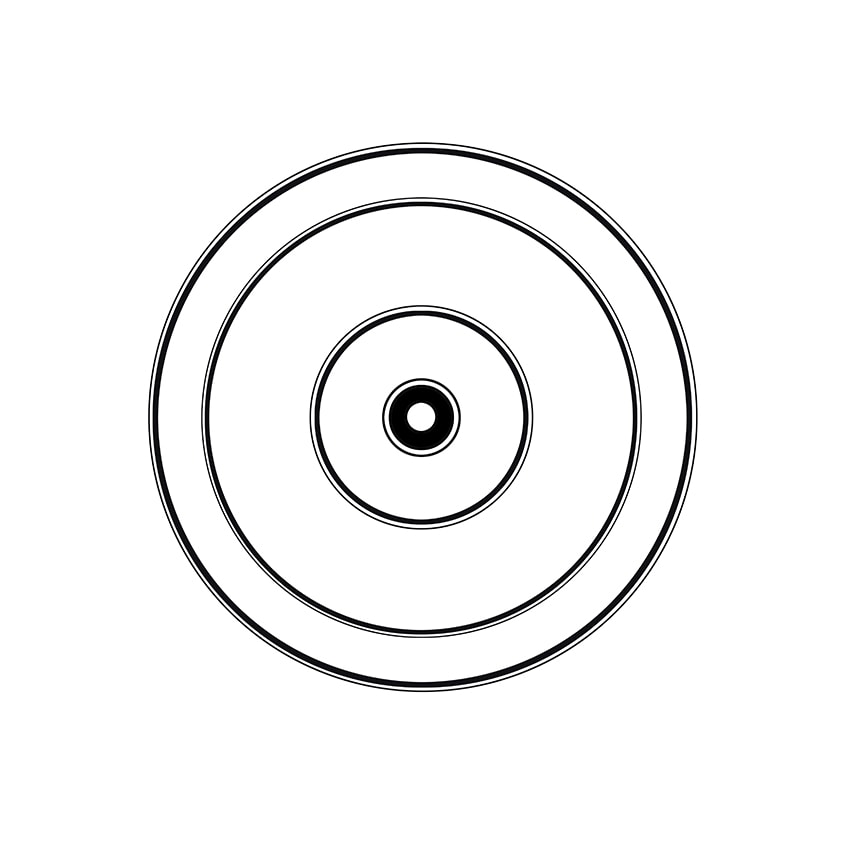
This step concerns the final inner circle of your compass rose outline. You simply need to repeat the process of the previous step one more time, just around the inner circle. This circle should be closer to the inner circle than the outer two. Your easy compass rose should look something like our example below at this point.
Step 4: Draw the Inner Index Lines
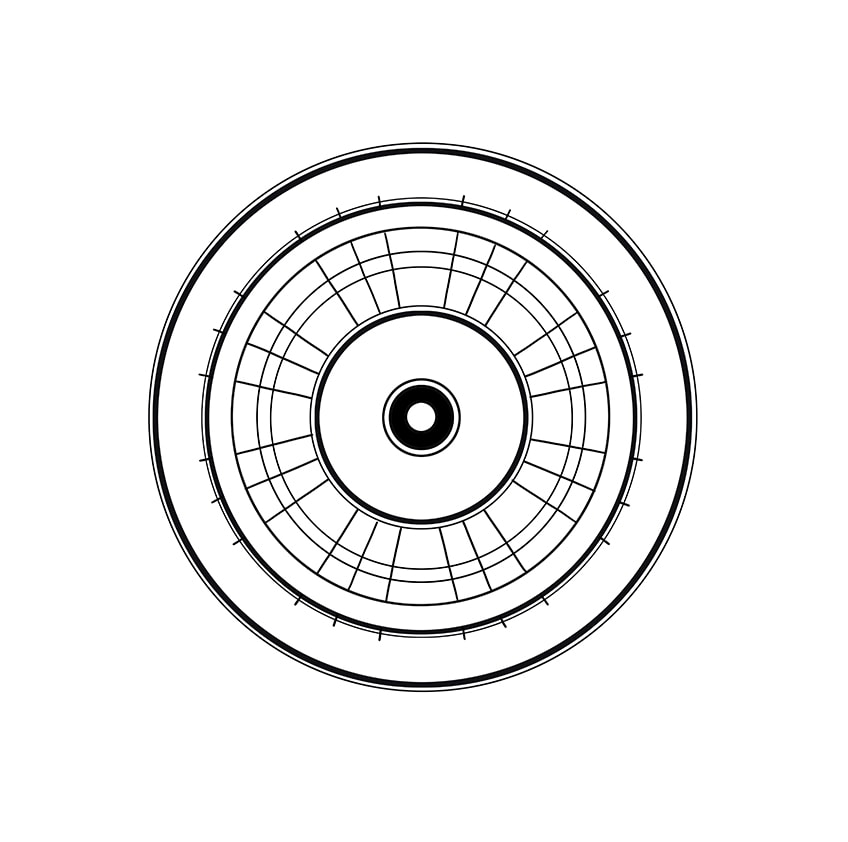
The inner lines of your compass are the focus of this fourth step. These lines on the compass help sailors and other travelers to line up north with their projected route. These lines should be primarily between the second-largest circle and the second-smallest circle, although the ends can poke out slightly.
The maths of this step may take some time to figure out, so perhaps try to plan them out in pencil, before using a pen to confirm them.
Begin by drawing three thinner circles between the second-largest and second-smallest circles. These circles should get slightly smaller in diameter each time. Then, you will need to draw eight clumps of three lines that extend out from the second-smallest circle to the second-largest. Each of these lines can poke out slightly on the other side of the second-largest circle of your compass sketch.
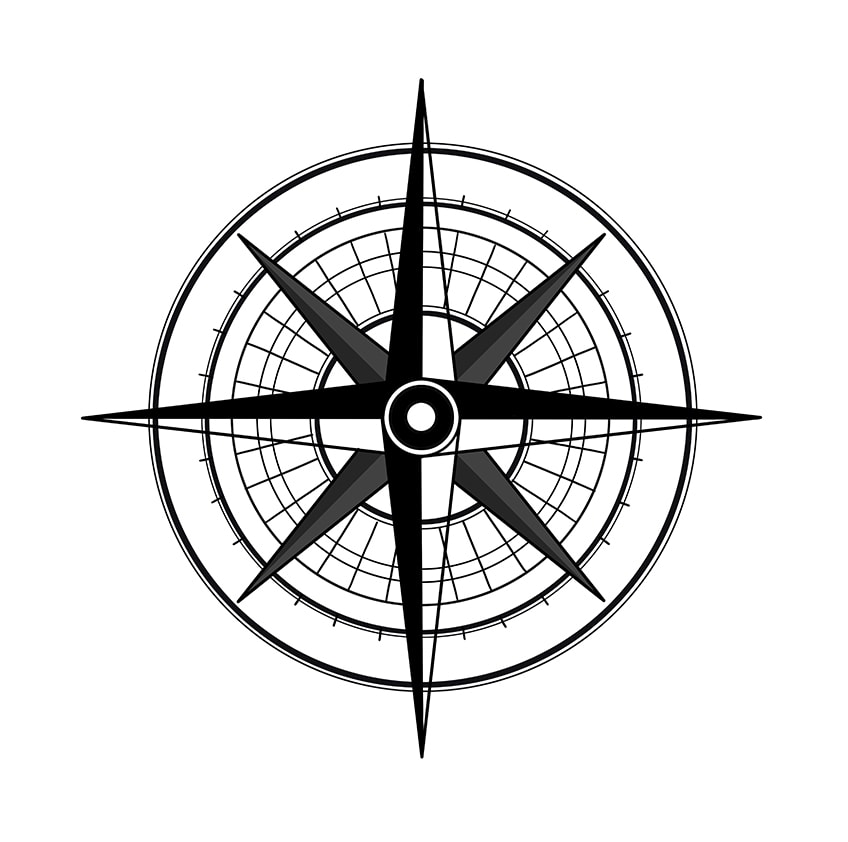
Step 5: Draw the Dial of Your Compass Rose Drawing
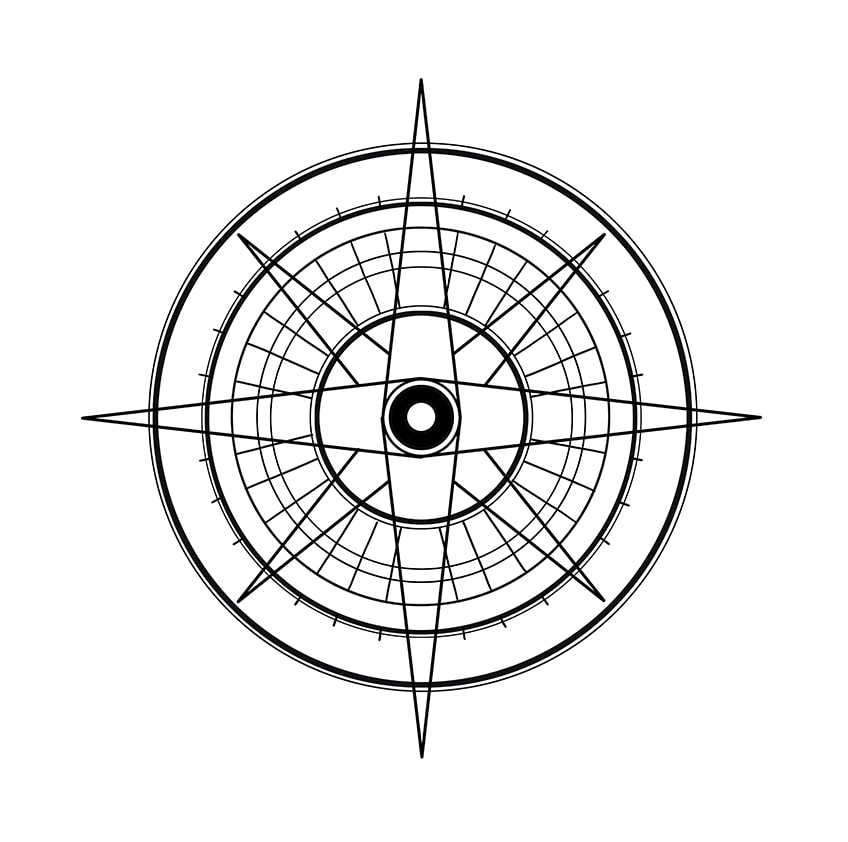
We are now going to move on to the last big detail of your drawing of a compass. You will need a ruler for this step, and a drawing compass may help with the placement of your dial lines. Begin by drawing the first long triangular shape that begins on either side of the centermost circle, and ends with a point outside the largest compass rose outline. Repeat this process three more times, at three o’clock, six o’clock, and nine o’clock. To finish this step, you can draw four smaller sharp triangular shapes between each of these larger ones.
These triangles should begin on the bottom edges of the larger ones, and end just before the largest compass rose outline.
Step 6: Begin Shading Your Compass Rose Drawing
There are two primary elements to this step. First, you are going to shade half of the largest triangles, and then, you can shade the entire shapes of the smaller triangles. Let us begin with the largest triangles. Use a sharp paintbrush and some black paint, and carefully fill in the left half of the two verticle triangles. For the horizontal triangles, shade the upper halves with black paint.
For the smaller triangles, you are going to fill their entire shape, but each half will have a different tone (darkness).
On the right side of your drawing of a compass, the inner halves of the smaller triangles should be shaded with a lighter grey color. The outer halves should be a slightly darker shade of grey. The left side of your compass rose drawing should be the opposite way around. The inner halves, those closest to each other, should be the darker grey, while the outer halves should be lighter.
Step 7: Draw the Bezel Indicators
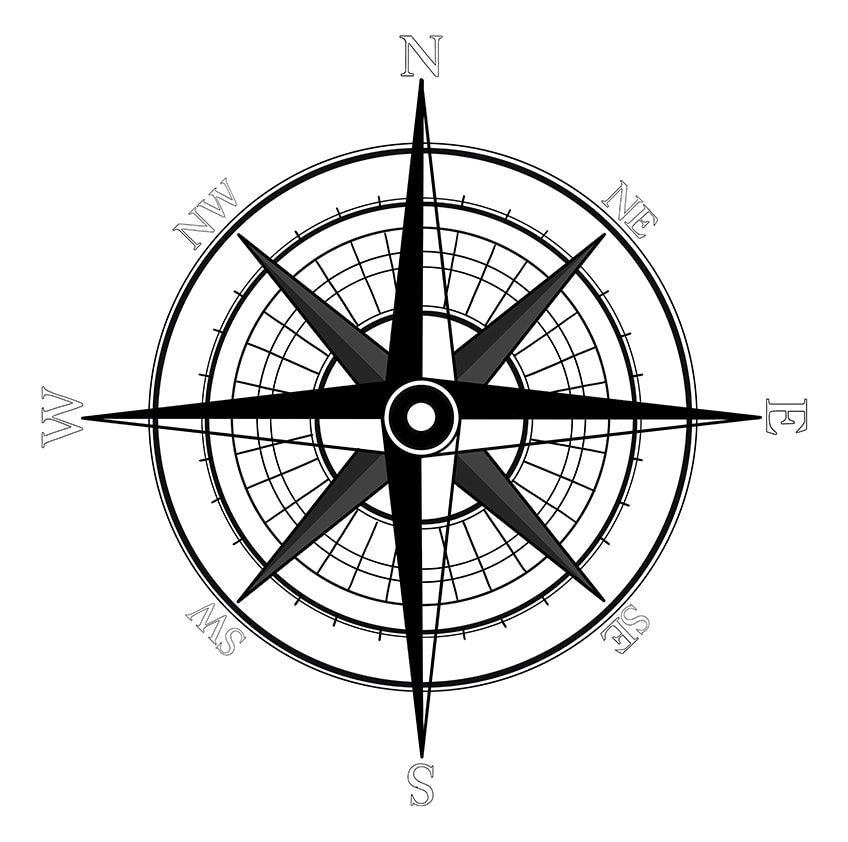
In this step, you are going to outline the initial letter of each direction. The largest triangles should be the four main directions, ‘N’ for north, ‘E’ for the east on the right, ‘S’ for the south at the bottom, and ‘W’ for the west on the right. The smaller triangles are the halfway points and should be two initials, ‘NE’ for the northeast, for example.
Step 8: Fill in the Bezel Indicators of Your Compass Rose Drawing
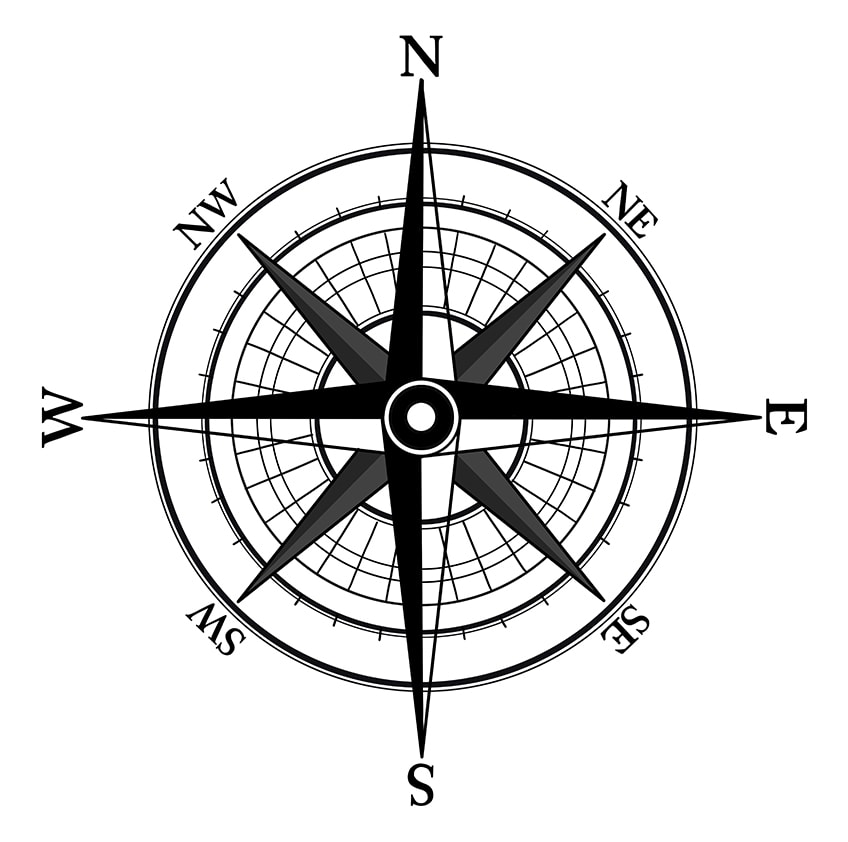
This step is very quick and easy! You will need a very fine paintbrush and some black paint. Carefully fill in the outlines of your bezel indicators.
Step 9: Finishing Your Easy Compass Rose
In this final step of your compass rose drawing, you are going to carefully clean up your compass sketch. All you need to do is erase any of the remaining visible construction lines. Your focus should be on the white parts of the largest triangles. You will now have a seamless drawing of compass! 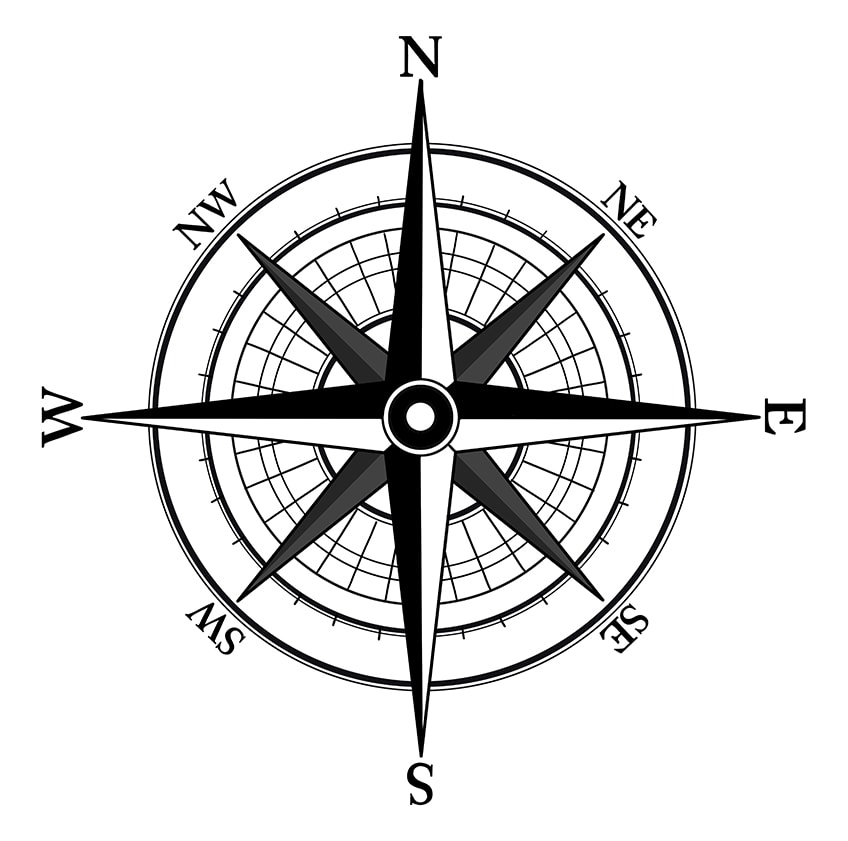
You now know how to draw a compass rose in only 9 easy steps! From learning how to create the compass rose outline, to adding detailed shading and bezel indicators, you know everything that you need to create more intricate compass sketches. We hope that you have enjoyed this easy compass rose drawing, and that you will be back for more exciting drawing tutorials!
Frequently Asked Questions
What Is a Compass Rose Drawing?
A compass rose, also known as a wind rose, is a compass printed on a map that helps voyagers explore unchartered territory. In this compass rose drawing tutorial, we show you how to construct an easy compass rose that looks great and could help you in your adventures!
What Is the Hardest Part of This Compass Sketch Tutorial?
This compass rose drawing is actually very simple and is suitable for artists of any level. The hardest part is probably creating the series of circles and ensuring that the spacing between them is even. You can overcome this difficulty, however, with a drawing compass, placing the tip in a central place, and decreasing the gap as you go.
Matthew Matthysen is an educated multidisciplinary artist and illustrator. He successfully completed his art degree at the University of Witwatersrand in South Africa, majoring in art history and contemporary drawing. The focus of his thesis was to explore the philosophical implications of the macro and micro-universe on the human experience. Matthew uses diverse media, such as written and hands-on components, to explore various approaches that are on the border between philosophy and science.
Matthew organized various exhibitions before and during his years as a student and is still passionate about doing so today. He currently works as a freelance artist and writer in various fields. He also has a permanent position at a renowned online gallery (ArtGazette) where he produces various works on commission. As a freelance artist, he creates several series and successfully sells them to galleries and collectors. He loves to use his work and skills in various fields of interest.
Matthew has been creating drawing and painting tutorials since the relaunch in 2020. Through his involvement with artincontext.org, he has been able to deepen his knowledge of various painting mediums. For example, watercolor techniques, calligraphy and lately digital drawing, which is becoming more and more popular.
Learn more about Matthew Matthysen and the Art in Context Team.


