How to Draw a Rocket – An Easy Rocket Drawing Tutorial
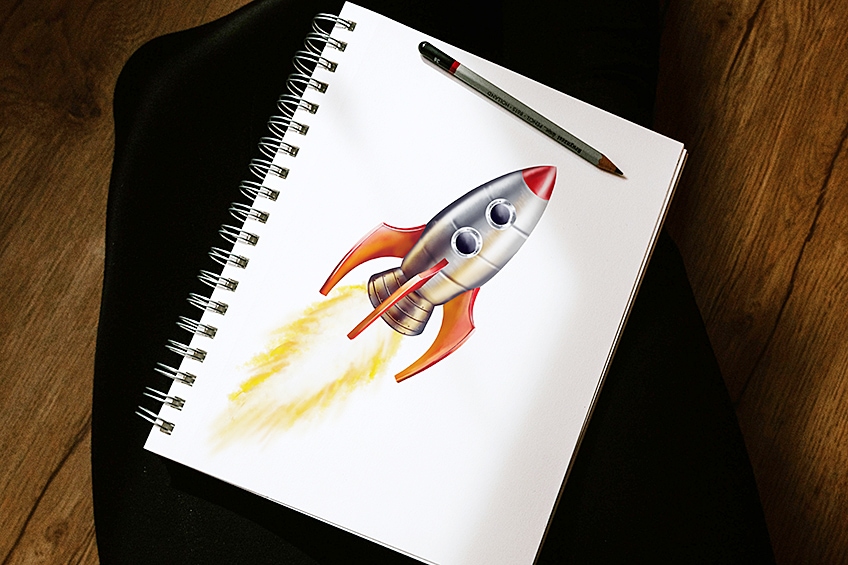
Our fascination with space and the possibility of other worlds has always led us to find new ways to get there. In this drawing tutorial, we show you how to create a realistic rocket drawing that can take you to new heights too! We will use a series of basic construction steps to create the basic outline of your rocket sketch, before adding the more intricate details and colors.
Easy Rocket Drawing Tutorial
Lift off with us and learn how to draw a rocket the easy way! This full step-by-step tutorial will teach you how to draw a rocket in just a few steps. We cover the basic elements and the entire coloring process! This tutorial is suitable for physical mediums and digital drawing too. In the collage below, you can see an outline of each of the steps. Follow along, and you will be able to draw and paint your own realistic rocket ship!

Step 1: Drawing the main body
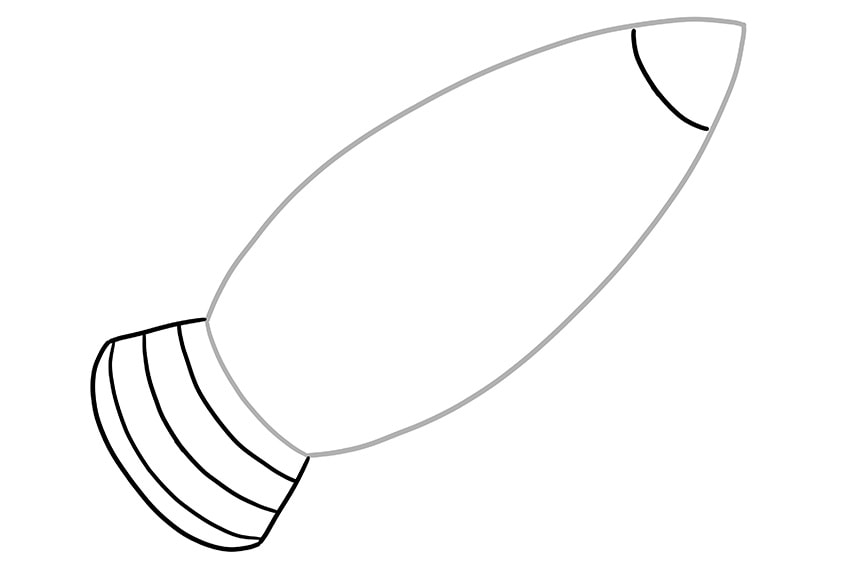
In our first step, we are going to create the base shape of our rocket sketch. Begin by locating the center of your drawing area. Here slightly to the right, draw the bullet-like shape to represent the main body shell of the Rocket.

Step 2: Drawing the Exhaust
Attached to the lower end of the Rocket shell draw the curving arches to represent the rear exhaust of the Rocket. At the top end of the rocket draw a curving line to emphasize the rocket head also known as the nose cone.
Step 3: Drawing the Fins
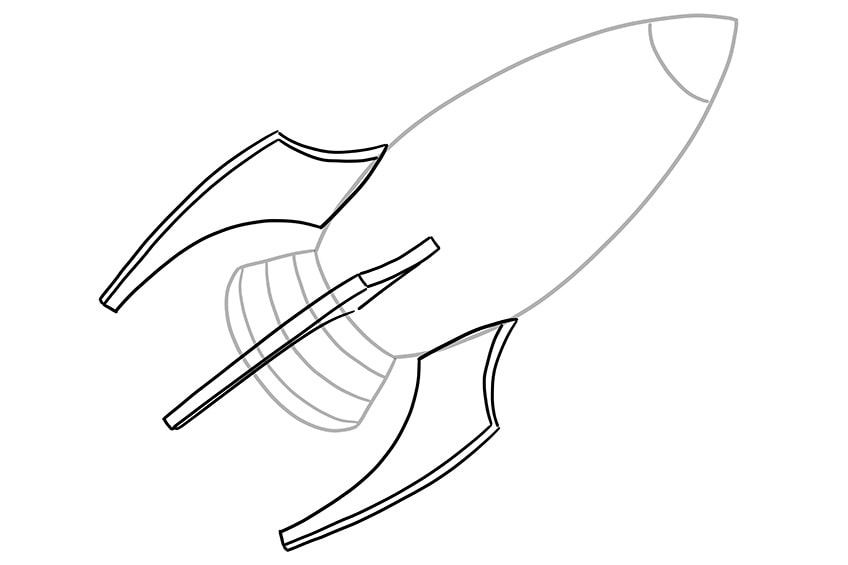
Draw the two side fins to look somewhat identical but inverted. These should be leading from the main body curvature outwards into a narrow leg, drawing the final visible fin on the center of the lower main body from the front-on perspective, seeming flatter.
Once completed erase any still visible construction or overlapping lines.
Step 4: Add the Details
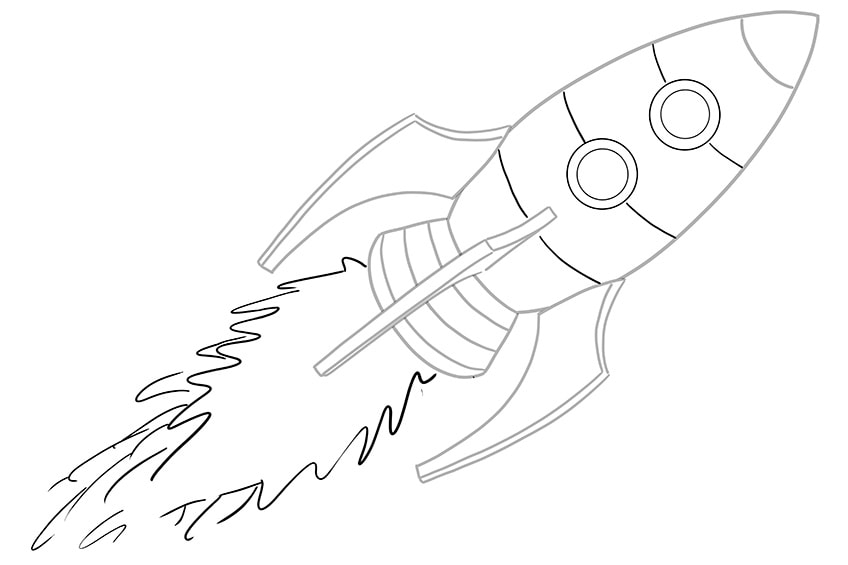
Within the main body draw a circle within another circle to represent the window, repeat and draw the second window below. Once the windows are drawn now draw the curving shell lines within the main body. Complete the step by drawing the flame burst from the exhaust beginning wide and ending narrow.
Step 5: Apply the First Color Coat
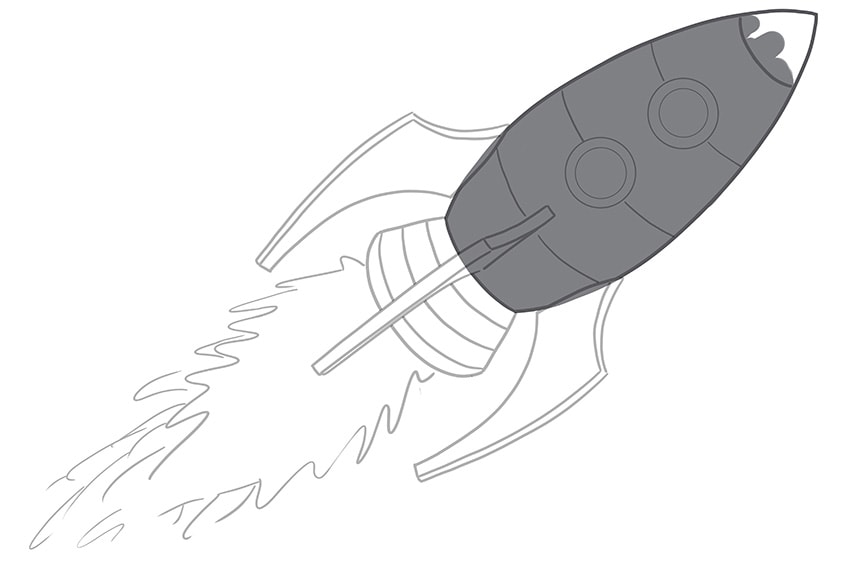
Make use of a regular brush and gray paint to evenly fill the main body. You do not need to fill the upper cap with this color.
Step 6: Add the Secondary Color Coat
Using a small regular brush and bright red paint, color the nose cone and fins evenly. To complete the step, make use of a fine sharp brush to evenly color the windows using black paint.

Step 7: Add Color to the Exhaust
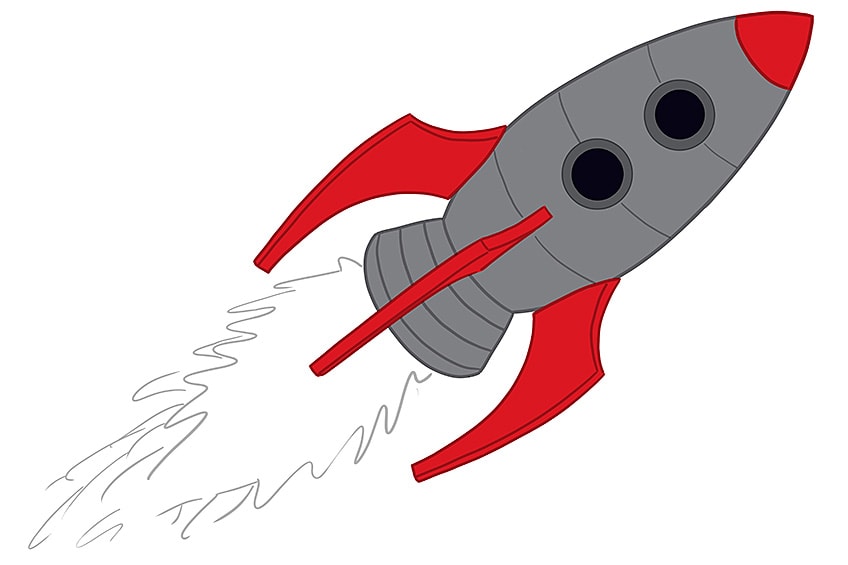
Begin this step using a regular paintbrush and the same dark grey paint to apply an even coat of color to the exhaust of your rocket sketch. You can then use a smaller brush and a slightly darker shade of grey to color the rings around the windows.
This will begin to create a little more realism in your rocket ship.
Step 8: Coloring the Flame Burst
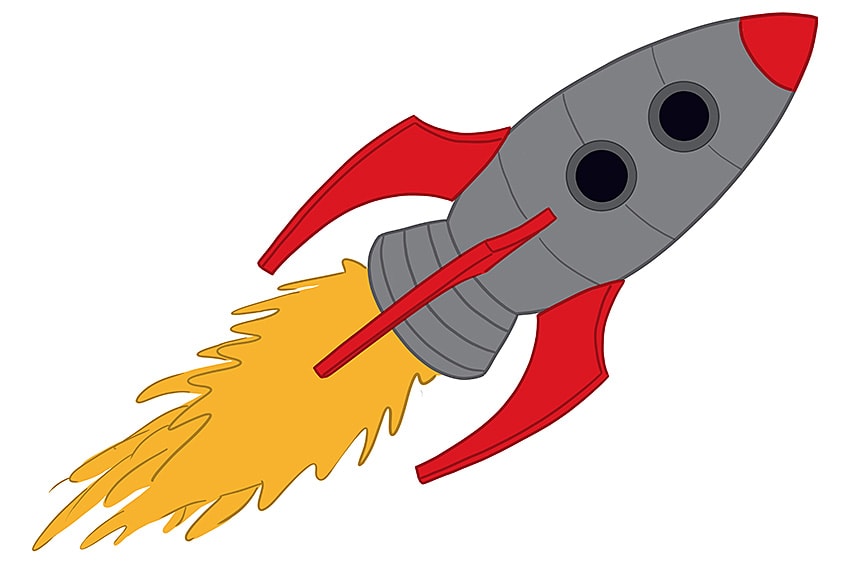
Using a regular brush and yellow paint, evenly color the flame burst from the exhaust.
Step 9: Create Texture on the Main Body
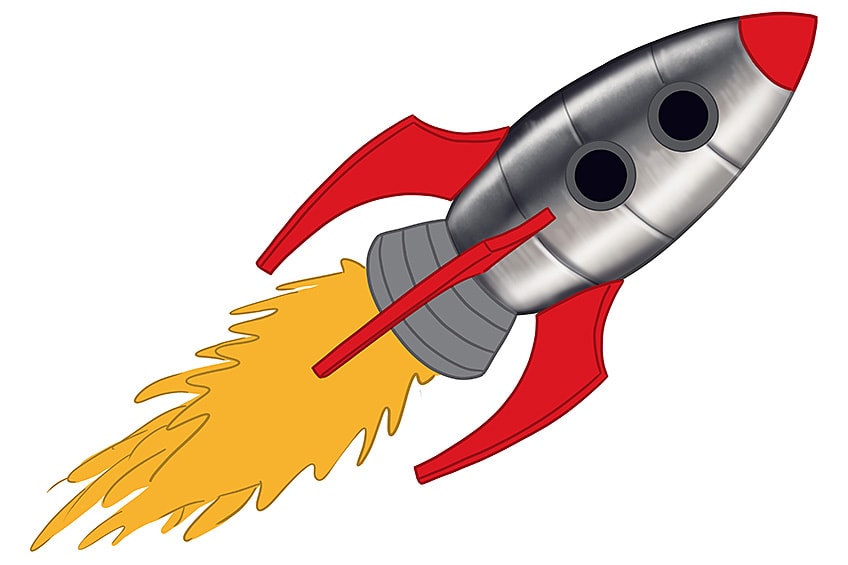
In this step, we add a texture to the shell or main body of the Rocket. Do this by starting off using a small soft brush and black paint to add a soft shadow along the curving edges of the Rocket, this can also be done with dark gray paint. Repeat the step along the curving lines on the shell.
Continue by using a small soft brush or blending brush to smoothen and fade the shading coats, repeat using a small soft brush and white paint to add highlight streaks along both sides of the shell, and complete the step using a blending brush to smoothen, soften and fade the coats.
Step 10: Texture the Fins
Begin by using a small soft brush and white paint to add a soft highlight within each fin, do this to where the color fades into a soft orange. repeat using a small soft brush and black paint to add a soft shade along each fin cast from the shell. Using a fine sharp brush and black/gray paint trace the outlines of the fins to emphasize their stance.
Complete the fins using a sharp brush and white paint to add fine highlights.
Moving onto the nose cap, make use of a small soft brush and black paint to add light shading along the edges, using a small soft brush and white paint to add a soft highlight. Using a small soft brush and gray paint lightly patch the windows, complete by using a fine sharp brush and white paint to add a realistic glare. Complete the step using a blending brush to smoothen and blend the areas painted.

Step 11: Texture the Exhaust
Make use of a small soft brush using black paint / dark gray paint to add a soft shadow along the edges of the exhaust hub including the center area near the fin. Make use of a blending brush to smoothen the areas. Continue by using a small soft brush and white paint to add a soft but noticeable highlight leading from the main body highlight lines.
Complete the step using a fine sharp brush and dark gray paint to trace the separation lines, paint fine rivet dots along these lines, and repeat using light gray paint to act as a highlight.

Step 12: Add Texture to the Window Seals
Make use of a small soft brush and white paint, and apply soft brush strokes along the surrounding edges of the window seals, and the first color coat should still be somewhat visible. Make use of a blending brush to smooth the areas. Using a fine sharp brush and dark gray paint add fine rivet dots surrounding each window and repeat using light gray paint to act as a highlight.

Step 13: Color Blend the Flame Burst
Make use of a small soft brush and light orange paint to add a secondary color coat on the flame burst, the first color coat should still be somewhat visible, continue by using a small soft brush and white paint to brighten the core of the flame burst.
Using a small soft brush or blending brush, smoothen the areas colored.

Step 14: Adding Glow
Begin by using a small soft brush / medium brush and yellow paint to softly apply with an outflowing brush stroke creating a true flame burst effect. Using a blending brush spread the yellow outwards and smoothen the areas colored. Make use of a small soft brush using a combination of orange and yellow paint to apply soft color highlights along the fins, exhaust, and a portion of the main body shell, this will also act as a reflected glow.
Step 15: Finalizing
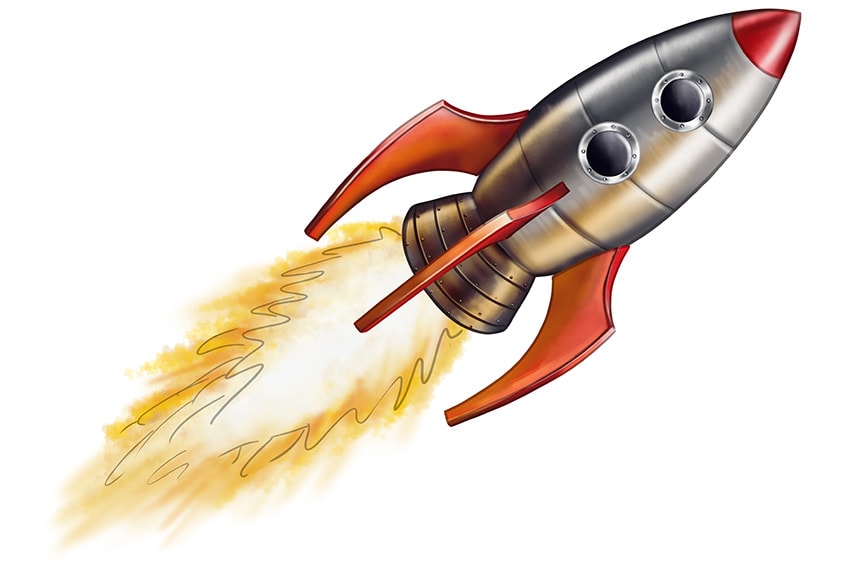
Any still visible construction lines can be erased, make use of a fine sharp brush and the corresponding colors to trace any harsh outlines achieving a more realistic seamless final result. Rough texture lines can be replaced with white paint to enhance highlights.
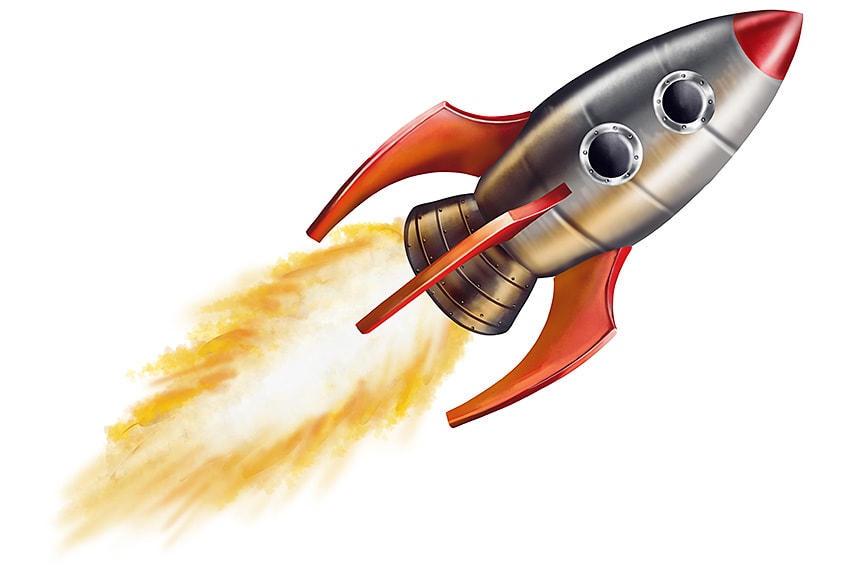
Hopefully, you have enjoyed our rocket sketch tutorial! You can now blast off and explore the universe in your very own rocket ship. Not only have you created your very own rocket drawing, but you have also learnt some valuable skills in constructing three-dimensional shapes and using color to bring these to life.
Take a look at our rocket drawing webstory here!
Frequently Asked Questions
What Colors are Needed for the Rocket Sketch?
Ultimately, you can make your rocket ship any color that you like. In our rocket ship example, we go for a more traditional color scheme, using grey and red as the base colors. You will also need a few different shades of yellow and orange for the flame burst.
How to Create a Realistic Rocket Drawing?
The key to creating a realistic rocket drawing lies in the initial construction. We begin by creating the basic shape of the rocket ship, before adding on the more intricate details like the fins and windows. This construction process helps us to create a more realistic and three-dimensional rocket ship.
Matthew Matthysen is an educated multidisciplinary artist and illustrator. He successfully completed his art degree at the University of Witwatersrand in South Africa, majoring in art history and contemporary drawing. The focus of his thesis was to explore the philosophical implications of the macro and micro-universe on the human experience. Matthew uses diverse media, such as written and hands-on components, to explore various approaches that are on the border between philosophy and science.
Matthew organized various exhibitions before and during his years as a student and is still passionate about doing so today. He currently works as a freelance artist and writer in various fields. He also has a permanent position at a renowned online gallery (ArtGazette) where he produces various works on commission. As a freelance artist, he creates several series and successfully sells them to galleries and collectors. He loves to use his work and skills in various fields of interest.
Matthew has been creating drawing and painting tutorials since the relaunch in 2020. Through his involvement with artincontext.org, he has been able to deepen his knowledge of various painting mediums. For example, watercolor techniques, calligraphy and lately digital drawing, which is becoming more and more popular.
Learn more about Matthew Matthysen and the Art in Context Team.


