How to Draw a Peacock – Realistic Peacock Drawing Guide
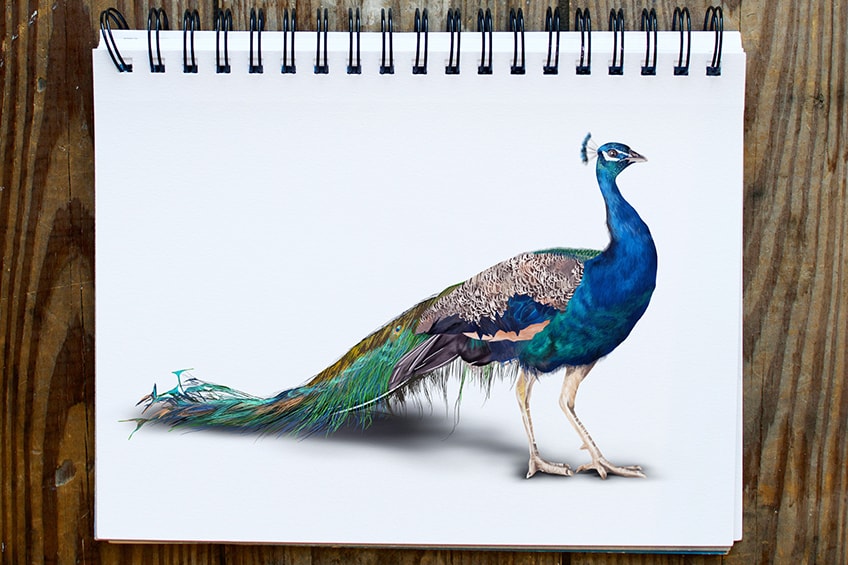
Of all the animals on our planet, the peacock is perhaps the most beautiful and definitely the proudest. Peacocks make fantastic subjects for drawings and paintings because they have vibrant colors and intricate patterns. Whether you are a practiced artist, or you are only just beginning to explore your talents, we make learning how to create a realistic peacock drawing easy! In 16 easy-to-follow steps, we guide you through creating the shape of your peacock sketch, and how to nail a peacock feather drawing.
Beautiful Peacock Drawing Tutorial
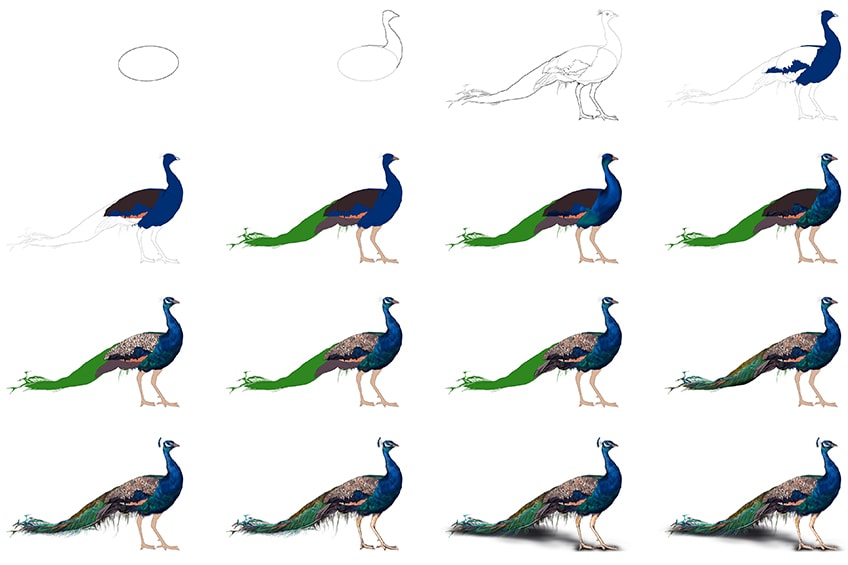
In this step-by-step peacock drawing guide, we are going to show you how to draw a peacock that is realistic and brightly colored. Our tutorial is compatible with a digital tablet or paper, so any artist can learn how to draw a peacock easily. In each of these steps, we gradually build up the shape of our peacock sketch, starting with very simple construction shapes. We then begin to add more details and use color to bring them to life. For an outline of all of the steps, you can look at the image below.
Step 1: Shape the Body of Your Peacock Drawing
Begin your peacock sketch by finding the central point of your canvas. Within the right quarter, draw a large oval shape that will represent the main body of your peacock sketch.

Step 2: Add the Head and Neck
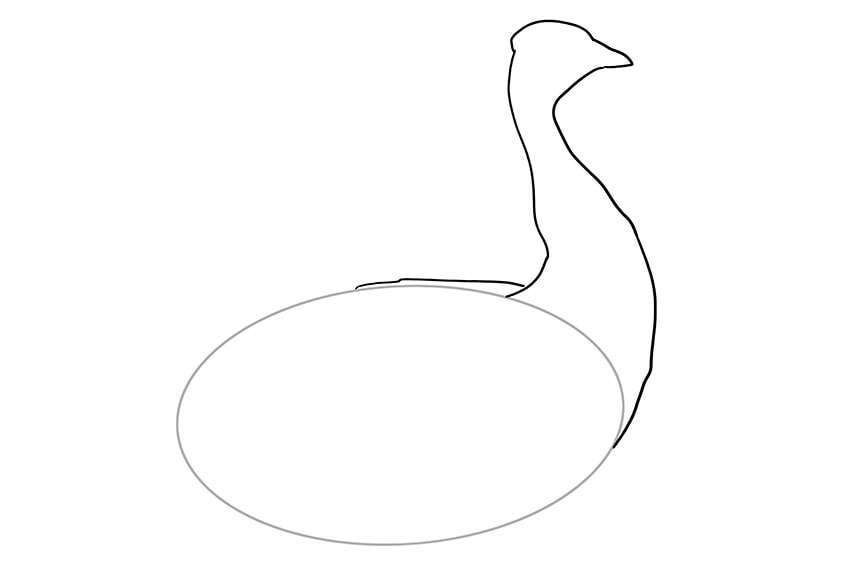
Attached to the main body, draw the curving necklines that arch towards the head and beak. The head should have a slight ridge on top that will represent the peacock’s comb.
Step 3: Flesh Out the Details
In this step, we are going to flesh out the details of our peacock drawing. It is quite a long step, but you have the construction lines to help you. Let us begin with the head. Draw the beak line and nostrils, along this draw the small eye circle and the head crown by drawing fine free hand out flowing hairlines. Next, draw the underbelly leading toward the legs. Each leg should have at least three claws visible. Using the main body oval shape to aid you, draw along the curvature of the main body to create the long out-flowing feather back and tail.
The wings should be a layer visible on top of the main body.
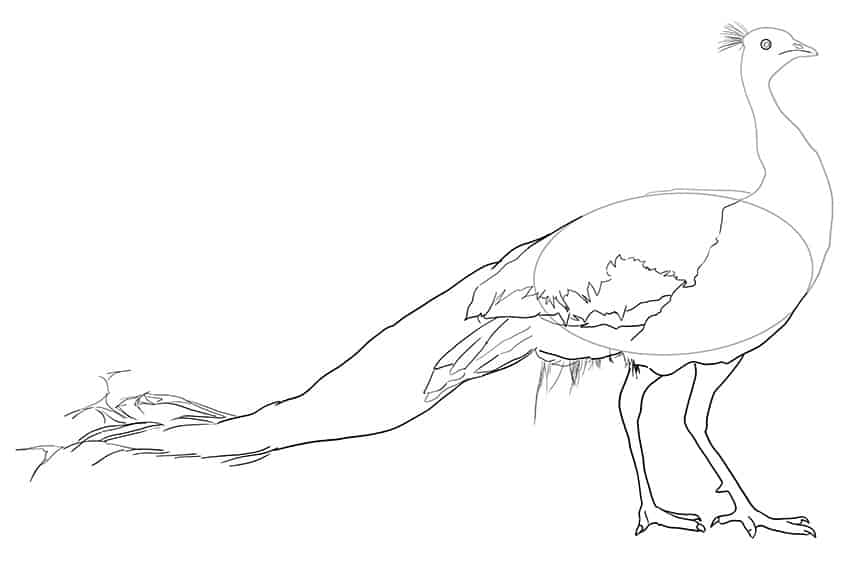
Step 4: Begin Applying Color
Now that we have the basic peacock sketch, we can start to add those signature colors. Use a regular brush and dark blue paint to evenly color the majority of the head except for the beak. You can also evenly color the edges of the visible wing, neck, belly, and front chest area of the Peacock.
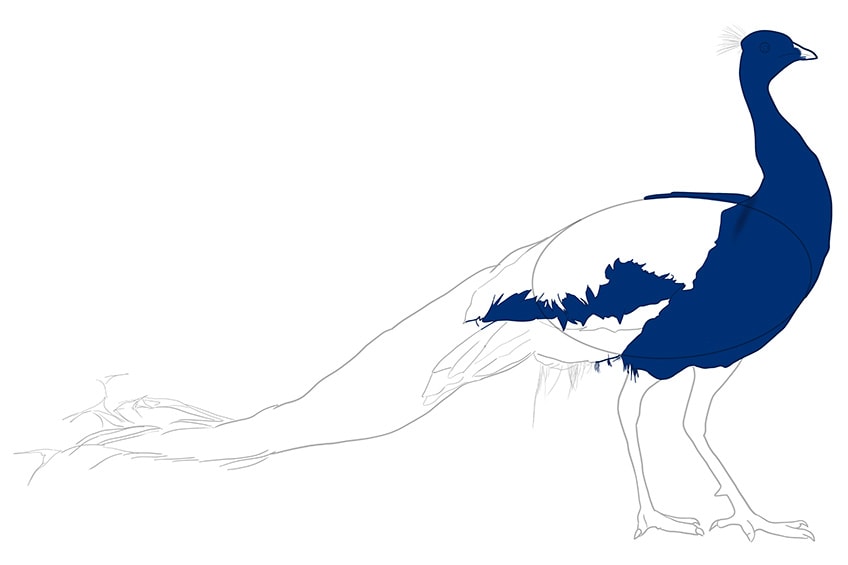
Step 5: Add Some Secondary Colors
With a regular brush and dark brown paint, evenly coat the top layer of the wings and body. Then, use a smaller brush and some pastel orange color to evenly fill the underside of the wing.
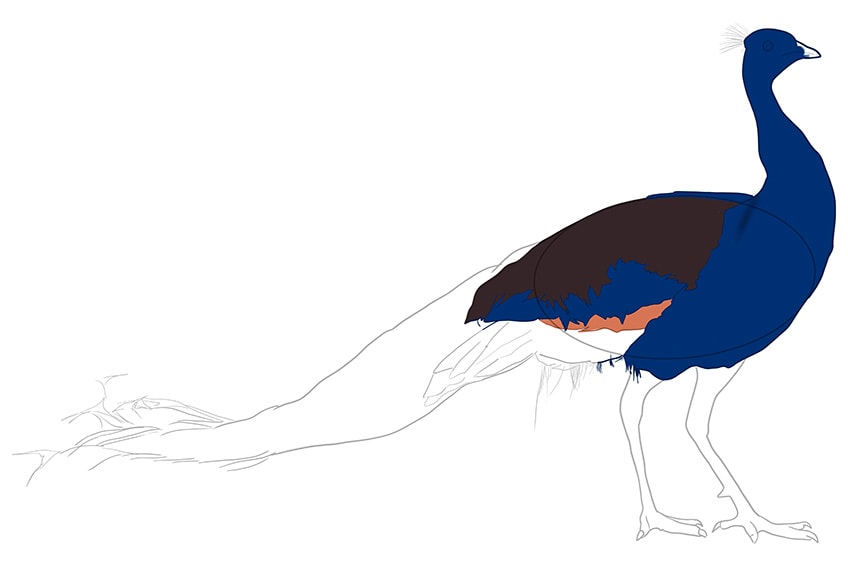
Step 6: Color the Tail and Legs
Using a small regular brush and bright green paint, evenly color the long tail and visible fine tail feathers. Then, with a small brush and some tan color, fill the legs evenly.
Finally, use a darker shade of tan to paint the beak of your peacock drawing.
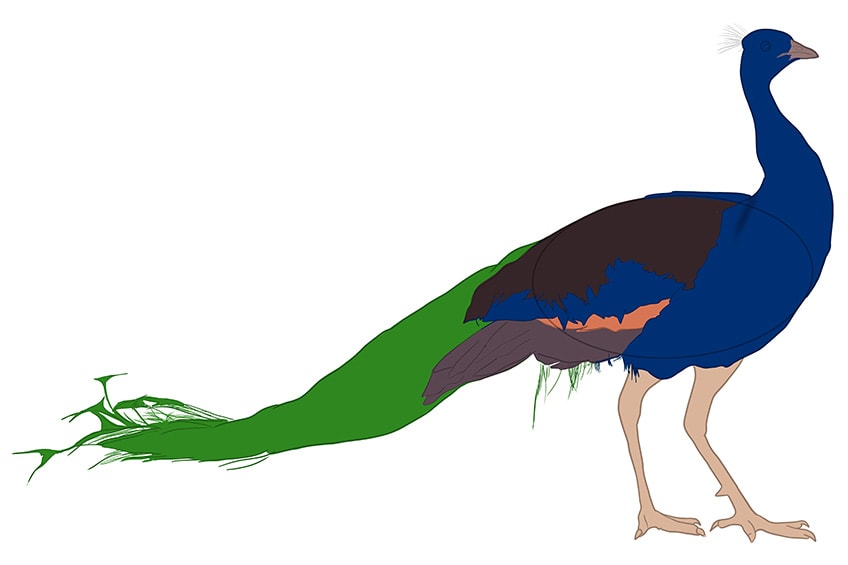
Step 7: Begin Blending the Colors
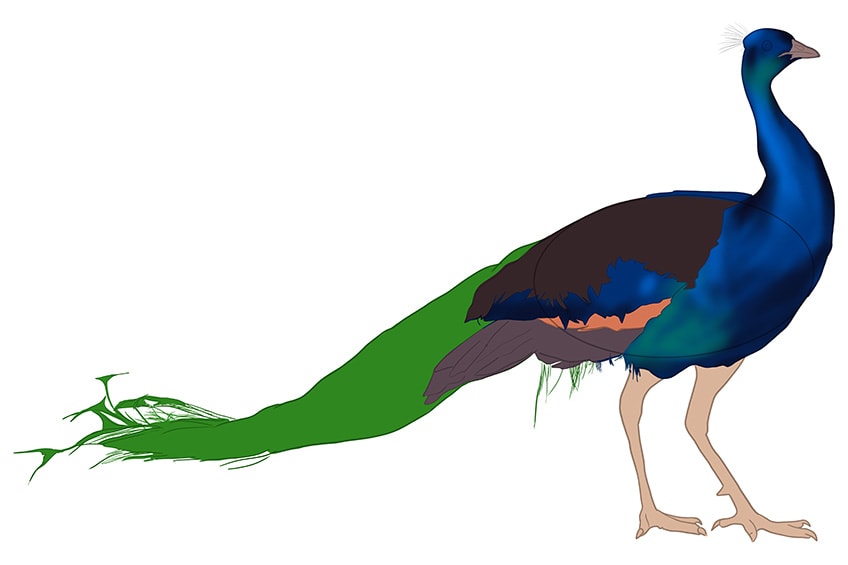
The base coat of color is now complete for the whole of your peacock drawing. Now, we can begin to add more realism with contouring. Begin by using a small soft brush and a touch of black paint to softly apply a contour in the color blend along the neckline, head, and chest area. Repeat this process with some white to add a soft highlight between the blue and black shades.
You can do this on the bottom of the wing too.
Complete the step using a small soft brush and green paint to softly add a secondary color along the side of the main body and along the head and neck area. Finally, softly blend all of these colors together with a clean blending brush.
Step 8: Start Adding Texture to Your Peacock Feather Drawing
You will need some patience for this step as it is a time-consuming process, but one we must go through to achieve the realistic texture of the peacock feathers.
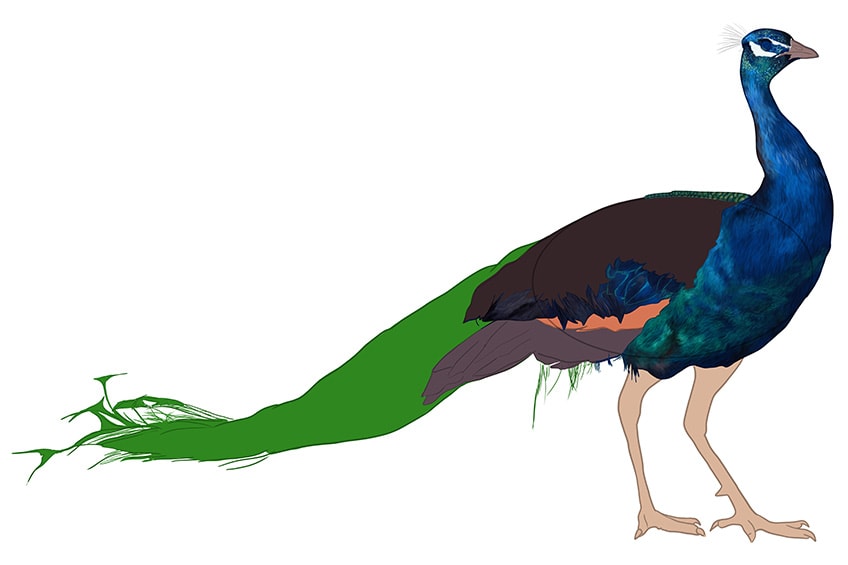
Begin by using a fine sharp brush and black paint to create fine hairline brush strokes along the neck and chest of your beautiful peacock drawing. Gradually build up the layers with overlapping strokes. You can then repeat this process further with some dark blue and white paint, creating a more realistic texture.
For the green areas of the body of your peacock, you can do the same process with a similar shade of green paint.
On the green and blue part of the wing, you can repeat the same process creating a layer of stacked feathers. Complete the step with a sharp brush and some white paint to fill the facial skin around the eye. Then, apply fine dots and streaks around the rest of the face with a small blending brush and some light blue, bright blue, and light green color.
Step 9: Create Texture on the Wings
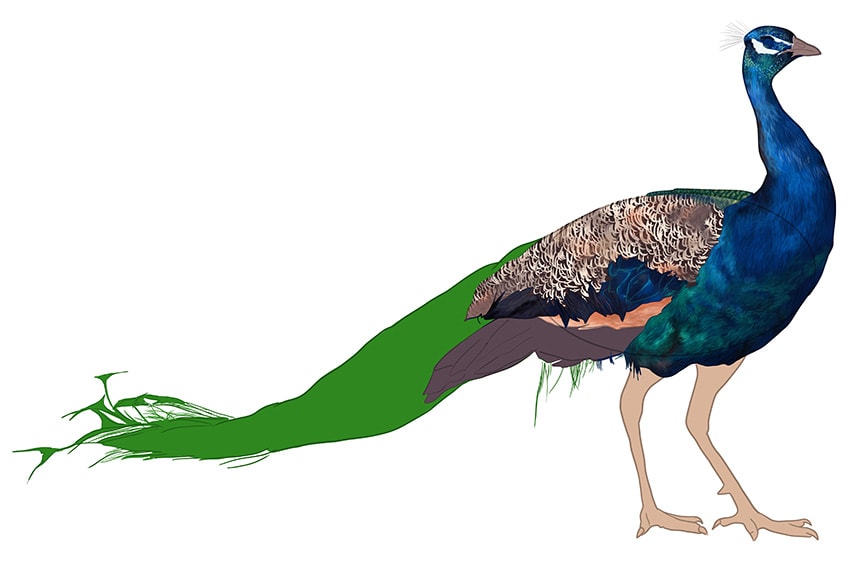
For the wings, use a sharp brush and some cream paint to individually apply curving brush strokes to represent the feathers. Begin by the neck and layer up these feathers down to the end of the wing.

Step 10: Blend the Wing Colors
In this step, we are going to apply some additional colors to the details from the previous step. Begin by applying a light brown color fade along the wing. You can then layer this with some light orange. Apply a soft color blend on the side wall of the wing using a soft brush and cream paint.
Blend these colors together with a clean blending brush.
Step 11: Begin Adding Texture to the Top of the Tail
Using a small soft brush and black paint, softly apply shading and structure to the short tail. This should fade softly, leaving the base color slightly visible. With a small soft brush and blue paint, apply a soft color blend gently overlapping the tail. Repeat using some green and use a small soft brush to combine these shades. Complete the step using a fine brush and white on to highlight the fine lines on the tail.
Step 12: Texture the Peacock Feather Drawing
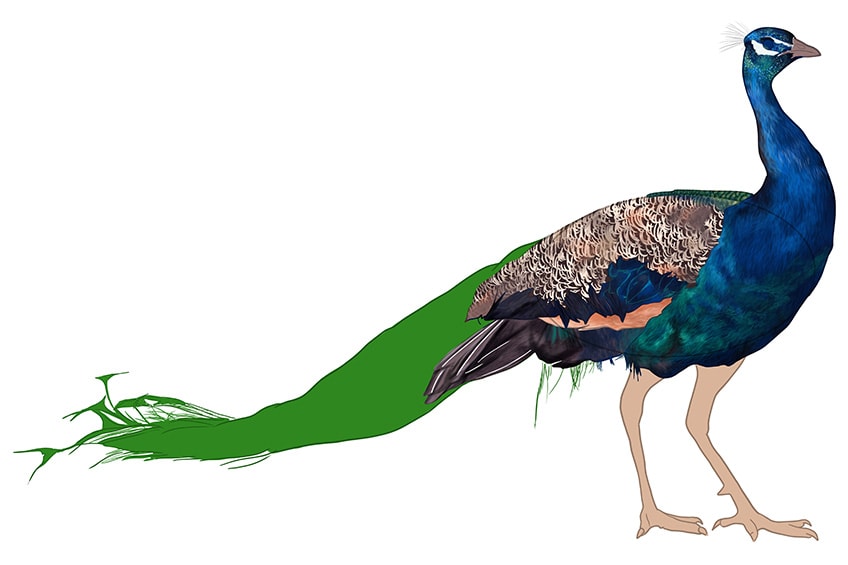
Begin by adding some light black shading along the edge of the wing. Continue by using a fine brush with bright green paint to paint fine hairline brush lines that follow the curvature of the tail. Repeat enough times to cover the entirety of the tail with fine hairline streaks.
Repeat the above step using orange paint, blue, bright blue, dark green, dark orange, and tan paint each at a time.
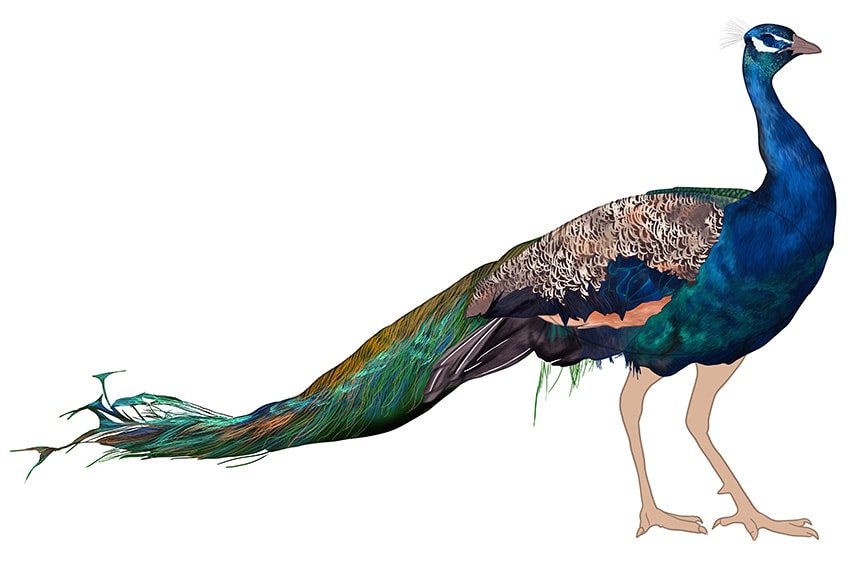
Step 13: Add Fine Details
With a fine sharp brush, begin with dark blue paint to add fine feather brush strokes along the neckline and belly area. Continue on to the tail and bottom layer using the corresponding colors such as brown, green, blue, and orange paints. These fine brush strokes should be freehand and downflowing to add more realism to the gravity aspect of the artwork. Finally, add color to the crown on the top of the peacock’s head.
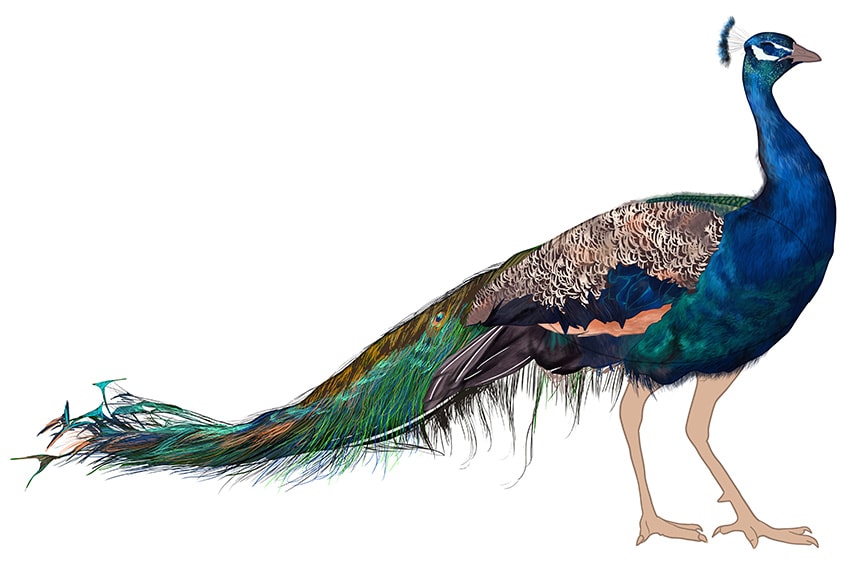
Step 14: Create Texture in the Legs
Begin with a small soft brush and dark brown paint, adding contouring around the edges of the legs. Next, use white paint to apply soft highlights along the structure of each leg. Repeat using a small soft brush and light orange, yellow, and tan paint to blend the colors. We move on to the eye and use a sharp brush and black paint to circle the outline and fill the inner pupil. Paint two small circles within the pupil to represent the eye shimmer. Paint the iris with brown paint.
Complete the step using a fine brush, and brown and gray paint to trace the crown’s leads and apply contouring on the beak and emphasize the nostrils.
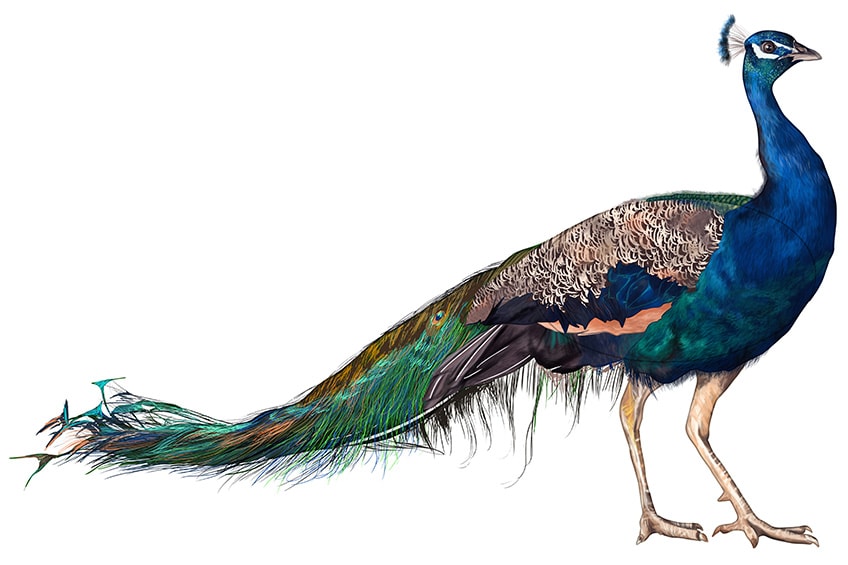
Step 15: Apply a Ground Shadow Below Your Peacock Drawing
Make use of a blending brush and black paint to apply a small soft spot underneath the tail and under each foot. Then gently fade this shadow out below the body of your peacock drawing.
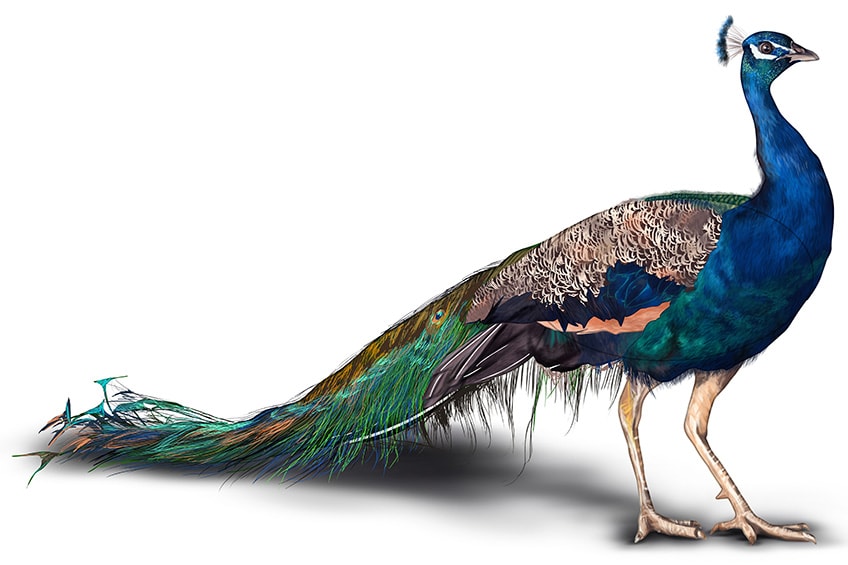
Step 16: Finish Your Peacock Feather Drawing
To finish your realistic peacock drawing, you are now going to remove any visible outlines. Simply trace over these with the corresponding colors and a fine brush. You will now be left with a seamless and beautiful peacock drawing without any harsh outlines.
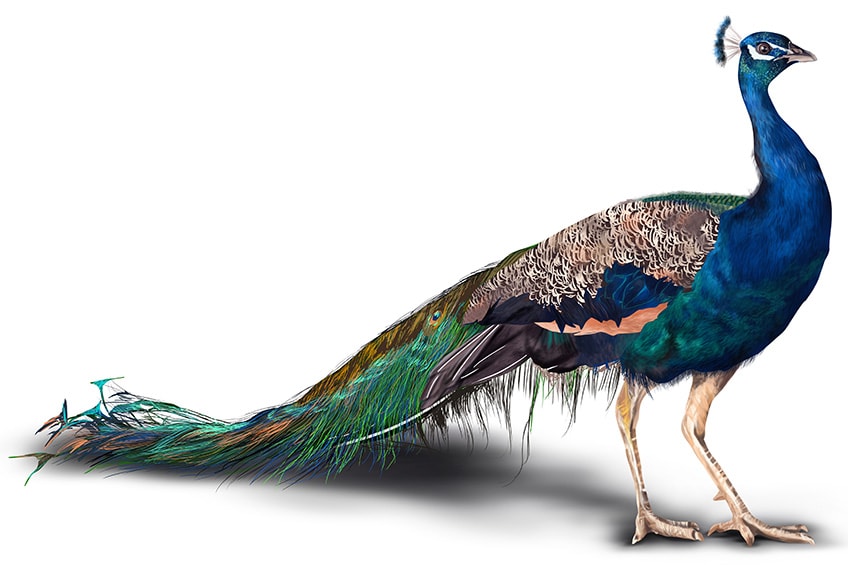
Just like that, you have a perfectly seamless peacock drawing! We hope that you have enjoyed learning how to draw a peacock in 16 very simple steps. By breaking something down, you can make any drawing very easy to achieve. From basic construction steps, to the gradual layering of colors, you have created a beautiful peacock drawing in no time!
Take a look at our peacock drawing webstory here!
Frequently Asked Questions
How do You Draw a Peacock Step-by-Step?
In our tutorial, we break the process down into easy-to-follow steps. We begin by using basic shapes and lines to create the base shape of our peacock sketch. Then, we can add more details and use layers of color to bring our peacock drawing to life.
How to Create Realistic Peacock Feather Drawings?
Perhaps the most iconic part of a peacock is its beautiful feathers. They are quite complex looking, but they are actually quite easy to paint. There are many different kinds of feathers on a peacock’s body, including smaller ones on the neck and chest, larger ones on the wings, and those signature eyes on the end of the tail. In our tutorial, we show you how to create all of these feathers in a very simple way.
Matthew Matthysen is an educated multidisciplinary artist and illustrator. He successfully completed his art degree at the University of Witwatersrand in South Africa, majoring in art history and contemporary drawing. The focus of his thesis was to explore the philosophical implications of the macro and micro-universe on the human experience. Matthew uses diverse media, such as written and hands-on components, to explore various approaches that are on the border between philosophy and science.
Matthew organized various exhibitions before and during his years as a student and is still passionate about doing so today. He currently works as a freelance artist and writer in various fields. He also has a permanent position at a renowned online gallery (ArtGazette) where he produces various works on commission. As a freelance artist, he creates several series and successfully sells them to galleries and collectors. He loves to use his work and skills in various fields of interest.
Matthew has been creating drawing and painting tutorials since the relaunch in 2020. Through his involvement with artincontext.org, he has been able to deepen his knowledge of various painting mediums. For example, watercolor techniques, calligraphy and lately digital drawing, which is becoming more and more popular.
Learn more about Matthew Matthysen and the Art in Context Team.
Cite this Article
Matthew, Matthysen, “How to Draw a Peacock – Realistic Peacock Drawing Guide.” Art in Context. January 25, 2023. URL: https://artincontext.org/how-to-draw-a-peacock/
Matthysen, M. (2023, 25 January). How to Draw a Peacock – Realistic Peacock Drawing Guide. Art in Context. https://artincontext.org/how-to-draw-a-peacock/
Matthysen, Matthew. “How to Draw a Peacock – Realistic Peacock Drawing Guide.” Art in Context, January 25, 2023. https://artincontext.org/how-to-draw-a-peacock/.


