


How to Draw a Mermaid – Create a Beautiful Mermaid Sketch
Mermaids are one of the most fascinating and mythical creatures in human folklore! They are said to be half-human, half-fish beings with enchanting voices that lure sailors to their doom. Mermaids have been depicted in various cultures and artworks throughout history, and their existence has always remained a topic of debate and fascination. Are they real or just a figment of our imagination? Regardless of the answer, the allure of mermaids continues to captivate people of all ages, and their stories and legends live on to this day. With that in mind, let’s get started on today’s drawing tutorial, where we show you how to draw a beautiful and allusive mermaid in 20 easy steps!
Learn How to Draw a Mermaid in 20 Easy-to-Follow Steps
If you’re about to embark on the exciting journey of learning how to draw a mermaid, you’re in for a real treat! Mermaids offer endless possibilities for artistic expression, and you can let your creativity run wild when it comes to their appearance and surroundings. When drawing a mermaid, it’s important to keep in mind their unique physical features, such as their fish-like tail and often intricate hair. Pay attention to the proportions of the body, and think about how the mermaid would be positioned in the water. Consider adding seashells, coral, or other marine life to the scene to create a sense of depth and detail.
Above all, don’t be afraid to experiment and have fun with your mermaid drawing as the possibilities are endless! The below collage will take you step-by-step to create a magnificent mermaid drawing!

Step 1: Draw the Head of Your Mermaid Drawing
Our tutorial on how to draw a mermaid starts by drawing an oval shape to represent the head of your mermaid.

Step 2: Outline the Head
Make use of the previously drawn oval shape to aid you in outlining a more realistic face for your easy mermaid drawing. Complete the step by drawing a neckline attached to the face outline.

Step 3: Draw the Hair for Your Easy Mermaid Drawing
Above the head, draw the hair of your mermaid sketch that looks like it is waving to the right side. The hair can slightly overlap the top of the head.

Step 4: Draw the Main Body of Your Mermaid Sketch
In this step, draw the main body of your mermaid with gently curving lines along the waist. Complete the step by drawing a small circle to represent the belly button.

Step 5: Add the Arms and Hands
Attached to each side of the main body, draw arms and hands that are angled outwards from the body.

Step 6: Draw the Lower Body
In this step, you are going to draw the lower body of the mermaid. To do this, draw a fin that is curving and wrapping around the waist of the mermaid. The fin should curve into a tail-like end that splits into two.

Step 7: Add the Flower Crown to Your Mermaid Sketch
Attached to the top of the mermaid’s head, draw several flowers evenly spread out. These flowers should follow the curvature of the mermaid’s head. Complete the step by adding fine leaves on each end.
Once you are finished drawing the flower crown, you may erase any overlapping construction lines that are still visible.

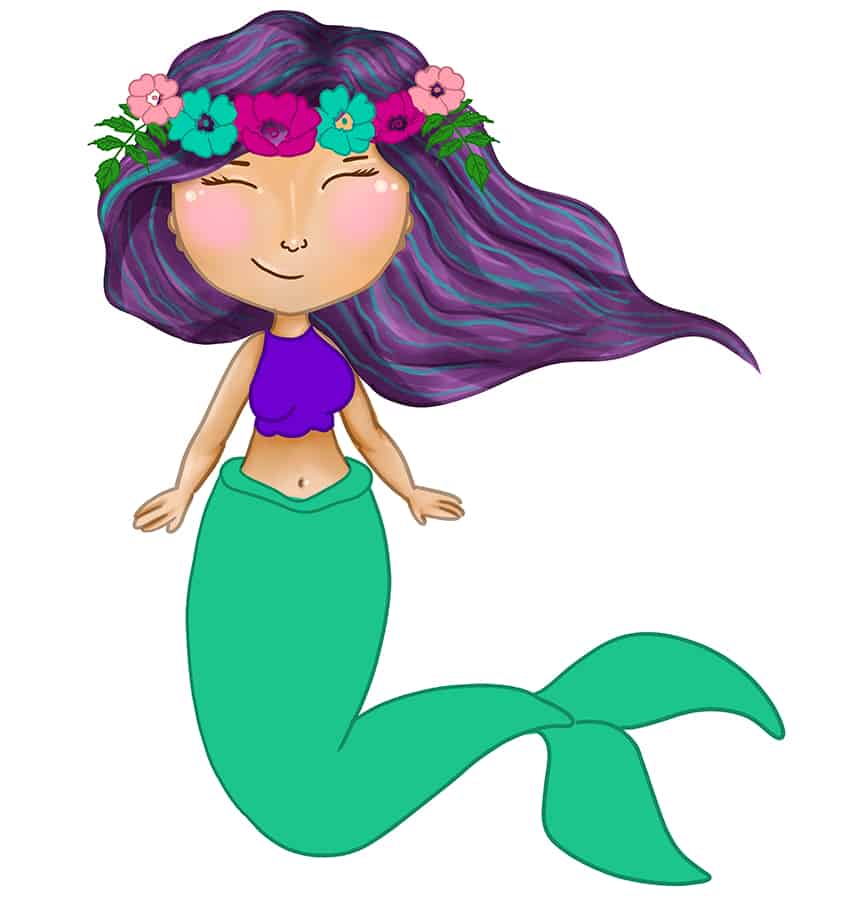
Step 8: Apply the First Color Coat
Select a regular brush and tan paint, and evenly color the face, arms, and hands of your mermaid drawing. Continue to color only the visible portion of the main body.

Step 9: Color the Hair of Your Easy Mermaid Drawing
Use a fine, sharp brush and purple paint, and evenly coat the entirety of the hair.

Step 10: Continue to Color the Mermaid
Continue to use the same brush as previously and switch to green paint, and evenly coat the entirety of the fin. Finish this step using a bright shade of purple paint, and evenly coat the mermaid’s top.

Step 11: Add Color to the Flower Crown
In this step, start by coloring the leaves on the flower crown using a thin brush and green paint. Continue by using a pale shade of pink paint, and color the two end flowers on the crown. Continue by switching between teal and a dark shade of pink paint, and alternate these colors for the remaining flowers.

Step 12: Create a Skin Tone
With a small, soft brush and white paint, add soft and subtle highlighted areas along the face and arms. Continue using a darker shade of tan paint to create structure and contour along the face and edges of the arms, hands, and stomach.
Add a light highlight to the cheeks using a soft brush and pink paint. Finish off with a blending brush to soften and blend the color coats.

Step 13: Add Facial Features to Your Mermaid Drawing
Begin to draw the eyes of your easy mermaid drawing using a thin brush and brown paint. Draw fine brushstrokes that illustrate the eyes being shut. Add eyelashes and eyebrows to the mermaid’s face. Follow this by adding the nose and mouth lines. Complete the step using white paint to add highlights along the facial features and surrounding the belly button.

Step 14: Texture the Hair
Select a soft brush and a dark shade of purple paint, and add fine and soft wavy lines within the hair. Follow this with a blending brush to softly blend and smooth the brushstrokes in the direction of the hair wave.

Step 15: Continue to Add Color to the Hair
Continue to add fine hairline brushstrokes to your mermaid’s hair using a thin brush and teal paint. Make sure the brushstrokes follow the waves of the hairlines! Complete the step with a soft brush and black paint, and add soft shading along the edges of the hairlines.
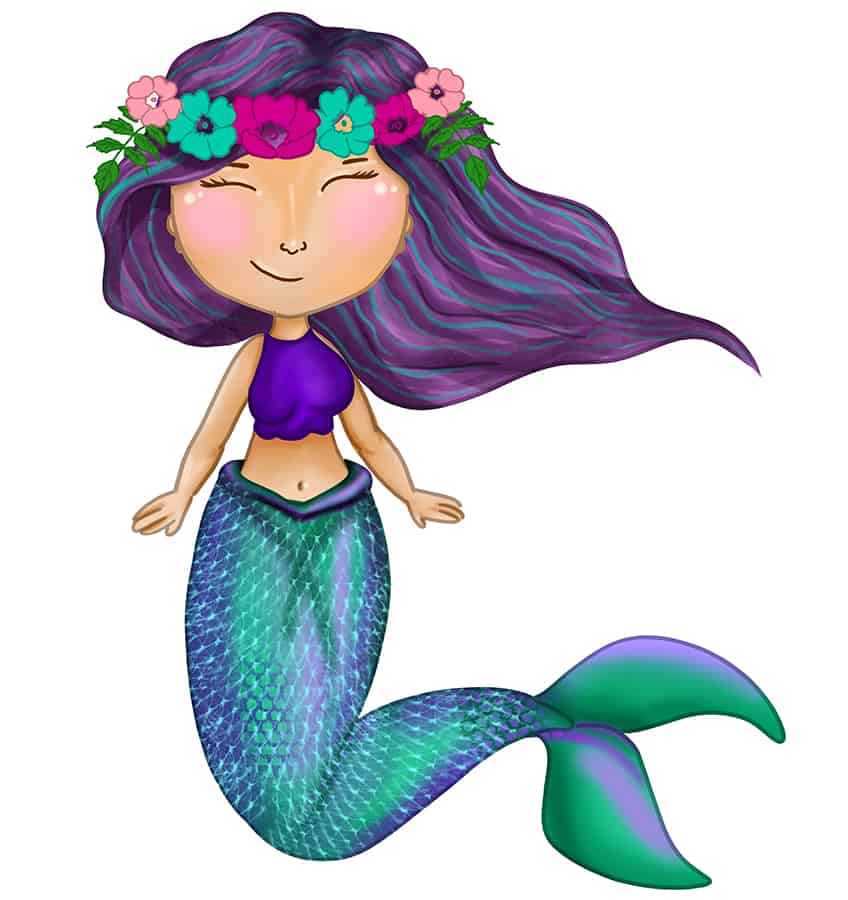
Step 16: Add a Color Blend to the Fin
In this step, add soft brushstrokes along the center area and the edges of the fin using a small, soft brush and a pale shade of purple paint. Repeat this process using a darker shade of green and purple paint. Once completed make use of a blending brush to soften and blend these color coats.
With a soft brush and black paint or a dark shade of purple paint, softly add shading along the edges of the mermaid top. The first color coat should still be visible.

Step 17: Add the Scales to the Fin
Begin by using a rough, pattern brush and teal paint, and dab shell-like patterns along the edges of the fin leading inwards. This process may be time-consuming so be patient as the result will look magnificent!
Step 18: Continue to Color the Fin
Continue to add fine, curving brushstrokes within the end fins of your mermaid drawing, using a thin, sharp brush and a combination of pink, purple, pale purple, and green paint. Finish this step with a bright shade of pink paint, and paint small butterfly outlines on the mermaid top.
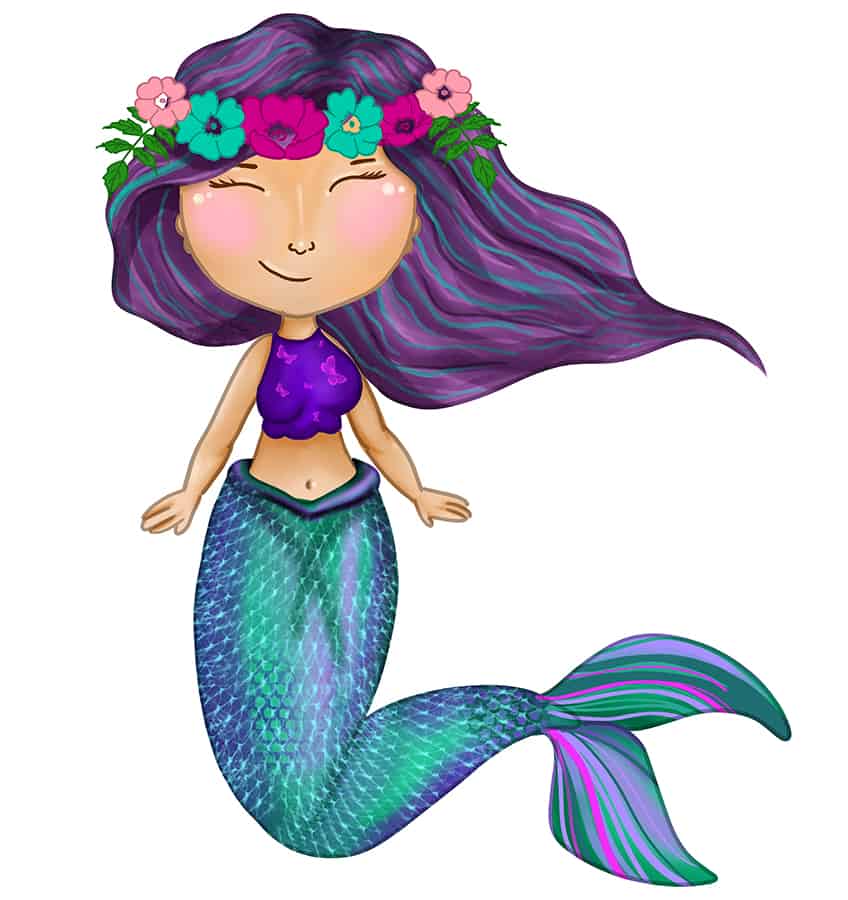
Step 19: Texture the Flower Crown
Select a thin brush and black paint, and add shading along the edges of the flowers and leaves. Follow this using yellow paint, and add fine hairline brushstrokes within each petal. Finish off using a blending brush to soften and blend the petal colors.
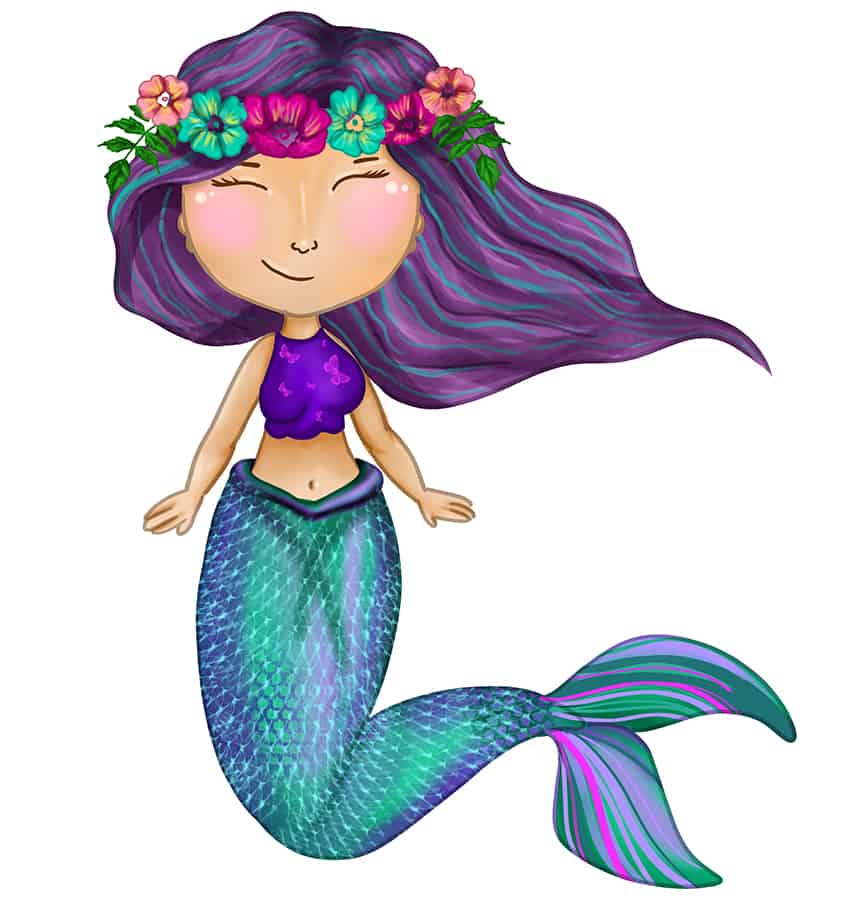
Step 20: Finalize Your Mermaid Drawing
To create a seamless final result for your mermaid drawing, begin by erasing any harsh outlines. Where this is not possible, simply use a fine, sharp brush and the corresponding colors to trace any harsh and visible outlines.

Congratulations on learning how to draw a beautiful and mesmerizing mermaid in just 20 easy steps! Your hard work and dedication have paid off, and you should be proud of your accomplishment. Now that you have mastered the basics, you can take your mermaid drawing to the next level by experimenting with different colors, shading techniques, and backgrounds. Consider adding more intricate details to the mermaid’s hair, tail, and accessories, such as pearls or seaweed. Remember, practice makes perfect, so keep practicing your mermaid drawing skills to create even more stunning works of art!
Frequently Asked Questions
What Colors Can Be Used for a Mermaid Drawing?
When choosing colors for your mermaid drawing, consider using a color scheme that complements the mood or atmosphere you want to convey in your drawing. For example, if you want to create a whimsical and playful mermaid, you might choose bright, bold colors such as pink, turquoise, and yellow. On the other hand, if you want to create a more mystical and otherworldly mermaid, you might choose cooler colors such as blue, purple, and green. Experiment with different color combinations and shades to find the one that best suits your artistic vision!
How to Draw Realistic-Looking Hair for a Mermaid?
To draw realistic-looking hair for your mermaid, start by drawing the basic shape of the hair using light pencil strokes. Once you have the basic shape, add more detailed lines to create the strands of hair. Pay attention to the flow and movement of the hair and use references such as photos or videos of underwater scenes to get inspiration. Use darker paints to create depth and texture to the hair. Finally, consider adding highlights or shadows to give the hair a more realistic and three-dimensional look.

Matthew Matthysen is an educated multidisciplinary artist and illustrator. He successfully completed his art degree at the University of Witwatersrand in South Africa, majoring in art history and contemporary drawing. The focus of his thesis was to explore the philosophical implications of the macro and micro-universe on the human experience. Matthew uses diverse media, such as written and hands-on components, to explore various approaches that are on the border between philosophy and science.
Matthew organized various exhibitions before and during his years as a student and is still passionate about doing so today. He currently works as a freelance artist and writer in various fields. He also has a permanent position at a renowned online gallery (ArtGazette) where he produces various works on commission. As a freelance artist, he creates several series and successfully sells them to galleries and collectors. He loves to use his work and skills in various fields of interest.
Matthew has been creating drawing and painting tutorials since the relaunch in 2020. Through his involvement with artincontext.org, he has been able to deepen his knowledge of various painting mediums. For example, watercolor techniques, calligraphy and lately digital drawing, which is becoming more and more popular.
Learn more about Matthew Matthysen and the Art in Context Team.


