How to Draw a Vase – A Step-by-Step Sketching Guide
Join our tutorial to learn how to draw a vase, capturing its elegance and vibrant colors with each pencil stroke. We guide you step by step, helping you bring this ceramic masterpiece to life on paper.
Floral Canvas: Drawing the Perfect Vase
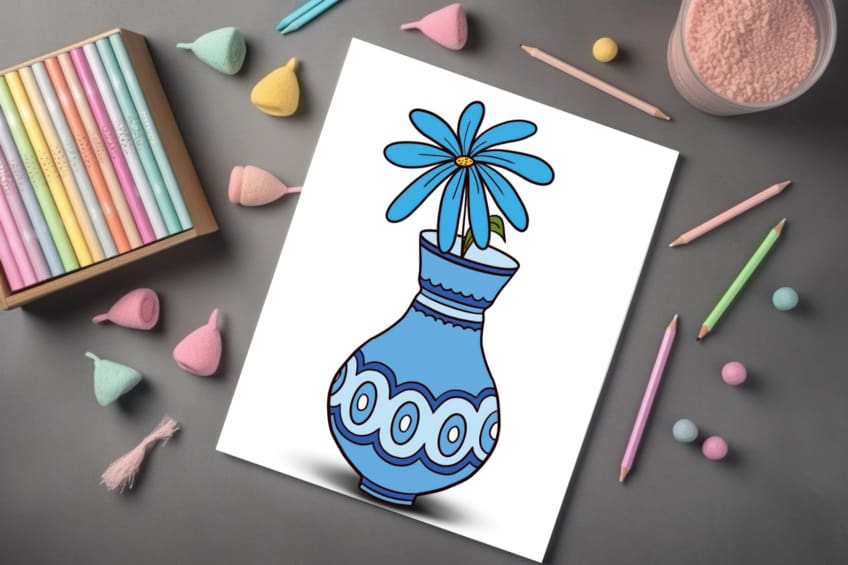
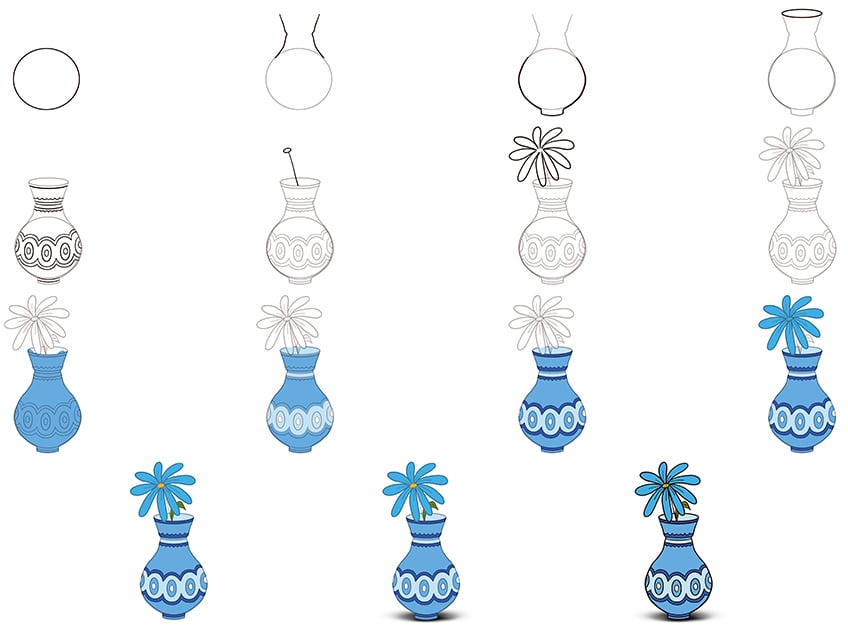
Discover the art of drawing and painting a vase the easy way with our step-by-step guided tutorial. The above collage illustrates each step toward achieving the final result, inviting you to follow along and master the skill of drawing a vase effortlessly!
Step 1: First Step to Your Easy Vase Drawing
Start by identifying the center of your drawing space, and at the lower end of this central area, sketch an oval shape.

Step 2: Draw the Curving Neck
Attached to the oval shape, draw identical curving necklines to each side.

Step 3: Outline Your Vase Sketch
Utilize the construction lines you drew earlier as a guide to outline the shape of the vase and incorporate a base at the bottom.

Step 4: Draw the Top of Your Vase Sketch
In this step, simply draw a narrow oval shape at the top of the vase, connecting both necklines.

Step 5: Add the Patterns
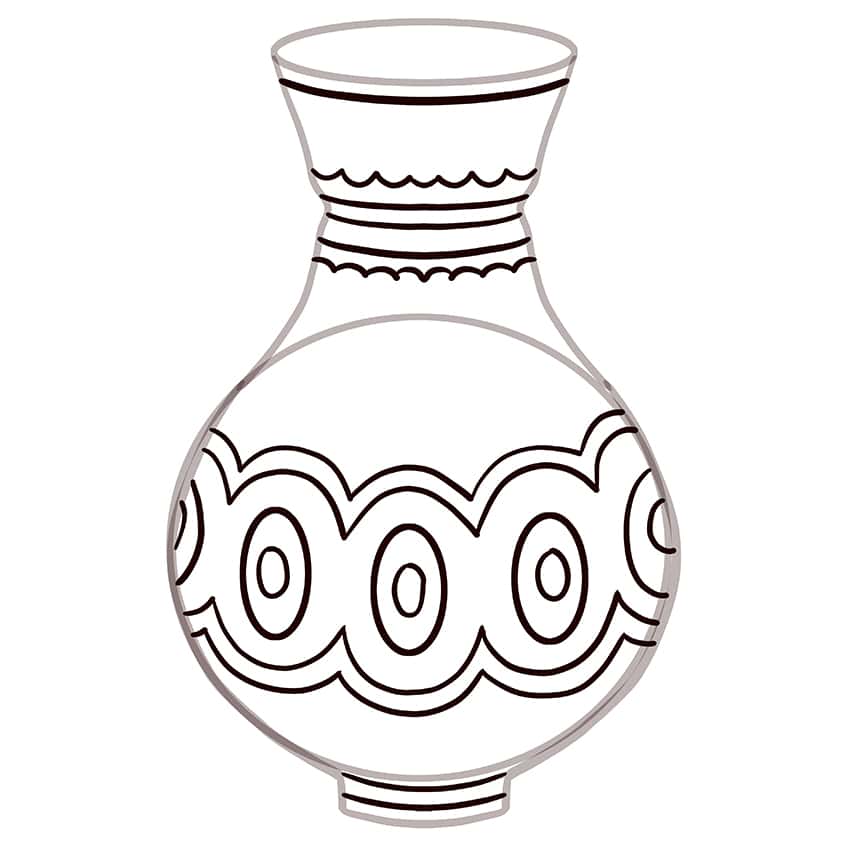
Start your drawing by creating a straightforward curving line at the top of the vase, followed by a wavy line and several slightly curving lines. Repeat the pattern with another wavy line. To craft the larger main body, sketch multiple oval shapes with a smaller oval shape within each, and then outline the top and bottom with ovals.
Complete the composition with a simple curved line for the bottom stand.
Step 6: Draw the Flower Stem
Sketch a straight line extending from within the vase, culminating with a single oval shape attached on top; this will depict the flower stem.
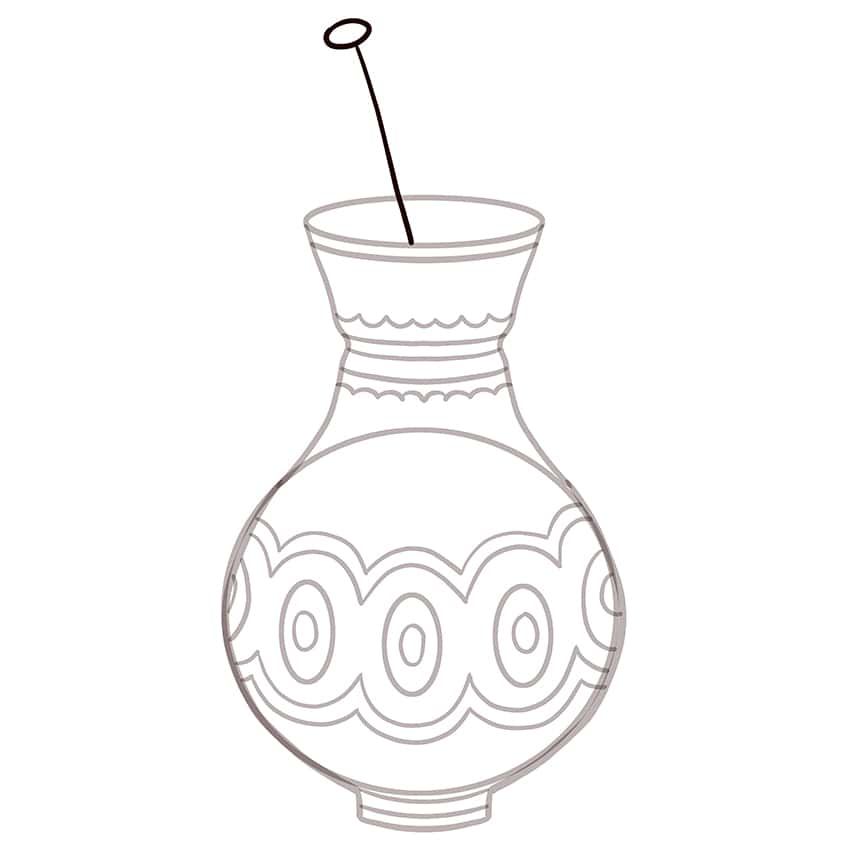
Step 7: Continue onto the Flower Petals
Surrounding the previously drawn oval shape on the stem, now draw each of the petals. After finishing, eliminate any remaining construction lines.

Step 8: Finalize the Flower in Your Easy Vase Drawing
Draw the final leaf attached to the flower stem and the final texture lines within each petal.
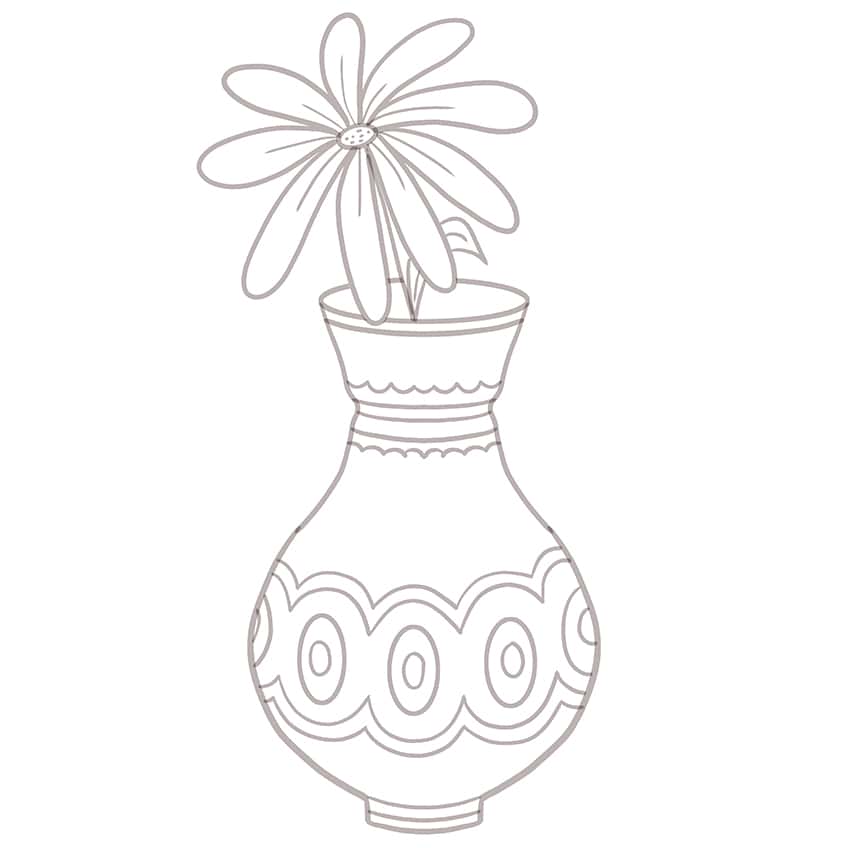
Step 9: Start to Add Color to Your Vase Sketch
Use a fine, sharp brush to evenly apply a coat of blue paint, covering the entire surface of the vase..
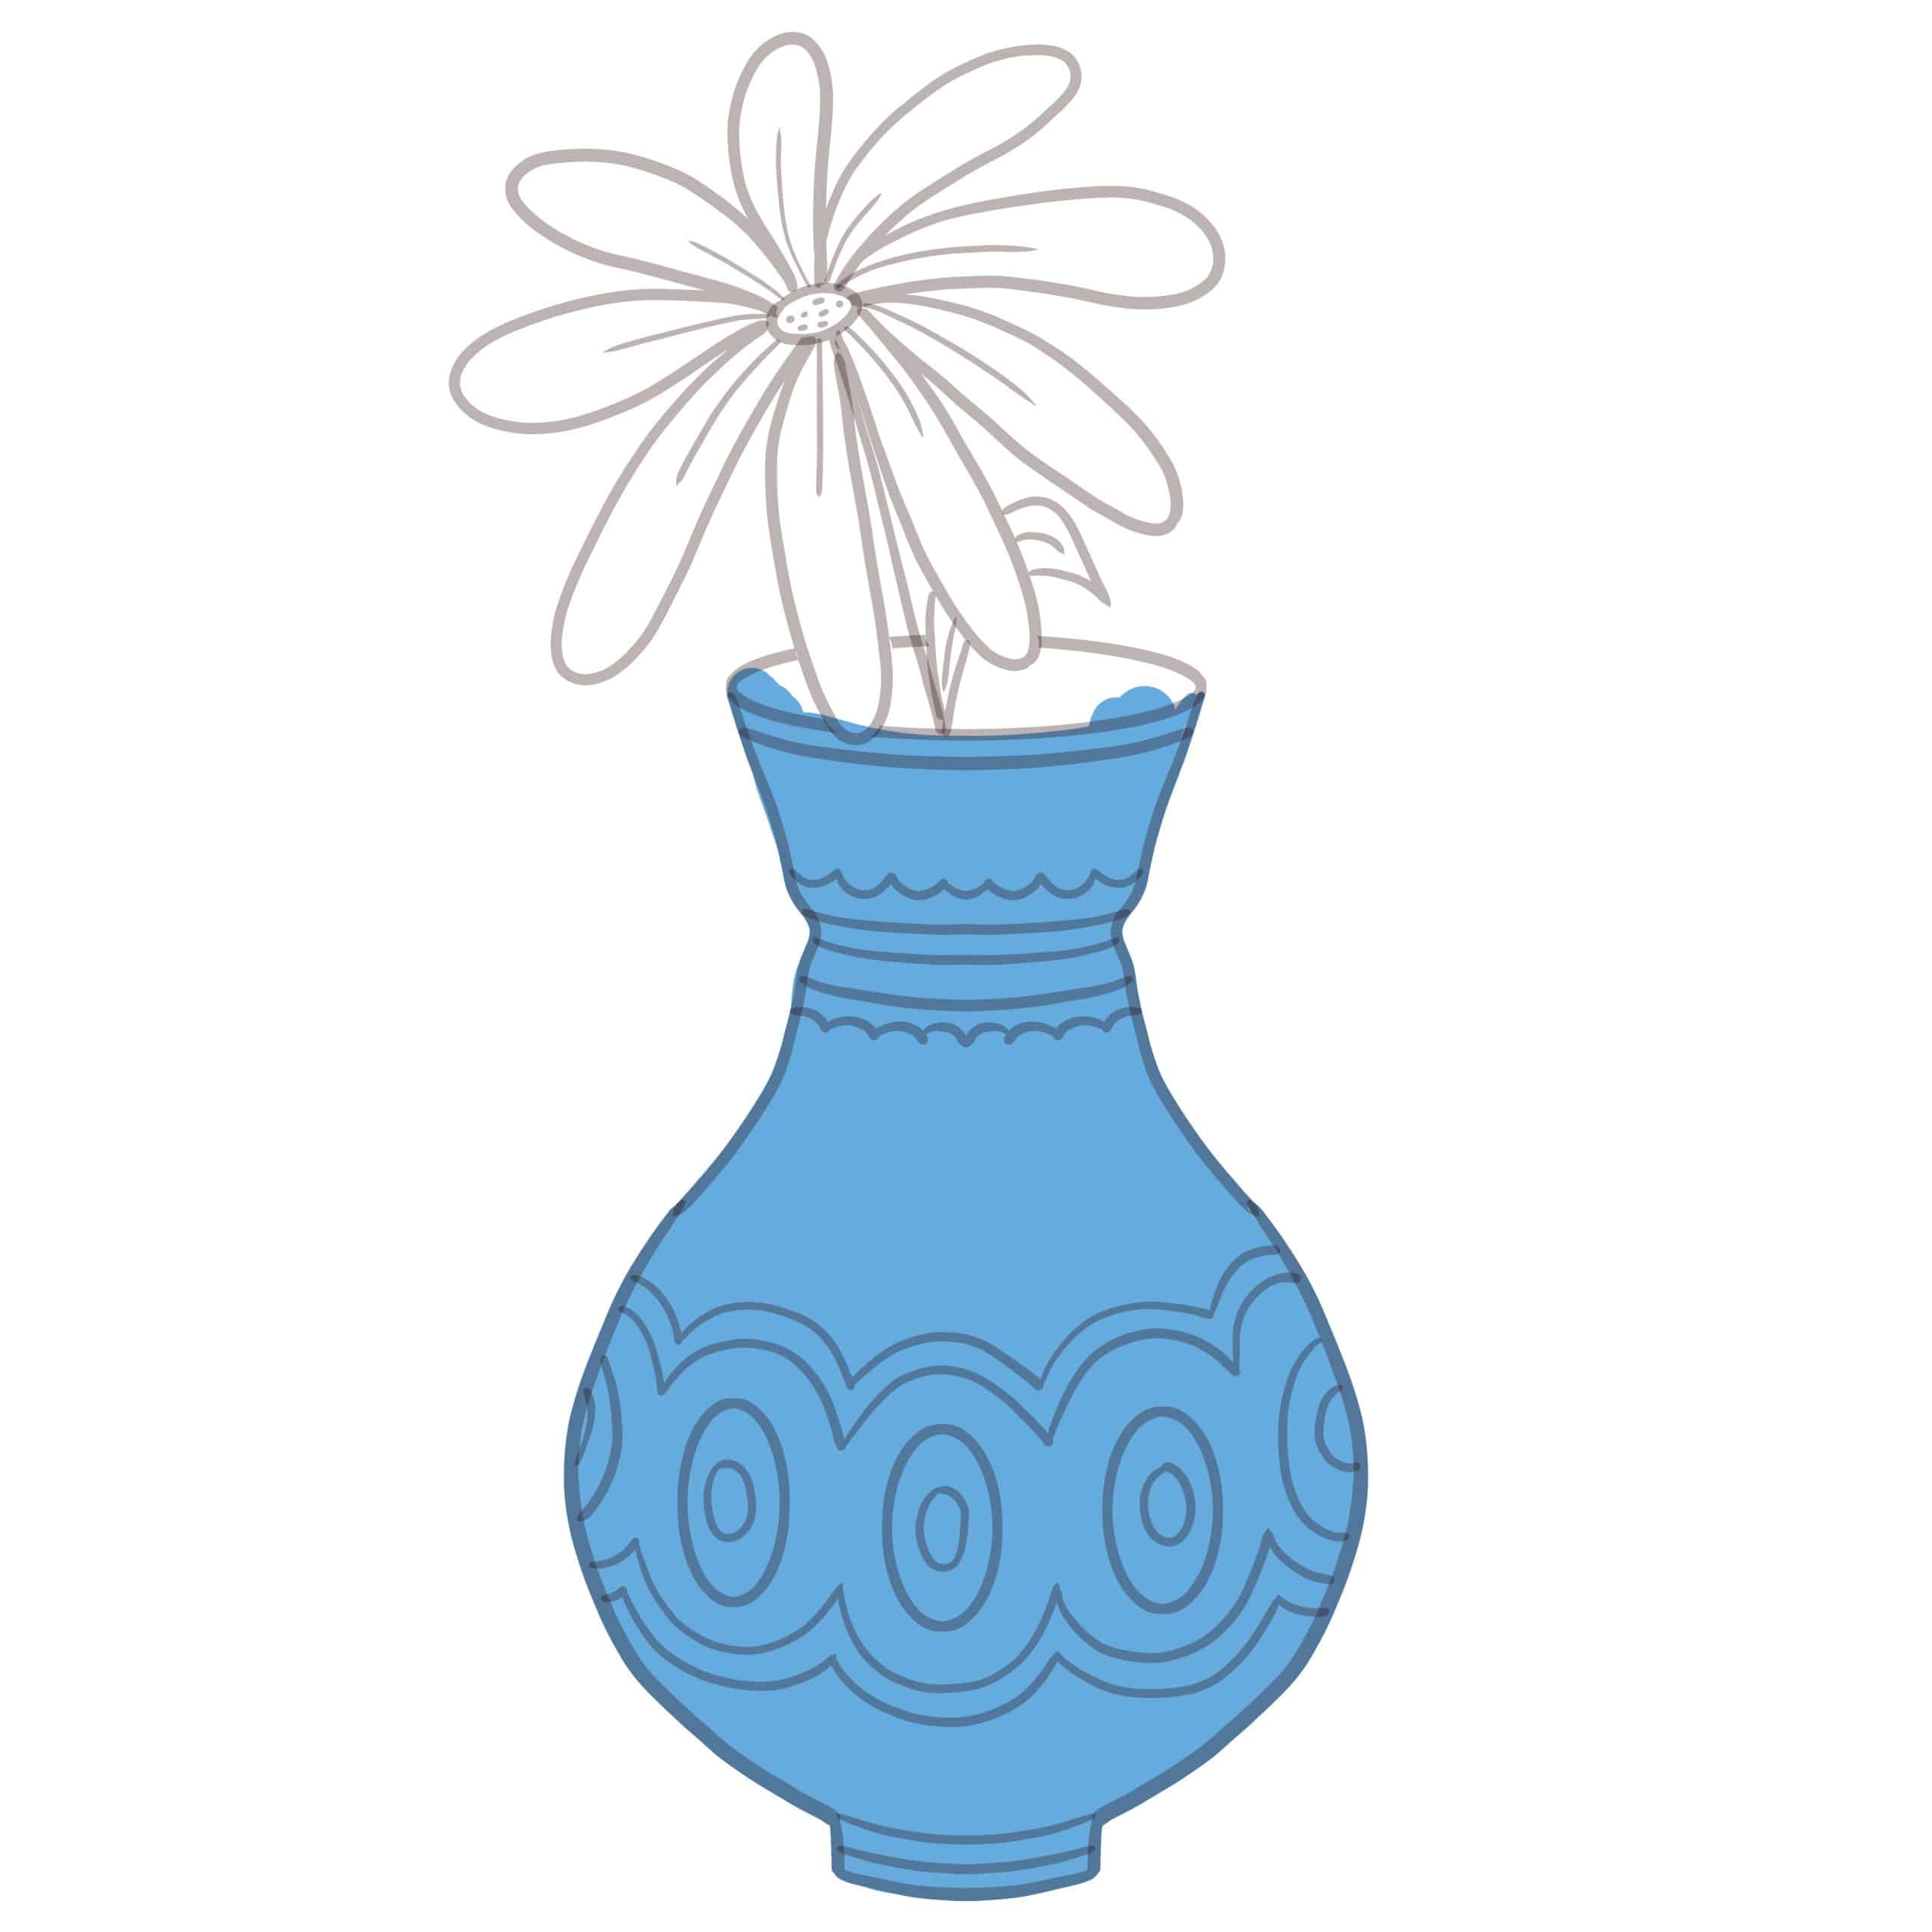
Step 10: Continue to Color Your Vase
Employ a fine, sharp brush and apply a consistent coat of light blue paint to cover the inner area of the vase, the top pattern line, and the center main body pattern lines. Enhance the center oval of the pattern by coloring it with white paint.
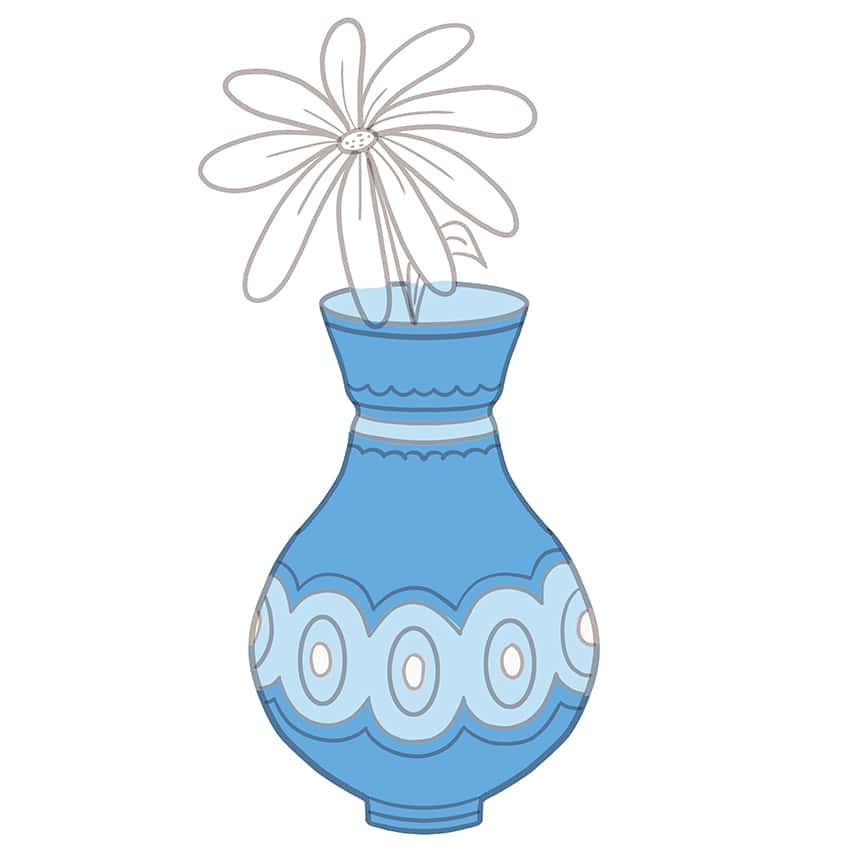
Step 11: Enhance the Patterns on Your Easy Vase Drawing
Apply navy blue paint to the remaining areas of the patterns using a fine, sharp brush. Evenly coat the inner oval shape of the main body pattern with blue paint, using a fine, sharp brush.

Step 12: Color the Flower
Color the flower using a fine, sharp brush and bright blue paint.

Step 13: Add Color to the Leaf on Your Vase Sketch
Evenly coat the leaf with green paint using a fine, sharp brush. Apply yellow paint to the center disk using a fine, sharp brush, and add fine seed dots within the disk with a shade of tan paint.

Step 14: Sketch a Ground Shadow
Use a small brush along with black paint to introduce shading beneath the vase; afterward, take a blending brush to gently fuse the shading for a seamless effect.

Step 15: Finalize Your Easy Vase Sketch
As the final step in this drawing tutorial, employ a fine, sharp brush with black paint to trace the outlines and inner texture lines of both the vase and the flower. Furthermore, employ a gentle brush along with black paint to incorporate a shadow underneath the vase.
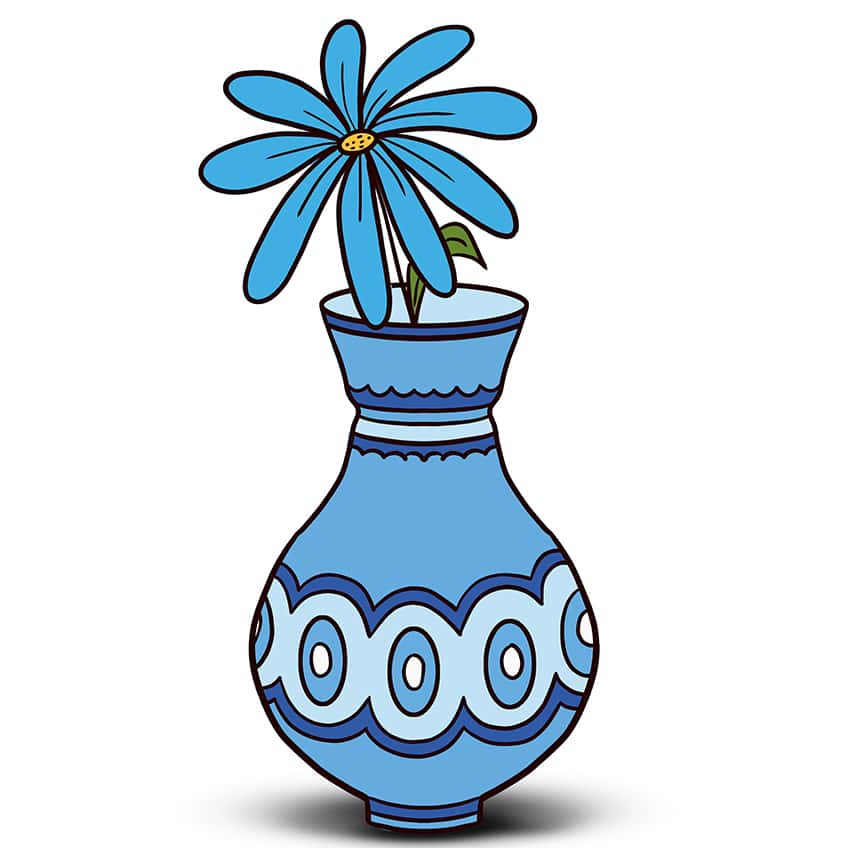
Congratulations on completing the journey on how to draw a vase through our step-by-step tutorial! Your commitment and creativity have truly blossomed throughout this artistic adventure. Witnessing your skills evolve has been a joy, and the vase you’ve crafted is nothing short of a masterpiece. Your dedication to the process shines through, and we’re thrilled to have been a part of your artistic exploration. May this be the beginning of many more delightful creations. Cheers to your artistic triumph!
Frequently Asked Questions
How to Add Shading and Depth to My Vase Drawing?
Use light and shadow to create depth, focusing on the direction of light. Employ techniques like hatching and cross-hatching to convey shadows and highlights, adding a realistic dimension to your vase.
Can You Draw Vases With Different Materials or Textures?
Absolutely! Experiment with drawing vases made of various materials like glass, ceramic, or metal. Use shading techniques to convey reflections and textures, adjusting your approach based on the material.
Matthew Matthysen is an educated multidisciplinary artist and illustrator. He successfully completed his art degree at the University of Witwatersrand in South Africa, majoring in art history and contemporary drawing. The focus of his thesis was to explore the philosophical implications of the macro and micro-universe on the human experience. Matthew uses diverse media, such as written and hands-on components, to explore various approaches that are on the border between philosophy and science.
Matthew organized various exhibitions before and during his years as a student and is still passionate about doing so today. He currently works as a freelance artist and writer in various fields. He also has a permanent position at a renowned online gallery (ArtGazette) where he produces various works on commission. As a freelance artist, he creates several series and successfully sells them to galleries and collectors. He loves to use his work and skills in various fields of interest.
Matthew has been creating drawing and painting tutorials since the relaunch in 2020. Through his involvement with artincontext.org, he has been able to deepen his knowledge of various painting mediums. For example, watercolor techniques, calligraphy and lately digital drawing, which is becoming more and more popular.
Learn more about Matthew Matthysen and the Art in Context Team.


