How to Draw a Donut – Simple Confectionary Illustration Guide
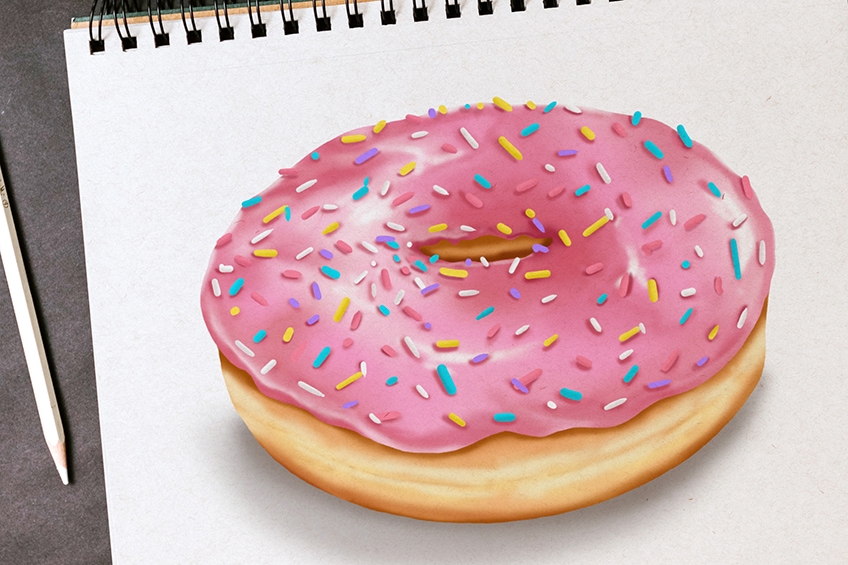
Donuts are one of the tastiest treats and we all love them. They are a popular part of our culture and the donut illustration that we are going to create today is very similar to the ones found in the Simpsons TV show. In today’s drawing tutorial, we take you through the process of learning how to create a realistic donut sketch. We will construct the donut shape, add a dash of pink icing, and a few rainbow sprinkles. By the end of your donut drawing process, we guarantee that you will be craving these sweet delicacies.
Table of Contents
- 1 An Easy Donut Illustration Tutorial in 17 Steps
- 1.1 Step 1: Preparing the Donut Outline
- 1.2 Step 2: Outlining the Hole of Your Donut Sketch
- 1.3 Step 3: Beginning the Final Donut Outline
- 1.4 Step 4: Finishing Your Donut Outline
- 1.5 Step 5: Adding a Base Color Coat to Your Donut Sketch
- 1.6 Step 6: Adding a Base Color to the Icing
- 1.7 Step 7: Adding Contour and Definition to Your Donut Sketch
- 1.8 Step 8: Continue Building Your Contours
- 1.9 Step 9: Painting Your Sprinkles
- 1.10 Step 10: Applying Shading to the Donut Icing
- 1.11 Step 11: Highlighting Your Icing Layer
- 1.12 Step 12: Shading the Outline
- 1.13 Step 13: Defining the Donut Sprinkles
- 1.14 Step 14: Removing the Donut Outline
- 1.15 Step 15. Enhancing the Sprinkle Contours and Highlights
- 1.16 Step 16: Finishing the Donut Sketch Shading
- 1.17 Step 17: Completing Your Easy Donut Drawing
- 2 Frequently Asked Questions
An Easy Donut Illustration Tutorial in 17 Steps
Although donuts are not the most difficult item to draw, their shape can be a challenge for all artists, regardless of their experience level. The angle that we are drawing the donut sketch from also adds a level of difficulty. The donut outline is a three-dimensional circular outline, but the angle makes it a little more oval. To help us create this shape, we begin the donut drawing with a series of construction steps. These steps allow us to set up the base shape before adding any details or coloring. In the image below, you can see an outline of the easy donut drawing tutorial.
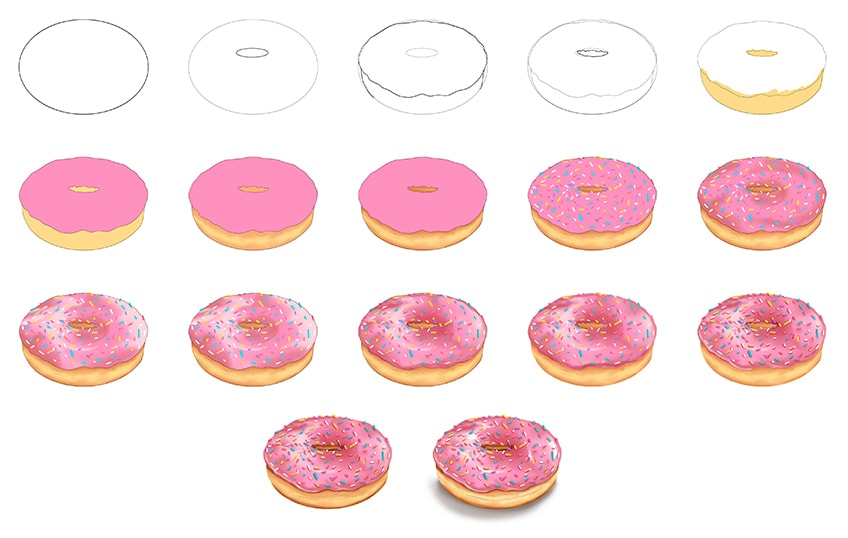
For the coloring steps, you have a great choice of mediums. You can use whatever you feel most comfortable with, whether that is a digital medium or a more physical medium like paint or coloring pencils.
Our tutorial is written for a painting medium, but you can very easily adapt the coloring steps to suit your chosen coloring method.
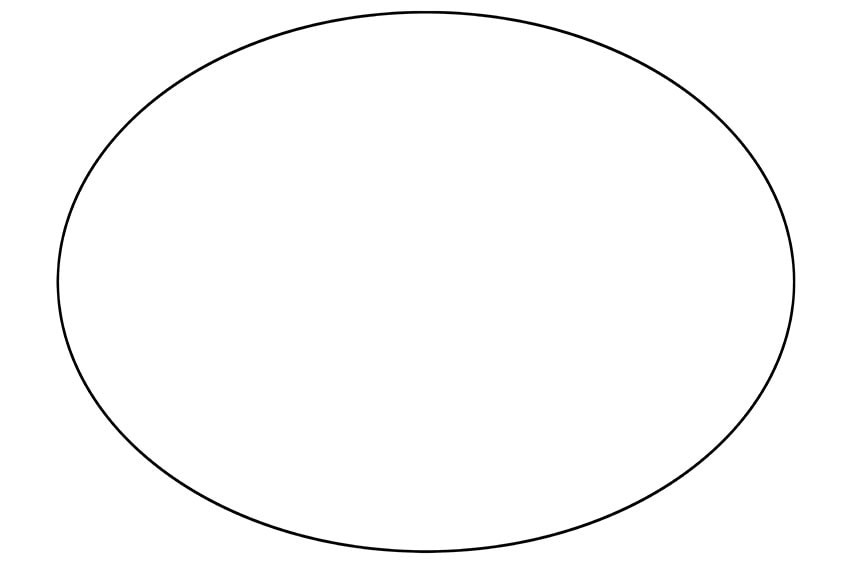
Step 1: Preparing the Donut Outline
We begin our donut drawing tutorial by drawing a large oval shape in the center of our canvas. In later steps, we will use this base oval shape to construct the other, more detailed elements of the donut sketch. If you are working with a digital medium, we suggest drawing the construction steps on a separate layer to the final donut outline so that it can be easily removed.
Similarly, for a physical medium, use a light pencil that can easily be erased for these initial steps.
Step 2: Outlining the Hole of Your Donut Sketch
We are now going to outline the central hole of our donut illustration. We know, from looking at a real donut, that the hole is in the very center, but this is not the case for our drawing. Because we are drawing a donut from a slightly side-on angle, the donut hole is going to be towards the top of the base circle. Just above the center of the base oval, draw a small and very narrow oval shape.

Step 3: Beginning the Final Donut Outline
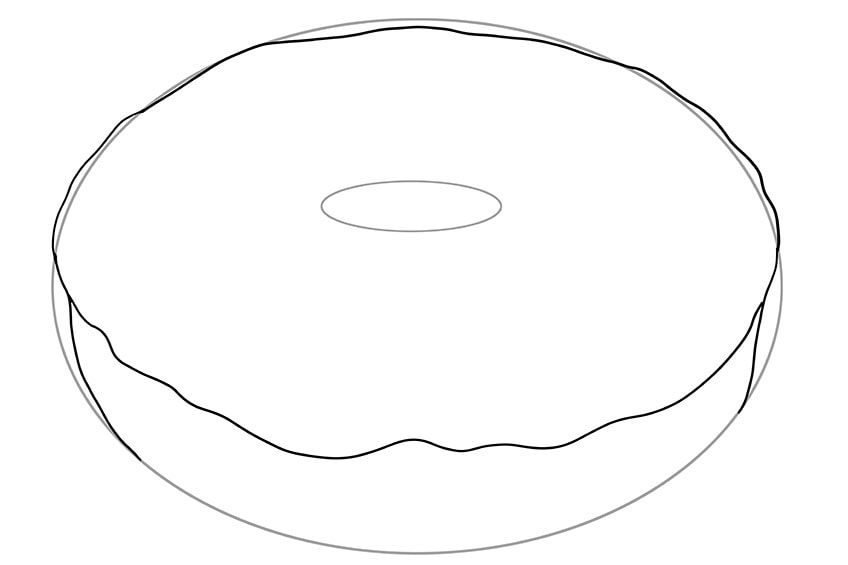
Now that we have the basic shape of the donut constructed, we are going to begin creating the final donut outline. This step is the start of the final outline, so it can be drawn in a darker pencil or pen. If you are using a drawing tablet, you can start this step on a new layer that is separate from the construction shapes. Use the base construction oval to create a slightly wiggly outline of the top of the donut. You want the bottom of this circle to end just above the bottom of the base oval.
To finish this step, shape the bottom ring of the donut by taking two curved lines down on either side of the upper icing ring, just within the sides of the base oval.
Step 4: Finishing Your Donut Outline
We are now going to draw the final outline of our donut drawing. There are two parts to this step. Firstly, finish the bottom outline of the actual donut by outlining the bottom of the construction oval between the two little lines you drew in the previous step. Next, you can outline the inner donut hole with a squiggly line.
Once you have finished your outline, you can erase the construction lines, leaving you with a perfect and complete donut outline.

Step 5: Adding a Base Color Coat to Your Donut Sketch
We are now going to begin coloring our easy donut drawing. The coloring steps make up the larger portion of this tutorial, as we want to create a realistic-looking donut illustration. We begin with the actual donut, using a golden-yellow shade of paint to apply a base coat. Use a regular brush and apply an even coat of paint to the bottom half of the donut and within the donut hole.

Step 6: Adding a Base Color to the Icing
Now that we have the base color for the donut, it is time to lay the basis for the icing. Just like the famous donuts from the Simpsons, we are going to make our icing bright pink. Use a regular brush and a pink shade of your choice, and apply an even layer of color to the rest of the donut drawing.

Step 7: Adding Contour and Definition to Your Donut Sketch
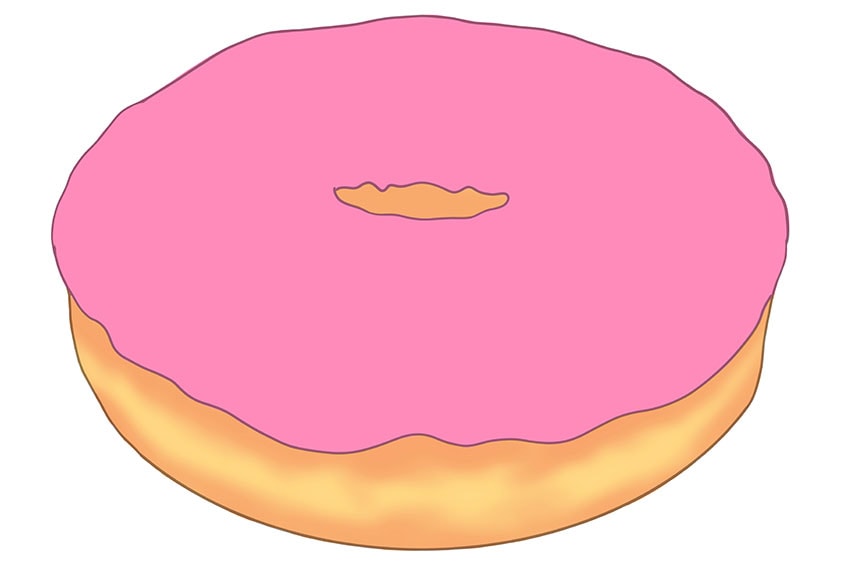
In this step, we are going to begin adding a little more realistic definition to the donut. For this step, you will need a caramel color and a small blending brush. Apply a light layer of this darker color to the bottom of the donut, and lightly blend it up to create a soft gradient of color. Next, do the same thing just below the edge of the icing, smoothly blending the colors together.
To finish this step, apply this darker caramel shade within the donut hole in the center.
Step 8: Continue Building Your Contours
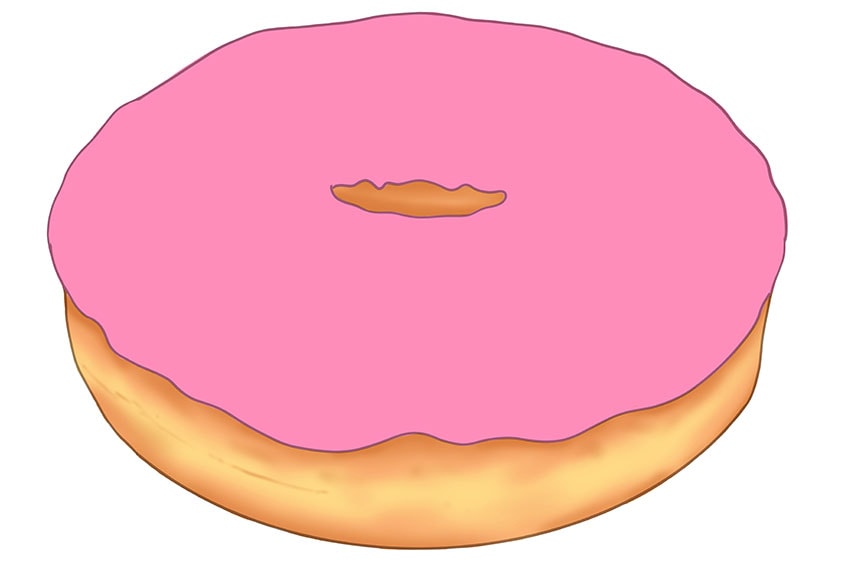
Using the smallest touch of black paint and a clean blending brush, emphasize the contouring from the previous step. While the caramel shadows you added in the last step blended up into the donut shape quite a lot, you want to focus the black just along the very edges of the donut. This method will ensure that you have a more realistic blend in your colors.
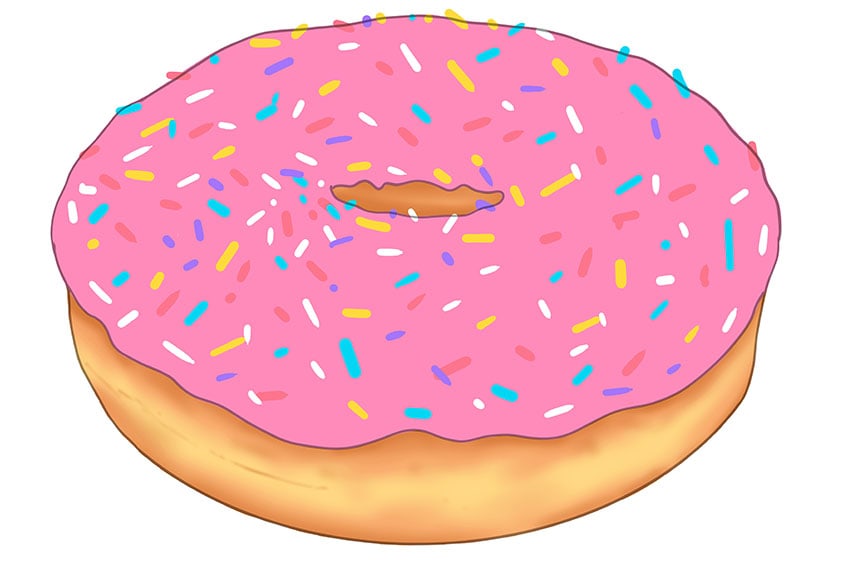
Step 9: Painting Your Sprinkles
Things start to get exciting now that we are adding our sprinkles to the donut icing. Choose your colors, we have selected white, yellow, dark pink, blue, and purple, but you can let your imagination run wild. Use a very small and sharp brush, and paint a series of short streaks and spots throughout the top layer of the donut icing.
For a more realistic donut illustration, you want to paint these sprinkles at random locations and angles, ensuring that the colors are not clumped together in any spots.
Step 10: Applying Shading to the Donut Icing
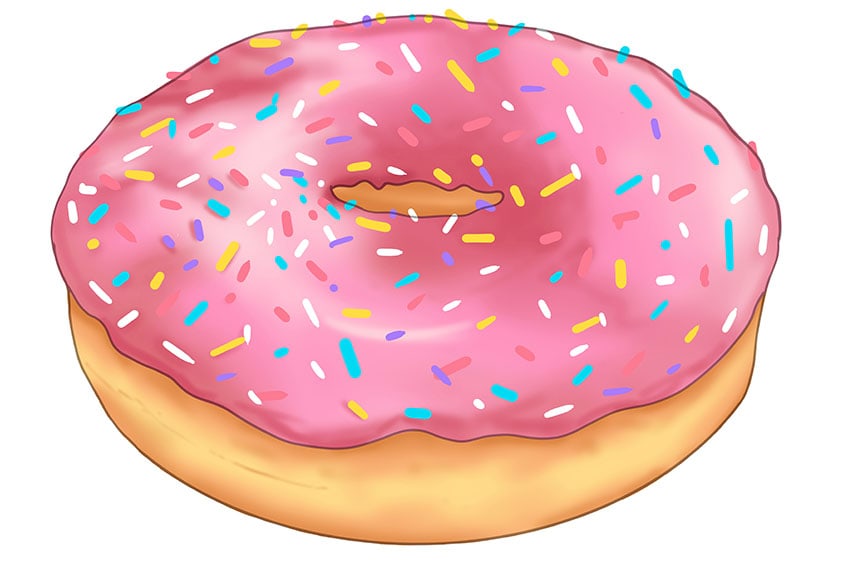
We have already added some preliminary contouring to the base of the donut sketch, and now we are going to do the same to the icing. Using a touch of black paint and a soft blending brush, apply a contouring coat to parts of the icing layer. We suggest adding shading around the edges of the icing, and around the hole in the middle. Contouring in these areas will help emphasize the three-dimensionality of the donut illustration.

Step 11: Highlighting Your Icing Layer
Contouring and highlighting are the two elements of creating realistic dimensions. In the last step, we added contours to the icing, and now we are going to add some highlights. Use a clean blending brush and some white paint, and apply an even coat of highlights to the icing layer of the donut sketch.
You want to place the highlighted areas in the opposite places to the contours.

Step 12: Shading the Outline
Use a soft blending brush and a little black paint, and apply another layer of shading around the edges of the donut icing layer. Be careful about how much black paint to use, as you can always add more, but you can never take it away.
Step 13: Defining the Donut Sprinkles
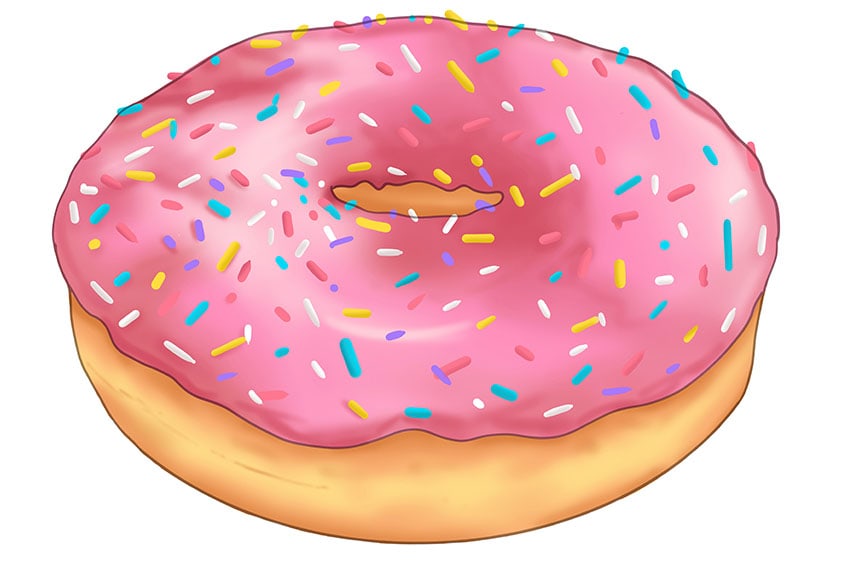
This step is going to be a little tedious, but it will really ramp up the realism of your easy donut drawing. Using a very sharp brush and a little black paint, add a light shading to one side of each sprinkle. This process will make each sprinkle look more 3D.
Step 14: Removing the Donut Outline
We are now going to remove the dark black outlines from our donut illustration, to create a more realistic impression. Depending on your drawing medium, you can do this in one of two ways. If you are working with a digital medium, you can simply remove the outline layer.
If you are working with a more physical medium, use the corresponding color at each point of the outline to carefully trace over it.

Step 15. Enhancing the Sprinkle Contours and Highlights
Just before we finish the donut drawing, we are going to add some final highlights and shadows. Begin by enhancing the shading underneath each sprinkle with a small blending brush and some black paint. Next, you can use a small fine brush and some white paint, and add a little strip of highlight to each sprinkle, making them stand out even more.

Step 16: Finishing the Donut Sketch Shading
Make use of a small soft brush and dark brown paint to apply secondary shading to the bottom half of the Donut surrounding the edges, this includes the inner donut hole.
Step 17: Completing Your Easy Donut Drawing
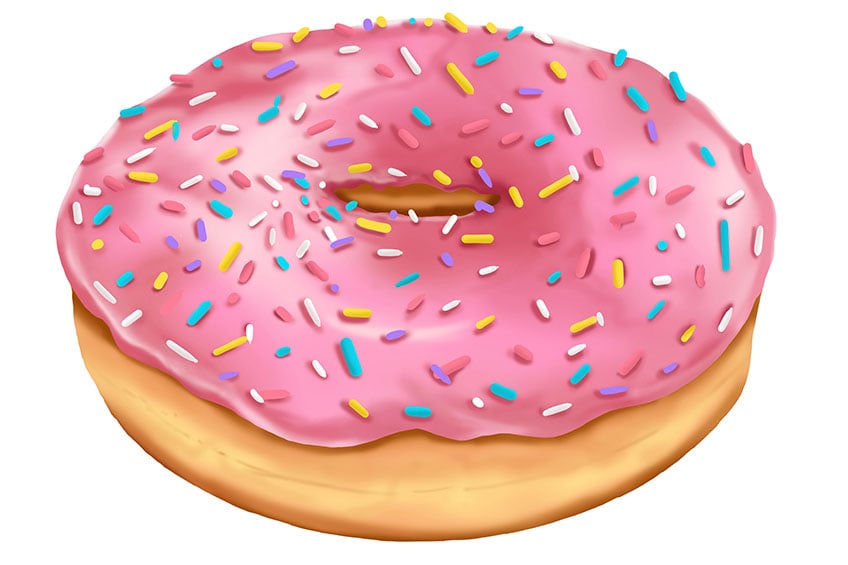
To complete the tutorial, make use of a small soft brush and white paint to add a final layer of bright highlights onto the top layer of the donut, and the middle of the bottom layer. Finally, use a small blending brush and add a shadow around the bottom of the donut, adding a final element of realism to your donut sketch.
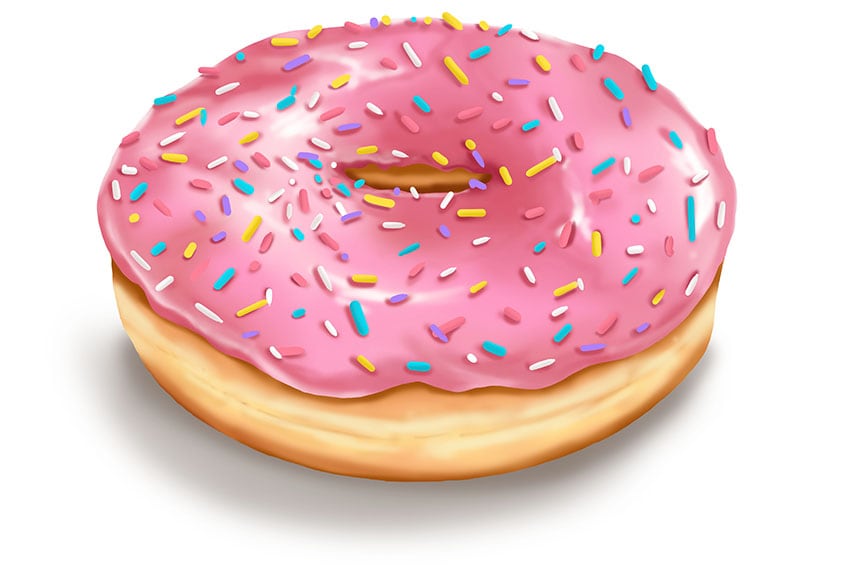
Congratulations on making it to the end of our tutorial on how to draw a donut! We hope that you have enjoyed the process and that you are happy with your final donut illustration. You now know how to construct a 3D donut, how to create a realistic donut outline, and how to add color and contouring to your easy donut drawing. Like us, you are probably craving a donut right now!
Frequently Asked Questions
How do You Draw a Realistic Donut Illustration?
When it comes to creating a donut sketch, contouring and highlighting are the keys to nailing that realism. In our donut drawing tutorial, we show you how to draw a donut and how to add contouring to the donut, the icing, and the sprinkles.
What Is the Hardest Part of a Donut Drawing?
As with most drawing projects, the trickiest part of a donut sketch is getting the proportions and perspective right. Our donut illustration is drawn from the side on, and we have a number of initial construction steps to ensure that you can get the proportions perfect before you start adding colors and sprinkle details.
Matthew Matthysen is an educated multidisciplinary artist and illustrator. He successfully completed his art degree at the University of Witwatersrand in South Africa, majoring in art history and contemporary drawing. The focus of his thesis was to explore the philosophical implications of the macro and micro-universe on the human experience. Matthew uses diverse media, such as written and hands-on components, to explore various approaches that are on the border between philosophy and science.
Matthew organized various exhibitions before and during his years as a student and is still passionate about doing so today. He currently works as a freelance artist and writer in various fields. He also has a permanent position at a renowned online gallery (ArtGazette) where he produces various works on commission. As a freelance artist, he creates several series and successfully sells them to galleries and collectors. He loves to use his work and skills in various fields of interest.
Matthew has been creating drawing and painting tutorials since the relaunch in 2020. Through his involvement with artincontext.org, he has been able to deepen his knowledge of various painting mediums. For example, watercolor techniques, calligraphy and lately digital drawing, which is becoming more and more popular.
Learn more about Matthew Matthysen and the Art in Context Team.
Cite this Article
Matthew, Matthysen, “How to Draw a Donut – Simple Confectionary Illustration Guide.” Art in Context. March 21, 2022. URL: https://artincontext.org/how-to-draw-a-donut/
Matthysen, M. (2022, 21 March). How to Draw a Donut – Simple Confectionary Illustration Guide. Art in Context. https://artincontext.org/how-to-draw-a-donut/
Matthysen, Matthew. “How to Draw a Donut – Simple Confectionary Illustration Guide.” Art in Context, March 21, 2022. https://artincontext.org/how-to-draw-a-donut/.


