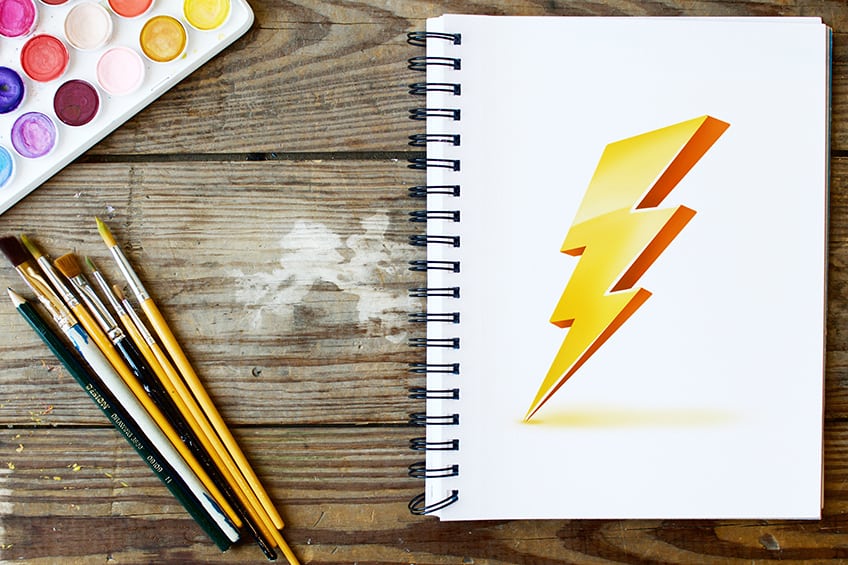
How to Draw a Lightning Bolt – Create a Striking Lightning Bolt
A lightning bolt is nature’s ultimate display of power, a spectacular and electrifying spectacle that can leave us in awe and wonder. It is a sudden and intense burst of electricity that can reach temperatures hotter than the surface of the sun and generate thunder that can be heard for miles. When a lightning bolt strikes, it can create a beautiful yet terrifying show of light and sound that reminds us of the incredible forces at work in our world. So, get ready for an exhilarating tutorial where you will learn how to draw a lightning bolt step-by-step!
Create a Thunderbolt Drawing Step-by-Step
Learning how to draw a lightning bolt is a great skill to have, whether you’re an artist or just someone who wants to add some lighting to your sketches. To start, visualize the shape of a lightning bolt, which typically has a jagged, zig-zag pattern. Draw a thin line in the middle of your paper to guide your drawing. From there, draw zig-zags on either side of the line to create the jagged edges of the bolt. Keep in mind that lightning bolts often have multiple branches, so don’t be afraid to add more lines to create a more complex bolt. Finally, add shading to create the illusion of depth and give your lightning bolt a sense of energy and movement.
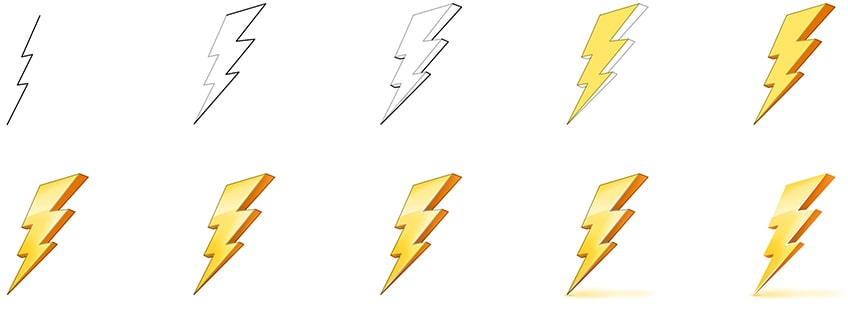
With practice, you’ll be able to draw a striking and realistic lightning bolt that can add an electrifying touch to your artwork. Follow along with the steps depicted in the below collage, and you will be able to create a lightning bolt sketch in no time!
Step 1: Draw the Main Shape of Your Lightning Bolt Drawing
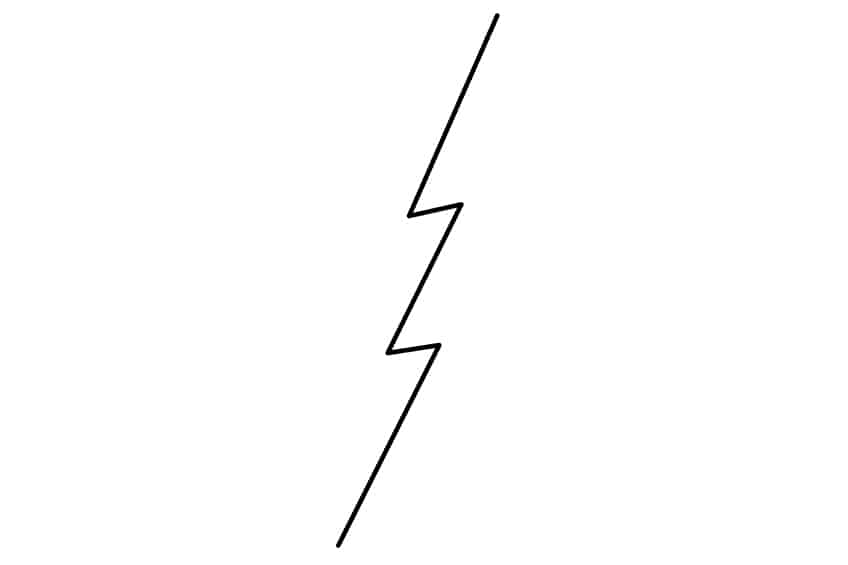
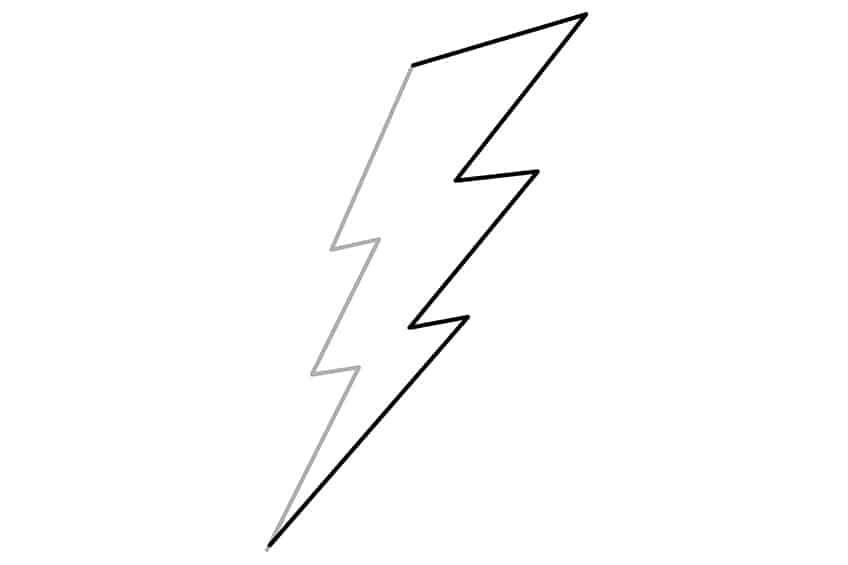
Begin your lightning bolt drawing, by drawing the main lightning bolt shape. To do this, draw an angled zig-zag pattern leading downwards.
Step 2: Complete the Lightning Bolt Shape
Attached to the main shape previously drawn, now give the lightning bolt more shape by drawing the zig-zag pattern leading upwards, from a pointy end to the wider top end.
Step 3: Add Depth to Your Lightning Bolt Sketch
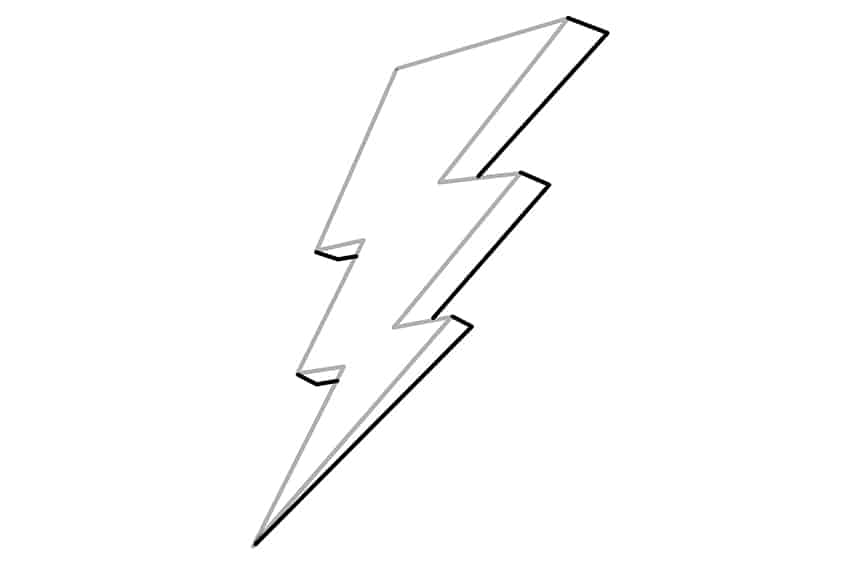
Along each of the edges of the lightning bolt, draw the extended outlines which will add the 3D effect to the drawing.
Step 4: Apply the First Color Coat
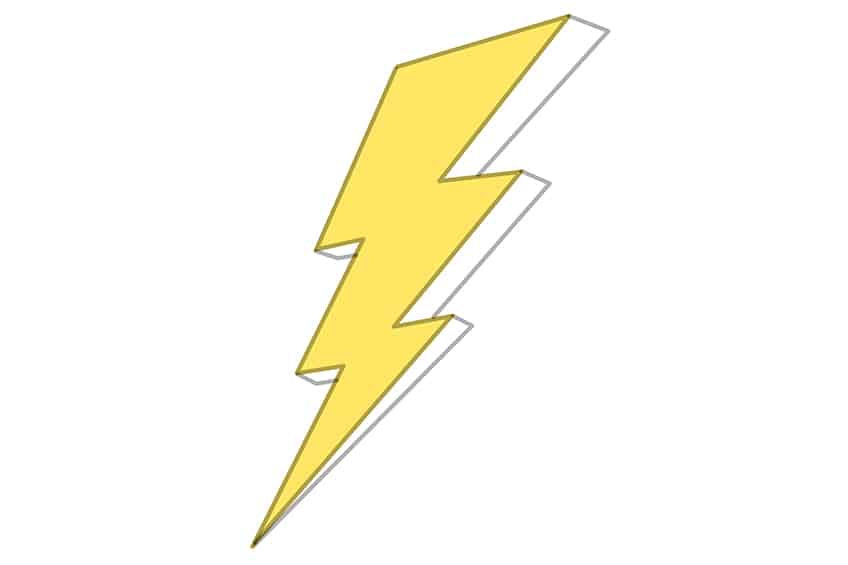
Select a fine, sharp brush and yellow paint, and evenly color the face or base area of your lightning bolt drawing.
Step 5: Continue to Color Your Thunderbolt Drawing
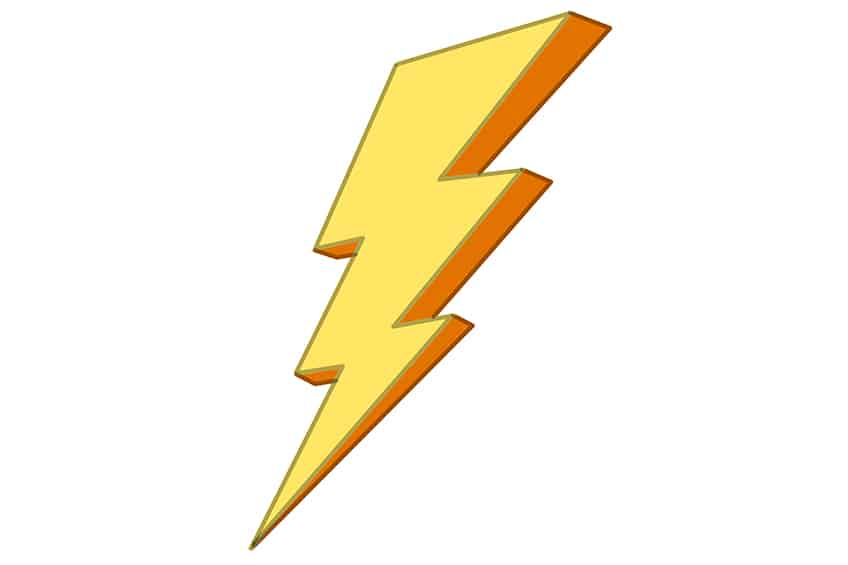
Use the same brush as previously and switch to orange paint, and evenly coat the extended areas surrounding the lightning bolt.
This will create a three-dimensional effect on your thunderbolt drawing.
Step 6: Shade and Highlight the Lightning Bolt Sketch
Begin by using a small, soft brush and a light shade of orange paint, and very lightly apply the shading along the pointy edge of the lightning bolt. Make sure the first color coat is still visible. Follow this using white paint to apply soft highlights along the top half of the lightning bolt. Make use of a blending brush to soften and spread these coats.
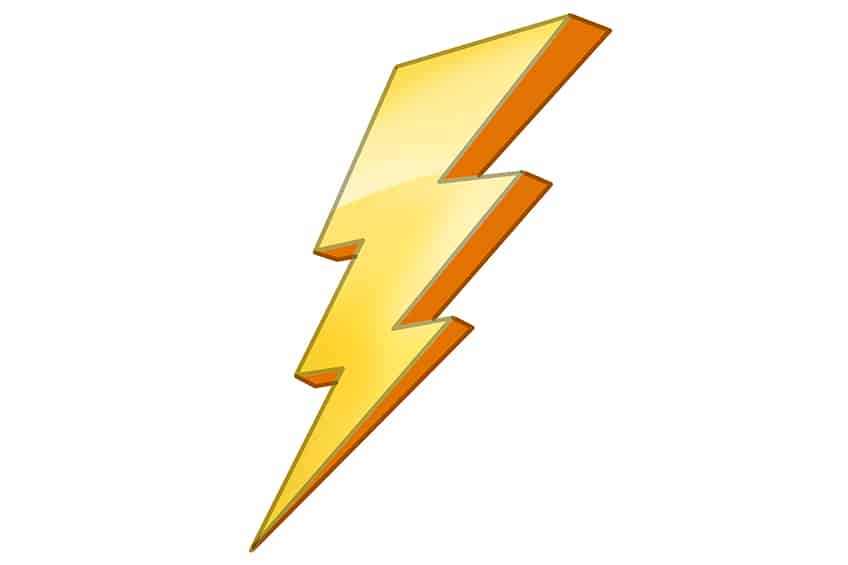
Step 7: Continue to Shade and Highlight Your Drawing
In this step, apply highlights to the edges of the extended outlines, using a soft brush and a light shade of yellow paint. Continue by using black paint, and add soft shading to the lower halves of the areas.
Finish off using a blending brush to spread and soften these coats.
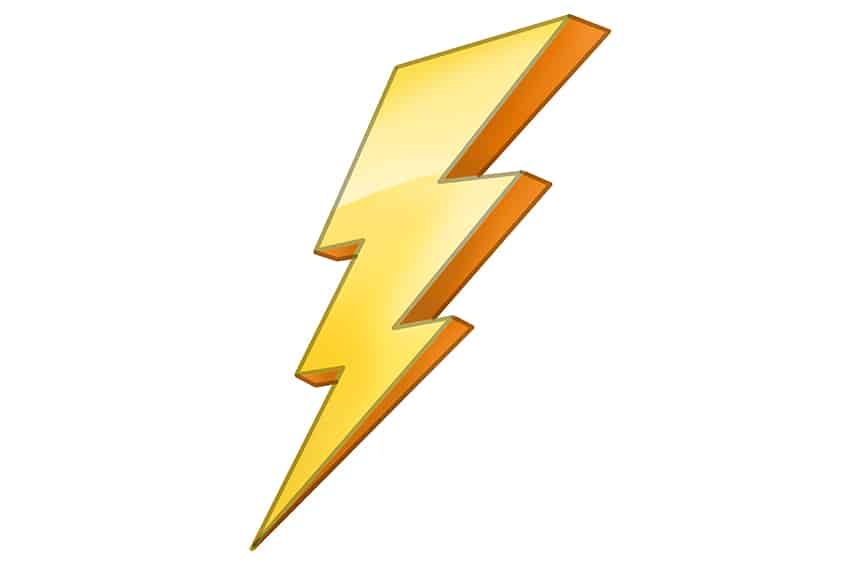
Step 8: Highlight the Outline on Your Lightning Bolt Sketch
With a thin brush and white paint, trace the outline to the right of the lightning bolt.
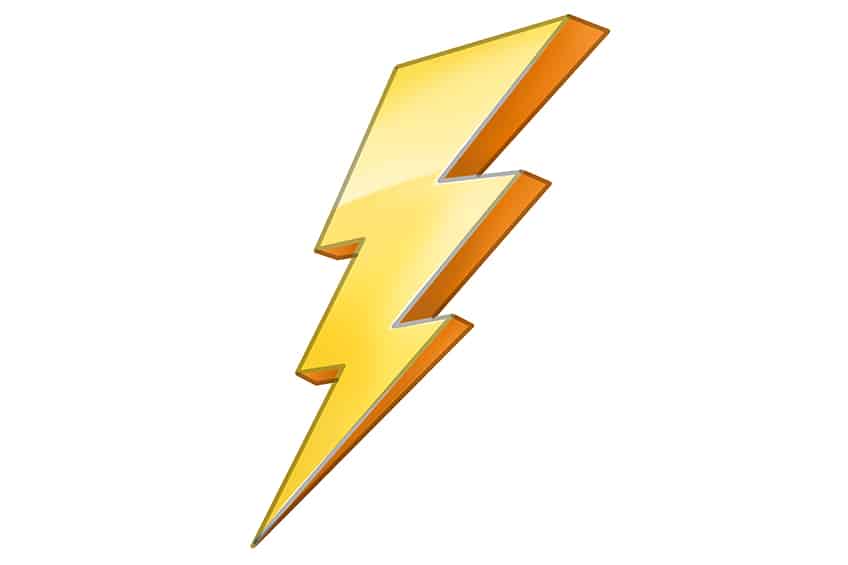
Step 9: Add a Ground Reflection
Begin by adding a soft color reflection on the bottom surface, using a small, soft brush and yellow paint. Spread and soften the reflection using a blending brush.
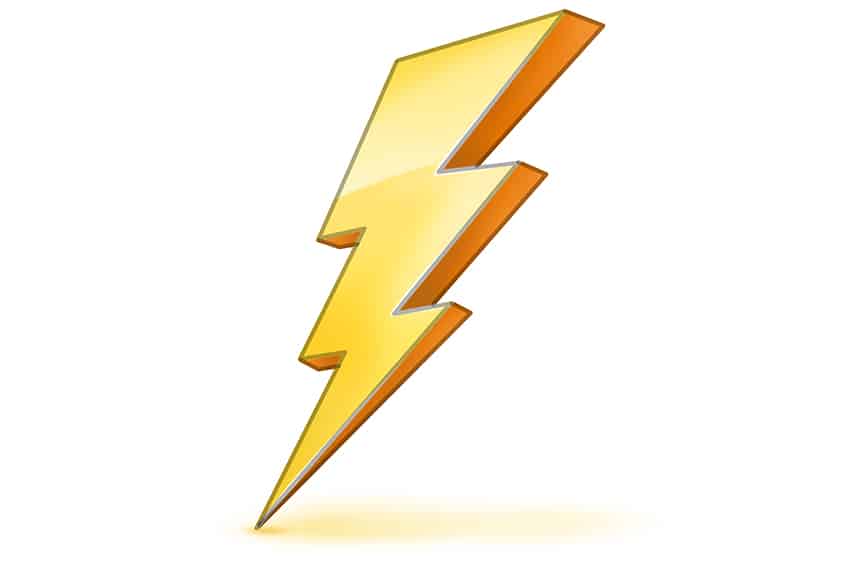
Step 10: Finalize Your Thunderbolt Drawing
This is the last step you will take to finish your lightning bolt drawing! To do this, erase any visible harsh outlines that are still visible. This will create a seamless lightning bolt sketch!

Congratulations on learning how to draw a lightning bolt! You’ve captured the essence of one of nature’s most awe-inspiring displays of power. To add some more detail and make your lightning bolt look even more striking, consider adding highlights and shadows to create a sense of depth and dimension. You can also experiment with different colors or effects to give your lightning bolt a unique look, such as adding a glow around the bolt or creating a dramatic stormy background. If you’re interested in adding more lightning bolts to your artwork, try drawing bolts from different angles or in different styles, such as a stylized or cartoonish lightning bolt. Keep practicing and experimenting, and soon you’ll be a lightning bolt drawing pro!
Frequently Asked Questions
What Are Some Different Styles of Lightning Bolt Drawing?
There are many different styles of lightning bolt drawing, ranging from realistic to stylized. Some artists prefer to draw lightning bolts with sharp, angular lines and jagged edges to create a sense of energy and power, while others may opt for a more flowing, organic shape. Additionally, some artists may choose to experiment with color, texture, and shading to create a unique lightning bolt drawing. Play around to see what style suits you!
How to Incorporate a Lightning Bolt into a Larger Artwork or Design?
There are many ways to incorporate a lightning bolt into a larger artwork or design. For example, you could use a lightning bolt as a dramatic background element in a landscape or cityscape painting, or as a symbol of power or energy in a logo or branding design. You could also use a lightning bolt as part of a character design, such as for a superhero or villain. Experiment with different compositions and styles to find the best way to incorporate a lightning bolt into your artwork or design.
Matthew Matthysen is an educated multidisciplinary artist and illustrator. He successfully completed his art degree at the University of Witwatersrand in South Africa, majoring in art history and contemporary drawing. The focus of his thesis was to explore the philosophical implications of the macro and micro-universe on the human experience. Matthew uses diverse media, such as written and hands-on components, to explore various approaches that are on the border between philosophy and science.
Matthew organized various exhibitions before and during his years as a student and is still passionate about doing so today. He currently works as a freelance artist and writer in various fields. He also has a permanent position at a renowned online gallery (ArtGazette) where he produces various works on commission. As a freelance artist, he creates several series and successfully sells them to galleries and collectors. He loves to use his work and skills in various fields of interest.
Matthew has been creating drawing and painting tutorials since the relaunch in 2020. Through his involvement with artincontext.org, he has been able to deepen his knowledge of various painting mediums. For example, watercolor techniques, calligraphy and lately digital drawing, which is becoming more and more popular.
Learn more about Matthew Matthysen and the Art in Context Team.


