How to Draw a Light Bulb – A Fun and Simple Light Bulb Drawing
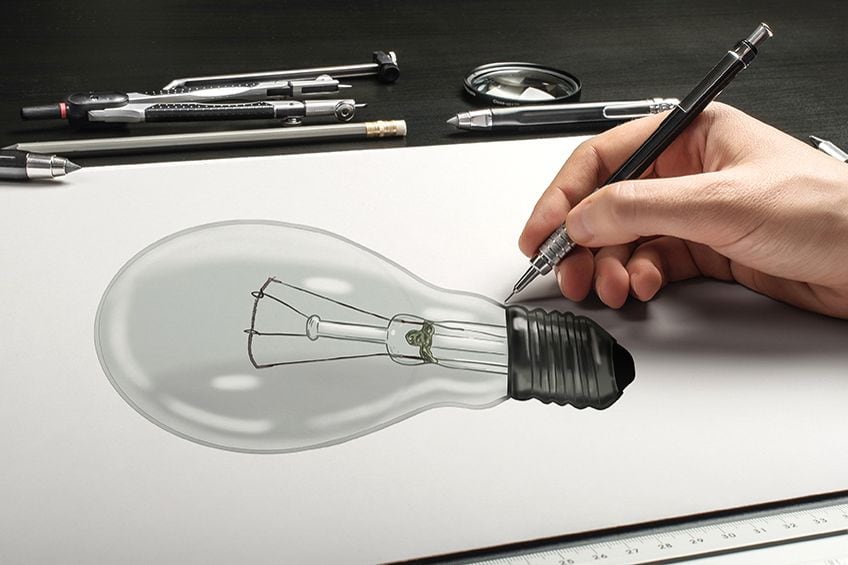
Whether you want to find a spark of inspiration, commemorate a light bulb moment, or share the light with friends and family, what better way than through a light bulb drawing. In this drawing tutorial, we show you how to create realistic drawings of a light bulb. Our focus in this tutorial is on creating a three-dimensional light drawing with clear glass.
A Step-by-Step Tutorial for a Simple Light Bulb Drawing
What we are attempting to create in this tutorial is a little tricky. We want to give the impression of three dimensions with an object that is naturally transparent. We will do so through shadows and highlights. We begin the tutorial by using a few different construction shapes and lines. These shapes will help us to create the final shape of the light bulb drawing with ease.
You can see an outline of the steps in this easy light bulb drawing tutorial below.
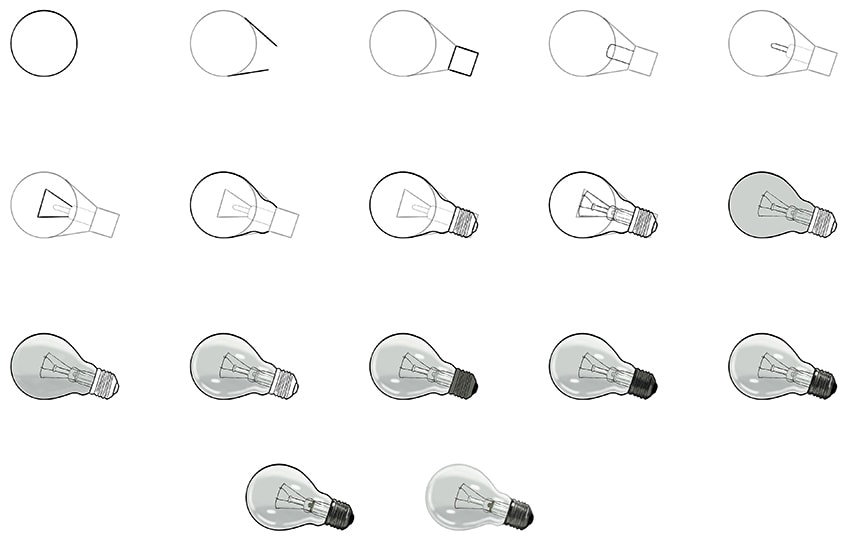
When it comes to your medium, there are no limitations. If you are a graphic artist, you can easily use your drawing tablet. More physical artists can use pencils or paint.
Whichever medium you are using, gather your drawing supplies, and let us get started with the easy light bulb drawing tutorial.
Step 1: Outline the Sphere of the Bulb
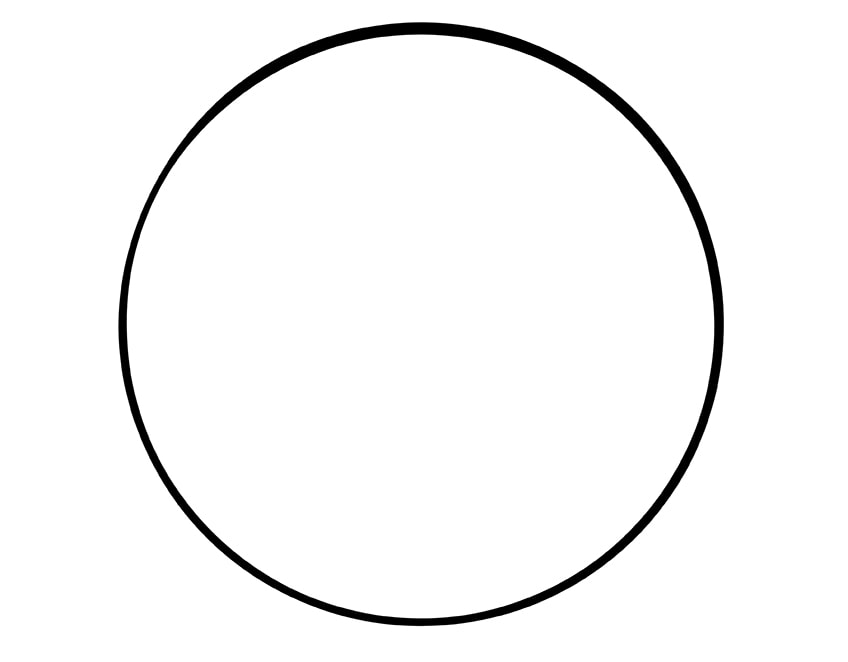
In this very first step, you are simply going to draw a large circle at the center of your canvas. This circle will represent the globe of the light bulb drawing.
Make sure that there is plenty of space around this circle for the rest of the light bulb.
Step 2: Shaping the Tilt of the Light Bulb
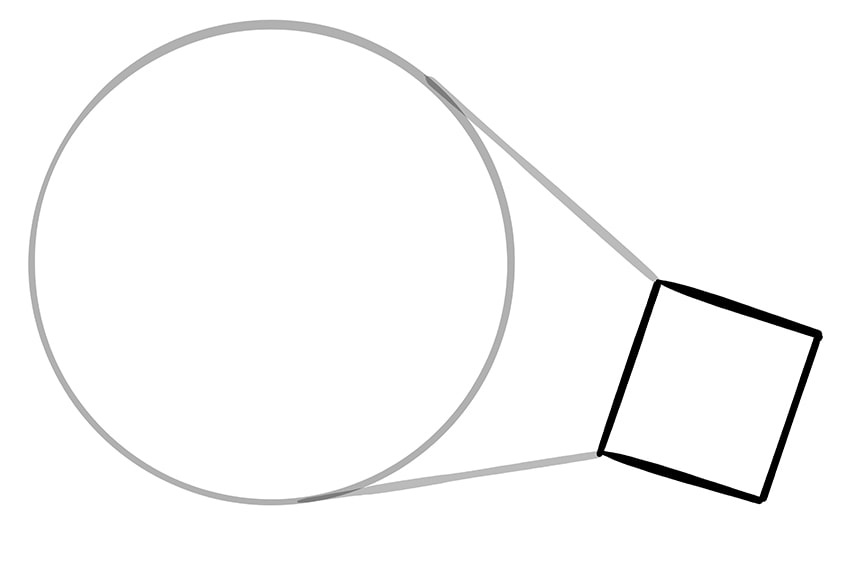
In this second step, you are going to begin creating the tilt of the light bulb drawing. On the right side of the bulb circle, draw two slanted lines.
The top line should be a little more angled downwards and should end a little further out than the bottom one.

Step 3: Shaping the Light Bulb Cap
You are now going to use another construction shape to lay the foundation of the cap at the end of the light bulb drawing. Although this cap is quite rounded, we are going to use a square as the base. At the end of the tilt lines, draw a square that fits directly between the ends.
In later steps, we are going to round this off and add the strips where the light bulb screws into the socket.
Step 4: Drawing the Filament Stem
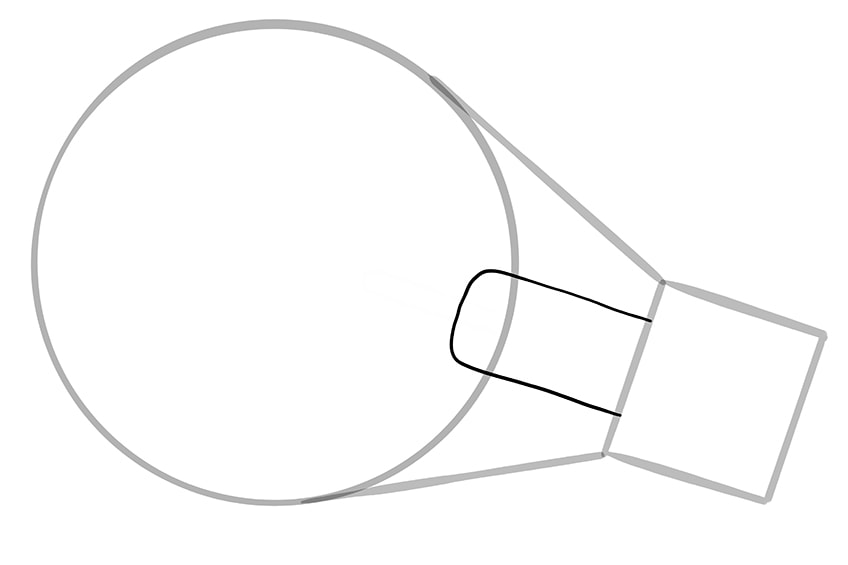
The filaments within the light bulb drawing extend from a stem. In this step, you can draw a slightly rounded rectangle shape that extends from the cap square and up into the bulb circle.
This stem shape should be in the center of the cap.
Step 5: Extending the Stem of Your Light Drawing
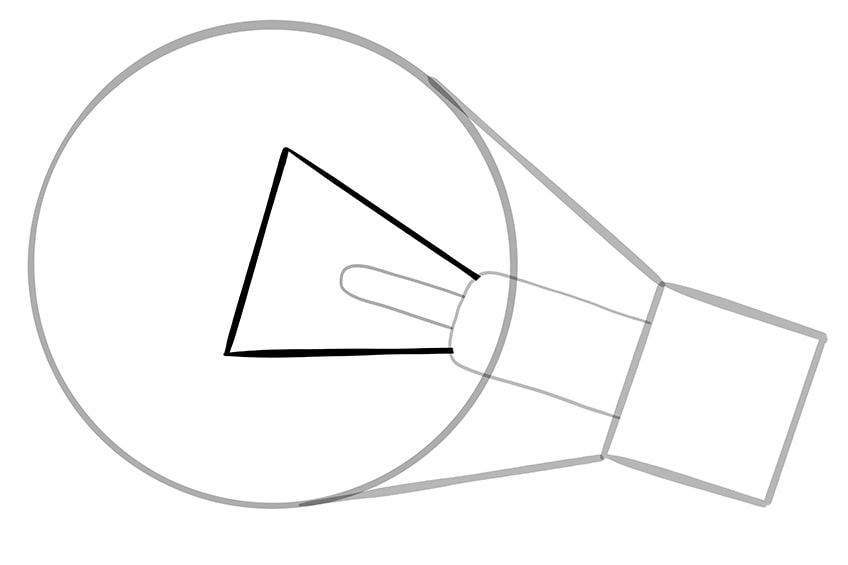
Find the central point of the larger stem base, and draw a second part of the glass stem that extends further into the bulb circle. This secondary stem part should be thinner than the first, and also more rounded.
You want to finish this stem extension just before the center point of the bulb circle.

Step 6: Shaping the Filament of Your Light Bulb Drawing
The final filament of our drawings of a light bulb is a little more rounded than we are going to draw in this step, but for now, we are simply creating the general shape. Around the smaller stem part, draw an incomplete triangle shape.
The bottom lines of the triangle shape should sit just inside the edges of the larger stem.
Step 7: Outlining the Shape of the Light Bulb Drawing
We are going to begin the final outline of your simple light bulb drawing by outlining the shape of the bulb. Use the construction lines to help you outline the bulb shape. You can follow the circle of the bulb closely.
When you get to the stem, you can add a little curve and a bulge before the cap construction square.
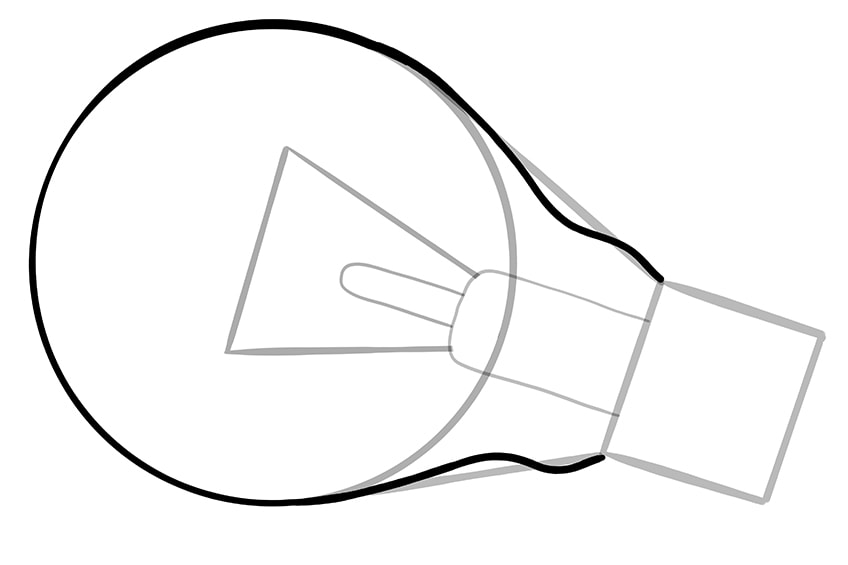
Step 8: Creating the Cap Outline
To continue creating the final outline of your easy light bulb drawing, you can now outline the rounded cap and add the ridges of the screw thread. Use the outside of the cap square to get the correct width of the cap, and then round it off at the bottom. Around the edges of the cap, you can create ridges to represent the screw thread. At the bottom of the cap, draw a small rounded hump to represent the electrical contact.
Finish the detailing of the cap by adding some fine lines between the thread outlines.
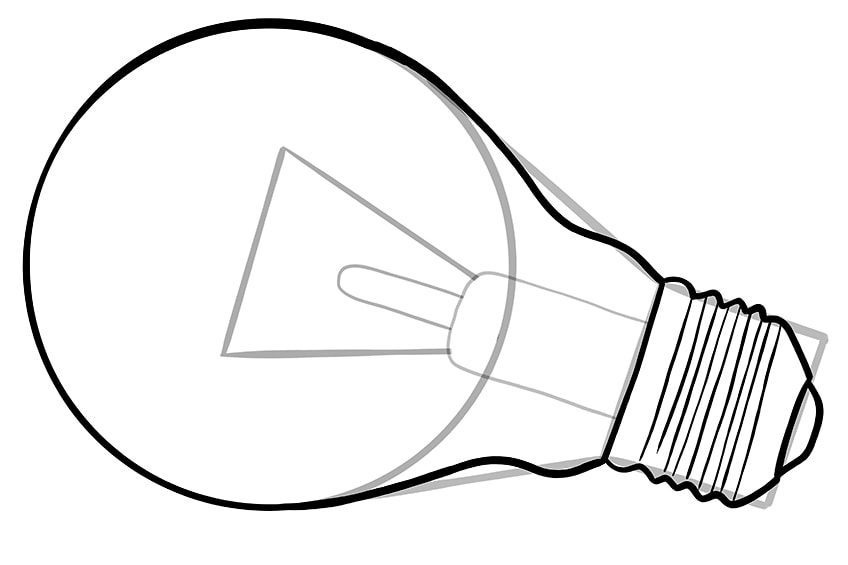
Step 9: Detailing the Filament of Your Simple Light Bulb Drawing
This step may take a little longer than the previous few, as you are going to be adding a significant amount of detail to the filament. Begin within the stem of the bulb, drawing a few fine lines within the larger stem. These lines will represent the light bulb fuse, also known as the exhaust tube.
Take your time with this detail, you may need to redraw it a few times.
Outline the smaller stem, adding a rounded top. You can add a few texture lines within this smaller stem. You can now outline the filament triangle, creating more of a curve to the top. You can use a slightly scribbled line for the top line of the filament. From the top of the small stem, draw two antennae that join the top of the filament with a loop.
You can finish this step by erasing the construction lines.
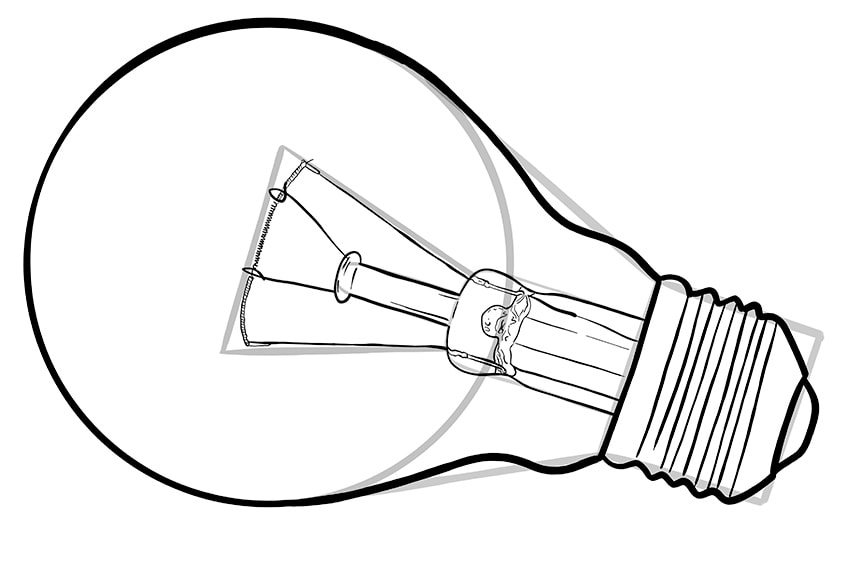
Step 10: Adding the First Coat of Color
It is time to add the first layer of color to your simple light bulb drawing. Light bulbs typically do not have any color, so we are simply going to be using a grey shade to add some depth and three-dimensionality. Use a regular paintbrush and greenish-gray paint. Use this shade to fill the bulb of the light bulb. Do not color the cap in this step.
Make sure that your first layer of color is smooth and does not have any blotches.
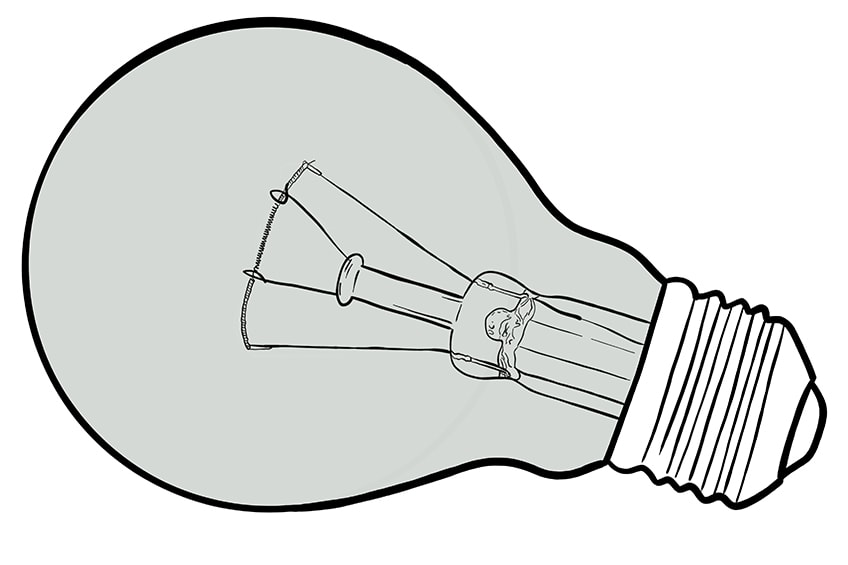
Step 11: Adding Shading to Your Light Drawing
In this step, you are going to add some shadows and a few highlights to our drawings of a light bulb. As the bulb is glass, we want to achieve a realistic three-dimensional appearance. Use a soft brush and some slightly darker gray paint to shade the bottom quarter of the bulb.
To finish this step, begin to add highlights by using a blending brush and a touch of white paint to highlight the top edges of the bulb.
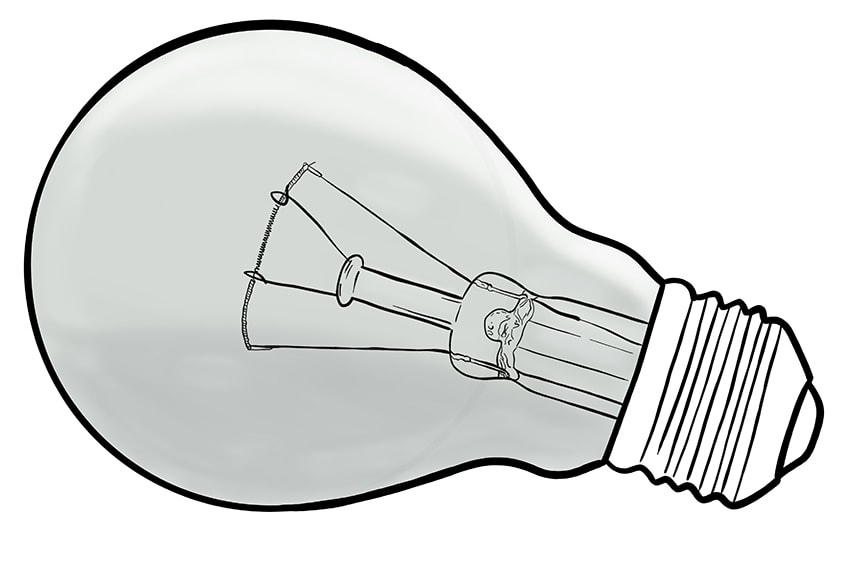
Step 12: Adding Precise Highlights to the Light Bulb Drawing
The basic highlight in the last step set the stage for the more detailed highlights that we are going to add to our easy light bulb drawing now. Use a small blending brush this time with some white paint and begin by tracing the shape of the bottom of the bulb. Place this highlight a little above the bottom of the bulb, and place a couple of breaks in the highlight.
Within the bulb, add a few smaller spots of highlight on either side of the filament and within the large stem.
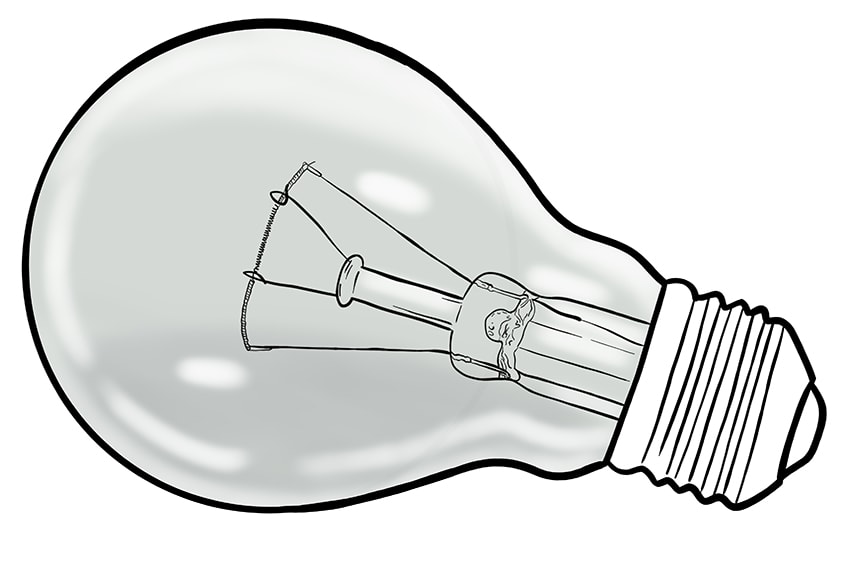
Step 13: Adding the First Layer of Color on the Cap
In this step, use a regular brush and dark gray paint to fill the cap and thread of the light bulb drawing.
To finish this step, use some black paint and a fine brush to fill the electric contact.
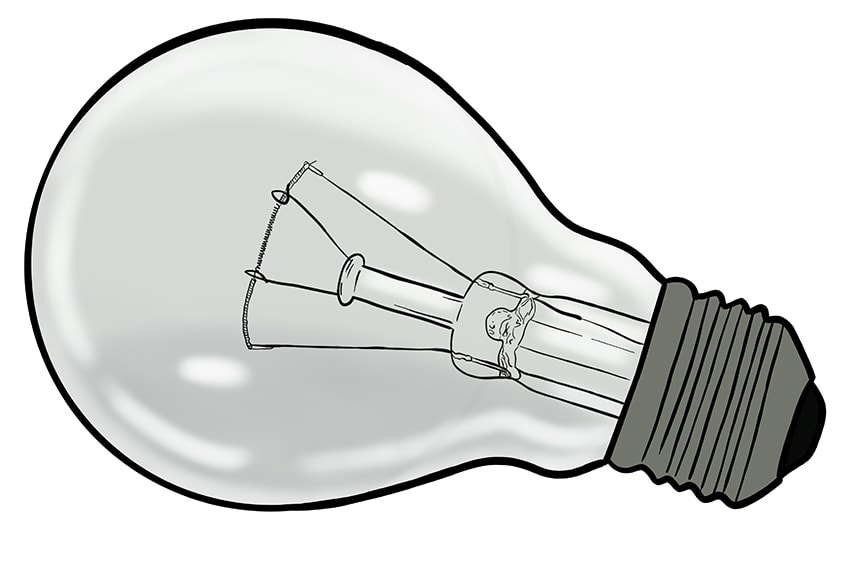
Step 14: Adding Shading to the Cap of Your Light Bulb Drawing
In this step, you are going to create a sense of three-dimensionality in the cap by adding some shadows. Use a small blending brush and just a touch of black paint to add a shadow to the cap. Focus the shading on the bottom edge of the cap, on the left side, and down the center. You can also add a thin line of shading along the right side of the cap, just above the electric contact point.
When using black to create shading, always remember that less is more. You can always add more shading, but it is almost impossible to remove black once it has been applied.
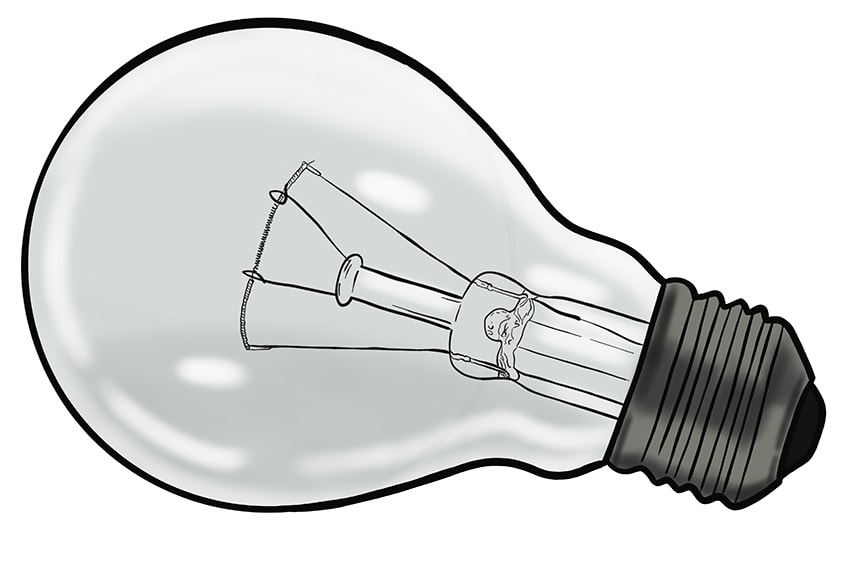
Step 15: Highlighting the Light Bulb Cap
Shading is only one-half of the dimension formula. The other side is adding highlights. Use a small blending brush and a touch of white paint and carefully apply some highlights within the threads. Just above the strip of shading in the cap, you can create a strip of highlight.
After painting your highlights, use a clean and dry blending brush to smear and blend the highlights, creating a softer and more natural impression.
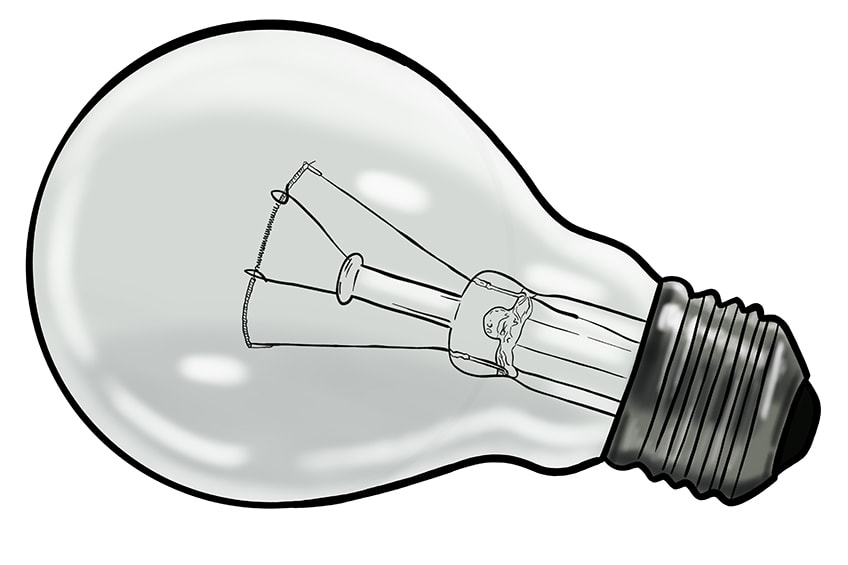
Step 16: Finishing Your Easy Light Bulb Drawing
This final step involves two parts. First, you are going to add some color to the exhaust tube, and then you can remove the outlines from your simple light bulb drawing. For the exhaust coloring, find some dark green paint and use a fine brush to fill the tube. Next, use some brown paint and a sharp brush to color the leading wires to the filament. Finally, for this first part, use a touch of light gray paint to fill the smaller stem. To finish your light bulb drawing seamlessly, you can now erase the outlines.
If you are a graphic artist, you can simply remove the outline layer. If you are using a more physical medium, you can simply trace over the outlines with the corresponding color at each point.
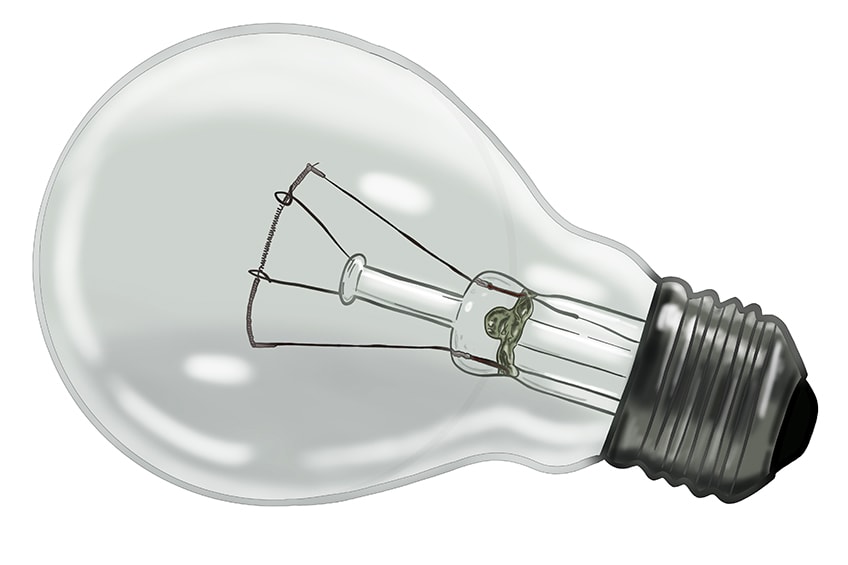
Congratulations on finishing our easy light bulb drawing tutorial! Hopefully, you have enjoyed the process and you are happy with the final drawing. Now you know how to draw a light bulb, you can experiment with other light drawing techniques.
Take a look at our light bulb drawing webstory here!
Frequently Asked Questions
Will This Tutorial Help Me Learn How to Draw a Light Bulb?
Absolutely! If you have never drawn a light bulb before, then you have certainly come to the right place. In this tutorial, we show you exactly how to draw a light bulb in 16 easy steps. You will learn how to add a sense of three-dimensionality to your simple light bulb drawing with shading and highlighting.
How do You Add Dimension to A Simple Light Bulb Drawing?
The question of how to create a sense of three-dimensionality within a glass object may seem intimidating when you first attempt it. Luckily, we have curated the best light drawing tutorial which guides you through the step-by-step process of using contouring and contrast to add three dimensions to drawings of a light bulb.
Matthew Matthysen is an educated multidisciplinary artist and illustrator. He successfully completed his art degree at the University of Witwatersrand in South Africa, majoring in art history and contemporary drawing. The focus of his thesis was to explore the philosophical implications of the macro and micro-universe on the human experience. Matthew uses diverse media, such as written and hands-on components, to explore various approaches that are on the border between philosophy and science.
Matthew organized various exhibitions before and during his years as a student and is still passionate about doing so today. He currently works as a freelance artist and writer in various fields. He also has a permanent position at a renowned online gallery (ArtGazette) where he produces various works on commission. As a freelance artist, he creates several series and successfully sells them to galleries and collectors. He loves to use his work and skills in various fields of interest.
Matthew has been creating drawing and painting tutorials since the relaunch in 2020. Through his involvement with artincontext.org, he has been able to deepen his knowledge of various painting mediums. For example, watercolor techniques, calligraphy and lately digital drawing, which is becoming more and more popular.
Learn more about Matthew Matthysen and the Art in Context Team.


