How to Draw a Leprechaun – A Fun Saint Patrick’s Day Drawing
Leprechauns are unique creatures that are considered to be mischievous and can often lead people on wild chases. The story behind the leprechaun’s value is that if it is caught, it may grant you three wishes for its release. However, their love for gold and their shoe-making ability is not the only side of the leprechaun’s identity. Leprechauns are also depicted as sinister characters that can present promises of gold and riches, but their elusive nature may lead people astray. Leprechauns are fun and mystical creatures that can be represented in various ways, so let’s get this drawing tutorial started!
Step-by-Step Guide on How to Draw a Leprechaun
In this tutorial on how to draw a leprechaun, we will start with a basic sketch, where we shape the leprechaun in its unique shape and proportions. From there, we will start refining the sketch by adding unique attire and accessories to contextualize the character. We will then proceed to integrate some colors, and slowly build them up through a layering process. As we move on, we can then enhance the overall drawing with linework, shading, and highlights to emphasize the different features.
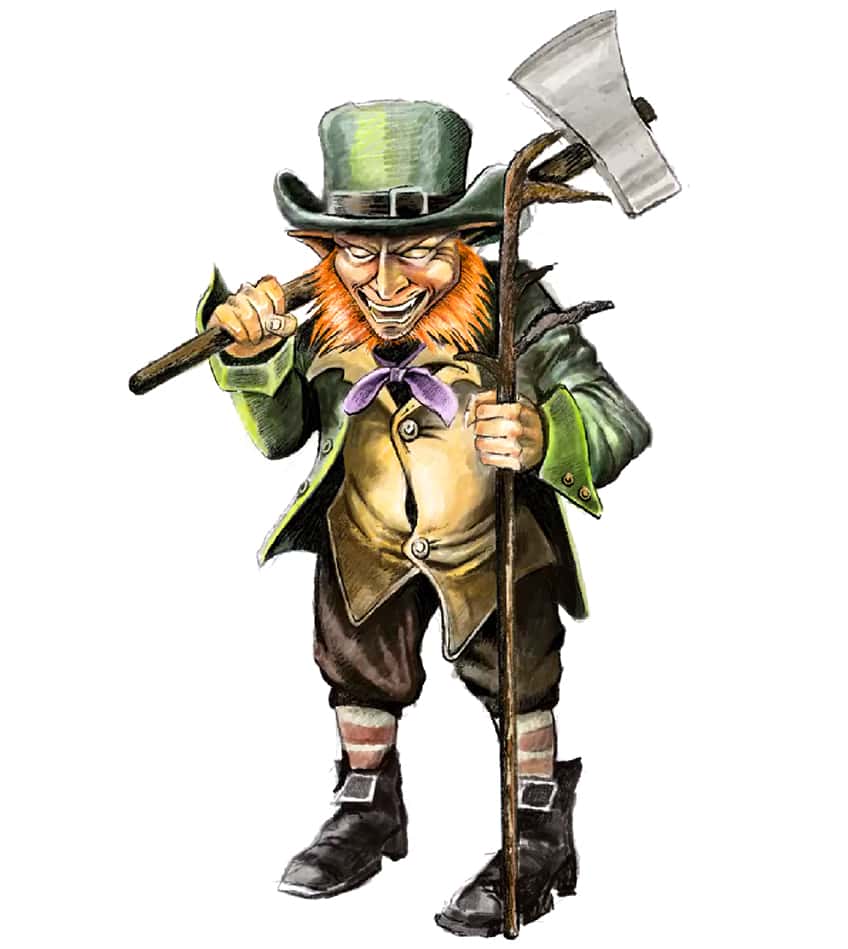
Step 1: Sketching the Leprechaun
We can start by establishing a basic sketch to determine the shape of the character. Since leprechauns are small, their heads will seem larger in proportion compared to the rest of their body.
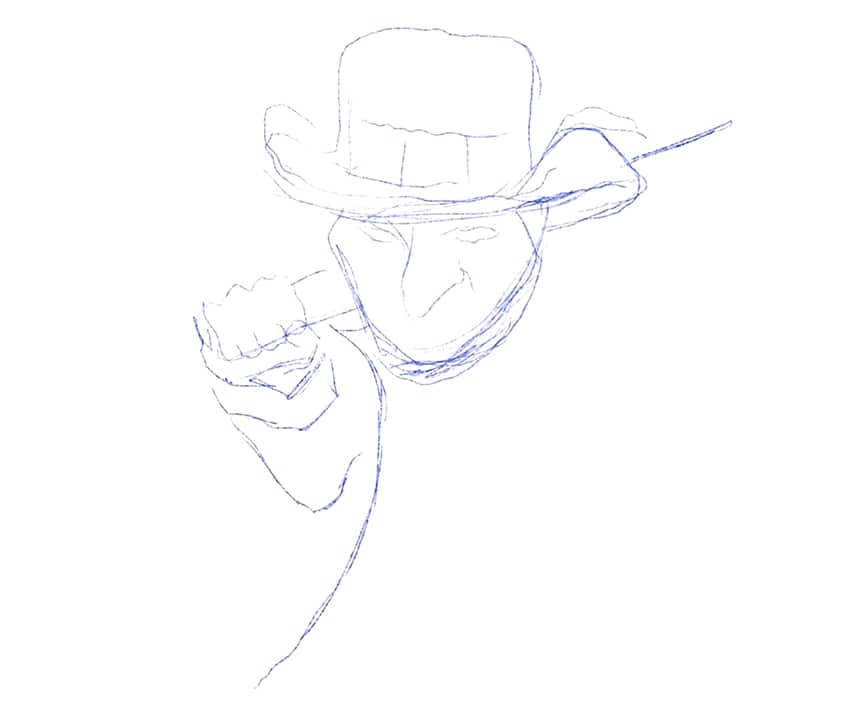
At this stage, we can start considering unique little quirks specific to the design of our leprechaun drawing. This can include large noses, a little top hat, beards, and other quirky details we’d like to incorporate.
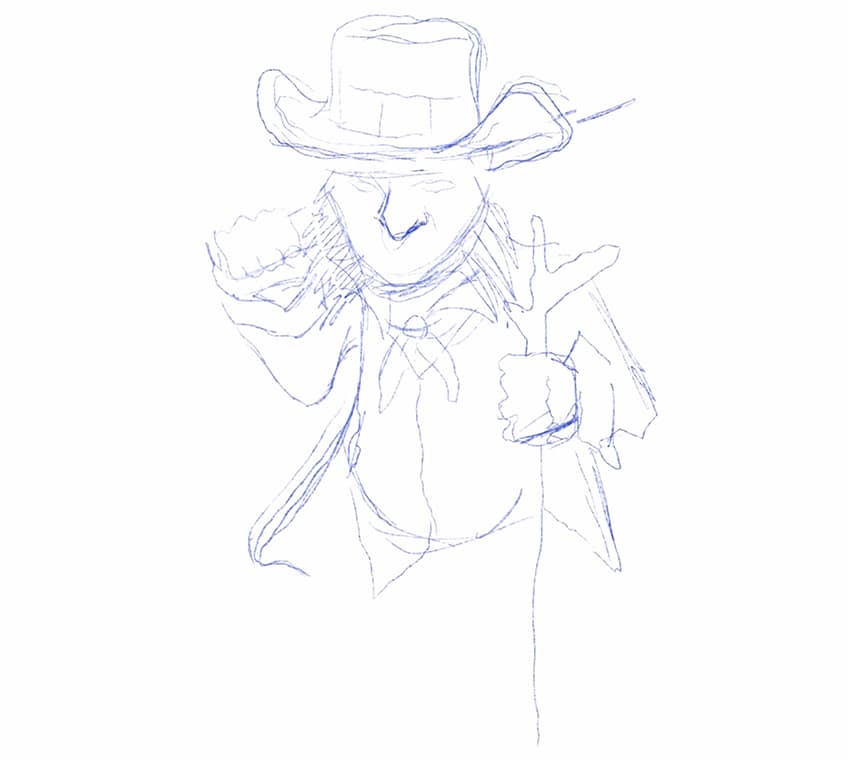
We can maintain these unique distortions in the proportions, to suggest that the figure is little. We do see by keeping the legs fairly short, however, we want to form the character within their unique attire.
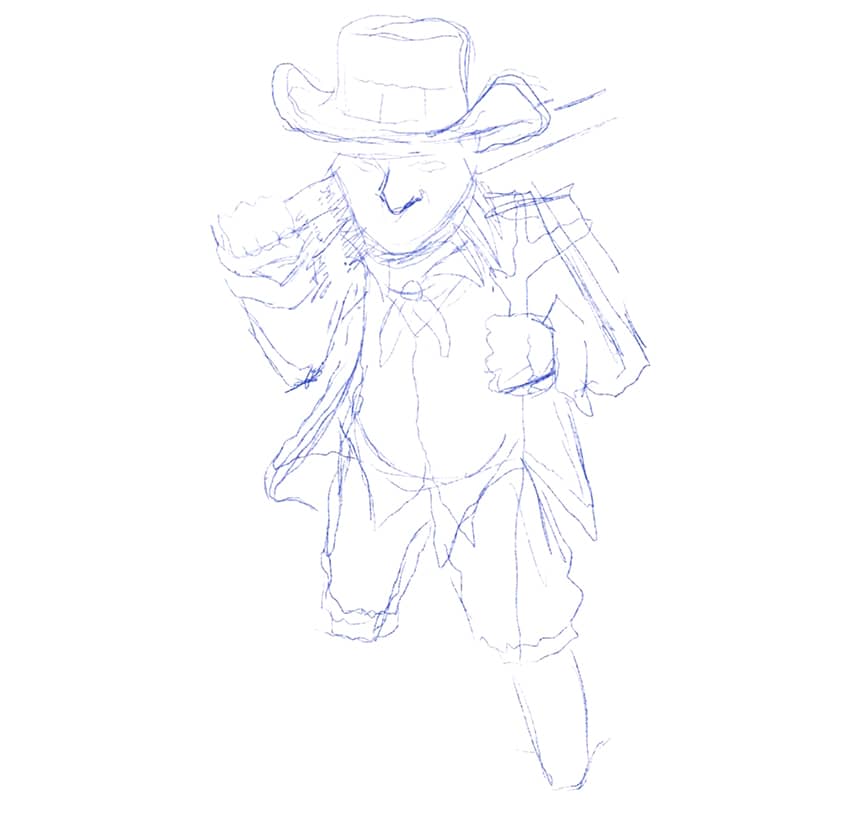
Leprechauns are usually sporting a green suit-like ensemble, which we can play around with how we choose to represent it. Take your time with a very loose sketch, establishing the leprechaun in basic proportions.

Step 2: Refining the Leprechaun Features
We can now start working our way through the leprechaun sketch, where we add refined details to the different features. This is where we can start to consider the character design and nature of the leprechaun aesthetic.
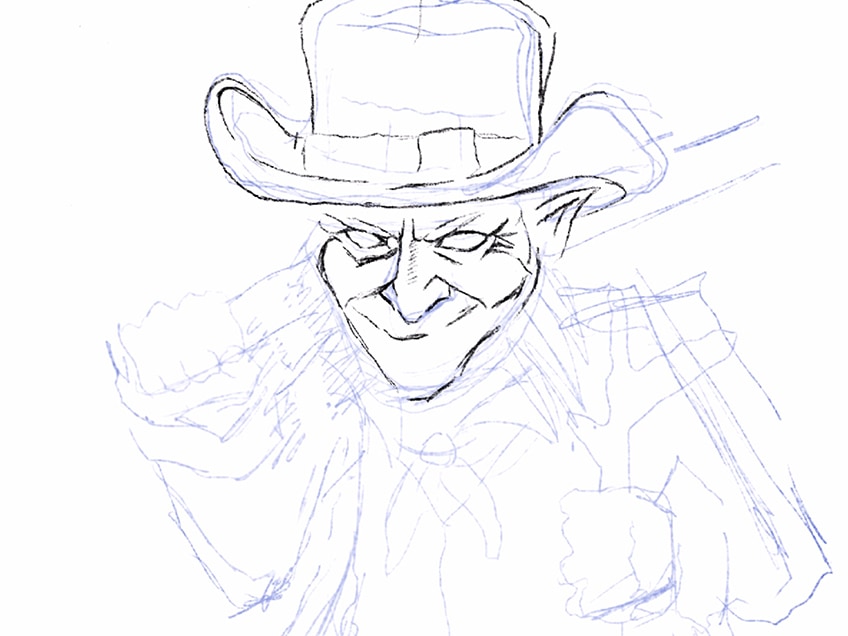
This is where the design of the attire and personality can be defined through the combination of facial structure and clothing style. We can also play around with representing either more sinister or playful personality qualities in the face. Leprechaun generally looks similar to that of an old male figure within a formal set of clothing. However, we can express that through various ways, such as cloaks, and hats, pairing these features with unique accessories to emphasize mystical qualities.
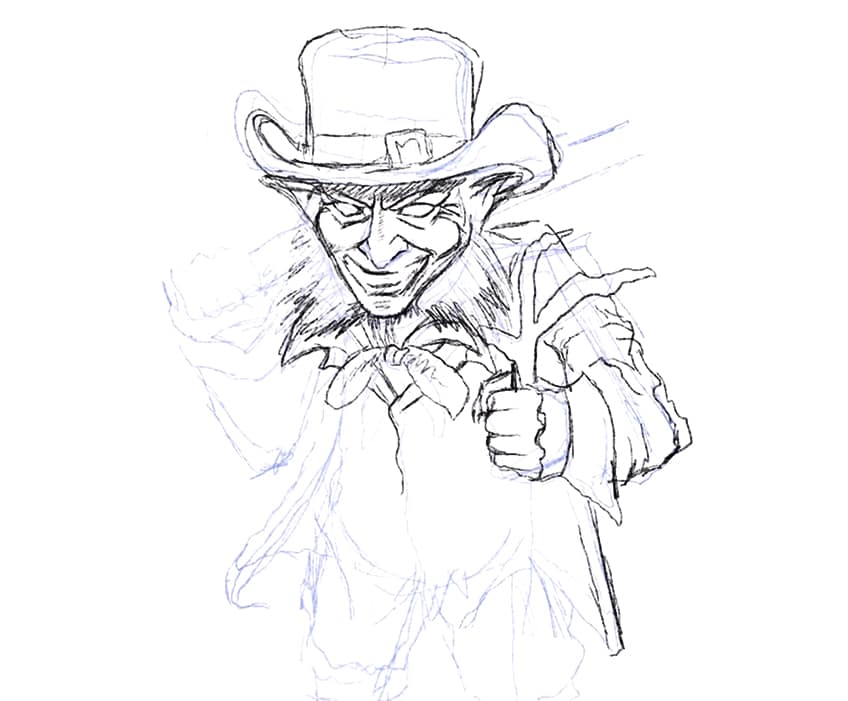
We do want to maintain a mystical aesthetic, so the attire can be defined more within the lines of a wizard-like appearance. We can think about how the clothing and accessories can work together to define this quality.
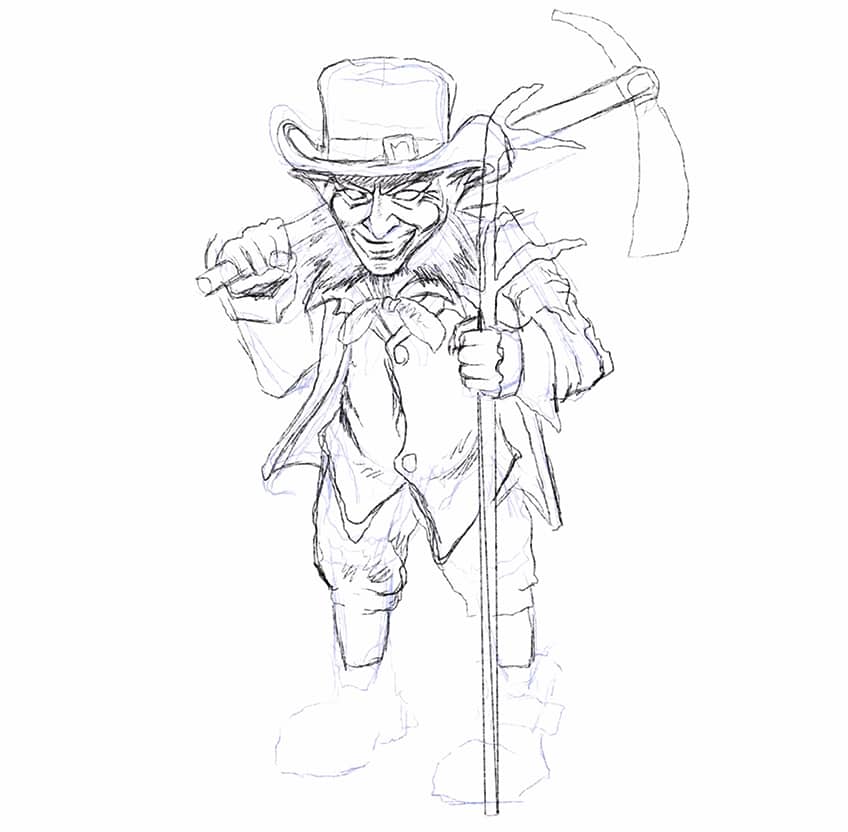
Step 3: Lightly Erasing the Sketch
Once we have established the leprechaun drawing, we can now lightly erase the character. We can use these ghost lines as a frame for adding color to the figure.
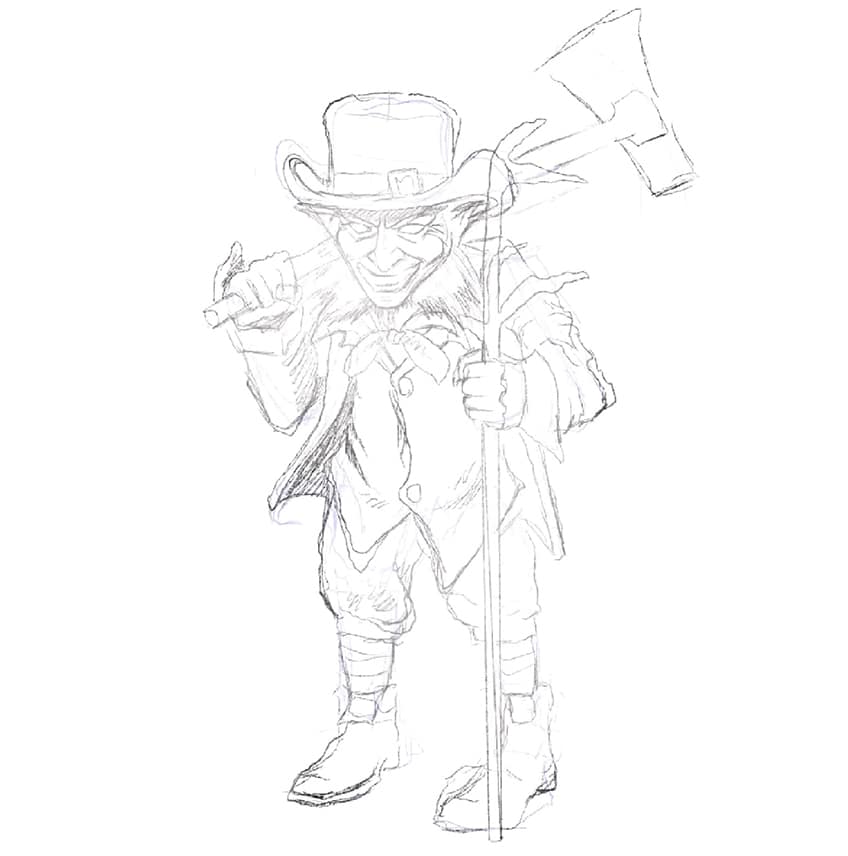
You want to make sure you maintain a light appearance of the sketch, without erasing it too much. This way we can integrate color into the character design within the right outline.
Step 4: Integrating Light Layers of Color
We can now start building up color values in the leprechaun drawing. This is where we start to think about the iconic color scheme associated with the leprechaun, such as the green clothing orange beard, and so on.

Again, we can play around with the representation of these colors and how we define these different features within the spectrum of these colors. What is meant by this is that we can consider how vibrant we would like these colors to appear.
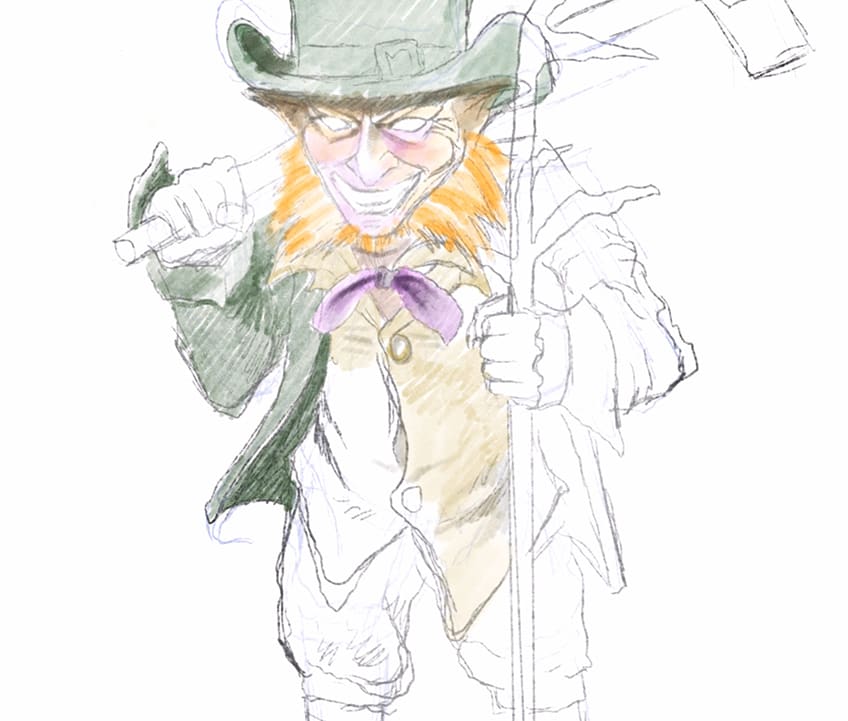
We can also slowly integrate lighter colors into the different features, as we do this, we are establishing the base color for the different features. We can then slowly build up these color values, maintaining control over how dark or light they should be.
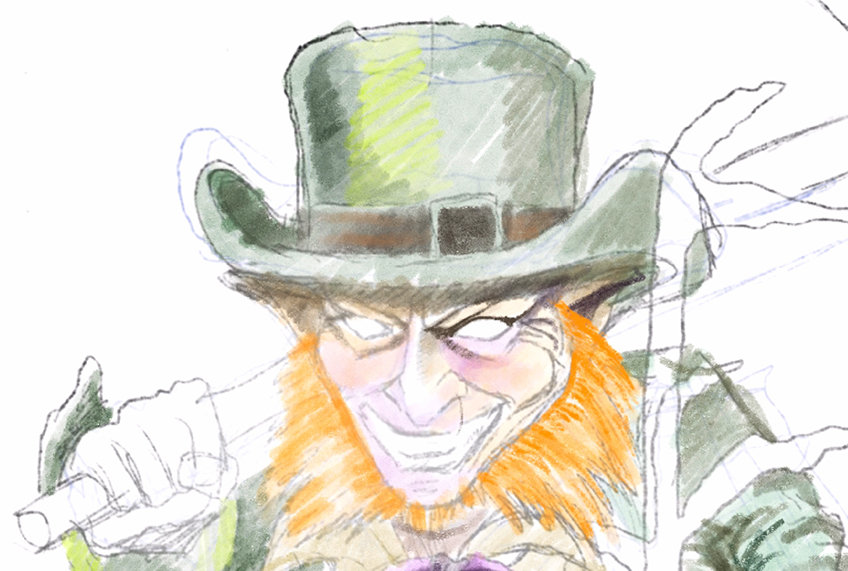
We want to think about representing shadows and highlights in the different features. Thinking about which surface areas will be ex[exposed to a light source, and therefore be lighter in tonal value.
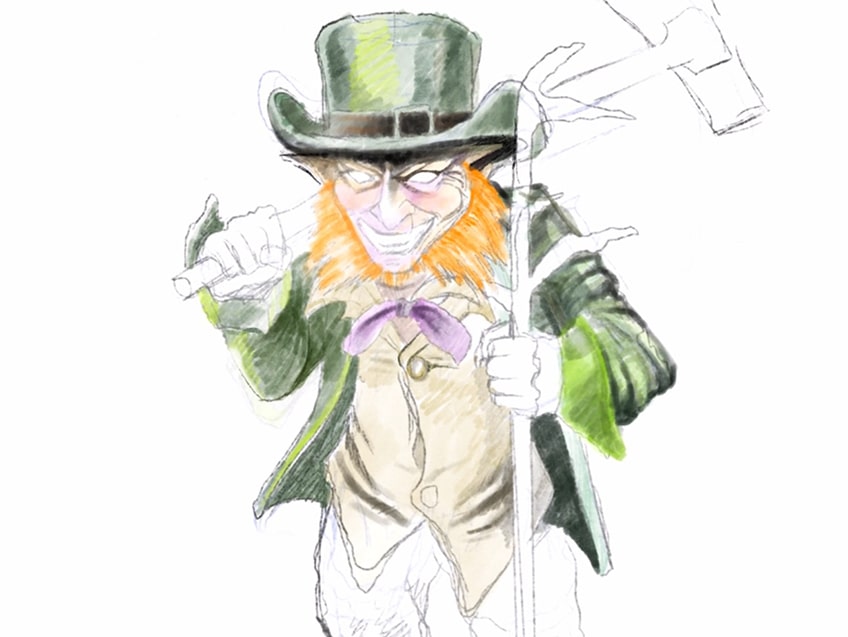
Step 5: Adding Details With Color
Now that we have established the base layer of color in the various features, we can proceed by enhancing these features with these colors. We do this with distinct linework and shading, to emphasize form in the different features.
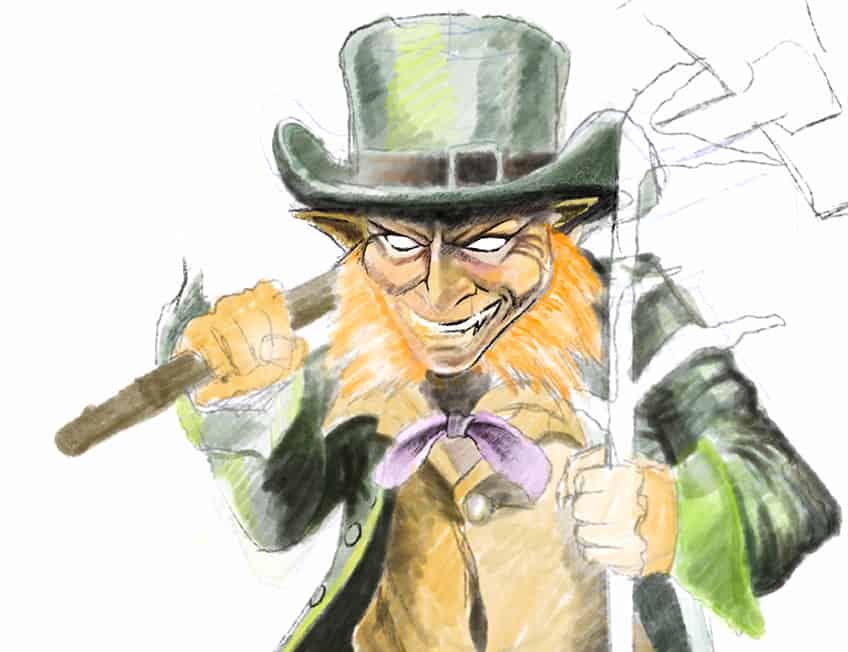
The idea is to slowly work our way through the entire leprechaun sketch, where we use linework and shading to enhance the colored features. A good suggestion is to start with the face and work your way through the leprechaun drawing. We want to work with green linework and shading, to emphasize the shadows and highlights in the clothing. We always want to stay within the right color spectrum for the various features.
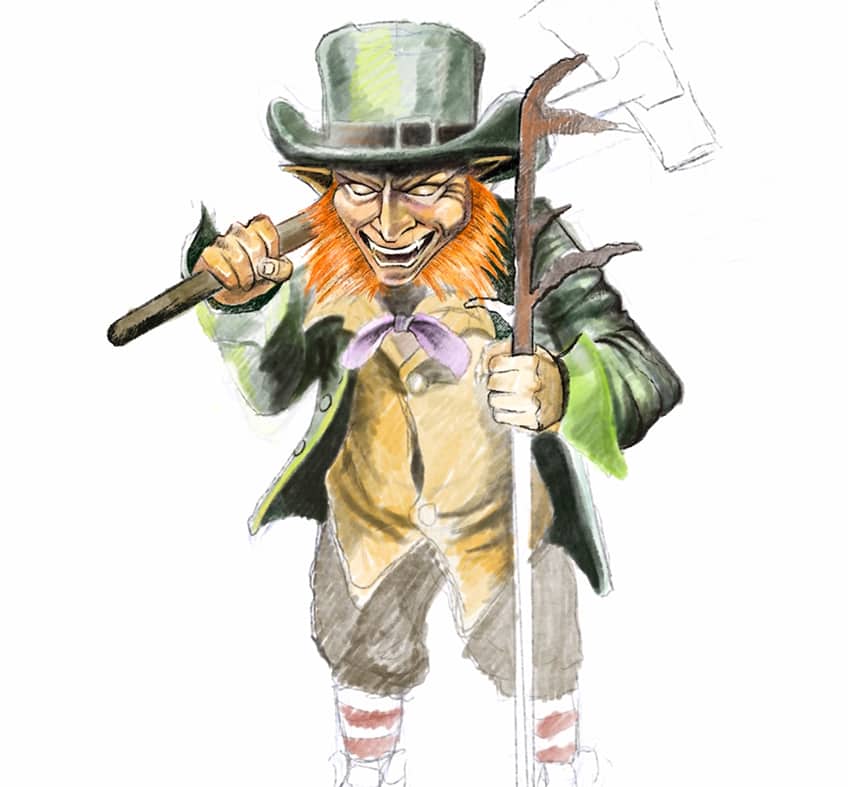
For instance, we can build up the face and beard with hues of browns and ranges to emphasize the form of the orange hair and the skin color. We can also use various greens to define different tonal values within the leprechaun’s coat. We can take our time with building up these color details, making sure we spend a good portion of time on each feature. The more we do this the more coherent the color values and character design will seem.
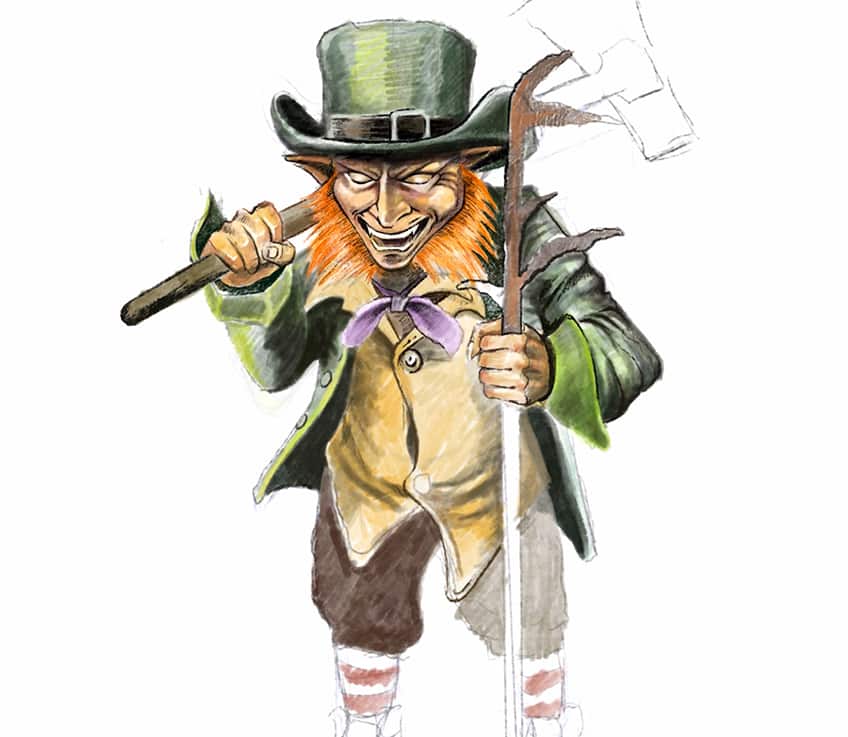
For instance, we can represent darker shadows within yellow details by using brown shading to define the striations within the shirt of the character. This is an example of how one utilized the right colors within the right features to define shadows and highlights. The same can be said for the brown pants, where you establish the lighter brown base color for the right color value in the [pants. From there, you can proceed by Integrating darker brown striations to define ripples in the pants.
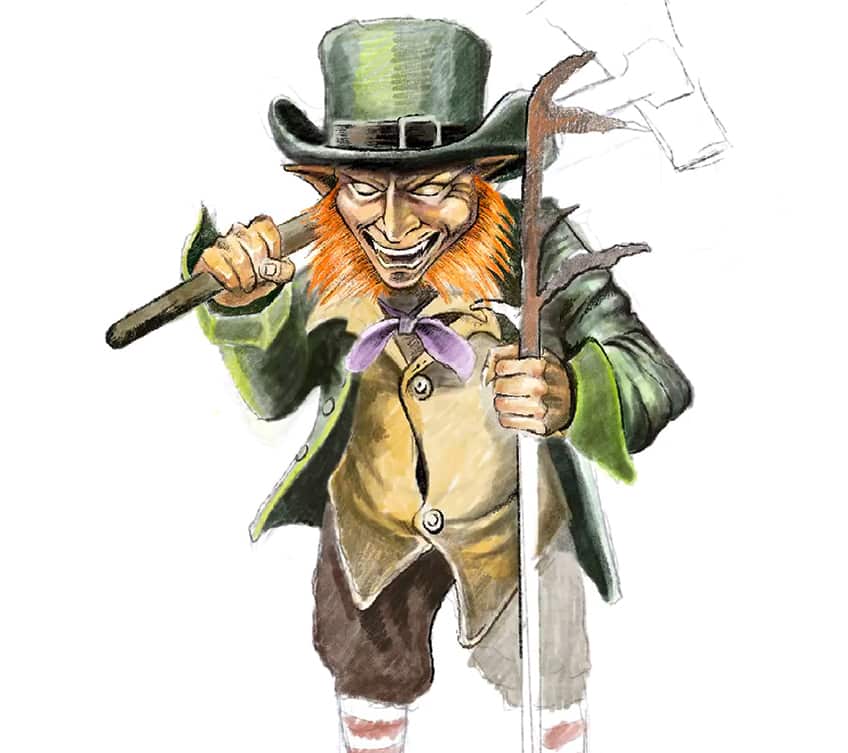
As you take your time building up these color values, they will collectively work together to define a coherent design in the leprechaun drawing.
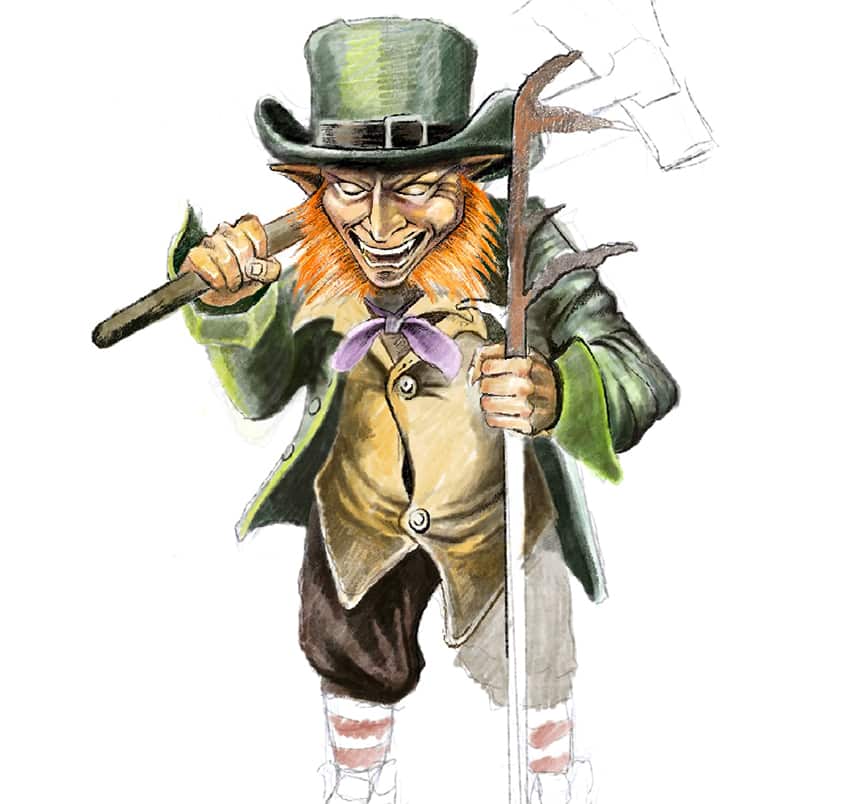
You want to make sure you spend time on all features, from accessories to facial structure and so on. We want to maintain the same artistic style throughout the entire character design.
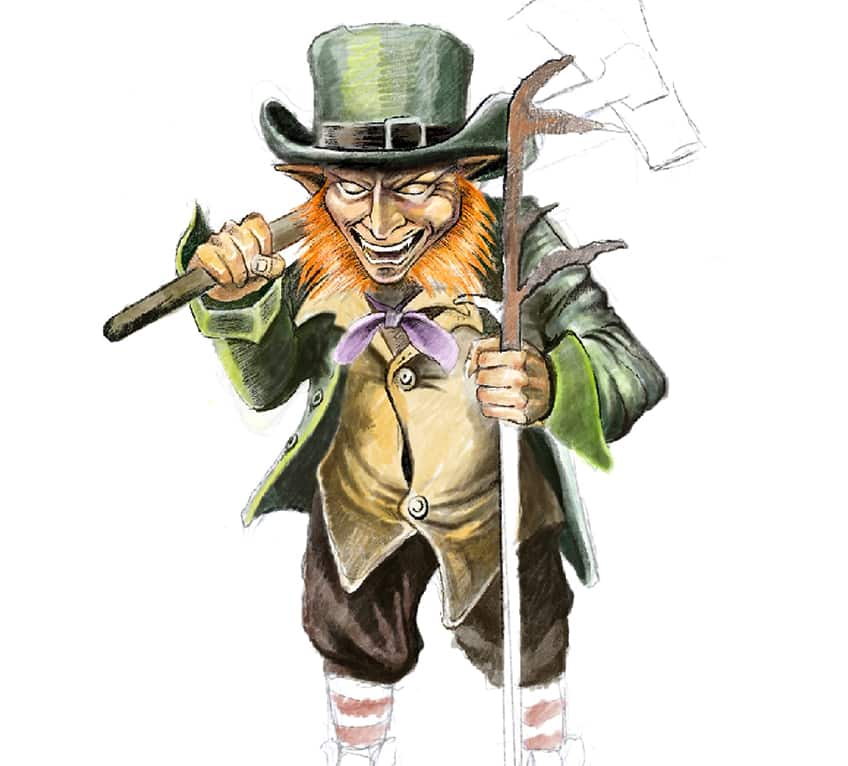
Try to be conscious of the balance between highlights and shadows. This is where we consider the color of different features and how to define them within their correct corresponding color scheme. What is meant by this is that you can work within a broad spectrum of greens to define the darkest and lightest parts of the green fabric in your leprechaun’s clothing.

We want to make sure we maintain lighter and darker moments in all of the features of the leprechaun drawing, thus enhancing the three-dimensional quality of the character.
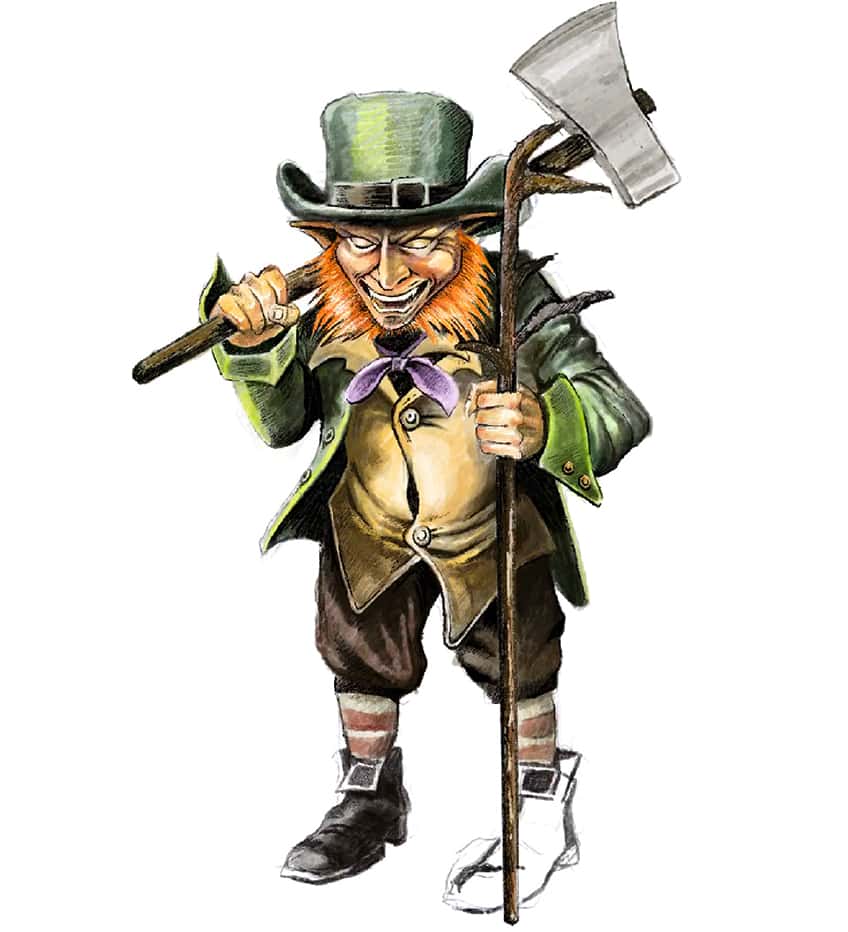
As long as you take your time with these different features by building up the color values, we will maintain a coherent style within the entire leprechaun drawing. And there you have it! How to draw a leprechaun in a few simple steps. Most importantly, play around with style and retake your time with all aspects of the character design.

Tips and Tricks to Remember
- Shape the character. Establish a basic sketch of the character to determine the proportions and shape of the different features.
- Refine the leprechaun. Once you know the basic proportions, go through all the features and refine them with line work.
- Play around with attire and accessories. You can add different features that are unique, such as a staff, axes, little buttons, and so on.
- Maintain the right color values. The most important aspect of your leprechaun drawing is that it maintains the right color values that are synonymous with Irish folklore.
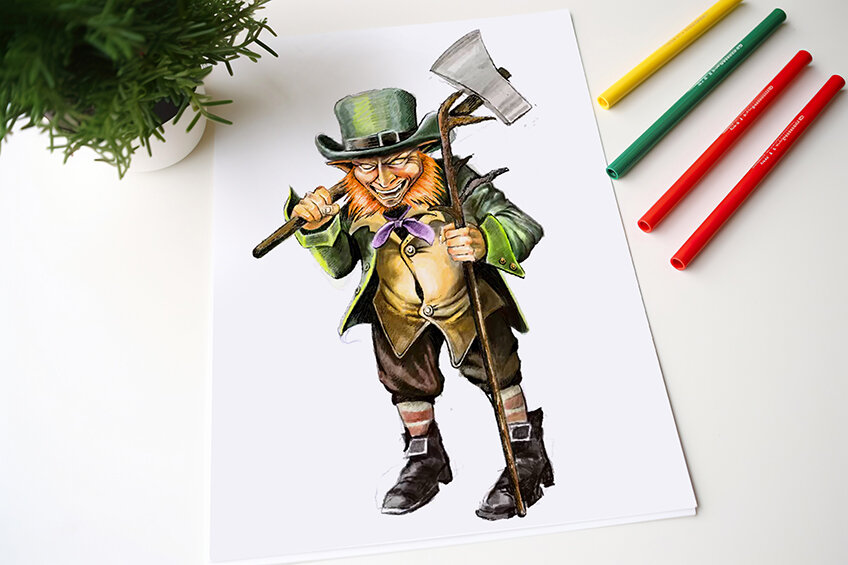
Drawing a leprechaun can be a fun and rewarding experience, allowing you to explore your creativity while capturing the whimsical charm of these mythical creatures. Remember to pay attention to details like the distinctive green attire, the mischievous expression, and the iconic hat and pot of gold. With practice and patience, you can master the art of drawing leprechauns and bring a touch of magic to your artwork.
Frequently Asked Questions
How to Add Color to a Leprechaun Drawing?
Leprechauns can be colored in various ways, however, they maintain the iconic color combination of greens and orange hues. In many ways, we can shift our color choices to either vibrant or muted color palettes to suit different aesthetics within our leprechaun drawing. In this particular tutorial, we see how utilizing more neutral and organic tones can represent a more realistic and grim aesthetic. It is completely up to you, but it is always important to build up your colors from light to darker tonal values, allowing yourself to maintain agency over your color choices. By doing this, you can build up the color values through layers and determine which areas should be darker or lighter than others.
How to Draw Clothes on a Leprechaun?
The clothing of a leprechaun is a fun aspect of the drawing because it can be done in so many different ways. Leprechauns are generally represented as older goblin-like characters with formal attire. We can define these elements in various ways, from coats to waistcoats and so on. Most importantly, we want to make sure we emphasize the green qualities of the clothing which represent the iconic Irish folklore aspects that are unique to the leprechaun. As long as we do this, we can allow ourselves to play around with defining the clothing in various ways that are suited to our interests. This allows us to play around with accessories, like top hats, staff, jewelry, and so on.
Matthew Matthysen is an educated multidisciplinary artist and illustrator. He successfully completed his art degree at the University of Witwatersrand in South Africa, majoring in art history and contemporary drawing. The focus of his thesis was to explore the philosophical implications of the macro and micro-universe on the human experience. Matthew uses diverse media, such as written and hands-on components, to explore various approaches that are on the border between philosophy and science.
Matthew organized various exhibitions before and during his years as a student and is still passionate about doing so today. He currently works as a freelance artist and writer in various fields. He also has a permanent position at a renowned online gallery (ArtGazette) where he produces various works on commission. As a freelance artist, he creates several series and successfully sells them to galleries and collectors. He loves to use his work and skills in various fields of interest.
Matthew has been creating drawing and painting tutorials since the relaunch in 2020. Through his involvement with artincontext.org, he has been able to deepen his knowledge of various painting mediums. For example, watercolor techniques, calligraphy and lately digital drawing, which is becoming more and more popular.
Learn more about Matthew Matthysen and the Art in Context Team.


