How to Draw a Table – A Fun and Easy Table Illustration Guide
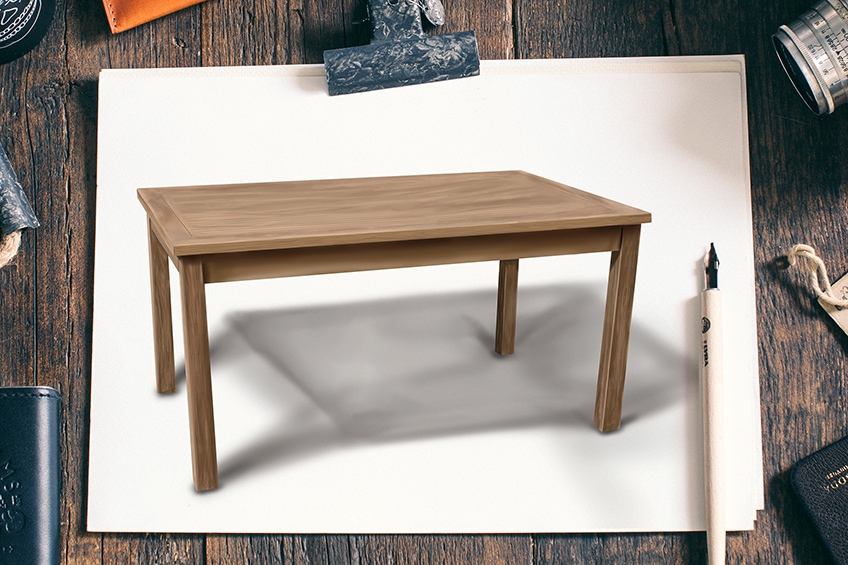
We have recently created a tutorial for how to draw a chair, and today we are going to show you how to draw a table to go with it! Our easy table drawing tutorial is simple to follow for artists of any level. In just 13 steps, you will have a realistic and three-dimensional drawing of a table. We begin our tutorial by using simple shapes to build the final table sketch, and then we begin to add finer details with color and shading. If you want to learn how to draw a table, then join us!
Step-by-Step Table Drawing Tutorial
We pride ourselves on our easy-to-follow drawing tutorials. This tutorial is no different. When it comes to creating three-dimensional drawings, it is best to break the process down into simple steps. As you can see in the collage below, we begin by constructing a single leg, before gradually building up the final table sketch.
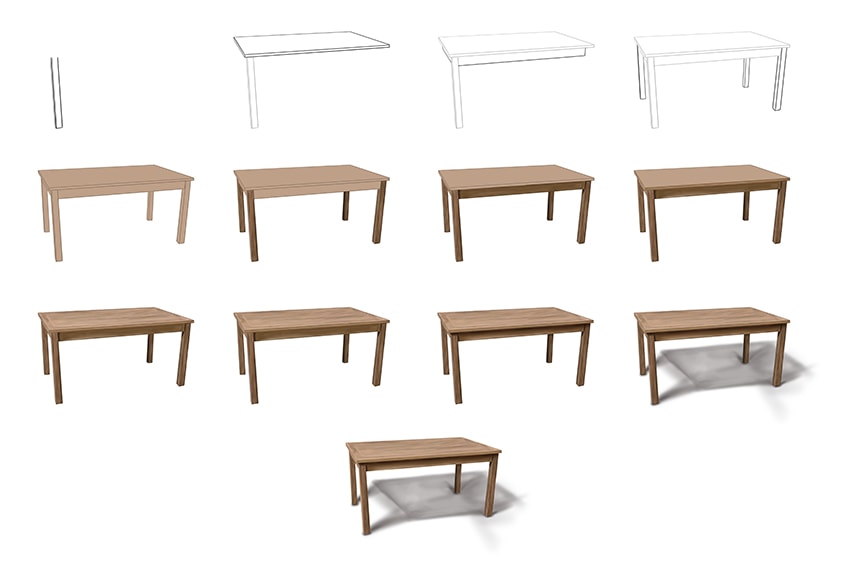
You can see from the outline above that after we have the basic shape of our table sketch completed, we focus on creating definition and detail with color. Our table illustration tutorial is suitable for any medium that you choose, but depending on your choice, we have some suggestions. If you are using a digital drawing tablet, then we suggest creating the table sketch outline on a separate layer to the coloring steps. For physical mediums, use light and easily erasable pencil for the outline so that you can paint over it later.
If you are ready and comfortable, let us begin drawing a table.
Step 1: Draw the First Leg of Your Table
We begin our table drawing by outlining the first leg. Find the center of your drawing area, and create the leg outline slightly to the left of this spot. This leg is going to be the front left leg, and it should be slightly tilted outwards. Remember to create some three-dimensionality in the leg, with a thin line on the left side.

Step 2: Outline the TableTop
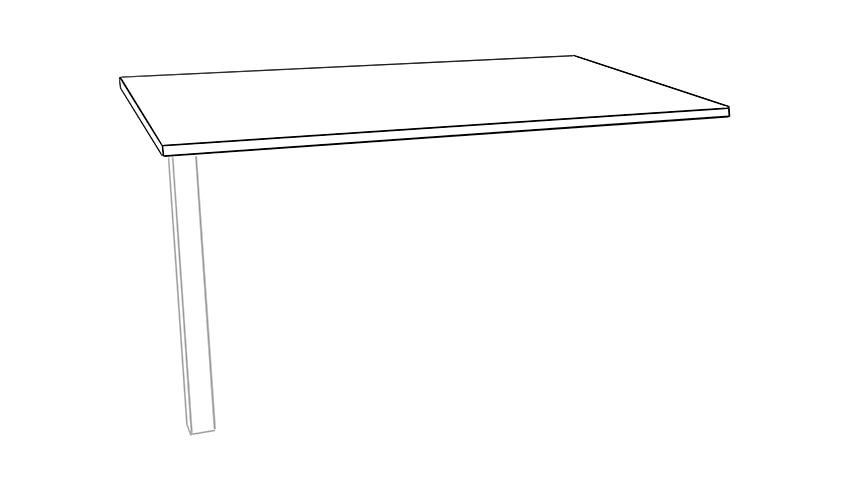
We are now going to create the rectangular table top sitting above the first leg. Just like the leg, this tabletop should have an angled perspective. You can also create a thin border around the front and left side of this tabletop, to enhance the three-dimensionality.
Step 3: Create the Side Panels
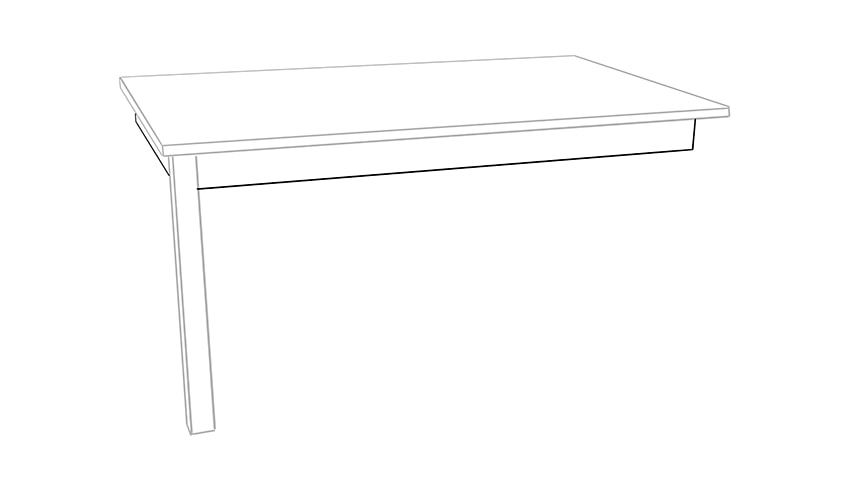
In this step, we are going to create the side panels for the tabletop. The tops of the remaining legs will be hidden behind this panel, so we need to draw it first. Attached to the bottom of the tabletop, draw a thick rectangle that extends from the right side of the leg to just before the right edge of the tabletop.
You can then draw another, partially obstructed panel on the left side of the table.
Step 4: Add the Remaining Legs
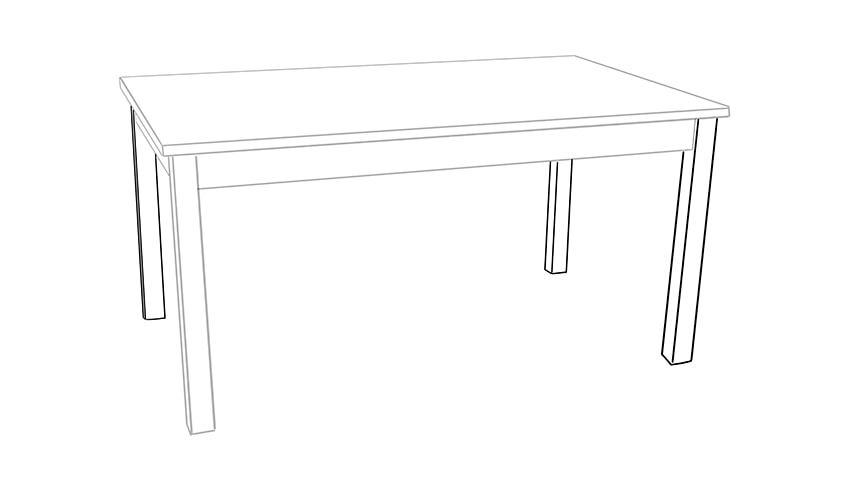
We are now going to add in the final three legs. Begin with the front right leg, drawing a fully visible leg that extends from the table top and is angled slightly towards the left of your page. You can then add in the two partially obstructed back legs. The left leg should be angled slightly to the right, and the right leg should be angled slightly to the left.
Step 5: Apply A Base Coat of Color
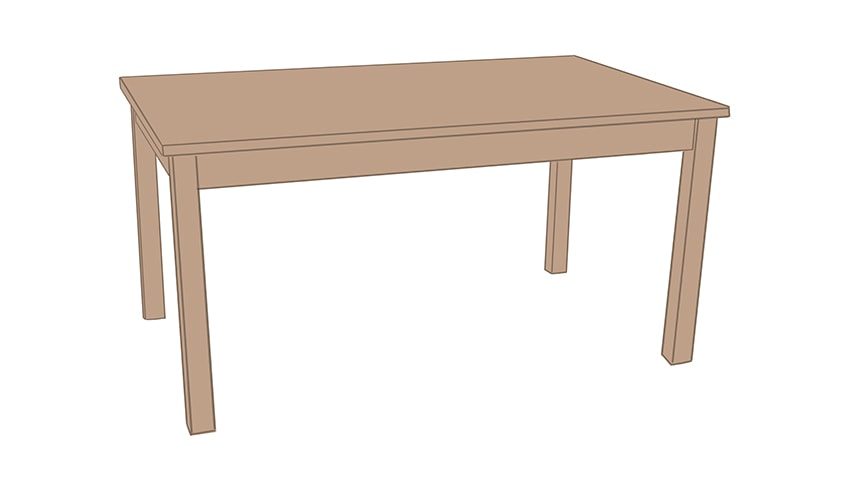
Now that we have the base of our table sketch drawn, we can move on to adding color. We begin this process by creating an even base coat throughout the entire table illustration. With a regular paintbrush and some light tan brown paint, apply an even coat of color to the entirety of the table.
Step 6: Blend the Color on the Legs
Let us now begin to add some more realistic definitions to our drawing of a table, starting with the legs. Use a small blending brush and a slightly darker shade of brown to add soft brush strokes in a downward motion on each table leg. This should create a more realistic woodgrain pattern.
With a clean blending brush, smooth out this new layer of color, leaving the first color coat partially visible.
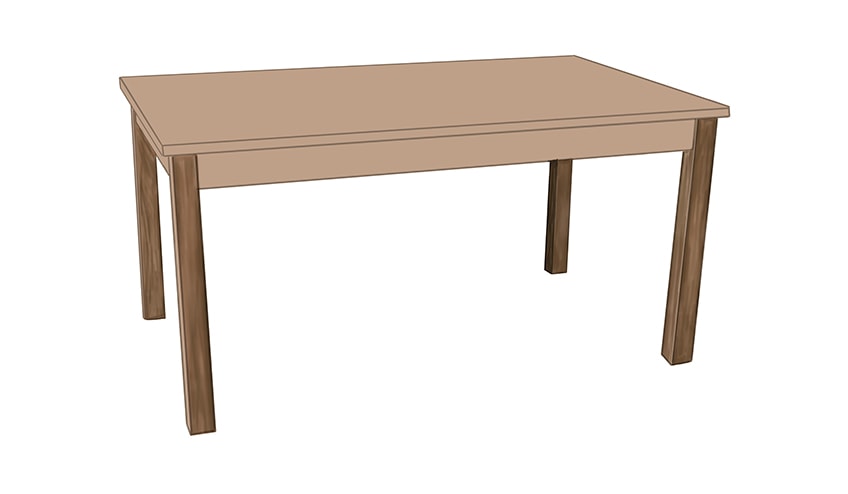
Step 7: Continue Blending the Side Panels
In this step, you are going to repeat the process from the previous step but on the side panels. With a small blending brush and the same darker shade of brown, apply a light coat to the side panels. The brush strokes should be smoother here than for the legs, and you can achieve this with a clean blending brush.
You can complete the step with a small blending brush and a touch of black to create a small shadow on the edges of the side panels.
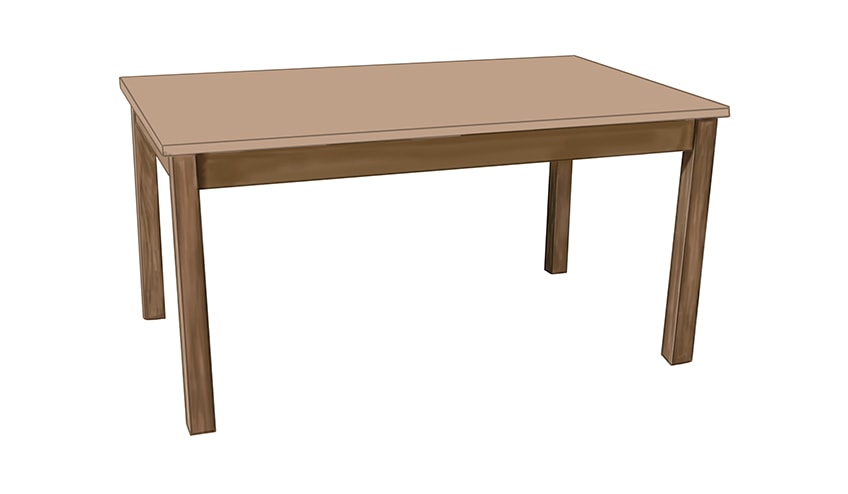
Step 8: Add Texture to the Border of the Tabletop
You can see now that we are gradually moving our way up the table drawing as we add texture. We are now going to focus on the thin border around the edge of the tabletop. With a small blending brush and a slightly darker shade of tan brown, apply a soft and even coat of color. You can complete this step with a fine detailing brush and a darker shade of brown to create some woodgrain texture.
Finally, smooth the colors together with a clean blending brush.
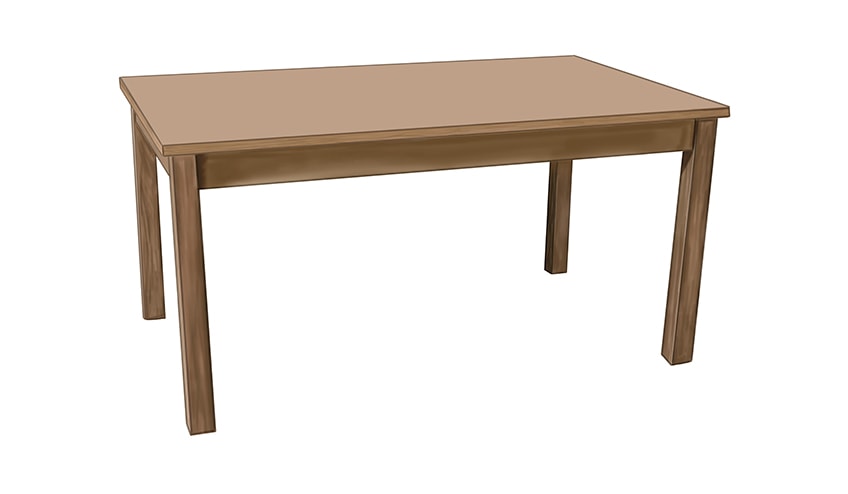
Step 9: Blend the Tabletop Colors
In this step, we are going to add some color blending texture to the top of our easy table drawing. You will need a small blending brush and some grey paint. Using these tools, softly paint a border around the edge of the tabletop, leaving the base color coat partially visible. Repeat this process within this border using a blending brush and some tan paint. Finally, use a clean blending brush to soften the colors together.
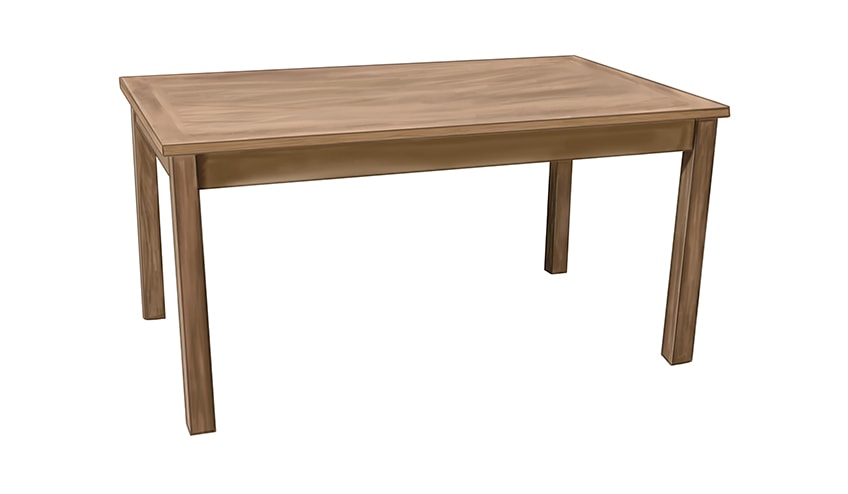
Step 10: Add Texture to Your Tabletop
With a fine detailing brush and some dark brown paint, create a straight and thin border around the inside of the tabletop. These lines should be as straight as possible and parallel to the edges of the top of your table sketch.
Step 11: Shade and Texture Your Table Illustration
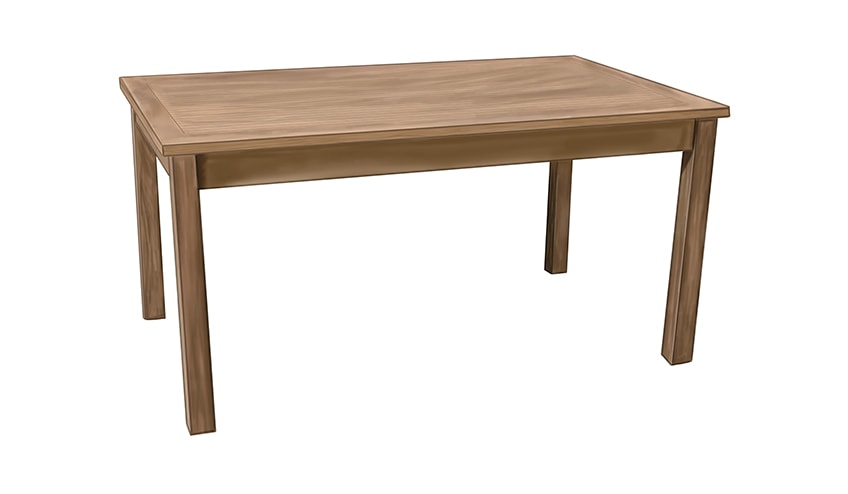
In this step, you are going to use a fine detailing brush and dark brown paint to create a woodgrain texture on each of the legs. In a downward motion, create lines that flow in a natural way. You can then shade the top of the legs with a small blending brush and some black paint. Smooth these colors together with a clean blending brush.
Step 12: Create a Ground Shadow
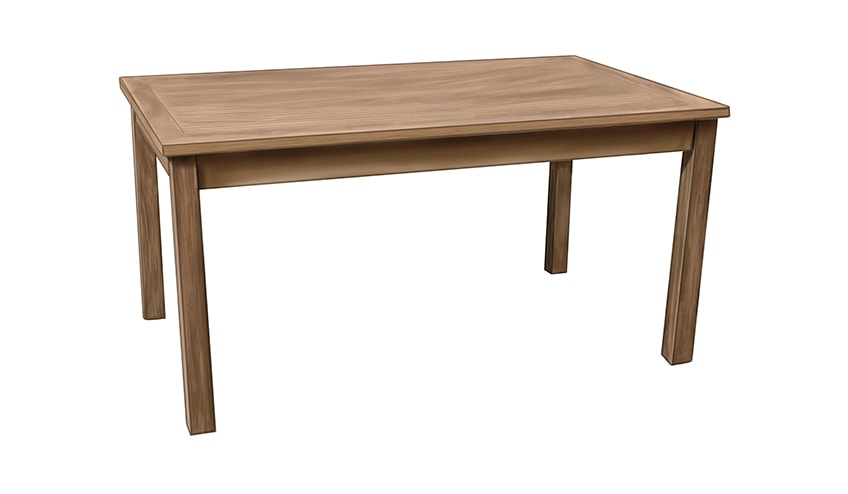
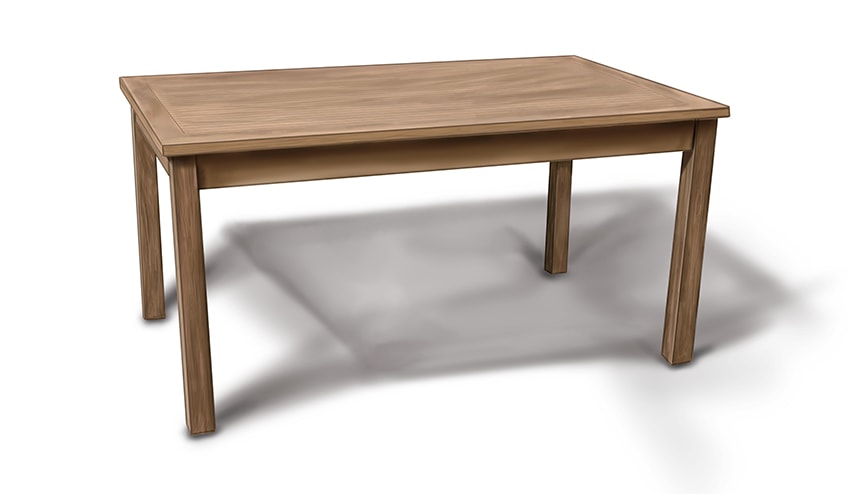
Use a small brush and black paint to replicate the shape of the table onto the ground as a casted shadow. Begin by applying shading around each leg, and then apply brush strokes away from the table. All the shadow angles should be pointed in the same direction.
Continue by softly painting the table shape with the soft brush and using a small soft brush or blending brush, soften and fade the shading outwards.
Step 13: Finish Your Easy Table Drawing
To complete your table illustration, you are now going to remove the dark outline. For digital artists, you can simply remove the outline layer from your sketch. For physical artists, use the same color at each point of the outline to carefully trace over it.
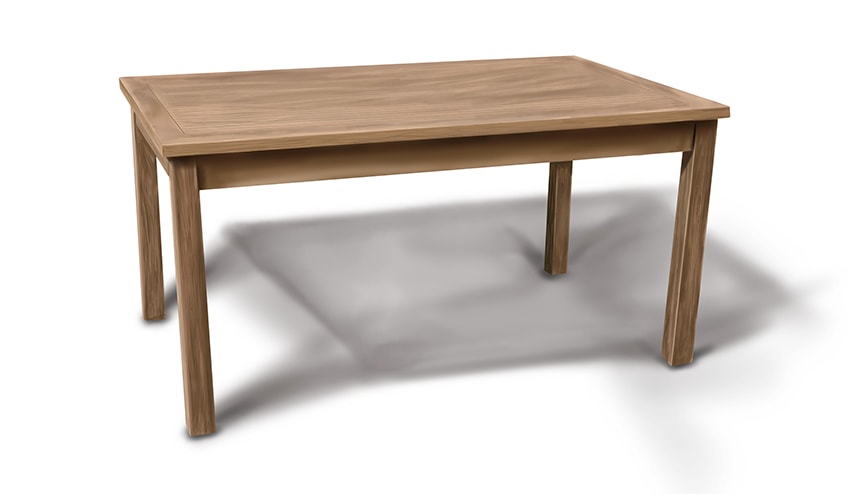
Hopefully, you now know how to draw a table that is realistic and three-dimensional. From constructing your table sketch, to creating realistic texture using color, you now have a great basis in realistic art. We hope that you have enjoyed the process and that you are happy with your final table illustration!
Frequently Asked Questions
What Is the Key to an Easy Table Drawing?
The most important thing in our opinion when it comes to creating a realistic and easy table illustration is getting the dimensions correct. In order to make this as easy as possible, we use a series of construction steps to create the outline of our table drawing. This way, if you make a small mistake, you can simply erase one table leg rather than your entire drawing!
What Brushes Do You Need for Drawing a Table?
The tools that you need for creating a drawing of a table are very simple. Firstly, you will need a pencil for the outline, and three brushes for the coloring steps. You will need a regular brush for the base coat of color, and then a small blending brush and fine detailing brush for the shadows and details.
Matthew Matthysen is an educated multidisciplinary artist and illustrator. He successfully completed his art degree at the University of Witwatersrand in South Africa, majoring in art history and contemporary drawing. The focus of his thesis was to explore the philosophical implications of the macro and micro-universe on the human experience. Matthew uses diverse media, such as written and hands-on components, to explore various approaches that are on the border between philosophy and science.
Matthew organized various exhibitions before and during his years as a student and is still passionate about doing so today. He currently works as a freelance artist and writer in various fields. He also has a permanent position at a renowned online gallery (ArtGazette) where he produces various works on commission. As a freelance artist, he creates several series and successfully sells them to galleries and collectors. He loves to use his work and skills in various fields of interest.
Matthew has been creating drawing and painting tutorials since the relaunch in 2020. Through his involvement with artincontext.org, he has been able to deepen his knowledge of various painting mediums. For example, watercolor techniques, calligraphy and lately digital drawing, which is becoming more and more popular.
Learn more about Matthew Matthysen and the Art in Context Team.


