How to Draw a Crown – A Regal Crown Illustration Tutorial
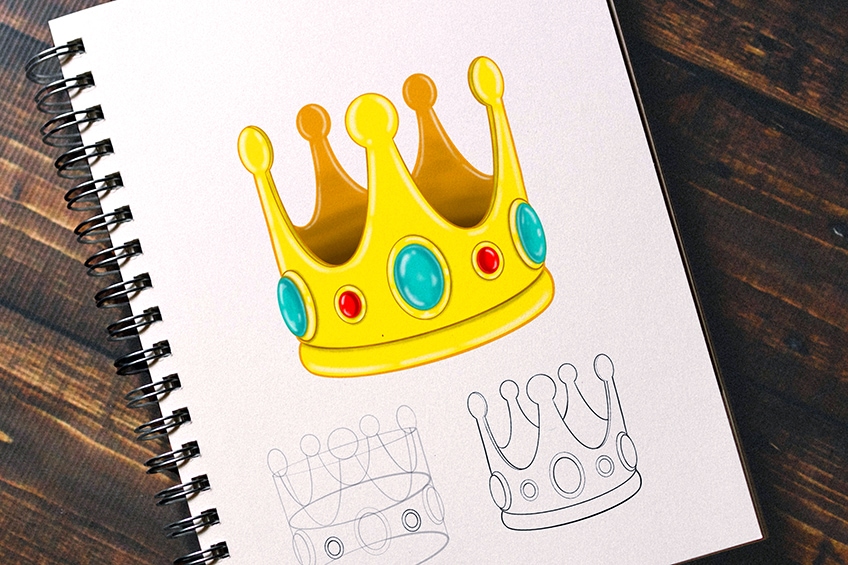
Kings and queens throughout the ages have demonstrated their regal power through the crowns that they wear on their heads. In this crown illustration tutorial, we guide you through the process of creating a realistic crown drawing. In 19 easy steps, we show you how to construct, outline, and color a crown sketch that will glitter and glow with all the riches in the world.
A Step-by-Step Crown Drawing Tutorial
We begin our crown drawing tutorial as we do with all of our drawing tutorials, with a series of construction steps. In these first steps, we use a range of different construction lines and shapes to help us lay down the basic shape of the crown. Construction steps help us to nail the shape of the crown sketch before we start adding details and colors.
You can see a brief outline of the crown drawing tutorial steps in the collage below.
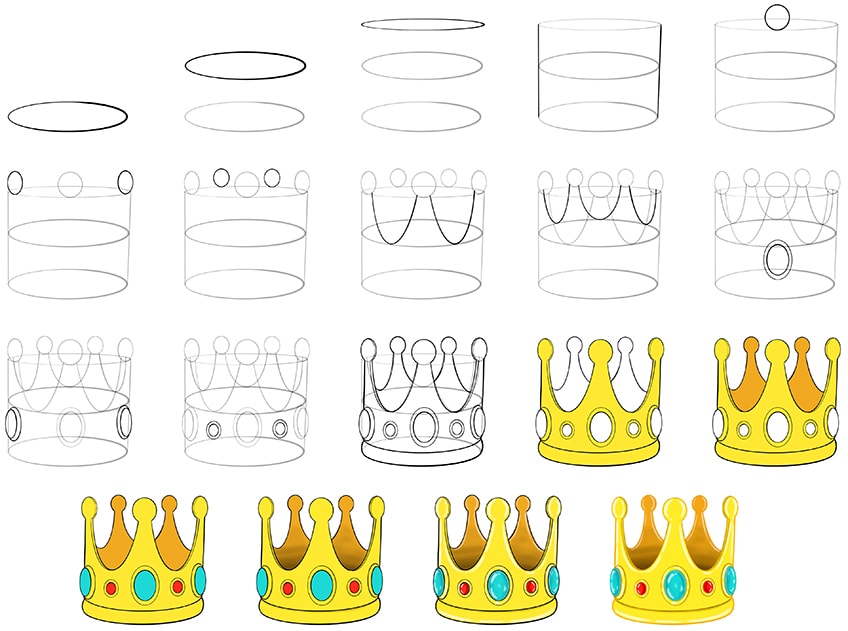
In the last six steps of our crown illustration tutorial, we begin to add color. For the coloring steps, our tutorial is written for a painting medium, like gouache or acrylic paint. You are more than welcome to use any coloring medium that you feel comfortable with for these steps, whether that be coloring pens or pencils or a graphic tablet. If you are using a graphic tablet, we suggest drawing the construction steps, outline, and coloring steps on separate layers.
If you are working with a physical medium, it is a good idea to use an easily erasable pencil for the construction steps, so that you can remove them without any stress.
Step 1: Begin with the Bottom Base
Our crown drawing is three-dimensional, so we are going to use three narrow oval shapes to map out the base of the crown shape. Find the central point of your canvas area, draw a long and narrow horizontal oval shape. This first oval will be the bottom base of the crown.

Step 2: Outline the Middle of the Crown
Repeat the first step leaving a little space between the first and second narrow ovals. This upper oval will represent the top level of the crown.
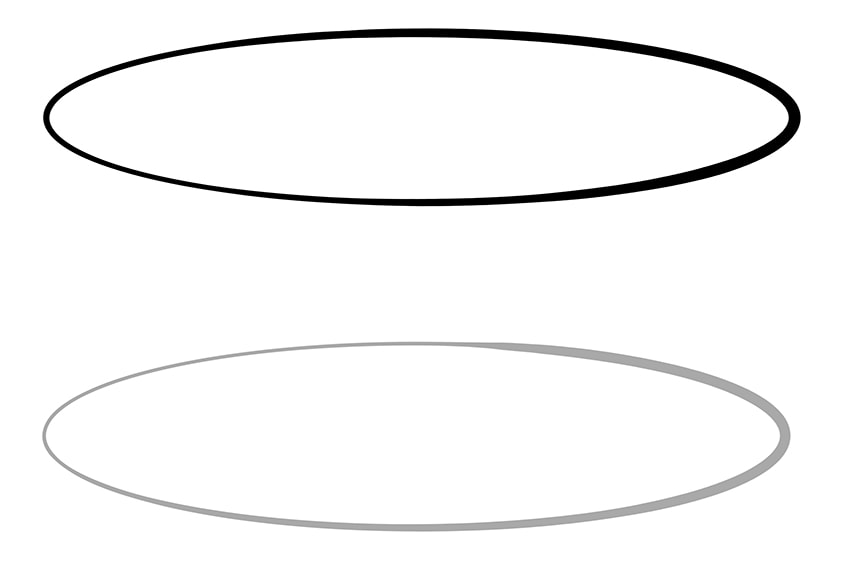
Step 3: Mapping the Top Ring of Your Crown Illustration
Above the middle base oval, draw another one. This top oval should be significantly narrower, and the space between all three ovals should be the same.
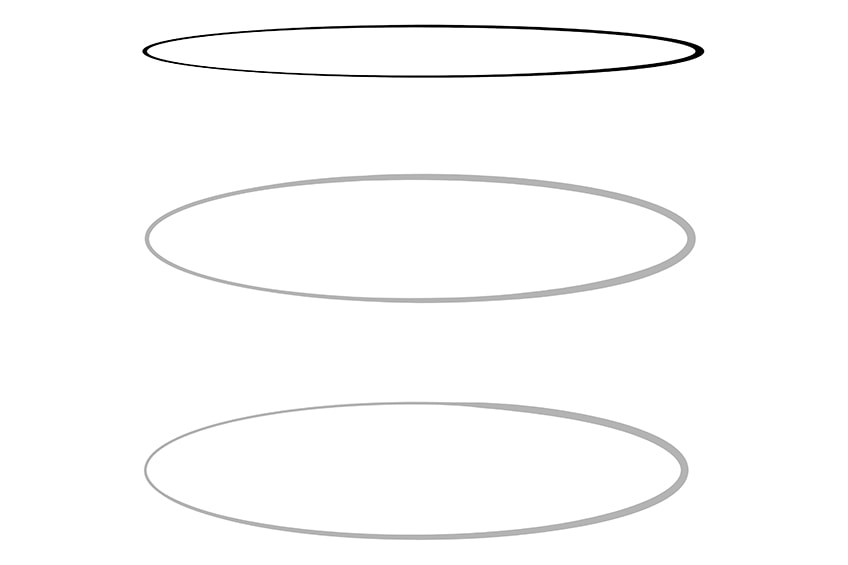
Step 4: Drawing the Side Lines of the Crown Sketch
In this step, you are going to use two vertical lines to create the sides of your king crown drawing. On either side of the oval shapes, draw a straight line from the bottom to the top.

Step 5: Begin Drawing the Top Circles
For the top of our crown drawing, we are going to use a few circular shapes. In this step, we begin this process by drawing a single circle in the center of the top oval. The bottom of this circle should sit on the bottom line of the top oval, and the top should extend above the top of the oval.
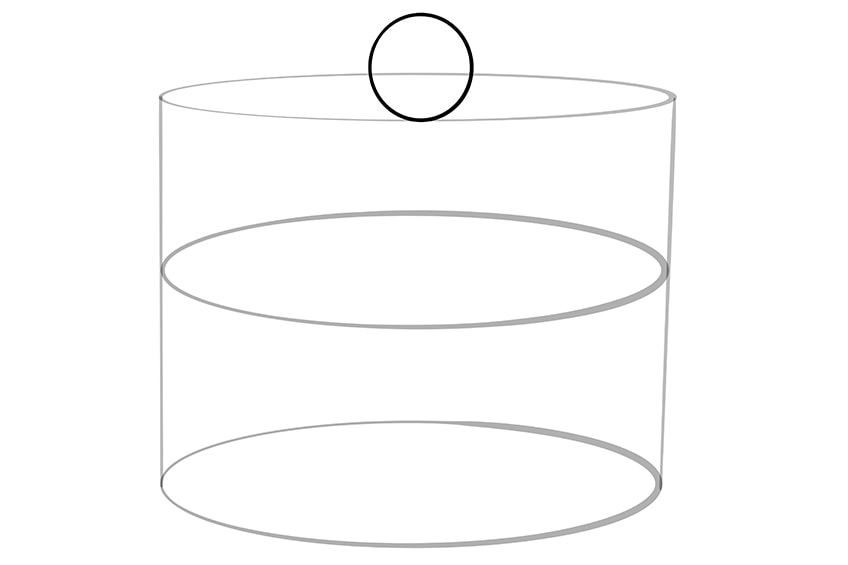
Step 6: Continue Drawing the Top Of Your Crown
As we continue to draw the top decorative elements of your crown sketch, we are going to add two more circular shapes. On each end of the top oval, you want to draw two more circular shapes. These end circles should be smaller than the central one.
They should also be more of an oval shape.

Step 7: Finishing the Top Decorations
To finish off the top of our crown drawing construction, we are now going to draw two more slightly oval shapes on the top of the large construction oval. These last two oval shapes should be significantly smaller than the other three.
These will represent the highest part of the crown drawing.
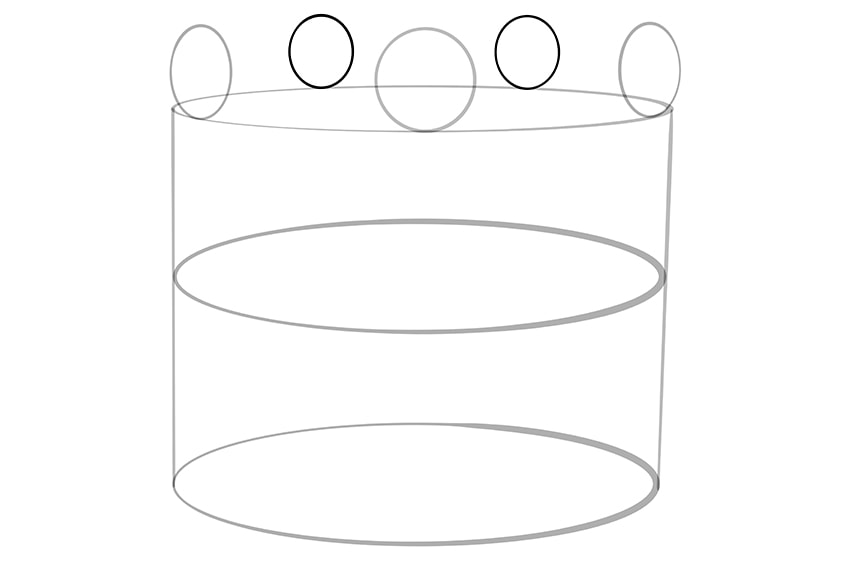
Step 8: Shaping the Points on the Crown Sketch
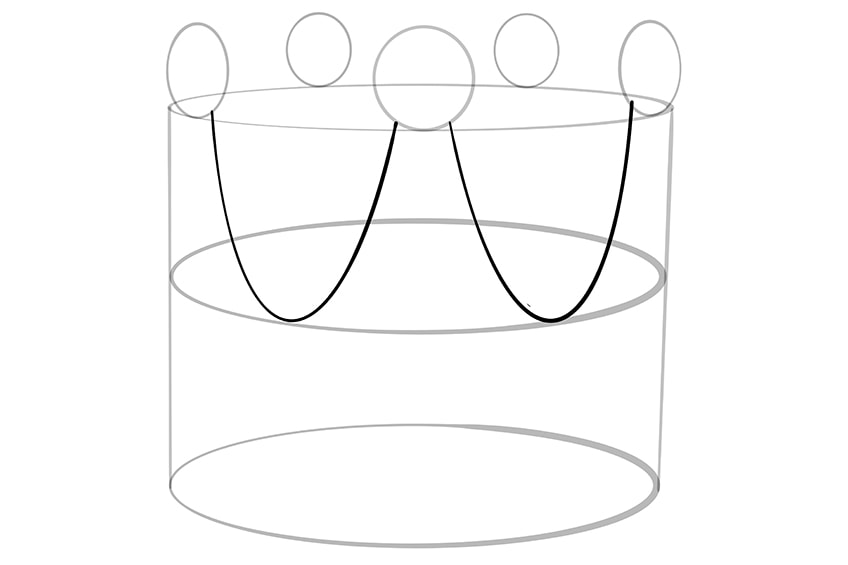
In this step, you are going to draw two “U” shapes that extend down from the ornamental circles to the middle construction oval. Begin on the left ornamental oval shape, and draw a “U” shape down to meet the center oval and back up to the bottom of the middle ornamental circle. You can then repeat this step between the center ornamental circle and the far-right ornamental oval.
These lines should be as symmetrical as possible.
Step 9: Continue to Shape the Crown Points
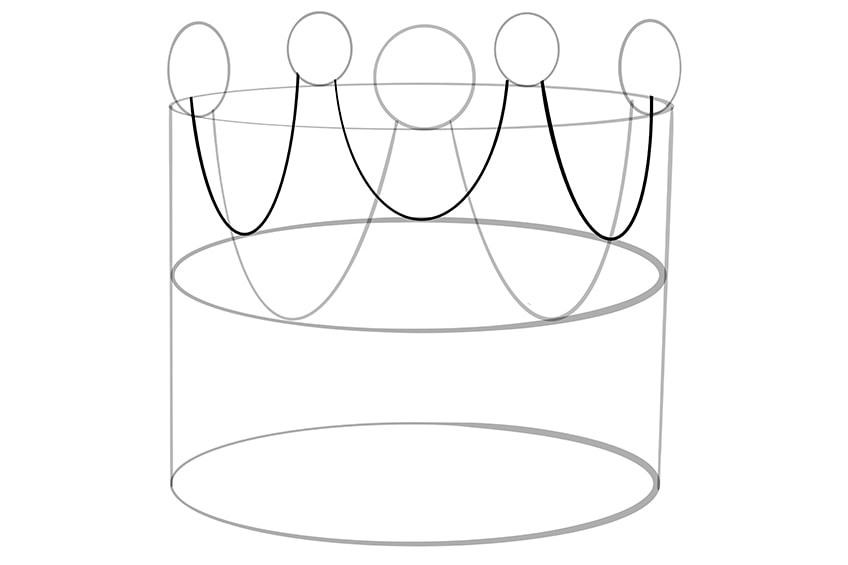
In the last step, you drew the curves on the front side of the crown. In this step, you are going to draw the curves on the back of the crown. This step is an essential part of creating a three-dimensional crown illustration. Draw three “U” shapes between the two outer ornamental ovals and the back two. These oval shapes should extend down to the back of the middle construction oval.
You will be able to see from our example below, that these back “U” shapes are shorter than the front two, and that the middle one is a lot wider than the outer two.
Step 10: Draw the Central Jewel
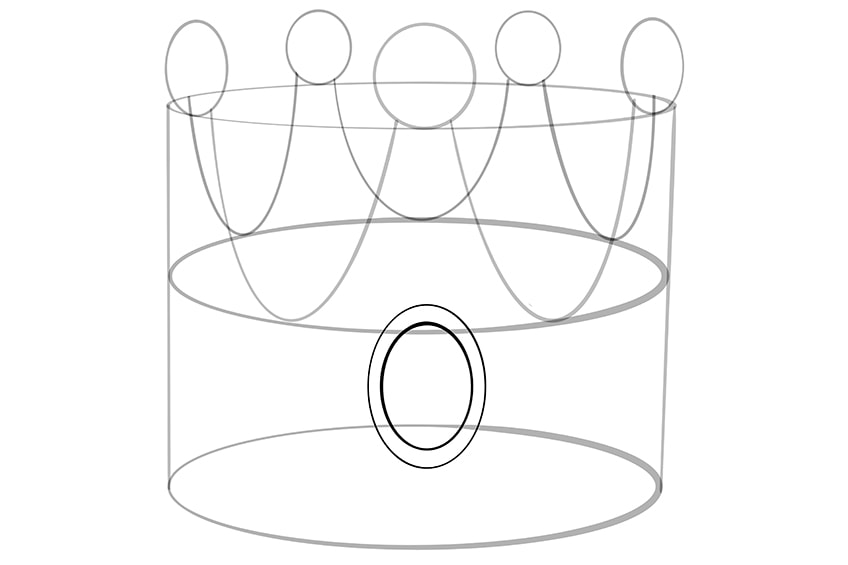
In this step, you are going to begin the process of drawing the jewels on the central band of the crown sketch. Begin at the very center of the crown, drawing a large vertical oval shape. This oval shape should overlap slightly with the middle base oval shape. Within this large oval, draw a slightly smaller second oval shape.
Step 11: Adding the Side Jewel Shapes
On the left side of your crown, draw a narrow vertical oval shape that lies within the borders of the bottom base and the mid base construction ovals. On the right side of this jewel, draw a larger incomplete oval shape that extends from the top to the bottom of the jewel’s oval shape. This external oval will represent the band that holds the jewel in the crown.
Repeat this step on the right side of the crown.
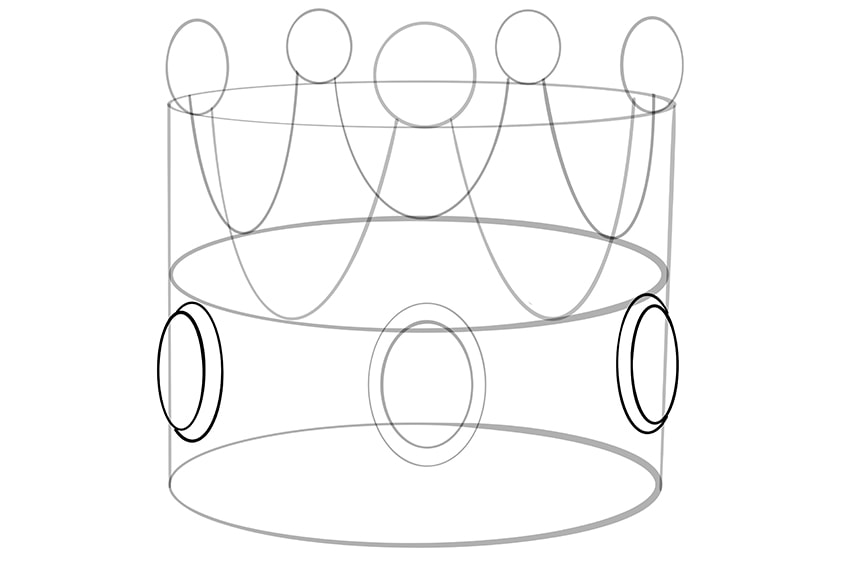
Step 12: Drawing the Smaller Jewels
In a similar way to the jewels that you drew in the previous step, you can now draw two smaller and slightly more rounded oval shapes within the bottom band of the crown. These jewels should be smaller in size and should sit directly between the three larger jewel shapes.
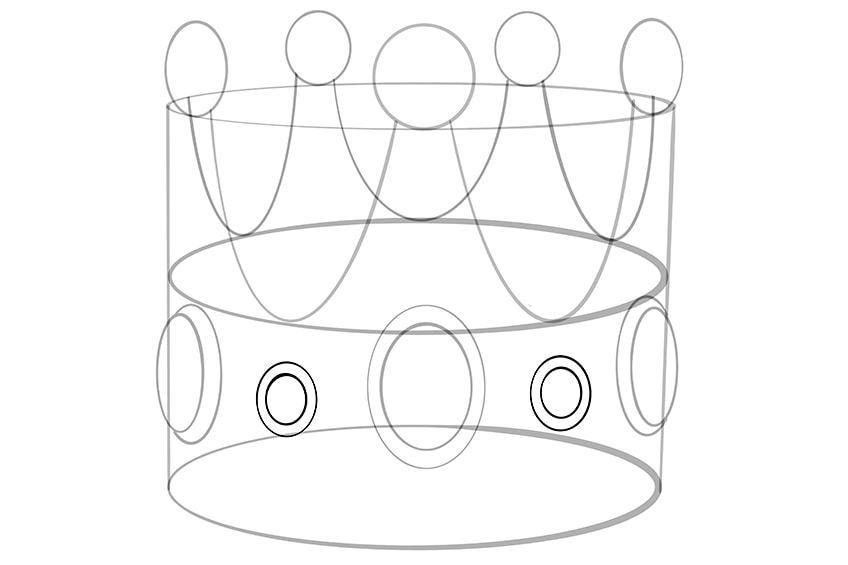
Step 13: Creating the Final Outline of the Crown Illustration
To create the final outline of your crown drawing, you are going to use all of the previously drawn construction lines to help you create the final outline of the realistic crown drawing. Outline the curves and the ornamental circles and the sides of your crown. On the right and left sides of the “U” shapes, draw an additional curve to create a three-dimensional effect. Outline the jewel shapes, and then finish the bottom of the crown by drawing a curved band around the bottom.
When you have finished your outline, you can erase the visible construction lines.
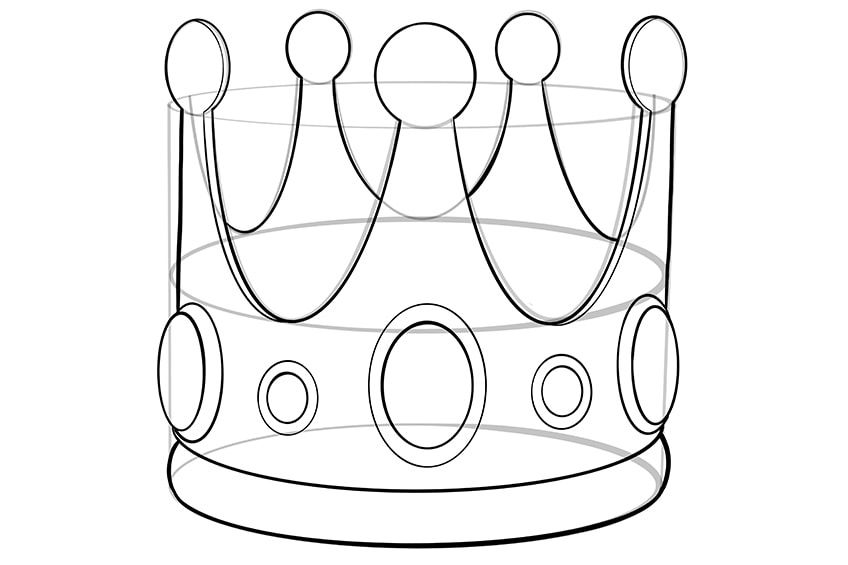
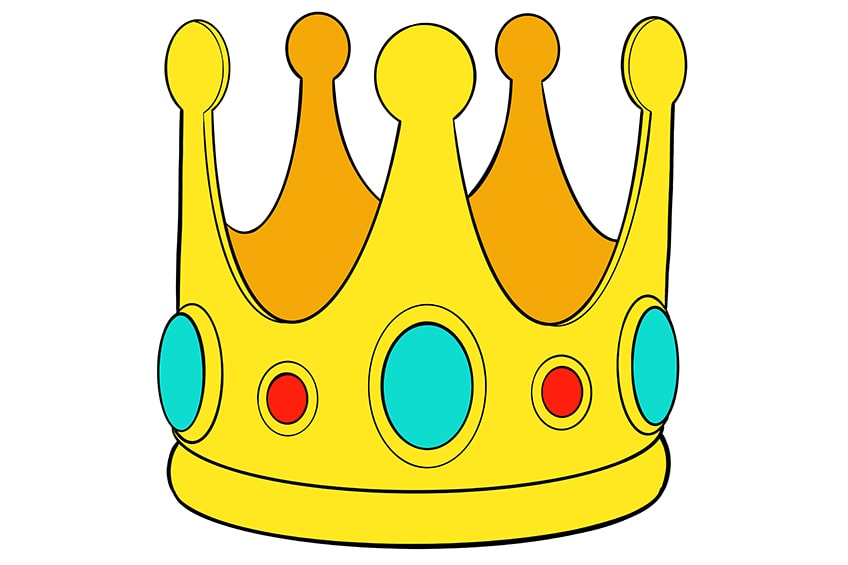
Step 14: Adding the First Color Coat
For the base color coat, you are going to use bright yellow paint and a regular brush. Color in the front part of the crown, including the bands around the jewels. Make sure that the color coat is even and not blotchy in any areas.
Leave the inside of the jewels and the inner part of the crown blank, as these are going to be different colors.
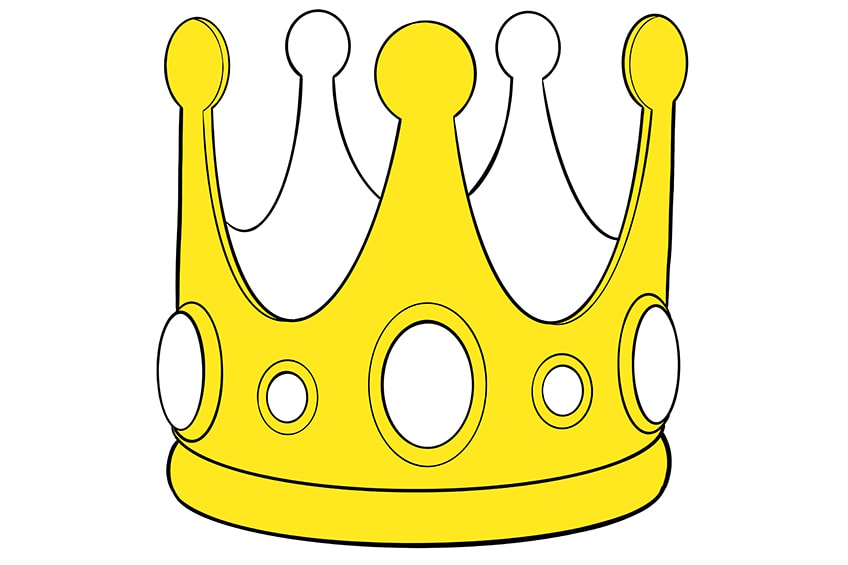
Step 15: Coloring the Base of the Crown’s Inside
For the inside area of the crown, we are going to use a darker shade of yellow to enhance its three dimensions. Use a regular brush and a shade of bronze or gold paint to paint the interior with an even layer.

Step 16: Painting the Jewel Colors
You are now going to color in the jewels on the crown using turquoise and red shades. For the larger jewels, use a fine brush and a bright turquoise color to fill the oval shapes.
Use a red shade and a fine brush to fill the smaller jewels.
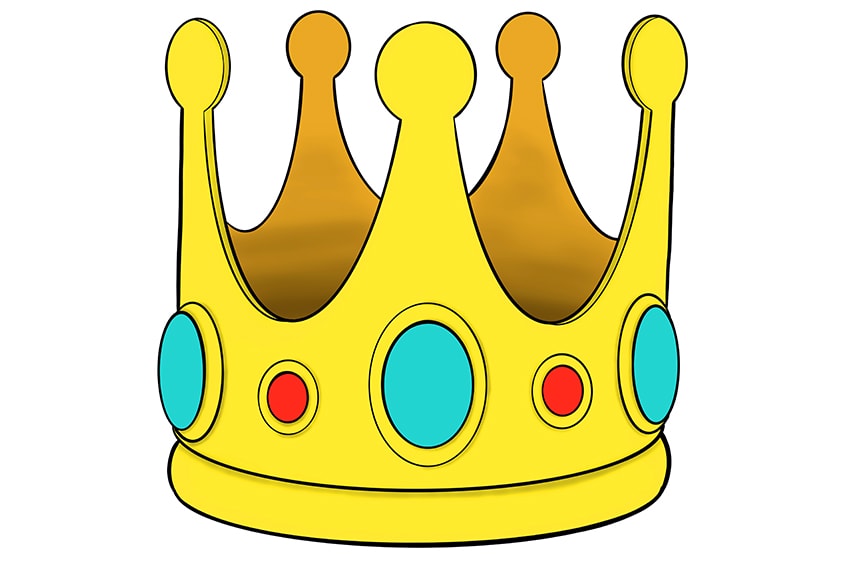
Step 17: Shading Your Crown Illustration
Now that we have our base colors down, we can now begin to add definition and structure to the crown using shading. Find a soft blending brush and use a touch of black paint to add a layer of shading within the inner frame of the crown. The bottom of the crown’s interior should be darker and gradually become lighter as you come to the top. You can now use a smaller blending brush to add a little shading around the larger elements of your crown, including the jewels and the bottom band.
To finish this step, use a clean blending brush and carefully blend out the shadows to create a smoother and more realistic shadow.
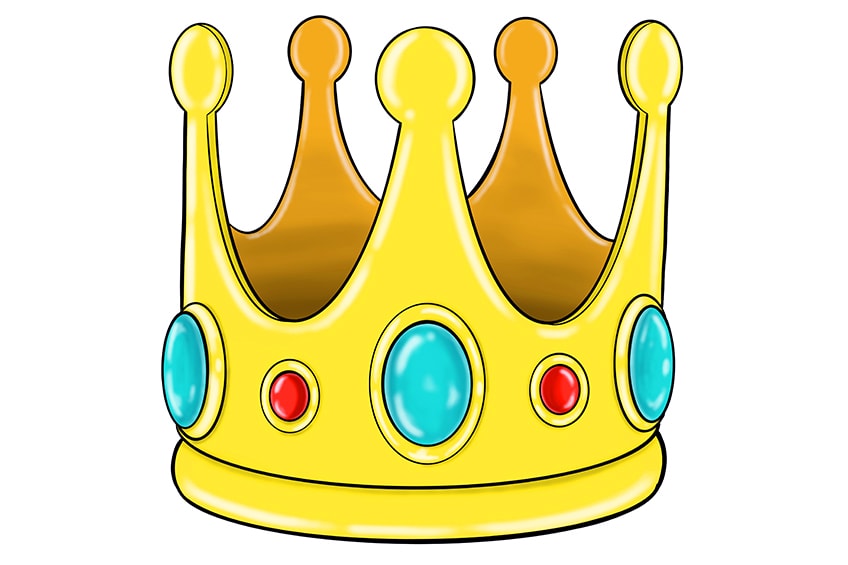
Step 18: Adding Highlights to Your Crown Drawing
To contrast the shadows, we are now going to add highlights. Use a small blending brush and a little white paint to add small patches of highlight on each jewel. You can continue to add touches of highlight to any part of your crown that will naturally catch the light.
The biggest trick to adding highlights is to imagine where you would put a light source, and use this to place your highlight points.
You can add highlights to the top ornaments, along the curves between the ornaments, around the jewel holders, and along the bottom base.
Step 19: Finalizing Your Crown Illustration
To add the finishing touches to your realistic crown drawing, you can now erase the outline of your drawing to create a seamless finish. Use a fine brush and the corresponding color at each point to carefully trace the outlines of the crown drawing as a whole and all of the details.
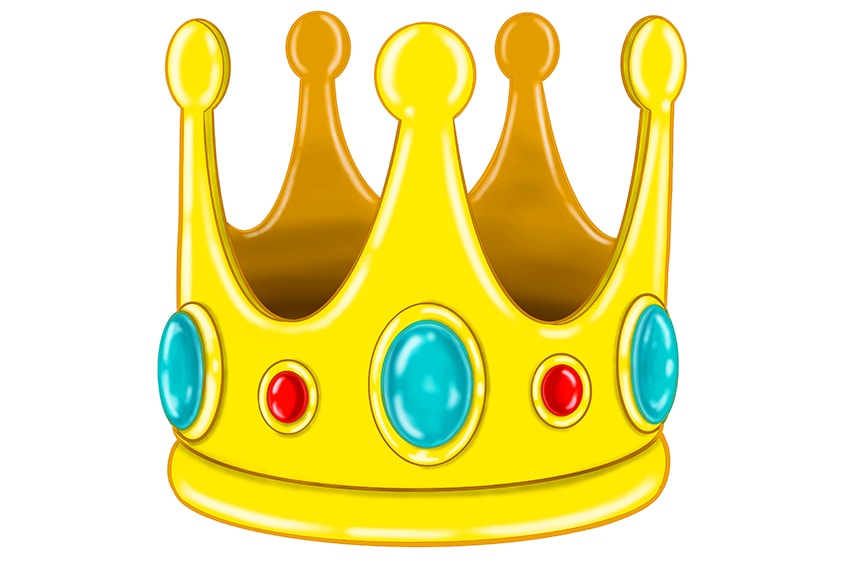
Well done for finishing your regal and realistic crown drawing! In this tutorial, we have made learning how to draw a crown easy for an artist of any level. Hopefully you have enjoyed the tutorial and that you are happy with your finished crown illustration.
Frequently Asked Questions
How to Draw a Crown Easy?
Three-dimensional crowns may seem tricky to draw, but they are actually surprisingly easy for beginners and experts alike. If you follow our easy tutorial, we will show you how to draw a crown in 19 simple steps. We show you how to construct the basic shape of a realistic crown drawing, how to shape the outline, and how to add realistic coloring.
What Colors to Use for a Crown Illustration?
The colors that you choose for your own crown sketch are up to you, but gold and a few of the basic gem shades are a good bet. In our tutorial, we use bright gold, green, and red to create a realistic crown drawing.
Matthew Matthysen is an educated multidisciplinary artist and illustrator. He successfully completed his art degree at the University of Witwatersrand in South Africa, majoring in art history and contemporary drawing. The focus of his thesis was to explore the philosophical implications of the macro and micro-universe on the human experience. Matthew uses diverse media, such as written and hands-on components, to explore various approaches that are on the border between philosophy and science.
Matthew organized various exhibitions before and during his years as a student and is still passionate about doing so today. He currently works as a freelance artist and writer in various fields. He also has a permanent position at a renowned online gallery (ArtGazette) where he produces various works on commission. As a freelance artist, he creates several series and successfully sells them to galleries and collectors. He loves to use his work and skills in various fields of interest.
Matthew has been creating drawing and painting tutorials since the relaunch in 2020. Through his involvement with artincontext.org, he has been able to deepen his knowledge of various painting mediums. For example, watercolor techniques, calligraphy and lately digital drawing, which is becoming more and more popular.
Learn more about Matthew Matthysen and the Art in Context Team.






Fantastic, this helped me a lot!