How to Draw Realistically – A Beginner’s Guide to Realism
Realistic drawings are made up of a few simple techniques and drawing concepts that work together in a single drawing. Understanding how to draw realistically, with these concepts in mind, is a really useful skill for representing subject matter in its complete likeness. This can often give us more options with how we define surfaces, textures, and shapes. It’s also a great way to understand some key concepts that are essential to building up realistic drawing techniques that can be utilized in various drawings. This skill is a great addition to your drawing repertoire and will provide you with the toolkit needed to define unique subject matter realistically.
An Easy Guide to a Drawing Realistically
Realistic drawings often can seem daunting and overwhelming because we are generally seeing the end product of the artwork. We will find that when we break up the process of approaching a realistic drawing, it becomes much more digestible and easy to develop this skill. In this tutorial on how to draw realistically, we will look at some fundamental concepts to consider for the drawing process. As we do so we will see how we can apply them through a few simple steps to create a beautiful drawing, and in doing so learn some skills along the way that can be used in our artworks.
Necessary Materials
This tutorial on realistic drawings is done on a digital device, however, all drawing processes can be transferred to traditional tools. The drawing process in this tutorial breaks down key concepts in a simple way, with a basic drawing approach. This means we will only need simple drawing materials. All suggested materials can be seen in the list below:
- Pencils
- Sharpener
- Pens
- Eraser
- Paper
Step-by-Step Guide to Drawing Realistically
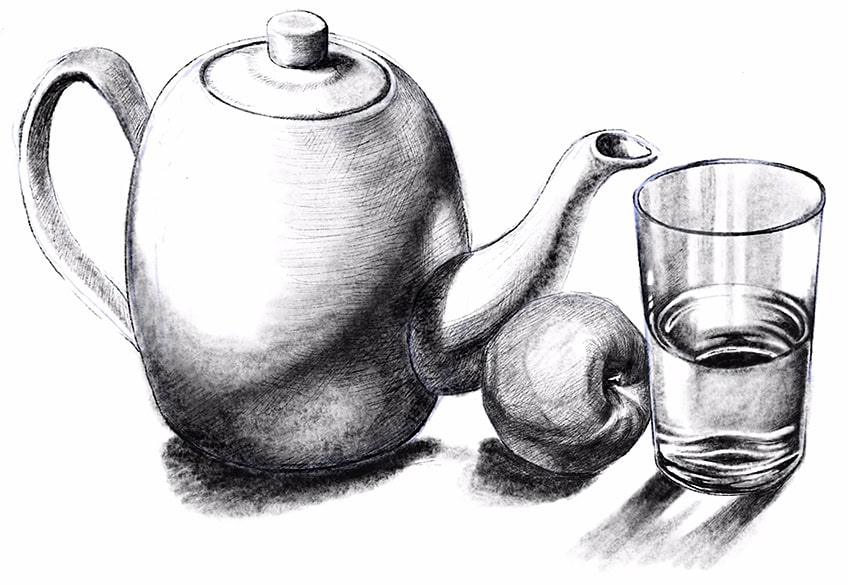
In this tutorial on how to draw realistically, we will create a basic still life, with various elements that will provide us with a diverse range of objects and surfaces to represent. We will look at three key concepts such as form, refinement, and then shading as we work our way through the drawing process.
This will guide us through the drawing process and help us understand what to consider as we aim to represent objects realistically.
Understanding Form and Scale
We first want to understand the form of objects and how to draw them in their fundamental shapes. We will see that objects are often made of basic elementary shapes. By first establishing these shapes, we then have a good starting point.
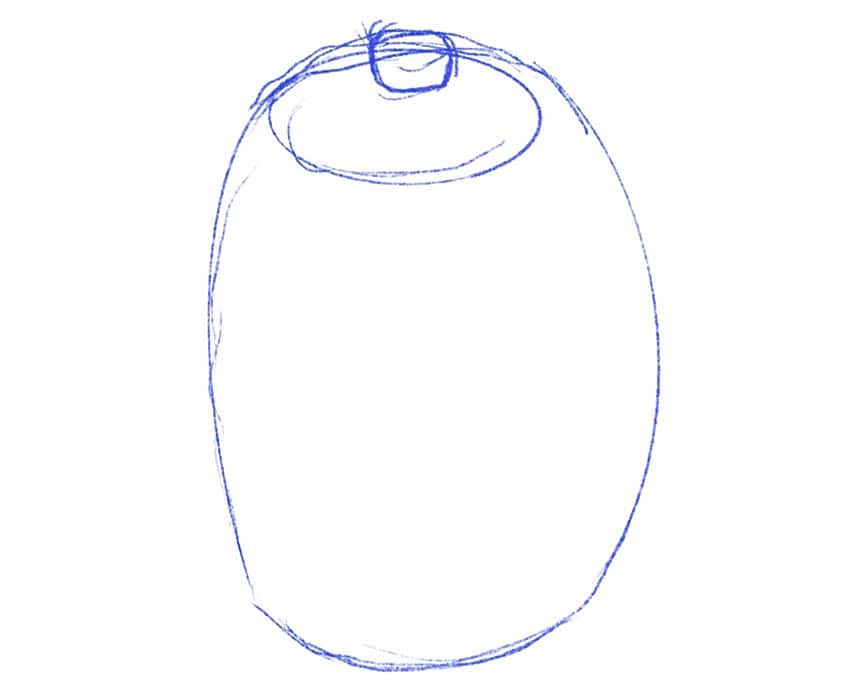
Working with still life, where we incorporate simple items is a great way to assemble basic shapes. Naturally, as we sketch each item, we will find that they are made of these basic shapes that make up their unique features.

The intention is to always start with identifying the basic shape of the object at first. From there, one can proceed to bring more structure that resembles the subtle details.

For instance, the fundamental form of an apple is a circle, which is something we can establish in scale according to another object. This helps us to better understand how an apple should be in scale compared to the handle of a jug.

As we assemble more objects in a single space, we can also start negotiating with ourselves regarding how large each item should be compared to one another, and slowly form a more coherent still life.
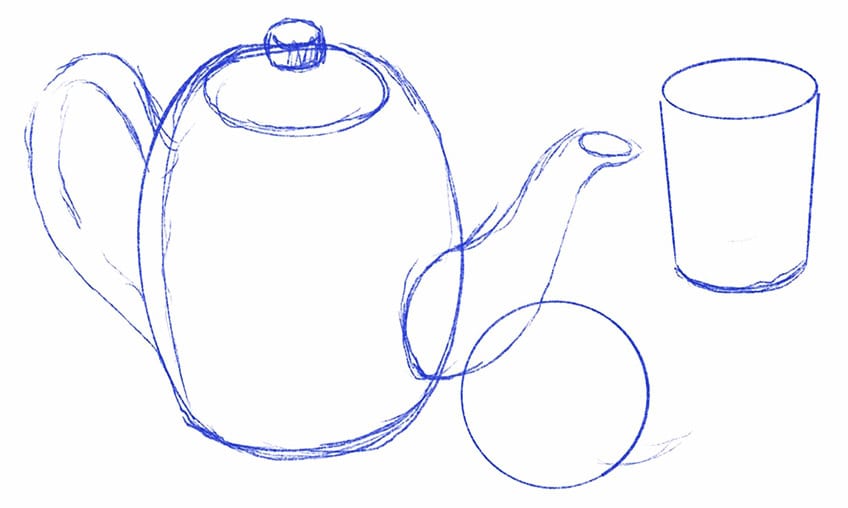
Always start from simple and vague shapes, then slowly proceed to refine them into more identifiable structures. However, the intention is to always first identify their fundamental form.

From this point, we can start looking at how an item is also made of smaller shapes collectively working together to define a unique set of features. When drawing realistically, we slowly build items up from vague to more specific shapes.

Refinement and Detail
From this point, you can start working on individual items, breaking them down into their various features one at a time. This is where we start to refine the form of the features into their identifiable qualities.

The idea is to notice subtleties at this point, where items have curves, and hard edges, and how an item is defined by these details. Details are simply shapes refined into their unique form, accompanied by shading for definition.

As you refine a structure you want to move away from seeing it as a whole and start focusing on the various small shapes and lines seen within the entire structure.

This is where focusing on smaller details really matters, where we try to notice what exactly an object is made of. Once you have established its general form, it’s then a matter of refinement through the smaller details seen inside the shape. Naturally light and shadows respond to different surface areas in different ways. Meaning that it can define shapes in various ways, in different items due to their unique texture or surface area.

The more we pay attention to what exactly we see, we will notice that objects are simply a collection of various shapes defined in various tonal values.
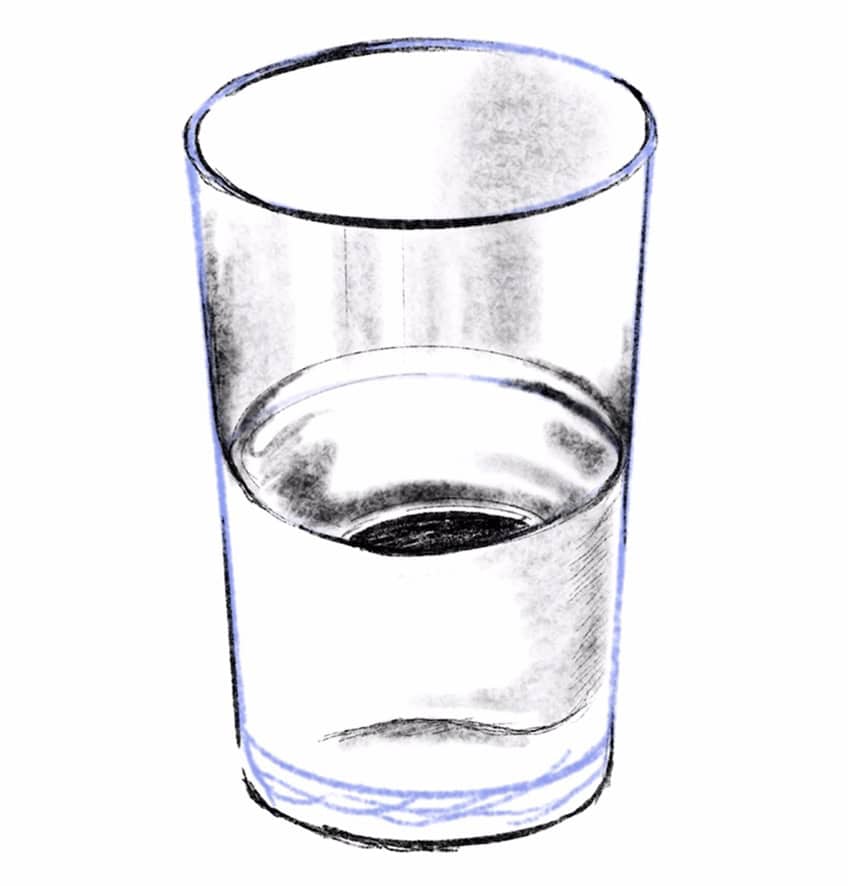
Once you understand that we start with a basic shape and refine it into its unique form. We can then move on from there by integrating shadows and tonal variation into those smaller shapes. Slowly, we take our time working through this refinement process of bringing a more detailed shape to the unique item. You want to try to work with linework to define the ridges, curves, distortions, or whatever you see before enhancing them with shading.

This is important as a focused period where you try to define what you see in the object and establish these various details with simple linework.
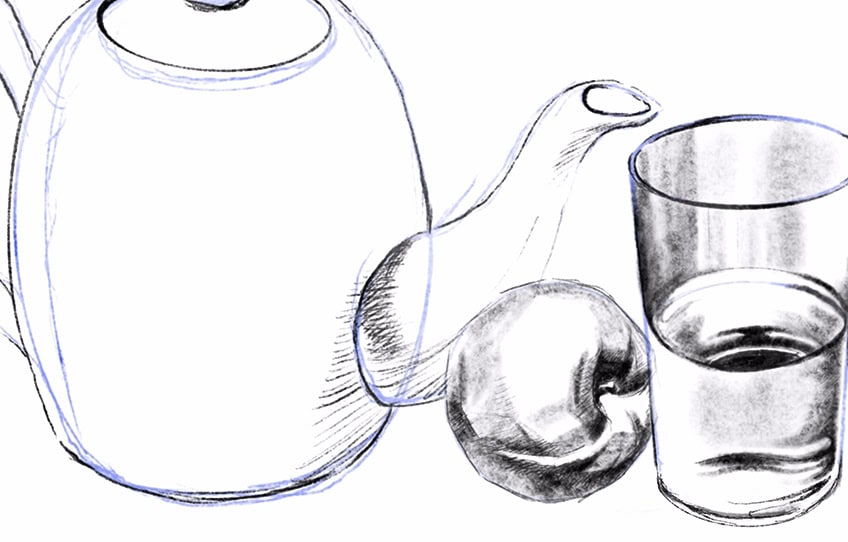
It’s also always a good idea to work with linework at first and keep your marks light before enhancing the specified item with shading.
Working With Shading and Light
Once we have defined and established all of the essential shapes and details, this is when it becomes important to enhance these features with shading and tonal variation.

Shading is crucial to representing an object realistically because it is our way of representing shadows. All real objects function in a three-dimensional space, therefore shadows will be present along their surface areas.
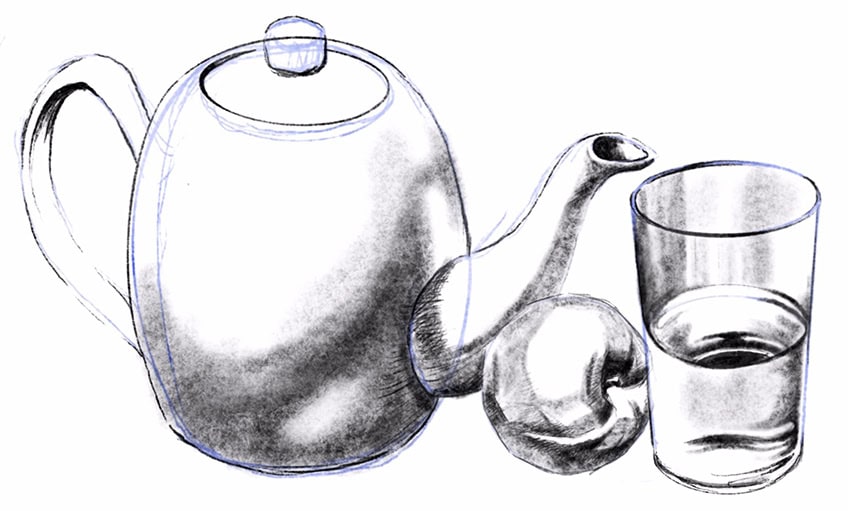
This is where our establishment of linework and identification of the small subtle details become an important determining factor for how the shadow will be present along the various unique surface areas.

We can then start analyzing small details in each item once again, trying to notice how shadows would form along their surface areas. This is where we see how shadows become seamless transitions or harsher depending on the unique surface area.

Some items have curved surface areas, which may bend shadows around the objects in a seamless fashion. However, some surface areas have more ridges and therefore might have harsh distinctions between shadowed and illuminated areas.

We need to be conscious of the particular type of object, and again, try to notice what we are seeing. For instance, transparent items are good at distorting light and can create harsh dark lines.

It depends on the subject matter at hand, but we do not need to be overwhelmed. We just need to break it down from vague to more specific as we focus on the details within various items.

Slowly, we then build up these tonal values from lighter to darker shades as they transition between illuminated and shadowed areas.

The more accurately we can represent the unique shadow formation in an item, the more realistic the drawing will appear. Naturally, this part of the drawing process should take the longest as we build layers.

We can also consider the type of shading utilized to define the particular item. For instance, smooth shading is effective in representing soft shadows that may appear in transparent surfaces.
Building Layers of Tonal Variation
As we start to establish the shadows with shading, we can start building them up from lighter tonal values to darker tonal values. As we build up our layers, we can be strategic in creating contrast between darker and lighter moments in the objects to create shadows and highlights.

Certain shading styles like cross-hatching can be really helpful in simultaneously defining the shadows and unique textures of a specific item. This is where harsh and darker shading can be paired strategically with lighter moments of shading to create contrast. Most importantly, we want to understand from which direction the light source is coming and allow that to determine the placement of the shadows along the surface area of a particular object and how this will create a gradient between darker and lighter areas.

Once you have the general shape, have refined the form, add in the details, and defined the structure of the object with linework, it’s then a matter of building up shadows in their correct positions.

Drawing the shadows that the objects cast themselves is also a great way to contextualize the realistic nature of an object. Naturally, the shadow will take on a unique form depending on the structure that is casting it.

Again, the shadows are generally on the opposite side of where the light source is most significant. The intention is to always consider the structure and how it will define the shadow formation as well.

This is particularly unique for transparent objects, where the light can also permeate the glass and therefore the shadow that is being cast as well. We want to make sure we represent this two-dimensional feature as a contributing factor to the realistic quality of the drawing.

Tips and Tricks to Remember
- First, define the form of objects. We want to know the general shape of the object, and then proceed to refine it.
- Refine into its unique shape. Take your time with defining the subtleties in the shape of the object.
- Add in details to represent shadow placements. Slowly work your way with integrating line work to define the positioning of shadows.
- Build shadows with layers. Most importantly, take your time shading and building up tonal variation.
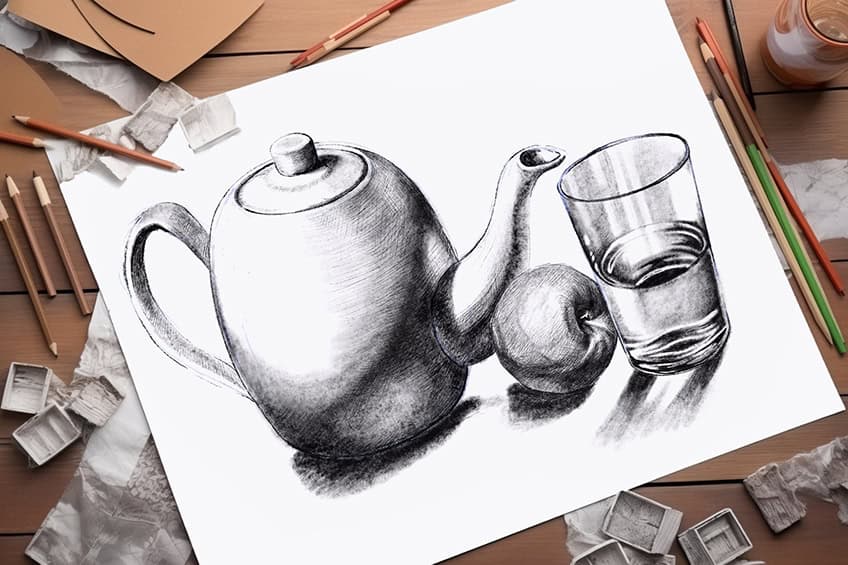
Drawing realistically is not as difficult as it seems, as it is simply a matter of working from the vague to the specific. What is meant by that is to always start as simply as you can by identifying the most fundamental shapes in the object. From there, one can proceed to slowly bring more realistic qualities by defining details and integrating shading into those various details.
Frequently Asked Questions
How to Capture Form Realistically?
All items are made of simplified shapes, which are made up of even smaller shapes that determine unique details. The idea is to always start out simply, where you identify the basic shapes of an item. For instance, if we were to draw an apple, we could start with a circle. From there, we could proceed to refine the outline into the unique shape of the object. We then start considering what is seen inside this unique form, such as a stem or striations in the ridges, and take time to define those details with line work. After that, we can then enhance shadows by integrating shading and building on the layers of tonal values for more refined shadow formations.
How to Draw Shadows Realistically?
Shading is the essential tool utilized to represent an object in its likeness, where the object transitions from a simplified representation into a realistic representation. The idea is to always identify the position of the light source and from there, we can strategically place the shadows. However, shadows shift in tonal values as they move closer to the light source. The idea is to build up these shadow formations through gradients, where we create a seamless transition between the darkest to the lightest areas. In some cases, the shadows are more harsh due to hard edges within the surface area of the subject. In this instance, we can negotiate these tonal values only once we have determined the light source. Lastly, build your shadows from lighter to darker layers.
Matthew Matthysen is an educated multidisciplinary artist and illustrator. He successfully completed his art degree at the University of Witwatersrand in South Africa, majoring in art history and contemporary drawing. The focus of his thesis was to explore the philosophical implications of the macro and micro-universe on the human experience. Matthew uses diverse media, such as written and hands-on components, to explore various approaches that are on the border between philosophy and science.
Matthew organized various exhibitions before and during his years as a student and is still passionate about doing so today. He currently works as a freelance artist and writer in various fields. He also has a permanent position at a renowned online gallery (ArtGazette) where he produces various works on commission. As a freelance artist, he creates several series and successfully sells them to galleries and collectors. He loves to use his work and skills in various fields of interest.
Matthew has been creating drawing and painting tutorials since the relaunch in 2020. Through his involvement with artincontext.org, he has been able to deepen his knowledge of various painting mediums. For example, watercolor techniques, calligraphy and lately digital drawing, which is becoming more and more popular.
Learn more about Matthew Matthysen and the Art in Context Team.


