How to Draw a Chinese Dragon – Drawing a Symbolic Creature
Learn to draw a Chinese dragon with our easy step-by-step tutorial. Perfect for all skill levels, we guide you through each stage, helping you capture the essence of this mythical creature with your pencil.
Drawing a Majestic Chinese Dragon Sketch
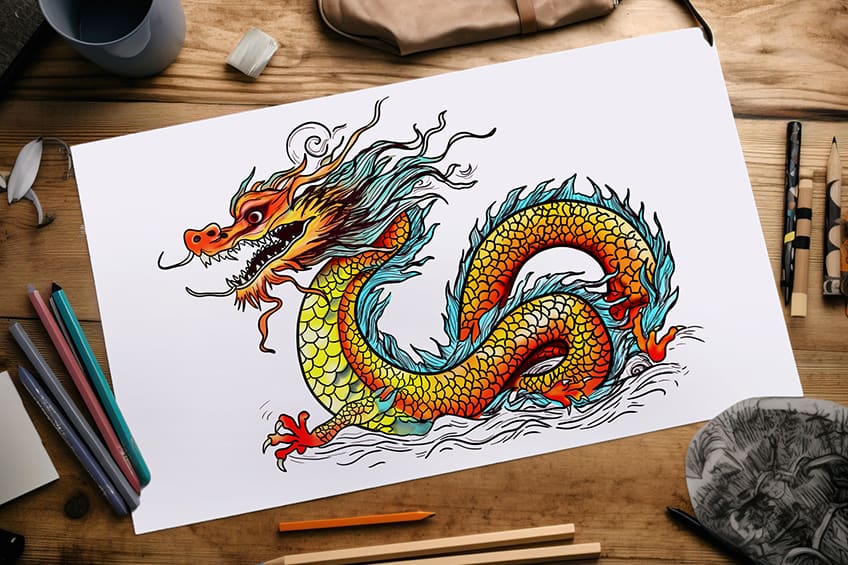
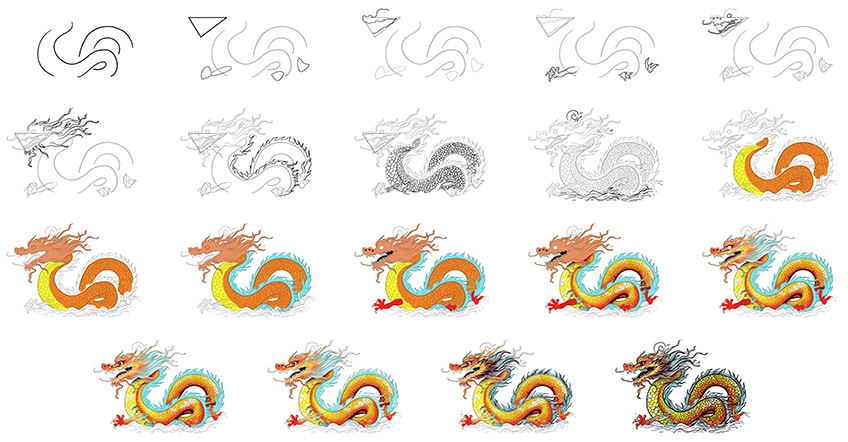
Follow along with the collage below and learn how to draw a Chinese dragon step by step. This is an easy-to-follow tutorial that is broken down into simple steps to guide you on how to draw a Chinese dragon.
Step 1: Begin Your Asian Dragon Drawing
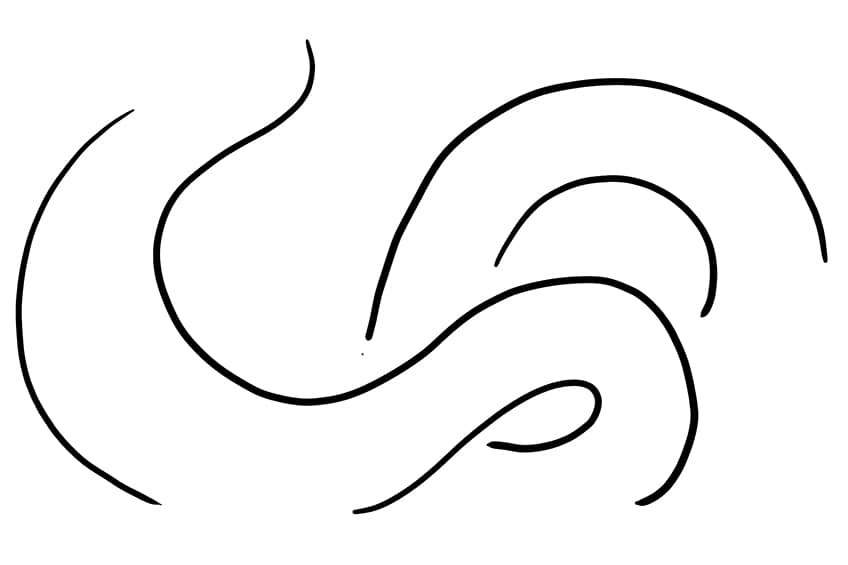
Begin to draw your dragon art, by drawing the curved ‘S’ shaped body of the dragon.
Step 2: Draw the Head of Your Chinese Drawing Sketch
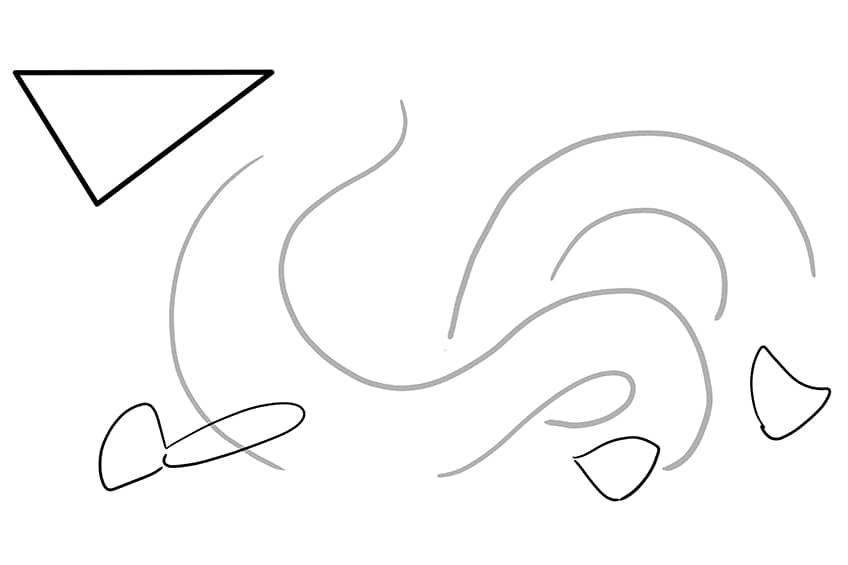
To the top left of the main body, draw a triangle to represent the head of the Chinese dragon. At the bottom, between each open space, draw the construction shapes for the hands and legs.
Step 3: Outline the Head
Utilize the construction lines you’ve drawn earlier to assist you in outlining the initial segment of the Chinese dragon’s head. Elevate the upper half, ensuring it stands higher than the remaining portion of the muzzle.
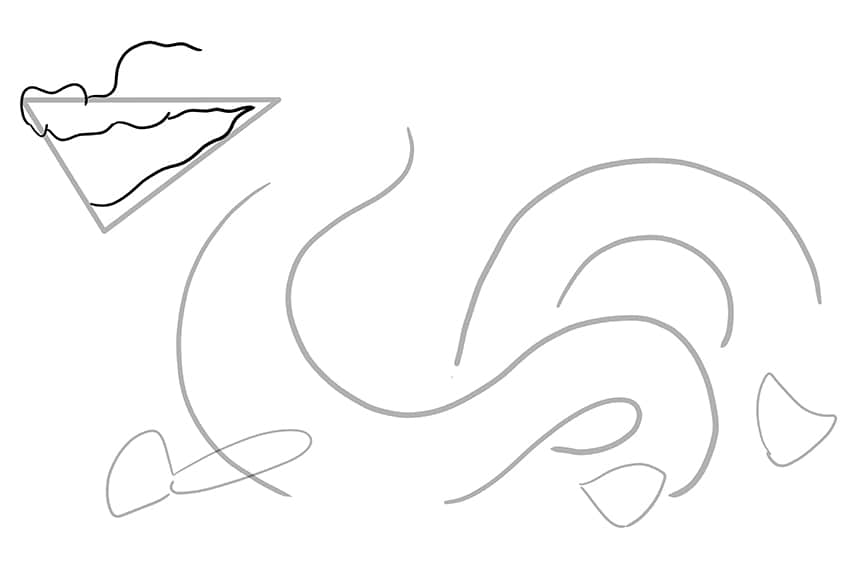
Step 4: Continue to Outline Your Chinese Dragon Drawing
Use the lines you drew before to help outline the claws on the hands and legs.
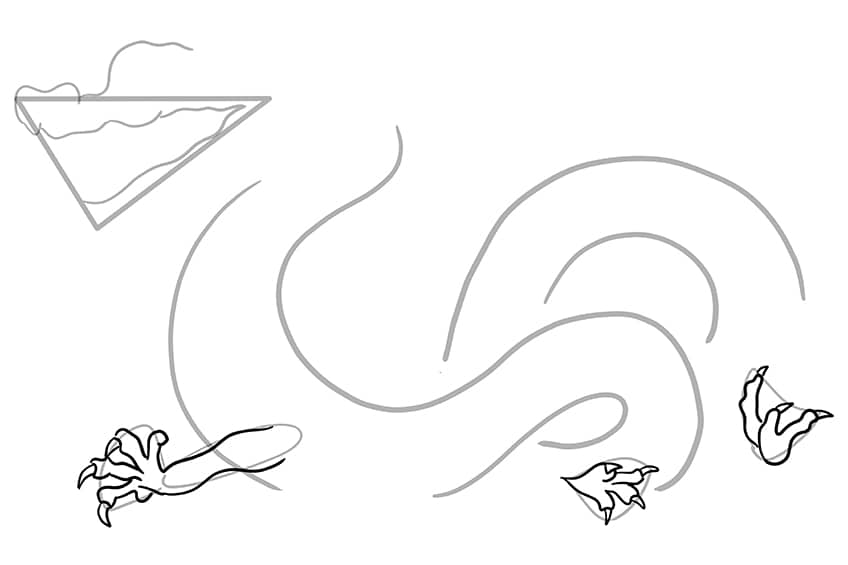
Step 5: Draw the Teeth
Inside the mouth, sketch small triangle shapes to depict sharp teeth. Repeat this along the upper mouthline. Add nostrils and an eye using small oval shapes. Finish this step by drawing the dragon’s “mustache,” also known as barbels.
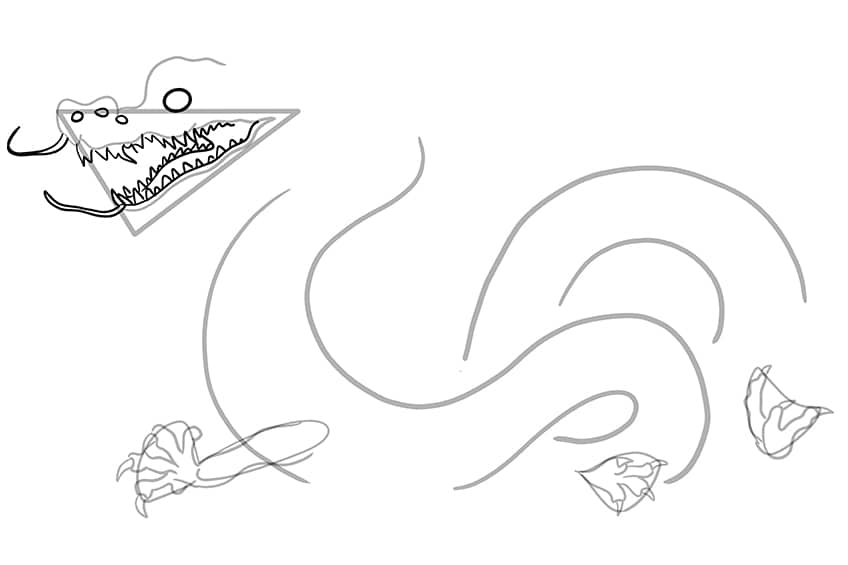
Step 6: Complete the Head on Your Asian Dragon Drawing
Surrounding the head, draw the wavy flowing lines leading to the right end of the dragon. Draw each of these separately, ensuring they do not overlap. Finally, draw the beard below the lower jawline.
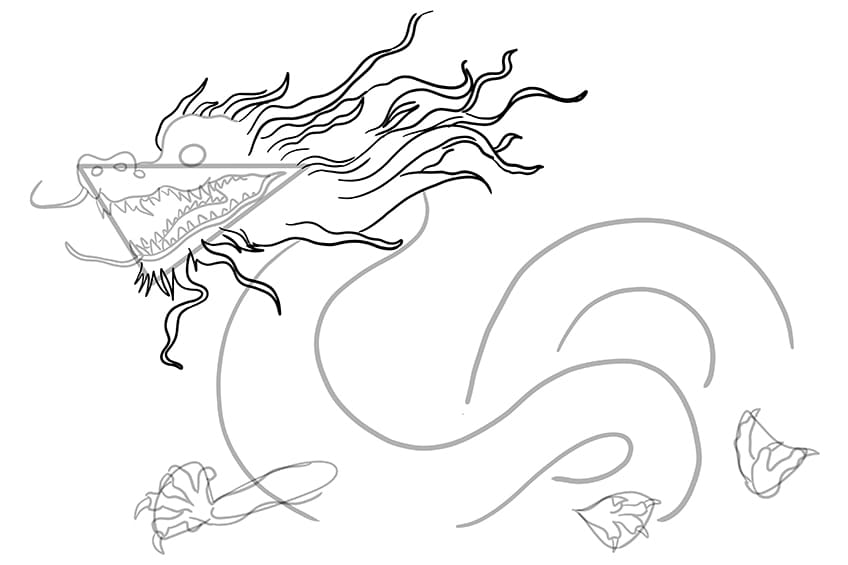
Step 7: Draw the Main Body Outline
Above the main body, draw the spikey outline going around the main body curves, beginning from the top of the neck and leading to the leg claws.
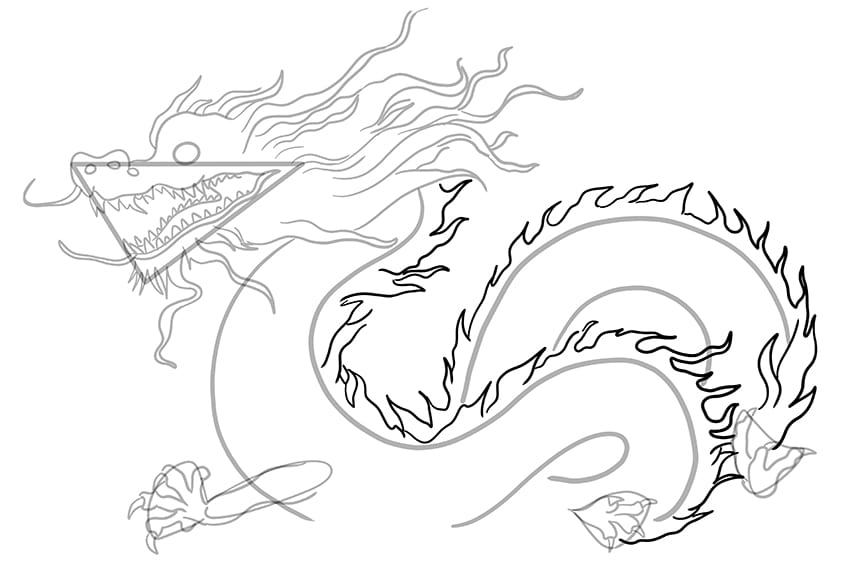
Step 8: Add the Body Pattern
Within the main body, draw individually stacked scales to create a smooth pattern throughout the dragon. After finishing, remove any remaining construction lines.
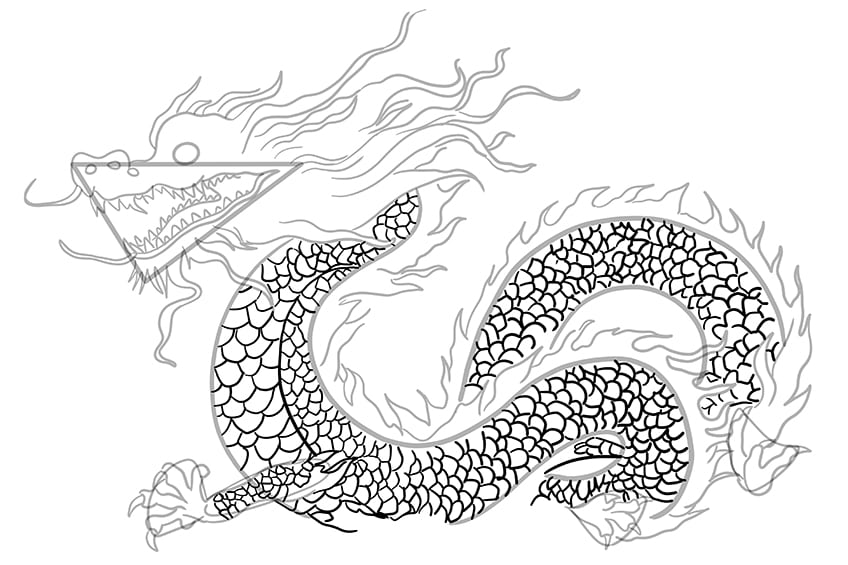
Step 9: Add the Water Waves to Your Chinese Dragon Sketch
Beneath the dragon, draw the wavy water lines, making sure not to overlap with the main body of the dragon. Complete the step by drawing a cloud doodle above your dragon’s head.

Step 10: First Color Coats
Apply orange paint evenly on the sidewalls of the main body using a fine, sharp brush. Then, repeat the process with yellow paint to coat the chest area of the main body on your dragon art.
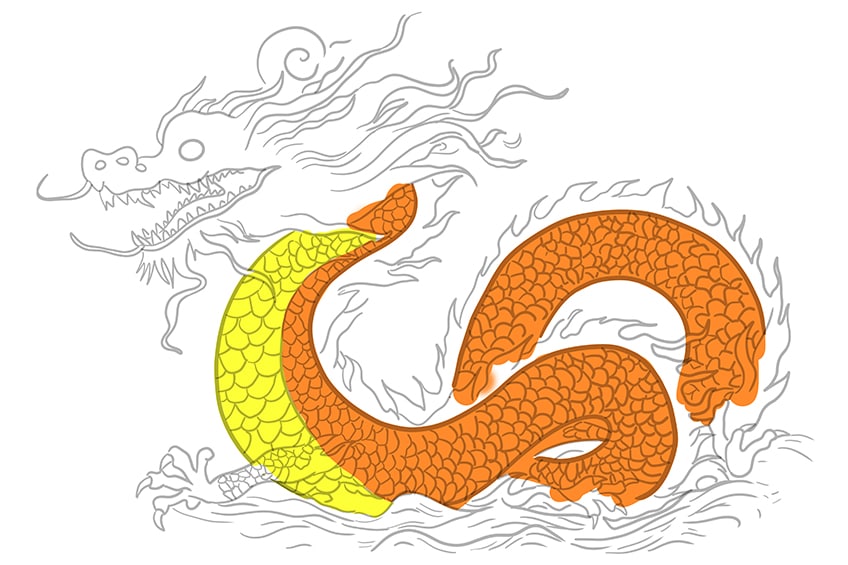
Step 11: Add Color to the Head on Your Dragon Art
Using the same brush and a matt shade of orange paint, evenly coat the head on your Chinese dragon drawing.
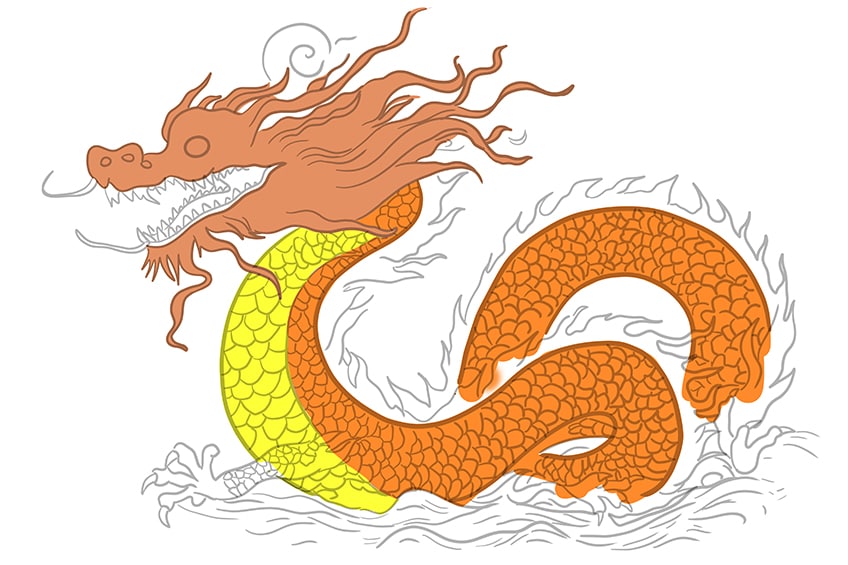
Step 12: Continue onto the Main Body Outline
Take a fine, sharp brush and apply a coat of bright teal blue evenly along the surrounding outline.
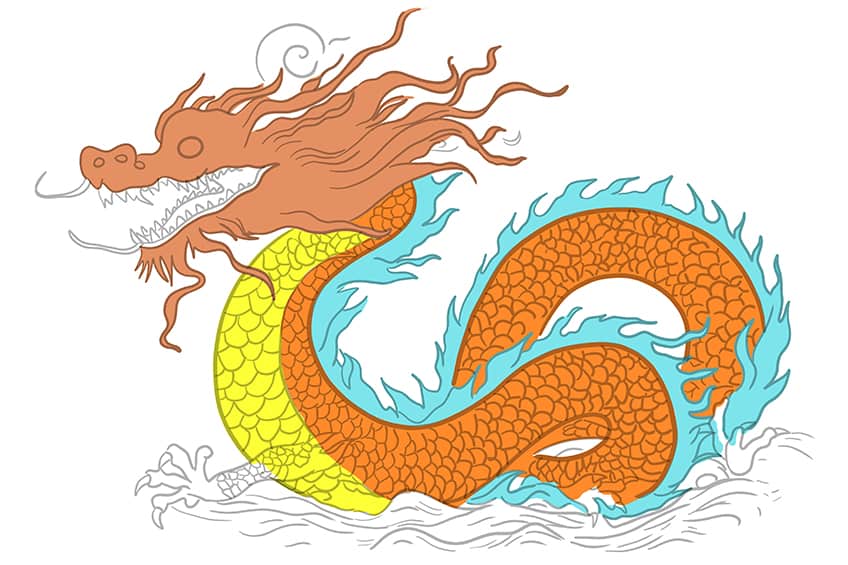
Step 13: Color the Facial Features
With a fine, sharp brush, cover the inner mouth and nostrils evenly with maroon paint. Color the eye with white paint and encircle it with a gray outline. Use a thin brush and gray paint to coat the teeth, barbels, and claws evenly. Finish the step by applying red paint to the hands and legs with a fine, sharp brush.
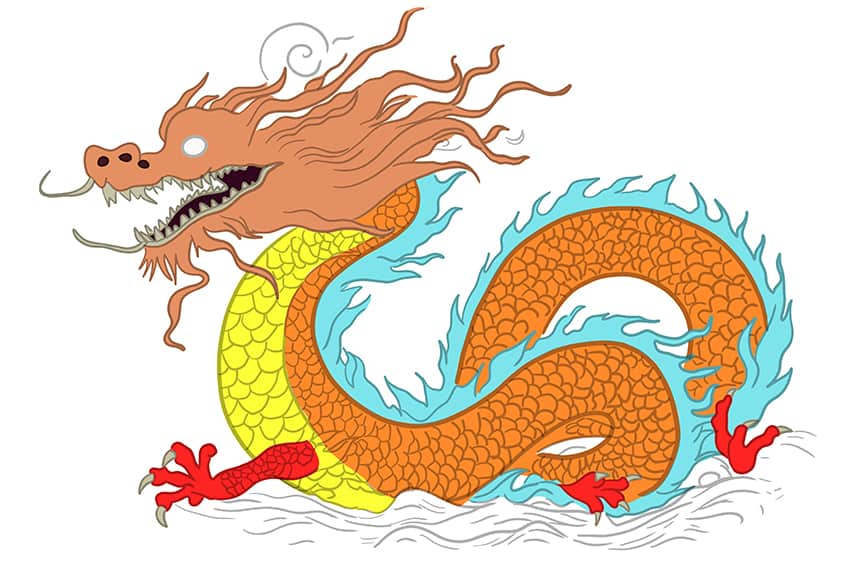
Step 14: Begin to Blend Your Asian Dragon Drawing
Start by applying a subtle touch of red along the bottom line of the main body using a small, soft brush and red paint. Repeat the process with yellow paint on the top line of the main body. Utilize a blending brush to effortlessly merge the layers. Introduce shading between the head and neck edges, as well as along the curved borders of the main body using a small, soft brush and black paint. Complete this step by adding gentle highlights to the main body with a small, soft brush and white paint.
Additionally, repeat this process on select pattern scales using a dark blue paint.
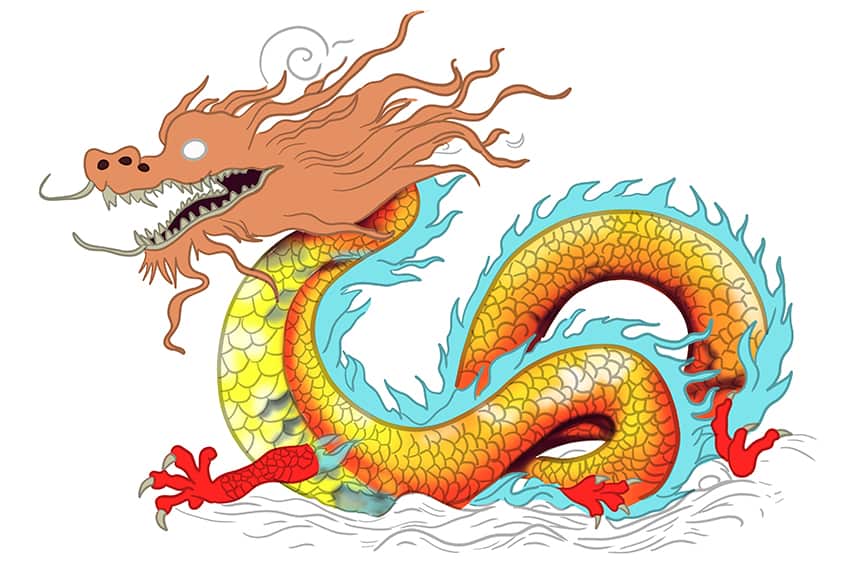
Step 15: Color Blend the Head
Start by using a small, soft brush and yellow paint to add brush strokes spreading from the edges of the mouth lines, flowing outward with the hair lines. Repeat with red paint and teal paint on the hair. Blend these color coats in the direction of the hair flow using a blending brush. Finalize the step by applying black paint with a small, soft brush to the eye and muzzle area, and use white paint along the entire head for a final highlight.
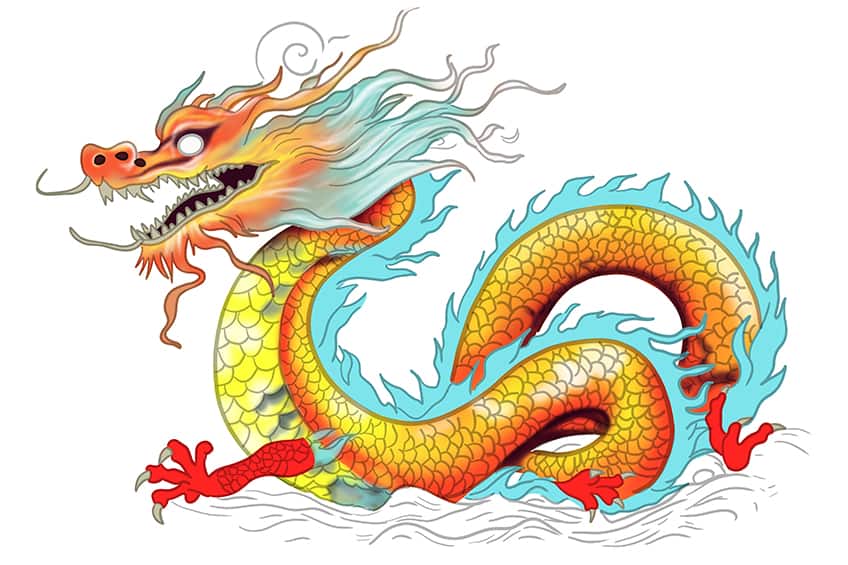
Step 16: Add Detail to the Facial Features and Claws
With a fine, sharp brush, apply dark maroon paint for the iris, and repeat with red paint for a subtle color blend on the eye. Delicately highlight the teeth using a soft brush and white paint. Finish by employing a small, soft brush and yellow paint to add a corresponding color pattern to the hands and claws. Highlight each claw with white paint once the base color is applied.
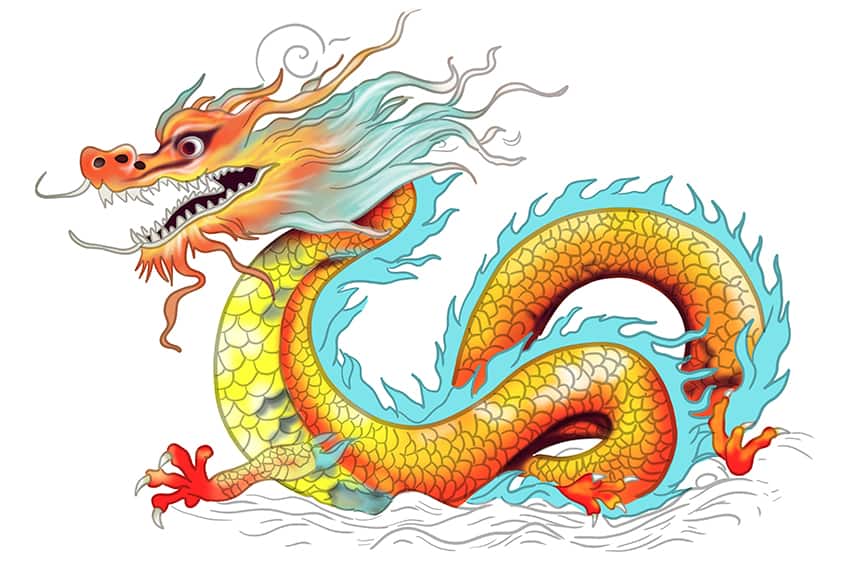
Step 17: Highlight Your Chinese Dragon Drawing
Apply white paint gently along the teal-colored dragon outline using a small, soft brush to add highlights.
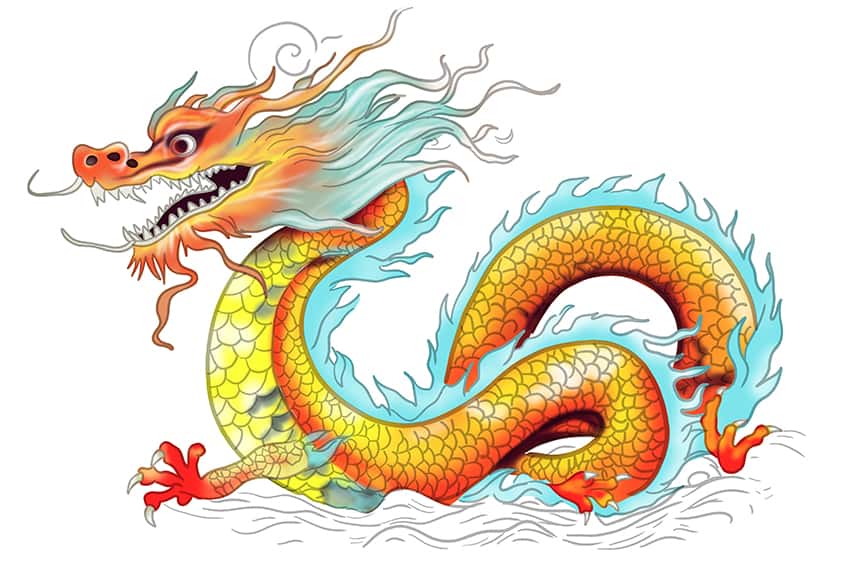
Step 18: Continue to Texture the Hairlines
Enhance the texture lines of the facial hair and main body outlines by using a fine, sharp brush and a shade of dark maroon paint to trace them.
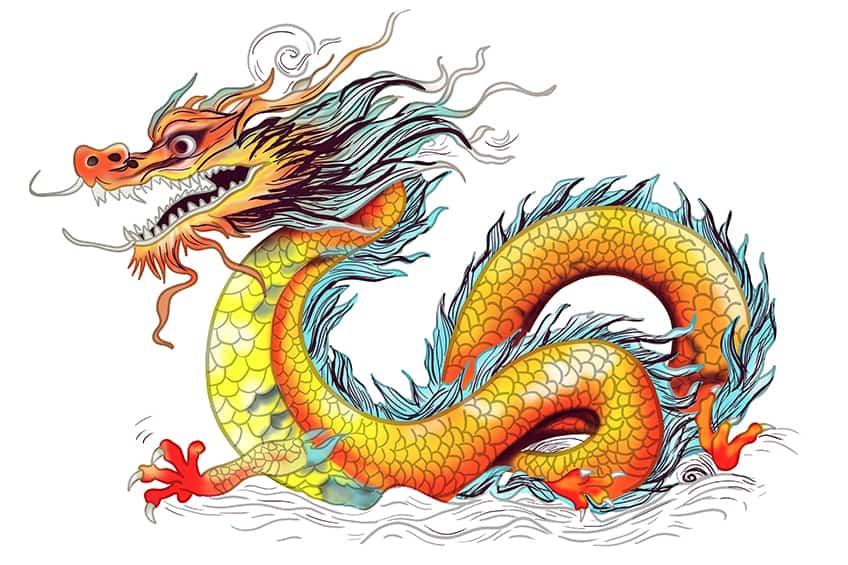
Step 19: Finalize Your Chinese Dragon Sketch
To finalize the Chinese dragon, employ a fine, sharp brush and black paint to trace the remaining outlines and inner texture lines, including the pattern scales and the ocean waves.
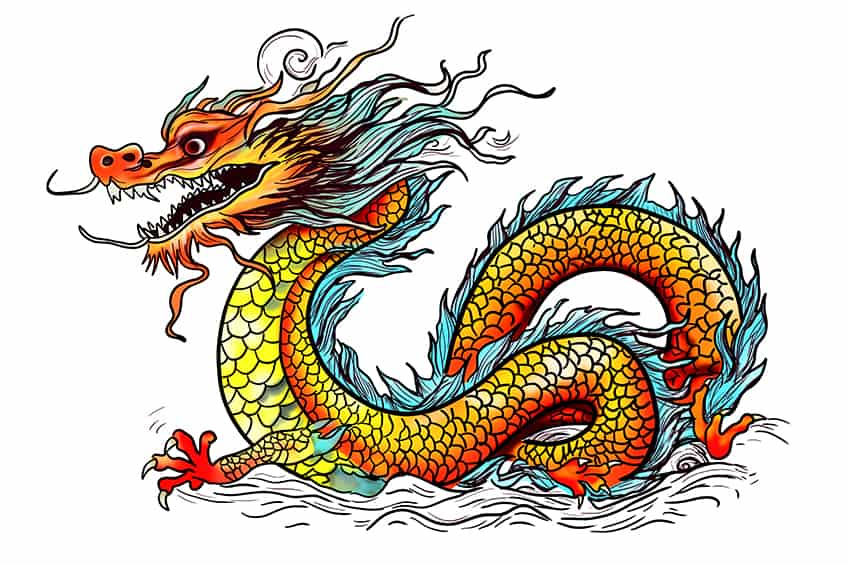
Congratulations on completing the tutorial and bringing the majestic Chinese dragon to life on your canvas! Your dedication and creativity have truly shone through, and it’s evident that you’ve crafted something extraordinary. Remember, every stroke tells a story, and your unique interpretation of the dragon reflects your artistic spirit. Keep embracing the joy of drawing, and let this accomplishment be a stepping stone to even more incredible creations. Your artistic journey is just beginning, and I can’t wait to see where your passion for art takes you next. Well done!
Frequently Asked Questions
How to Draw the Facial Features of a Chinese Dragon?
When drawing the facial features of a Chinese dragon, focus on creating expressive eyes with a fierce or noble gaze. Pay attention to the shape of the mouth, incorporating traditional elements like whiskers or a flowing beard if desired. Experiment with the positioning of the antler-like horns to capture the dragon’s personality, ensuring a balance between the fierce and majestic aspects of its expression. For more detailed guidance, consider exploring our online tutorials that offer you step-by-step instructions on depicting the intricate facial features of a Chinese dragon.
What Colors Are Commonly Used for Chinese Dragons?
Traditional Chinese dragons are often depicted in vibrant colors like red, gold, green, and blue. Feel free to add your own color variations while keeping in mind the cultural significance associated with certain colors, such as red symbolizing good fortune and gold representing wealth and prosperity in Chinese culture.
Matthew Matthysen is an educated multidisciplinary artist and illustrator. He successfully completed his art degree at the University of Witwatersrand in South Africa, majoring in art history and contemporary drawing. The focus of his thesis was to explore the philosophical implications of the macro and micro-universe on the human experience. Matthew uses diverse media, such as written and hands-on components, to explore various approaches that are on the border between philosophy and science.
Matthew organized various exhibitions before and during his years as a student and is still passionate about doing so today. He currently works as a freelance artist and writer in various fields. He also has a permanent position at a renowned online gallery (ArtGazette) where he produces various works on commission. As a freelance artist, he creates several series and successfully sells them to galleries and collectors. He loves to use his work and skills in various fields of interest.
Matthew has been creating drawing and painting tutorials since the relaunch in 2020. Through his involvement with artincontext.org, he has been able to deepen his knowledge of various painting mediums. For example, watercolor techniques, calligraphy and lately digital drawing, which is becoming more and more popular.
Learn more about Matthew Matthysen and the Art in Context Team.


