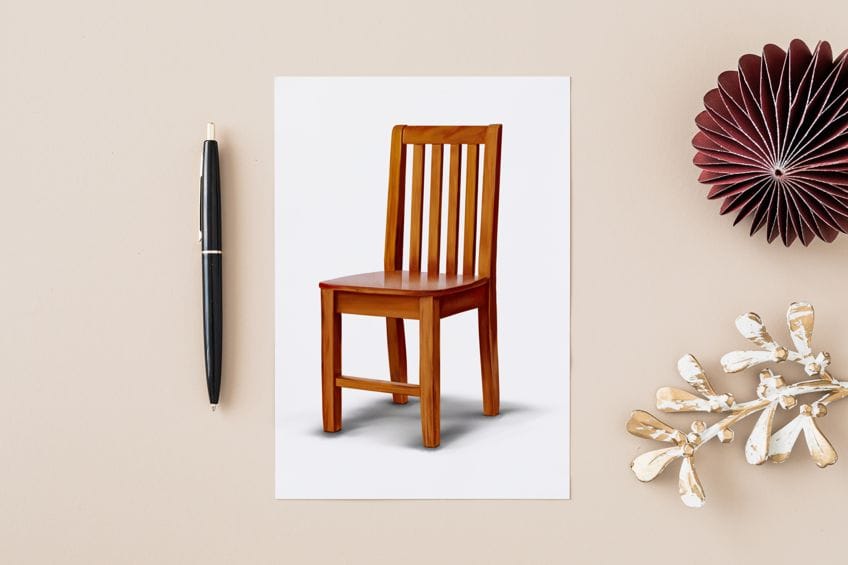
How to Draw a Chair – Creating a Three-Dimensional Chair Sketch
A chair drawing is a great exercise for three-dimensional perspective drawing. This tutorial is perfect for beginners or more experienced artists who want to learn how to create realistic perspectives in three-dimensional space. We show you how to create an easy chair drawing in several easy steps, beginning with some simple construction lines before adding color and texture.
How to Draw a Realistic Chair: A Step-by-Step Tutorial
A chair is a wonderful drawing challenge, and we really hope that you enjoy this tutorial. This step-by-step easy chair drawing will help you will constructing three-dimensional sketches. Our detailed tutorial also covers the coloring process, bringing your chair sketch to life with highlights and shadows. Follow along with us and learn how to draw a chair the easy way! You can see a brief outline of the steps of this chair drawing tutorial in the collage below.
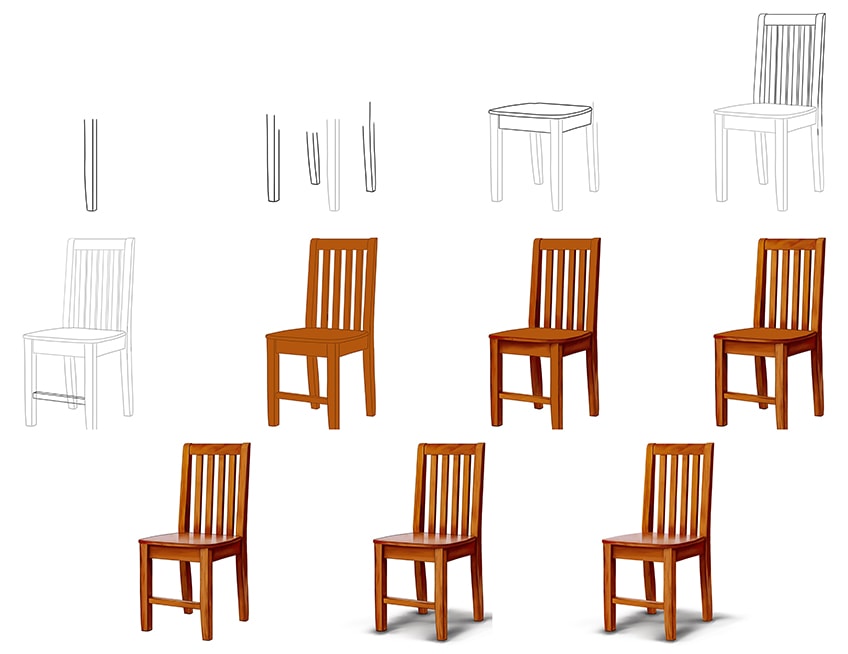
For the coloring steps, we suggest that you pick a medium that you feel most confident with. Our instructions are written for a painting medium, as that is what we used for the examples, but you can use anything you like. Whether you are a digital artist, or you prefer to use coloring pencils, you can easily adapt the instructions to suit your needs.
With that said, gather your drawing supplies, find somewhere comfortable to sit, and let is begin learning how to draw a chair.
Step 1: Begin by Drawing the First Leg of Your Chair
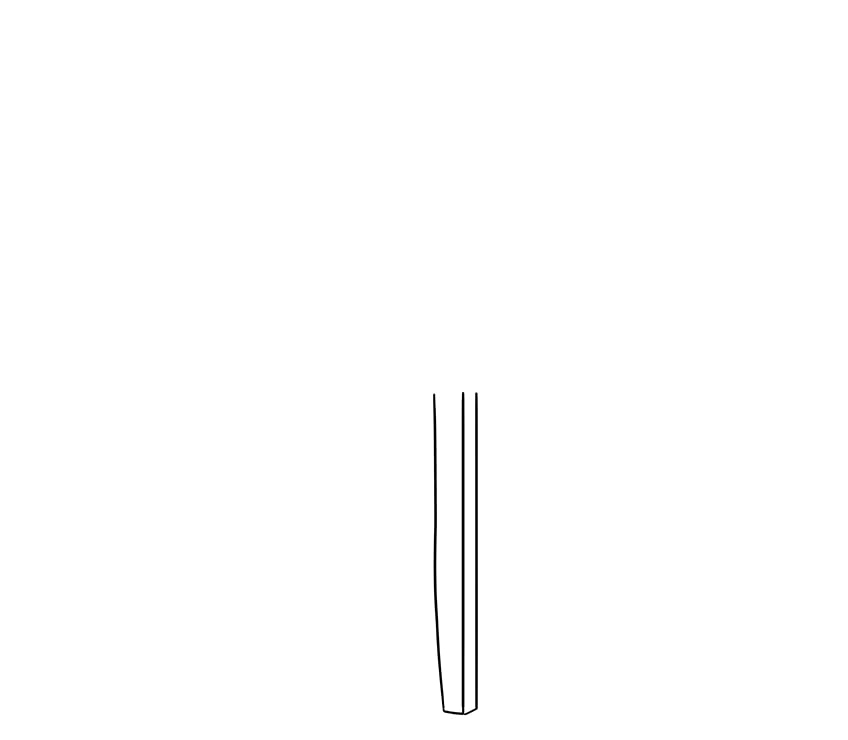
To start your chair sketching process, you are going to need to find the center of your drawing area. Slightly to the right of the central point, you can draw the first leg of the chair. To do this, draw two straight and parallel vertical lines, and then a slightly angled line on the left. At the bottom, connect these three lines with two flat horizontal lines.
Step 2: Shape the Remaining Chair Legs
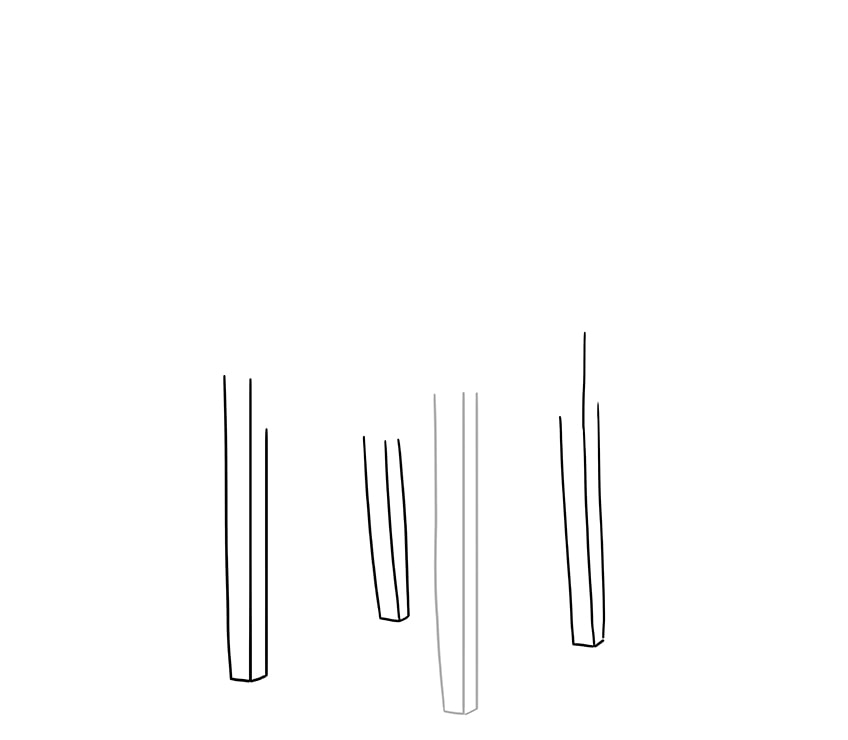
You are now going to draw the remaining three legs, each of which is going to have a slightly different length. The relative length of these other legs is an important part of creating a realistic three-dimensional chair sketch. Begin with the back right leg, just to the right of the first leg. The two outer lines of this chair leg should be shorter than those of the first leg, but the middle one should be longer. For the left back leg, create a much shorter leg.
Remember that all of these legs should begin at a slightly higher point of the paper to create the realistic perspective we are after.
Step 3: Draw the Chair Seat
In this step, you are going to join the chair legs together by creating the seat. Begin by drawing the side walls between the front legs and the rear right leg. You can then draw the seat part of the chair, covering the top of the legs.
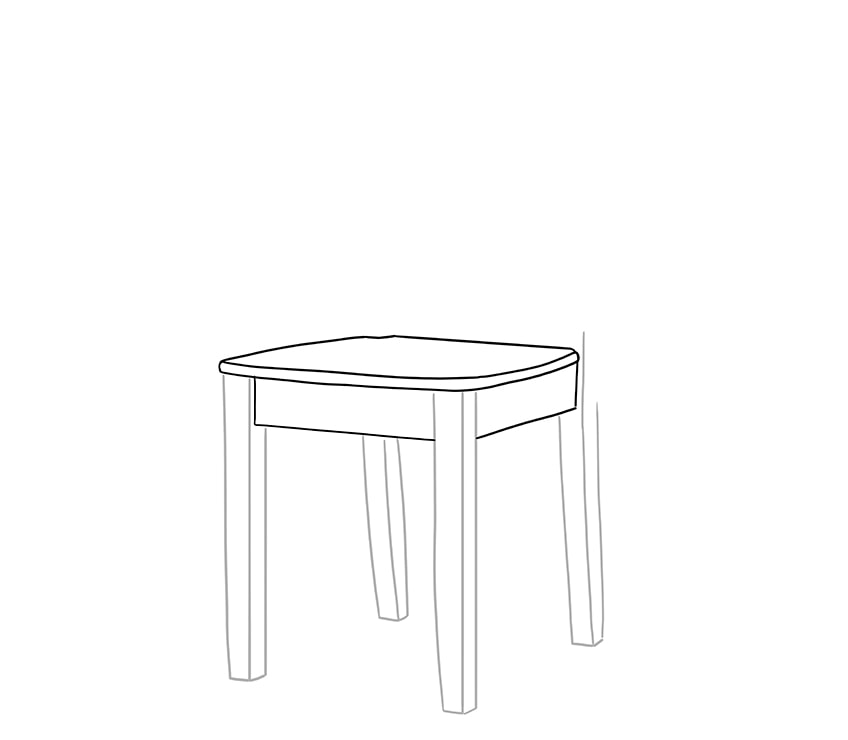
Step 4: Draw the Back Rest of Your Chair Sketch
This step is quite complex, but if you take it slowly you will be amazed at the results. Begin by continuing the long line from the back right chair leg upwards. This will create the first side of the right-back support. Repeat this process for the left side of the backrest. You can now join these two side panels with a fairly thick horizontal panel. To finish this step, draw several (usually an even number) vertical panels between the two side supports.
Remember that we are aiming for a three-dimensional chair drawing, so each of these pieces of wood should have a small line on the right of them to create that impression.
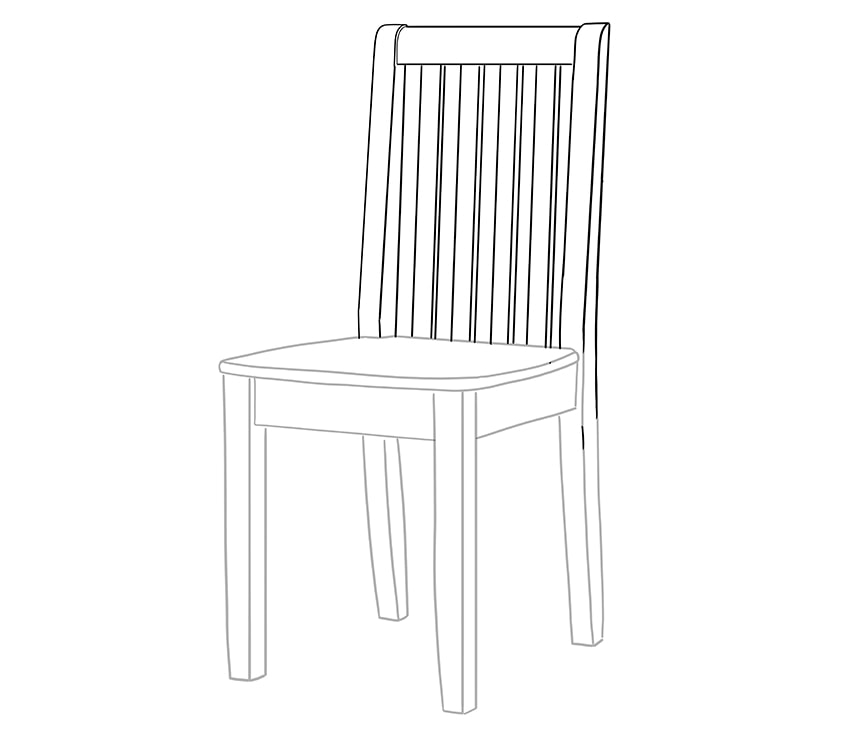
Step 5: Insert the Front Leg Support
In this step, you are going to add the support beam between the two front legs. At about 1/3rd of the way up the legs, draw a horizontal cross beam with the additional narrow line above it. When you are finished with this beam, you can now erase any overlapping lines.

Step 6: Apply the Initial Color Coat
Now that we have the three-dimensional shape of our chair sketch created, we can begin to add more depth with color. In this first coloring step, we are going to apply a single base color coat to the entire chair drawing. Find a shade of light brown paint and use a regular paint brush to evenly color the entire chair shape.
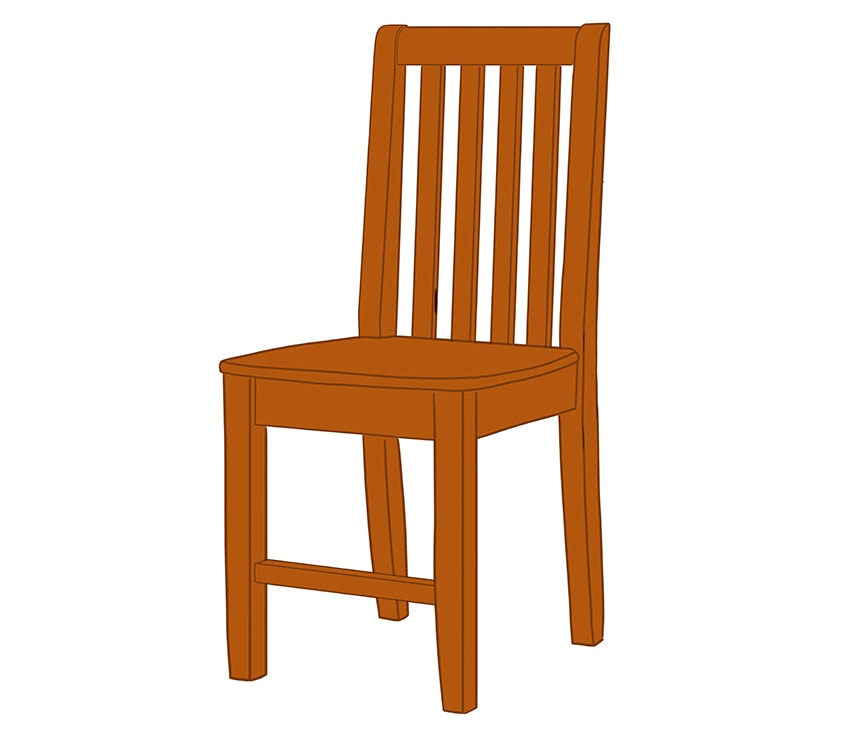
Step 7: Begin Shading Your Easy Chair Drawing
As we want to create a realistic-looking chair, the coloring process is probably the most important. We use shading and highlighting to create depth and dimension, highlighting the three-dimensionality even more. In this step, we are going to create some shadows, using a small blending brush and some dark red paint.
Carefully apply some light shadows between the side walls of each panel, including those of the seat, legs, and backrest. Remember to blend your shading out into the initial base coat to create a smooth transition. You can then repeat this process using a touch of black paint, focusing this darker shading in the center of the lighter red shadows.
Blend the shadows together, creating a soft, red-wood mahogany color.
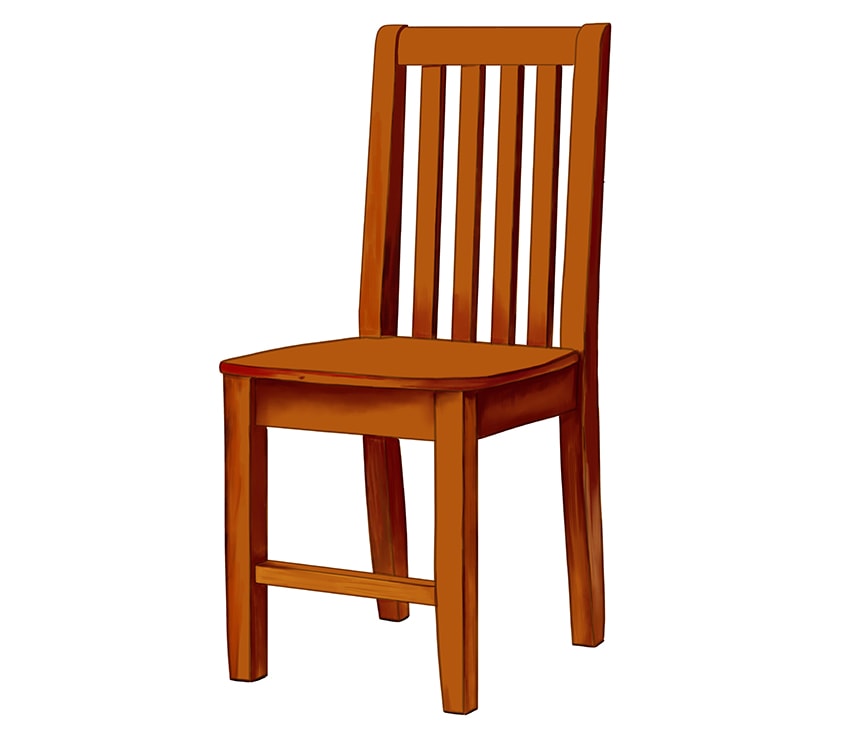
Step 8: Create Realistic Wood Texture
Now that we have some basic shading created, we can begin to focus on creating some realistic wood texture. With a small blending brush and a light shade of pine or oak brown, apply some gentle highlights to the backrest and legs. Swipe this color along the wood panels to create a realistic fade between the highlight and shadows. You can then use a fine detail brush with all of your brown shades to create some strokes of short and medium lengths along all of the panels.
Do not be overly stressed about creating perfect lines, as wood is a natural product and always has slight imperfections.
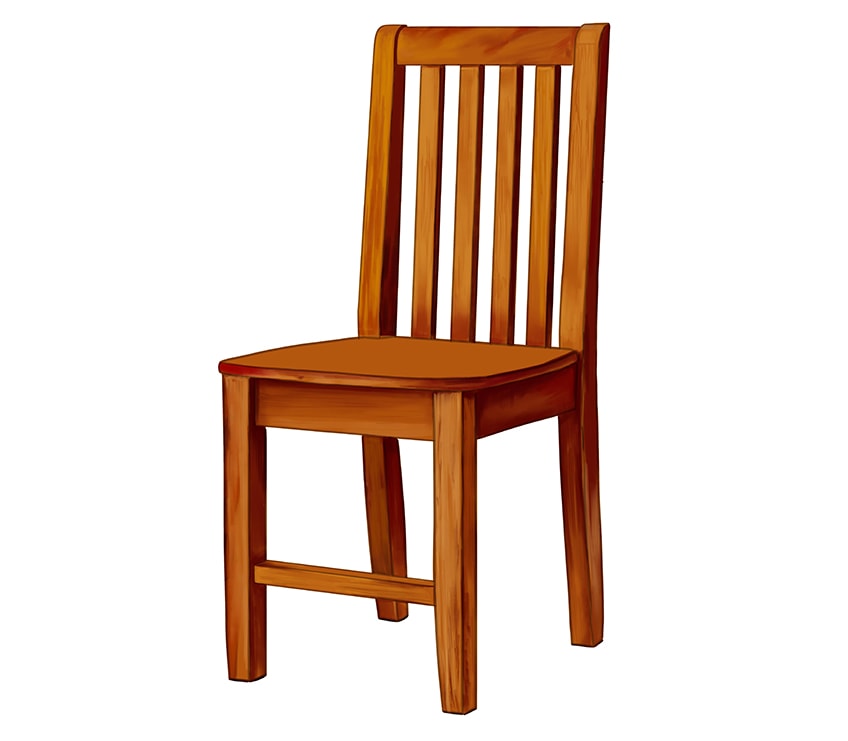
Step 9: Highlighting Your Easy Chair Drawing
In this step, we are going to add some highlights to create the impression of varnished wood. Begin with a sharp detailing brush and some white paint, and carefully apply some fine strokes along the edges of the backrest beams. These should be done lightly and sharply. Then, continuing with white paint and a small blending brush, create some gentle highlights along the top of the leg support beam. Finish this step with a small blending brush and white paint, creating a soft fading reflection on the seat. To emphasize this reflection, use a small blending brush and red and black paint to add short reflections of the panels.
Complete the step by using a clean blending brush to soften the reflection.

Step 10: Paint Your Ground Shadow
Just before we finish our easy chair drawing, we are going to add one more boost of three-dimensional realism by creating a ground shadow. Use a small blending brush and a touch of black paint, and carefully create some shading around the bottom of each chair leg. You can then use a clean blending brush to fade out this shadow in all directions. This will help create a three-dimensional look that will correspond with the perspective of each leg.
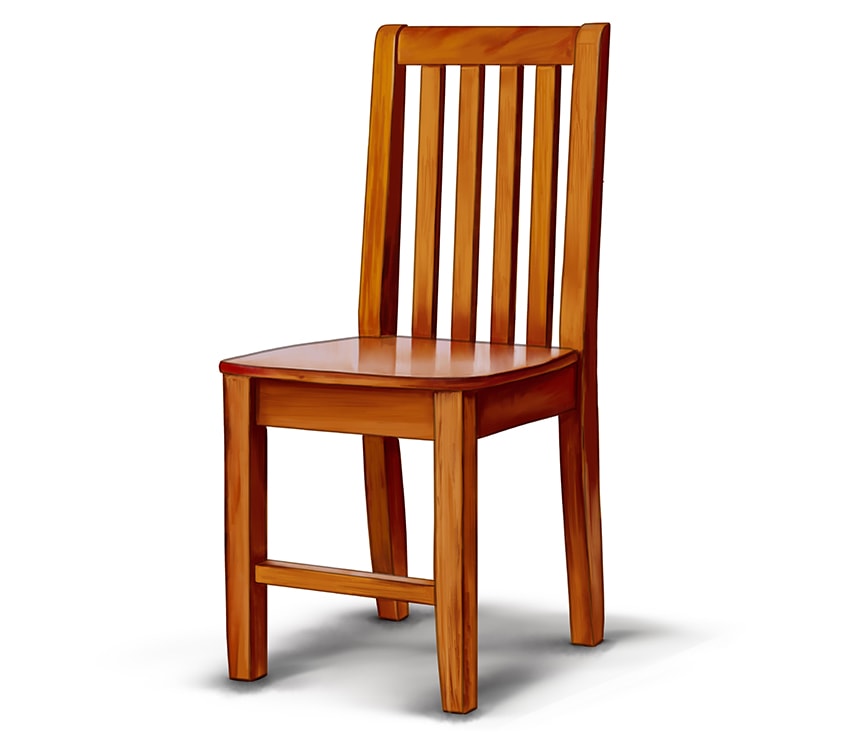
Step 11: Finishing Your Chair Drawing
In this final step, you are simply going to remove the black outline from your chair sketch. With a fine detailing brush, use the corresponding color at each point of the outline to carefully trace over it. You will now have a seamless final chair sketch without any harsh outlines.
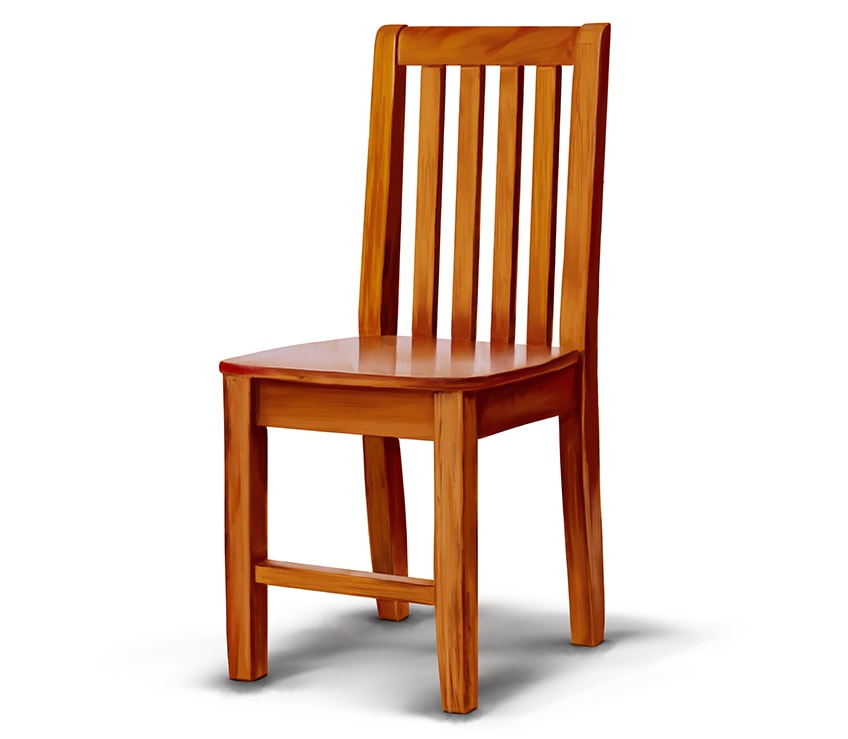
Congratulations! You have just finished our crash course in realistic chair sketching! We really hope that you have enjoyed the process and now feel a little more confident in your ability to create three-dimensional drawings. By using simple construction steps and carefully placed shadows and highlights, you can very easily create a realistic chair drawing.
Frequently Asked Questions
How to Draw a Chair in Three Dimensions?
A chair is a great drawing exercise for learning how to work in three dimensions. Although it may seem intimidating before you start, chair sketching in three dimensions only involves three essential steps. The first is constructing the shape within the three-dimensional space. Then, you focus on creating shadows and highlights in the right spots, and you are magically left with a realistic yet easy chair drawing.
What Colors Do You Need for an Easy Chair Drawing?
The colors that you choose for your own drawings are completely up to you, but if you are a novice artist, then we recommend sticking with natural colors. We use various shades of brown, red, black, and white to create a realistic blend.
Matthew Matthysen is an educated multidisciplinary artist and illustrator. He successfully completed his art degree at the University of Witwatersrand in South Africa, majoring in art history and contemporary drawing. The focus of his thesis was to explore the philosophical implications of the macro and micro-universe on the human experience. Matthew uses diverse media, such as written and hands-on components, to explore various approaches that are on the border between philosophy and science.
Matthew organized various exhibitions before and during his years as a student and is still passionate about doing so today. He currently works as a freelance artist and writer in various fields. He also has a permanent position at a renowned online gallery (ArtGazette) where he produces various works on commission. As a freelance artist, he creates several series and successfully sells them to galleries and collectors. He loves to use his work and skills in various fields of interest.
Matthew has been creating drawing and painting tutorials since the relaunch in 2020. Through his involvement with artincontext.org, he has been able to deepen his knowledge of various painting mediums. For example, watercolor techniques, calligraphy and lately digital drawing, which is becoming more and more popular.
Learn more about Matthew Matthysen and the Art in Context Team.


