How to Draw a Violin – Fiddling With Art
Discover the art of drawing a violin in our straightforward step-by-step tutorial. As you follow along, you’ll learn to capture the elegance and musical charm of this iconic instrument, transforming your canvas into a captivating masterpiece. This guide is perfect for anyone looking to bring the spirit of the violin to life through their pencil strokes.
Table of Contents
- 1 Mastering the Art of Violin Illustration
- 1.1 Step 1: Begin Your Easy Violin Drawing
- 1.2 Step 2: Outline the Violin
- 1.3 Step 3: Draw the Violin Neck
- 1.4 Step 4: Add the Details to Your Violin Sketch
- 1.5 Step 5: Draw the Strings
- 1.6 Step 6: Add the Bow to Your Violin Sketch
- 1.7 Step 7: Draw the Pegs
- 1.8 Step 8: Finalize the Bow on Your Easy Violin Drawing
- 1.9 Step 9: Begin With the First Color Coat
- 1.10 Step 10: Add the Secondary Color Coat
- 1.11 Step 11: Color the Neck on Your Easy Violin Drawing
- 1.12 Step 12: Color Blend the Violin
- 1.13 Step 13: Add Texture to Your Violin Sketch
- 1.14 Step 14: Add Shading and Highlights to the Neck, Scroll, and Tailpiece
- 1.15 Step 15: Continue to Shade and Highlight the Chinrest
- 1.16 Step 16: Texture the Bow on Your Easy Violin Drawing
- 1.17 Step 17: Finalize Your Violin Sketch
- 2 Frequently Asked Questions
Mastering the Art of Violin Illustration
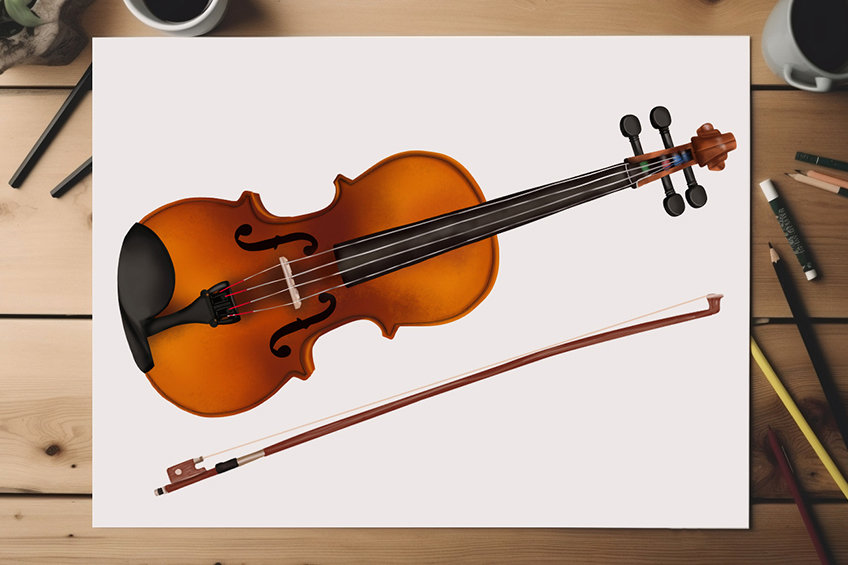
Learn how to draw a realistic violin step by step in our collage below. An easy-to-follow guided tutorial that will teach you how to draw and paint a realistic violin in 17 steps, the easy way!

Step 1: Begin Your Easy Violin Drawing
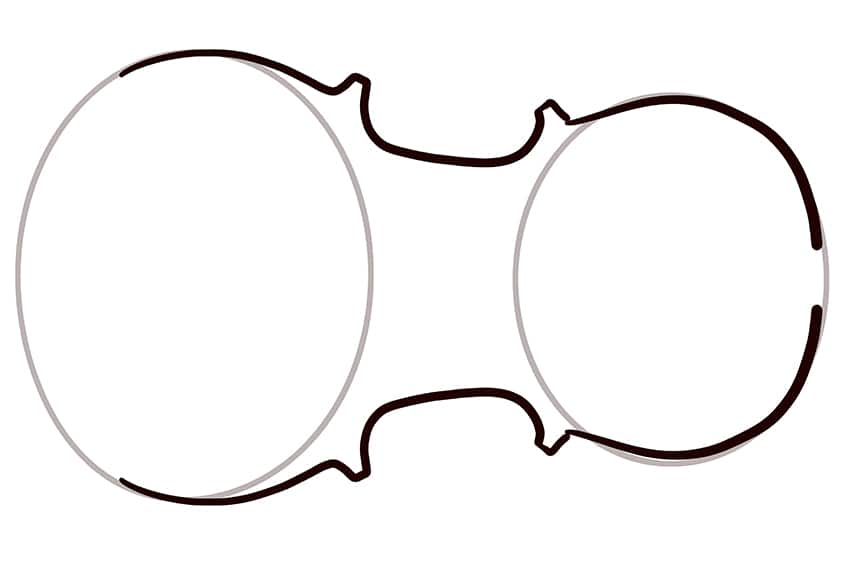
To start our tutorial on how to draw a violin, begin by drawing one large oval shape to the left and one smaller oval shape to the right.

Step 2: Outline the Violin
Utilize the two ovals drawn earlier as a guide to outline the overall shape of the violin.
Step 3: Draw the Violin Neck
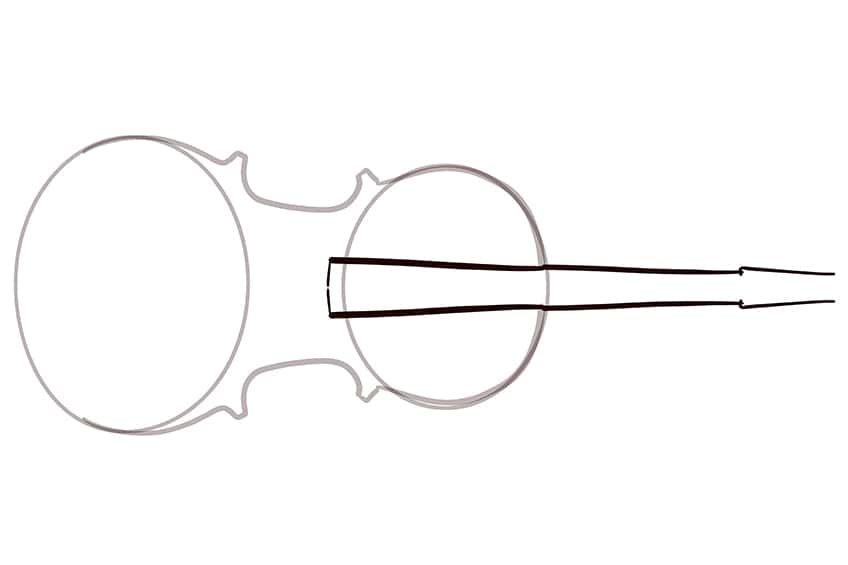
In the center of the smaller oval, draw the extending violin neck. It should begin wide and end narrow.
Step 4: Add the Details to Your Violin Sketch
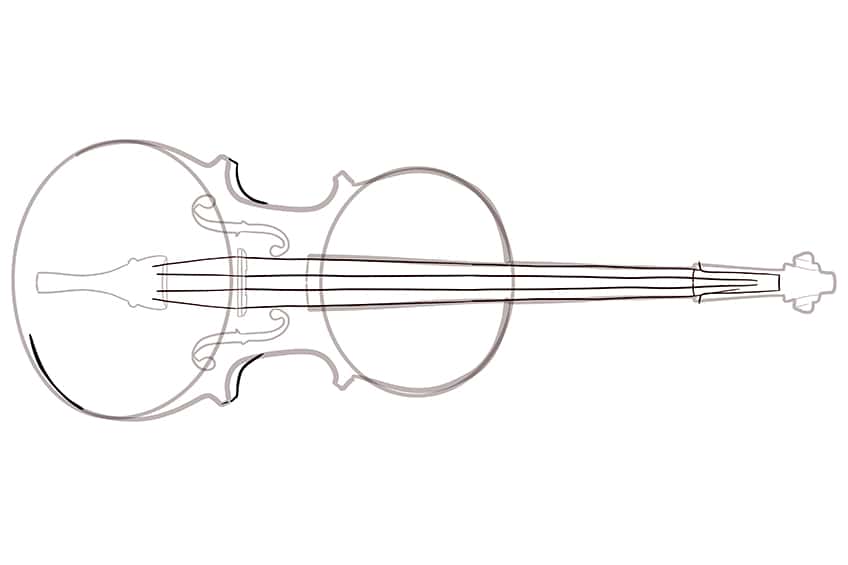
Begin by drawing the two ‘F’ holes and the string bridge between the two ‘F’ holes. At the rear of the violin, draw the tailpiece. Finish the process by sketching the scroll at the tip of the neck.

Step 5: Draw the Strings
Draw the strings leading from the end of the neck all the way to the tailpiece. Finish off this step by finalizing the curvature lines of the main body.
Step 6: Add the Bow to Your Violin Sketch
In playing the violin, the bow plays a pivotal role. Illustrate the bow by drawing two identical, gently curving lines.

Step 7: Draw the Pegs
On each side of the neck, draw the knob pegs of the violin, these are used to tune the strings. At the rear of the violin, draw the curving chinrest plate. Complete the step by drawing the two end pieces of the bow and erasing any still visible construction lines.
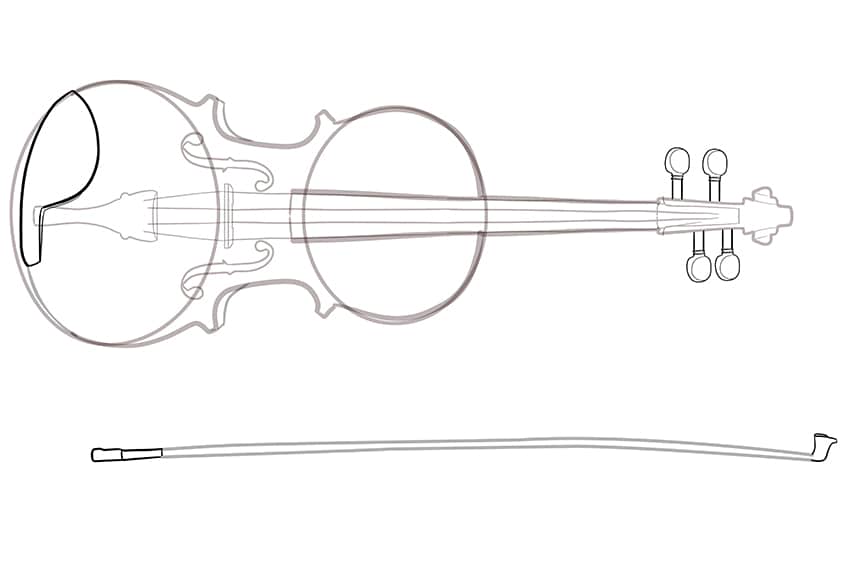
Step 8: Finalize the Bow on Your Easy Violin Drawing
Draw the bow handle and the string leading from the adjustable handle to the end piece of the bow.

Step 9: Begin With the First Color Coat
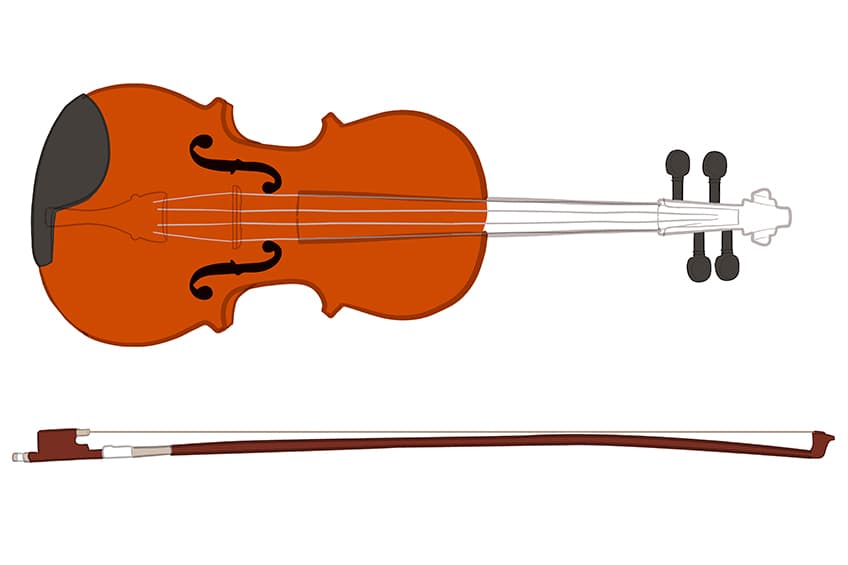
Utilize a fine, sharp brush and bright brown paint to color the main body of the violin. Employ the same type of brush and a darker shade of brown paint to ensure an even coating on the bow.

Step 10: Add the Secondary Color Coat
Use a fine, sharp brush and gray paint to cover the chinrest plate and pegs uniformly. Fill both ‘F’ holes with black paint using a fine, sharp brush. Employ a fine, sharp brush with tan paint to fill the adjustment handles on the bow and outline the strings. Optionally, paint the violin strings at this stage, or you can choose to do it after coloring the neck.
In this instance, we traced the strings with light white paint for reference.
Step 11: Color the Neck on Your Easy Violin Drawing
Apply tan paint with a fine sharp brush to coat the scroll, using black paint for the top of the neck and dark gray for the remaining parts of the neck and tailpiece. Fill the bridge piece with a cream color. Apply dark gray paint to the adjustment components on the bow using a sharp brush. If not done earlier, trace the violin strings with a fine, sharp brush and light gray paint.

Step 12: Color Blend the Violin
Start with a small, soft brush and a darker brown paint to create gentle contours along the center area of the violin, blending softly with its curvature. Then, using a small, soft brush and yellow paint, add subtle highlights to each side of the violin.
Finally, employ a blending brush to merge and soften the color layers, extending the highlights toward the sides of the violin for a seamless finish.

Step 13: Add Texture to Your Violin Sketch
After employing a blending brush, the base appears overly soft and smooth. To address this, utilize a fine, sharp brush, sponge, or rough texture brush with individual colors like black, yellow, brown, and cream. Introduce fine spots and dots on the main body to enhance the base texture, achieving a more realistic appearance.

Step 14: Add Shading and Highlights to the Neck, Scroll, and Tailpiece
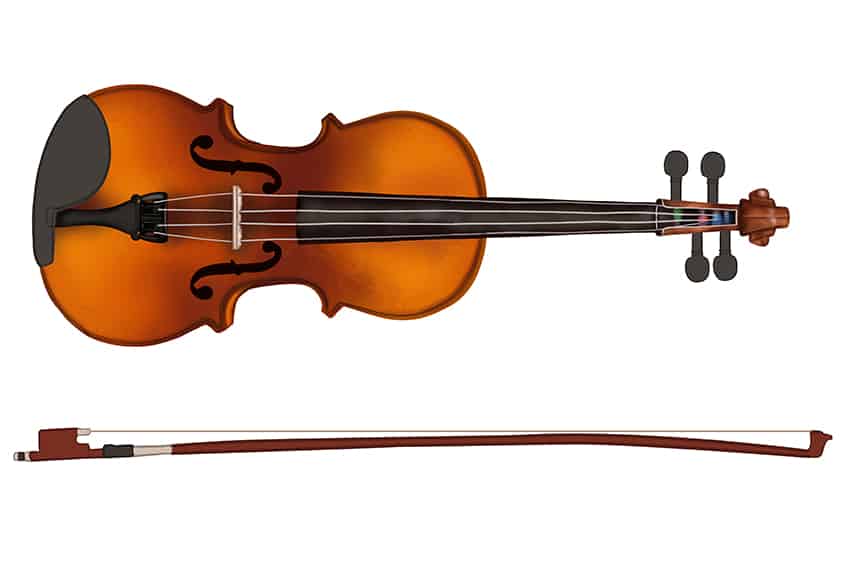
Commence by shading the scroll and upper neck edges using a gentle and darker brown paint. Maintain some visibility of the initial color coat. Add soft highlights to the scroll with white paint. Highlight each string peg with white paint and use a fine, sharp brush with blue, green, red, and navy blue paint for the wrapped-around strings. Proceed to shade the rest of the neck and the rear tailpiece with a small, soft brush and black paint.
Step 15: Continue to Shade and Highlight the Chinrest
Apply soft shading with black paint around the chinrest plate edges, leaving the first color coat visible at the center for highlights. Blend the shading using a blending brush. Apply shading to the edges of the pegs using a soft brush and black paint, and then incorporate highlights using a sharp brush with white paint. Color the string ends with red paint. Lastly, with black paint and a gentle bush, add shading to different parts of each string.

Step 16: Texture the Bow on Your Easy Violin Drawing
Use a small, soft brush with cream paint to highlight the handle, bow arch, and end piece while keeping the first color coat visible. Add rough texture lines to the handle and bow using a fine, sharp brush with cream paint. Shade darker spots on the bow with a soft brush and black paint.

Step 17: Finalize Your Violin Sketch
Eliminate any harsh outlines, and where removal is not feasible, employ a fine, sharp brush with matching colors to trace and achieve a seamless, realistic final representation of the violin and bow.

Well done on completing the journey of learning how to draw a violin through our step-by-step tutorial! Your commitment and imaginative spirit have turned a blank canvas into a musical masterpiece. The strokes of your pencil have brought the enchanting spirit of the violin to life, showcasing your artistic prowess. May this accomplishment be just the beginning of a harmonious adventure in the world of art. Well done, and keep creating with passion and joy!
Frequently Asked Questions
How to Draw a Violin With Additional Details, Like Wood Grain or Varnish Textures?
To draw a violin with additional details like wood grain or varnish textures, focus on incorporating fine lines and shading to mimic the natural texture of wood. Use cross-hatching and varying pressure with your drawing tool to emulate the intricate patterns and glossy finish of the varnish, creating a realistic and textured representation of the instrument.
Are There Common Mistakes to Avoid When Drawing a Violin?
Be cautious with proportions, ensuring the neck and body of the violin maintain a harmonious balance. Avoid overly elongated or compressed shapes, and pay attention to the placement of features like the chin rest and tailpiece.
Matthew Matthysen is an educated multidisciplinary artist and illustrator. He successfully completed his art degree at the University of Witwatersrand in South Africa, majoring in art history and contemporary drawing. The focus of his thesis was to explore the philosophical implications of the macro and micro-universe on the human experience. Matthew uses diverse media, such as written and hands-on components, to explore various approaches that are on the border between philosophy and science.
Matthew organized various exhibitions before and during his years as a student and is still passionate about doing so today. He currently works as a freelance artist and writer in various fields. He also has a permanent position at a renowned online gallery (ArtGazette) where he produces various works on commission. As a freelance artist, he creates several series and successfully sells them to galleries and collectors. He loves to use his work and skills in various fields of interest.
Matthew has been creating drawing and painting tutorials since the relaunch in 2020. Through his involvement with artincontext.org, he has been able to deepen his knowledge of various painting mediums. For example, watercolor techniques, calligraphy and lately digital drawing, which is becoming more and more popular.
Learn more about Matthew Matthysen and the Art in Context Team.


