How to Draw a Boat – An Easy and Realistic Boat Drawing Tutorial
Ahoy there! You are invited on an exciting voyage of artistic discovery today as we learn how to draw a ship, much like those used for the first around-the-world trips. We break this quite complex boat down into very easy-to-follow steps, making this tutorial suitable for artists of any level. If you are ready to set sail, gather your supplies and let us jump right in!
Step-by-Step Realistic Boat Drawing Tutorial
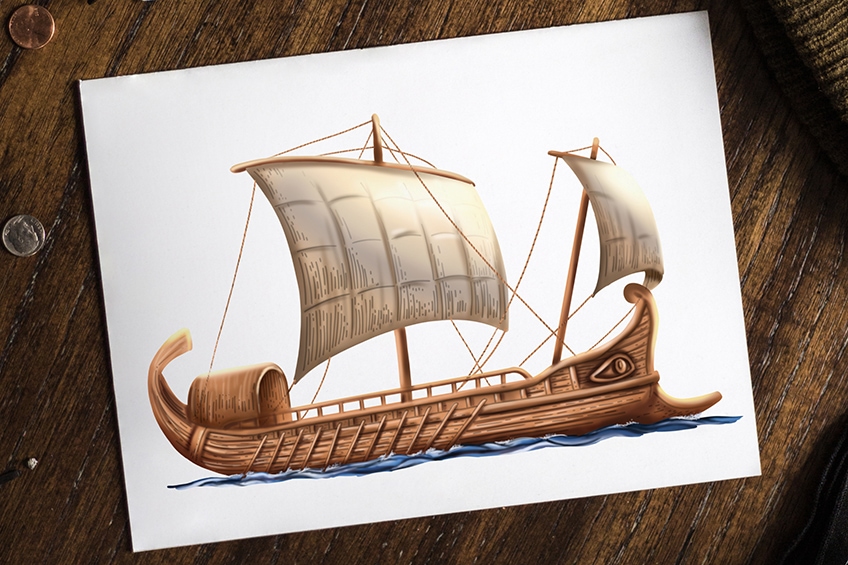
You can see from the main image that the boat sketch we are going to do today is quite complex. There are many small details and tricky elements, but we have tried to make boat drawing easy for all artists. We begin the tutorial with several simple steps that help us to build up the final shape of the boat drawing. We then begin to add the smaller details, before using color to bring our boat drawing to life.
You can see an outline of the different steps in the collage below.
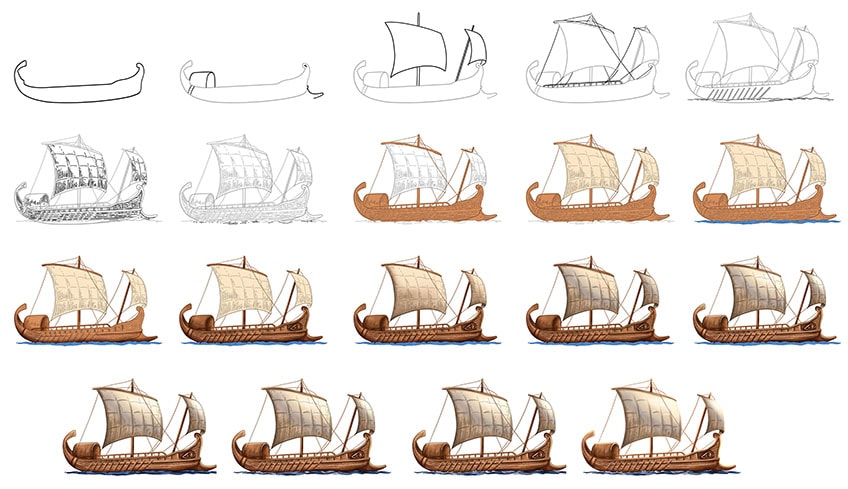
Most of the realism in our drawing of a boat comes from the coloring steps. Whenever you begin learning how to draw a new subject, we find it best to use a coloring medium that you feel most comfortable with. Whether you are a digital artist or prefer physical mediums, you can simply adjust the instructions to suit your needs. If you are using a physical medium, like paint, we suggest using a light pencil for the initial construction and outlining steps. For digital mediums, use a separate layer for these steps.
If you are ready to dive right in, find somewhere comfortable to sit, and let us begin!
Step 1: Shape the Main Body of the Boat Sketch
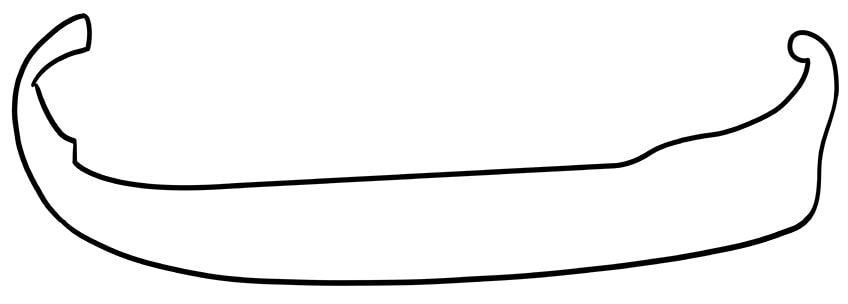
We are going to begin our boat drawing by creating the basic shape of the hull. Start by finding the central point of your drawing area, and begin drawing the long curved shape. The shape is like a canoe, with a curve up and in on either end.
Step 2: Outline Some Details
We are now going to begin adding some smaller details. Begin on the far left end of the boat sketch, drawing a curving canopy shape. Add a small narrow band around the base of the boat drawing below this canopy, and then add a small tear-drop shape in the front point of the boat.
You can also add a small rope-like protrusion from the front (right side).

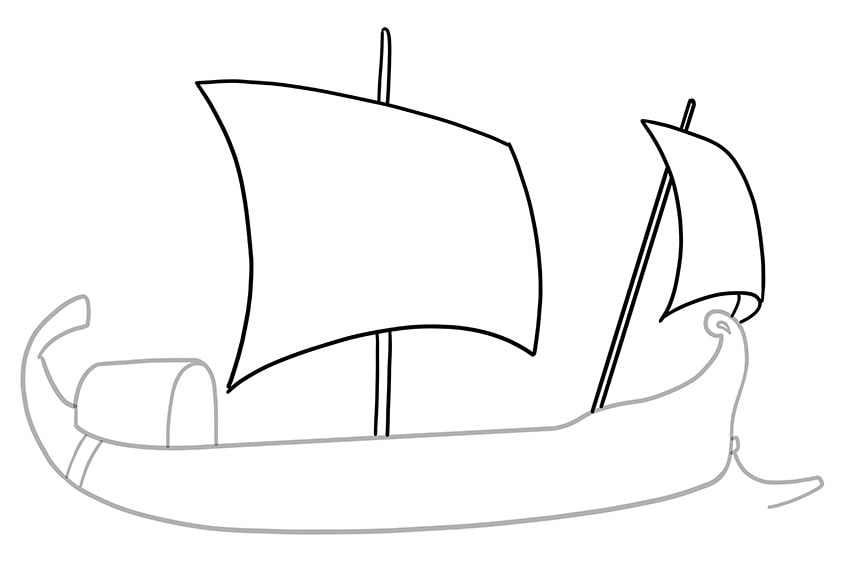
Step 3: Draw the Sails
In this step, we are going to draw the main sail and the front sail of our boat sketch. Begin with the main sail, a large curving rectangle above the middle part of the boat. You can then draw a long mast behind this sail, extending from the base of the boat and up above the top of the sail. You can then draw a smaller and more angled sail above the front bow of the boat.
Again, you can draw the mast which should be angled towards the right side of your canvas and extend slightly above the sail.
Step 4: Add In the Railing and Ropes
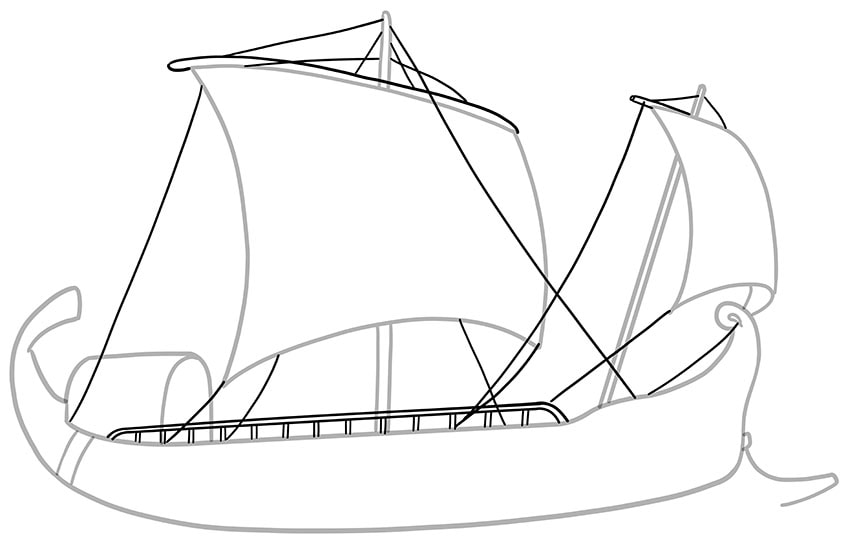
There are two main objectives for this step. Firstly, we are going to draw the railing of the deck, and then we are going to add the sail ropes. Let us begin with the barrier, starting with a curving shape that extends along most of the length of the boat. Then, using equally spaced lines, create several support beams. To complete this step, you are going to add the ropes for the sail. Begin by adding a bar along the top of each sail, and then draw several ropes that extend from the top of the masts to each corner of the sails.
You can also draw some ropes that join the sails to the deck of the boat.
Step 5: Draw the Ocean and the Oars
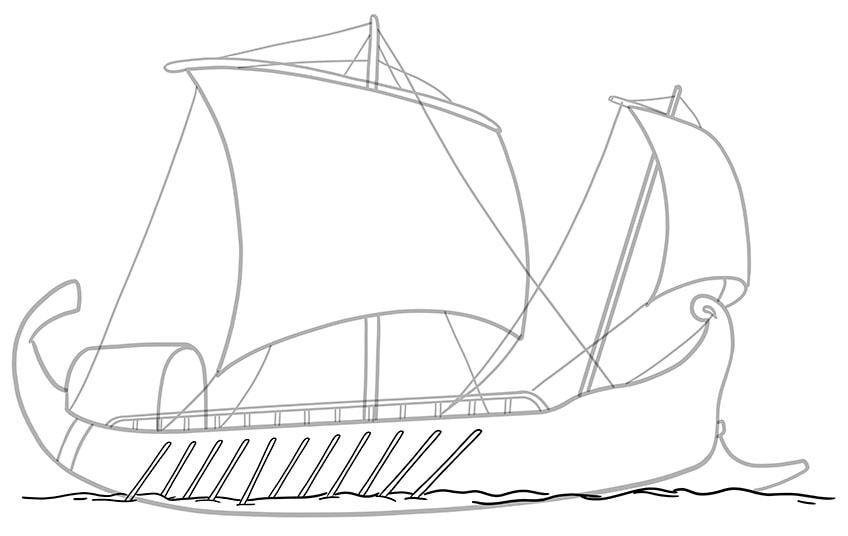
We are now going to add some context to your boat drawing. Begin by creating some gentle ocean waves around the base of the boat drawing. You can then draw some oars that extend from the side of the ship down into these waves. Generally, the oars should be facing backward, but you can create some variation in their angles for additional realism.
Step 6: Create Texture Within Your Realistic Boat Drawing
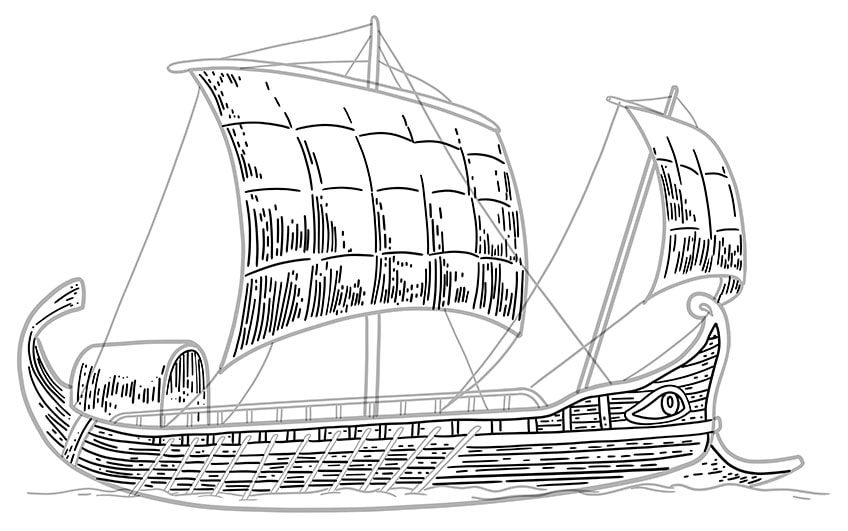
Things are starting to get exciting now. At this stage, we have the basic elements of our boat drawing complete, and we also have some of the finer details. We are now going to add some textural details to the sails and bow. Let us begin with the sails, using some fine horizontal and vertical lines to create a series of blocks.
Within these blocks, add some fine texture lines to emphasize the three-dimensionality.
Next, using fine and long strokes that follow the shape of the bow, create some wooden plank details. Create texture within these planks, and use fine lines to add more texture where you think it is necessary. As a final detailed touch, draw a wooden eye on the front of the boat sketch.
Step 7: Add Some Light Texture to the Waves
We are now going to add some final texture to our sketch before we begin using color. Within the shape of the waves, create some fine arched lines that represent a realistic ocean wave texture.
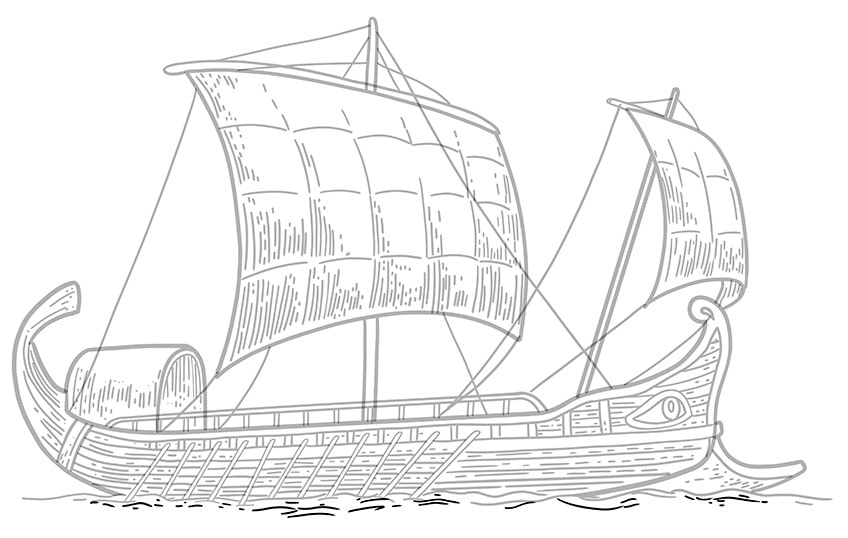
Step 8: Begin Coloring the Wood of Your Boat Sketch
In order to create our realistic boat drawing, we are going to build the color up gradually. In this step, we are going to add a base coat of color to the wooden parts of our boat sketch. Use a regular paintbrush and a light brown shade of paint for this.
Fill the base of the boat with an even coat of color, and then move on to the masts.
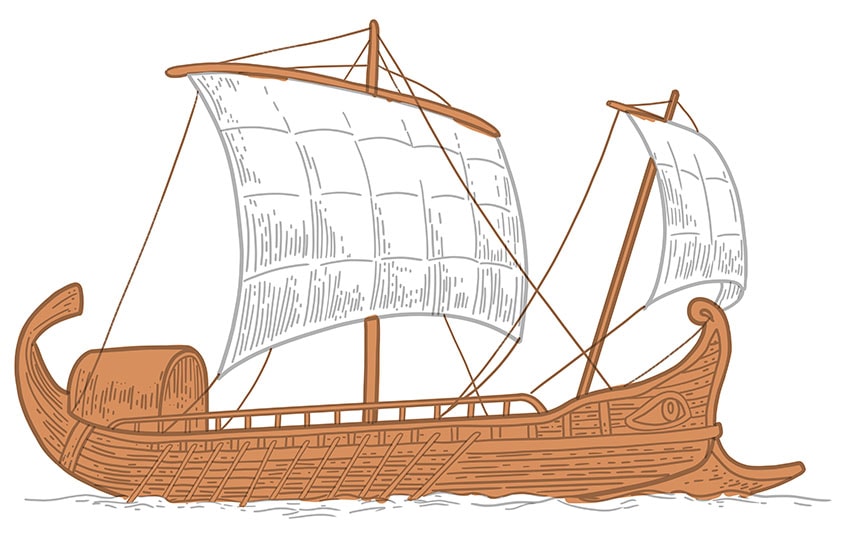
Step 9: Color the Sails
We are now going to complete our base color coat by coloring the sails. Use a regular paintbrush and a light shade of cream paint to carefully color the main sail and the front sail.
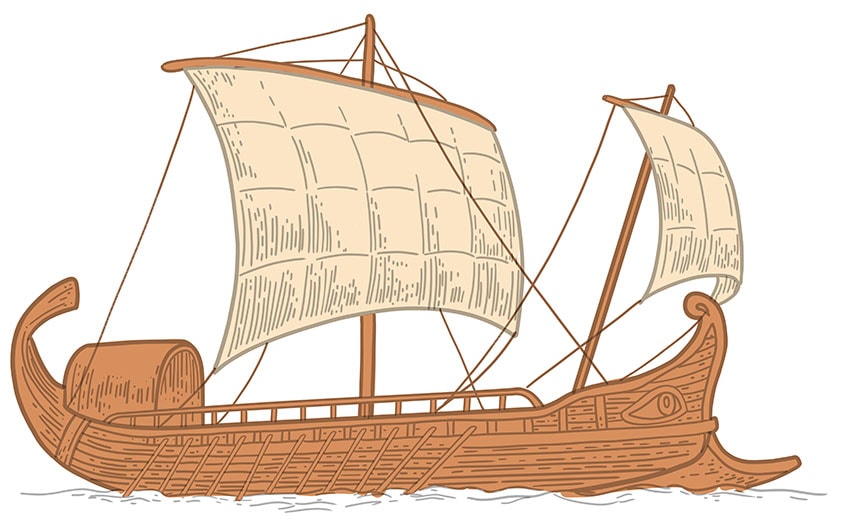
Step 10: Add Some Color to the Ocean
Let us now move on to the ocean, using some light blue paint to fill in the waves surrounding the base of your boat drawing.
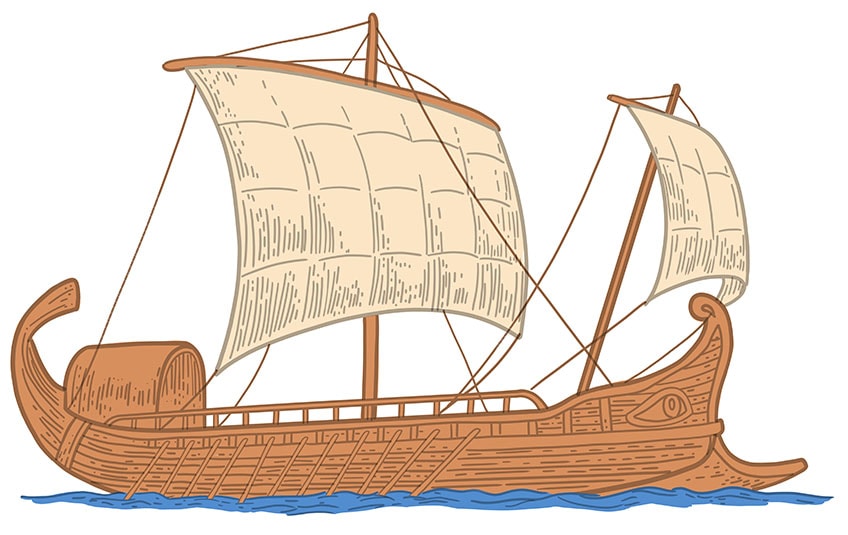
Step 11: Start Contouring Your Boat Drawing
Now that we have the base colors down, we are going to begin adding more structure. For this step, you are going to need a small blending brush and a touch of black paint. Begin to add some definitions between the panels of wood on the side of your boat drawing. You can also add some shading to the masts, the oars, and the back curve of your ship.
Tip: When using black for contouring or shading, always begin very lightly and darken as you need to. Black is almost impossible to remove once you have applied it.

Step 12: Continue Shading Your Boat Sketch
We are now going to continue shading our drawing of a boat with a slightly finer tough. Use a sharp detailing brush and some black paint to add some fine shading along the details on the side of your boat. This will include things like shading around the eye, between each of the planks of wood, and within the canopy.
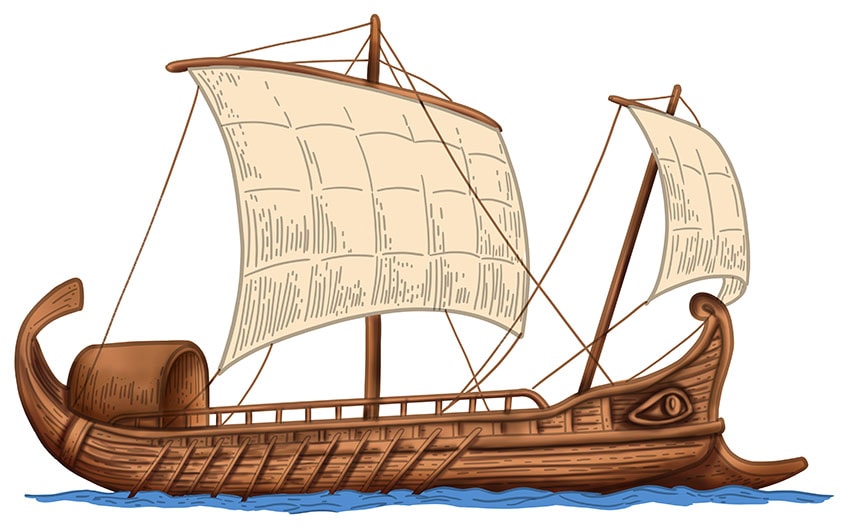
Step 13: Start Shading the Sails
Let us now move on to the sails. With a blending brush and the same brown that you used as the base coat for the boat, create a gentle blend of color up the sails. The bottom and sides of the sails should be slightly darker, and blend smoothly into the lighter cream color at the top.
Tip: For an extra smooth transition, you can use a clean blending brush to carefully all of these colors together.
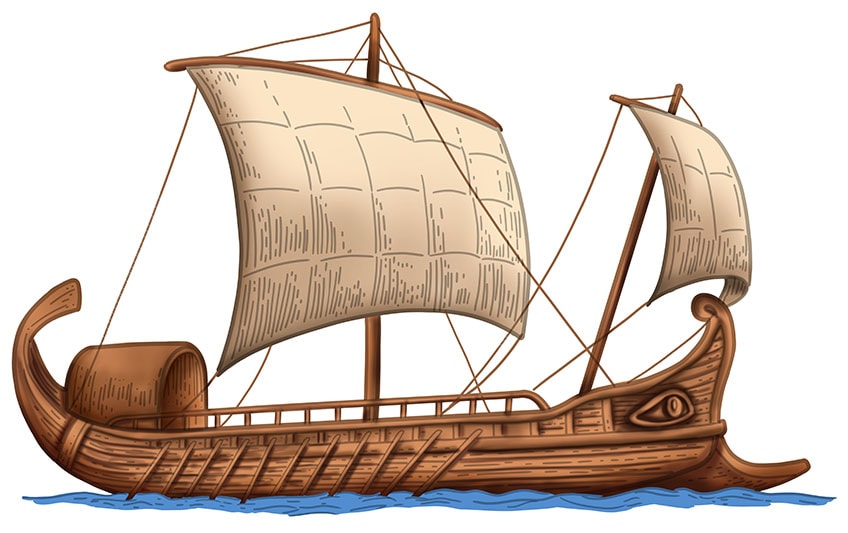
Step 14: Darken the Shading on the Sails
As we did with the body of our boat drawing, we are now going to add more detailed shadows to the sails. With a small blending brush and some dark grey paint, add shadows on top of the textured areas. The grey shading should mostly be focused around the pleats in the sails, around the edges, and above the texture lines.
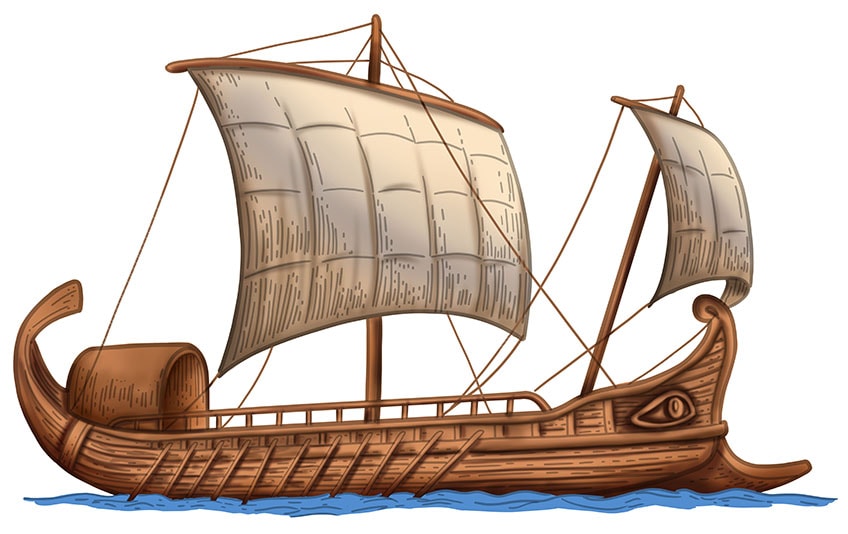
Step 15: Apply Highlights To Your Drawing of a Boat
The last few steps have focused on creating darkness within our boat drawing. We are now going to begin to contrast these shadows with a touch of highlighting. With a blending brush and some white paint, begin by creating a faded highlight on the lightest areas of the sails. Then, with a more detailed brush and white paint, apply highlights to the areas of the boat that are most likely to catch the light. These areas include the top of the canopy, the top of the masts, the railing, and on top of the ores.
Tip: When creating highlights, it is easiest to pick a light source. You can then imagine where the light would hit from that angle.
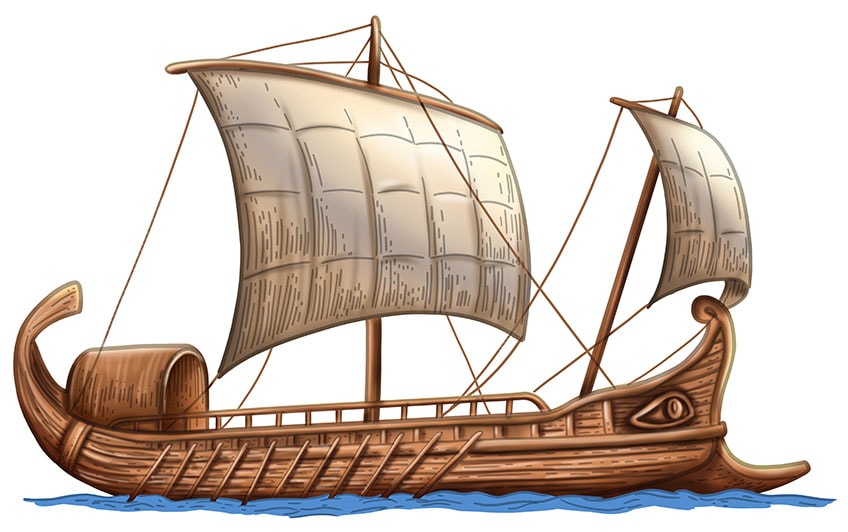
Step 16: Create Three-Dimensions in the Water
We are now going to shift our focus to creating structure within the waves. With a small blending brush and a touch of black paint, apply some light shading along the edges of the water. You can shade beneath the wave lines that you drew previously, giving the impression of moving water.

Step 17: Highlight the Ocean Waves
Just before we finish our realistic boat drawing, we are going to add a few spots of highlight to the water surface. Use a small blending brush and some white paint to apply short strokes of light onto the water surface.
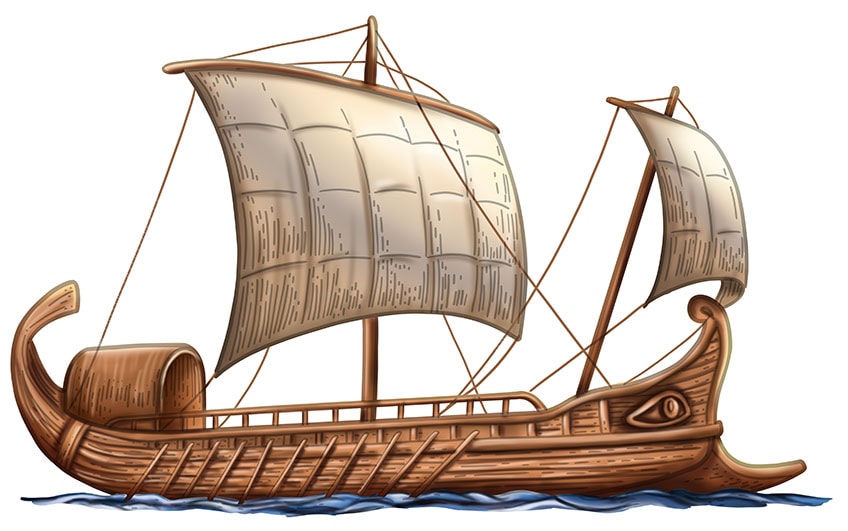
Step 18: Finishing Your Boat Drawing
In this last step, we are going to add some final spots of water spray and then remove the outline. Begin by using a small blending brush and some white paint to create some realistic water splashes against the side of the boat. You can then remove the dark outline form your boat drawing, leaving you with a seamlessly realistic sketch. Use a fine detailing brush and the corresponding color at each point of the outline to carefully trace over it. You can do the same for any inner texture lines.
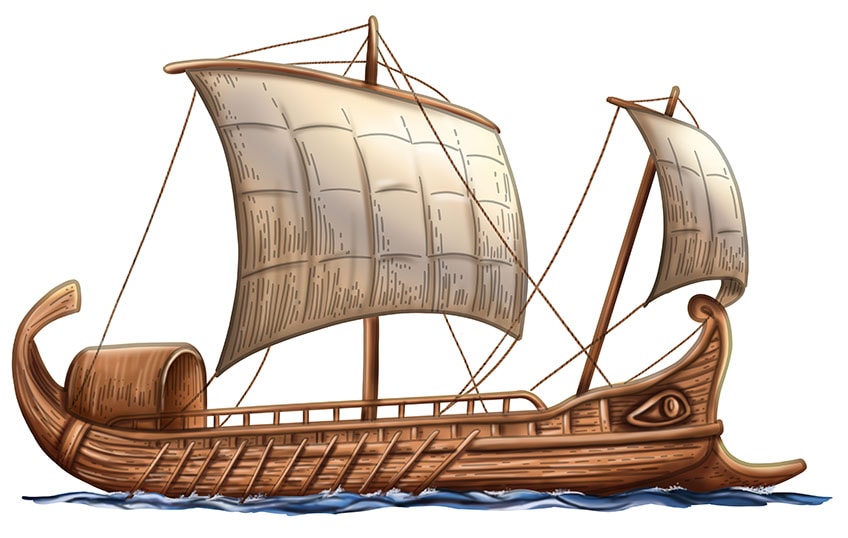
We really hope you have enjoyed your voyage of discovery today! As with all of our drawing tutorials, we hope that we have made boat drawing easy for artists of any levels. You now know how to draw a ship of any kind, following the same basic process.
Frequently Asked Questions
How to Make Boat Drawing Easy?
Learning how to draw a ship can seem like a daunting task. Fortunately, we make it really easy by breaking the process down into easy-to-follow steps. We begin with simple shapes, creating the basic outline of our boat sketch. We then build up a realistic boat drawing by using color to create detail and dimension.
What Colors Do You Need for a Drawing of a Boat?
You only need a few basic colors for this easy and realistic boat drawing. Firstly, you will need several different shades of brown, including one very light cream and a slightly darker shade. You will then also need white, black, and grey for the contouring, Finally, you will need a sea blue shade for the ocean waves around the base of your boat.
Matthew Matthysen is an educated multidisciplinary artist and illustrator. He successfully completed his art degree at the University of Witwatersrand in South Africa, majoring in art history and contemporary drawing. The focus of his thesis was to explore the philosophical implications of the macro and micro-universe on the human experience. Matthew uses diverse media, such as written and hands-on components, to explore various approaches that are on the border between philosophy and science.
Matthew organized various exhibitions before and during his years as a student and is still passionate about doing so today. He currently works as a freelance artist and writer in various fields. He also has a permanent position at a renowned online gallery (ArtGazette) where he produces various works on commission. As a freelance artist, he creates several series and successfully sells them to galleries and collectors. He loves to use his work and skills in various fields of interest.
Matthew has been creating drawing and painting tutorials since the relaunch in 2020. Through his involvement with artincontext.org, he has been able to deepen his knowledge of various painting mediums. For example, watercolor techniques, calligraphy and lately digital drawing, which is becoming more and more popular.
Learn more about Matthew Matthysen and the Art in Context Team.


