How to Draw a Microscope – Realistic Microscope Drawing Tutorial
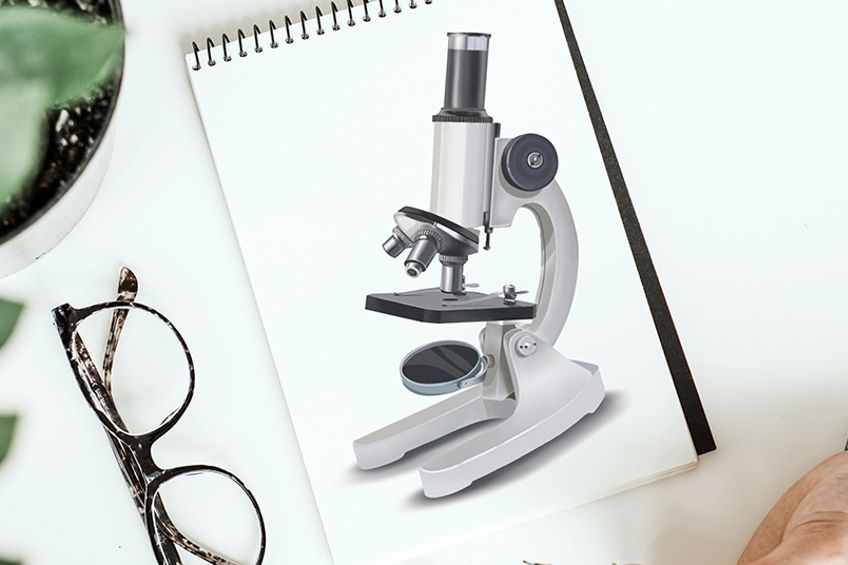
We are looking at things up close today as we create a realistic compound microscope drawing! This is quite a long and complex tutorial, but we make sure that our microscope drawing guide is as easy-to-follow as possible. We break the process down into several simple steps, making our microscope pencil drawing tutorial perfect for artists of any level. If you are ready to begin your microscope sketch, gather your drawing supplies, and let us begin!
Table of Contents
- 1 How to Draw A Microscope that Is Hyperrealistic
- 1.1 Step 1: Begin with the Eyepiece
- 1.2 Step 2: Shape the Microscope Head
- 1.3 Step 3: Outline the Arm Frame
- 1.4 Step 4: Draw the Objective Lenses
- 1.5 Step 5: Outline the Slide Platform
- 1.6 Step 6: Draw the Base Of the Microscope Sketch
- 1.7 Step 7: Shape the Illuminator
- 1.8 Step 8: Begin Coloring the Eyepiece
- 1.9 Step 9: Add Color to the Head of the Microscope Drawing
- 1.10 Step 10: Apply Color to the Arm
- 1.11 Step 11: Color the Objective Lenses
- 1.12 Step 12: Color the Mechanical Platform
- 1.13 Step 13: Apply Color to the Base of Your Microscope Drawing
- 1.14 Step 14: Complete the Base Color Coat
- 1.15 Step 15: Create Details for the Eyepiece
- 1.16 Step 16: Create Shading Detail in the Microscope Head
- 1.17 Step 17: Apply Shading to the Arm
- 1.18 Step 18: Add Details to the Adjustment Dial
- 1.19 Step 19: Create Detail on the Top of the Objective Lens
- 1.20 Step 20: Create Details on the Three Lenses
- 1.21 Step 21: Shade the Mechanical Platform
- 1.22 Step 22: Detail the Slide Holders
- 1.23 Step 23: Apply Shadows to the Base of the Microscope Sketch
- 1.24 Step 24: Shade the Bottom Part of the Arm
- 1.25 Step 25: Enhance the Detail on the Left Side of the Base
- 1.26 Step 26: Create Detail in the Lower Adjustment Dial
- 1.27 Step 27: Create Detail on the Illuminator
- 1.28 Step 28: Create a Ground Shadow Beneath the Microscope Drawing
- 1.29 Step 29: Finish Your Microscope Drawing
- 2 Frequently Asked Questions
How to Draw A Microscope that Is Hyperrealistic
A compound microscope drawing like this has many different elements and small details. When you first approach it, you will probably be a little overwhelmed about where to start. If you follow our microscope drawing tutorial, we take that worry away from you! We break the microscope sketch down into very easy, small, and digestible steps. You can see an outline of the tutorial below. The first few steps are basic construction steps, where we use very simple shapes to gradually build up our microscope outline. We then add the finer details, before using color to bring our microscope sketch to life!
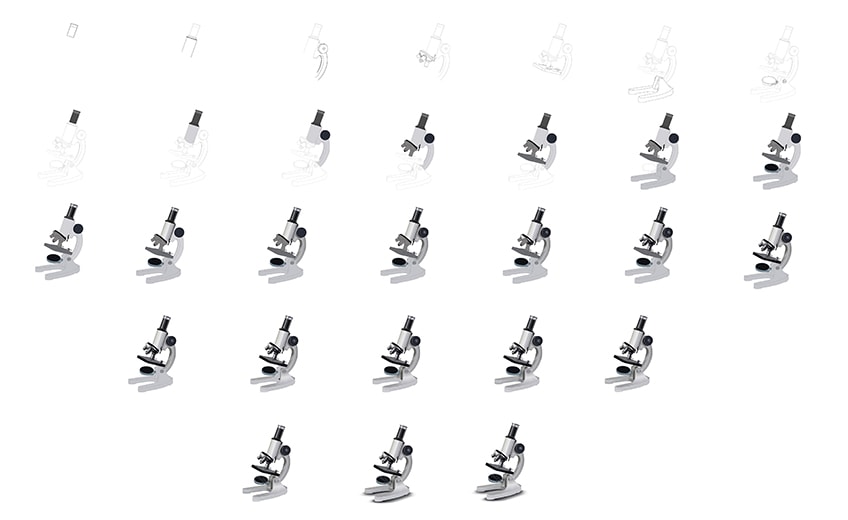
You can see that most of the steps of this microscope drawing tutorial focus on the use of color. As with all of our tutorials, we recommend sticking to the drawing medium that you feel most confident and comfortable with. Our instructions are written for a painting medium, but you can easily adjust them to suit digital or even coloring pencil mediums. For physical mediums, you should use a light pencil that can be easily erased for the initial outline steps. For digital artists, we suggest using a separate layer for these initial steps so that you can easily remove them later.
If you are ready to embark upon our journey of discovery, find somewhere comfortable to sit, and let us begin!
Step 1: Begin with the Eyepiece
We are going to begin our microscope drawing by creating the upper eyepiece. This is a very simple shape and will help us place the rest of our microscope sketch in relation to it. Begin by finding the central point of your drawing area. Here, draw a slightly angled rectangular shape. You can then draw a slightly curved and slightly wider top to this eyepiece. Finally, draw a separation line slightly below the top of this shape. Remember to leave plenty of space below this first shape, as a microscope is quite long and this is the highest part of it.

Step 2: Shape the Microscope Head
In this step, we are now going to draw what is called the head of the microscope eyepiece. This shape is a downwards continuation of the previous step. Attached to the bottom of the eye piece, create a slightly curved trapezium shape that gets a little wider as it goes down. You can then draw the diopter adjustment ring with many little lines within it. Finally, draw two straight lines that continue downwards from the eyepiece at the same angle.

Step 3: Outline the Arm Frame
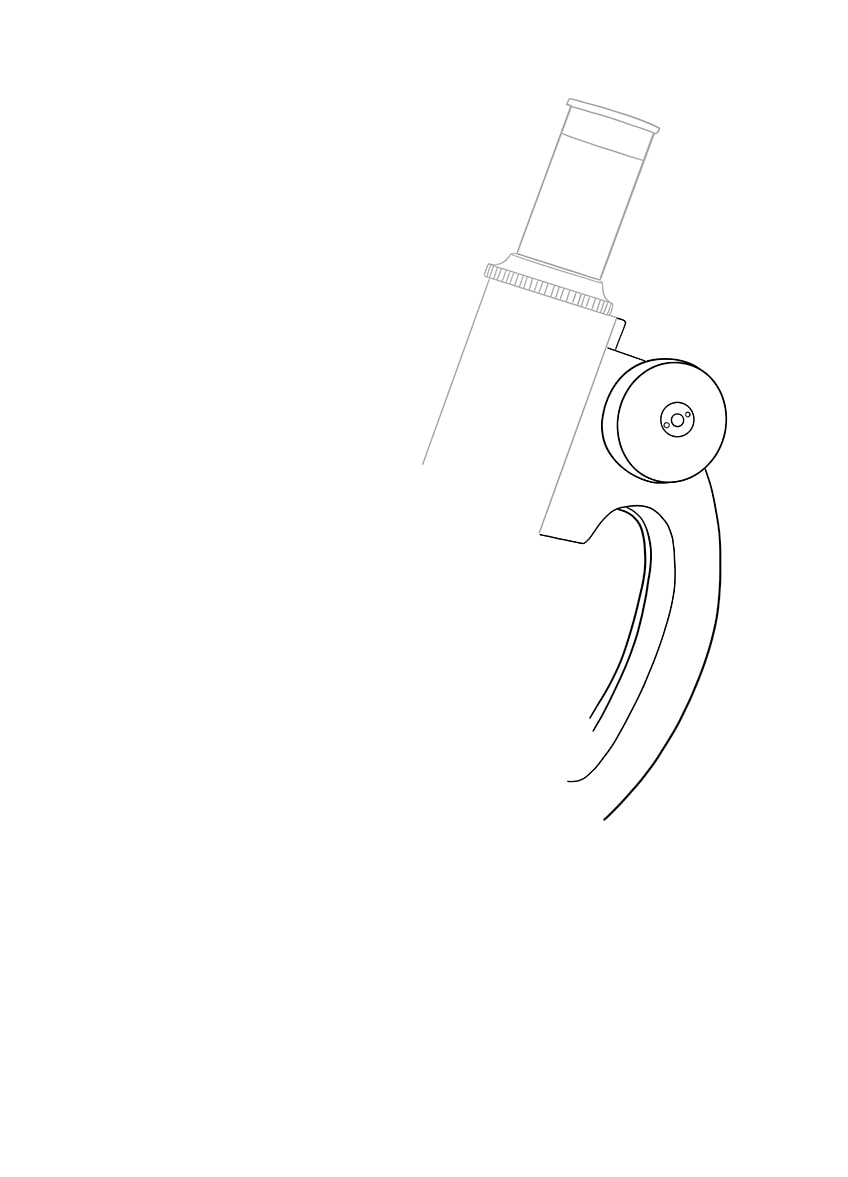
We are now going to draw the arm that the microscope uses to swivel back and forth. Attached to the right side of the head from the previous step, draw two curving lines. You can then make this three-dimensional by drawing two smaller curved lines in the way you can see below. You can then draw the arm adjuster using several different-sized circles. Begin with a large circle, and then two much smaller ones in the center.
You can then add some other details, making the adjuster three-dimensional.
Step 4: Draw the Objective Lenses
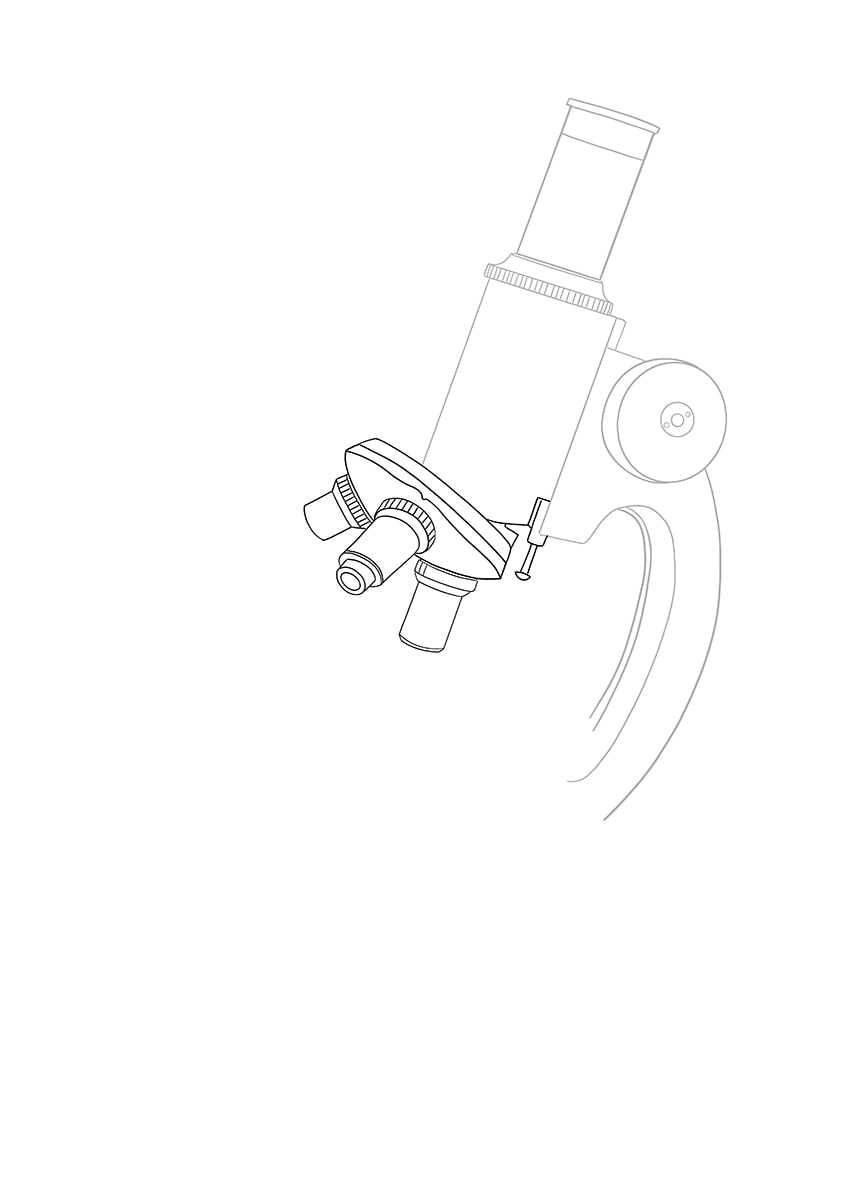
This step is likely to take quite a while as there is a lot of detail. Take your time, as the effort here will pay off in the long run. Attached to the bottom of the head, you are now going to begin by drawing a half oval shape. This will represent the curving panel. You can draw another line to create a rim around the hub. Next, you can draw the individual objective lenses, each with a visible adjustment ring at the bottom, and a separating line just above this ring. Remember that these lenses should be angled in different directions.
Finally, you can draw the adjusting pin that sits between the head and the arm.
Step 5: Outline the Slide Platform
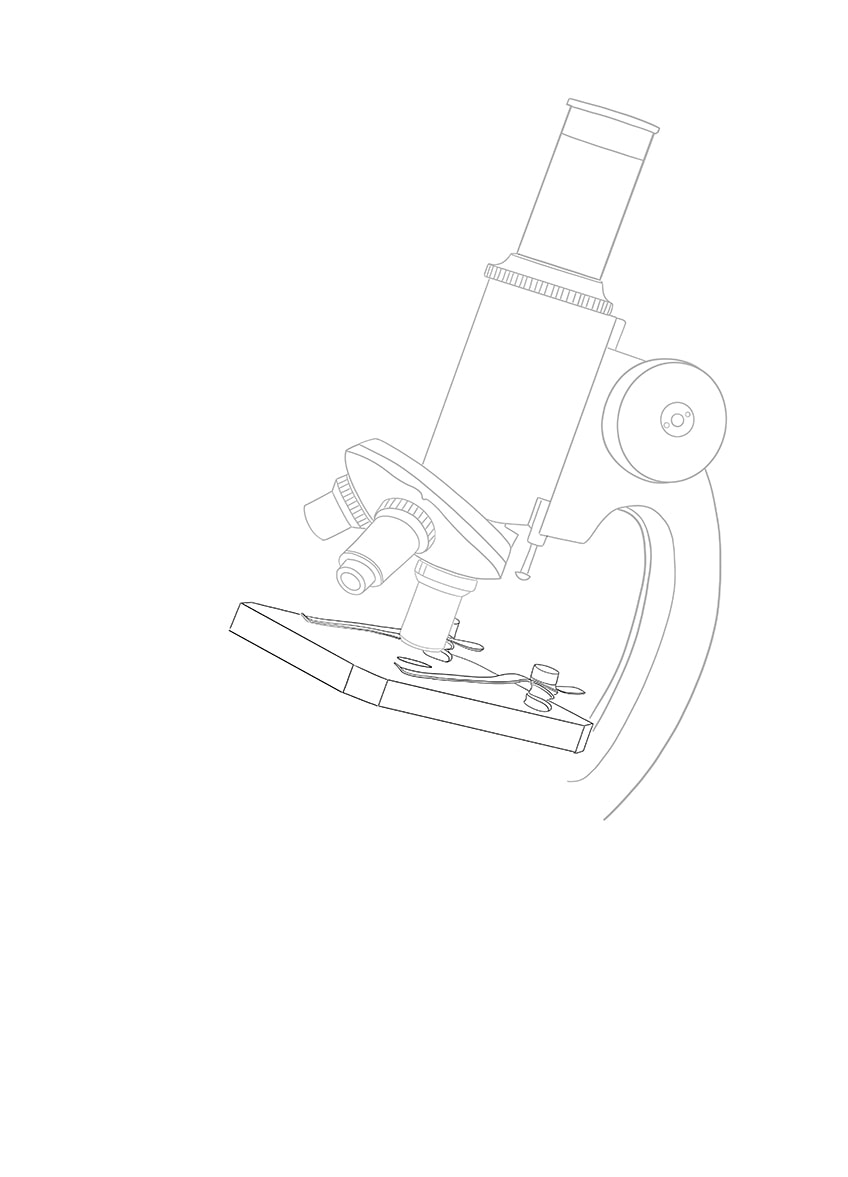
In this step, we are going to draw the platform where the glass slides sit in the microscope. This is going to be an angled rectangular shape that slopes downwards to the right slightly. Begin by drawing the three-dimensional slab, and then move on to adding the details. These details include a pressure holder on each side, with a pin on the right end. Finally, draw a small hole in the center of the platform, just below the objective lens.
Step 6: Draw the Base Of the Microscope Sketch
We are now going to draw the base of the microscope that attaches to the arm and the platform. Begin by drawing a rectangle that extends from the bottom of the platform to the left side of the page. You can then draw the base attached to this little arm. This base can be drawn in the form of two curving oval shapes. Remember to make this arm and the base three-dimensional with an additional line.
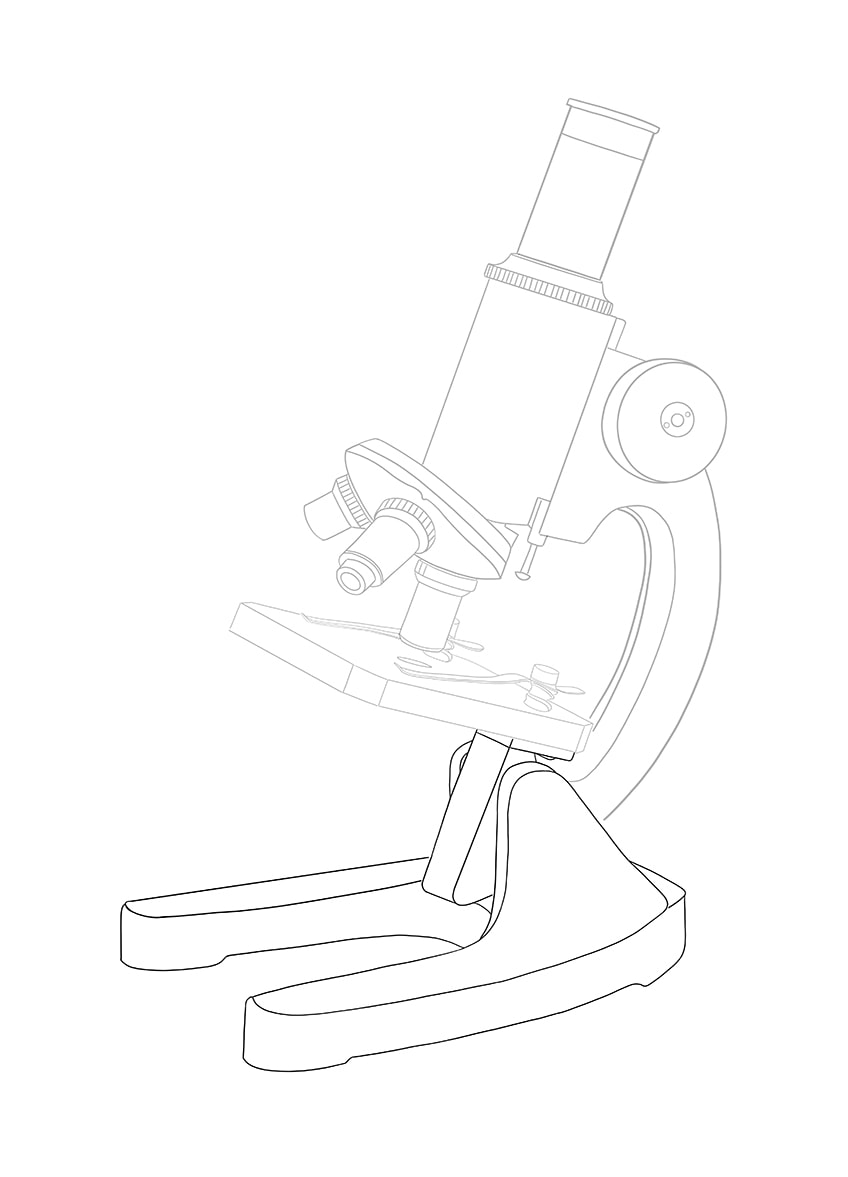
Step 7: Shape the Illuminator
This is the final construction step for our microscope sketch. In this step, we are going to draw the illuminator, which looks a little like a swivel mirror. Attached to the angled arm from the previous step, draw a hinge and a large circle that is slightly angled towards you. On the side wall of the bottom base, you can draw a tightening screw in the same way that you drew the larger screw for the arm.
Once you have completed your illuminator, you can erase any overlapping lines.
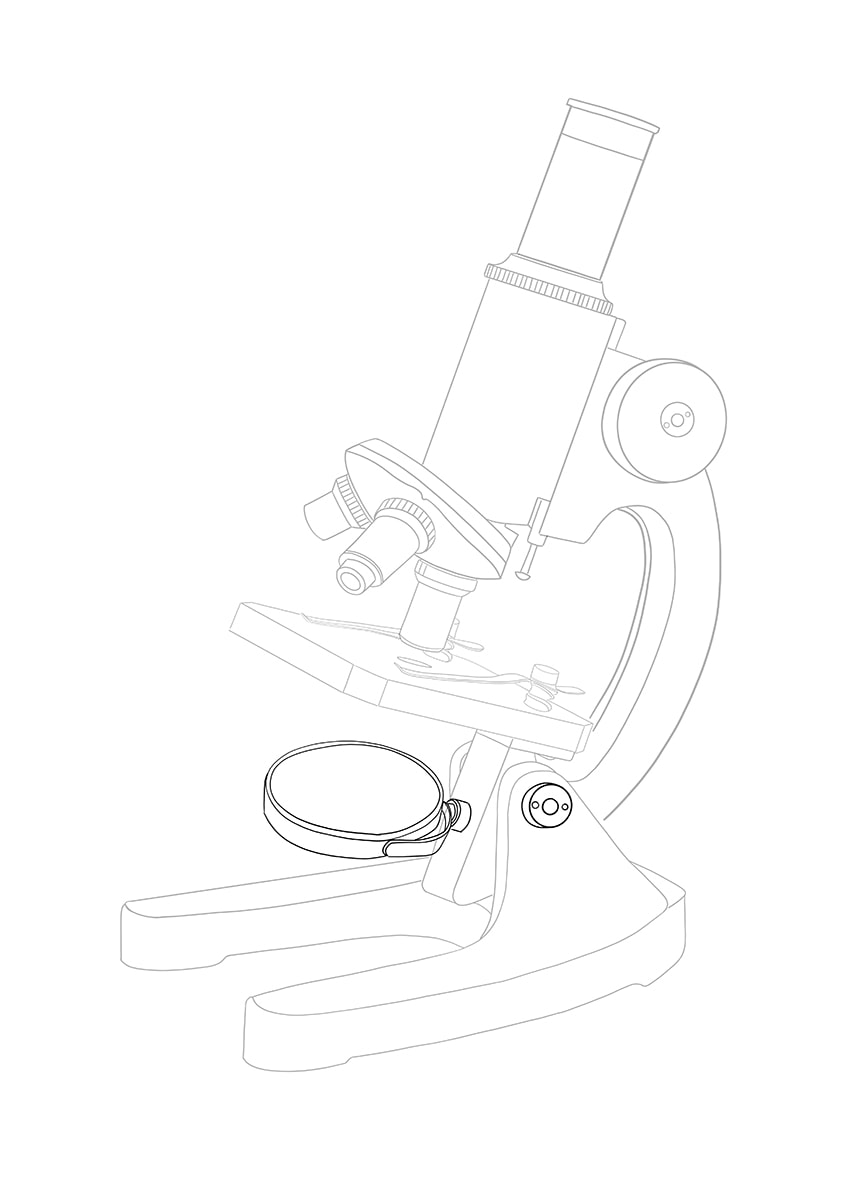
Step 8: Begin Coloring the Eyepiece
In this step, we are finally going to begin adding realistic color to our microscope drawing. In order to create a realistic microscope sketch, we are going to gradually build up the color with several different layers. First, we are going to create a base coat of color on the eyepiece. Use a regular paintbrush and some light grey paint to fill the small band just below the top of the eyepiece. Then, with a slightly darker shade of charcoal grey, fill the remaining areas of the eyepiece with an even coat of color.
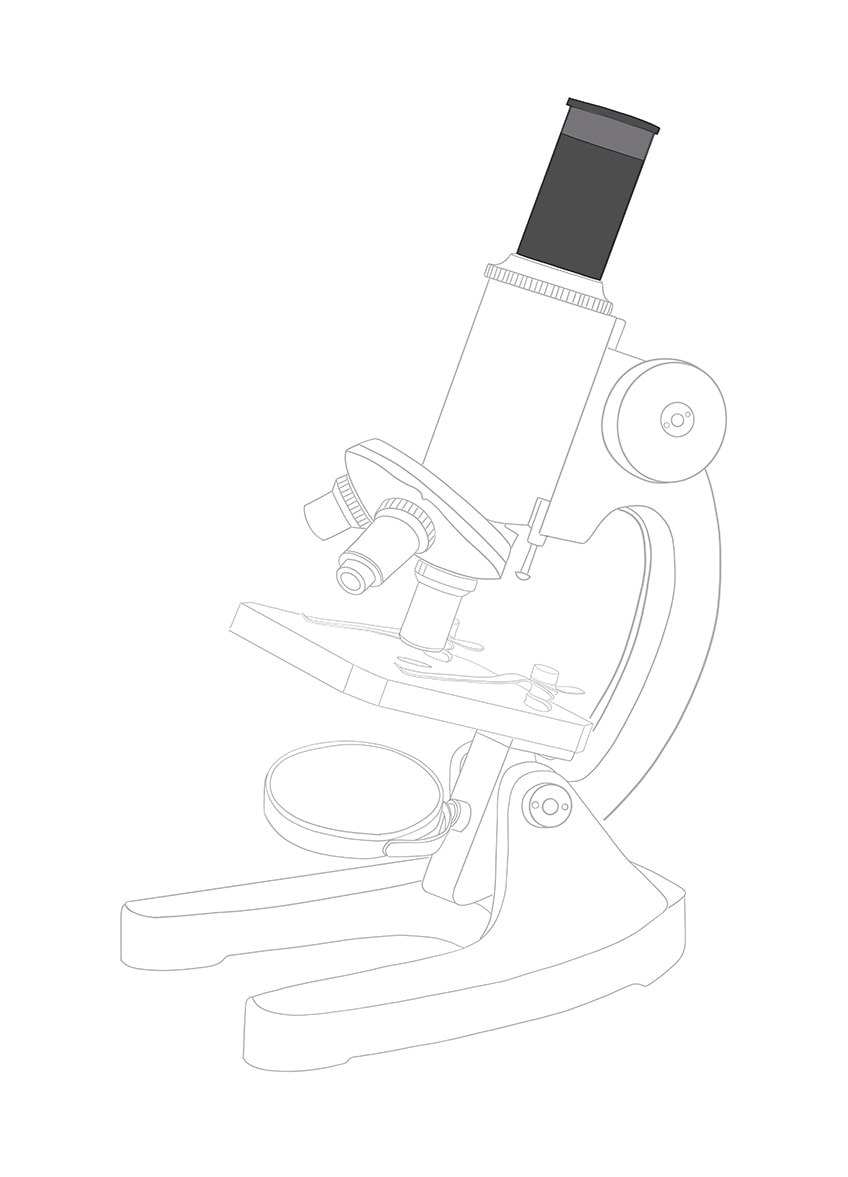
Step 9: Add Color to the Head of the Microscope Drawing
We are now going to add a base coat of color to the head of the microscope. For this, you will need a very light shade of grey and a regular paintbrush. Ensure that the coat is very even without any patches or blotches.
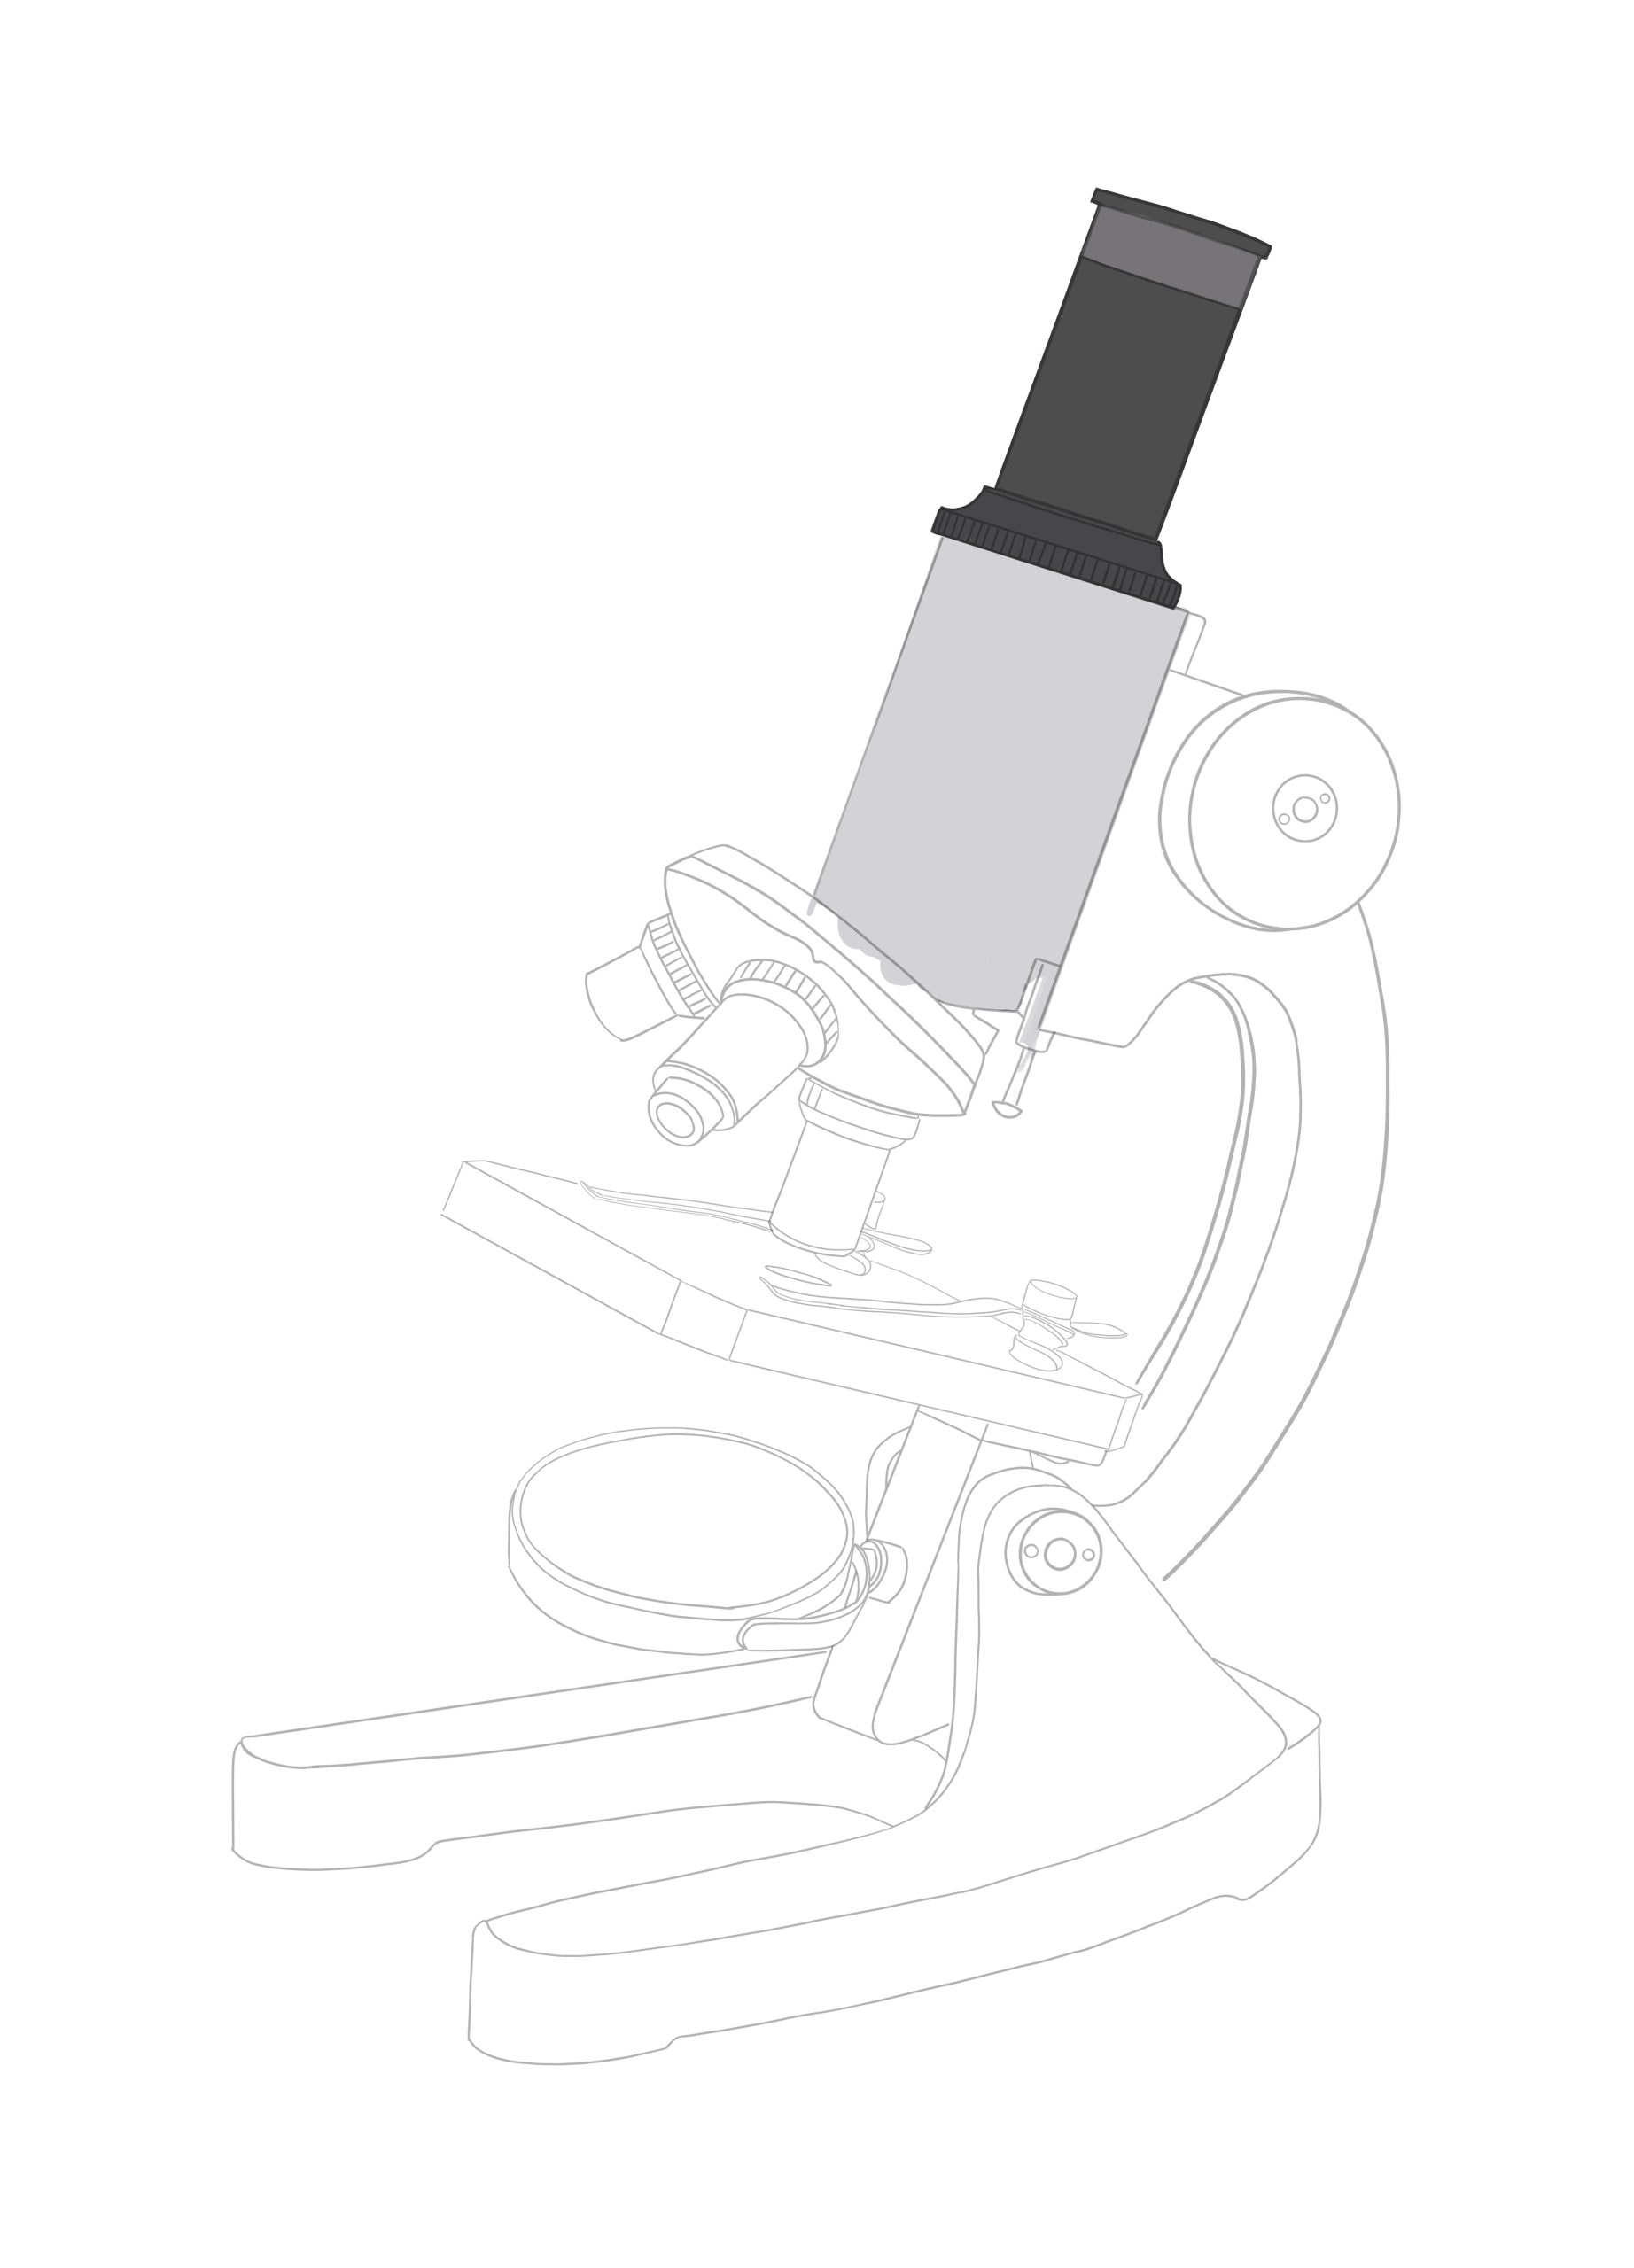
Step 10: Apply Color to the Arm
We are now going to add some color to the arm and the adjuster. For the arm itself, you are going to need the same light shade of grey that you used for the head in the previous step. Apply this color with a regular paintbrush. For the arm adjuster, you are going to need a very dark shade of charcoal grey, slightly darker than what you used for the eyepiece. Apply an even coat of color to the adjuster.

Step 11: Color the Objective Lenses
The coloring of the objective lenses is going to require a little more detail than the previous few steps. Begin with a fine brush and some black paint. Use these tools to color the upper rim of the objective lenses, the inner circle at the bottom of the one objective lens, and the little adjuster.
You can then use a medium shade of grey and a regular paintbrush to fill the body of the objective lenses.
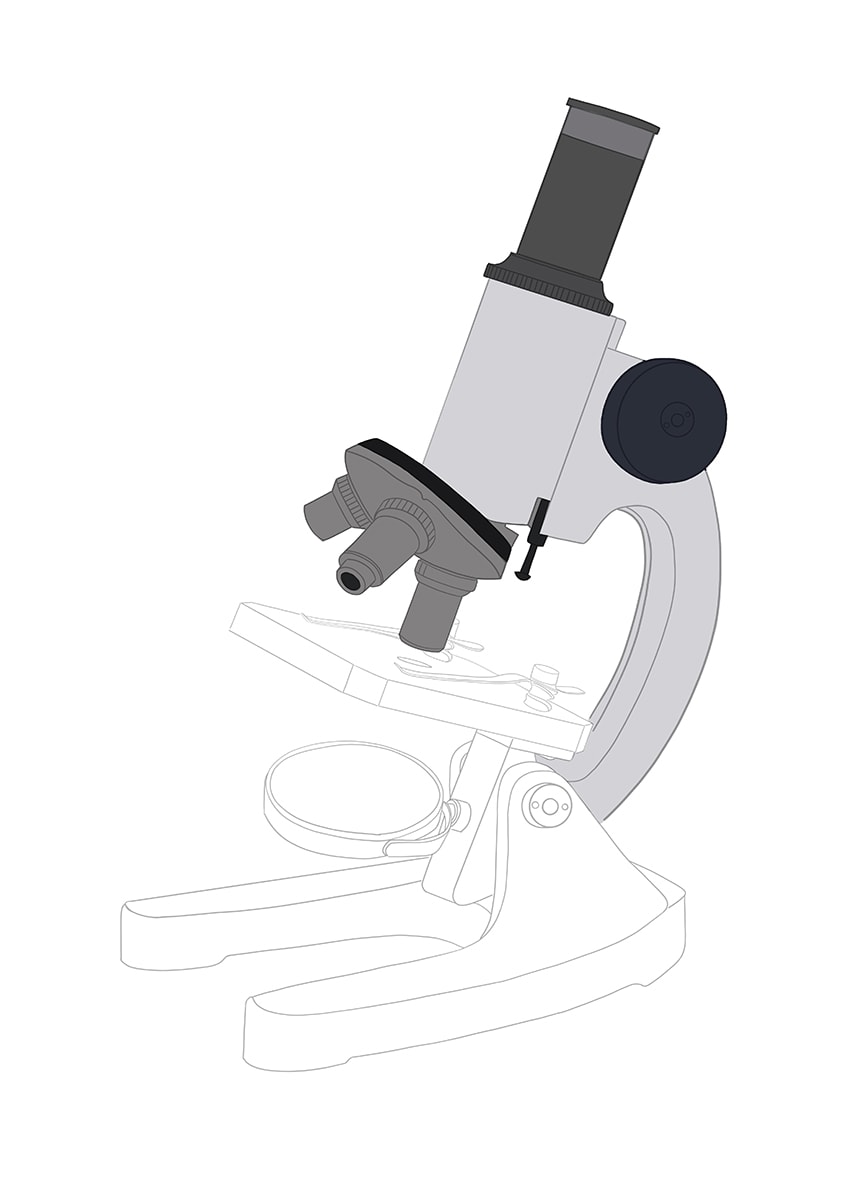
Step 12: Color the Mechanical Platform
We are now going to color the mechanical platform with an even base coat. You will need a slightly darker shade of grey than the one you used for the objective lenses. You can then use a regular brush to apply an even coat of color to the entire platform, including the pins and the hole.

Step 13: Apply Color to the Base of Your Microscope Drawing
We are almost finished with the base color coat of our microscope sketch. In this step, we are going to use a regular brush and the same light grey color to apply an even coat of color to the entirety of the base. Then, to finish this step, use a smaller brush and a slightly darker shade of grey to color the tightening screw.
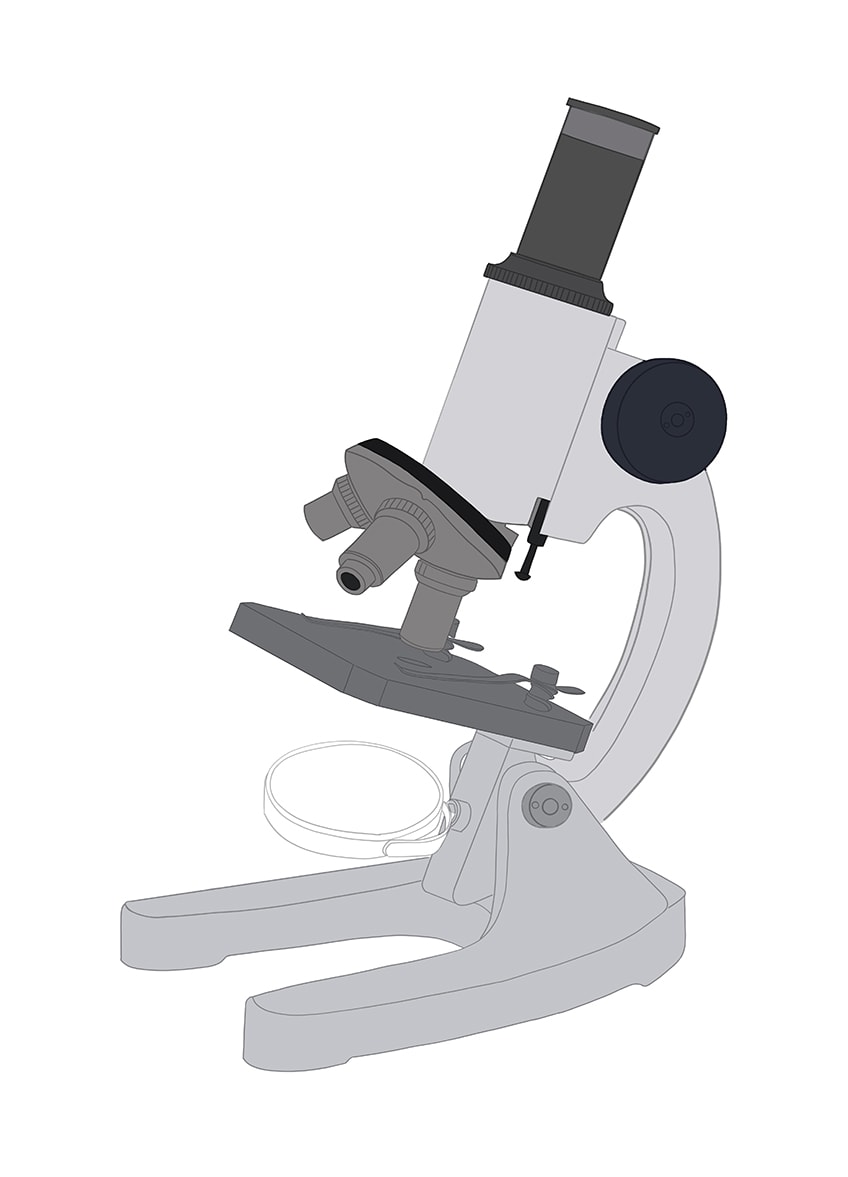
Step 14: Complete the Base Color Coat
As we come to the end of our base coloring process, we are going to color the light source. Begin with a small regular paintbrush and some black paint, filling the inner circle of the illuminator. Then, with the same brush and some dark teal color, paint the hinge holding the illuminator and the rim around it. 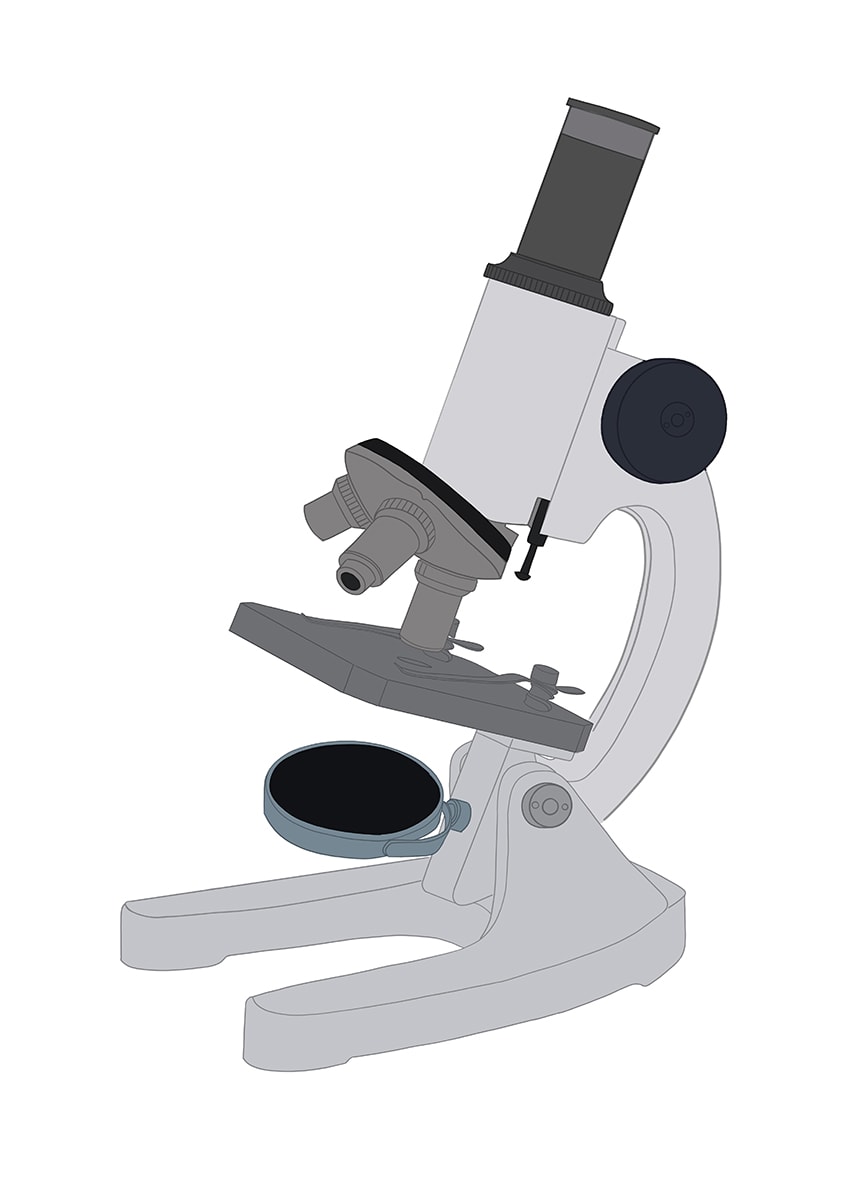
Step 15: Create Details for the Eyepiece
We are now going to create some more realistic dimensions for the eyepiece of our microscope pencil drawing, using shading and highlighting. Begin with a small blending brush and some black paint, and apply several soft coats up and down the eyepiece. You can do this for the upper ring of the eyepiece and the bottom part. Ensure that the base color coat is still visible in some places. Next, use a small blending brush and a combination of white and light grey paint to create a silver-like color on the separation part. To complete this step, you are going to create a soft highlight along the left side of the eyepiece. Use a small blending brush and some white paint to create a soft reflection line that runs the entire length of the eyepiece.
Tip: for additional realism, apply your brush strokes in the direction of the overall shape.
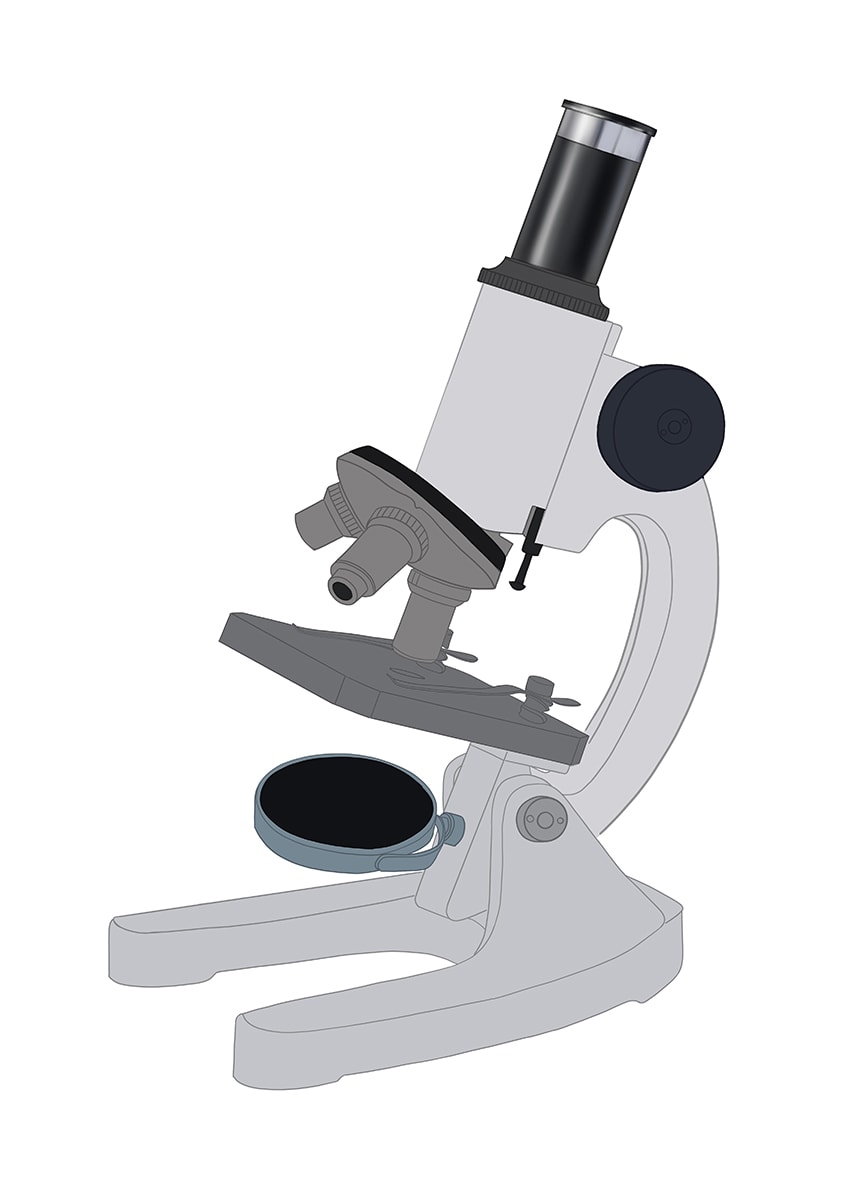
Step 16: Create Shading Detail in the Microscope Head
In this step, we are going to repeat the process from the previous step, creating some contoured dimensions on the head of our microscope drawing. Begin with a small blending brush and some white paint, applying a gentle shine to the center of the head. Then, use a combination of cream, white, and grey paint to create a soft color fade along the curvature of the head. You can then use a fine detail brush and some white paint to apply fine hairline strokes between these different shades. To create a smoother blend, use a clean blending brush to soften the transition between these different colors.
To finish this step, use a small blending brush and some black paint to fill the adjusting ring of the eyepiece, leaving some of the base color visible between the edges of each gear.

Step 17: Apply Shading to the Arm
In this step, we are going to shade and highlight the arm of our microscope drawing. Begin by using a small blending brush and a darker shade of grey to add a light shadow to the edges of the frame on both sides. You can also blend this shading into the center of the arm, transitioning into the base color coat. Next, using a small blending brush, paint a soft shadow below the adjuster dial. You can then paint the edge of the frame arm where it joins the head. Repeat the process of this step using gradually darker shades of grey, creating a natural shaded look.
Finally, use a small blending brush and some white paint to add a final highlight between the layers of shading.
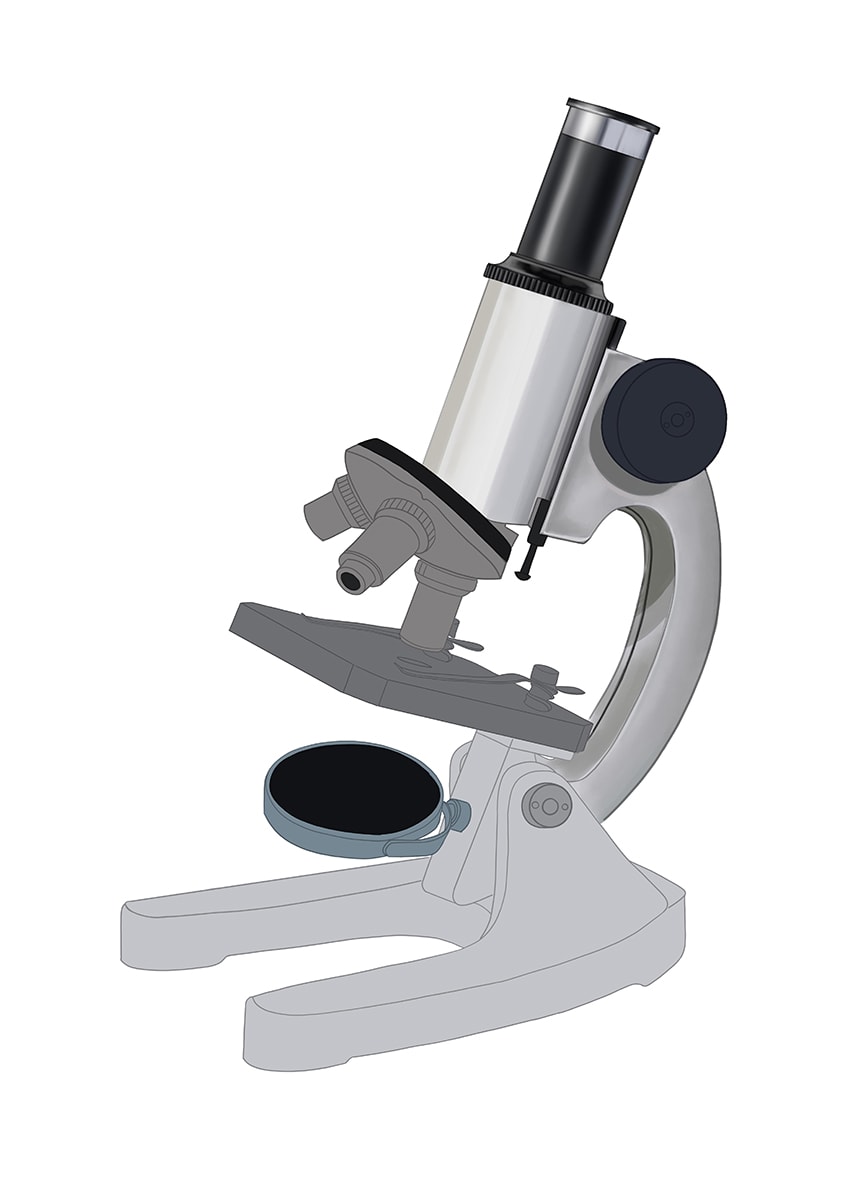
Step 18: Add Details to the Adjustment Dial
We are now going to add some fine color details to the adjustment dial on the arm. Use a small blending brush and some black paint to apply several soft brush strokes to the outer dial. Next, with a fine detailing brush and a mixture of grey and white paint, add a fine highlight to the edge of the outer dial and the inner dial. You can then apply grey paint to the remaining area of the inner dial. To finish this step, use a small blending brush and some dark navy blue paint to create an inner circle between the inner and outer portion of the dial.
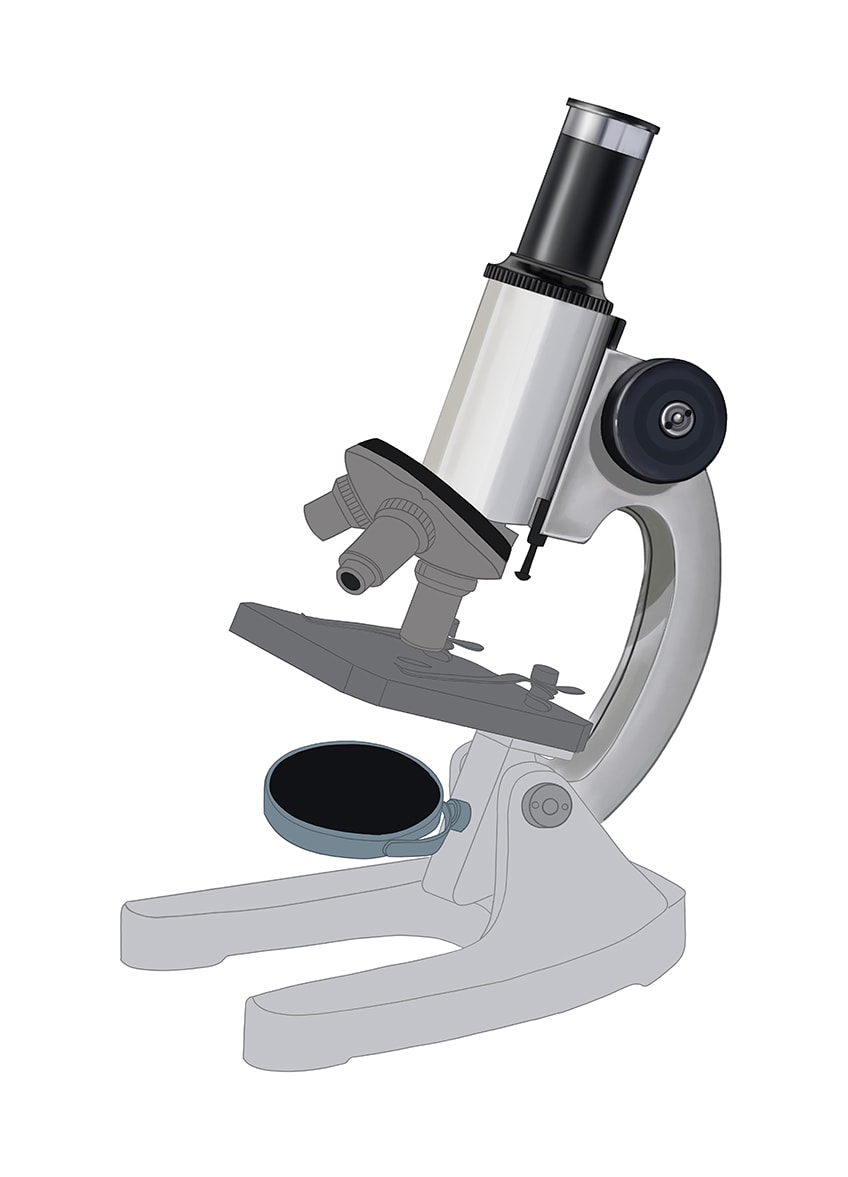
Step 19: Create Detail on the Top of the Objective Lens
We are now going to add shadows and highlights to the upper part of the objective lens. Begin with a small blending brush and some light grey paint, applying a soft patch between the two left objective lenses. Repeat this process with some white paint, brightening the center of the highlight a little more. Next, with some black paint and a small blending brush, add some final shading to the top ring of the objective lens. To complete this step, repeat this process on the adjustment pin.
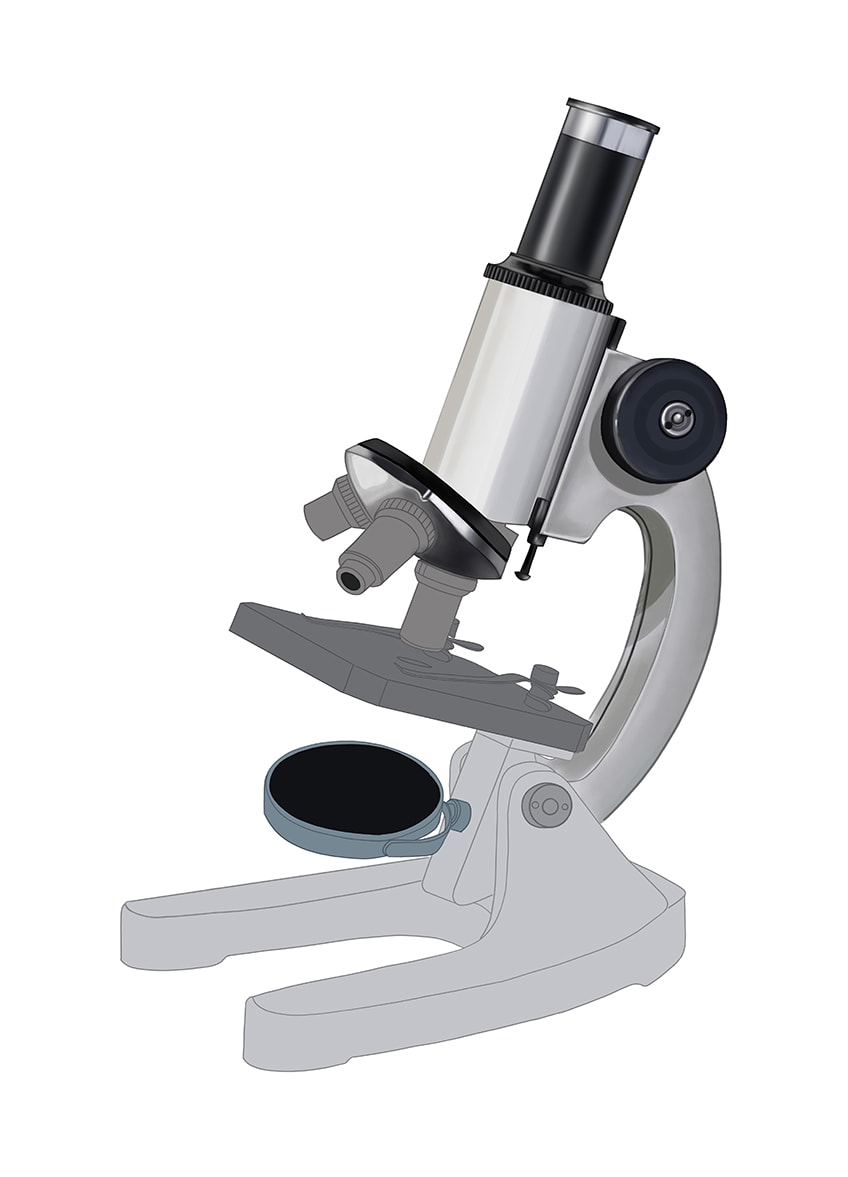
Step 20: Create Details on the Three Lenses
In a similar way to the previous step, you are now going to shade and highlight the three objective lenses. Use a small blending brush and some light grey paint to apply the first layer of highlights. You can then use white paint to create a straight line down the side of each lens, creating a more realistic highlight on the chrome areas. Complete this step with some black paint, adding some final shading with a blending brush. For a more realistic blend, use a clean blending brush to smooth the colors together.

Step 21: Shade the Mechanical Platform
Let us begin shading the mechanical platform with a small blending brush and some black paint, coloring the border of the platform. Then, use a fine detail brush and some white to add a fine hairline highlight around the edge of the platform. Complete the step by adding a black shadow underneath the pressure holders and filling the center hole.
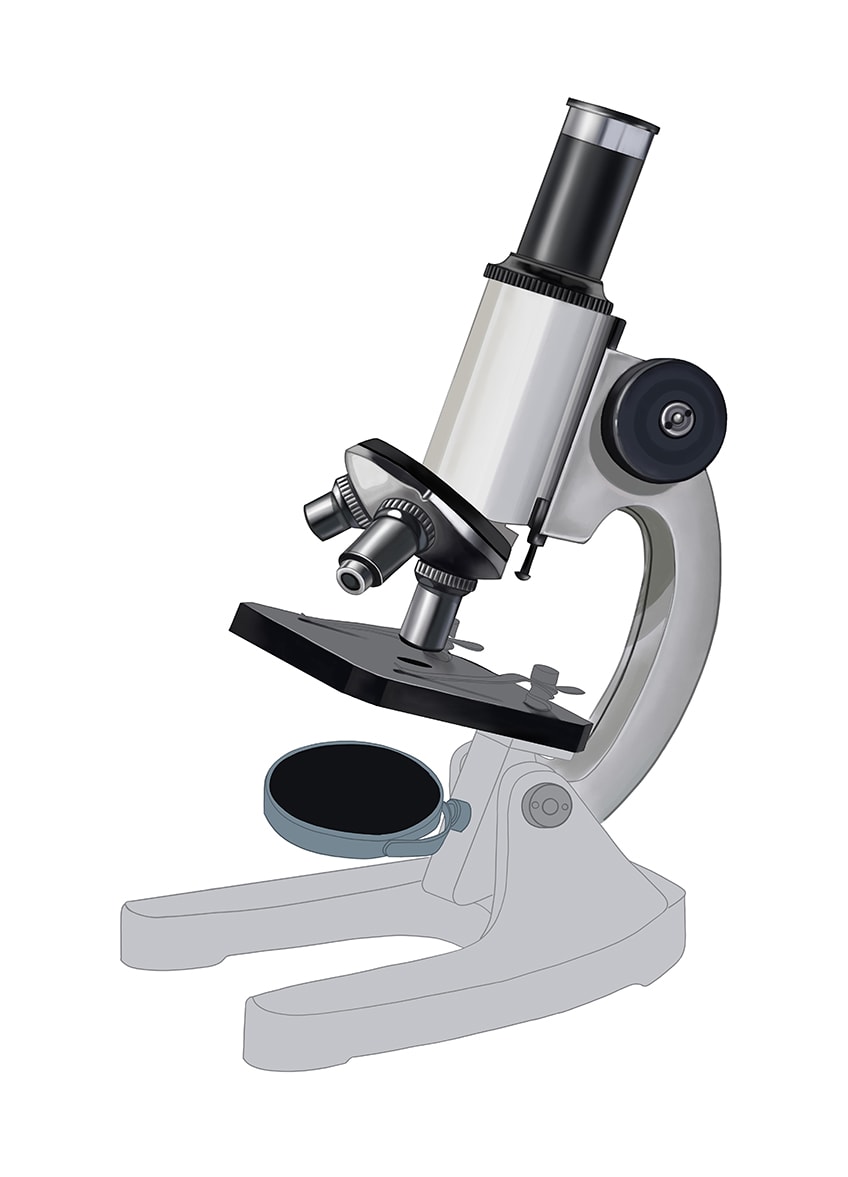
Step 22: Detail the Slide Holders
We are now going to turn our focus to the pins that hold the slides on the mechanical platform. Use a small blending brush and some black paint to add light shadows to each of the pressure holders. You can then add some highlights with another blending brush. Smooth these areas of color together a little with a clean blending brush, creating a more realistic transition between the shadows and highlights.
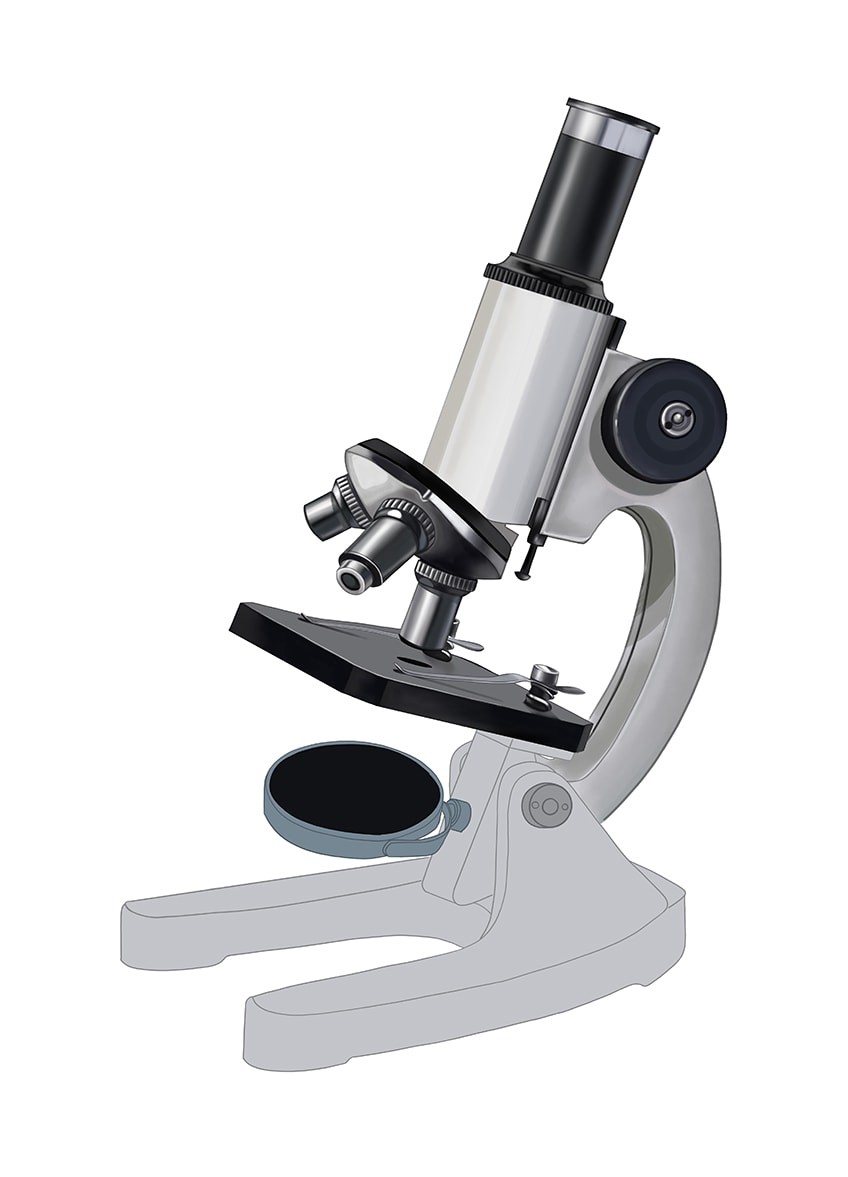
Step 23: Apply Shadows to the Base of the Microscope Sketch
In this step, we are going to emphasize the three-dimensional structure of the microscope base by adding some shadows and highlights. Begin with a small blending brush and a slightly darker shade of grey paint, adding a soft shadow to the top and bottom areas of the base on either side. You should leave the base color coat still visible on the central areas of the base. Next, with a fine detailing brush and some black paint, fill the small visible areas between the arm and the base. You can then complete this step with a fine detail brush and white paint, creating a soft highlight along the edges of the base legs.
Repeat this process with white and a medium brush, adding a final highlighted spot on the legs of the base.
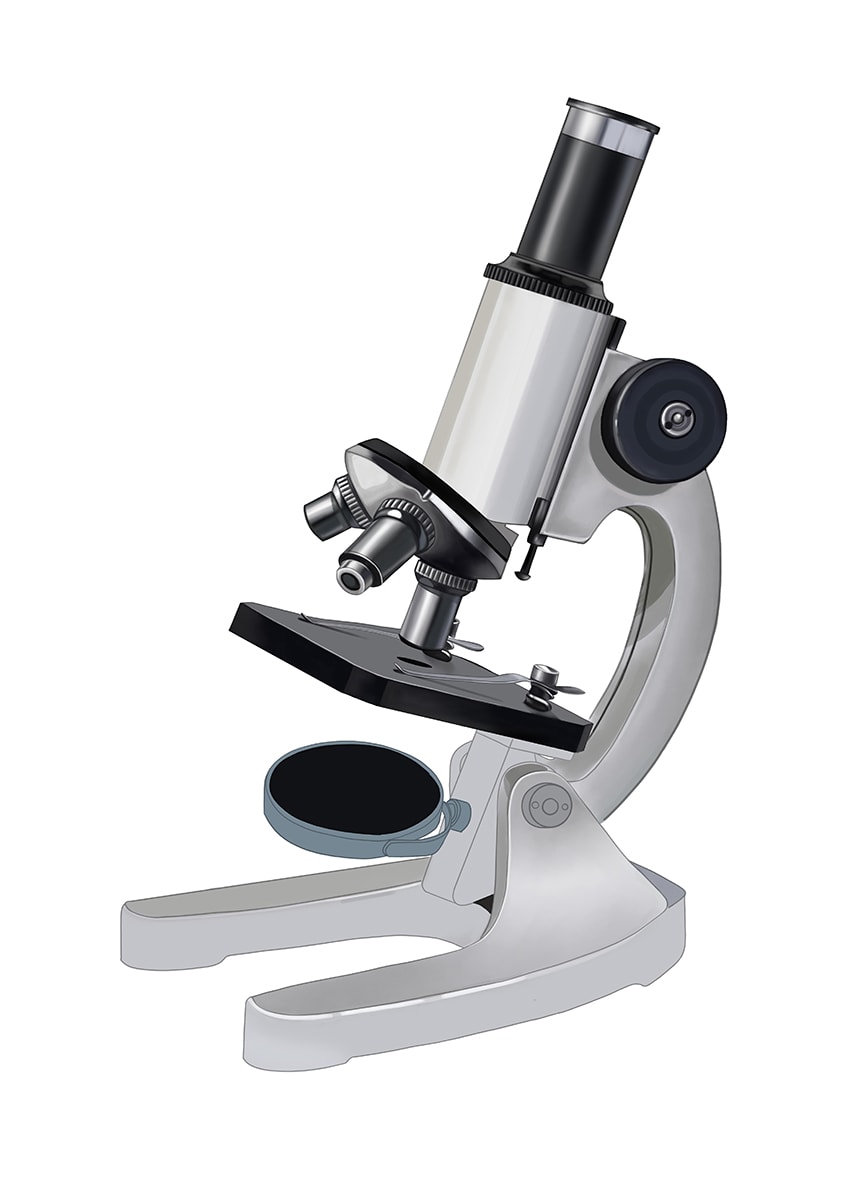
Step 24: Shade the Bottom Part of the Arm
We are now going to shade the bottom part of the arm, where the illuminator connects. Use a darker shade of grey and a blending brush to fill the bottom of this arm below the platform. Repeat this process a couple of times, gradually darkening the area with some more realistic shading. Finish this step with a clean blending brush, smoothing the transition areas.
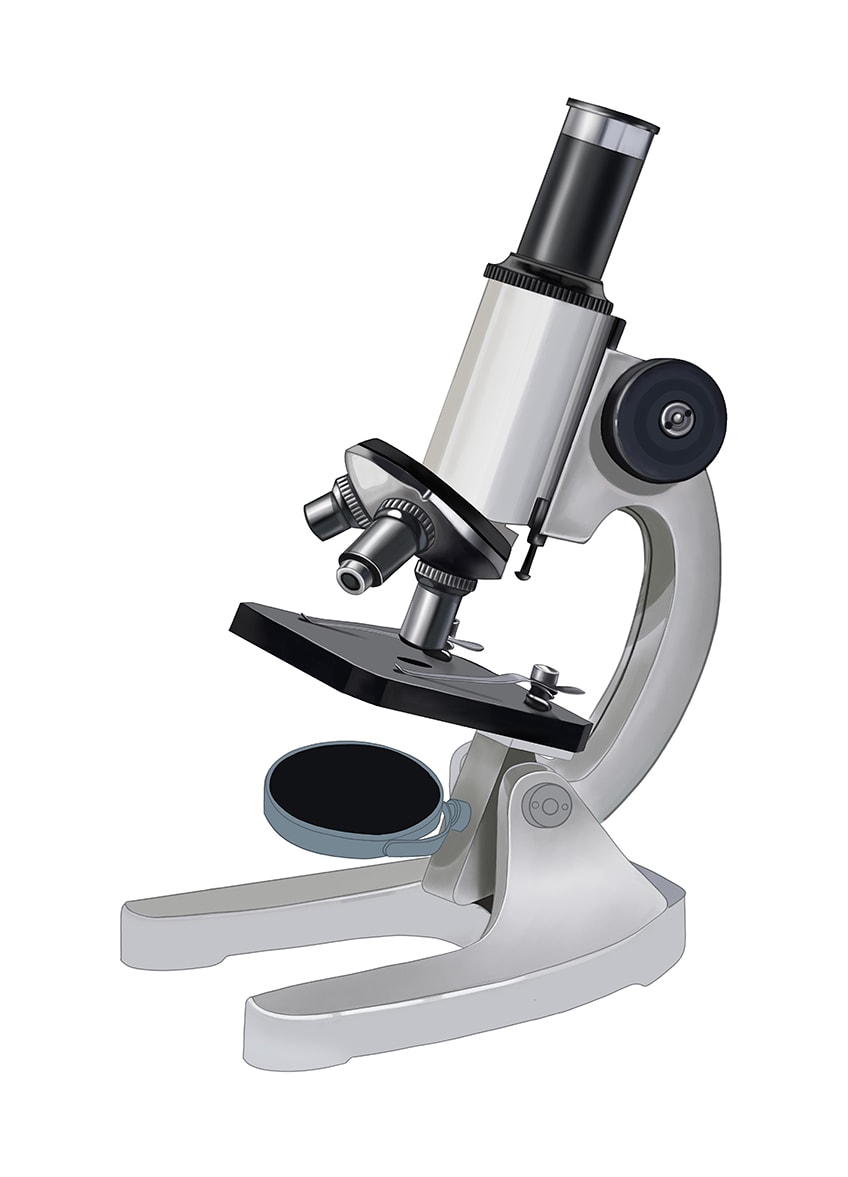
Step 25: Enhance the Detail on the Left Side of the Base
With a small blending brush and some dark grey paint, apply some additional soft shadows on the bottom area of the base, including the partially visible hinge holding the arm. Finish this step with some white paint, creating a soft highlight on the plate beneath the mechanical platform.
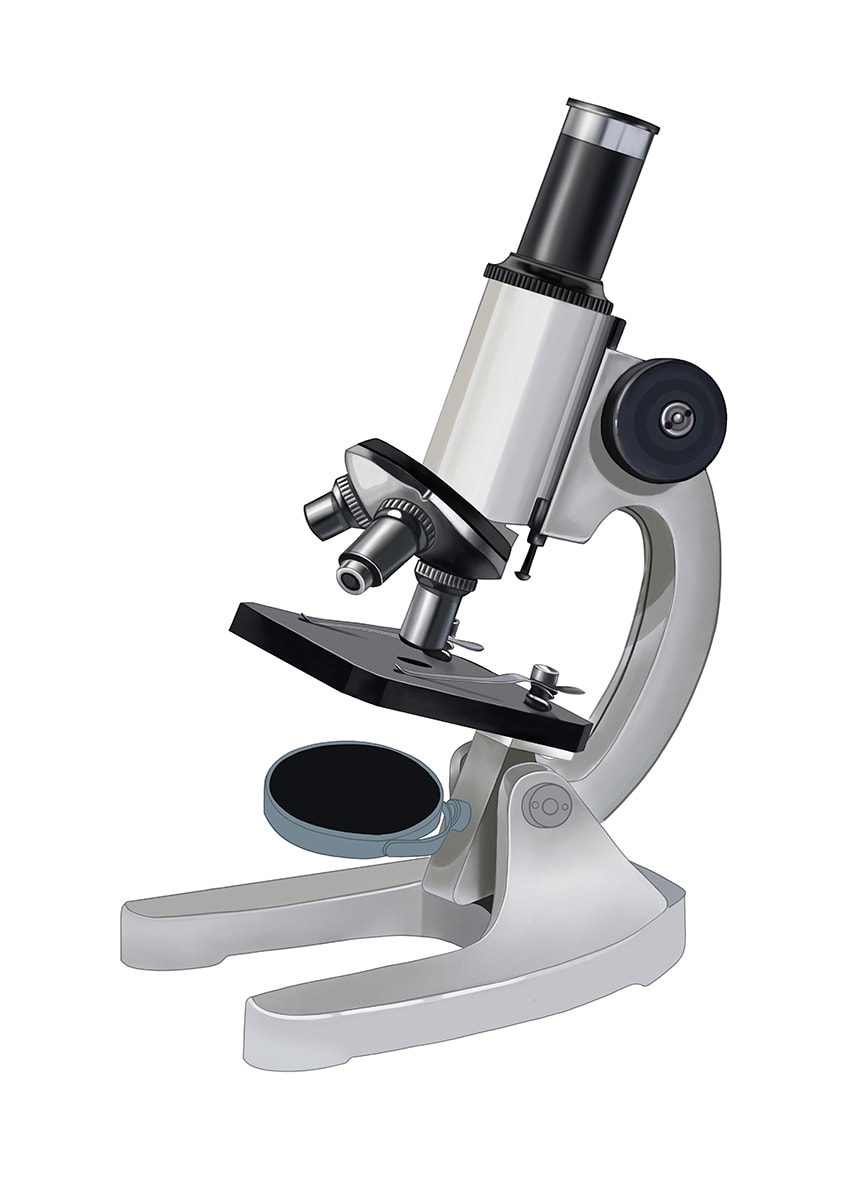
Step 26: Create Detail in the Lower Adjustment Dial
We are now going to add some fine color details to the small adjustment dial on the base of the microscope drawing. Begin with a small blending brush and a light grey color, adding some texture to the dial. You can then use some white paint to add a soft highlight to the center of the screw and around the edge. Use a fine detail brush and some black paint to create an outline around the edge of the screw and fill the small holes on the dial.
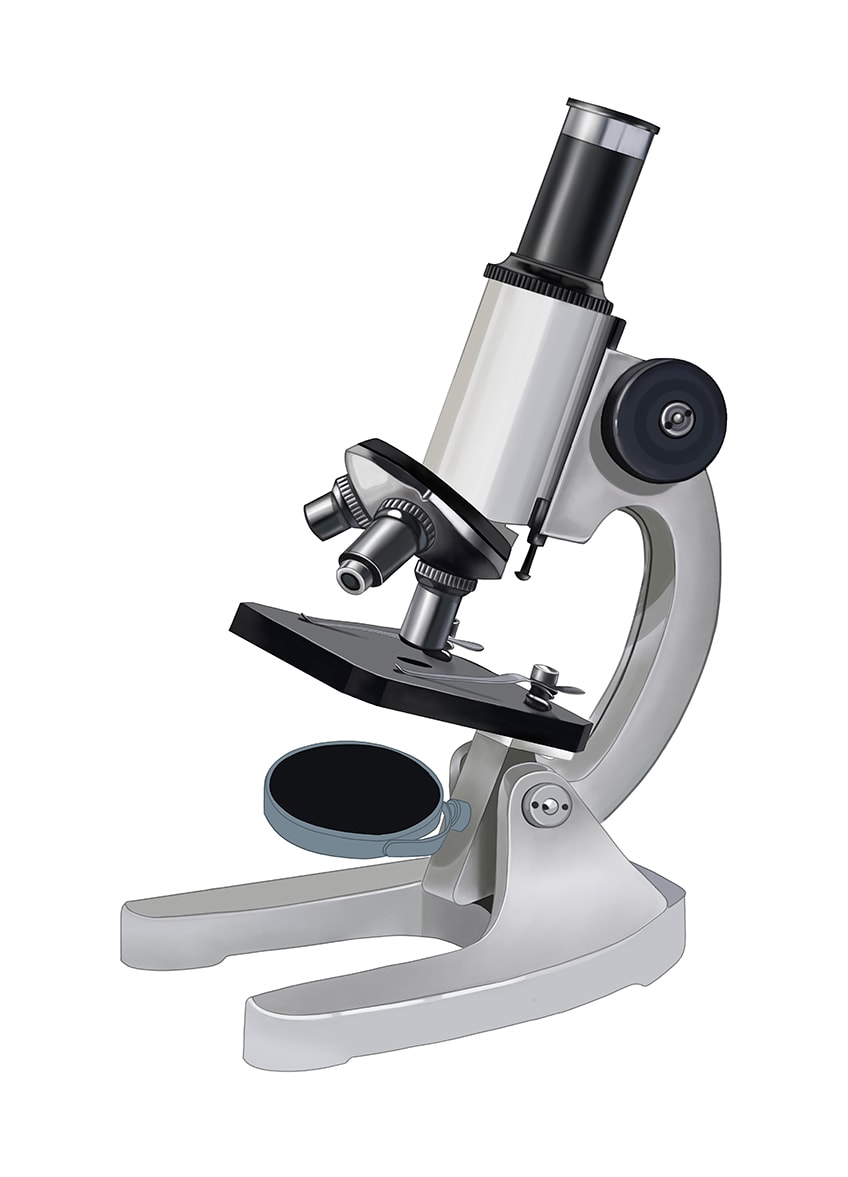
Step 27: Create Detail on the Illuminator
We are now going to create some realistic coloring detail within the illuminator. Begin with a small blending brush and some light grey paint, creating a soft reflection on the black part of the illuminator. Then, use some dark grey and tan paint to color the base of the hinge holder where it attaches to the arm. You can then repeat this process using some white paint to create a soft highlight. For the hinge holding the illuminator use a small soft brush and a combination of white and gray paint to create a silver-like shade.
Complete the step by adding a final shading around the edges of the illuminator, and the adjustment screw of the base.
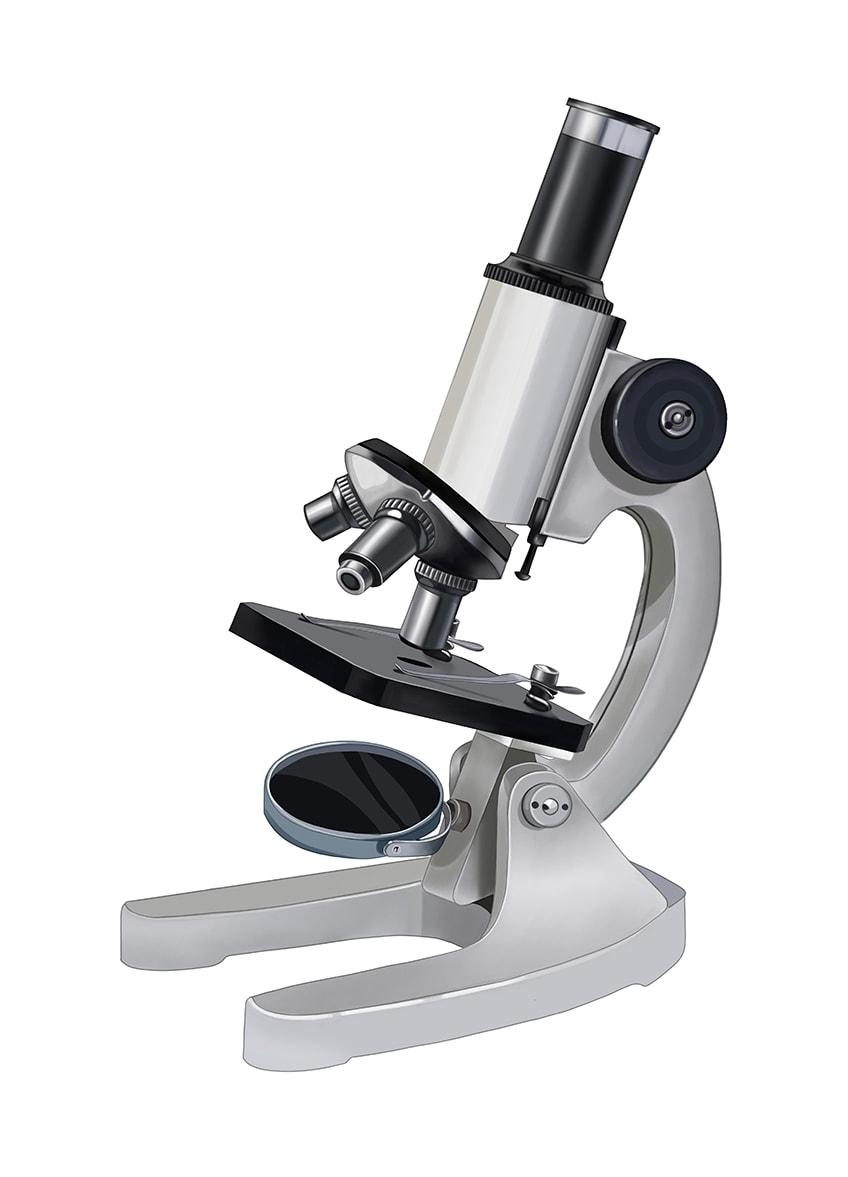
Step 28: Create a Ground Shadow Beneath the Microscope Drawing
Just before we finish our compound microscope drawing, we are going to add a ground shadow. This shadow makes our microscope sketch appear more three-dimensional and realistic. Use a small blending brush and some black paint to create a ground shadow beneath the base of the microscope. You can then fade this out with a clean blending brush.
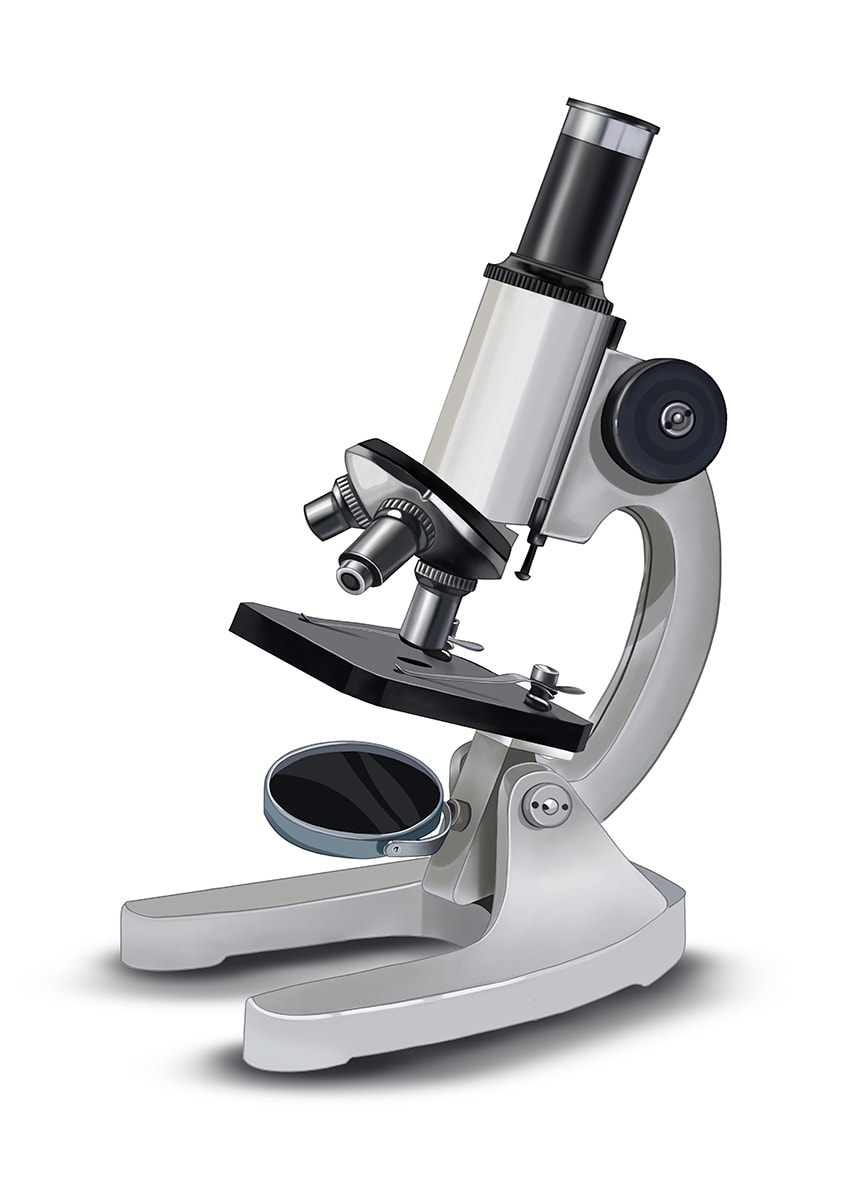
Step 29: Finish Your Microscope Drawing
To finish our painting, we are going to remove the harsh outline of our microscope pencil drawing. Use a fine detailing brush and the corresponding color at each point of the outline to carefully trace over it. You will now be left with a seamlessly realistic microscope drawing!
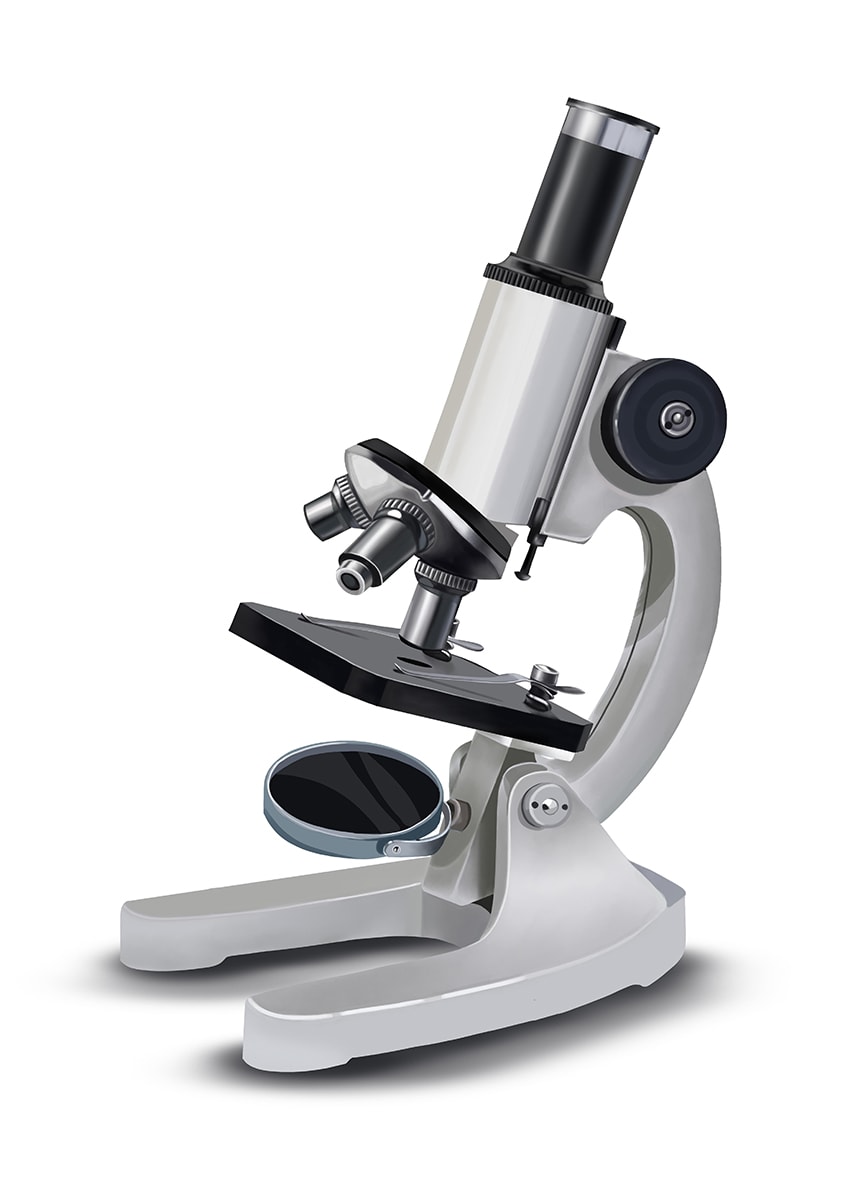
We really hope that you have enjoyed our drawing tutorial today, and that you are now equipped with all of the necessary skills to create other realistic sketches. You now know how to draw a microscope in 29 very easy steps, from constructing the basic step to using color to add three-dimensional realism. We have many other exciting drawing tutorials that you can try, and we hope to see you soon!
Frequently Asked Questions
What Colors Do You Need for a Microscope Drawing?
For our easy microscope pencil drawing, you will need several different shades of grey color. We suggest beginning with basic grey color and then using black and white to adjust the tones as necessary. You will also need a shade of teal and navy blue to add some interest.
What Is the Hardest Part of a Microscope Sketch?
This microscope drawing is certainly one of the most complex drawing tutorials that we offer. The hardest part of this drawing tutorial is probably the many different detailed elements. A microscope has several different parts and pieces that need to be placed in the correct proportions. The way that we make this easier for all artists is by using a series of construction steps. This way, you can gradually build up the final shape without having to erase too much work if you make a mistake.
Matthew Matthysen is an educated multidisciplinary artist and illustrator. He successfully completed his art degree at the University of Witwatersrand in South Africa, majoring in art history and contemporary drawing. The focus of his thesis was to explore the philosophical implications of the macro and micro-universe on the human experience. Matthew uses diverse media, such as written and hands-on components, to explore various approaches that are on the border between philosophy and science.
Matthew organized various exhibitions before and during his years as a student and is still passionate about doing so today. He currently works as a freelance artist and writer in various fields. He also has a permanent position at a renowned online gallery (ArtGazette) where he produces various works on commission. As a freelance artist, he creates several series and successfully sells them to galleries and collectors. He loves to use his work and skills in various fields of interest.
Matthew has been creating drawing and painting tutorials since the relaunch in 2020. Through his involvement with artincontext.org, he has been able to deepen his knowledge of various painting mediums. For example, watercolor techniques, calligraphy and lately digital drawing, which is becoming more and more popular.
Learn more about Matthew Matthysen and the Art in Context Team.


