How to Draw a Baseball – A Realistic Baseball Drawing
Head’s up! Today’s tutorial is throwing you a slight curveball as you will learn how to draw a baseball. Our complete 11-step guide will teach you all the steps from basic shapes and outlines, to texture lines, and the contouring and shading process. After finishing our easy step-by-step tutorial, you will hit a home run by drawing a realistic baseball!
An Easy Baseball Drawing Guide
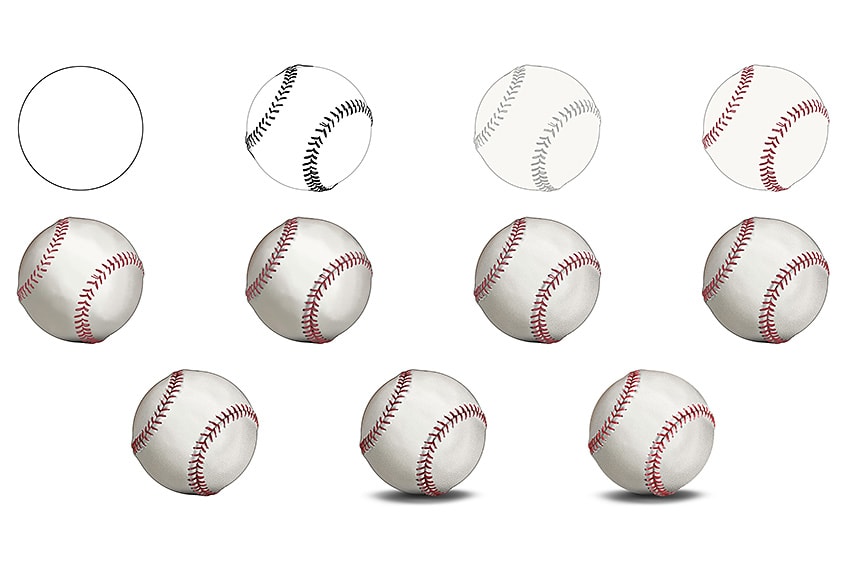
Hit a home run with us today and learn how to draw a baseball step-by-step! This tutorial gives you a few simple steps with an easy-to-draw baseball that anyone can follow! We will break the process down into a few digestible steps so you can master drawing your very own baseball. For a better overview of all the steps, see our collage below which shows you how to achieve the final result. Follow along and you will easily be able to draw a baseball sketch!
Step 1: Draw the Main Shape of the Baseball
Locate the center of your page and draw a large circle. This will represent the main shape of your baseball drawing.

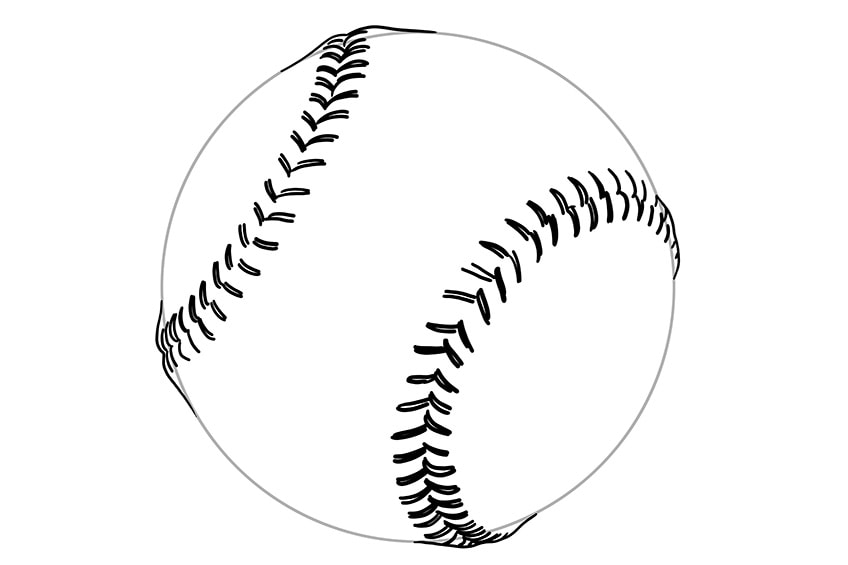
Step 2: Draw the Stitching and Lacing on Your Baseball Sketch
On either side of the baseball, draw fine, slightly curving hairlines flowing outward. This will create a realistic stitch and lace on either side of your baseball.
Erase any visible construction or overlapping lines.
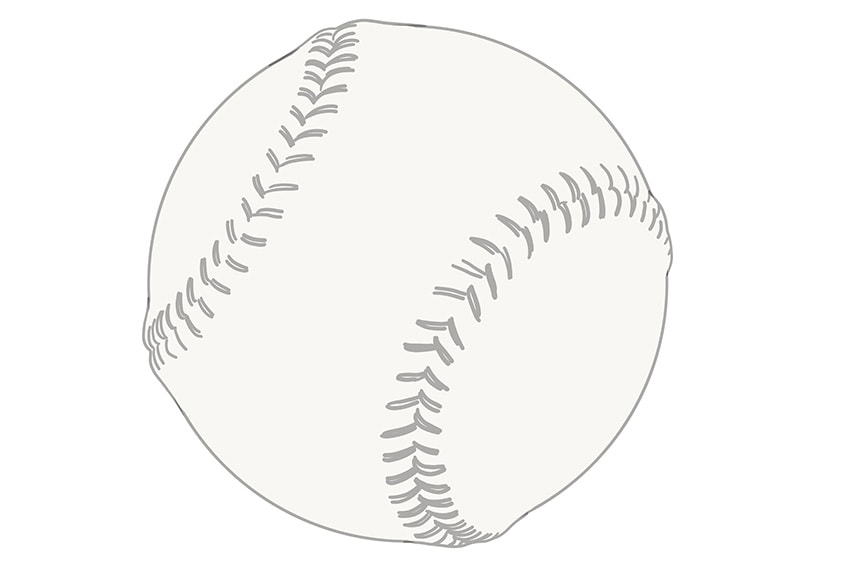
Step 3: Add the First Color Coat
Make use of a regular paintbrush and light cream paint, and evenly coat the entirety of the baseball sketch.
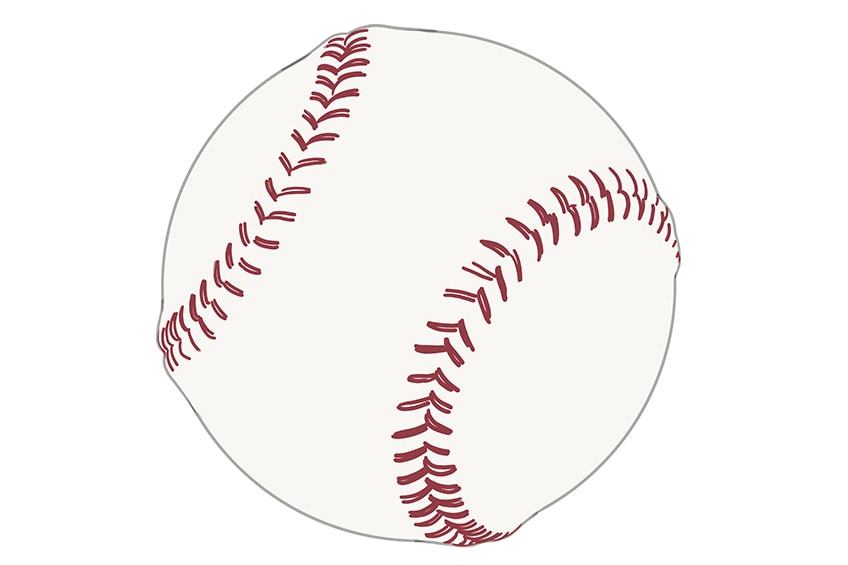
Step 4: Paint the Stitching on Your Baseball Drawing
Use a fine, sharp brush and maroon or red paint, and being to paint the stitching.
Your drawing of a baseball is now coming to life!
Step 5: Shade the Baseball Drawing
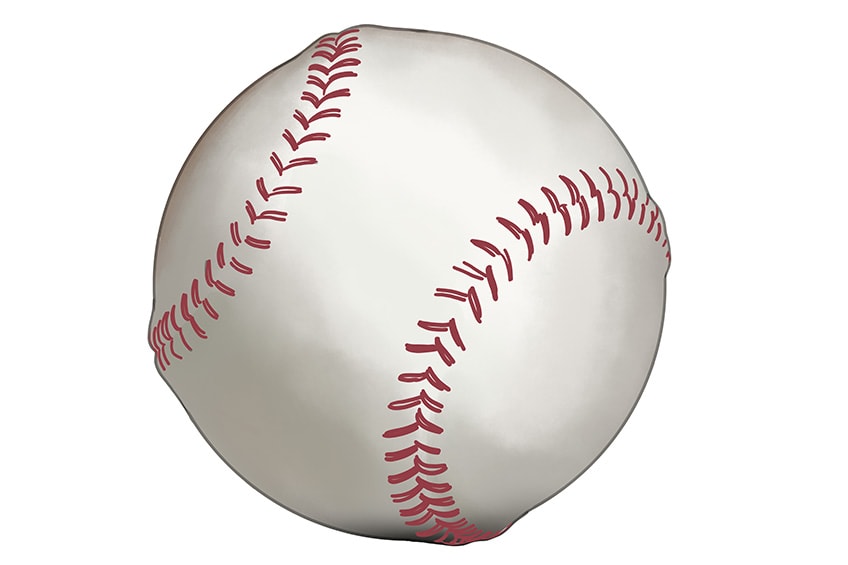
Make use of a small, soft brush and black paint, and gently dab along the edges of the baseball. You are beginning to create a shading effect around the curvature of the ball.
Leave the center of the ball with more highlighted tones than the edges. Use a blending brush to smooth out the edges of the shading.
Step 6: Shade the Stitching and Lacing
Use a small, soft brush and black paint, and in between the stitching and lacing, softy add horizontal lines. Following this, use a fine, sharp brush and the same paint, and further define the structure of the seam and stitch holes.
With the use of a blending brush, smooth the shading areas in the direction of the structure.
Step 7: Add Texture to the Baseball Drawing
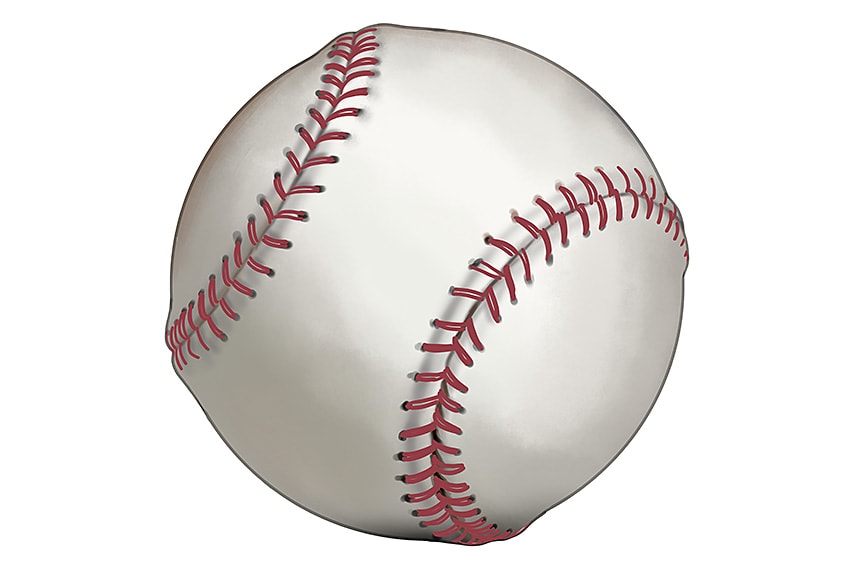
In this step, we will be focusing on adding texture to the entire baseball sketch. Make use of a fine, sharp brush and white paint, and begin adding soft highlights between each stitch and stitching hole. Make use of a rough, textured brush and combine white and gray paint, and add several small dots focusing more along the edges and the bottom of the baseball.
This will create a more realistic rough leather texture to the baseball skin.

Step 8: Fill In the Stitching
Use a fine, sharp brush and red paint, and begin to sharpen and thicken each line of stitching.
Your drawing of a baseball is starting to look more realistic!

Step 9: Add Highlights to the Stitching
Select a fine, sharp brush and combine white and gray paint, and add a fine highlight streak on each stitch. Following this, use a soft brush and white paint, and add a light-flowing coat above each stitch and lace line. In doing this, you are making the layers look more detailed.

Step 10: Add a Ground Shadow
To give the illusion that the baseball is creating a shadow, you will need to make use of a small soft brush and black paint, and add a dark shadow below the baseball.
Using a blending brush, smooth out the edges of the shadow.

Step 11: Finalize Your Easy Baseball Drawing
Time to finish off your drawing of a baseball! Begin by tracing the outline and any inner texture lines with the corresponding colors. Following this, erase any visible lines still seen in the drawing. You have now just drawn a realistic and seamless baseball!

In today’s easy baseball drawing tutorial, we have guided you step-by-step to achieve a realistic baseball drawing! We hope you have enjoyed our drawing tutorial and more importantly, gained skills on how to add texture and shading to your drawing.
Frequently Asked Questions
How to Draw a Realistic Baseball?
The details lie in the texture lines and the correct use of shadowing. By following our how-to-draw-a-baseball drawing tutorial, you will be able to create a realistic baseball in no time!
Do You Need Specific Colors to Draw a Baseball?
Not at all! The most typical colors for a baseball include a cream color with red stitching. However, these drawing tutorials encourage you to be as creative as possible, so you can make your baseball drawing any colors you wish!
Matthew Matthysen is an educated multidisciplinary artist and illustrator. He successfully completed his art degree at the University of Witwatersrand in South Africa, majoring in art history and contemporary drawing. The focus of his thesis was to explore the philosophical implications of the macro and micro-universe on the human experience. Matthew uses diverse media, such as written and hands-on components, to explore various approaches that are on the border between philosophy and science.
Matthew organized various exhibitions before and during his years as a student and is still passionate about doing so today. He currently works as a freelance artist and writer in various fields. He also has a permanent position at a renowned online gallery (ArtGazette) where he produces various works on commission. As a freelance artist, he creates several series and successfully sells them to galleries and collectors. He loves to use his work and skills in various fields of interest.
Matthew has been creating drawing and painting tutorials since the relaunch in 2020. Through his involvement with artincontext.org, he has been able to deepen his knowledge of various painting mediums. For example, watercolor techniques, calligraphy and lately digital drawing, which is becoming more and more popular.
Learn more about Matthew Matthysen and the Art in Context Team.


