How to Draw a Barbed Wire – Sketching the Sharpness
Barbed wire: the silent sentinel of the Wild West that forever changed the course of history. With its wickedly sharp spikes and rusted tales of frontier defiance, this unassuming fence transformed the American landscape. It symbolized the rugged spirit of a nation on the brink of taming the untamable. It’s the stuff of legends, from the cattle drives of Texas to the trenches of World War I, a humble invention that barbed its way into the annals of infamy, forever marking its territory in the tapestry of time. Step closer, and let us unravel the stories entwined in every twisted strand of barbed wire – tales of resilience, conflict, and the indomitable human will. With our step-by-step tutorial on how to draw a barbed wire, you will soon become an expert at drawing a barbed wire fence.
Table of Contents
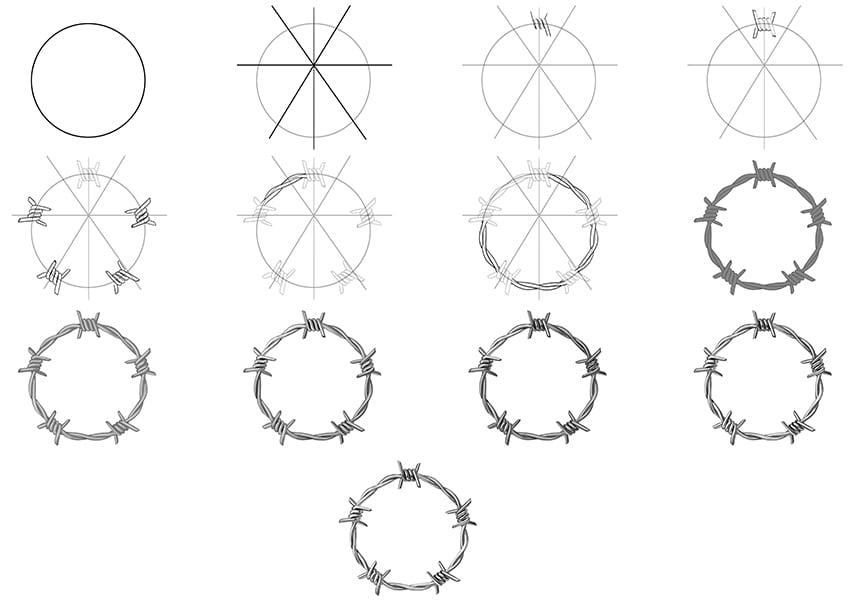
- 1 Wired Intrigue: Creating a Captivating Barbed Wire Drawing
- 1.1 Step 1: Begin Your Barbed Wire Fence Drawing
- 1.2 Step 2: Split the Circle
- 1.3 Step 3: Draw the First Barbed Wire Point
- 1.4 Step 4: Draw the Sharp Ends on Your Barbed Wire Fence Drawing
- 1.5 Step 5: Add the Rest of the Points
- 1.6 Step 6: Draw the Wire
- 1.7 Step 7: Complete the Wire in Your Barbed Wire Drawing
- 1.8 Step 8: Start the First Color Coat
- 1.9 Step 9: Add the Secondary Color Coat
- 1.10 Step 10: Add Structure to Your Barbed Wire Fence Drawing
- 1.11 Step 11: Shade the Barbed Wire Drawing
- 1.12 Step 12: Add Highlights to the Barbed Wire
- 1.13 Step 13: Finalize Your Barbed Wire Drawing
- 2 Frequently Asked Questions
Wired Intrigue: Creating a Captivating Barbed Wire Drawing
As you embark on this drawing tutorial to capture the essence of barbed wire on paper, prepare to unlock a world of artistic challenge and symbolism. Barbed wire isn’t just an ordinary subject; it’s a symbol of both confinement and defiance, a testament to the resilience of the human spirit. Each twisted strand tells a story of struggle and strength, and your task is to bring that narrative to life through your creative interpretation. Pay attention to the intricate details, the play of light and shadow, and the tension in every curve. Embrace the complexity of this subject, for in your efforts to render it, you’ll not only sharpen your artistic skills but also gain a deeper appreciation for the history and significance of barbed wire.
Let your pencil be your conduit to a fascinating exploration of form, texture, and meaning. Enjoy the journey!
In the collage below, you’ll find a visual representation of each step involved in reaching the outcome. By following these steps closely, you’ll gain the skills to create your rendition of barbed wire. Get ready to dive into the tutorial and unleash your artistic potential!
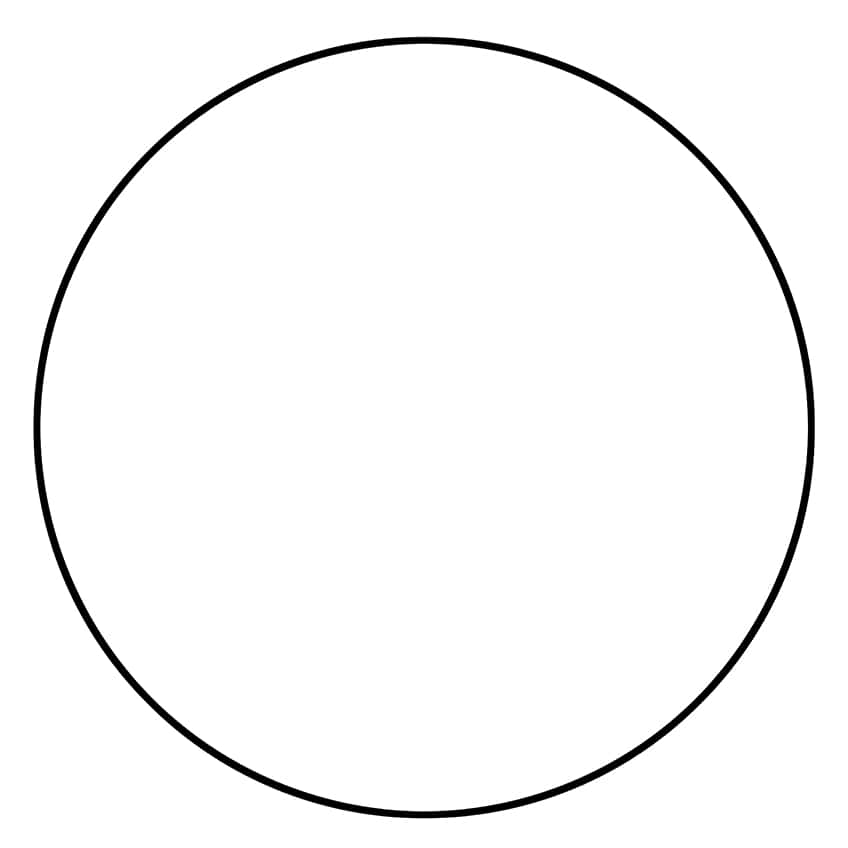
Step 1: Begin Your Barbed Wire Fence Drawing
You have reached the first step of our drawing tutorial on how to draw a barbed wire! To begin, start by drawing a large circle in the middle of your drawing page.
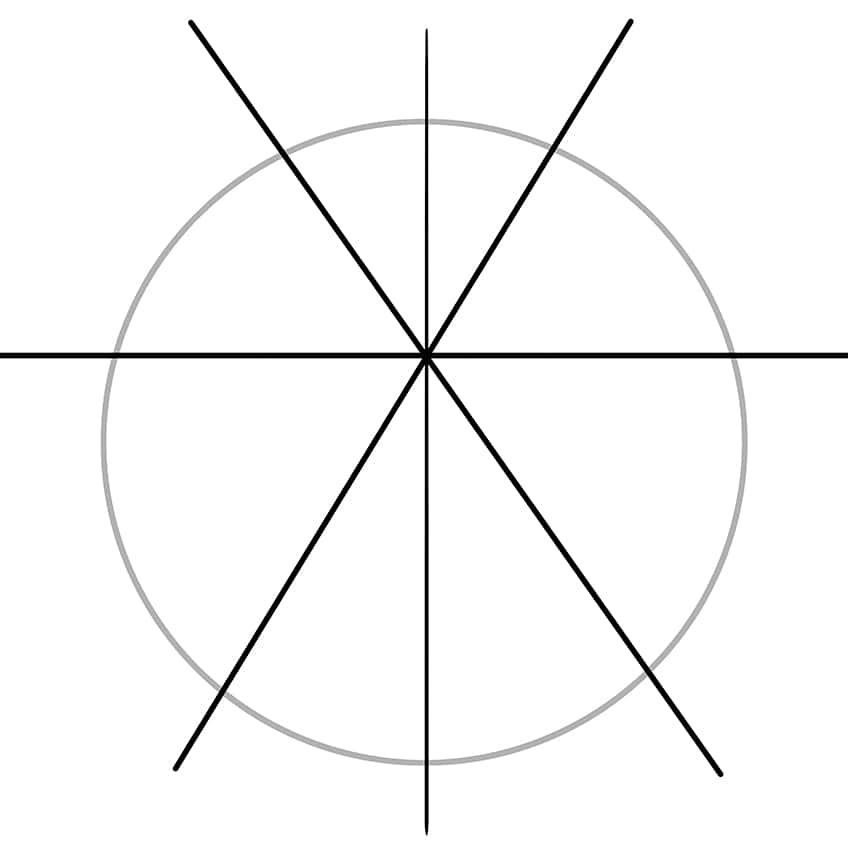
Step 2: Split the Circle
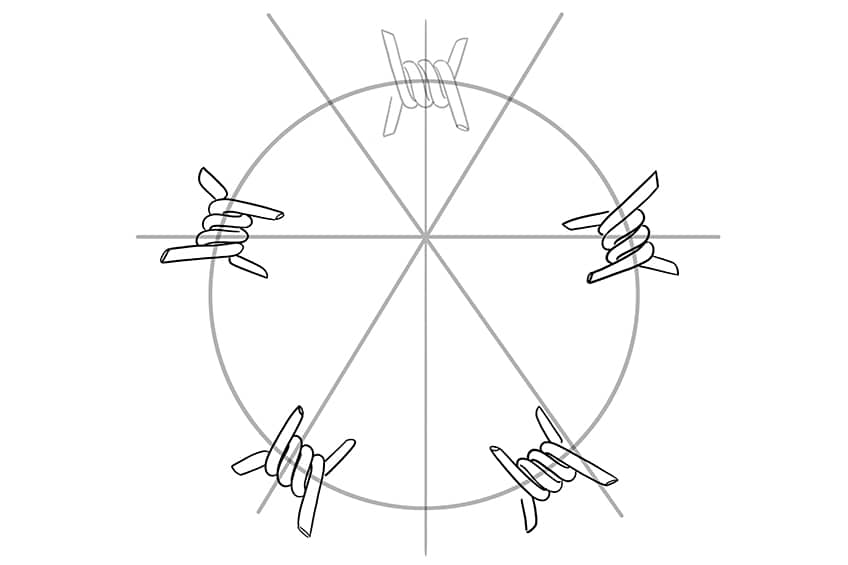
Use straight lines to split the circle into 8 slices. Each slice will aid you in positioning each of the barbed wire points.
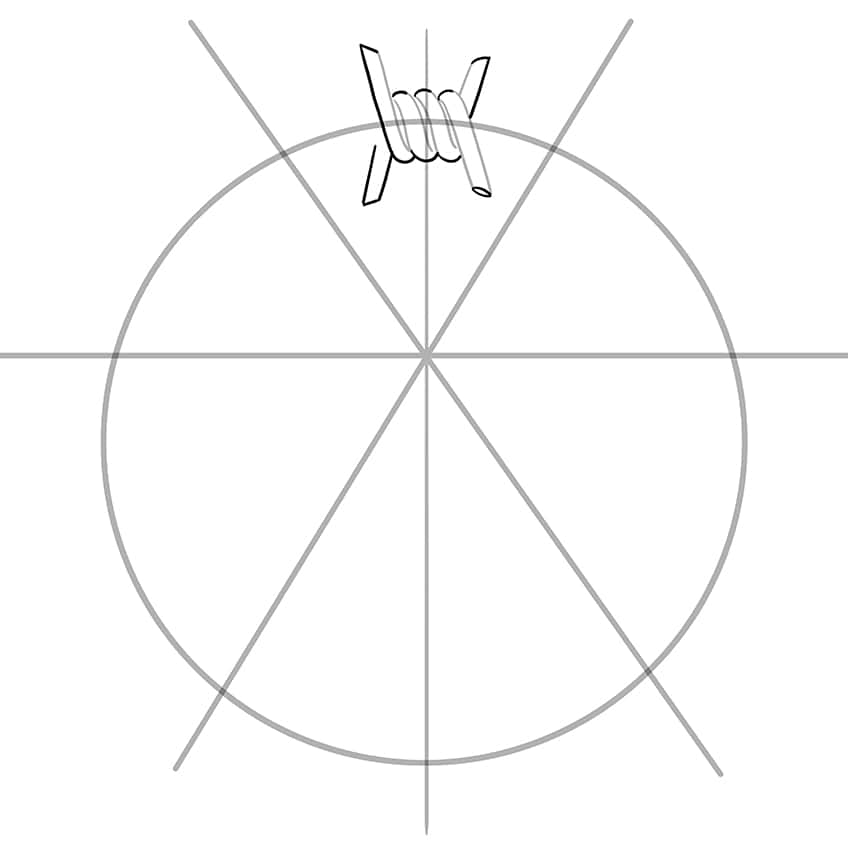
Step 3: Draw the First Barbed Wire Point
Within the center slice on the centerline, draw the first twisted barbed wire point.

Step 4: Draw the Sharp Ends on Your Barbed Wire Fence Drawing
Continue to draw the sharp ends of the twisted wire point on your barbed wire drawing.
Step 5: Add the Rest of the Points
Repeat steps three and four 3 by continuing to draw the rest of the identical twisted barbed wire points with the sharp ends on each of the center lines.
Step 6: Draw the Wire
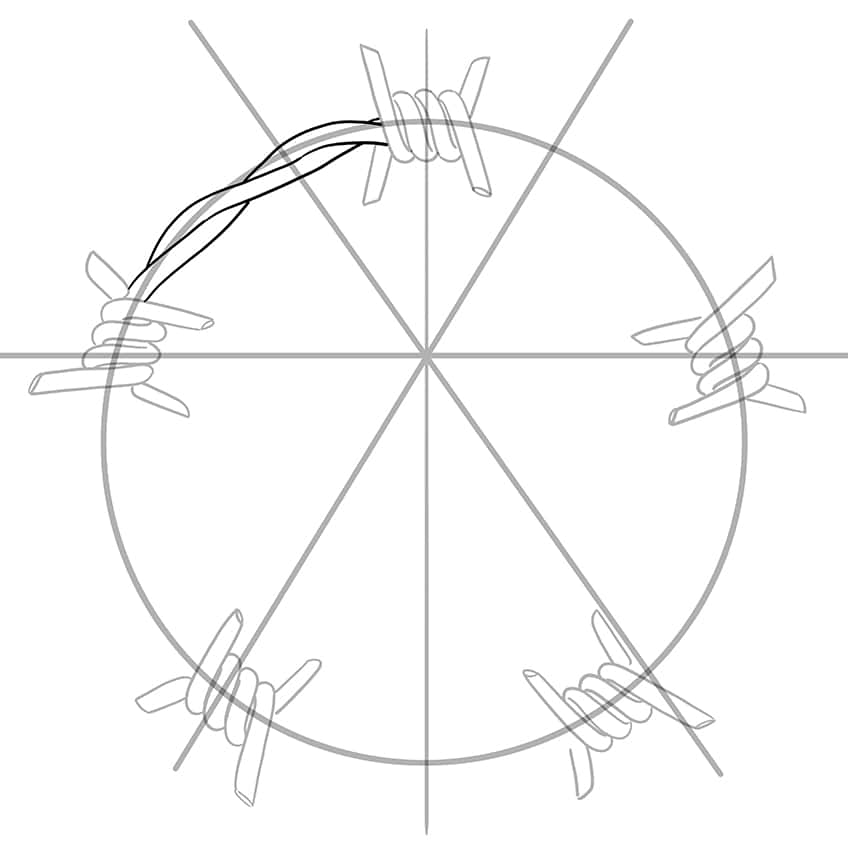
Draw the two-line twisting wire leading from one point to another on the circle drawn in step one.
Step 7: Complete the Wire in Your Barbed Wire Drawing
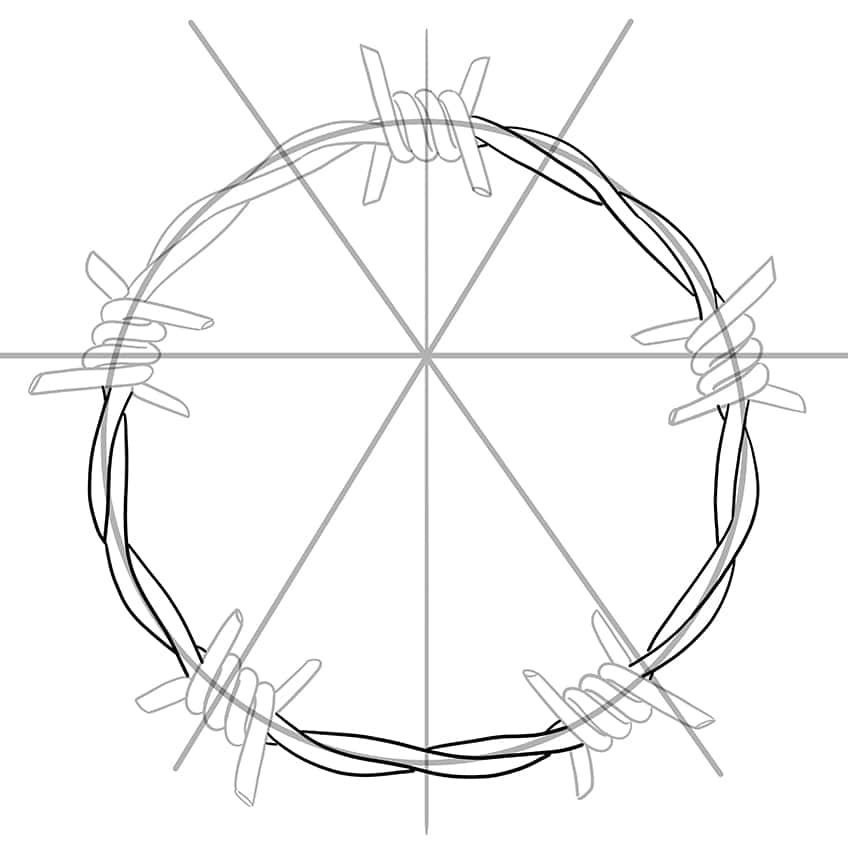
Repeat step six and complete the rest of the twisted wire. You may now begin to remove any construction lines that are still visible.
Step 8: Start the First Color Coat
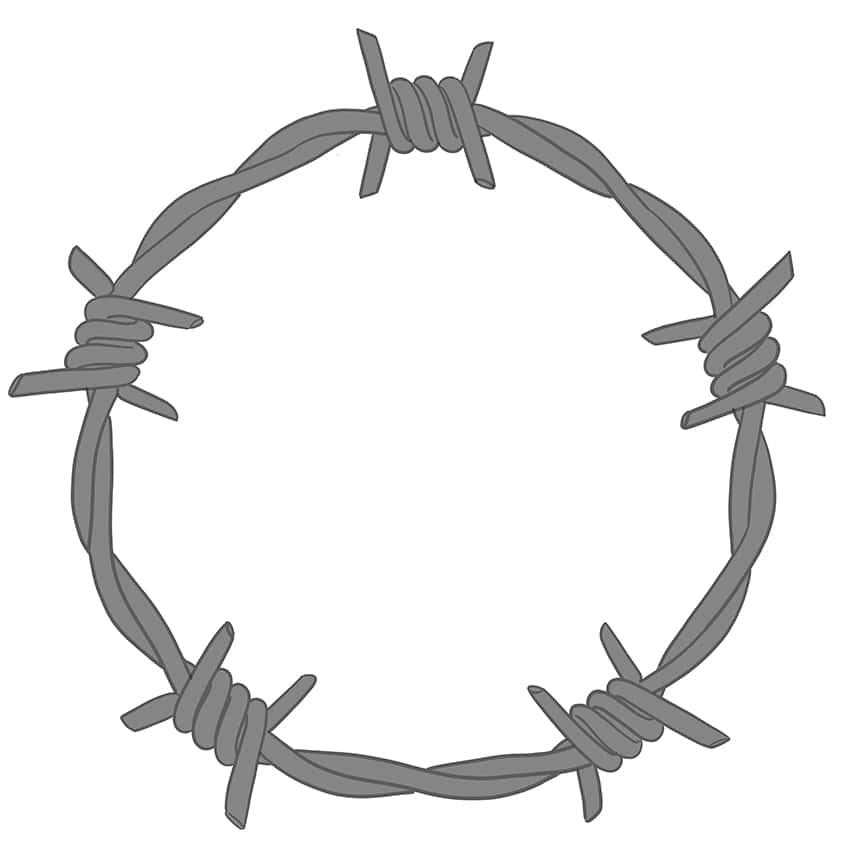
Utilize a precise, fine-tipped brush and gray paint to uniformly cover the entire circular barbed wire.
Step 9: Add the Secondary Color Coat
Select a small, gentle-bristle brush and white paint to softly brighten the central sections of the wires and the four points of twist. Ensure that the initial color coat remains visible along the edges.
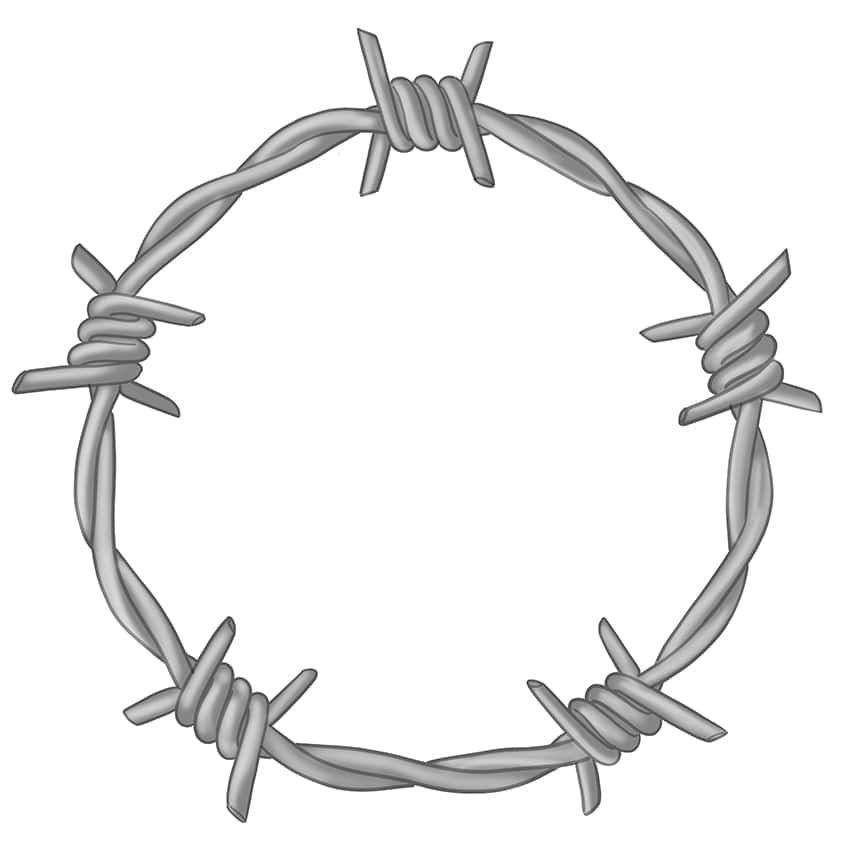
Step 10: Add Structure to Your Barbed Wire Fence Drawing
Start by employing a precise, fine-tipped brush and black paint to shade the spaces between the wire twists. Then, proceed to accentuate the gaps between the coiling wires, introducing a touch of white paint for subtle contrast to achieve a more lifelike effect.
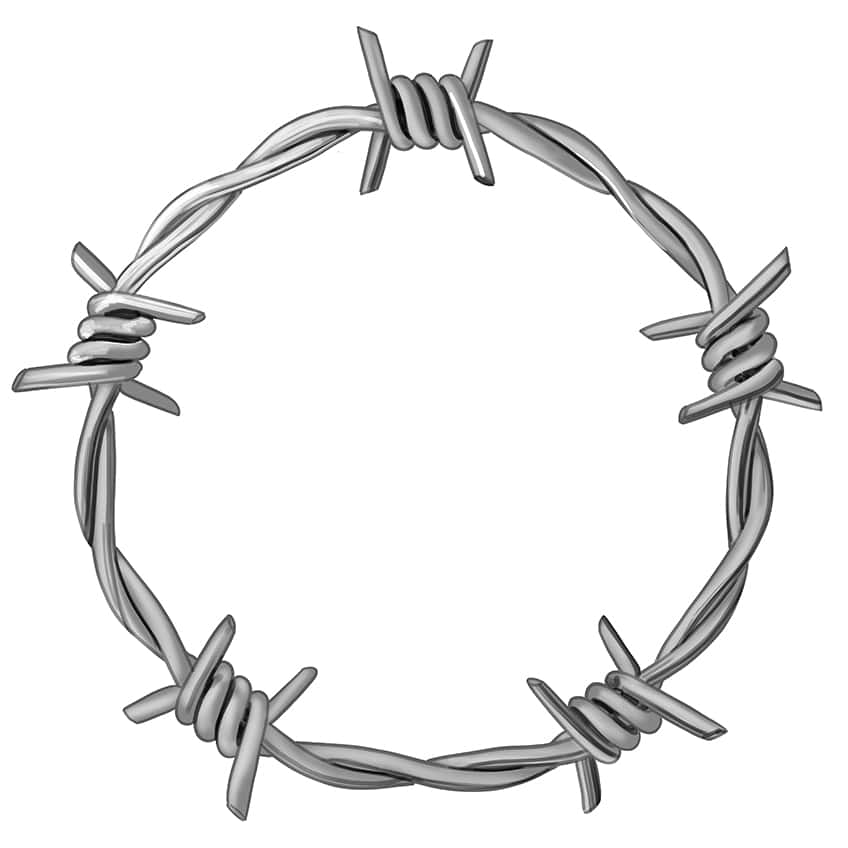
Step 11: Shade the Barbed Wire Drawing
Employ a precise, fine-tipped brush and dark gray paint to incorporate shading stripes along each wire. Repeat this step using a blend of both wider and thinner brushes for a more nuanced effect.

Step 12: Add Highlights to the Barbed Wire
Utilize a precise, fine-tipped brush along with white paint to introduce refined, sharp brushstrokes of heightened highlights along each wire and its points. For variation, repeat this procedure employing a slightly wider or softer brush to apply broader highlights to select areas.
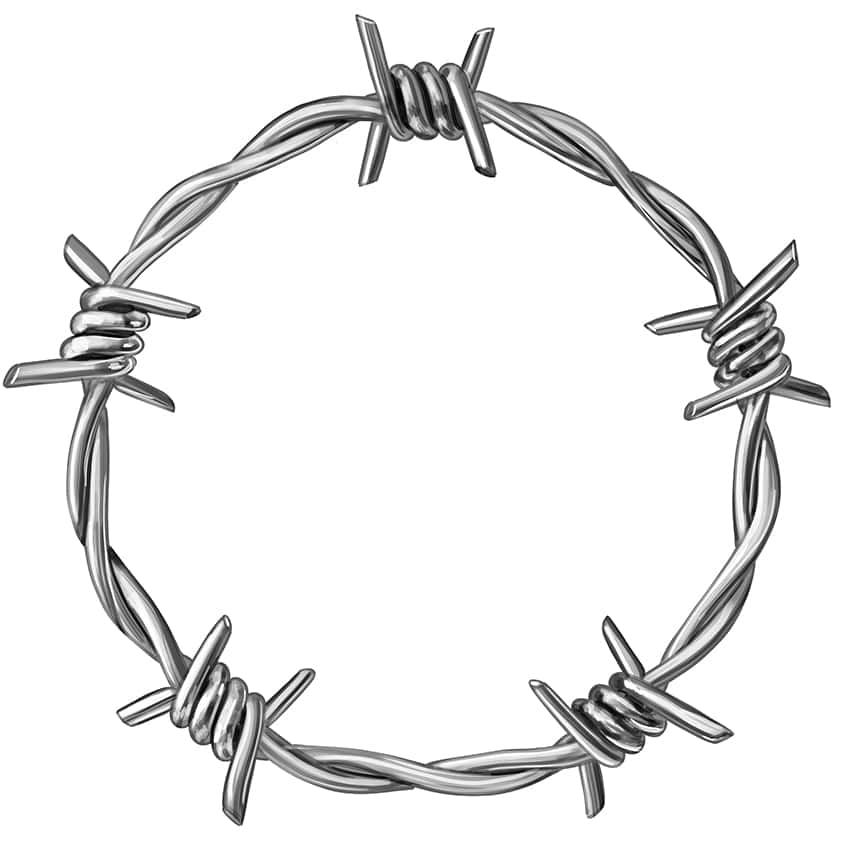
Step 13: Finalize Your Barbed Wire Drawing
For this step, merely erase any remaining visible outlines to finalize your barbed wire fence drawing. You have now finished our tutorial on how to draw a barbed wire!
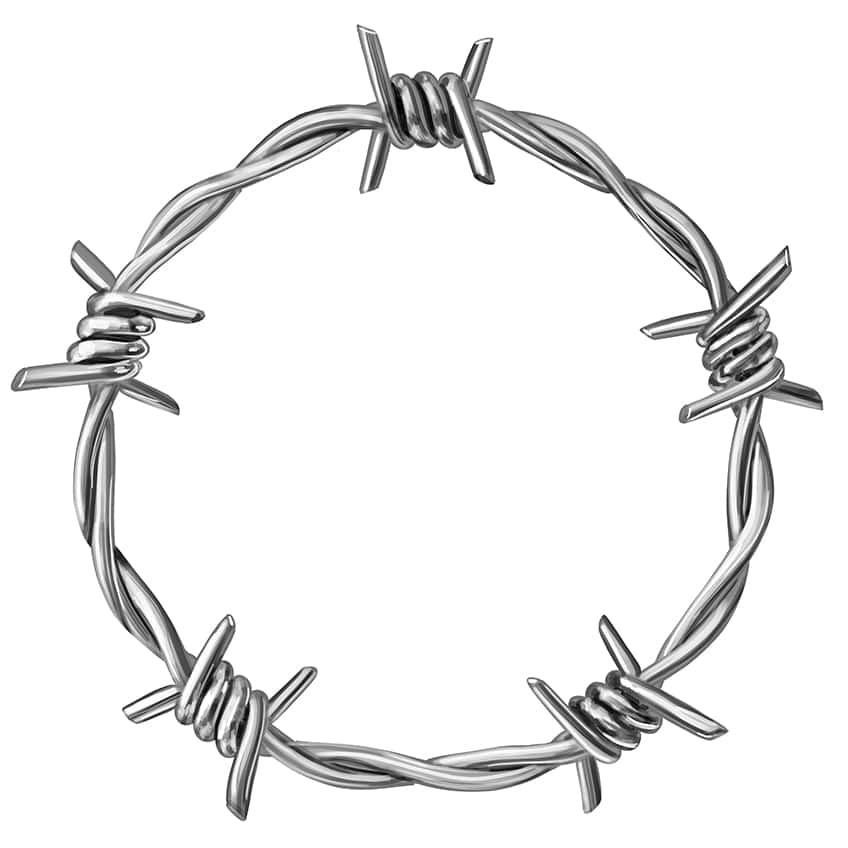
Congratulations, artist! You’ve successfully mastered the art of drawing barbed wire, a subject that combines intricacy and symbolism. Your dedication and attention to detail have paid off, as you’ve transformed a humble strand of wire into a work of art that carries both history and meaning. As you look at your finished creation, take pride in your accomplishment. You’ve not only sharpened your drawing skills but also delved into the essence of a symbol that represents resilience and defiance. Now, armed with your newfound expertise, you’re ready to tackle even more complex subjects and continue your artistic journey. Keep exploring, keep creating, and let your imagination flow freely onto the canvas of your choice. The world is waiting to see more of your incredible artwork!
Frequently Asked Questions
How Can You Add More Depth and Realism to a Barbed Wire Drawing?
To infuse your barbed wire drawing with depth and realism, focus on mastering shading techniques. Pay close attention to the play of light and shadow on the individual wires, emphasizing the curvature and twists. Use a range of gray tones to create the illusion of three-dimensionality, making sure the highlights are brightest where the light source hits the wire and the shadows are darkest where they recede. Additionally, consider adding subtle imperfections or rust spots to mimic the weathered look of real barbed wire. Lastly, don’t hesitate to study actual barbed wire or reference images to capture the intricacies accurately.
What Techniques Can You Use to Capture the Reflective Quality of Barbed Wire?
To capture the reflective quality of barbed wire, it’s essential to master the art of rendering highlights and contrast. First, identify the light source in your drawing, and make sure the wires catch highlights where the light hits them most directly. Use a white or light gray pencil to add these highlights to the curved surfaces of the wire. For an extra touch of realism, consider adding subtle reflections, like those from the surrounding environment, to create the illusion of a glossy or metallic sheen. Remember, precision is key, so use a fine brush or pencil to carefully apply these highlights and achieve that striking reflective effect.
Matthew Matthysen is an educated multidisciplinary artist and illustrator. He successfully completed his art degree at the University of Witwatersrand in South Africa, majoring in art history and contemporary drawing. The focus of his thesis was to explore the philosophical implications of the macro and micro-universe on the human experience. Matthew uses diverse media, such as written and hands-on components, to explore various approaches that are on the border between philosophy and science.
Matthew organized various exhibitions before and during his years as a student and is still passionate about doing so today. He currently works as a freelance artist and writer in various fields. He also has a permanent position at a renowned online gallery (ArtGazette) where he produces various works on commission. As a freelance artist, he creates several series and successfully sells them to galleries and collectors. He loves to use his work and skills in various fields of interest.
Matthew has been creating drawing and painting tutorials since the relaunch in 2020. Through his involvement with artincontext.org, he has been able to deepen his knowledge of various painting mediums. For example, watercolor techniques, calligraphy and lately digital drawing, which is becoming more and more popular.
Learn more about Matthew Matthysen and the Art in Context Team.


