How to Draw a Sitting Pose – 8 Fascinating Tutorials
Human anatomy has a unique ability of movement, where the body is made of various points of mobility. These points of mobility are found in various joints, but there is also mobility in the spine. This allows the body to position itself in different ways and results in a variety of unique sitting poses. In this tutorial on how to draw a sitting pose, we explore a great deal of these movements in the body. A sitting pose drawing can be constructed in many ways and is a great exercise to understand human anatomy and its ability to arrange itself in different seated positions. We will look at both female and male sitting poses, and learn how to draw them in a unique set of positions, which will give us a variety of sitting pose references to help us better understand the structure of the body.
Step-by-Step Tutorials on How to Draw a Sitting Pose
In this tutorial, we will explore a variety of female and male sitting poses drawings found in both male and female figures. As we do so we will also explore how seated positions can change with age and posture. We will see how to understand the fundamentals of proportion, which we can then explore in a variety of different sitting pose drawings.
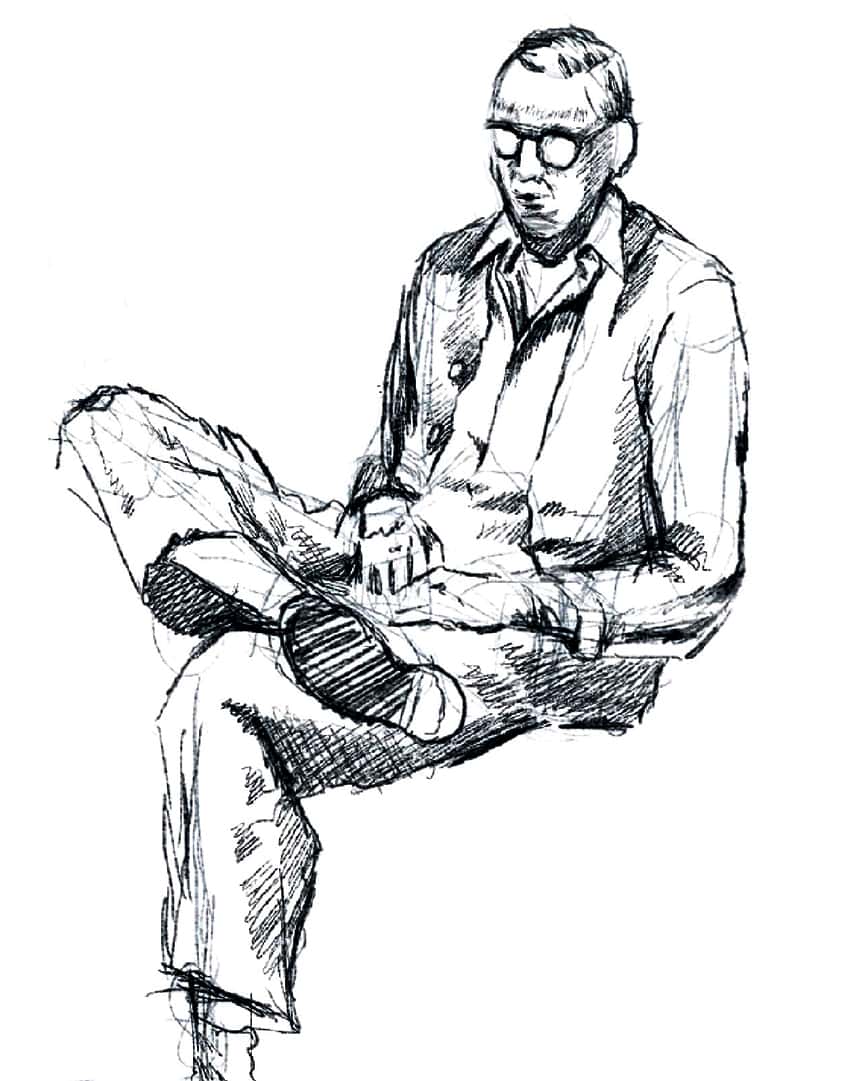
As we develop both female and male sitting poses, drawing them in various ways will provide us with a set of sitting pose reference drawings. As we do so we will also explore how to utilize shadow to enhance the different body parts to emphasize different seated poses. Now that we know what to expect, let’s get started.
Understanding the Fundamentals of Proportion
We always want to start with understanding how we can utilize human proportions, to distort the body in a way that is seated. For an extensive tutorial on human proportions, see the link below (Insert human proportions link)

By working with these proportions, we can start to segment a character in a normal upright seated position.
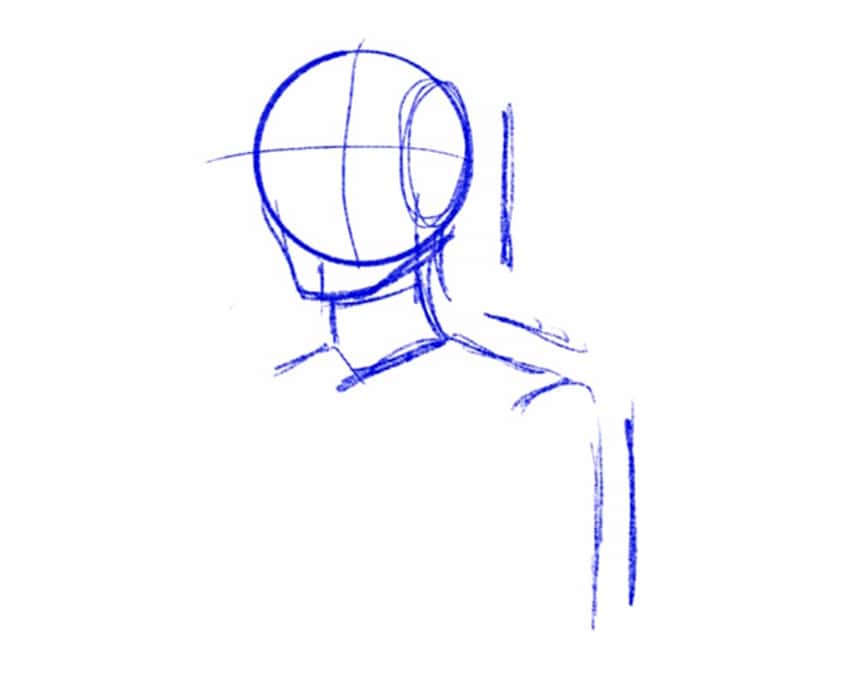
We can then start to work with the different segment lengths within the different body parts to determine the resting seated position.
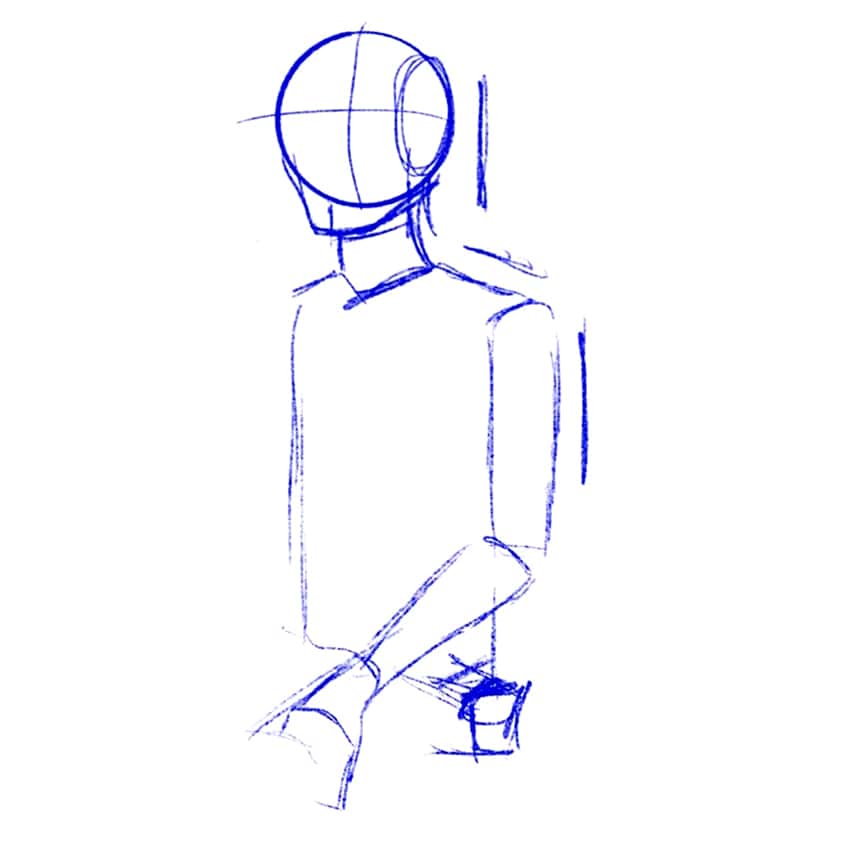
By working with block structures for different body parts, we also establish the shape of different features in their fundamental form.
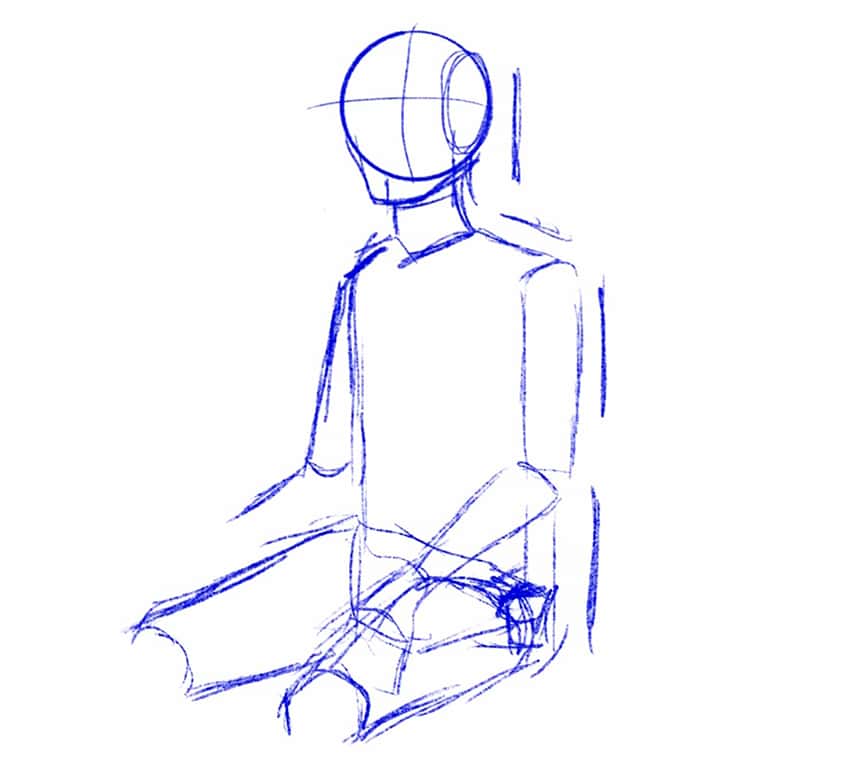
This helps us to pose a figure as if it were a wooden doll, making it much easier for us to define the different body parts and construct them together.
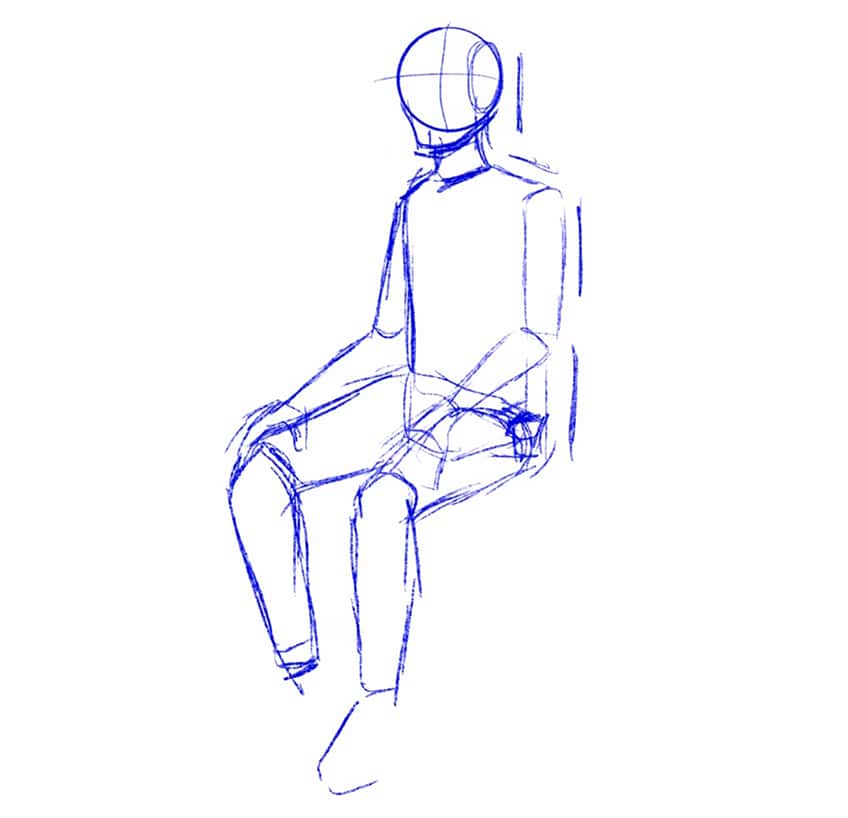
As long as we maintain the eight equal segments within the structure of the body, we will then be able to form the figure in a proportionally correct way within a sitting pose drawing.

Working With Shapes to Understand Perspectives
Working with the basic shape of the different body parts is a great way to shape a figure into its unique seated position.
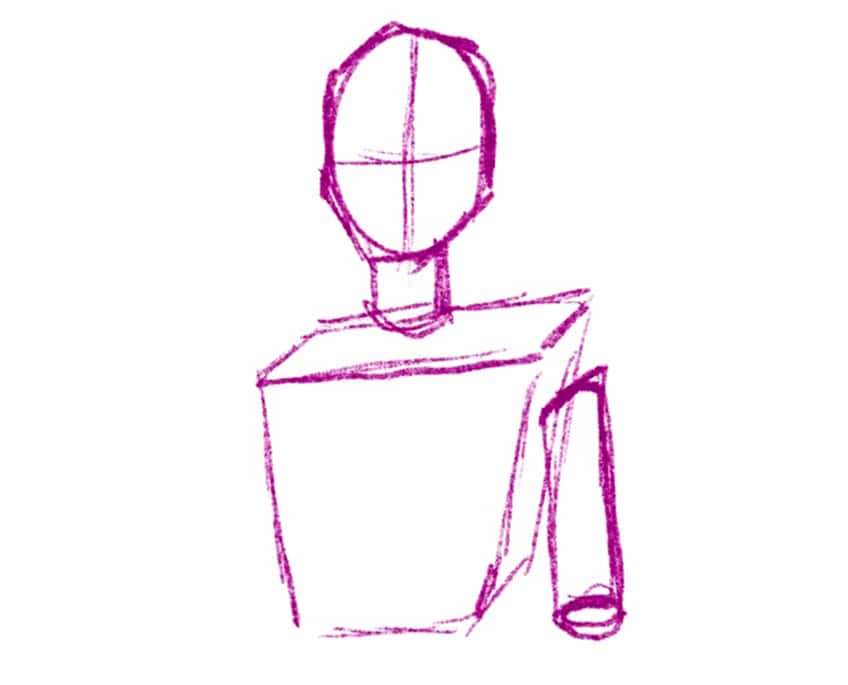
By working with three-dimensional shapes, we can see how the body distorts to expose different three-dimensional elements in the body and establish a unique perspective.

This is a great way to explore slouching or slanted seated positions to get a sense of how these main structures change in scale as they shift into the foreground.
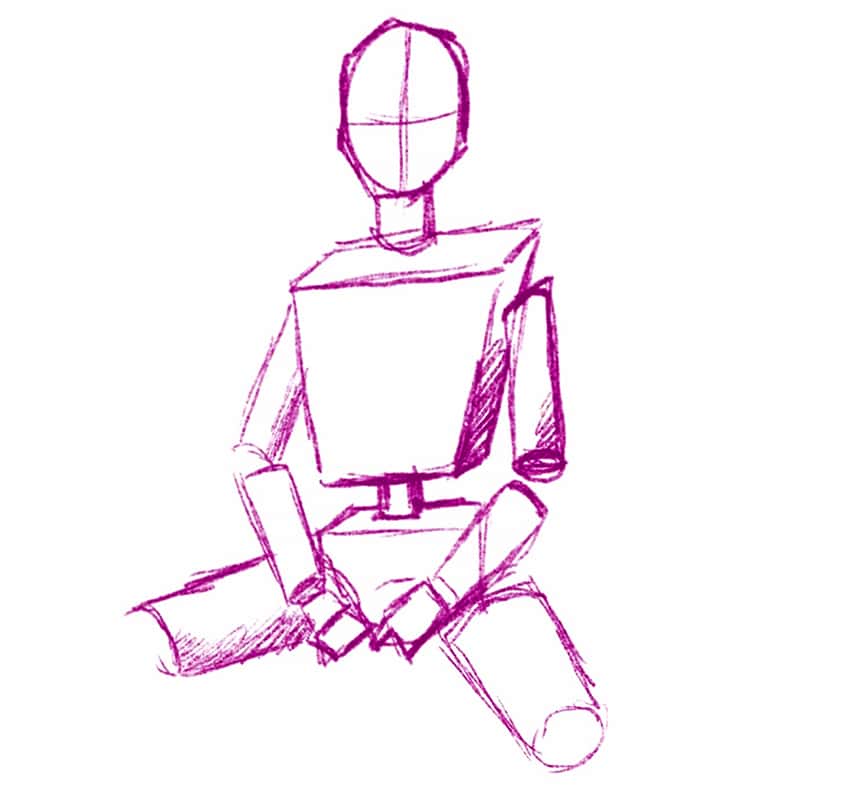
By working this way, we can then form figures in unique perspectives to gain a sense of shadow formations and how they are formed along the right surface area to enhance the sitting pose drawing.

Using three-dimensional shapes as a way of defining the different body parts, is a great way to define unique positions in the perspective and seated pose of the figure.
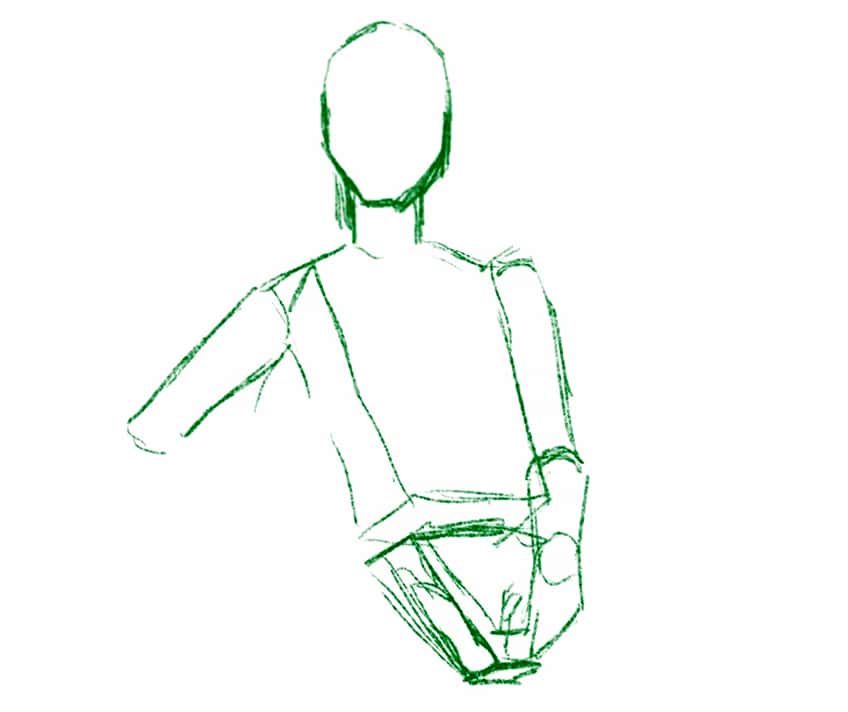
This is because we can work with simple structures and how they change to make sense of different perspectives.
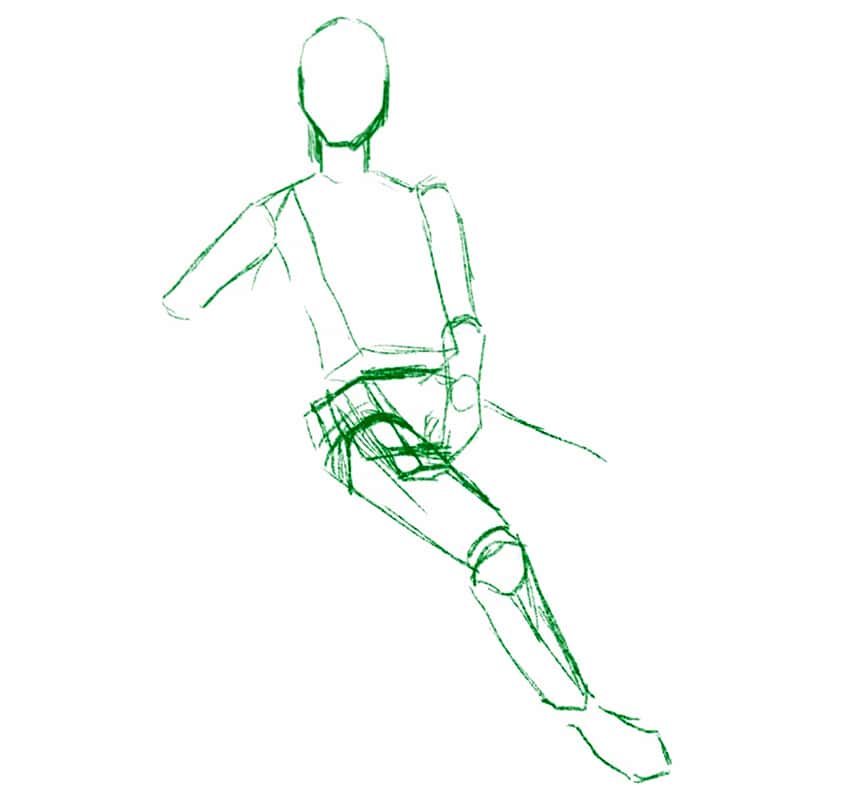
This helps you to gain a sense of the segments within the body, the size of different body parts, and how they are positioned to suit a unique seated pose.

This also helps you understand how the shadows will then form along the correct surface areas within the body, to enhance the overall structure of the sitting position.

Use these basic shapes to understand the different body parts, how they will shift in shape depending on the perspective, and how this affects shadow formation in the figure.
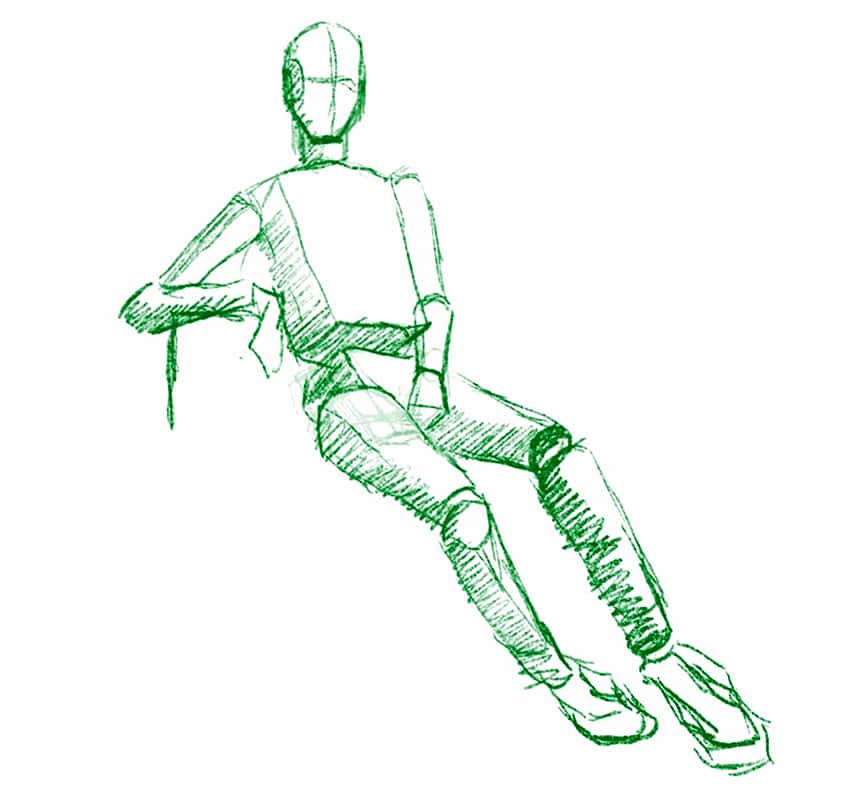
Shaping Unique Sitting Positions
Once we know the segments and bodily structure, we can start lightly forming characters in a simple skeletal formation.

We can use the eight segments to establish the positioning of the body through skeletal line structure. From here we can start sketching a character with more detail.
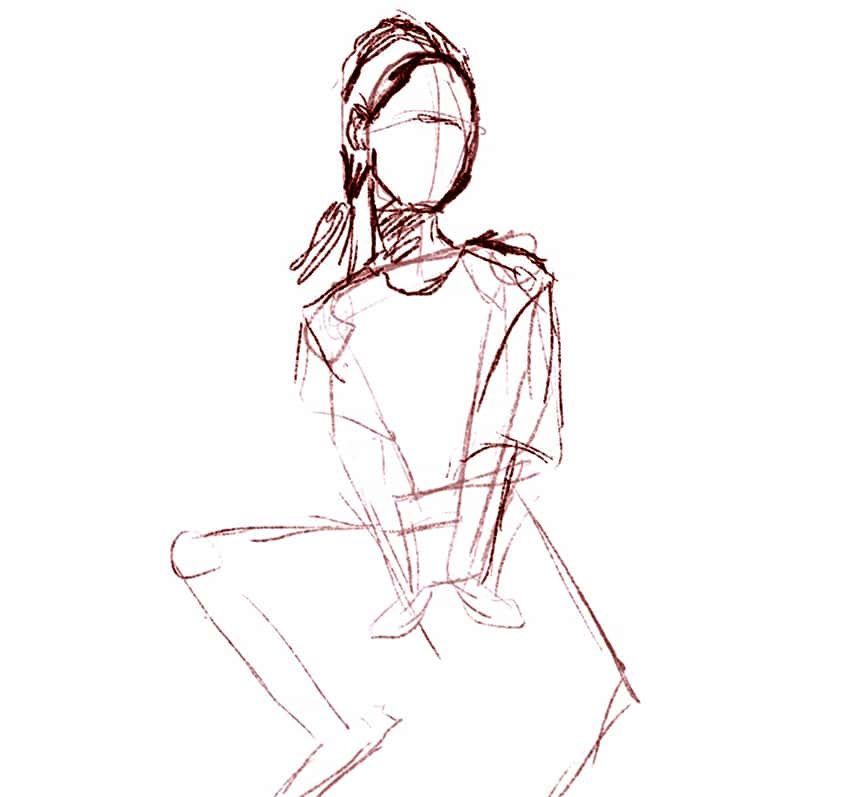
This is where we can now start working with a more detailed representation of different features, constructing them around the skeletal figure. We can start playing around with unique poses and how the body is formed around the line structure that determines the different lengths of different body parts.
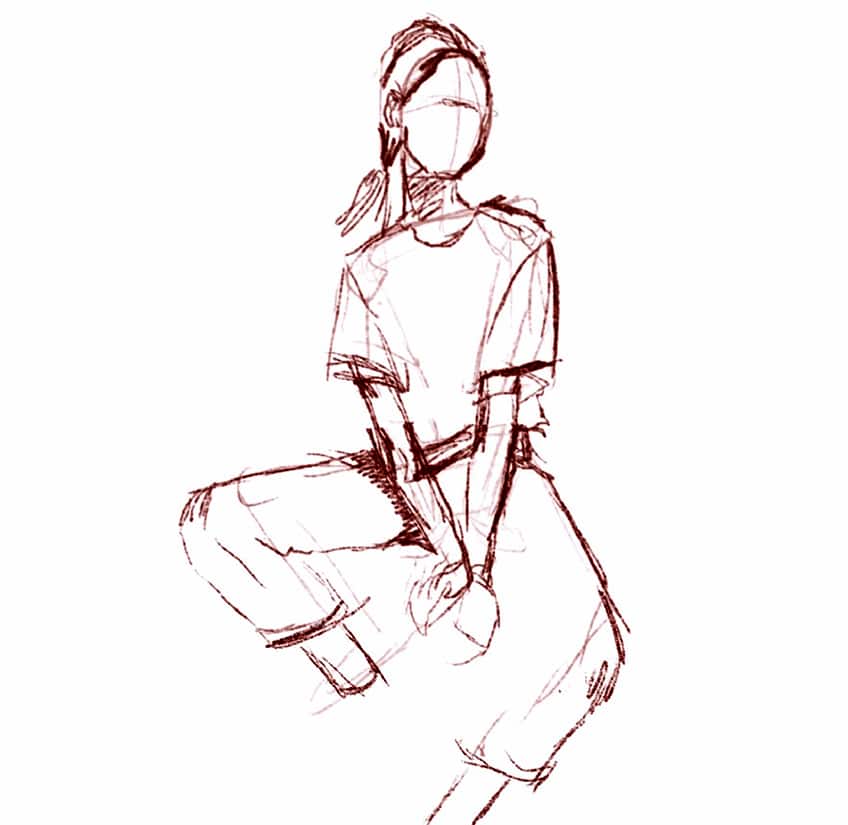
This is where we can have a more unique character design, thinking about the body as a feminine or masculine structure.

We always want to make sure that the figure is formed in their correct proportions with a skeletal sketch, and then constructed around that with their unique attributes.
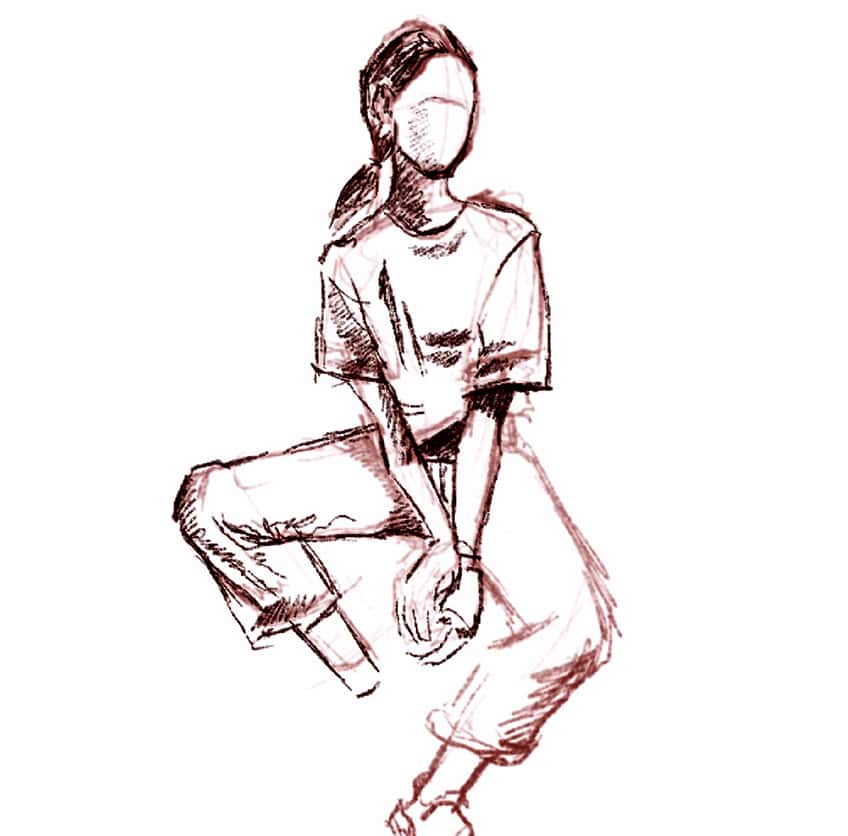
We also want to think about how shadow formations will have an effect on the structure of the figure and how this will enhance the distortion in the features as they shift into the foreground. Always consider how some features will always appear slightly larger, as they move away from the body and into the foreground.
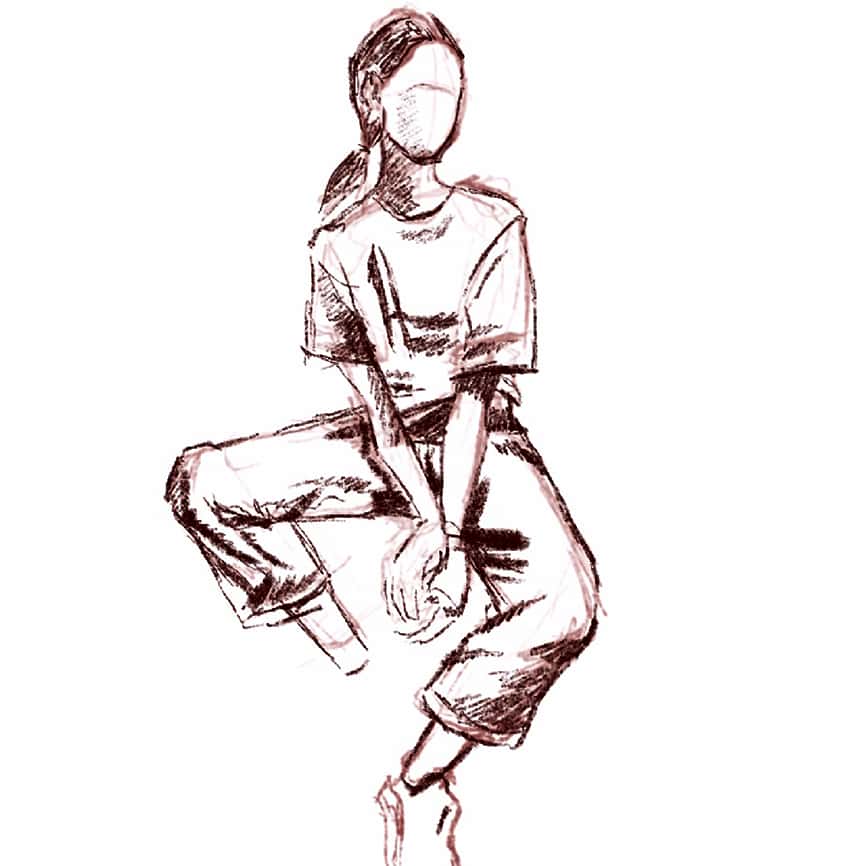
Shaping a Figure With Shadow Formations
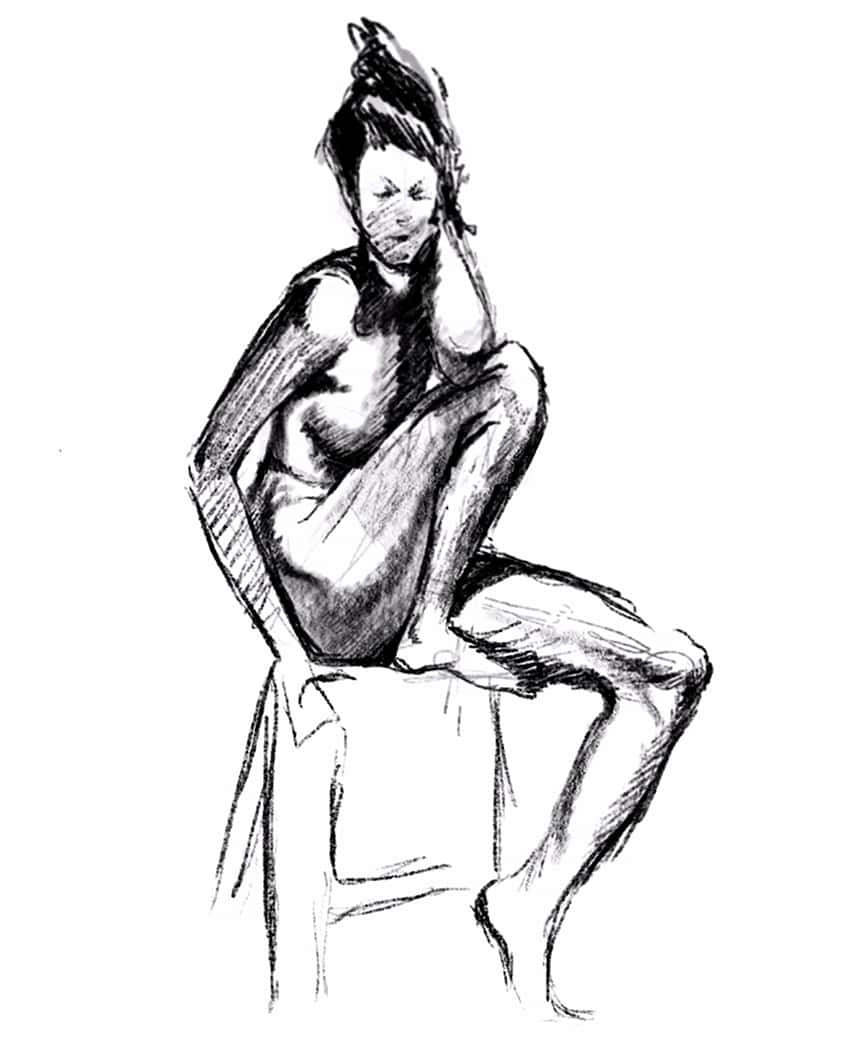
The more comfortable we get with the skeletal form, we can start getting more creative with the use of shadows and maximum contrast.
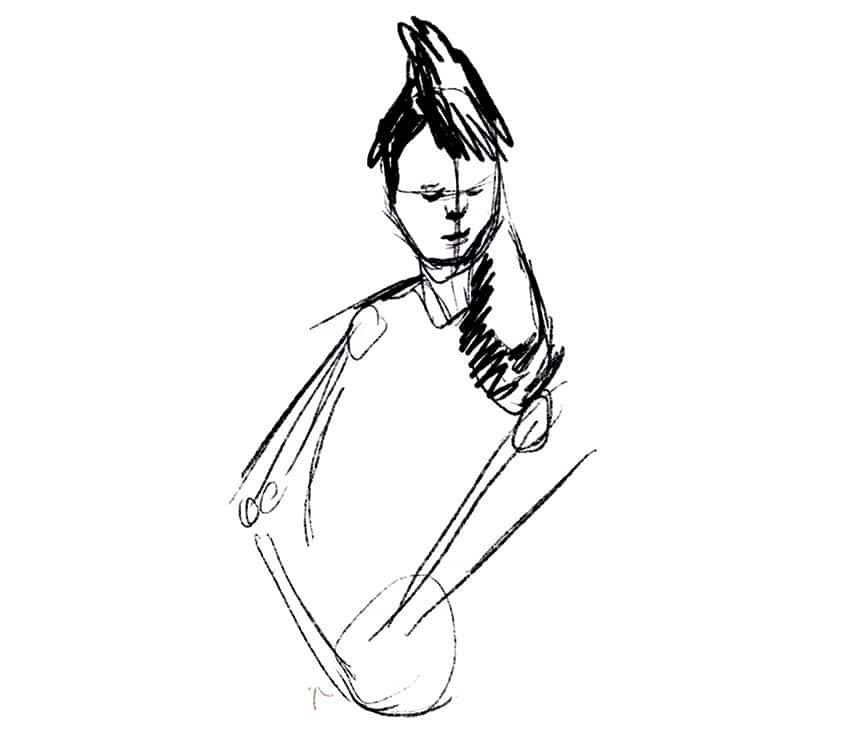
We can also explore more unique sitting poses that demonstrate the body’s movement in a unique formation.
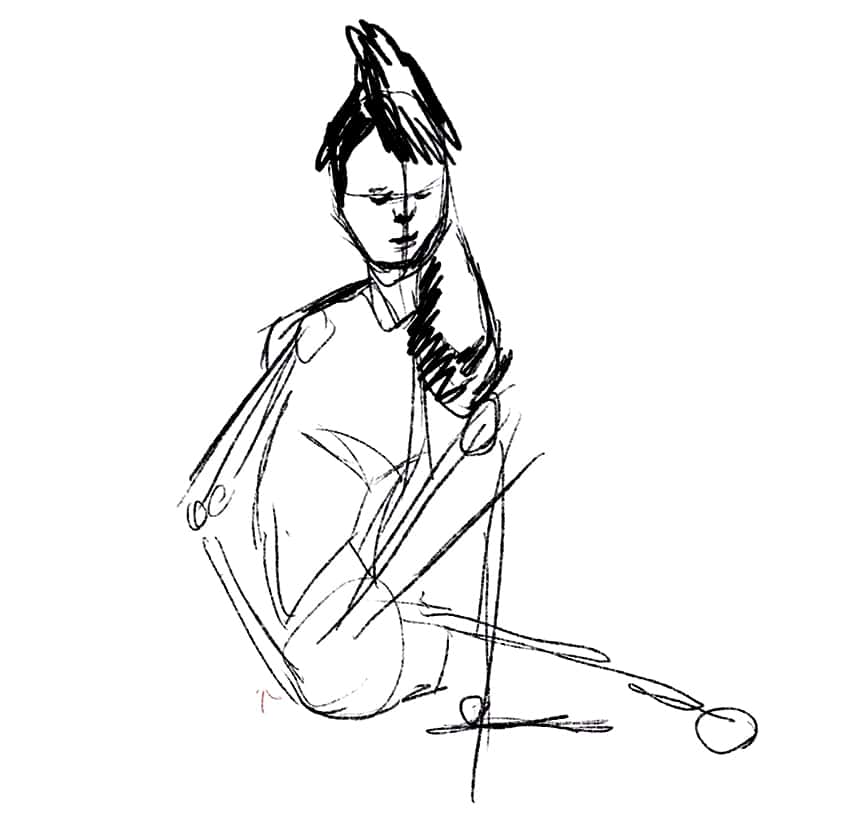
From here, we can start to work with a light source to define the figure in its fundamental shapes. This is where shadows can be used to define the shape of various features.

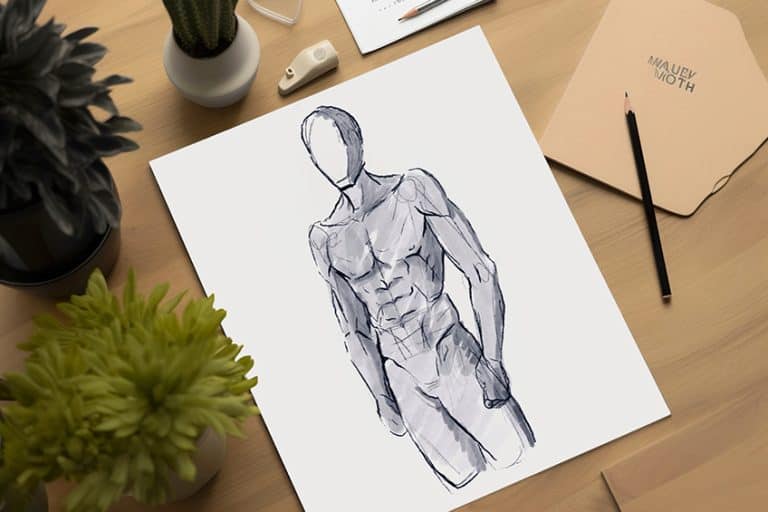
This can be a way to explore a looser representation of a figure in a sitting pose drawing, where we form the figure with the main shadows in various parts of the body.
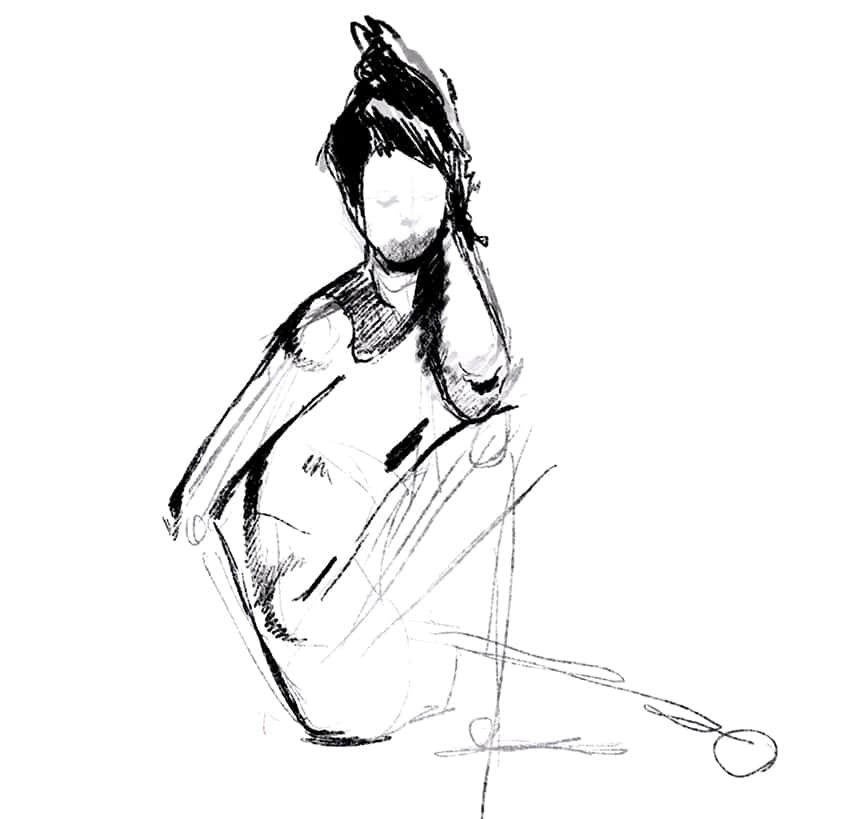
It’s also a great way to experiment with both the male and female forms, where you construct the figure with shadows defining their curves and shapes in different body parts. Slowly, this can help you to understand muscle formation, and how it shifts according to the position of the body.

This is also a unique exercise for understanding light and shadow, and how to utilize shading to define a figure with large shadow formations.
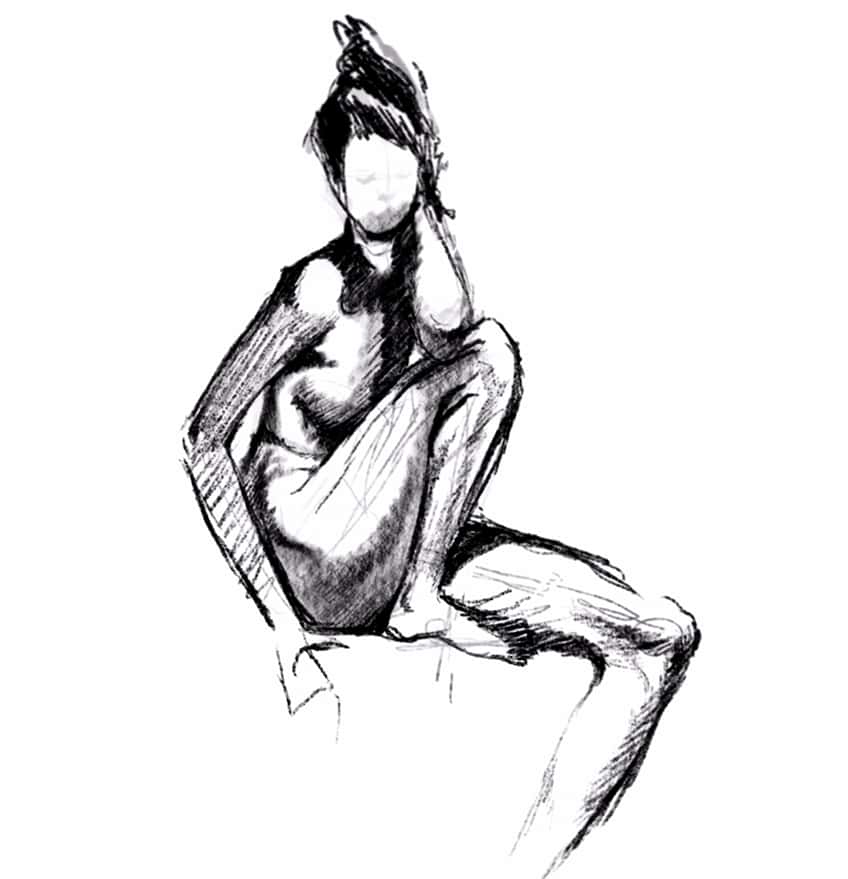
Working with maximum contrast in your shadow formations helps us to understand how the muscles and bones protrude, to create unique shadow formations on the body.
Shaping Clothes on a Sitting Figure
Again, you always want to start by forming their figure in their basic shapes, capturing the unique posture in the sitting pose drawing. You want to take your time building up those three-dimensional structures that define the shape of different body parts.
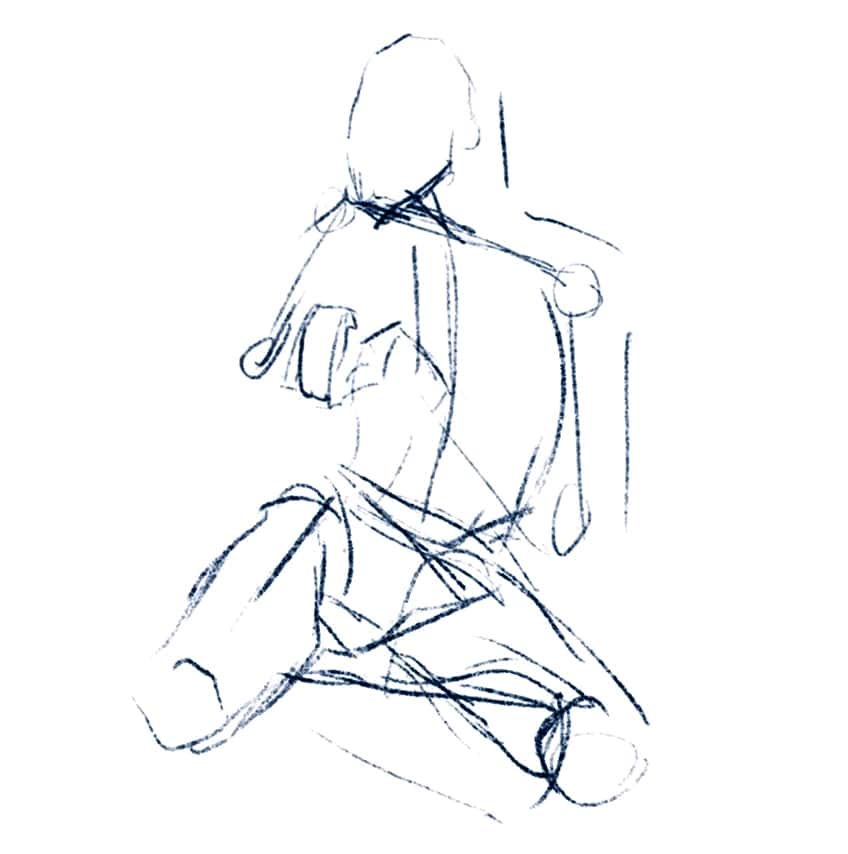
Slowly, you piece together the unique form of the figure and how they are planted on a surface area with different points of bodily contact.
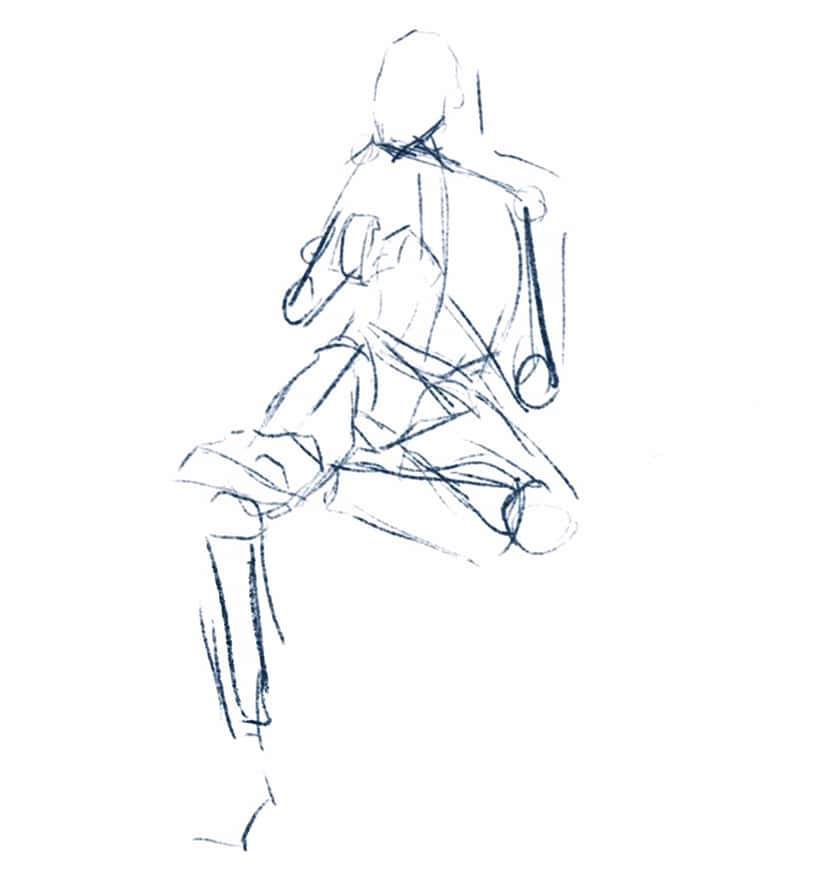
Then we want to start thinking about how the body forms around the skeletal structure and how it’s positioned in its unique seated position.

This is where we start to build the clothing around the figure, thinking about the weightiness of the clothing and how it falls on the figure.

From here, we want to think about how the points of mobility in the body will affect the creases and wrinkles in the clothing.

We just want to make sure, that proportionally, the figure is tilted or distorted in the correct points of mobility.

Once again, the idea is to establish the unique skeletal frame and how it is positioned in the unique seated pose. From there, we can start to work with the clothing as a way of defining the seated figure.
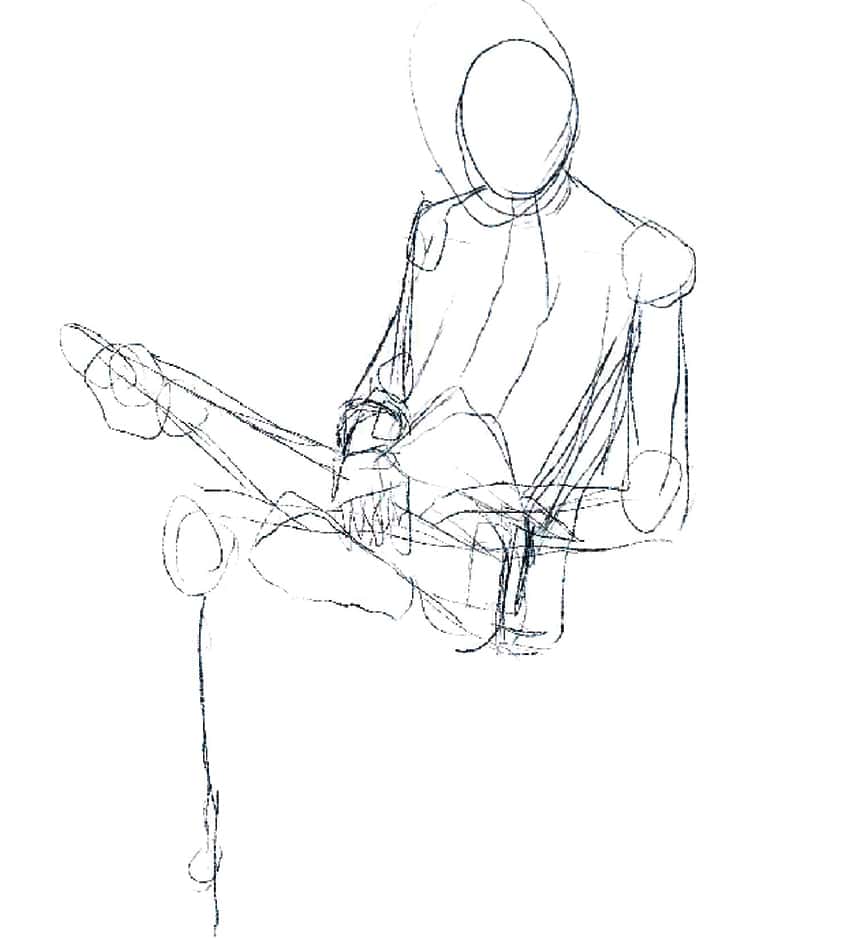
This is where we consider the elements of clothing, and how they are fitted together to form around the figure. Always make sure that we shape the clothing around the proportionally correct skeletal structure.
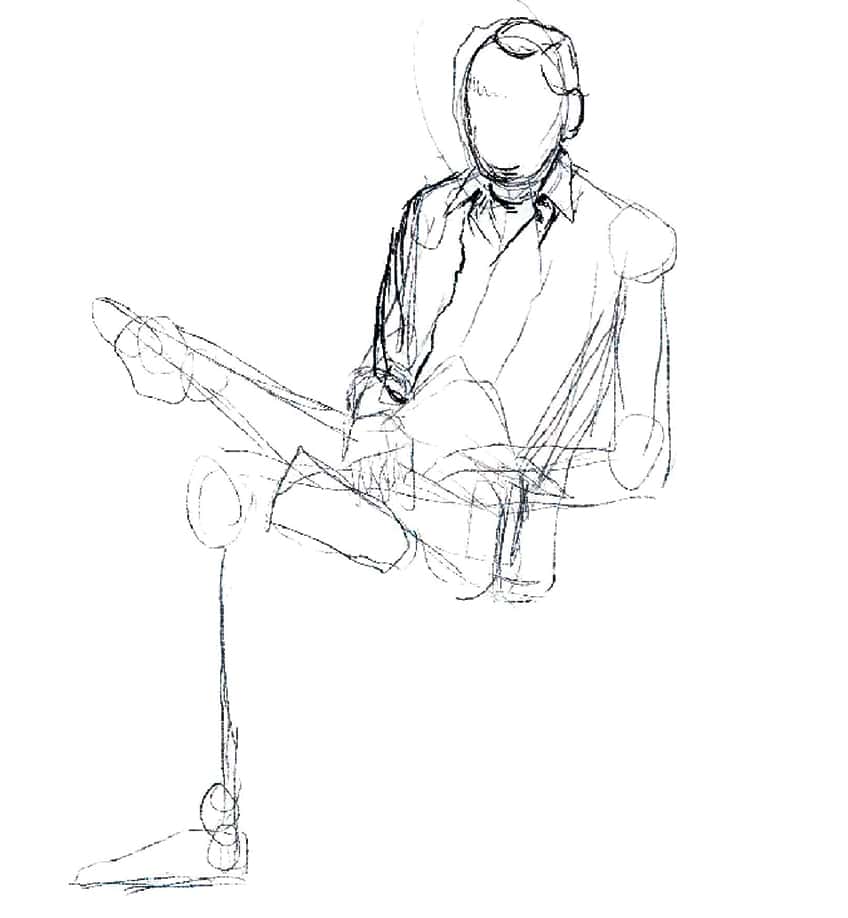
Slowly, we can think about how these points of mobility will change the motion and shape of the clothing. Considering areas like the knees, hips, elbows, and other areas where the body bends.

Again, always consider how some elements might be larger in the foreground, such as a foot, and how it is placed over a knee for instance.
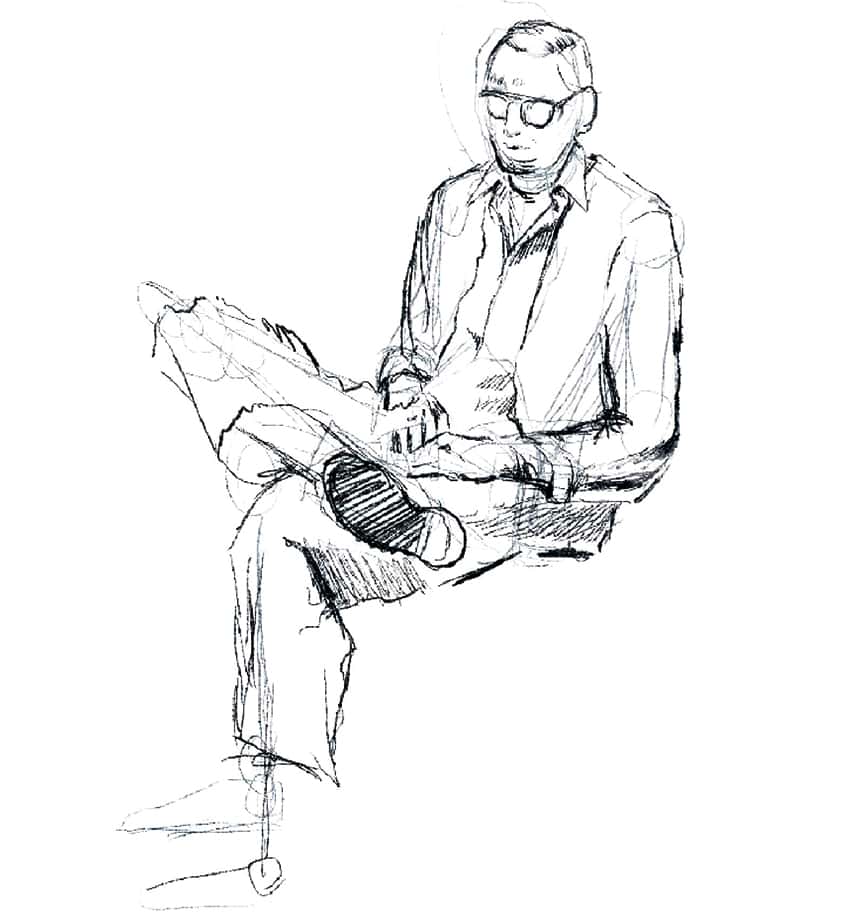
Then slowly you can build up[ your shading to enhance the three-dimensional aspects of the clothing and the overall sitting pose drawing.

Again, the more comfortable you get with the skeletal structure, you can start to form figures quite quickly.

You want to always start with the skeletal form, making sure the segments in the body are proportionally correct. This is where we consider perspective, foreshortening, distortion, and making sure we work with the right skeletal frame for the unique position in the seated figure.

Once we have that established, we have the freedom to play around with shaping the figure and structures around the figure, including clothing.

Slowly, we are more able to shape the figure out of elements and clothing, which establishes a unique sitting pose drawing.

By working this way, we establish the surrounding elements around the skeletal structure using it as a reference for scale and shape.
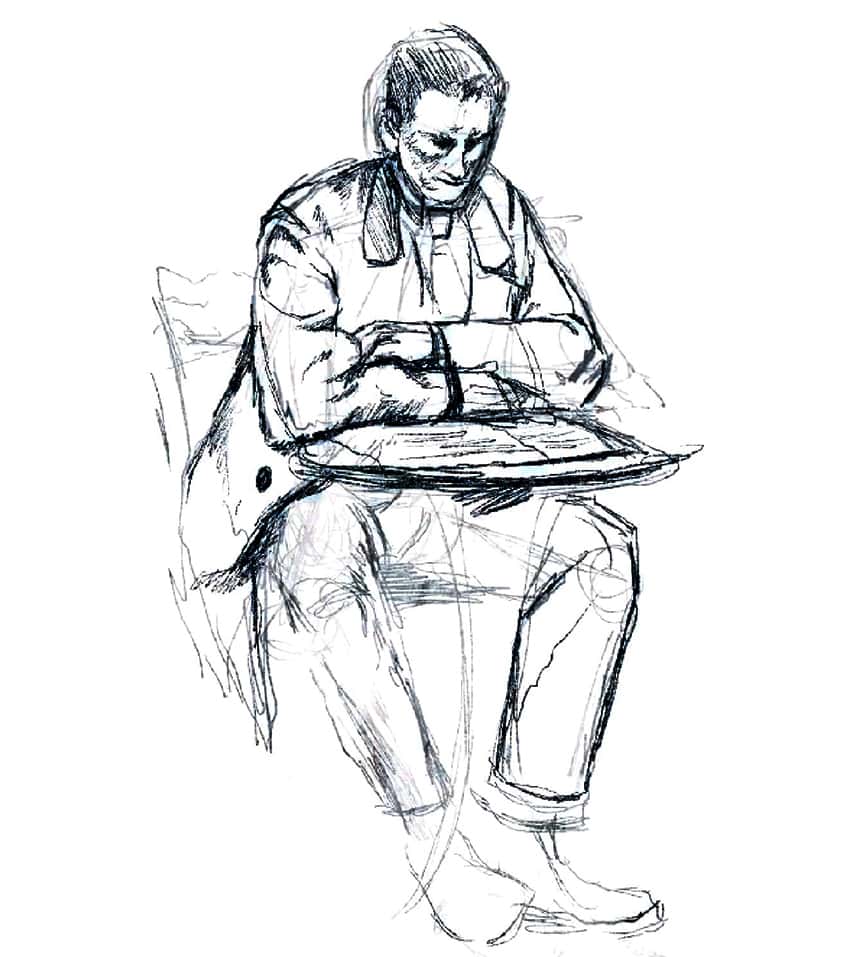
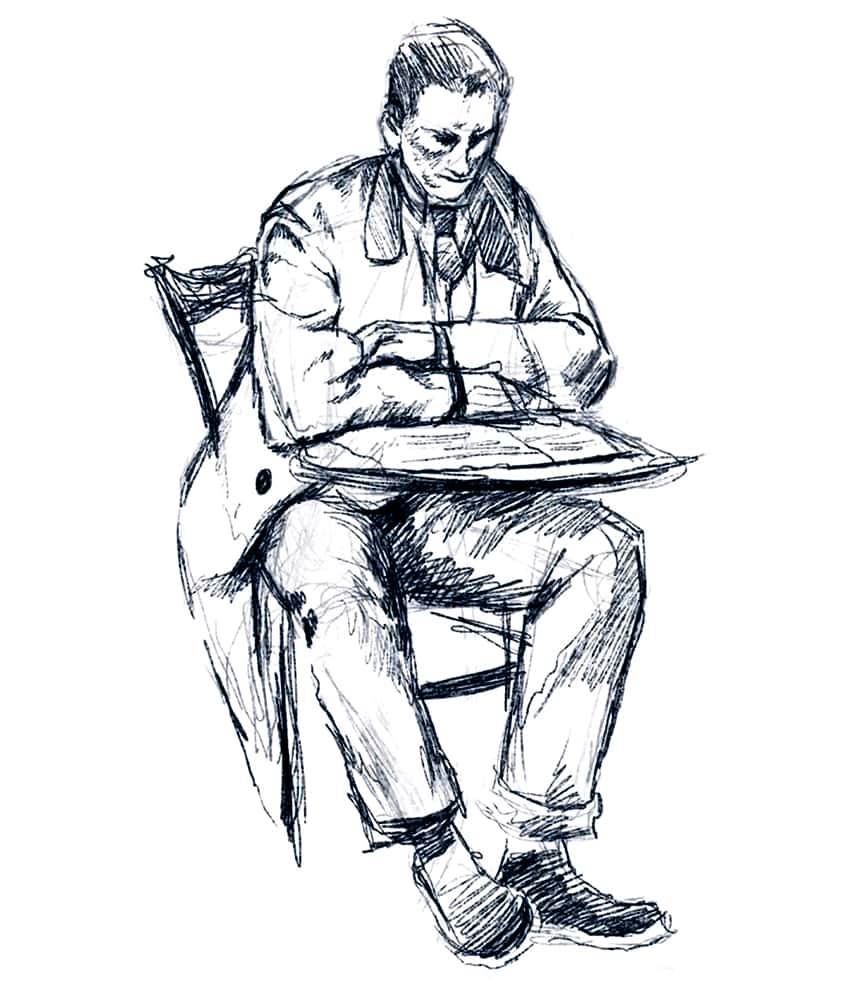
Lastly, we are then able to adequately integrate shading into the figure to define the three-dimensional aspects of the various elements and therefore enhance the sitting pose drawing.
Tips and Tricks to Remember
- Understand the basic human proportions. Once you know how the body is made of various segments, you can manipulate the body to suit the length of these segments in various seated positions.
- Build a figure in layers. Work out the proportions, then establish the skeletal structure which you can then construct a figure around.
- Consider posture in different figures. Posture will determine the formation of the body: if the posture is bad, there will be curvature in the spine.
- Utilize shading to enhance the figure’s form. Once you have formed your figure, you can then proceed to enhance the figure with shadow formations in various body parts.

With female or male sitting poses, drawing a sitting pose is a lesson on human anatomy and form because of how unique the body arranges itself in different seated positions. In many ways, we gain an understanding of how the spine, bones, and muscles function to represent different seated positions for both male and female structures. This tutorial provides us the opportunity to create our own sitting drawing references to come back to when we are struggling to represent the seated position in a drawing.
Frequently Asked Questions
How to Draw a Sitting Pose on the Floor?
The body has various points of mobility that allow it to curve and twist in various ways. Depending on the way the body is positioned on the floor, we can create various positions based on those points of mobility. We can have a reclined position, where the body is leaning backward and held up by the arms. We can also have a crossed-leg position, where the spine and muscles are strong enough to hold good posture. However, the pelvis will always tilt inward, causing curvature in the lower spine. This will allow the legs to be positioned in one of various ways. We always want to consider how the pelvis can cause a tilting action in the figure, allowing the top half of the body to be positioned in one way and the legs to be positioned in another.
How to Draw a Sitting Pose With a Good Posture?
Generally good posture is a result of strengthening muscles that surround the spine and pelvis, such as the psoas muscles. When these muscles are strengthened, they hold the spine in an elongated position, maintaining a straightened position in the body. When the spine is straightened, it positions the body in an upright position, creating a 90-degree formation in the female or male sitting poses drawing. This positioning can be drawn by constructing the skeletal structure in that 90-degree formation, and then forming the figure according to the eight equal segments that establish the body parts in their correct proportions. From there, it’s a matter of shaping the figure with linework and shading to further enhance the form and position of the sitting pose.
Matthew Matthysen is an educated multidisciplinary artist and illustrator. He successfully completed his art degree at the University of Witwatersrand in South Africa, majoring in art history and contemporary drawing. The focus of his thesis was to explore the philosophical implications of the macro and micro-universe on the human experience. Matthew uses diverse media, such as written and hands-on components, to explore various approaches that are on the border between philosophy and science.
Matthew organized various exhibitions before and during his years as a student and is still passionate about doing so today. He currently works as a freelance artist and writer in various fields. He also has a permanent position at a renowned online gallery (ArtGazette) where he produces various works on commission. As a freelance artist, he creates several series and successfully sells them to galleries and collectors. He loves to use his work and skills in various fields of interest.
Matthew has been creating drawing and painting tutorials since the relaunch in 2020. Through his involvement with artincontext.org, he has been able to deepen his knowledge of various painting mediums. For example, watercolor techniques, calligraphy and lately digital drawing, which is becoming more and more popular.
Learn more about Matthew Matthysen and the Art in Context Team.
Cite this Article
Matthew, Matthysen, “How to Draw a Sitting Pose – 8 Fascinating Tutorials.” Art in Context. April 10, 2024. URL: https://artincontext.org/how-to-draw-a-sitting-pose/
Matthysen, M. (2024, 10 April). How to Draw a Sitting Pose – 8 Fascinating Tutorials. Art in Context. https://artincontext.org/how-to-draw-a-sitting-pose/
Matthysen, Matthew. “How to Draw a Sitting Pose – 8 Fascinating Tutorials.” Art in Context, April 10, 2024. https://artincontext.org/how-to-draw-a-sitting-pose/.


