What Is Lino Printing? – Creating Lino Art
If somebody had to ask you how to lino print, would you be able to answer them? This unique printing technique is a wonderful introduction to etching and printing for those interested. Lino print is great for simple things like making cards, or taking it further, even creating pieces of art. Let us now go further into the art of lino printing, so that you can successfully answer the question: what is lino printing?
What Is Lino Printing?
This form of printing goes by many other names including lino cutting, or linoleum art can be compared to woodcutting. The only difference is that you use sheets of linoleum, which can be mounted on a block, instead of using wood. The lino printing process involves cutting a design into the linoleum, then inking the surface. The raised areas are a reverse image of what you wish to print. The ink remains on the raised cutout areas, which you then press onto some paper. This will leave the impression or printed image behind.
You can do the lino printing process as many times as you wish, like a large stamp you can use over and over again. These multiple copies are what are known as editions.
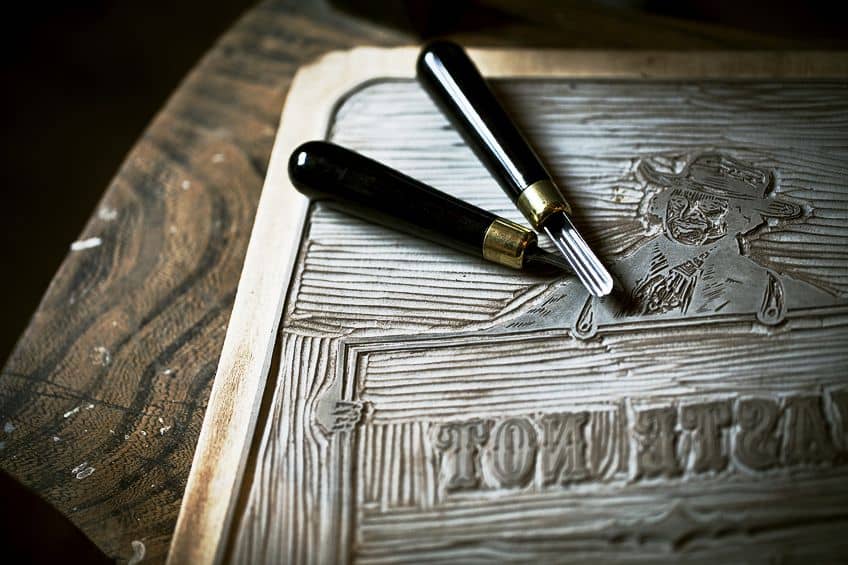
The lino prints can be done by hand, or you can use a printing press. Lino print techniques are great for creating cards and other items, but it is also used to create lino art. This method of printing is quite versatile, as artists can create any type of style they wish. You can just as easily do lino printing at home as you can in a studio. The lino-cutting process is often used in schools to teach children printmaking methods. It is also easier to cut lino than use wood for printing.
History of Lino Printing
Linoleum itself was invented in the 19th century by a British rubber producer, who was experimenting and trying to find a less expensive product. The lino consists of linseed oil that is heated and produces thin rubbery layers. Added to this are other materials, such as cork and pigments, which are then processed to form the linoleum sheets.
When we hear the word linoleum, most of us think about lino flooring, however, artists have also found that linoleum is perfect for printmaking. It is a cheap material and artists are free to create anything they want.
The idea of block printing was created many years ago somewhere in the second century in China. Lino printing came soon after the discovery of linoleum in the 20th century. Some of the more prominent artists that contributed to lino art in the beginning include Gabriele Munter (1977 – 1962) as well as Erich Heckel (1883 – 1944), who were German artists.

The ideas of lino art spread to Russia and the United Kingdom. In the early 20th century, black and white linocuts were seen in the United Kingdom, and credit can be given to an artist by the name of Horace Brodzky (1885 – 1969). Color linocuts were later taught at the Grosvenor School of Modern Art, mostly by an artist by the name of Claude Flight (1881 – 1955).
In the United States, lino art was first seen in New York City in 1911.
The Czech artist Vojtěch Preissig (1873 – 1944). Other contributors in this field of art include Pedro Joseph de Lemos (1882 – 1954), who helped simplify the process for art schools, and Walter Inglis Anderson (1903 – 1965), who created the first large-scale lino art piece that was exhibited at the Brooklyn Museum in 1949.
Famous Artists in Lino Printing
Lino art became a specialized print medium because it was used widely by artists who had gone to the Grosvenor School of Modern Art. Famous artists who used the method include Pablo Picasso and the French artist Henri Matisse.
Picasso produced his first lino art prints in the late 1930s and carried on using this process into the 1960s.
Reduction linocuts is a lino printing process where the lino is used over and over again, each time being recut after a color is printed. This method is often attributed to Picasso; however, the process was already being used by the small commercial printers of the time, and Picasso simply adopted the method. Still Life with Glass Under the Lamp (1962) is an example of his lino art. Other artists who also created lino art include some of the following.
- Frances Gearhart (1869 – 1958)
- William Seltzer Rice (1873 – 1963)
- Sybil Andrews (1898-1992)
- Edward Bawden (1903 – 1989)
- John Ndevasia (1943 – 1987)
Lino Printing Guide for Beginners
Lino printing is a unique and fun way of printing. You only need a few materials and maybe a few classes to get started. As a beginner, there are a few techniques you need to know before you begin. So, we will be discussing the basics of how to lino print. To begin, we need a few materials that include the following.
- Lino block
- Cutting tools
- Roller or brayer
- Ink
- Printing paper or card
Drawing the Design
You should try practicing your technique first, before attempting your design. You can begin by sketching a design on the lino block. Remember, whatever you print will be a reverse image. This is most significant if you are doing lettering.
If it is your first time using this method, it is best to create a simple design using a pencil.
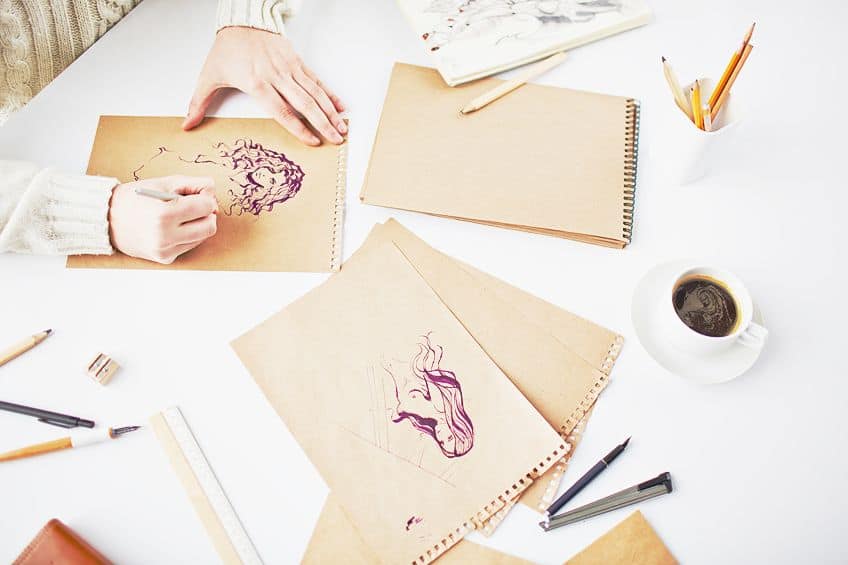
If you need some inspiration, you can most probably find some linocut designs online. You can also try tracing images onto the lino surface. It is also useful to go over a design with a marker pen that does not come off easily. This helps to make the lines appear more clear, which helps when you are carving.
Carving the Design
Using the cutting tools, remove what is known as the negative space of the image. To make sure you can carve smaller and larger areas, have a variety of carving tool sizes available. You can then start by carving the outline and doing shallow pieces or little by little, as you do not want to remove too much. You can then carry on removing the surrounding pieces. The aim is to push the blade forward and not to push down too much.
You will want to use different size carving tools for your design. Larger cutters to remove bigger areas, and smaller cutters for finer details.
Remember, you are carving away what you do not want to appear on the paper and leaving behind the elevated image of your design. There are softer and more synthetic lino products available. You can establish which is the original and which is synthetic by looking at the back of the lino. The traditional lino you will notice has a sting mesh at the back. You can try the various types available, and find the one that works for you.
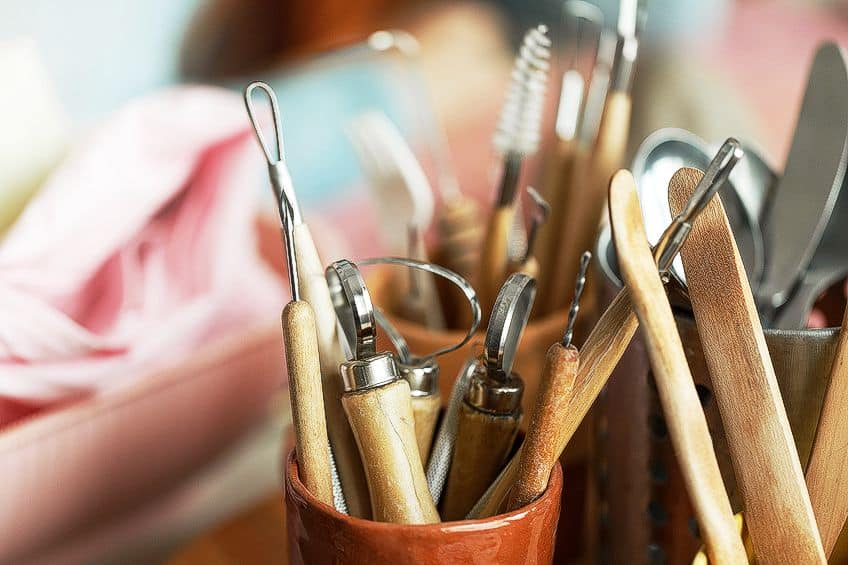
The more traditional lino offers more control, while the softer synthetic lino is easier to do curved lines on. The carving tools come in various sizes and shapes, which leave different marks. Some are “v” shapes, while others have a more “u” shape to them. Hold the tool as you would a pen, insert it into the lino surface, and then push forward. You will notice a slither of the lino lifting off the surface. Your one hand will be doing the carving, while the other supports the block.
When carving, always do this away from you and turn the block as you go, so you do not cut yourself.
Inking the Block
When you have finished carving, make sure to remove any remaining debris. Take the ink you are using and pour some onto a clean surface, for example, you can use a paper plate. Take your roller and run it through the ink, making sure it is evenly coat
You should do this over some newspaper or other surface that is easy to clean as you do not want to get ink on your table.
Best Ink for Lino Printing
Just as there are different printmaking techniques, there are different inks. The main difference between the inks is the consistency, you want something that is not too thin so it can be rolled out and clings to the block. The inks used for lino printing are known as block printing or relief inks. Out of this, you also get water-based and oil-based inks for lino printing. Both options have pros and cons.
| Pros and Cons | Water-Based Ink | Oil-Based Ink |
| Pros |
|
|
| Cons |
|
|
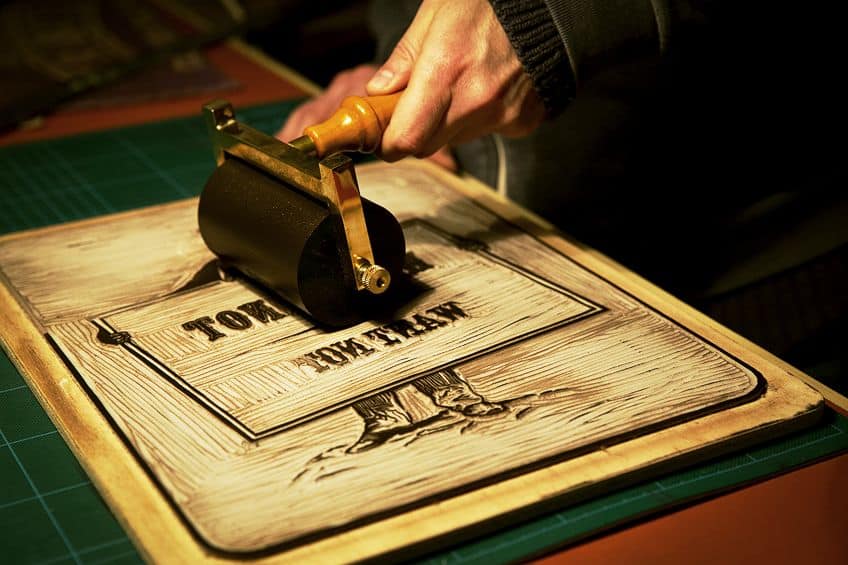
Pressing the Lino Block
Once the lino block has been prepared, you can begin pressing. Your hands should be clean before proceeding, so you do not leave ink smudges all over your paper. The easiest way to press the paper onto the ink is to use your hands. Place your inked lino block on a flat and clean surface, then place your printing paper or card over the block.
You can then use your hands to gently press down, or you can use a clean roller to do the same process.
Once you are sure you have pressed the design thoroughly enough, you can slowly peel the paper away. You should have beautiful flat lines of ink that are in high contrast to the paper. The print will also be a reversal of what was on the block. Insect the inked areas, and see if you are happy with the outcome. If not, and there are textured areas where you do not want them to be, you can wash the lino block and carve some more.
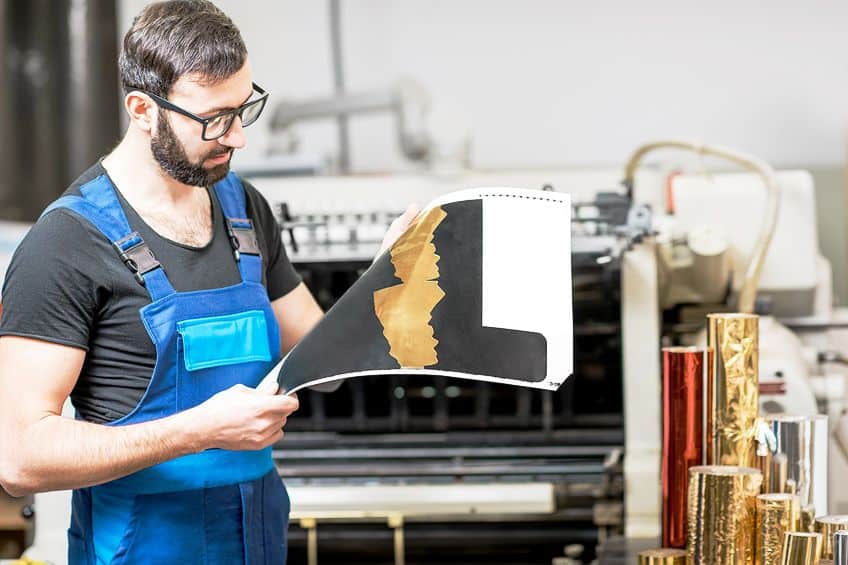
Instead of using your hands to press the ink into the paper, you can use an etching press, which provides even pressure and is also good for woodcuts. There is also a wide variety of printmaking paper you can use, which are smooth and should pick up the ink effortlessly.
Drying Time
Once you have removed the paper from the block, make sure to leave it somewhere out of the way to dry. It is best to leave the print to dry for about two days if it is oil-based ink. You can make as many prints from the same block as you like. Once done, you can rinse the ink off and then let it dry.
The lino block can then be stored and used again later. You should also make sure all your other tools are also cleaned.
Lino Print Techniques
The most simple lino technique is the single-color application. This is the same as our step-by-step instructions above. You cut and ink the lino with a single color, usually black as this forms a high contrast with the white paper. Other techniques are a little more challenging and can include the following.
Reduction Linocuts
This technique produces multi-colored lino prints. The print is created by using a single lino print. Each time the lino print is used in a different color, more of the lino is cut away. You will have to plan how many colors you want, as once you are done, there is usually not much of the lino left to cut.
This technique is more challenging as you need to make sure you cut correctly, or you could ruin a design.
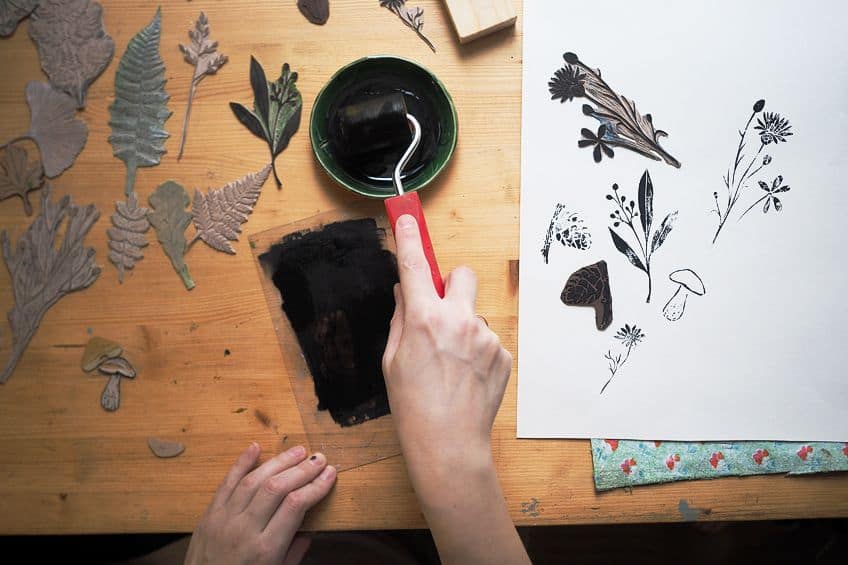
You also need to align the colors properly, known as registration methods. However, even though it is challenging, the results are quite satisfying.
Hand Coloring Prints
There is an easier way of adding color to your prints. Follow the same process of creating a lino print, and once you are done and it has dried, simply hand-paint the image. You can use colored ink or watercolors to make sure the dark black outlines remain visible.
Advantages of Lino Printing
Lino printing is an easier option when compared to wood, and you can produce a larger variety of techniques, so it is more versatile. You can cut in any direction, unlike with wood. Lino printing is also fun and affordable and can be done from a young age when it is appropriate for a child to handle sharp objects. There are also no toxic chemicals or expensive equipment needed.
Lino printing is also eco-friendly, as the lino is made from natural materials, which are biodegradable and recyclable.
The effects of lino printing are also distinctive, producing flat color areas that offer high contrast. You can also do lino printing on fabrics, simply apply a thicker layer of ink to the lino design. The carving can be therapeutic, while the actual printing is quite a quick process. The carvings are simple to customize, so you can try any design you like.

Multiple prints can also be made from the single lino print. The slightly textured surface of the lino accepts ink without difficulty. There are some misconceptions about lino art. It is not a complicated form of art and printing if you stick to simple designs. Once you have more experience, you can then attempt more challenging techniques.
Anybody can do lino printing at home, it is not only for professional artists. So, it can be used to make simple things like cards, but it is also considered a form of fine art.
How to Get Started With Lino Printing
Getting started with lino printing is quite easy, as you can easily get a beginner’s kit from a crafting store. The kit should contain everything you need to start printing. As for workshops, all you need to do is find out if there are any courses available in your area.
You can even do an online course that can help show you different techniques with step-by-step tutorials and instructional videos.

As a beginner, it is also a good idea to practice beforehand. Cut out different lines and shapes as well as how to cut out mass sections. You can experiment with different carving tools and play around with different techniques.
Now that you have a basic understanding of what and how to lino print, you need to try it out for yourself. Since it is affordable and you do not need a lot of materials, it can easily be done at home. We hope you are excited about trying out this amazing art form!
Frequently Asked Questions
What Is Lino Printing?
Lino printing, which is also called lino cutting, is a printing technique that was developed in the 20th century. The process is not difficult, and you can make multiple prints from a single lino printing block. Other similar printing techniques include lithographs and etching.
What Is the Lino Printing Process?
Creating a linocut only requires a few materials. You will need a lino block, cutting tools, ink, and paper. You carve your design into the lino, apply ink to the surface, and print this onto the paper. The printed design will be the reverse image of your cutout design.
How Long Does a Lino Print Take to Dry?
The most popular inks used are oil-based, so for a lino print to dry, it is recommended you leave it for at least two days. Many of the inks today do contain mediums that help to quicken the drying time.
Can Acrylic Paint Be Used for Lino Prints?
If you are simply experimenting and having fun, then you can use acrylic paints. However, you will need to be quick when applying the paint to stop it from drying while you are busy. The paint might also crack on the paper design once applied and dry, which is why it is best to use the proper inks for lino printing.
In 2005, Charlene completed her Wellness Diplomas in Therapeutic Aromatherapy and Reflexology from the International School of Reflexology and Meridian Therapy. She worked for a company offering corporate wellness programs for a couple of years, before opening up her own therapy practice. It was in 2015 that a friend, who was a digital marketer, asked her to join her company as a content creator, and this is where she found her excitement for writing.
Since joining the content writing world, she has gained a lot of experience over the years writing on a diverse selection of topics, from beauty, health, wellness, travel, and more. Due to various circumstances, she had to close her therapy practice and is now a full-time freelance writer. Being a creative person, she could not pass up the opportunity to contribute to the Art in Context team, where is was in her element, writing about a variety of art and craft topics. Contributing articles for over three years now, her knowledge in this area has grown, and she has gotten to explore her creativity and improve her research and writing skills.
Charlene Lewis has been working for artincontext.org since the relaunch in 2020. She is an experienced writer and mainly focuses on the topics of color theory, painting and drawing.
Learn more about Charlene Lewis and the Art in Context Team.
Cite this Article
Charlene, Lewis, “What Is Lino Printing? – Creating Lino Art.” Art in Context. May 4, 2023. URL: https://artincontext.org/what-is-lino-printing/
Lewis, C. (2023, 4 May). What Is Lino Printing? – Creating Lino Art. Art in Context. https://artincontext.org/what-is-lino-printing/
Lewis, Charlene. “What Is Lino Printing? – Creating Lino Art.” Art in Context, May 4, 2023. https://artincontext.org/what-is-lino-printing/.


