How to Preserve Flowers in Resin – Your Guide to Casting Resin Flowers
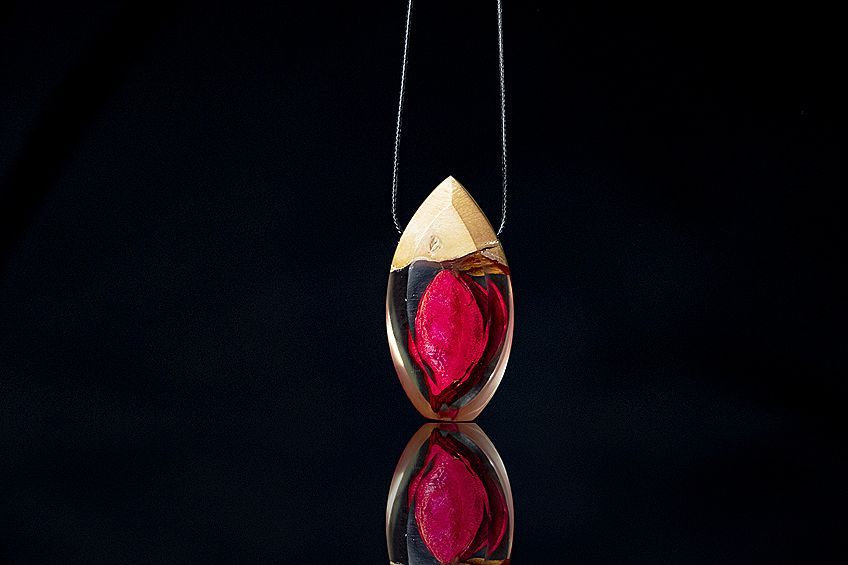
Resin is an amazing substance; it allows us to do so many things that it’s challenging to think of anything crafting-related that can’t be done or improved by resin. From painting, protecting surfaces, jewelry creation, making toys, duplicating forms, and even protecting flooring and countertops can be done with resin. One of the most popular resin art techniques in recent years is the practice of encasing flowers in resin. Not only does this look beautiful but it allows you to preserve all manner of flora forever. If this piques your interest, let’s have a look at how to preserve flowers in resin effectively, why you would want to do it, what products work best when attempting to do this, as well as some helpful tips and tricks.
Why Would You Want to Preserve Flowers in Resin?
Before we look at how to preserve flowers in resin let’s have a look at why you would want to do this. We can all agree that on their own flowers are simply remarkable to look at, whether you love their vibrant colors, their unique and interesting shapes, or the way they have the ability to light up a room simply by being there. Unfortunately, like most beautiful things in nature, they have a limited life span.
This being said, unless you have the ability to freeze time your flowers will eventually wilt and die, and if they symbolized something particularly important to you this can be disheartening, to say the least. After all, we give each other flowers on really special occasions like birthdays, anniversaries, weddings, graduations, and even funerals for that matter. Flowers symbolize different things to different people, so why wouldn’t you want to immortalize the memory of these occasions forever?
Let’s say that you’re not the most sentimental person out there and you simply love the way that flowers look, preserving them in the resin can still be useful. There are loads of professional epoxy resin artists out there that use preserved flowers as part of their workpieces, and the best part is you don’t have to use these flowers all on their own either, you can add things like glitter or pieces of memorabilia to make your workpiece stand out amongst the rest.
If you aren’t in it for the creativity alone, why not create preserved flowers to sell for some extra money? You could even do this full-time! Preserved flowers can be marketed as gifts that last forever, and the best part is that they’re relatively easy to make and don’t require loads of expensive materials either.
All you need is some resin, a mold of your choosing, and of course the flowers you intend on preserving.
Should You Dry Flowers Before Preserving Them in Resin?
While you could get away with preserving flowers in resin without drying them out first you should consider what the implications of this could be later on. Flowers contain things like moisture and chlorophyll which can cause the flower to decay over time. Although this isn’t true for every flower there are many species that won’t last very long if they aren’t dried out beforehand.
Therefore, it’s important for you to dry out your flowers before preserving them in resin, which doesn’t take too long as long as you plan ahead to compensate for the drying process. Wondering how to dry flowers? Well, we’re sure you’ve seen a sad rom-com or two where the heartbroken character has a flower from their first love story in a book, and this is pretty much how it’s done, but with some important extra steps.
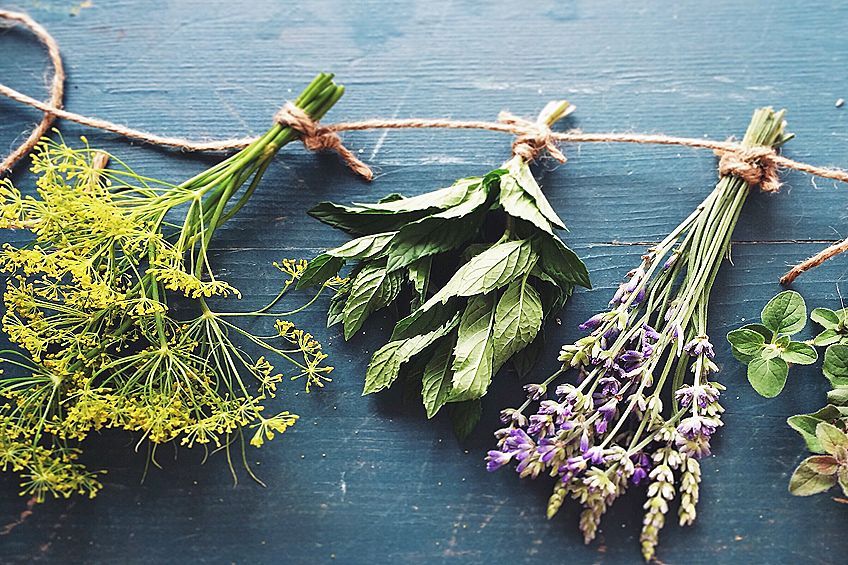
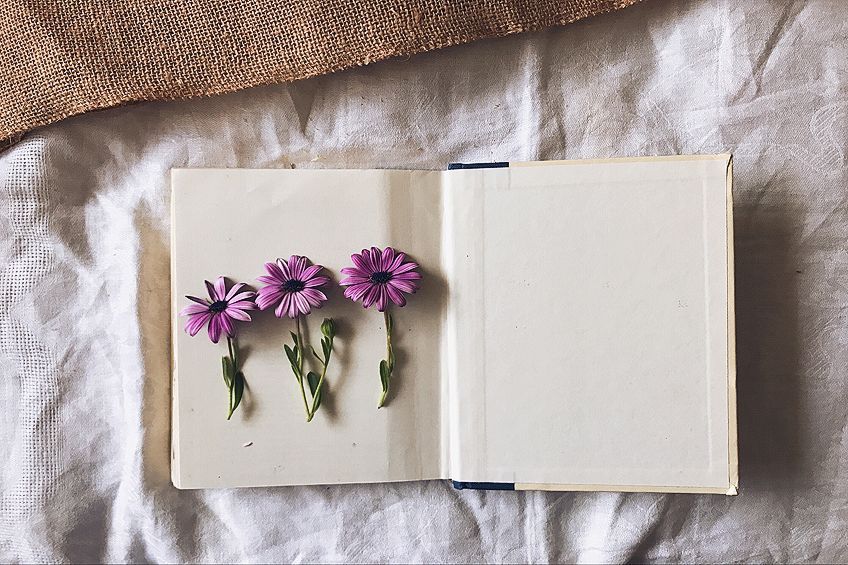
Here’s how to dry flowers effectively, all you need is a decently sized book and some time. Place the flower in the center of the book and flow it. Don’t worry about if the flower is slightly squished, as it will bounce back soon enough. Leave the flower in the book for around a week and then open it up. The flower should be completely dried out at this point and ready to be encased in some resin.
If you find yourself a bit crunched for time, there is another method that could allow you to dry out your flowers a bit faster. By compressing your flower and placing it in a microwave oven for a short period of time you could accelerate the drying process, just ensure that you don’t leave it in there for too long or you could end up with no flower and no microwave oven.
If you don’t like the book or microwave oven method, there is still one thing you could try out which is the silica gel method.
All you need is a spare plastic container, some silica gel, your flower, and a lid for said container. Pour some gel into the container and allow it to settle for a bit, then place the flower in the container and seal it off with the lid. Leave the flower in the container for around two to four days and when you remove it your flower should be completely dry!
Which Resin Should You Use for Resin Flower Preservation?
Knowing how to prepare your flowers is the first step on your journey to making beautiful resin flower preservation art forms. The second will be to choose the resin you’ll be using to encase your flower inside. There are thousands of epoxy resin brands for you to choose from out there, but not all resins are the same or made equal for that matter. In the interest of simplifying your life a bit here is a resin product we found that we think could be one of the best on the market for preserving dried flowers in resin.
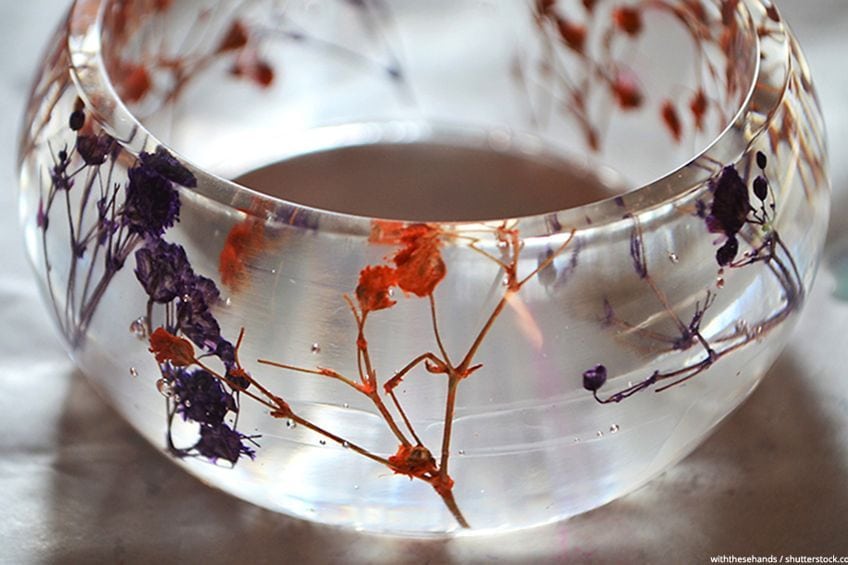
Best Epoxy for Preserving Flowers: Deep Pour Epoxy Resin for River Table
If you haven’t worked with epoxy resin before it’s what many people refer to as pourable plastic. Essentially it consists of two liquids which you’ll purchase together, one being resin and the other a hardener. When mixed, a chemical reaction occurs, they create solid plastic forms that can be used to either replicate objects or fill a space, regardless of which you choose you have the option of using to encase objects in the soon-to-be solid resin castings. Step into the world of artisanal craftsmanship with our Deep Pour Epoxy Resin for River Table.
Unlock the boundless creativity of woodworking as you delve into the mesmerizing depths of your projects with ease. Our 1.5 Gallon (5.7 L) kit provides an ample supply for your grand designs, whether it’s crafting majestic river tables or intricate jewelry pieces. Dive deeper with confidence, thanks to its 2-inch pour capability, allowing you to create breathtaking layers and captivating effects. But it’s not just about depth; our resin boasts low VOC and low odor, ensuring not only the safety of your workspace but also a delightful crafting experience. Whether you’re molding, casting, or crafting, our resin kit invites you to embark on a journey of artistic exploration, where every pour tells a story and every creation is a masterpiece in the making.
- Sufficient volume for sizable projects like river tables
- Ideal for creating stunning river table designs and intricate casting projects
- Suitable for indoor use without compromising on performance
If this is your first time working with resin you can rest assured that you’re in the right hands with the Deep Pour Epoxy Resin team. Their self-leveling formula not only ensures that each pour is perfect but minimizes imperfections on the surface of your castings too! Like most products on the market today you definitely get what you pay for, not only in terms of quality but in quantity too. All of these characteristics make this the perfect choice for resin flower preservation.
[su_shadow style=”simple”][su_panel]- Deep Pour Capability
- Versatile
- Low VOC & Low Odor
- Expensive
- Longer Curing Time
- Skill and Experience Required
Are There Pre-Dried Flowers Available for Purchase?
Let’s face it, drying out your flowers can be time-consuming, and if you’re pressed for time, you might not have as long as you need to get everything ready for the resin casting process. So, what is one to do if they can’t dry their flowers in time for resin casting? Well, you could get by with some pre-dried flowers, they’re pretty inexpensive and they’re readily available both in-store and online. There are hundreds of thousands of products to choose from, but they can range greatly in quality, so we have taken it upon ourselves to show you what a good deal on pre-dried flowers looks like.
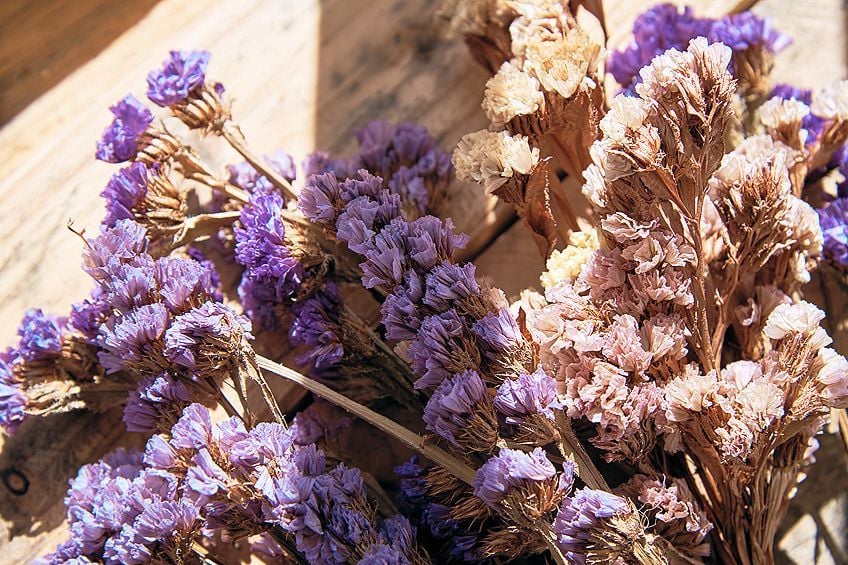
Best Pre-Dried Flowers: AUGSHY Dried Pressed Flowers
Finding dried flowers for resin projects doesn’t have to be complicated, the Augshy team has provided one of the best dried flower packs on the market that happens to be just perfect for resin flower preservation art. So, what makes this dried flower pack so special compared to other ones on the market you ask?
The Augshy team provides you with 29 of the highest quality dried flowers resin casting applications, and they’re really pretty too. There are loads of colors to choose from and they come in the stemmed and flower head only variety. The packaging itself is pretty high quality, featuring a fully vacuum-sealed unit that ensures your flowers stay dry until you decide to open them.
- Includes 29 press-dried flowers with a unique fragrance
- Vacuum packed in order to protect the flowers and keep them fresh
- Includes a variety of styles of perfectly dried flowers
You don’t need to use these flowers for just resin casting either, these flowers can be used for a number of other applications like decorating phone covers, nail art decorations, candle making decorations, hair accessorizing, decorating old photo frames, or even adding some tasteful accents around your home.
It goes without saying then that there are hundreds of uses for these dried flowers, and if you’re looking for some inspiration there are tons of Pinterest boards and YouTube tutorials showcasing all of the amazing art pieces that you’re making to make with this seemingly simple product
[su_shadow style=”simple”][su_panel]- Easy to use
- Versatile
- Inexpensive
- Ideal for beginners
- Includes flowers with stems and heads only
- Can be used with or without resin
- Limited number of flowers included
- Does not include glue
- Resin not included with the product
- Not a good variety of flower species
How to Preserve Flowers in Resin
Now that you know what you need to make resin encased flowers and how to dry flowers for resin, it’s time to learn how to preserve flowers in resin. Remember that you only get one shot at preserving a flower so it’s best to take your time and work at a pace that is comfortable for you.
Prepare Your Workspace
Since you’re going to be working with rein it’s best to protect yourself and your workspace from any accidental contact with resin. Your workspace should be prepared by laying down some tarp or old newspaper to ensure that none of your surfaces get any resin on them. Remember that resin and harder can have varying reactions with different materials and can be really tough to remove once they’ve had the chance to cure on a given material.
Covering flooring in immediate proximity to your workpiece and around the resin and hardener containers themselves will reduce the possibility of anything getting resin on it in the event of an accidental spill.
In the interest of protecting yourself, there are a few things you will need to ensure that your hands, eyes, and repertory systems are safe from contact with resin too. You will need a face mask to protect your respiratory system, a pair of gloves graded for use with epoxy resin, and some eye protection in the form of clear plastic glasses which are sold in most hardware and/or DIY stores.
Prepare Your Tools
The best way to preserve flowers in resin is to be properly prepared by getting everything you need ready for immediate use before you get started. This is because epoxy resin itself is a time-sensitive medium that needs to be poured as soon as possible to get the best possible pour for all of your preserved flower resin castings. The best way to prepare your tools is to identify exactly how much resin you will need for the casting you intend to make, for this, you will need to get your hands on some measuring cups, you will need these to measure exactly how much resin you will need and to pour your resin and hardener equally.

You will also need to get your hands on a mixing stick for your resin, a couple of cloths, and a heat gun to remove any bubbles from your resin. Once you have all of these tools it’s time to prepare your mold, get the mold you will be using, and ensure that it’s clean. You can do this by cleaning it out with a damp cloth that has been submerged in some soapy water and allowing it to dry out completely. Once the mold is adequately dried you have the option of applying anti-adhesive sprays or demolding substances to ensure that you’re able to pop out your resin casting once it’s had a chance to cure completely.
Prepare Your Flowers
As we mentioned previously the most important step in the flower preservation process is to ensure that you have prepared your flowers and your resin adequately. One of the things that you will need to do in order to prepare your flowers is to ensure that they have been dried out completely before they are encased in resin. We did mention that you can get away with encasing flowers without drying them out first but considering the fact that the moisture present in the flowers will cause them to rot and decay over time, which defeats the point of encasing them in resin in the first place.
Drying out your flowers is pretty easy, although it can take some time to get done so manage your time accordingly.
Place your flower in a relatively thick book and close it, leave the book in a sun-rich area like a windowsill for around a week, and once you remove it the flower should be completely dry. If you don’t have this kind of time, you could place your flower in a sealed container full of silica gel for around 24 hours and once it has been removed the majority of the moisture in the resin should have been removed and absorbed by the gel itself.
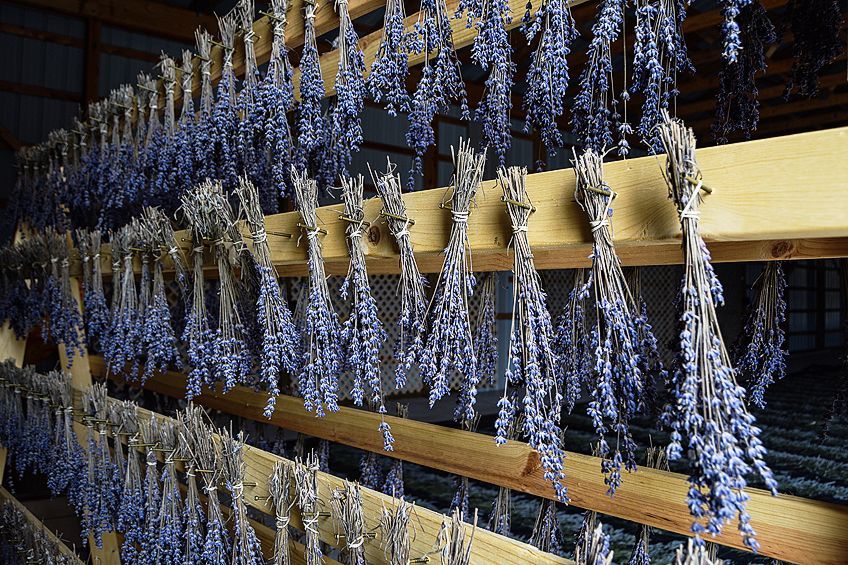
Another method regarding how to dry flowers for resin would be to use the book method, but instead of using sunlight, you could simply place it in a microwave. You could either place it in a ventilated container in order to force the flower to vent all of its moisture. Once your flower has been dried you can add any decorations like paint, glitter, plastic jewels on the steps, or anything else that you think will make your preserved flower stand out. If you have glued your decoration to the flower, please ensure that you have allowed the adhesive in question to dry completely before moving on to the next step in the process.
Pour Your Resin
Now that you have everything that you’ll need prepared it’s time for you to get down to business. If you have never worked with resin before it can be a bit overwhelming in theory, but in reality, it’s really easy to work with and in all likelihood, you’ll end up having loads of fun working with it. The first step to working with resin is working out exactly how much resin you will need for your workpiece, the easiest way to do this is to find out the total volume of your mold or container and mix the resin in the total amount indicated. How do you mix resin together? You should have two containers, one with resin and one with a hardener.
The goal is to mix these two substances together in a 1:1 ratio to ensure that you get the best possible resin casting one it has a chance to cure completely.
How do you do this? Well, all you need is two measuring containers, fill one with resin and one with a hardener in equal amounts. The total amount in each container should be equal to half of what the total volume of your mold is. Once you have your measuring containers filled up, pour one into the other (it doesn’t matter which goes into which) and mix them together well.
When mixing resin and hardener together you should ensure that you follow the manufacturer’s recommended method and ratios for doing so, although most resin products should be mixed together in a 1:1 ratio. Once you are sure that your resin has been mixed together adequately, you need to decide how you will be pouring your resin to preserve your rose or flower.
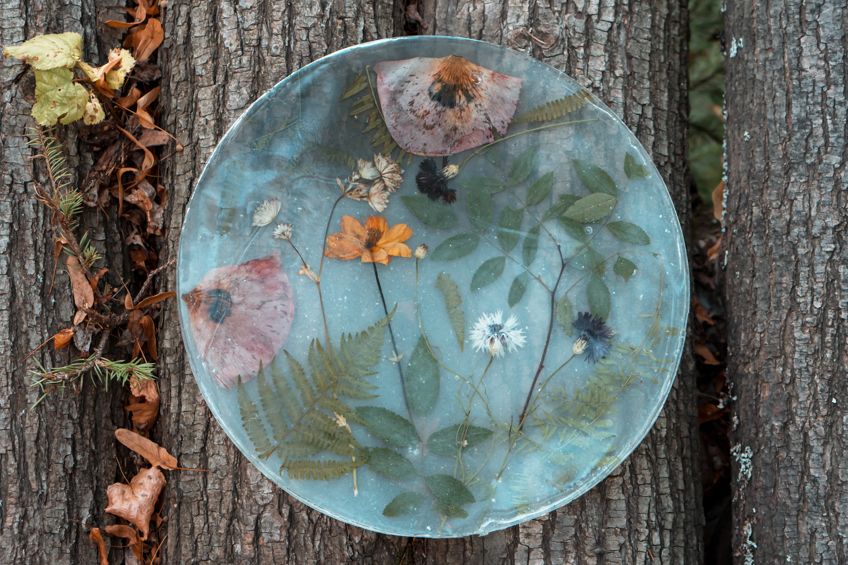
You have two choices when it comes to how to encase your flowers in resin. This does depend on the mold and final shape of the resin casting you’re trying to create. The first and most commonly used method of encasing flowers in resin is to pour your resin in two stages, this involves filling your mold to half of its total volume and then inserting your flower into the resin. This is objectively the best way to preserve flowers in resin as it ensures your flower is completely centered.
The second method of encasing dried flowers in resin is to simply place the flower in the mold and pour the resin into the mold and allow the flower to position itself, or to simply use something like a toothpick to position your flower inside of the resin. This is not the best way to preserve flowers in resin, but it works if you have an awkwardly shaped mold or simply don’t want to pour your resin in two stages.
Once your flower has been placed into your resin all that you need to do is pour the rest of your resin on top of the flower and fill the mold.
If you notice that your flower expands inside of the resin while it’s being poured this is completely normal and assists in the aesthetic appeal of the final casting. Once your flower is fully submerged in the resin you should allow it to cure for the manufacturer’s recommended time period before moving on to the next step in the process. If you have a two-part mold, ensure that you close the mold properly so that no air or dust particles enter the casting while it is curing.
Tips And Tricks for Using Dried Flowers in Resin
Although the process for using dried flowers in your resin casting projects is pretty simple, there are a few tips and tricks that could help you on your journey. Here are a few things you can try out to ensure that you get the most out of your resin and your flowers for every workpiece.

Always Ensure That Your Flowers Are Completely Dry
Flowers tend to have a lot of moisture in them, in fact, flowers are around 80 to 90 percent water in total. This means that there is quite a bit of water to get rid of over the course of the flower drying process, so you should do your best to remove as much water as you possibly can. This involves practicing patience because if you prematurely preserve your flowers, it could result in the flowers rotting from the inside out, which would end up ruining your workpiece altogether.
Allowing your flowers to dry out completely usually takes around 24 hours and ensures that close to all the moisture has been extracted from the flower.
Whether you have chosen to use the book, microwave, or silica gel method you can take an extra step and apply direct heat to your flower using a heat gun or a blow dryer to get any extra bits of moisture out. Just ensure that you maintain a good distance from the flower to avoid burning or warping in during the process.
Buy Pre-Dried Flowers if Possible
Although this might seem strange considering that we have provided you with loads of ways to dry your flowers out, this might be the best course of action if you ever have a time-sensitive project that needs to be completed ASAP. Dried flowers are readily available and are ready to use straight out of the bag (literally). These flowers also have lots of variety, which means that you should be able to use them for multiple projects, and to add a bit of variety to your workpiece if you intend on encasing more than one flower in a single workpiece.
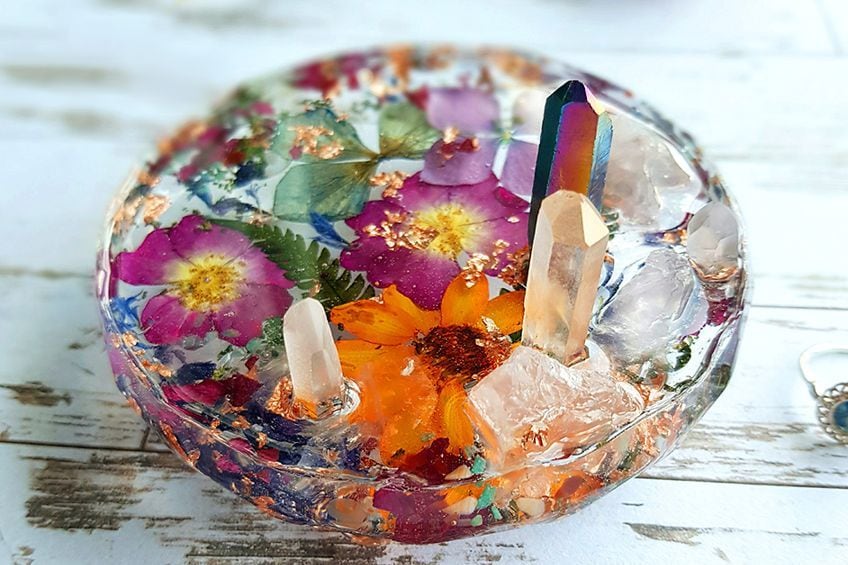
Sets like the one mentioned above come with around 29 flowers, so if you’re feeling a bit ambitious you can even add multiple flowers to multiple workpieces. Not all brands are created equally though, so in the interest of getting the best flowers for your resin casting give drying out your own flowers a try first. If you aren’t satisfied with the results, you can try out pre-dried flowers, or vice versa.
Use Crystal Resin for Flower Preservation
There are loads of resin types on the market today, and there are probably twice as many brands out there too. Regular resin is great, but the finished product often needs to be buffed and shined to view the flower adequately, this is why using a crystal resin is the best choice when preserving flowers in resin.
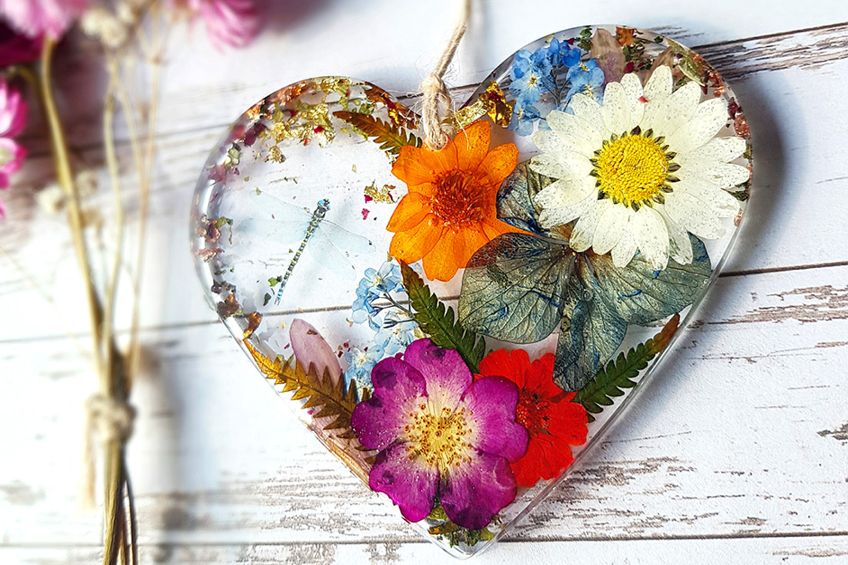
Copyright Maia and the Wildflower
Unlike conventional resin, crystal resin cures to a glass-like finish hence the crystal resin in its name. This type of resin is typically used to form things like resin jewelry, installation art pieces, and even to over resin painting to bring greater attention to the colors used in them. This resin does not need to be buffed and cleaned as often conventional resin and offers an unimpaired view of the flowers inside.
Now that you know what it means to encase flowers in resin, all of the possible art pieces that you could potentially make, what good resin and good flowers for the projects should look like, and the best way to go about it, it’s time for you to get out there and put your new-found knowledge to the test! Remember that resin is harmful until it’s been fully cured so always wear the appropriate personal protective gear while working with it and ensure that your workplace is well ventilated.
Frequently Asked Questions
What to Do with Dried Flowers?
When it comes to dried flowers, the artistic applications are virtually limitless. You have several choices for using these in art pieces such as using them in decoupage, encasing them in resin, using them in jewelry pieces or resin letters, and even using them in things like paintings or reference books.
Can You Put Dried Flowers in Resin?
If you’re wondering what to do with dried flowers you do have the option of using them in resin casting. You have the option of putting these flowers on the surface or at the center of your resin castings. You can use multiple flowers of varying shapes and sizes too!
How Long Do Dried Flowers Last in Resin?
How long do flowers last in resin you ask? Well, this can be a trick question to answer, in fact, different species of flowers can last for varying time periods, but it largely depends on how adequately they have been dried and how air-tight the casting is.
In 2005, Charlene completed her Wellness Diplomas in Therapeutic Aromatherapy and Reflexology from the International School of Reflexology and Meridian Therapy. She worked for a company offering corporate wellness programs for a couple of years, before opening up her own therapy practice. It was in 2015 that a friend, who was a digital marketer, asked her to join her company as a content creator, and this is where she found her excitement for writing.
Since joining the content writing world, she has gained a lot of experience over the years writing on a diverse selection of topics, from beauty, health, wellness, travel, and more. Due to various circumstances, she had to close her therapy practice and is now a full-time freelance writer. Being a creative person, she could not pass up the opportunity to contribute to the Art in Context team, where is was in her element, writing about a variety of art and craft topics. Contributing articles for over three years now, her knowledge in this area has grown, and she has gotten to explore her creativity and improve her research and writing skills.
Charlene Lewis has been working for artincontext.org since the relaunch in 2020. She is an experienced writer and mainly focuses on the topics of color theory, painting and drawing.
Learn more about Charlene Lewis and the Art in Context Team.
Cite this Article
Charlene, Lewis, “How to Preserve Flowers in Resin – Your Guide to Casting Resin Flowers.” Art in Context. February 11, 2022. URL: https://artincontext.org/how-to-preserve-flowers-in-resin/
Lewis, C. (2022, 11 February). How to Preserve Flowers in Resin – Your Guide to Casting Resin Flowers. Art in Context. https://artincontext.org/how-to-preserve-flowers-in-resin/
Lewis, Charlene. “How to Preserve Flowers in Resin – Your Guide to Casting Resin Flowers.” Art in Context, February 11, 2022. https://artincontext.org/how-to-preserve-flowers-in-resin/.


