How to Make Resin Letters – A Guide to Making Resin Alphabet Letters
Resin alphabet letters have become extremely popular recently, as you can use them for educational purposes, as well as customized gifts, among other resin letter ideas. You can purchase these beautiful resin letters, or why not make them yourself? The whole process is fun to do and is fairly easy to complete. You also only need a few supplies and materials, and you are off to creating some amazing DIY resin letters.
Easy Ideas for Resin Art Letters
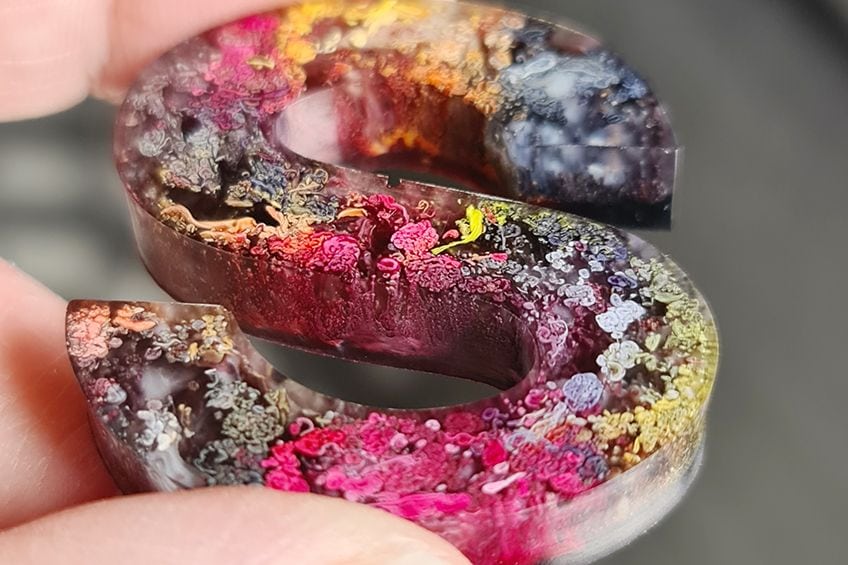
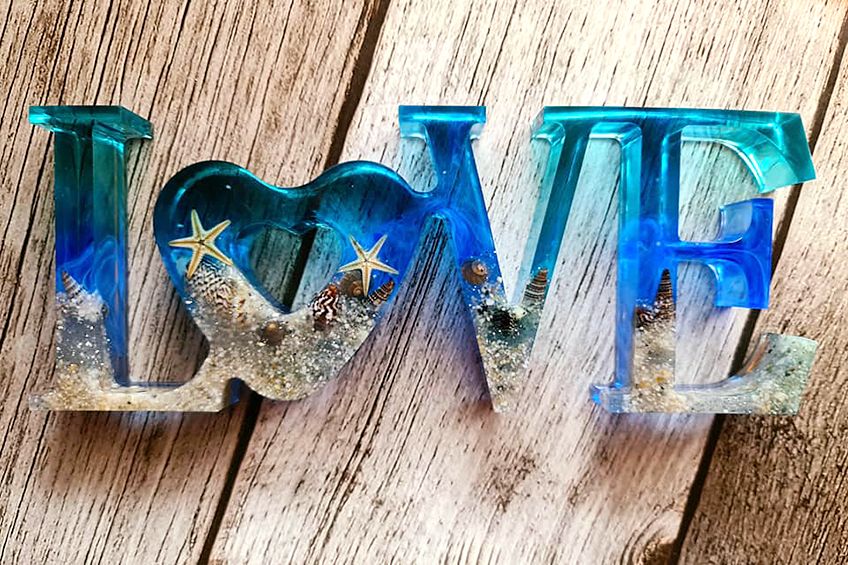
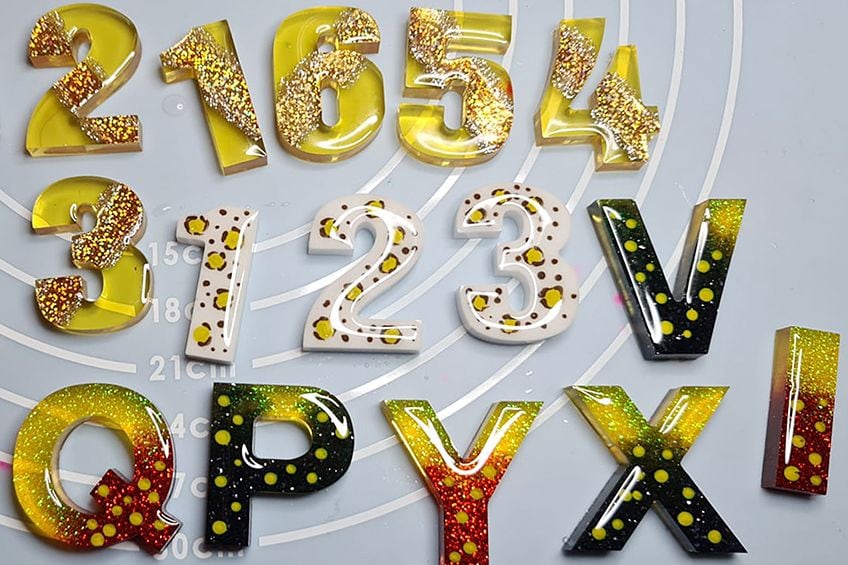
Resin alphabet letters are usually clear resin letters that could have all kinds of items, pigments, or glitter embedded inside. All you need is an epoxy and hardener to make the resin as well as some silicone letter molds for resin. Of course, it does not have to be clear, as there are many additives you include to make it look like you want.
Let us first start by providing some easy to do resin letter ideas. A little inspiration can help you decide on what project you want to do. There are many fun resin letter ideas, and one of the more popular ideas is to use them as a teaching tool for kids. You make your resin letter with different colors and add things like glitter to get the kids’ attention. Help them to learn and spell various words.
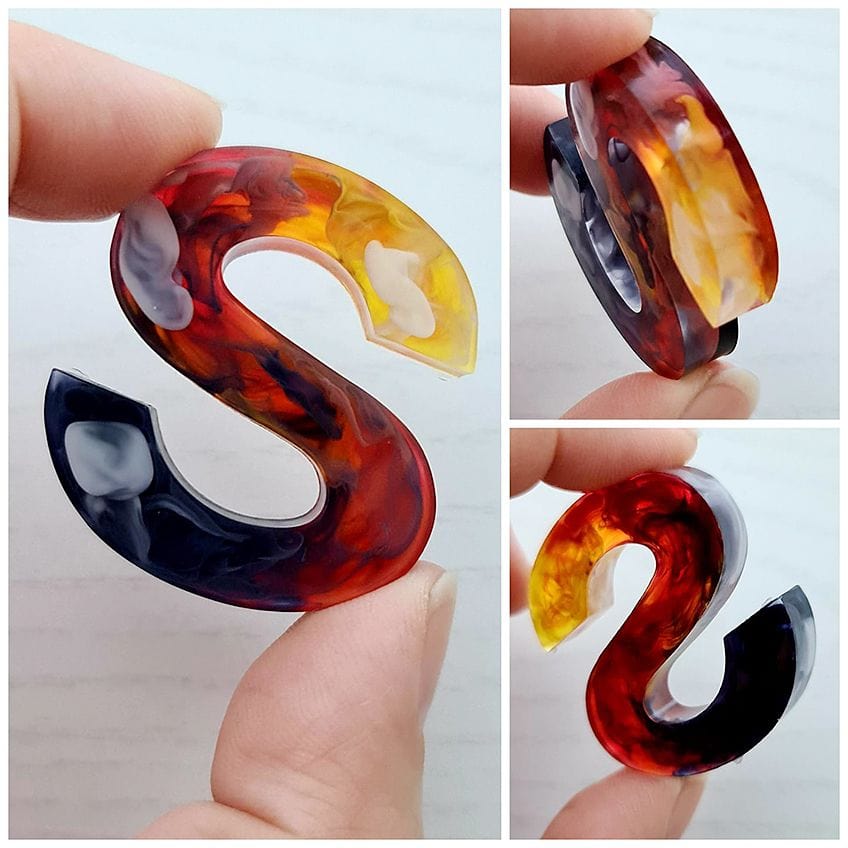
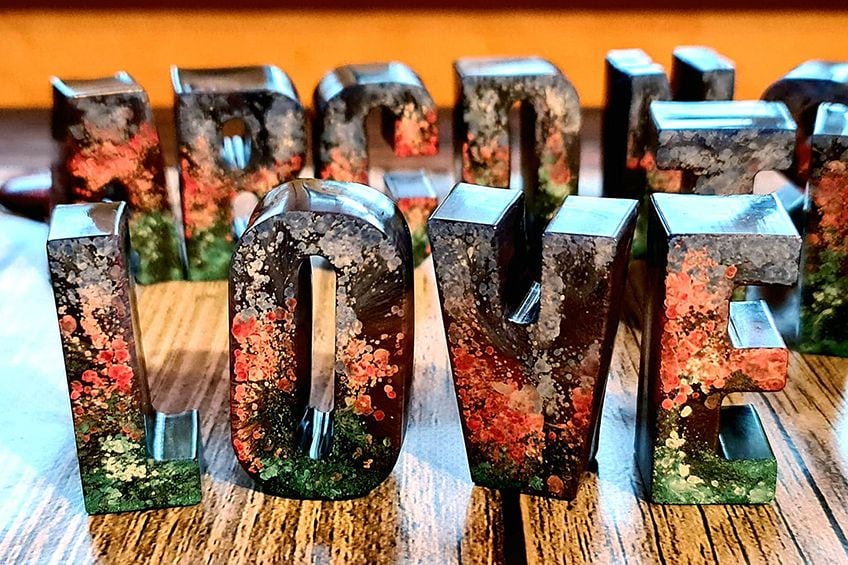
Resin letter molds also come in different sizes, from small to larger letters. One of the more popular resin letter ideas that people make to sell, is your resin letter keychains. These make wonderful gifts as you can customize the letter for the person you are going to give it to. Larger resin alphabet letters can be used as a décor item in the home, or as a centerpiece at a wedding. If you do use smaller resin alphabet letters, adding things like glitter or color is best, while larger letters can take beads, flowers, and other items better.
Below are some more amazing resin letter ideas, including materials you can include in the resin.
- Create beautiful fridge magnets
- Can be used as a table setting or place cards
- Resin décor letter lamps
- Resin letter pendant
- Name tags on a kids’ bedroom door
- Party favors
- Making a keepsake, include something special in the resin
- Customized resin art or jewelry
- Dry or synthetic flowers in clear resin
- Add in pigments or dye, or other additives
- Glitter, gold leaf, or foil can be added
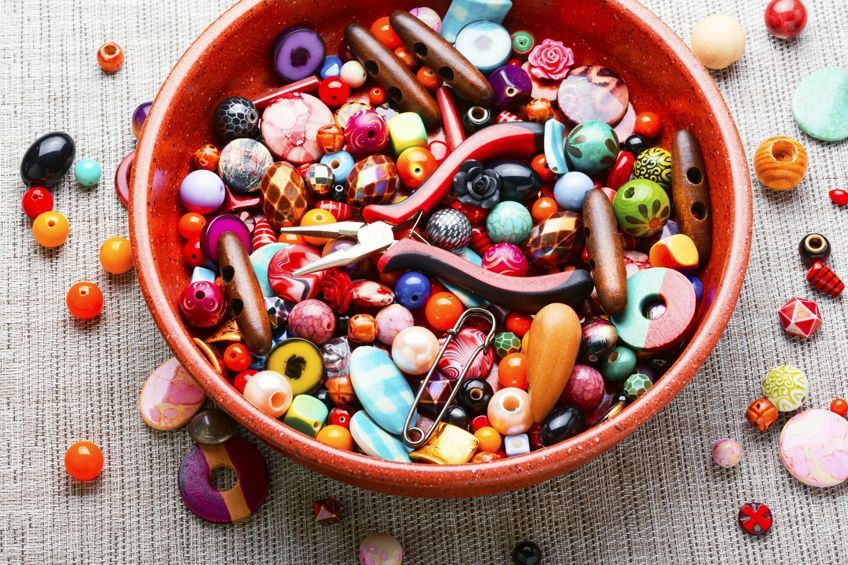
- Include all kinds of beads
- Place in fairy lights (larger resin letters)
How to Purchase the Best Silicone Molds
You have already chosen what you want to do with your resin, in this case, purchasing letter molds for resin. Next, you must decide if you want smaller or larger silicone letter molds for resin. The smaller molds are best for key rings, jewelry, and other small resin letter ideas. Larger molds are great for decor items and lamps. What other factors should you look at before going out and purchasing your silicone molds?
- How many molds are in a set, or does it come in a full alphabet set? Some of the larger molds only come as one resin mold letter. Some also come with letters and numbers.
- Accessories: Does the silicone mold product come with accessories like pigment powders, or other decorative elements?
- Some also come with different tools, for example, key chain rings, and may also include droppers, gloves, stirring sticks, and other supplies needed for creating resin items.
- How easy is it to use? Always read the reviews to see how easy the mold releases cured items and if you can use it repeatedly. Some molds are targeted for beginners or even kids, where basic shapes are used, while others need a little more thought into how to use them. For example, adding and placing color or embellishments.
- Quality of the final resin piece. Does the item come out smooth and in perfect shape, or do you need to fix rough edges?
Best Resin Letter Molds and Resin
To make your DIY resin letters, you need letter molds for resin. As mentioned, these can either be large or smaller letters for things like keychains. The best choice for a mold is your silicone letter molds for resin as these are easy to use.
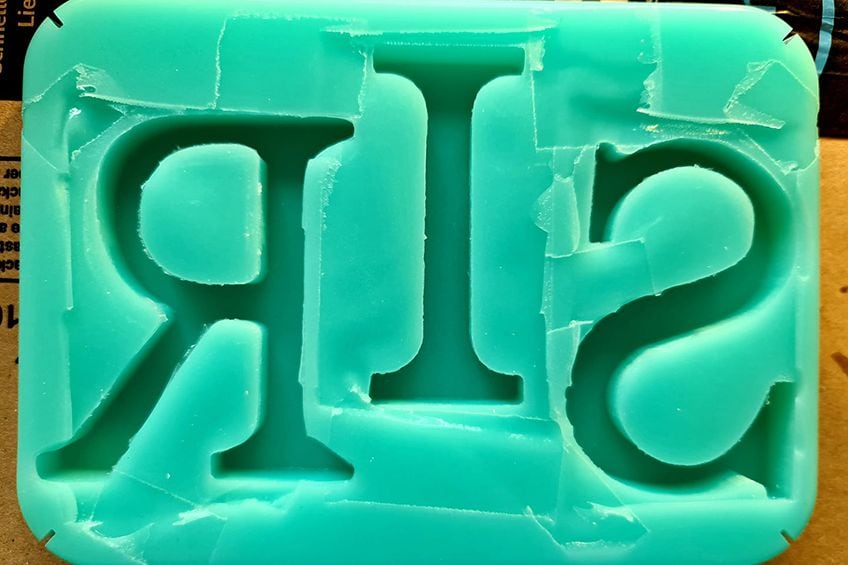
Best Resin Letter Molds: Mocoosy 134Pcs Alphabet Keychain Resin Molds Kit
This Alphabet Resin Silicone Mold is made from durable, quality silicone and will resist tearing. The flexible silicone should make it easy for you to remove the letters once cured. This resin mold set is great for beginners who want to try their hand at something creative.
- Includes 134 pieces for making alphabet keychains
- Suitable for crafting personalized keychains, jewelry, and decorative items
- Simplified process with all necessary components provided
The set comes with each letter of the alphabet as well as numbers, and accessories should you want to make a key ring. You can also easily make pendants, earrings, and other items. The surface of your final resin product should be smooth, have no scratches so you will not have to polish the item.
[su_shadow style=”simple”][su_panel]- Comprehensive kit
- Versatile
- Durable materials
- Challenging for beginners
- Limited customization
- Additional supplies needed
Best Resin for Alphabet Letters: INCREDIBLE SOLUTIONS Deep Pour
The pourable plastic deep pour clear casting resin is made in the USA and is wonderful for beginners because it is easy to use and cures crystal clear. However, you can add mic pigment powders to add a bit more color. When working with the resin, it does not have an odor and has a thin consistency, which makes it easy to pour up to two inches thick.
- Deep pour epoxy is perfect for river tables and other casting jobs
- The epoxy is low-odor and safe to use when liquid and when cured
- Mixes well with pigment powders and cures crystal clear
When pouring, it helps keep bubbles to a minimum and helps to eliminate other types of imperfections like craters or fish eyes. The resin is also self-leveling on the condition your surface remains even as well. You also have more than enough time to work with the resin. The results are durable and water-resistant. When completely cured, it is even food safe.
[su_shadow style=”simple”][su_panel]- Two-inch deep pour
- Straightforward to use
- Long enough working time
- Cures crystal clear
- No odor
- You have to make sure everything is perfectly level
- Will show up dust
How to Create Resin Art Letters
Now that you have your silicone letter molds for resin, you want to get started with making your resin letters. These make great gifts, or you may want to try making some resin letter keychains to sell. Whatever your purpose, here is a basic tutorial on how to make resin letters.
Materials Needed for Resin Alphabet Letters
First, you must gather all you will be needing to get started. You can purchase everything separately, however, there are many useful kits available that provide everything for you. The kits can usually save you some money as buying things separately can add up. Although, some might say the opposite is true.
So, do what would make things simpler and more affordable for you.
You will need to choose the correct resin for your particular needs. For example, you will need a casting resin for letter molds. Always check the directions and other information on the product label. Below is a list of the materials needed to make resin letters.
- Resin and hardener
- Letter molds for resin
- Disposable protective gloves
- Two or more plastic cups
- Mixing sticks
- Add-ins like beads, glitter, or dried flowers (optional)
- Color Pigment (optional)
- Resin mat or piece of cardboard to work on
- Baby wipes, just in case you mess
- Toothpicks
- Acetone or nail polish remover
- Heat gun or lighter
How to Make Resin Letters
In most cases, working time is important, so setting up your work area before you begin is important. Choose a working area where you can leave everything and try not to work at your dining room table which you might want to use later. The room you work in must have plenty of air circulating. Although many of the products today have low to no odor or fumes, it is always a good idea to have enough air circulating in the room you are working in. So, your very first step would be preparation.
Preparation
The workspace should also be clean and have as little dust as possible as these little particles of dust can cause some problems if they land on your curing resin item. Your mold and tools should also be free of dust and clean to use. Set out everything you are going to be using from your working mat, resin, and molds to your measuring cups, stirring sticks, and glitter. To work on it, you can also lay down some plastic sheeting or use a sheet pan. To prepare yourself, make sure to wear gloves as you do not want any resin to get onto your skin.
If you do happen to mess some on your skin, you should remove it immediately with the baby wipes or a paper towel and some acetone. Even a little lemon juice on the spot might help to remove the resin. Finally, rinse the area with some soap and water.
Most of the resin products have low to no odor, so wearing a mask is optional, but read the product instructions carefully before you begin, just to make sure. You can also wear an apron if you are afraid that you might mess on your clothing. To help prevent the formation of bubbles, some recommend that you warm up your resin and hardener before using it, but this is optional. Once you have cleaned your mold, you can apply an anti-adhesive spray so that the casting will come out easier, preventing any tearing. Some molds may not need this, but it is always an added precaution for best results.
Mixing Your Resin
You can then add your glitter or other small items to the bottom of the mold. Once everything has been prepared, you can then move on to mixing your resin. Most products, besides UV resin, come in two forms, your resin, and hardener. You have to mix these two materials to create your resin casting. Remember, to wear your gloves when you work with the resin. You will need to calculate how much resin is needed for your chosen mold. For an entire small letter set, it could take anything from 100 ml to 130 ml of hardener and resin.
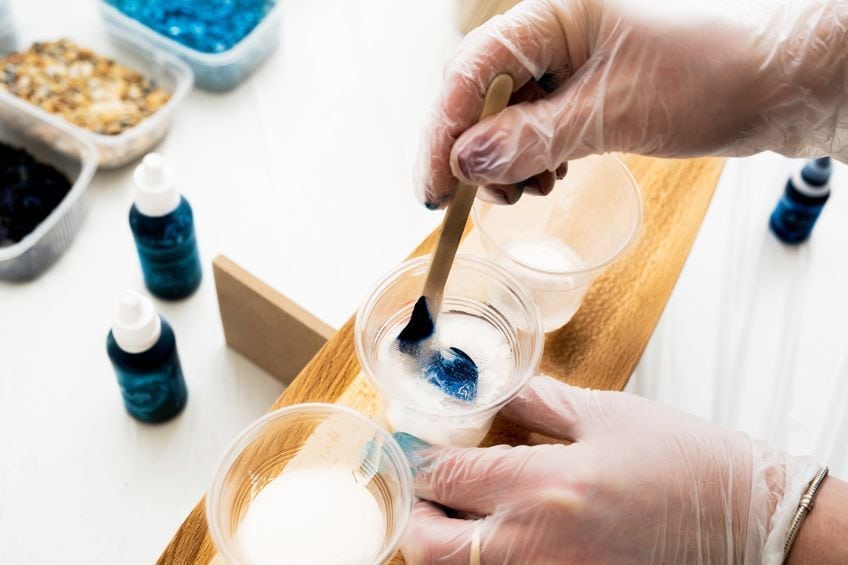
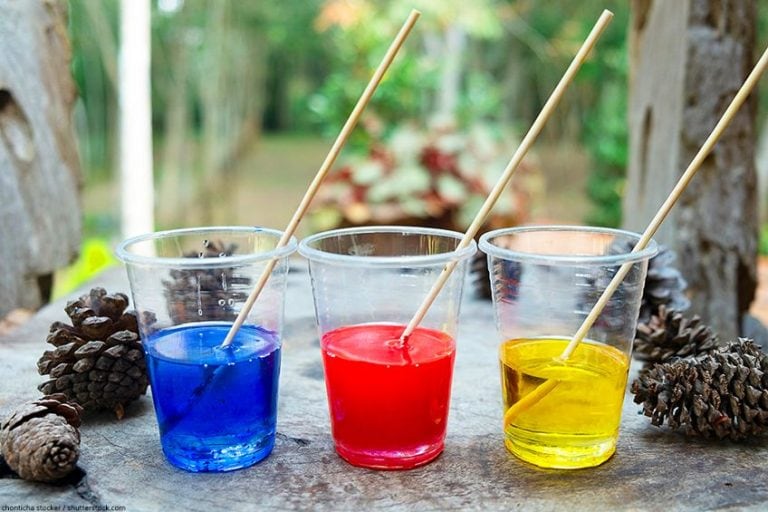
Always make sure you use the right amounts and mix them in a 1:1 ratio, which means you will need the same amount of hardener and resin. Some resins work with different ratios, so always check. This is essential because if the measurements are wrong, the resin will not cure properly. This is where your plastic measuring cups come in handy. Measure out your resin and hardener in separate cups, then pour both into another measuring cup. Then, take your stirring stick and mix the two components well. Mix slowly to stop any excess bubbles from forming. If you want, you can now mix in your pigment powder. The mica pigments are concentrated, so add small amounts.
Pouring Your Resin Into the Molds
Slowly pour your resin mixture into your mold and over any inclusions until it reaches the brim. You can check, by going eye level with the mold, to make sure it is filled. For larger, deeper letters, you can also lay down a thin layer of resin first, and then add in your inclusions and wait for this to cure before adding another layer. This works great if you want to add some battery-powered fairy light to the resin to make a resin letter light.
Maybe you poured too much? Do not panic, take a dropper, suck out some of the poured resin and place it into another letter.
You will have to work quite quickly as the resin starts to harden. If you have left it, and the resin hardens, once you have removed the cured items, you can try and sand off any excess pieces. Once you have done pouring your resin, you can then move in and pop any bubbles. You can either use a toothpick to pop the bubbles, or a heat gun to remove the bubbles. You can even try using a straw to blow over the surface. Wait a few minutes and then check to see if any more bubbles come out and remove them.
Curing and Demolding
Allow the resin to cure for at least 24 hours, if it remains sticky to the touch, leave for another 24 hours. If, after this time, the resin is still tacky, something went wrong, and you will have to start over. Once the resin has cured thoroughly, you can then pop them out of the mold. When using a good quality mold and if you used mold release spray, you should have no problems with the mold tearing or scratching your casting. Clean your molds with some soap and water or wipe them off with some of the baby wipes.

Tips and Tricks for DIY Resin Letters
If it is your first time working with resin, there might be a slight learning curve. However, if you follow all the instructions and read product labels, the resin letters should come out just fine. Here are some reminders and tips that you can use to get the best outcome for your resin letters.
- Never rush working with resin, take your time and do everything properly. This will help to save money and time.
- Always read and follow the instructions accurately. This will prevent any issues from developing. Measurements must be accurate as any deviation will affect the curing time. So, make you know the correct mixing ratio, and use measuring cups.
- Remember to mix your hardener and resin slowly and thoroughly for at least three minutes, to prevent bubbles from forming. Also, get the stick to cover the sides and bottom of the cup when you are mixing.
- When it comes to glitter and pigment powders, it is best to add in small amounts and not tip in the whole bottle because you think it will add extra sparkle or color. Less is more.

- Always follow safety guidelines by wearing gloves and a mask if necessary. Also, a well-ventilated room is recommended.
- If you want shiny letters, you will need to use the correct mold. The matte molds will not be clear.
- You can use acetone or nail polish remover to take away any of any resin on your skin.
- Have patience when the resin is curing, it may appear to be hard, but it needs time to fully cure. Do not touch the curing resin, as you will leave marks behind.
- Preparation is important as this takes time, be ready with everything at hand when working and pouring the resin. The work time of the resin is limited and will begin to harden, so you need to work smoothly and efficiently.
- Make sure you have the correct resin for your project, do you need a doming resin or hard cure resin, does it need to be food-safe?
Learning a new skill can be challenging, so do not be disappointed if your first resin alphabet letters do not come out quite as expected. Start simple and learn all the basic skills first. You will be making some amazing and beautiful DIY resin letters in no time.
Frequently Asked Questions
Must You Apply Mold Release Spray Before Pouring the Resin?
The best quality resin molds do not need you to spray mold release onto the surface before pouring the resin. However, in some cases, the mold release spray can help but it may affect how the resin looks once it cures.
Are Silicone Molds the Best Material for Resin Molds?
Yes, silicone is an excellent choice because it is durable, flexible, easy to use, and clean. The rigid plastic molds are difficult to use and are not flexible like the silicone molds. They might cost a bit more, but they provide much better results and can be used more than once.
What Are Some Resin Letter Ideas?
There are so many creative ideas for resin letters, depending on the size you like to use. Smaller resin letters are great for key chains, pendants, or they can be used by the kids as a learning aid. Larger resin letters can be used as décor items, lamps, or a centerpiece at an event.
How Long Must You Wait for Resin Letters to Cure?
You must be patient for this part of making resin letters. Wait for at least 24 hours for the resin to cure, and if it still feels a little tacky, wait another 24 hours to fully cure before removing it from the mold. Make sure to leave the resin mold somewhere where it will not be undisturbed.
Can a Hairdryer Be Used to Get Rid of Bubbles in Resin?
You need quite a lot of heat to remove the bubbles from the resin, so a hairdryer will not do a good job as it will not produce enough heat to work. The hairdryer can also blow dirt and dust all over the resin. Rather use a heat gun, or for smaller projects, using a toothpick to pop the bubbles can work.
In 2005, Charlene completed her Wellness Diplomas in Therapeutic Aromatherapy and Reflexology from the International School of Reflexology and Meridian Therapy. She worked for a company offering corporate wellness programs for a couple of years, before opening up her own therapy practice. It was in 2015 that a friend, who was a digital marketer, asked her to join her company as a content creator, and this is where she found her excitement for writing.
Since joining the content writing world, she has gained a lot of experience over the years writing on a diverse selection of topics, from beauty, health, wellness, travel, and more. Due to various circumstances, she had to close her therapy practice and is now a full-time freelance writer. Being a creative person, she could not pass up the opportunity to contribute to the Art in Context team, where is was in her element, writing about a variety of art and craft topics. Contributing articles for over three years now, her knowledge in this area has grown, and she has gotten to explore her creativity and improve her research and writing skills.
Charlene Lewis has been working for artincontext.org since the relaunch in 2020. She is an experienced writer and mainly focuses on the topics of color theory, painting and drawing.
Learn more about Charlene Lewis and the Art in Context Team.
Cite this Article
Charlene, Lewis, “How to Make Resin Letters – A Guide to Making Resin Alphabet Letters.” Art in Context. January 30, 2022. URL: https://artincontext.org/how-to-make-resin-letters/
Lewis, C. (2022, 30 January). How to Make Resin Letters – A Guide to Making Resin Alphabet Letters. Art in Context. https://artincontext.org/how-to-make-resin-letters/
Lewis, Charlene. “How to Make Resin Letters – A Guide to Making Resin Alphabet Letters.” Art in Context, January 30, 2022. https://artincontext.org/how-to-make-resin-letters/.


