How to Sharpen a Pencil – Learn Various Ways to Sharpen a Pencil
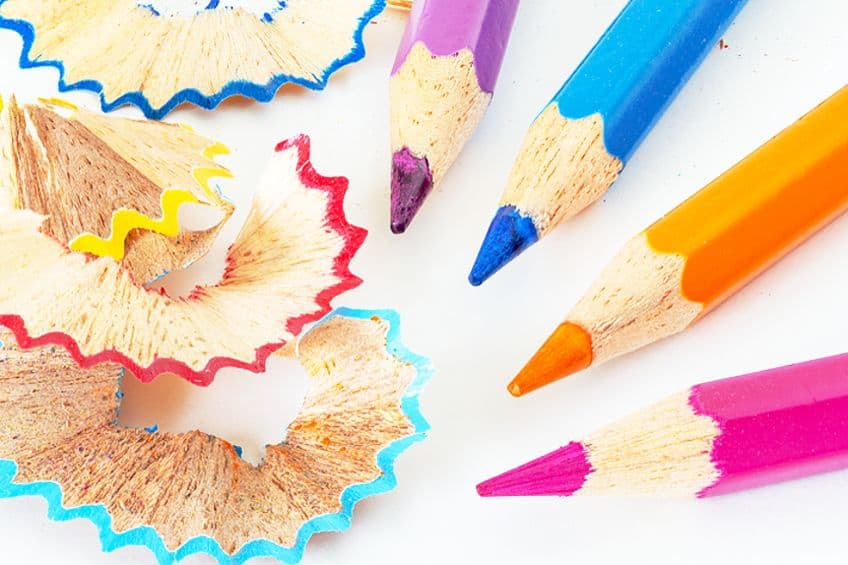
For most of us, sharpening a pencil is looking for that manual sharpener we put somewhere. However, there are multiple ways of sharpening a pencil. A sharp pencil is of the utmost importance to artists, who need a properly sharpened pencil for more control and better-quality lines. In this article, we will be going over why you need sharpened pencils, the tools you can use, and how to use them.
What Is a Sharp Pencil?
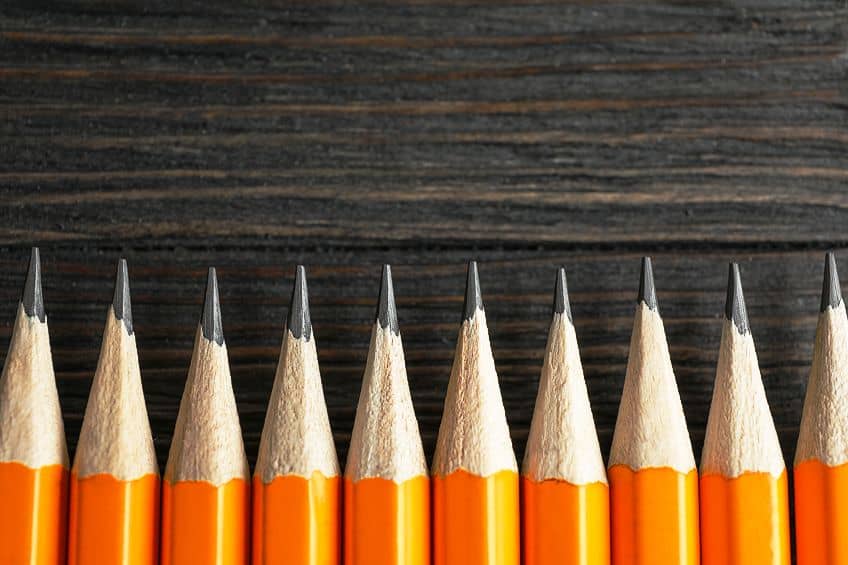
There are a few different types of pencils, from charcoal to carbon, but the most common is a graphite pencil. The graphite pencils come encased in wood and are made in harder and softer grades. The HB pencil is the most well-known because we have all used this type of pencil at school.
The pencil or graphite usually comes in a nice, sharpened point at one end of the pencil.
Why Sharpen a Pencil?
We have all had the experience, where the pencil we are using has not been sharpened for a while. Writing with this pencil can be a little messy as it tends to smudge a little easier and you cannot write neatly with it. A sharpened pencil for writing offers more precision and a neater outline of letters.
Sharpening a pencil is also necessary for artists who draw.
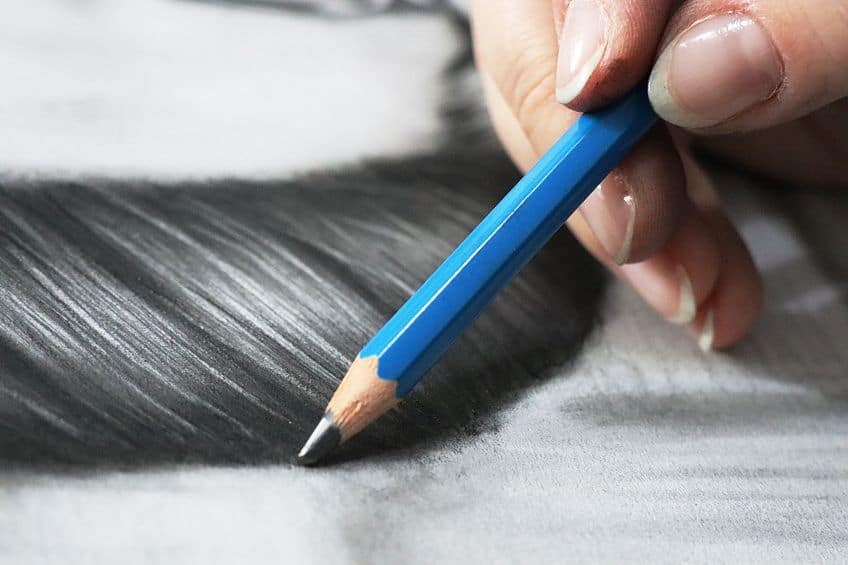
A sharp pencil can provide precision when drawing details, and it can help with shading effects when using the sides. So, when writing or drawing, a sharpened pencil improves the whole experience. Keeping a pencil sharp can also prevent the pencil lead from breaking, which means you can use the pencil for longer.
Tools Needed to Sharpen a Pencil
There are various ways you can sharpen a pencil. Some you may know about and use every day, while others require a little more skill. This is especially true for artists who prefer to use the hand-sharpening method. So, to get a better understanding of how to sharpen a pencil, let us go into more detail about each option available.
Manual Pencil Sharpener
This is most likely the most common form of sharpening a pencil. A handheld sharpener is something most of us envision when thinking of sharpening a pencil. These are pocket-sized and can be carried around easily in a pencil case. It is a simple choice for those who need to quickly sharpen a pencil. You can use these on your ordinary graphite pencils, but you can also sharpen color and pastel pencils. If you want it done properly, you must get a good quality manual sharpener.
You get a lot of cheap plastic sharpeners that do not offer anything but frustration. A good quality sharpener should be made from metal and have two sharp blades.
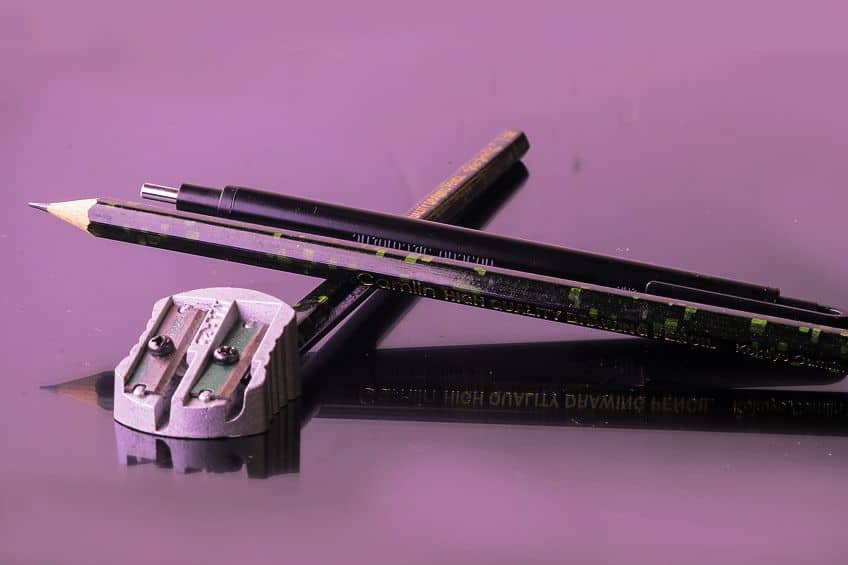
These blades can get blunt, so they should be replaced when this happens. This should be easy to do by removing the screws that hold the blades down. Some of the sharpeners have a single hole for the pencil, but a double hole is a better option. This provides a hole for smaller pencils and larger pencils. The manual sharpener is okay for everyday writing and drawing, as it is cheap, safe to use, and portable. However, if you are not careful, you can land up with an irregular pencil point, and it might not make the grade for seasoned artists who are looking for something better.
How to Sharpen a Pencil Using a Manual Sharpener
The procedure of using a manual sharpener is easy. All you need to do is hold the sharpener in one hand and then with the pencil in the other hand, place the point into the hole. You then rotate the pencil, which should produce flaky pencil coils and bits of graphite that come out of the sharpener.
You can do this a couple of times to get the degree of sharpness you are looking for.

Make sure to hold the sharpener over a garbage can. Some manual pencil sharpeners do have a covering, which prevents the shavings from falling everywhere. If the blade is not sharp enough, it will only be a frustrating process, and the pencil might even break if you are too heavy-handed with it.
Electric and Mechanical Pencil Sharpener
These are usually desk-bound and easy to use. Since you are not manually sharpening the pencil with both hands, the point created produces a neater line. However, because it is so fast, it can also cause irregular sharpening and there is less control over the process. You must use a pencil that is of good quality, with the graphite placed in the center. If it is off-center, it can be difficult to sharpen the pencil into a normal conical point. The pencil must also be straight and not bent or bowed in any way.
You have two types of electric sharpeners, a battery-operated version or there is also a plug-in version.

There is another similar type of pencil sharpener that is also desk-bound. The mechanical sharpener or rotary sharpener looks similar to the electric version, the only difference is you have to manually turn a lever to sharpen the pencil, which offers more control than the electric sharpeners. These are perfect for sharpening both graphite as well as colored pencils. Both mechanical and electric sharpeners cannot be carried around, as they are too big.
They are best placed on a table or desk, where they can be used at any time. Both are also less messy, as the pieces that are sharpened off fall into a collection box.
How to Sharpen a Pencil Using an Electric Sharpener
These desk sharpeners, whether you manually use a lever or if it is electronic, both contain two rotary blades. These blades rotate on their own axis and also move around the pencil. Simply place the pencil into the hole, and the electric sharpener will make quite a loud noise while it slices off tiny curls of wood and graphite. The mechanical sharpener, which is moved by the user, will not be as noisy. Once you remove the pencil, you can wipe the pencil point off with a dry cloth.
The only major problem with these types of sharpeners is replacing the blades, which can be difficult.
Sharpening a Pencil Using a Knife or Sandpaper
How to sharpen a pencil without a sharpener? Many artists would say that this is an essential skill. You can produce nice long pencil points, which can be used for a variety of drawing purposes. You can achieve this utilizing a knife, or blade, or you can even try using sandpaper. An ordinary sharpener is okay for writing, but it is not quite the best for drawing as you want more of the graphite exposed to give you long tips.
To get even finer points, you make use of some sandpaper. A craft knife can be used to sharpen charcoal, pastel as well as carbon pencils.
This hands-on method provides more control, so you can shape the core as you wish. For example, a longer pencil point can produce wider lines. The knife needs to be very sharp, as you do not want to use too much pressure on the pencil. If you apply too much pressure, this can eventually break the pencil or cause internal damage to the core you cannot see until later.
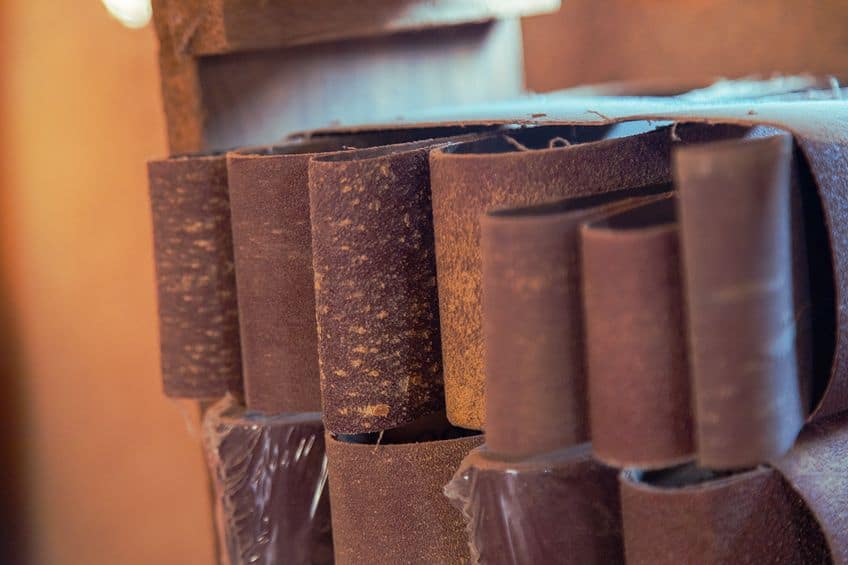
Since you will be dealing with a sharp object, you must be careful, and this process should be done under adult supervision for younger artists. The craft knife is an ideal choice, as the blades are easily replaceable, and it usually provides a nice grip for users. You can practice on cheaper pencils, so you do not break too many of your more expensive art pencils doing the sharpening process.
This sharpening method does produce a bit of a mess, so make sure you clean the blade and pencil after you are finished.
How to Sharpen a Pencil Using a Knife or Sandpaper
To begin, always hold the knife away from you, and if you think you might get something in your eye, you can always put on a pair of protective glasses. Begin sharpening lower down, about an inch from the top of the pencil. Grip the knife so it is approximately 90 degrees to the pencil, the blade should almost be level with the wood surface.
If you are holding the pencil in your left hand, place your left thumb against the back of the blade which is facing away from you.
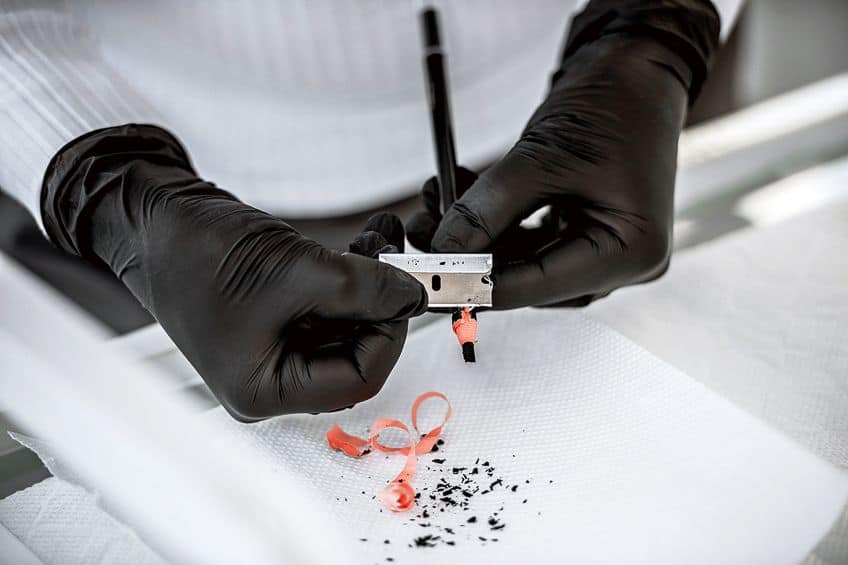
You can then apply slight pressure with the blade. Push the knife with your thumb, the knife should be stationary. The hand holding the pencil can adjust the pressure and speed at which you work. Apply shallow strokes, which should produce quite a few shavings as you go. Eventually, the lead should be exposed.
Refining the Point
Once you have exposed the core, try not to cut into it as you slowly expose more of the pencil lead. Also, do not take wood just from the front, make sure you move back to expose a good length of the core. When you have an appropriate length, you can then test it out by laying it on a flat surface. The wood needs to sit perfectly against the surface because if the slope of the core does not flow properly, it can lead to only partial markings or even breakage.
Besides the standard conical point, there are a few other point styles.
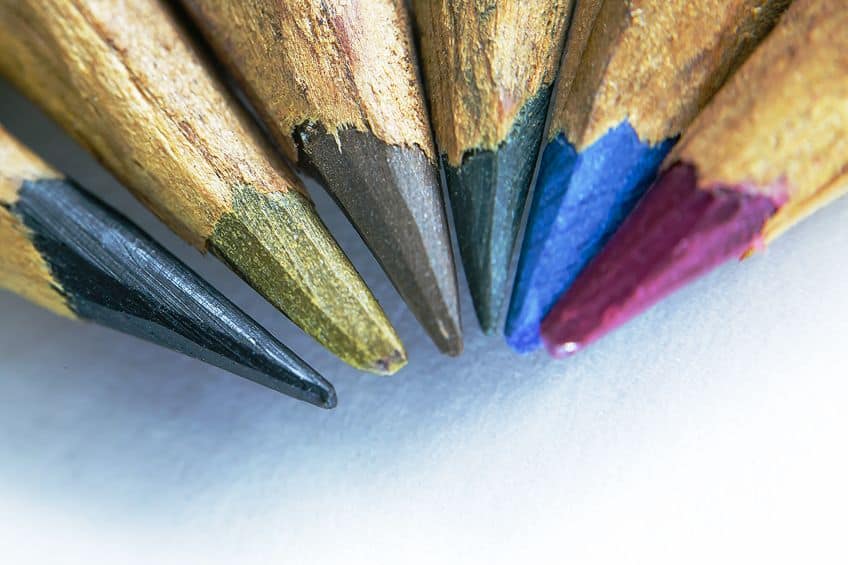
- Chisel point: When using the knife to cut the tip into a chisel shape, allowing two types of lines.
- Needlepoint: Using the knife to create a concave point, which is a fine point that tends to break easily. However, it is ideal for creating fine details.
- Bullet point: Once you have sharpened the pencil, you can carve the tip into a bullet shape. This tip style can be used for a variety of line markings.
Using Sandpaper
The pencil is still not sharp, and this is where you can use some sandpaper or a sand pad to get a nice fine point. Grip the pencil in one hand and the sandpaper or pad in the other hand. Gently drag the pencil edge over the sandpaper while twisting the pencil as you go. Continue around the pencil until you get an even and smooth point.
You can also apply this method to a pencil that has been sharpened by an ordinary manual sharpener.
Cleaning the Pencil
Before you use the pencil, it must be cleaned. You can do this by using it on some paper, where you can rub and test it out. You can also clean the blade with a paper towel and do not forget to also clean your work area. Once done, store the pencil in a safe place, making sure it is upright. And of course, do not drop the pencil.
Tips for Optimal Sharpening
To get the best pencil drawings, the pencils need to be sharpened properly. Sharpening can become part of the drawing process, and with a bit of practice, it can become a sort of soothing ritual before you begin drawing. Here are some tips for optimal sharpening.
- Some are hard pencils to sharpen, while others are softer, so you cannot use the same sharpening method on all of them.
- A mechanical and manual sharpener can be used on graphite and colored pencils.
- You can use a knife for softer pencils like charcoal, watercolor, and pastel pencils.
- Always use a high-quality manual sharpener and not cheap plastic sharpeners if you want good results.
- The sharpener blades must always be sharp, producing crisp shavings in a single motion.
- When using a knife, make sure it is pointed away from you at a slight angle.
- Do not over-sharpen a pencil, as it can lead to breakage. If you want a finer point, rather use sandpaper to achieve this.
- When you want to draw, sharpen all the pencils first, which can save you time.
- Store the sharpened pencils properly, making sure they are upright and, in a jar, to stop them from running about.
How to Maintain a Pencil Sharpener
If the manual sharpener has a cover, you simply have to remove the shavings and discard them. The same goes for mechanical and electrical sharpeners, where you remove the collection box. For a manual sharpener, you can also take a Q-tip, dip in some rubbing alcohol, and rub the blades to remove any residue. You can also just use tissue paper or a cloth to clean the sharpener. Keep all sharpeners away from moisture to help prevent the blades from rusting and marks from forming.
You can also try using a brush around the cutter on an electric sharpener after you have removed the container and discarded the shavings. In each case, if you have dull blades, you need to replace them.
For a manual sharpener, this is quite simple, but you might have to purchase a new electric or mechanical sharpener as this uses rotors and not blades. When changing a manual sharpener blade, be careful not to cut yourself. Flip the sharpener so the blade is on top and remove the screw or screws that attach the blade. Flip over the sharpener so that the blade pops out by itself and replace it with a new blade and screw it in place. You might have to repeat the process if there are two blades.
How to sharpen a pencil? This question might have seemed simple to start with. However, as we have learned, there is more than one way of sharpening a pencil. If you are an artist looking to improve your skills, maybe it is time you tried hand sharpening your pencils for better results.
Frequently Asked Questions
Why Do Artists Sharpen Their Pencils Using a Knife?
Sometimes, there are hard pencils to sharpen and other types of pencils that require a different approach to sharpening. To get the correct shape and long tip needed for drawing, you need to use a knife or blade to get the job done.
What Other Methods Are Used for Sharpening Pencils?
How to sharpen a pencil without a sharpener? There are a few other methods that include using a piece of rock or cement, which can do a rough job but are not recommended. There is also an integrated sharpener that is part of the extended pencil, and the Hovel pencil plane, which is a small woodworking plane for pencils.
How Can You Prevent Pencil Tips From Breaking?
When manually sharpening a pencil, you should not over-sharpen, as you do not want the pencil too pointy. Keep checking frequently, and when done, remember to store the pencil properly. Also, try not to drop the pencils.
Matthew Matthysen is an educated multidisciplinary artist and illustrator. He successfully completed his art degree at the University of Witwatersrand in South Africa, majoring in art history and contemporary drawing. The focus of his thesis was to explore the philosophical implications of the macro and micro-universe on the human experience. Matthew uses diverse media, such as written and hands-on components, to explore various approaches that are on the border between philosophy and science.
Matthew organized various exhibitions before and during his years as a student and is still passionate about doing so today. He currently works as a freelance artist and writer in various fields. He also has a permanent position at a renowned online gallery (ArtGazette) where he produces various works on commission. As a freelance artist, he creates several series and successfully sells them to galleries and collectors. He loves to use his work and skills in various fields of interest.
Matthew has been creating drawing and painting tutorials since the relaunch in 2020. Through his involvement with artincontext.org, he has been able to deepen his knowledge of various painting mediums. For example, watercolor techniques, calligraphy and lately digital drawing, which is becoming more and more popular.
Learn more about Matthew Matthysen and the Art in Context Team.


