Monoprinting – A Beginner’s Guide to Monoprinting Techniques
There are quite a few different types of printing, from screen-printing to lithography and digital printing, all of which involve various techniques. Consequently, there are many ways for you to explore a similar process, and one of these is known as monoprinting. So, what is a monoprint, and what are the many monoprint ideas available?
What Is Monoprinting?
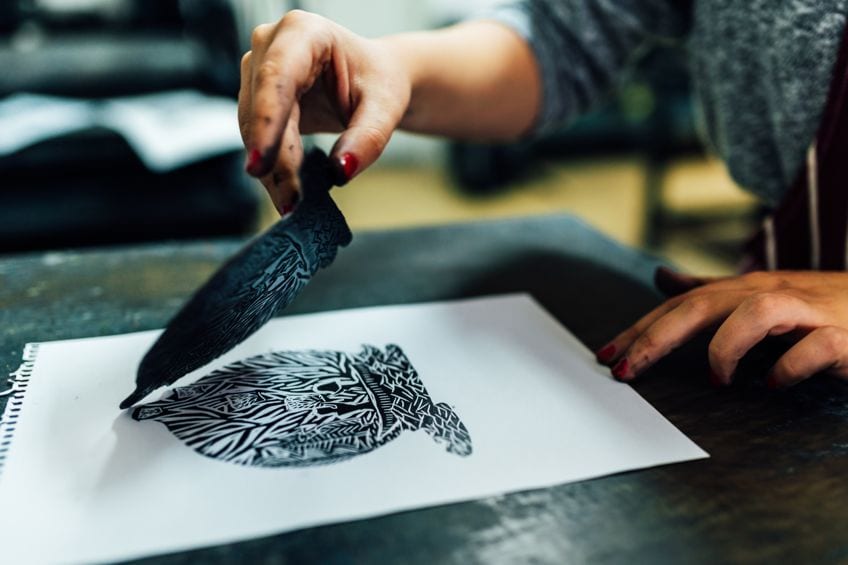
Monoprinting, unlike other printing methods, the image created is only made once. This allows for more unique creations, but with more flexibility, as you can use a combination of monoprinting techniques including printing, drawing, and painting. Other forms of printing can be used to create multiple original prints, but monoprinting can only be made a single time.
However, you can experiment with the same image in a series, meaning it has a basic matrix pattern you can explore, for example, with copper plate etching or a stamp. You can use it over again, but the way the surface is inked will differ with each print. You can also add other unique elements like hand coloring, to make each print unique in itself.
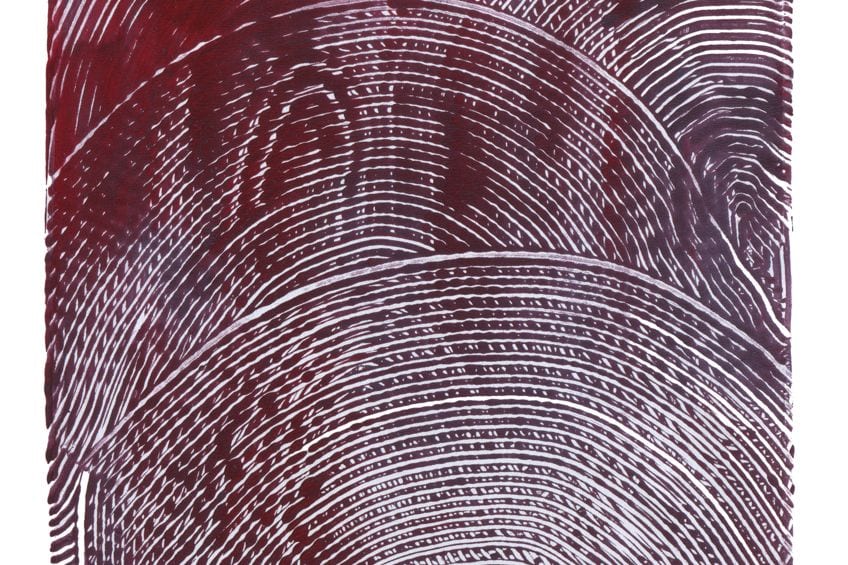
On the other hand, monotype printing is a quick way to create an original single print, which can be done on a smooth, and non-porous surface, once-off. However, this can also be used more than once, which is known as “ghost printing”. These are taken after the first print or impression, so you will have a slightly faded look. The monoprinting methods can be done by using the below methods.
- Additive method: Placing ink on a palette surface and adding more colors to add contrast. You can also add other images using stamps and other methods.
- Subtractive method: Once the surface or palette is inked, you then draw a design into the ink, removing some ink with various tools or items like cotton buds or even bubble wrap. Place paper over the ink design, which should then come off onto the paper and leave the printed design.
When inking your surface with water-based ink, you should make sure that it is completely dry before you do so. If you do not, it can water down the ink and you will not have the proper print image you are looking for. Also, you should clean any printing tools or equipment after using, as every mark you make, can be transferred to the print.
When compared to other printing methods, monoprinting is a better option to experiment with, as it is faster to do and not expensive if you want to try out different techniques.
You can use monoprints on clay items, and usually only require simple designs with one or two colors. The main use for monoprints falls to fine art prints and textiles. Since monoprint ideas are often simple, they are great for less refined work.
History of Monoprinting
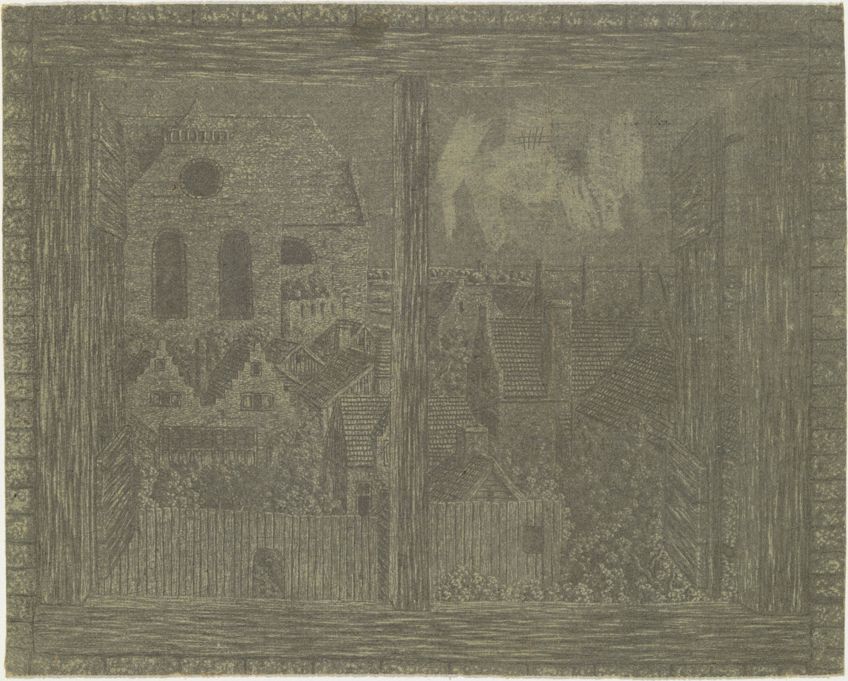
Monoprinting, which has elements of both painting and drawing, has a bit of an unclear history of when it began. However, there have been quite a few monoprinting artists over the years. During the 17th century, a Dutch painter by the name of Hercules Seghers is said to be the first artist to use the technique. His work incorporated landscapes and line work using colored inks as well as dyed paper. Some of his work includes the following.
- Landscape with Fir (1620-1630)
- View of the Noorderkerk (1622-1630)
- Ruins of a Large Church (1629 -1638)
Later, the famous artist, Edgar Degas, made the technique popular again in the 19th century. He was known to use different plates and rags as well as his fingers to produce his monotype artwork. For example, Heads of a Man and a Women (1877-1880). He was also known to use different media like pastel or gouache in his works. For example, his pastel monotype, The Star (1876-1877)
Camille Pissarro, a Danish-French artist, was inspired by Degas and began creating his own monotype artwork. For example, the Vacherie le soir (1890). Then there is Paul Gauguin, who created his version of monoprinting, which he called trace monotype. This technique involved drawing on more than one sheet of paper. He took one sheet of paper and rolled out printer’s ink on it, and then placed another sheet over this, on top of which you could draw. Some examples of his work include the Two Marquesans (1902) and his gouache monotype The Pony (1902). Below are other well-known examples of a few monoprinting artists.
- Children at Play (1895-1897) by Maurice Prendergast
- Male figure (1902) by Pierre Bonnard
- Le Banderillero (Les Banderilles) (1959) by Pablo Picasso
Monoprinting Techniques
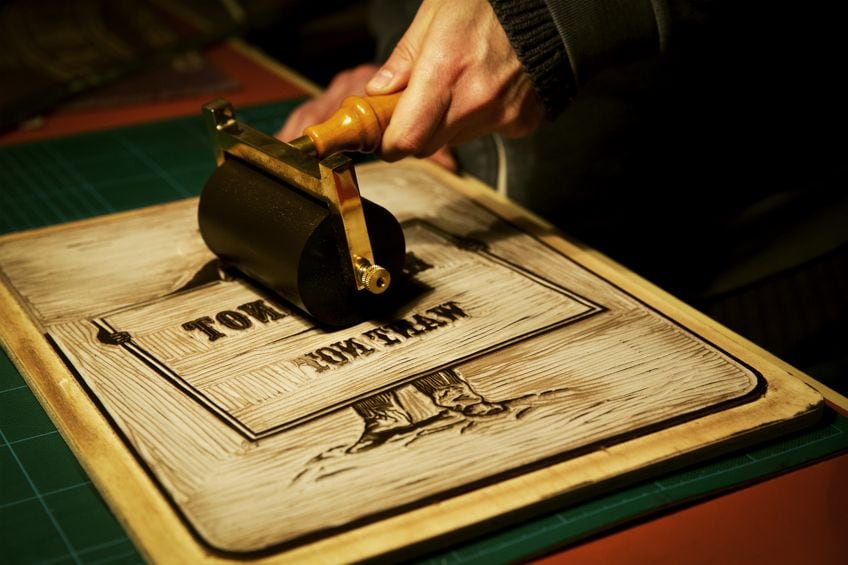
Monoprinting techniques can be made from a reprintable block or plate made from metal or wood, onto which etchings are made. This is then used to make a single impression, which you can paint on, or create a collage. However, the most common method is to ink the etching plates. The color, pressure, and technique can also be altered to produce different prints. As mentioned, monoprinting and monotypes are not the same. Monoprinting produces a template, which you can use again, while a monotype can only be used once.
Masking a Monoprint
When you place another flat item shape between the paper and the inking surface. The item can then also be inked with a different color to create contrast or left clean, which will then appear blank on the paper once it has been printed. The items can include various sizes and shapes, as well as materials. Consider organic materials like leaves or a crinkled trash bag or a net or mesh, or anything that could create texture.
You can also mask an area and leave it open or clear so that you can handwrite something in that particular area.
Dendrite Effects for Monoprinting
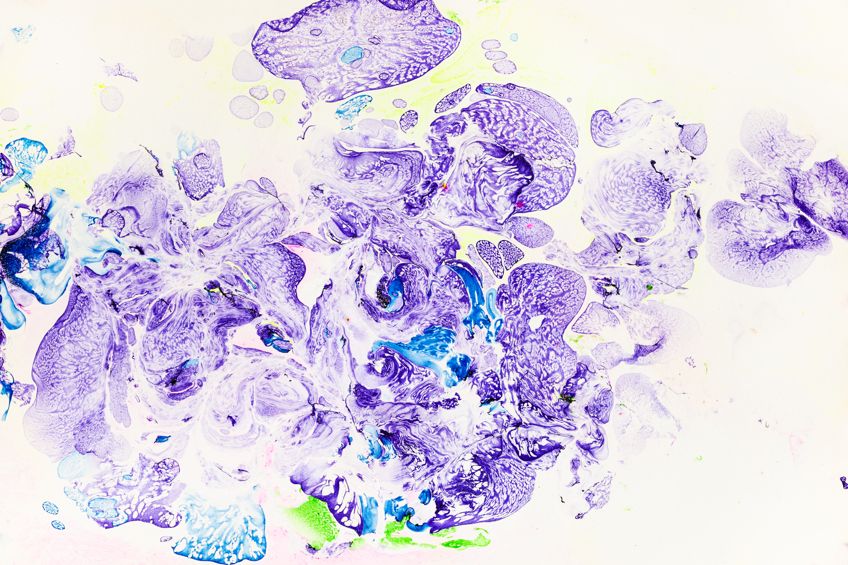
When using two printing sheets or palettes, you can add dots or lines of ink onto one, without rolling the ink on evenly as you do for the basic monotype. You can also incorporate different colors if you want to go for an added effect. Once done, place the other palette over the inked palette and flatten. The ink will then be compressed and when you pull them apart, they will have interesting patterns on them. You can then place paper over each surface separately or use one piece of paper over both for an even more unique pattern.
Create a Monoprint Collage
When creating a collage, you are using more than just the ink to print with on the inking palette or surface. When printing on blank paper, you can first add to the paper by gluing on flat items or images. Then, place the paper down, with these elements attached, onto the inked surface. The final inked images incorporate the added items into the final print image. You can use items like photos and follow the same process.
You can also take your monoprints and use them within a collage design that can contain other elements, and where you can use other mediums as well.
Plexiglass and Transparency Prints
You can ink the surface of plexiglass; you can then add some texture by including things like doilies or leaves. You can also use a variety of colors for a more multi-color effect. Place paper over the inked surface and roll over it with a brayer. You can also paint or apply ink to a transparency sheet or any other transparent surface, and then draw in lines and shapes before placing paper over the ink.
Tracing Method
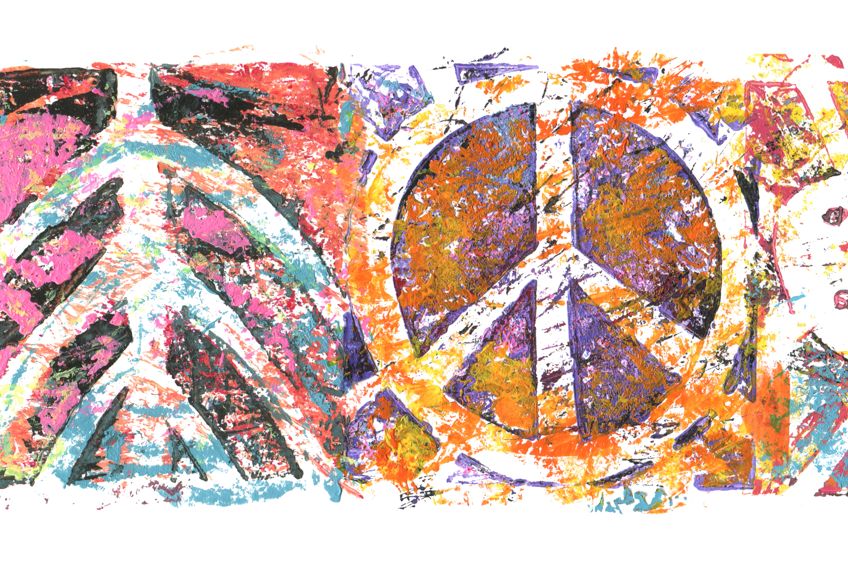
Similar to the method Paul Gauguin invented, you can trace an image. You can trace the outline of a portrait or photograph with this method. Simply ink your surface evenly and then place paper over the top and secure with tape. Take the photo or image and position it over the paper, facing up. Remember, the image that eventually comes out will be reversed. To trace, you can use a dull pencil tip to draw lightly over the image.
Remove the photo and lift the paper to expose the outlined image.
Gelli Plates
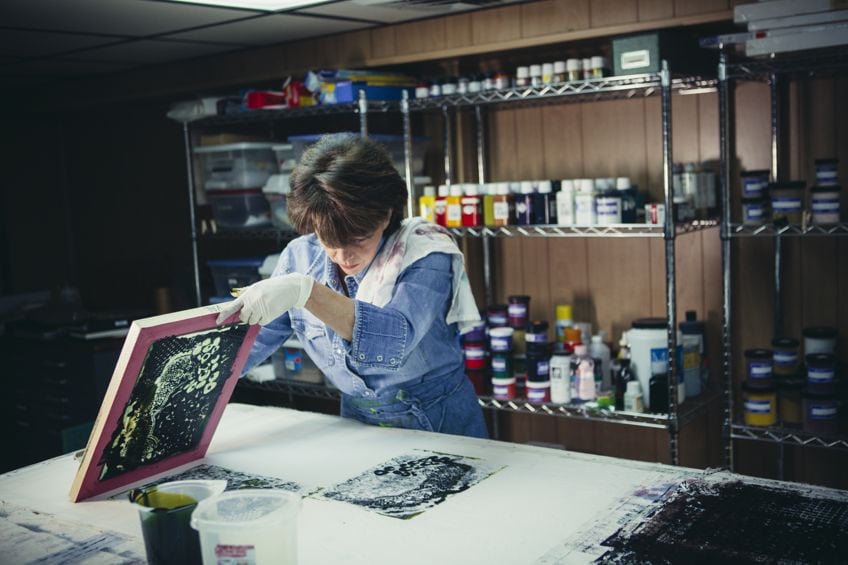
Gelatin plates can feel like gelatin but are durable, reusable, and easy to use. You can use different materials, stamps, and texture tools to create unique designs. You can also use different mediums from paint to ink on the plates. The plates are a great option for applying designs to paper and fabric.
Monoprinting Watercolors
You can use watercolors and make them appear like a print. First, you will need a transparent palette like glass. Take the palette and place it over the image you want to duplicate and secure it in place with tape. You can then paint the image onto the glass with watercolors, using the image below the palette as a guide. Allow the paint to dry fully. Take watercolor paper and dampen it, making sure it is only damp and not dripping. Take the paper and place it over the painted glass surface and dry watercolor pigments.
Gently lift off and you will have a watercolor print.
Tabletop Monoprinting
This can be a little messy, but it is great fun. Tape off an area of the table in a rectangle form, one smaller and one larger. One forms the outer border of the print, while the other will be to create a clean and even edge. Ink the table surface within the smaller taped-off area and create a design or patterns. Remove the inner or smaller taped rectangle from the surface. Place the paper over the patterned inked surface and use a brayer to help transfer the pattern and ink.
Monoprinting Step by Step
The basic process is very similar for each method of monotype printing as described in some of the above methods. First, you will need to make sure that whatever surface or palette you are going to use, be it plexiglass or any other smooth and non-porous surface needs to be clean and dry.
If you want to trace a design, you will need to create your own original design or pick an image or photo to print out.
If it is your first try, think about using something simple in design and work your way up to more complex monoprint ideas. You can also design using texture tools, which can simply be a Q-tip or even your finger. Follow the next monoprinting step-by-step instructions.
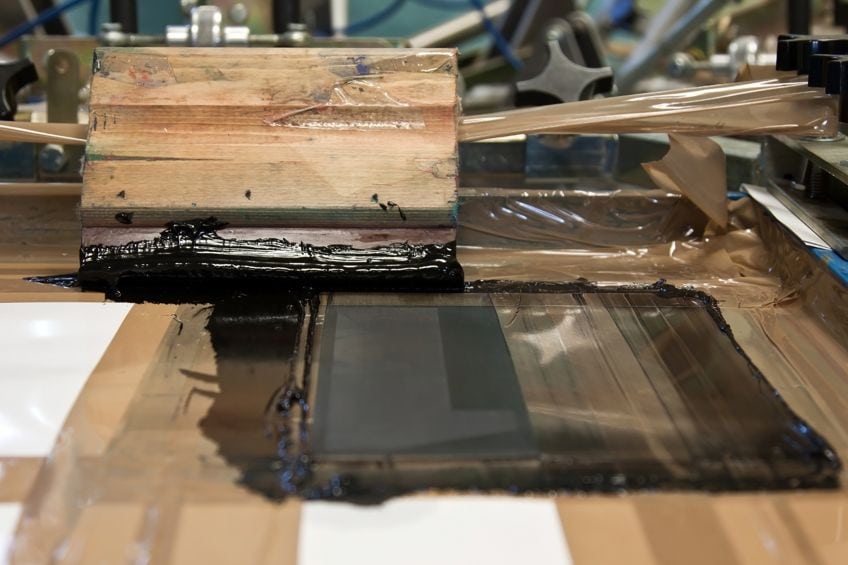
- Apply your ink or paint to the palette or sheet surface and then using a brayer, you can evenly roll out the ink over the entire surface. Only use a small blob of ink.
- Once applied, you can then add your design with texture tools or use any other methods. This is a subtractive method and the simplest monoprinting idea.
- You can also use other methods including additive techniques, tracing, or masking, where you create a blank or open space, or experiment with other mediums like pastels or watercolors.
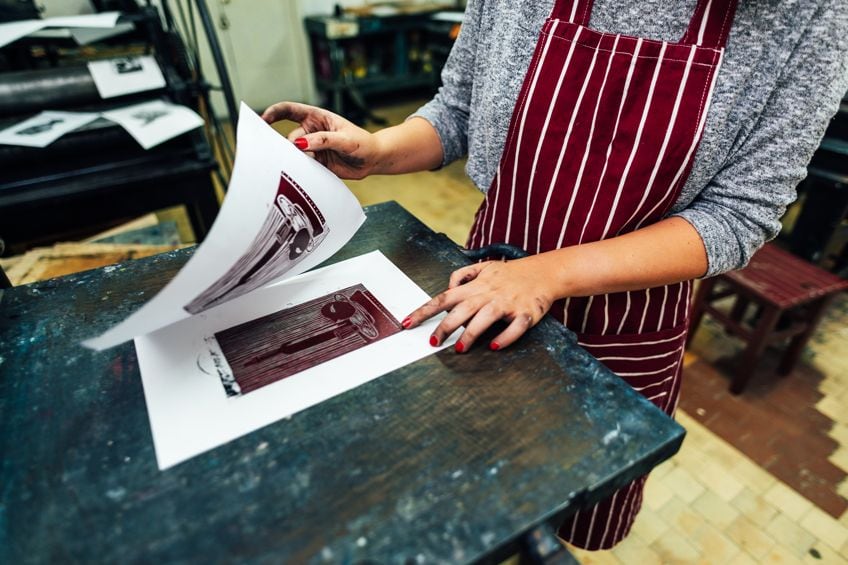
- The inked surface should be a little smaller or the same size as the paper you are going to place over the ink, to avoid any mess.
- Once you are done, the next step is to carefully pull away the paper to reveal the print. Leave the print to dry thoroughly.
- Always clean all the tools you used during the process before using them again.
Monoprinting is an easy and fun way to introduce printing to kids as well as students. You can easily experiment with the various methods without having to worry about dangerous chemicals or ruining a hard day’s work. You can simply start over and easily incorporate other ideas and mediums to create unique monoprint ideas.
Frequently Asked Questions
What Is a Monoprint?
There is a slight difference between monoprinting and monotype prints. The one involves a template that can be used over again, with prints not being the same throughout. The monotype printing can only be done once, with no multiple productions or editions, which makes it more distinctive.
What Ink Can Be Used for Monotype Techniques?
The most common ink used for this type of printing is water-based ink, which dries fairly quickly and is perfect for simple prints. You can also try a block printing medium, which can be used instead of oil-based inks. Regular cartridge paper can also be used for monotype printing.
What Common Materials Are Required for Monotype Printing?
You will need to have an ink slab or palette, which can be any smooth, non-porous surface like plexiglass. To the list, you can add ink, a brayer or rubber roller, paper, rags, and drawing tools like pencils and brushes. A palette knife can also come in handy when necessary. You can also try out other mediums besides ink.
In 2005, Charlene completed her Wellness Diplomas in Therapeutic Aromatherapy and Reflexology from the International School of Reflexology and Meridian Therapy. She worked for a company offering corporate wellness programs for a couple of years, before opening up her own therapy practice. It was in 2015 that a friend, who was a digital marketer, asked her to join her company as a content creator, and this is where she found her excitement for writing.
Since joining the content writing world, she has gained a lot of experience over the years writing on a diverse selection of topics, from beauty, health, wellness, travel, and more. Due to various circumstances, she had to close her therapy practice and is now a full-time freelance writer. Being a creative person, she could not pass up the opportunity to contribute to the Art in Context team, where is was in her element, writing about a variety of art and craft topics. Contributing articles for over three years now, her knowledge in this area has grown, and she has gotten to explore her creativity and improve her research and writing skills.
Charlene Lewis has been working for artincontext.org since the relaunch in 2020. She is an experienced writer and mainly focuses on the topics of color theory, painting and drawing.
Learn more about Charlene Lewis and the Art in Context Team.
Cite this Article
Charlene, Lewis, “Monoprinting – A Beginner’s Guide to Monoprinting Techniques.” Art in Context. August 9, 2022. URL: https://artincontext.org/monoprinting/
Lewis, C. (2022, 9 August). Monoprinting – A Beginner’s Guide to Monoprinting Techniques. Art in Context. https://artincontext.org/monoprinting/
Lewis, Charlene. “Monoprinting – A Beginner’s Guide to Monoprinting Techniques.” Art in Context, August 9, 2022. https://artincontext.org/monoprinting/.





Dan Welden has organized a weekend event titled, PRINTAGANZA. It is about monoprints. I know nothing about the method was but invited to participate. The above review gave me some idea of what to expect, thanks. Still a little confused about the difference between monoprints and monotypes. I’ll ask Dan. Again thank you. Burt
Hi Burt, you’re welcome, glad you were able to get a rough idea about monoprints here on Art in Context 🙂