How to Draw With Charcoal – Step-by-Step Guide with Video
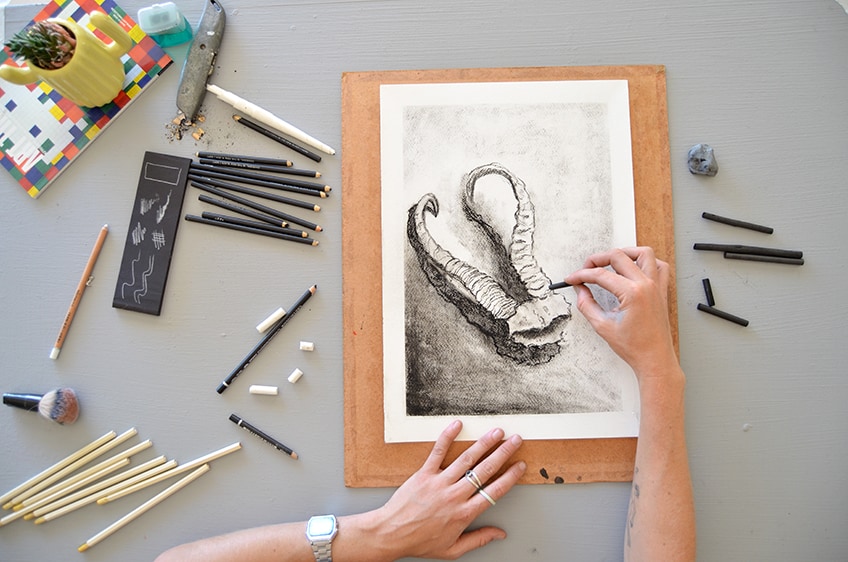
Welcome to the wonderful world of charcoal! Whether you are looking to further your creativity or improve your technical drawing skills, charcoal is a great medium with which to both start and master the art of drawing. In this article, you will learn how to draw with charcoal, find new ways of working with a variety of media and discover extra tips for creative charcoal drawing ideas along the way.
What Is Charcoal?
Charcoal is technically charred or burnt organic matter. The charcoal that can be found in our drawing materials is usually compacted wood. It is a very powdery material that can be easily smudged. It is for this reason that charcoal is presented in a variety of forms and levels of hardness. This includes soft charcoals, hard charcoal, and powdered charcoal.
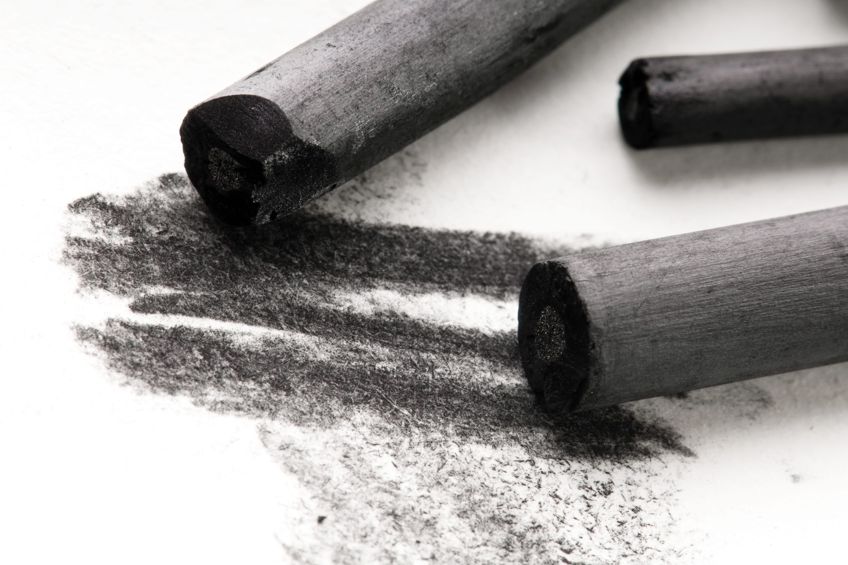
Charcoal Drawing Is Incredibly Versatile
Artists that practice charcoal drawing regularly describe it to be similar to performing certain painting techniques. Charcoal sketches can be loose and soft or rendered to a high degree of realism. It is similar to painting in the way that it can be blended, spread, and erased easily. Although it does take a while to master, it is a medium that beginners can also practice to create easy charcoal drawings. In fact, learning how to draw with charcoal is often the first course practiced for students in technical drawing classes.
It is a medium suitable for beginners, so do not be afraid to try it – especially if you enjoy sketching and working quickly.
Charcoal Can Be Used With a Variety of Materials
Charcoal can either be quite a messy process or beneficial if you use the abundance of the material to your advantage. Without the right paper, erasers, fixative, and other tools, you might find drawing with charcoal pencils can be technically challenging, and the mess really can be quite frustrating. You will learn soon enough that all your materials are key in the process of drawing with charcoal pencils. This is a medium that can be delightfully experimental and exciting!
Materials and Tools Needed for Charcoal Drawing
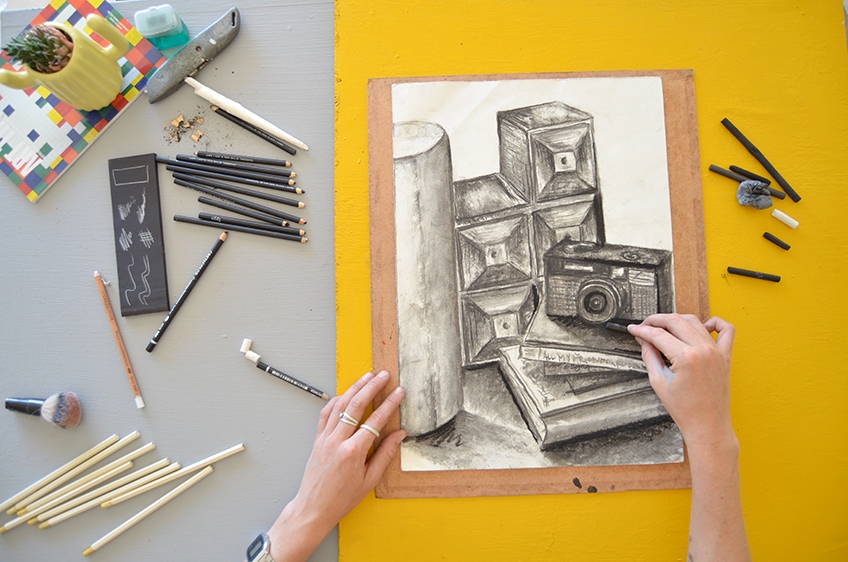
It is always recommended to have a wide variety of materials and tools for charcoal drawing. The more you have to work with, the more space you have to experiment with different charcoal drawing techniques. This means you can create a range of charcoal sketches using different media with a variety of lines and marks, textures, and tonalities.
To create a charcoal drawing, you will need the following materials to start.
Different Types of Charcoal
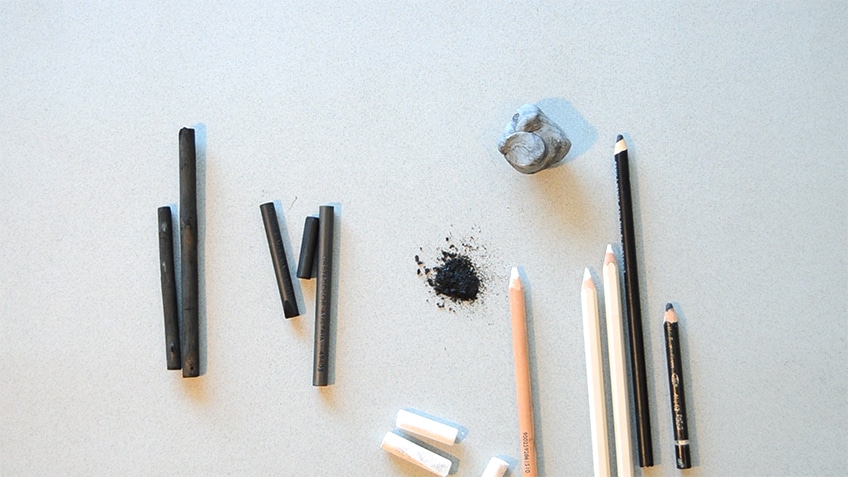
There are a few types of different charcoal you can use to learn how to control your charcoal drawing techniques. There are three main types of charcoal used by artists, including willow or vine charcoal (soft), compressed charcoal (hard), and powdered charcoal.
Willow Charcoal
Willow or vine charcoal is the softest of charcoals. This type of charcoal is used in the first few stages while adding layers to your charcoal sketches. Willow charcoals are presented as raw, uncoated sticks. You can create interesting blending and smudging techniques with this type of charcoal, and it can be easily erased and removed. You can use them for the initial stages of practicing charcoal drawing techniques, and you can certainly use the smudging and blending of the material to your advantage.
Be prepared to work in a space that can get a bit messy.
Compressed Charcoal
Compressed charcoal is the hardest and darkest type of charcoal. It is held together with a gum binder and produces clean, dark lines, textures, and tones. This is what makes compressed charcoal difficult to erase, remove or smudge. You can also purchase this type of charcoal in white and they are presented as pencils or rounded coated sticks. Compressed charcoal is mostly used once you have mapped out the basic composition of your charcoal drawing to define lines, shapes, and forms.
Powdered Charcoal
Powdered charcoal is exactly what it sounds like. It is the raw material of charcoal that has been crushed down into fragments. If you are looking to create soft or light layers, powdered charcoal is great for the subtle layering of charcoal sketches. It is often used to cover larger areas with the idea of removing, lifting, or erasing layers to define highlights. Powdered charcoal is presented in tubs and can be quite costly.
It is definitely possible to create your own material but be just aware of the wonderful mess it might create!
A Variety of Paper Materials
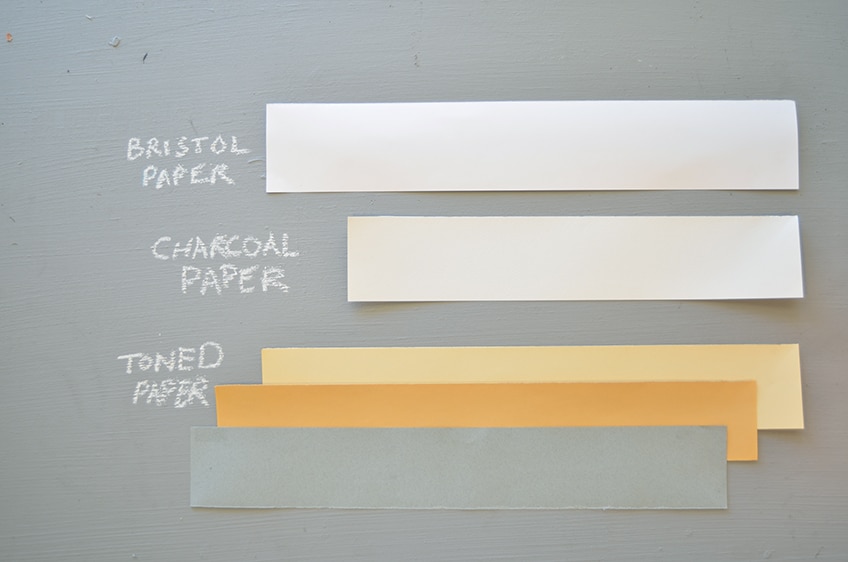
The great thing about charcoal is that it works with almost any type of paper however, this doesn’t mean you should go ahead and create a masterpiece on basic printing paper, or cartridge paper. It is suggested by charcoal artists to source either textured plain white paper, charcoal paper, or toned paper.
Toned Paper
Toned paper is quite a bit of fun to work with. You can select almost any color with toned paper; however, it is required to use white and black charcoal pencils to create full value between shadows and highlights. An example of charcoal drawing ideas you could create with this type of paper is to work with skin-toned paper. You can create a portrait using the base color of the paper as the skin color.
Go ahead and see how to create a drawing with charcoal pencils, while working with the paper material.
Plain White Textured Paper
White paper works well with the contrasting tonalities of the black charcoal. You could purchase bristol paper, illustration board, newsprint, or plain cartridge paper if you do not have either of these.
Charcoal Paper
Charcoal paper is dense and has a fine-ribbed texture or tooth. You can purchase similar paper materials to charcoal paper such as pastel and watercolor paper. The heavier the weight of the paper the better.
The heavier weighted paper will be easier to move the artwork without charcoal falling away from the paper material.
Tools and Equipment
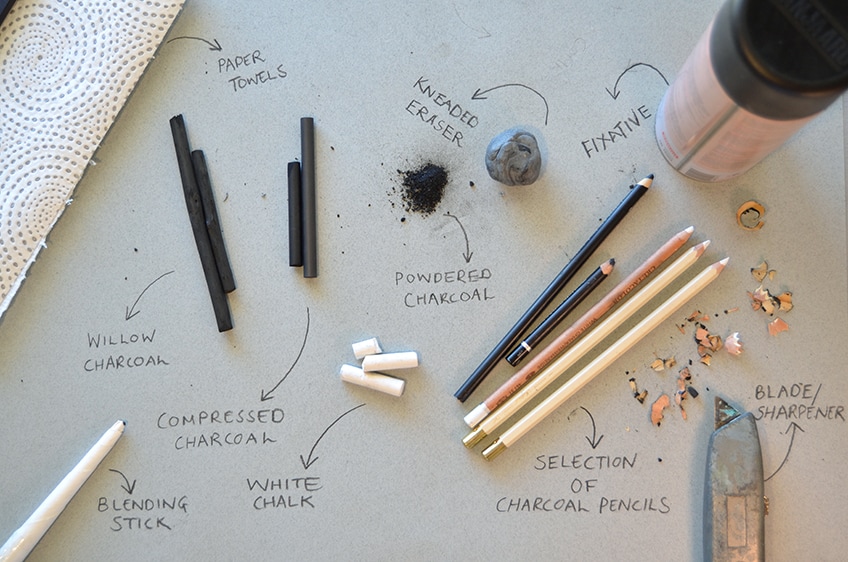
As mentioned before, variety is key when learning how to draw with charcoal. This is important because it will reveal just how many different techniques you can use and the types of marks you can make. The tools you will need for drawing with charcoal pencils are a kneaded erased, a blending stump, white chalk, and paper towels.
Blending Stump and Brushes
Blending stumps and brushes are used to create interesting subtle blending and smudging effects for your charcoal sketches. They can create and spread soft, evocative shadows. The blending stump has a fine point that assists in creating detailed textures and shadows.
Brushes work well with powdered chalk to blend charcoal softly into the paper material.
Kneaded Eraser
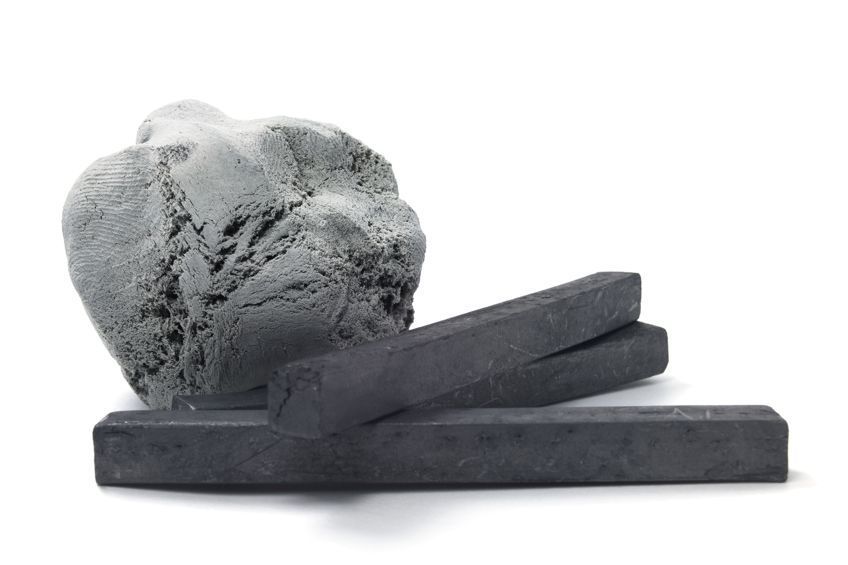
A kneaded eraser is used to erase charcoal. It can be molded like putty or clay to create different forms which create interesting marks, lines, and shapes when applied to the paper material. Kneaded erasers can also be cleaned with warm water but allow it to try properly before use or you could damage your artwork.
Paper Towels
Paper towels are an essential tool. You may not know this if you are a beginner and learning how to draw with charcoal, so this is a great tip for those that like to keep things relatively clean. You can place a paper towel between your hand and the surface you are working on.
This keeps the charcoal from smudging below the palm of your hand.
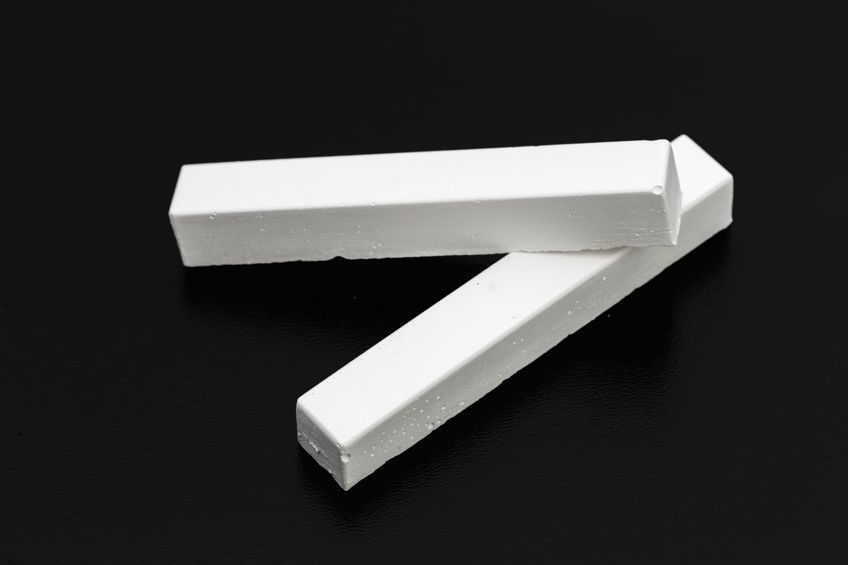
White Chalk
White chalk is often used towards the end of your charcoal drawing for adding the final touches to your highlights. You can use white chalk and a blending stump to create contrasting tonalities between shadows and highlights.
Fixative
Fixative holds the charcoal material in place. It prevents your charcoal sketches from smudging and acts almost like a varnish. You can get two types of fixative, one that is workable which means you can continue working on the charcoal drawing, and another that is final and cannot be reworked.
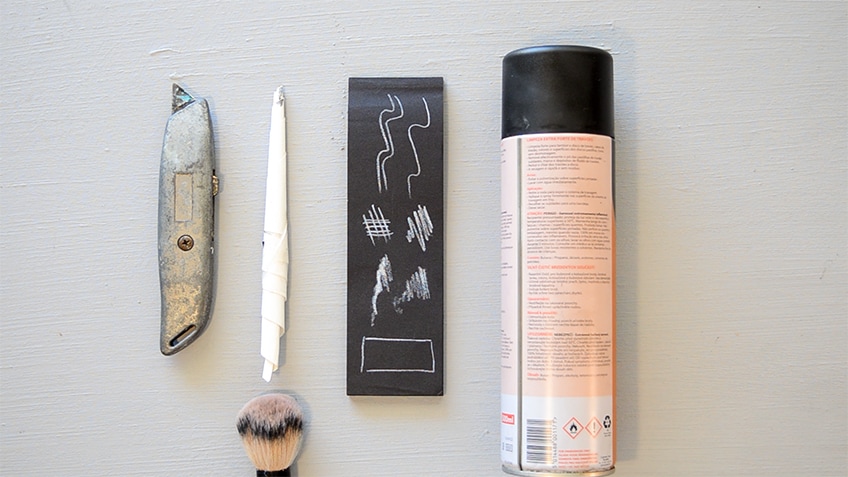
If your artwork is densely packed with charcoal, you can add a few layers of fixative to keep it set in place.
Drawing With Charcoal Pencils
Now that you have a variation of materials to gather, you can soon begin practicing a range of charcoal drawing techniques. With these materials, you can set up your charcoal, paper, and tools in a well-lit space which is either at an easel or a desk with a drawing board.
Before you go forward, you will need to gather a variety of charcoal pencils, tools, and paper materials to be able to bring your charcoal ideas to life. Once you have your workspace set up, begin gathering the following materials:
- Variation of paper
- Charcoal willow sticks
- Compressed charcoal sticks or pencils
- Powdered charcoal
- Kneaded eraser
- Blending stump or brush
- White charcoal or chalk
- Paper towels
- Fixative (final or workable)
- Blade or sharpener
How to Hold Charcoal Pencils
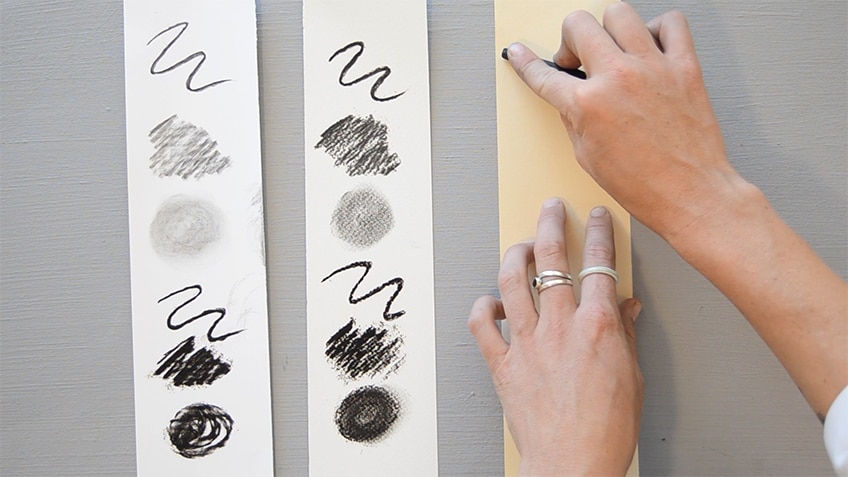
You could begin by holding your charcoal pencils as you would normally hold your pen or pencil however, there are many other ways you can hold charcoal to create exciting marks and textures across the surface of the page. The best way to understand how to create these different marks is to put them into practice.
Go ahead with your gathered materials, settle into your space, and begin experimenting.
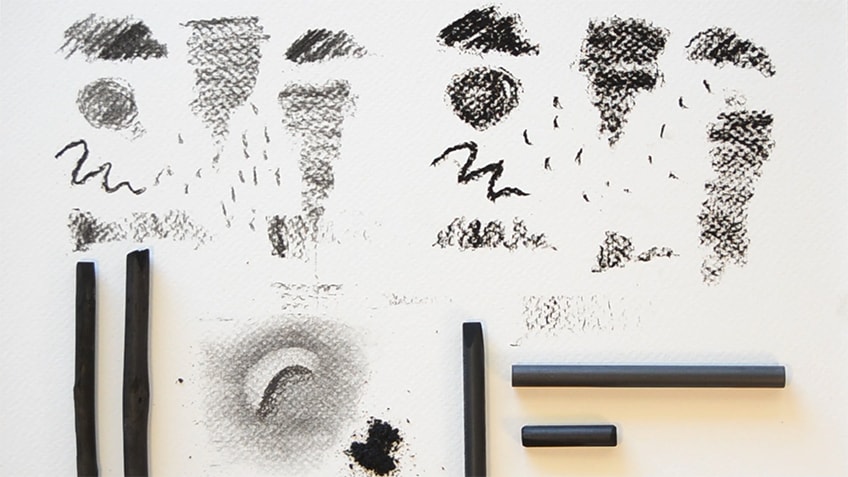
Step 1: Hold the Charcoal Like a Pencil
Hold your charcoal like a pencil and begin mapping out your composition making only lines. Holding it in this way will assist in creating accurate, well-defined lines. As you continue, apply more and less pressure to see how you can begin constructing the initial layers of your composition.

Step 2: Hold the Charcoal at a Side Angle
If you change the angle of the charcoal pencil with the point at its side – meeting the paper’s surface – your hand will naturally re-adjust. Try holding the tip of the pencil with your forefinger on top of the nib and set your thumb further back and below. The remainder of your fingers should loosely reinforce the end of the pencil.
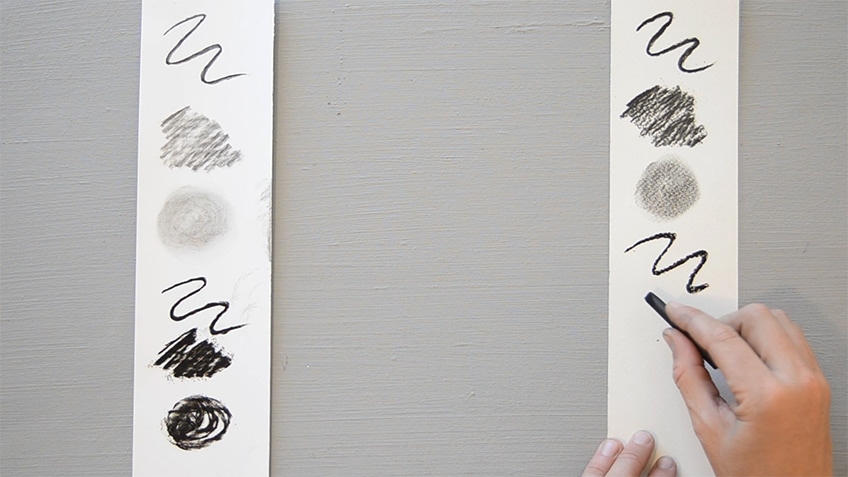
Begin creating loose, textured strokes using broad sweeping motions and movements across the surface of your page.
Step 3: Use Your Elbow and Shoulders to Lead your Strokes
Keep your wrist consistent or fixed in place and begin leading experimental strokes, following the movement of your elbow and shoulder. Once you have found a comfortable rhythm, you will learn that working in this way is a great way to prevent smudging and create beautiful marks and textures on the surface of the page.
How to Create Charcoal Sketches
Now that you have experimented with your tools and materials and have a basic understanding of how to hold charcoal pencils, you can now start observing your composition even closer. There are so many different charcoal drawing techniques you can practice.
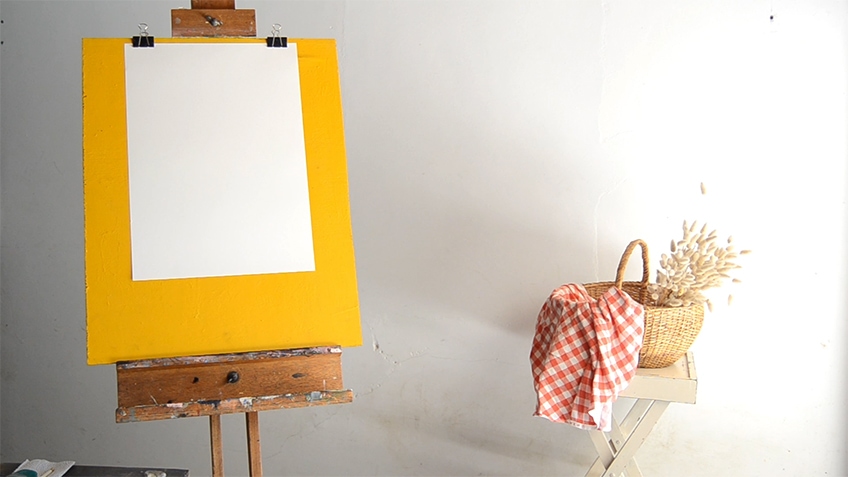
These will most likely lead you to discover even more ways of working with the material.
Step 1: Observe
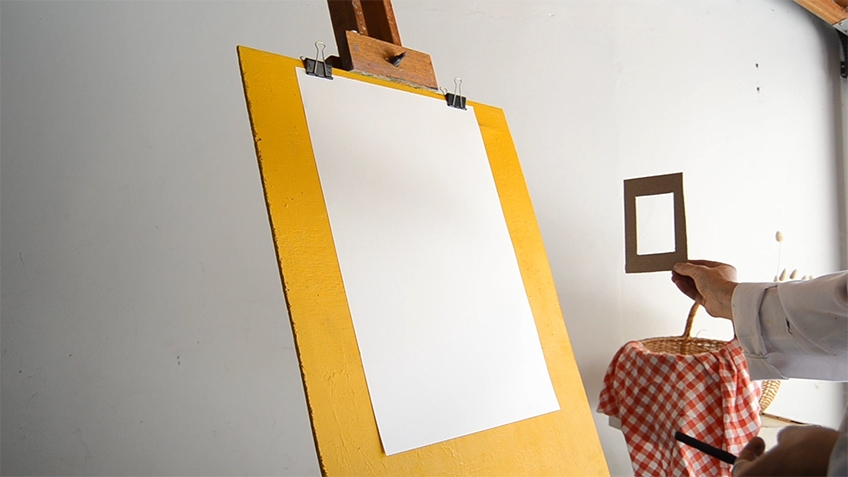
Observe your object or subject through simplified geometric shapes. Try using a viewfinder to set your eye to the composition in front of you and select what you will be including within the frame of your charcoal drawing.
Step 2: Map Out Your Composition
Begin loosely outlining and contouring your composition with a soft charcoal pencil. Where there are high levels of contrast or dark shadows, you can make a line. In the mid-tones, you can lightly smudge powdered charcoal or willow charcoal. Highlights should be left untouched.
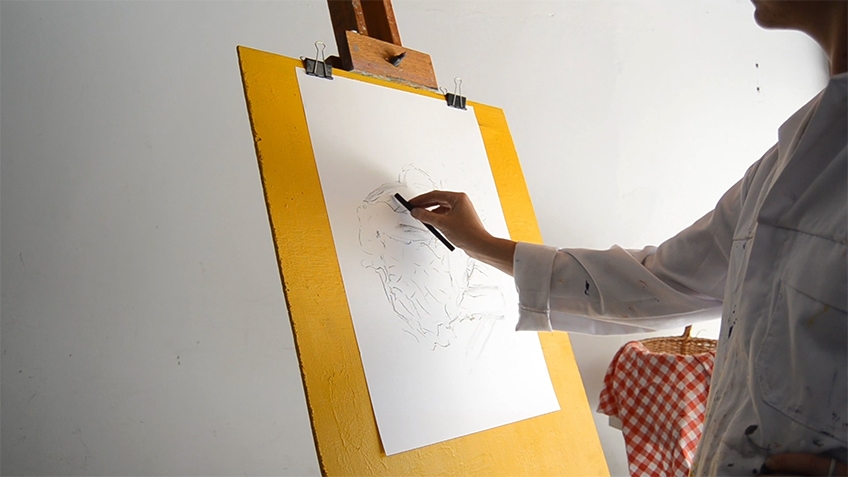
This will create the basic outline of your charcoal drawing to reveal shape and form within the composition.
Step 3: Use a Harder Charcoal to Define Edges
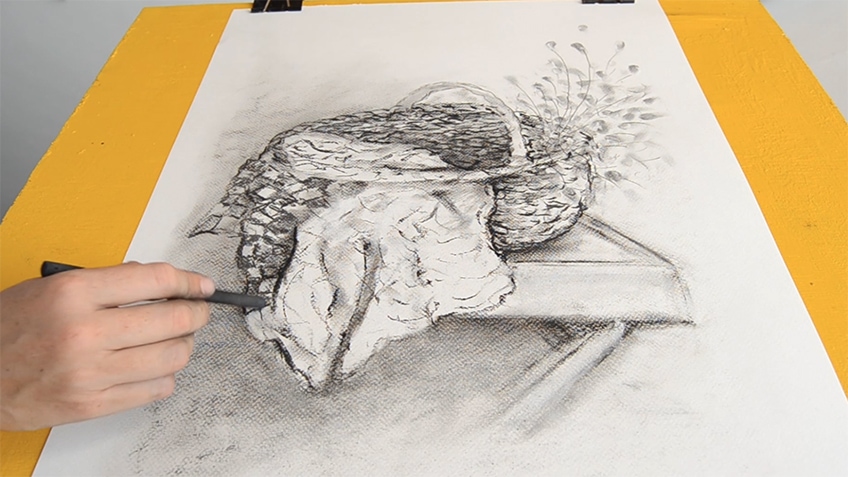
Continue working layers and details into your charcoal drawing with compressed charcoals. Sharpen contrasted areas and cast darker shadows. Use a kneaded eraser to pull out existing highlights.
Step 4: Outline Your Highlights
Use a white charcoal pencil to outline the highlights within your charcoal drawing. Here, you can begin grading the grey tonal values as white meets black.

Step 5: Blend Out Shadows
Smudge selected areas with a blending stump or brush to blend out harsh lines and dark tones. It is especially important to blend and soften the areas that are too strongly contrasted because they might throw off the balance of your composition.
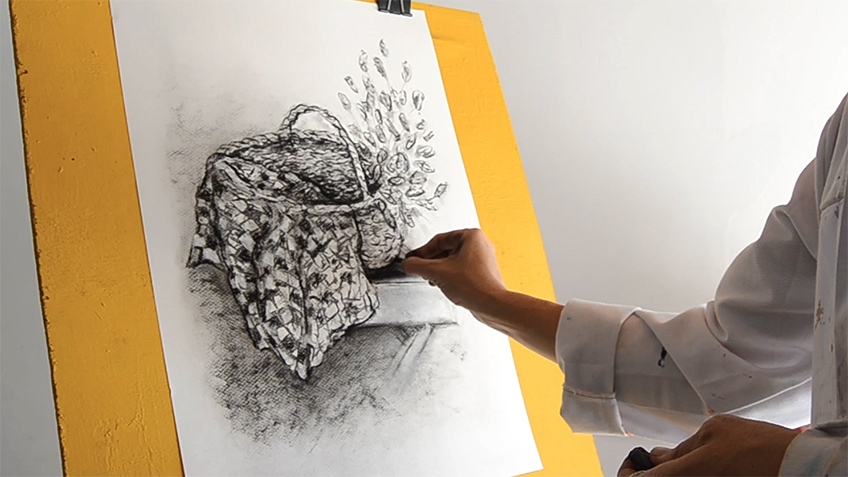
You can also use a piece of tissue paper or paper towel to blend these areas.
Step 6: Return to Your Soft Charcoals
To work in those final details, you can return to your soft charcoals to add more texture, linework, cross-hatching, contour shading, and other techniques. This will add a realistic touch to your charcoal sketches.
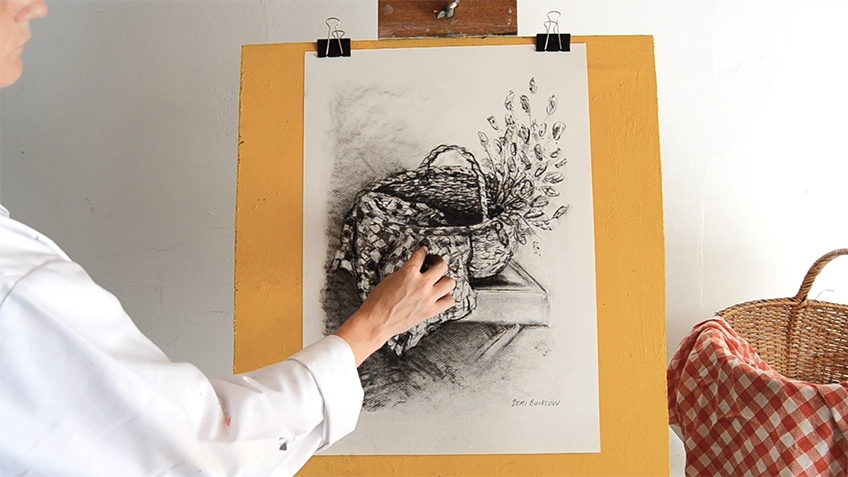
Step 7: Fixative Your Charcoal Drawing
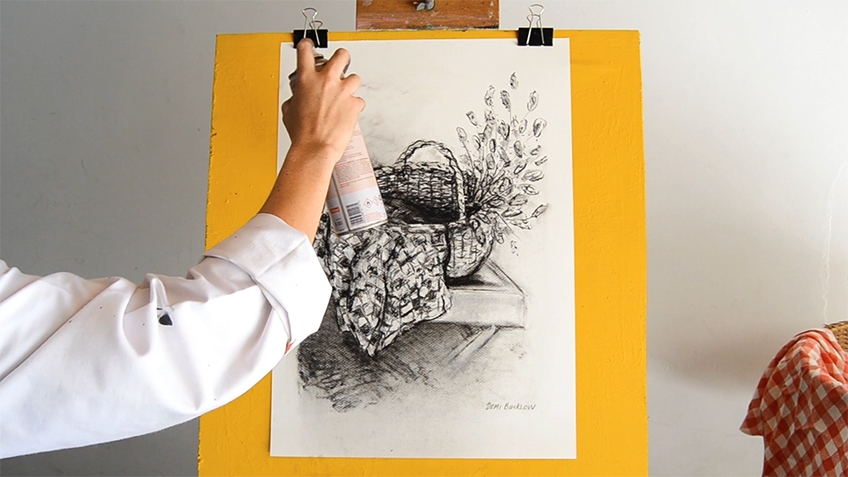
Be sure to be in a well-ventilated space when using fixative and stand no more than one foot or 12 inches from your artwork. Spray consistently over the surface of the whole page and allow to dry in between layers of fixative.
The Ideal Charcoal Drawing
As with all art, there is a fine balance that viewers seek when observing an artwork. For charcoal drawing, this balance can be found in the darkest darks, the lightest lights, and almost all the greys in between. This exists where highlights protrude, and shadows recede within a well-balanced composition.
Easy Charcoal Drawings Ideas You Can Create
You can draw a variety of objects, subjects, and scenery with charcoal. Some of the easier charcoal drawing ideas you can sketch are compositions that include a variety of textures and tonal values. Some of these charcoal ideas could start with the following subjects:
- Still lifes (fruit bowls, found objects, items of clothing, jewelry)
- Portraits
- Landscapes
- Architecture
- Animal and plant studies
- Interiors
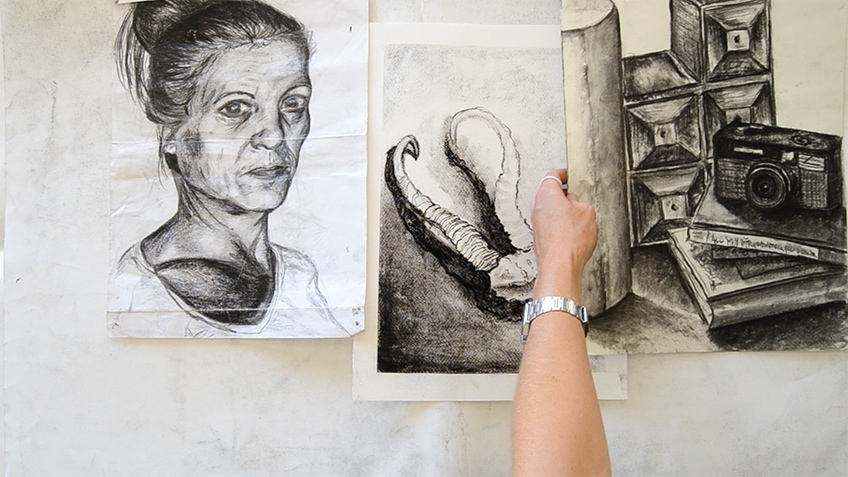
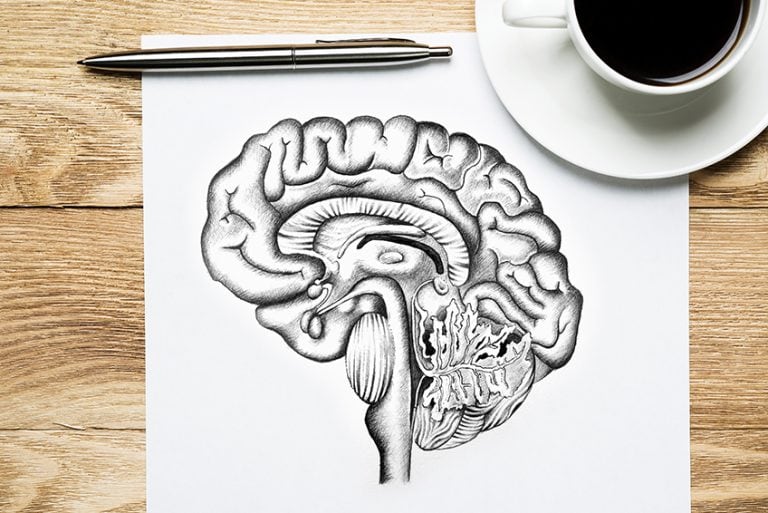
Learning how to draw with charcoal can be an insightful skill towards growing your artistic practice and bumping up your creative flow. Drawing with charcoal pencils and using a variety of materials, as well as following the process above, will guide you towards improving your understanding of working lines, texture, and tonal values into basic compositions. Through practice, you will discover a range of charcoal drawing techniques that will guide you towards having a looser hand, an accurate eye, and a genuine flow of creative fire.
Frequently Asked Questions
How to Clean Drawing Charcoal?
We all know that charcoal is an incredibly messy substance. There are a few ways you can keep things clean, wash charcoal-covered hands, tabletops or easels, and other dusty remnants. You could cover your easel and work area with paper towels, use baby wipes or soapy water to clean your hands, and use a maulstick or paper towels between your hand and the drawing to keep it from smudging. Make sure to keep a vacuum cleaner close by!
What Can Be Used for Charcoal Drawing?
Any type of paper with visible texture is great for charcoal drawing. You will also need charcoal pencils, a variety of tools, and materials to be able to make charcoal sketches. When you are learning how to draw with charcoal, it is suggested to start with either charcoal paper or watercolor paper and work towards toned paper materials.
Can You Use Hairspray Instead of Fixative for Charcoal Drawing?
Technically, you can use hairspray as an alternative to fix or make your charcoal drawings permanent. Be aware that although hairspray will dry and seal the charcoal sketches, there is a high chance of your drawing drying darker than intended. It is suggested to purchase workable or final fixative to best preserve your charcoal sketches.

Demi Bucklow is an independent artist and photographer living in Cape Town, South Africa. Since graduating from the University of Cape Town in 2018 from Michaelis School of Fine Art with a degree specializing in fine art photography, she currently works as a freelance artist, content creator and writer. Demi’s particular interests explore a range of multimedia illustration, collage art, photography and videography, darkroom processing and stop-motion animation. Her work is an exploration of nature and its phenomenon – somewhere between art and space.
Artistic practice presents the ability to communicate a vision. It is through techniques of pointillism and realism that form, and substance are explored as a metaphor for matter; super-imposing a thousand marks and points until an image is formed before our eyes. From illustrations to surrealist landscapes, Demi translates corporeality – mixing the obtuse and vacuous with the astute and expressive which leads to a mixture of irrevocable pondering over what is and what could be.
Learn more about the Art in Context Team.


