How to Draw Bamboo – Capturing Nature’s Grace on Paper
Bamboo: Nature’s Versatile Wonder! It’s not just a plant; it’s a game-changer for our planet. Did you know that bamboo can grow up to a mind-boggling 39 inches in just 24 hours? That’s faster than your favorite pizza delivery! But its speed is just the tip of the iceberg. This eco-friendly marvel is strong as steel, yet light as a feather, making it the go-to material for everything from sustainable fashion to sturdy scaffolding. Whether you’re into sustainability, engineering, or simply amazed by the mysteries of the natural world, bamboo is bound to leave you bamboozled most fantastically. Did you know Bamboo is one of the fastest-growing plants in the world and can grow up to 35 inches in just 24 hours? But our step-by-step tutorial will teach you how to draw bamboo even faster than that!
Bamboo Bliss: Sketching the Tranquility of Nature
Starting a journey to draw bamboo is a delightful and artistic endeavor! Bamboo’s elegant and unique features make it a captivating subject for artists of all levels. As you start, pay close attention to its segmented structure and gently curving lines; this will be the key to capturing its natural grace. Don’t be afraid to experiment with various shading techniques to convey its texture, from the smooth outer surface to the rough, textured inner nodes. Remember, bamboo comes in countless shapes and sizes, so feel free to let your imagination run wild. Embrace the tranquility of the bamboo groves and let your creativity flow onto the canvas.
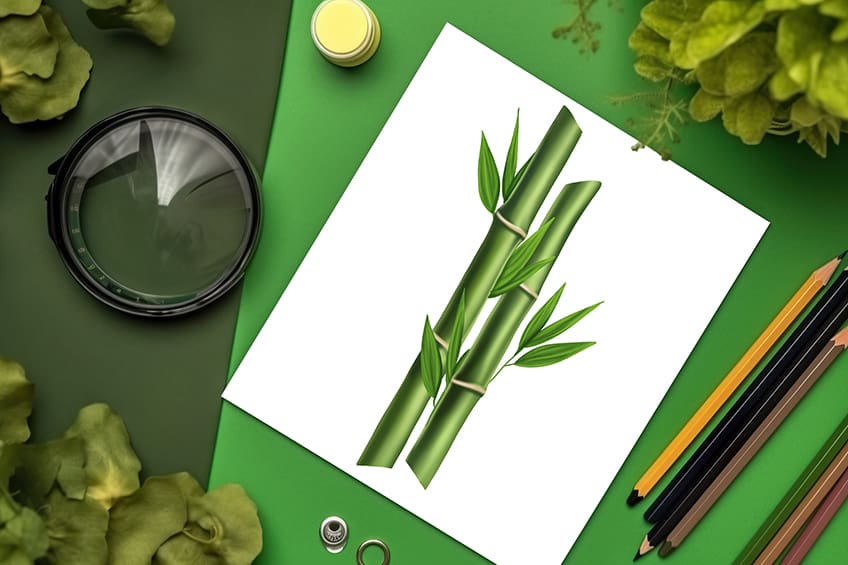
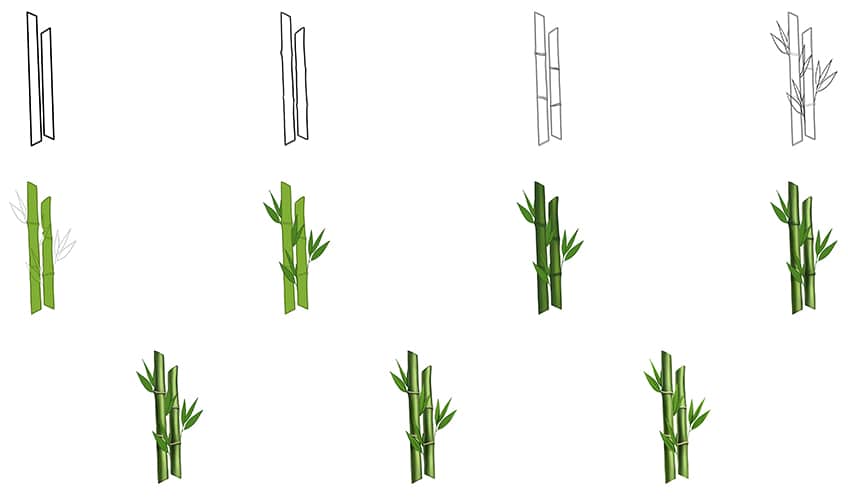
The following image illustrates each step undertaken to reach the ultimate outcome. By following these steps, you’ll be well on your way to mastering the art of drawing and painting bamboo with a lifelike touch!
Step 1: Start Your Easy Bamboo Drawing
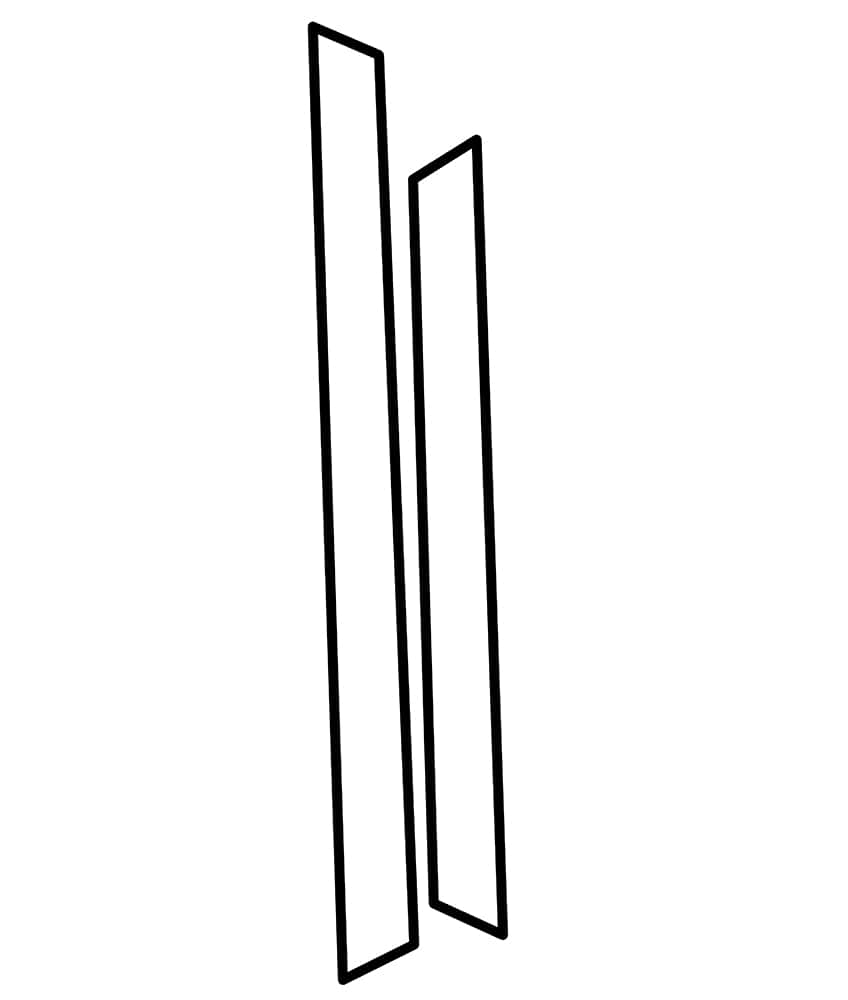
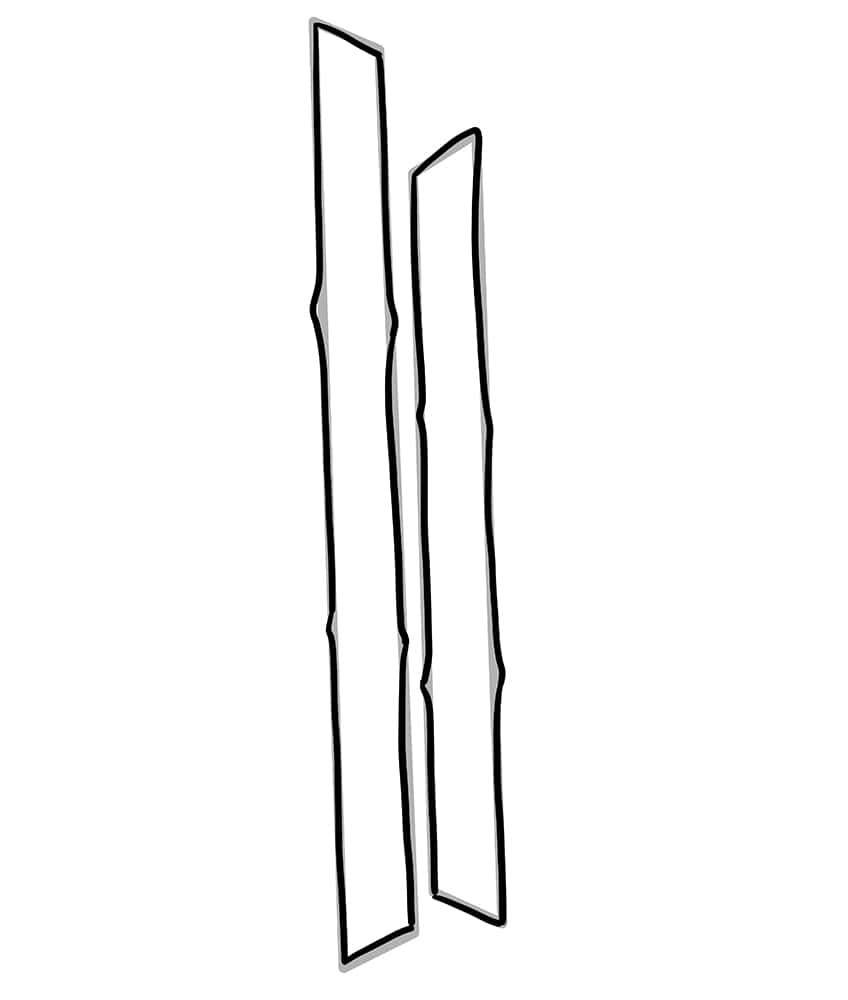
Begin by drawing two-spaced rectangles with sloped ends. The second bamboo stick should be shorter.
Step 2: Outline the Bamboo Shape
Utilize the construction lines you’ve drawn earlier as a guide to sketch out the basic outline of the bamboo form.
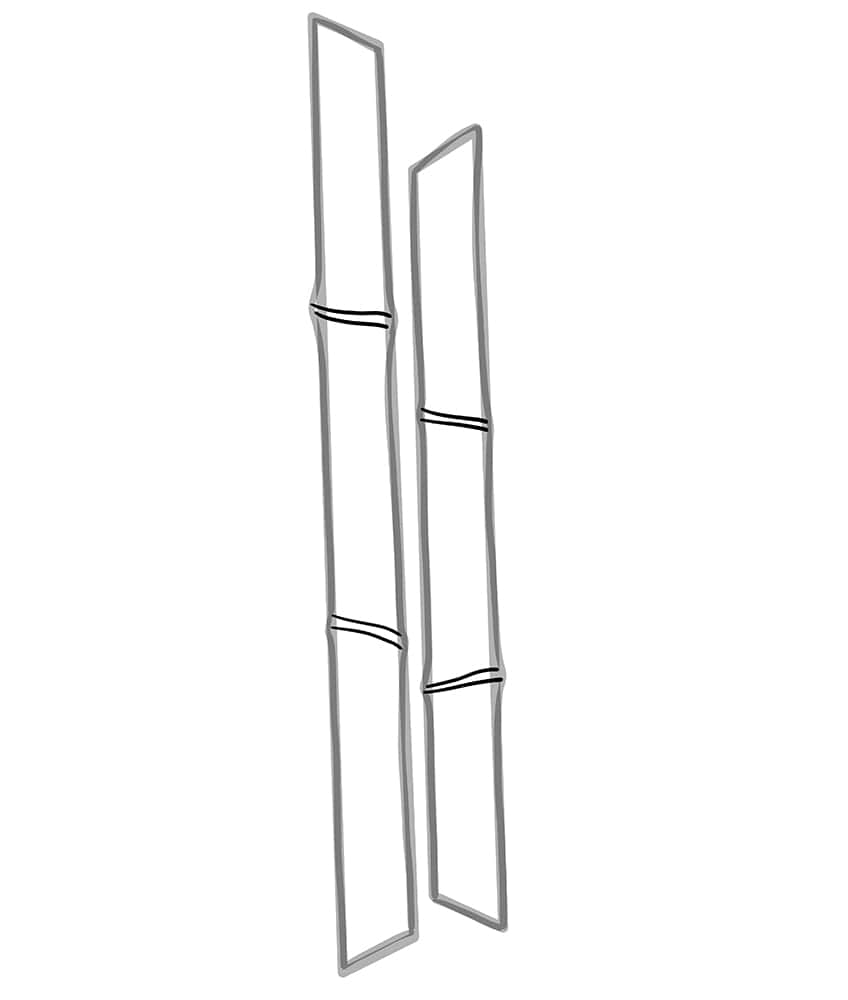
Step 3: Draw the Node Ridges on Your Bamboo Drawing
Along each of the raised ridges of the bamboo, draw two node lines.
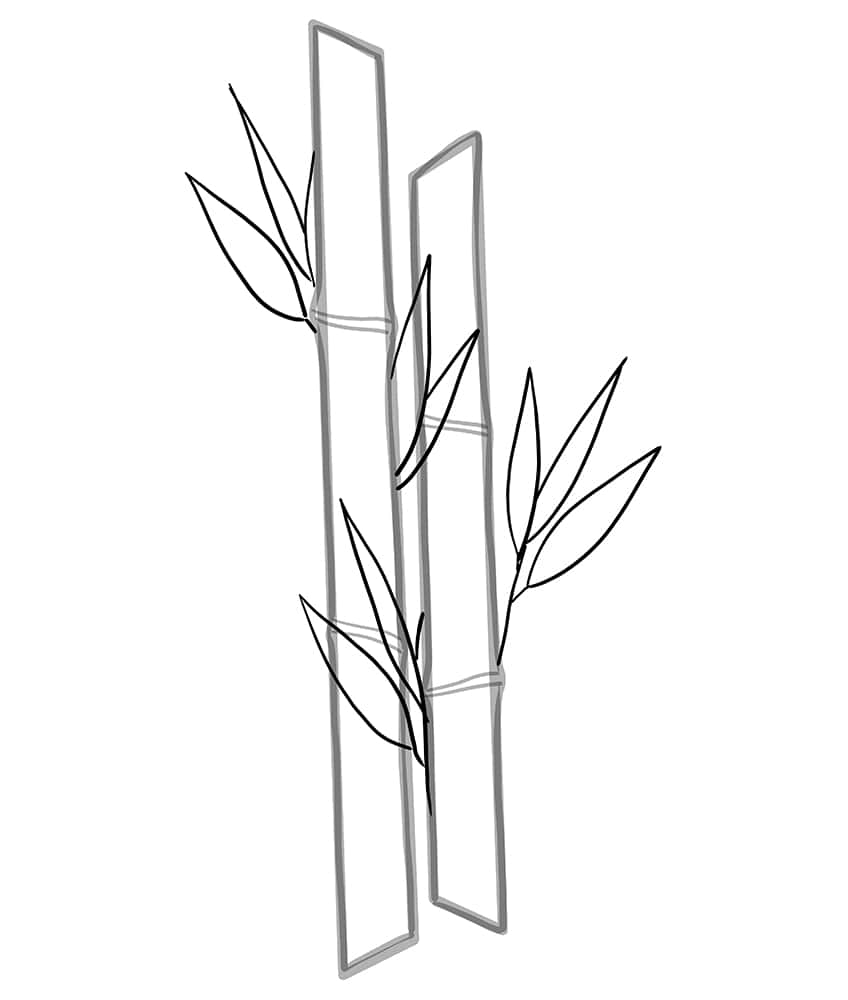
Step 4: Add the Leaves to Your Easy Bamboo Drawing
Between the two bamboo sticks, draw the fine branches extending sideways and the leaves attached to these branches. After finishing, remove any remaining construction lines and eliminate any lines that overlap.
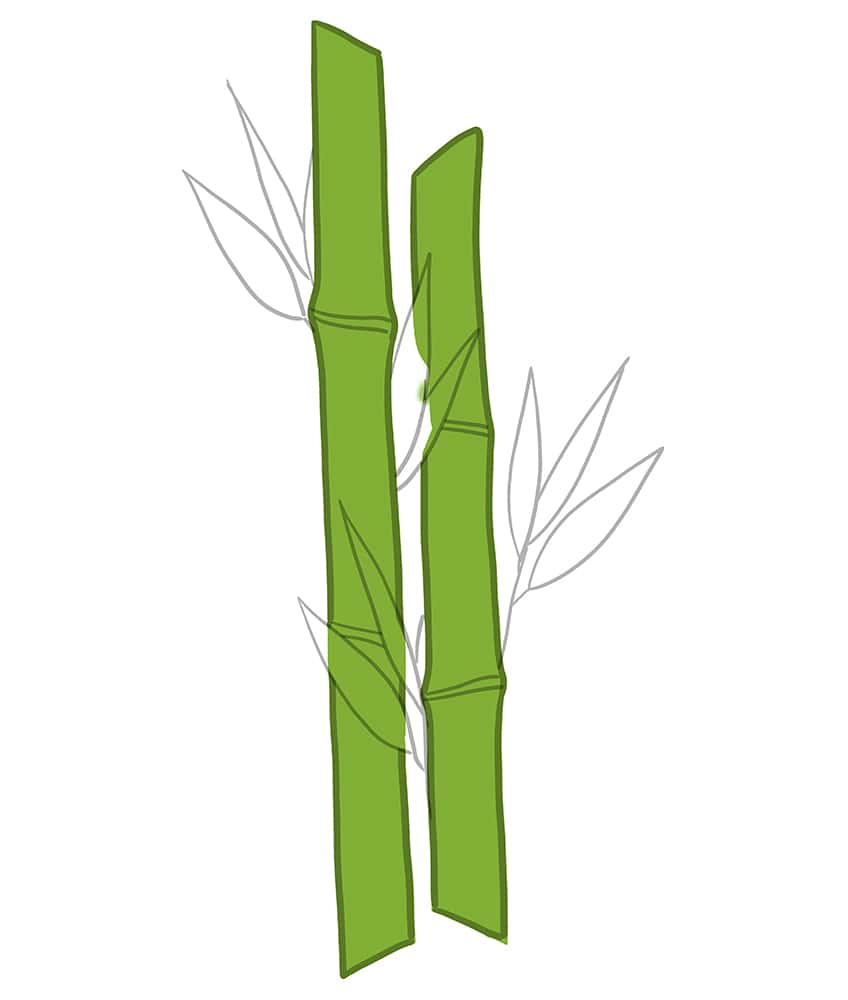
Step 5: Begin the Coloring Process
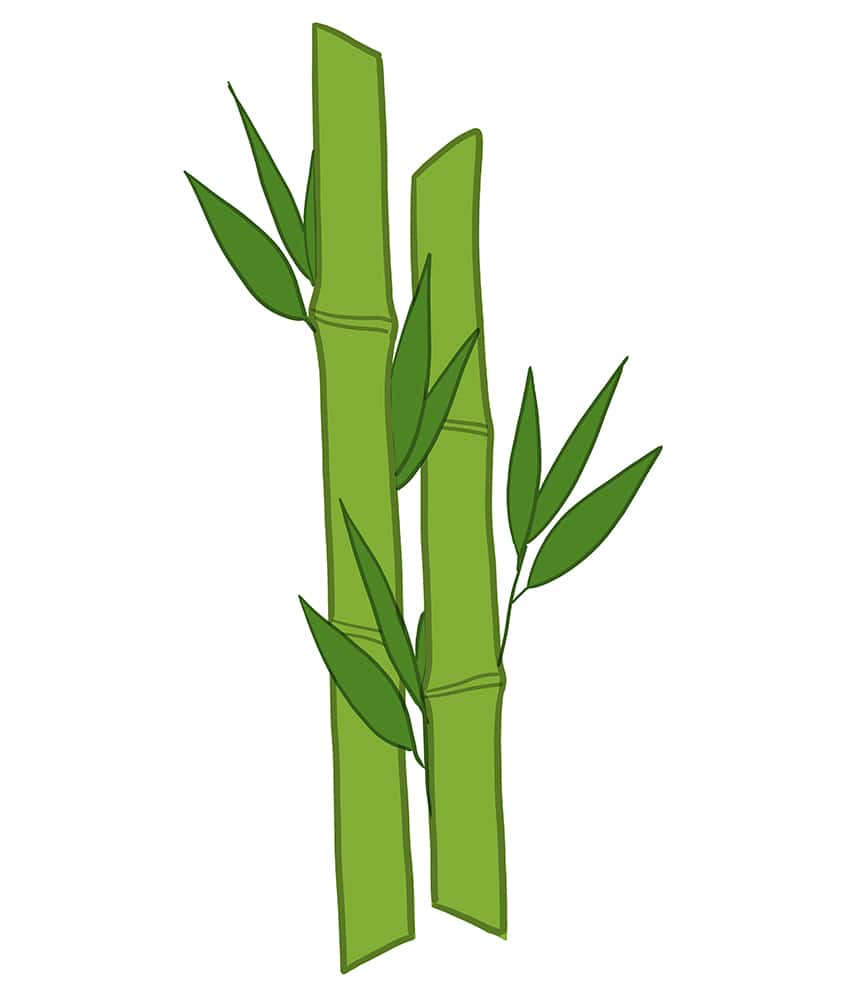
Select a fine brush and a shade of bright green paint to evenly coat your bamboo drawing.
Step 6: Continue to Paint Your Bamboo Drawing
Using the same brush, switch to a darker shade of green paint, and evenly coat the leaves and branches.
Step 7: Begin to Shade the Bamboo
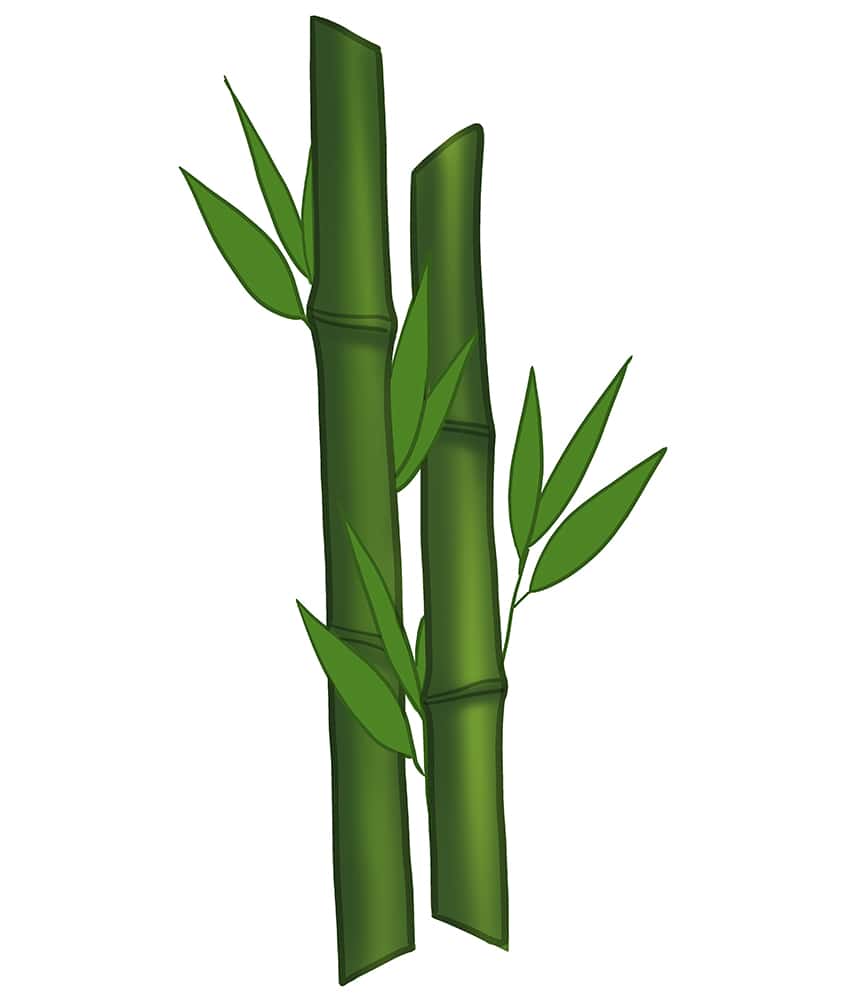
Utilize a small, gentle brush and black paint to apply subtle shading along the bamboo’s edges, including the spaces between the ridges.
Step 8: Highlight Your Easy Bamboo Drawing
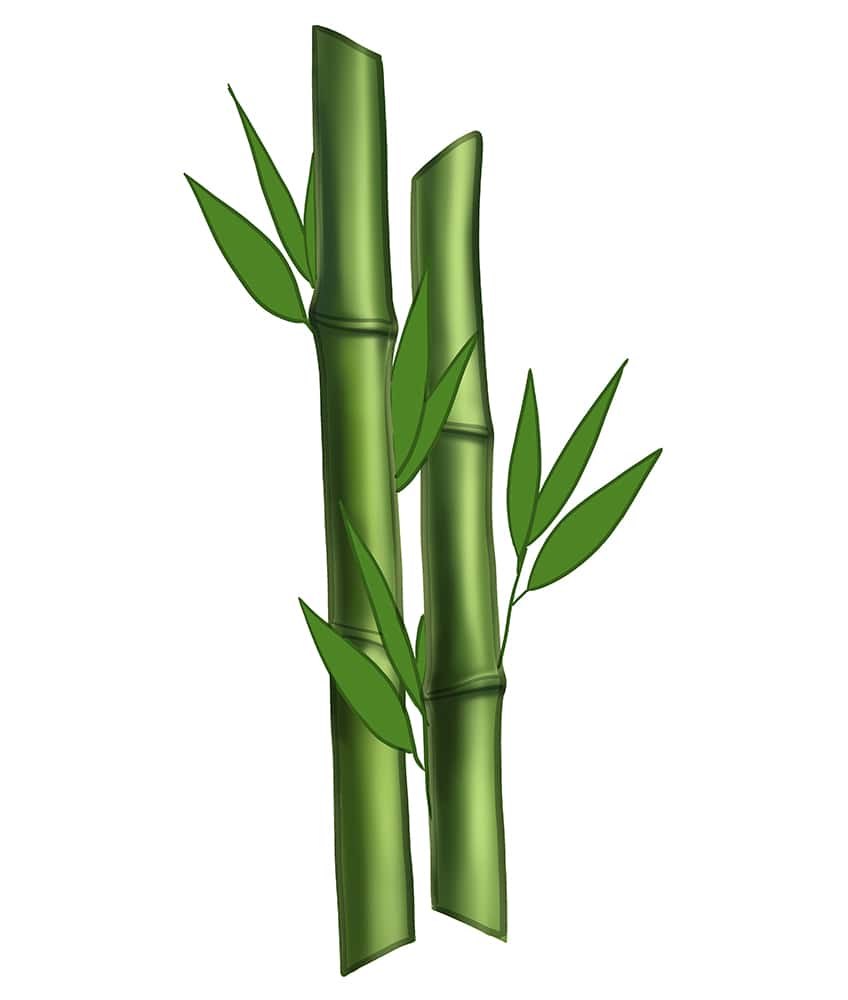
Utilizing the same brush as previously and white paint, begin to add highlights along the vertical lines of the bamboo. Smooth out these highlights with a blending brush.
Step 9: Apply Color to the Node Ridges
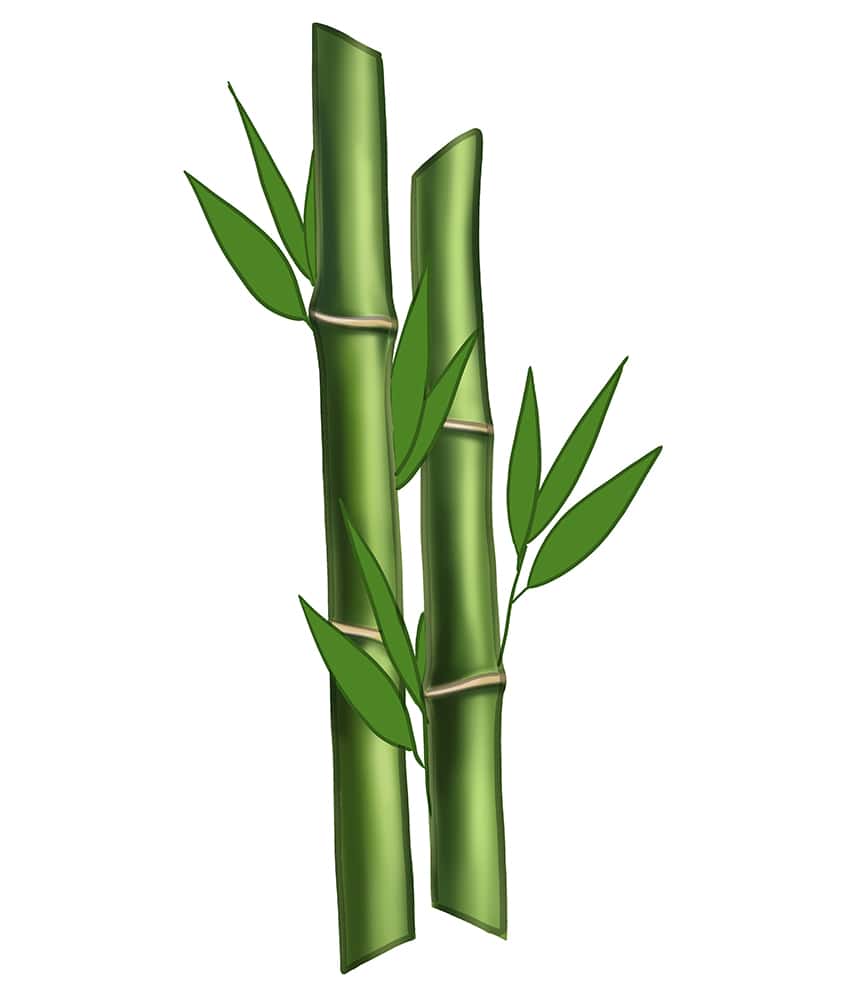
Using a combination of white and tan paint, and a fine sharp brush, begin to fill the nodes on your bamboo drawing.
Step 10: Texture the Leaves
Employ a precise, sharp brush with a vibrant green hue to create delicate brush strokes that mimic the leaf veins. Follow this by repeating the process using black paint, allowing the initial green coat to remain slightly visible.
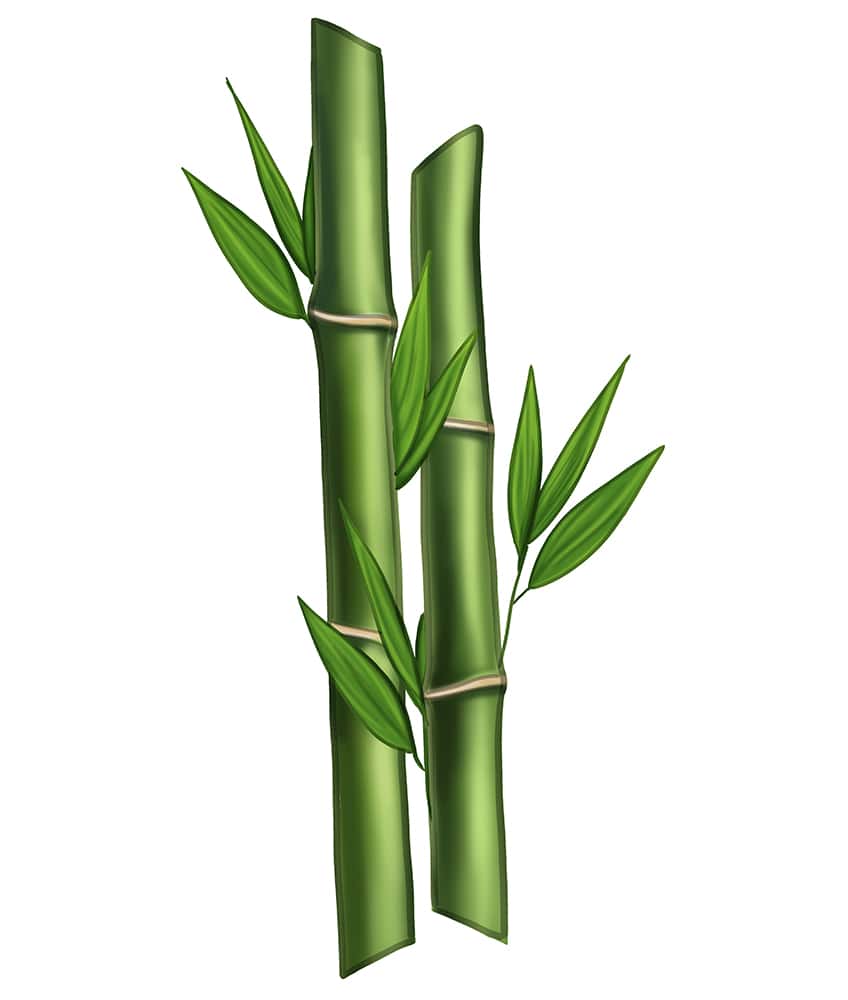
Step 11: Finalize Your Easy Bamboo Drawing
To finalize your bamboo drawing, start by removing any remaining visible outlines, and when necessary, employ a precise, sharp brush along with the appropriate colors to trace these lines, achieving a lifelike final portrayal of bamboo.
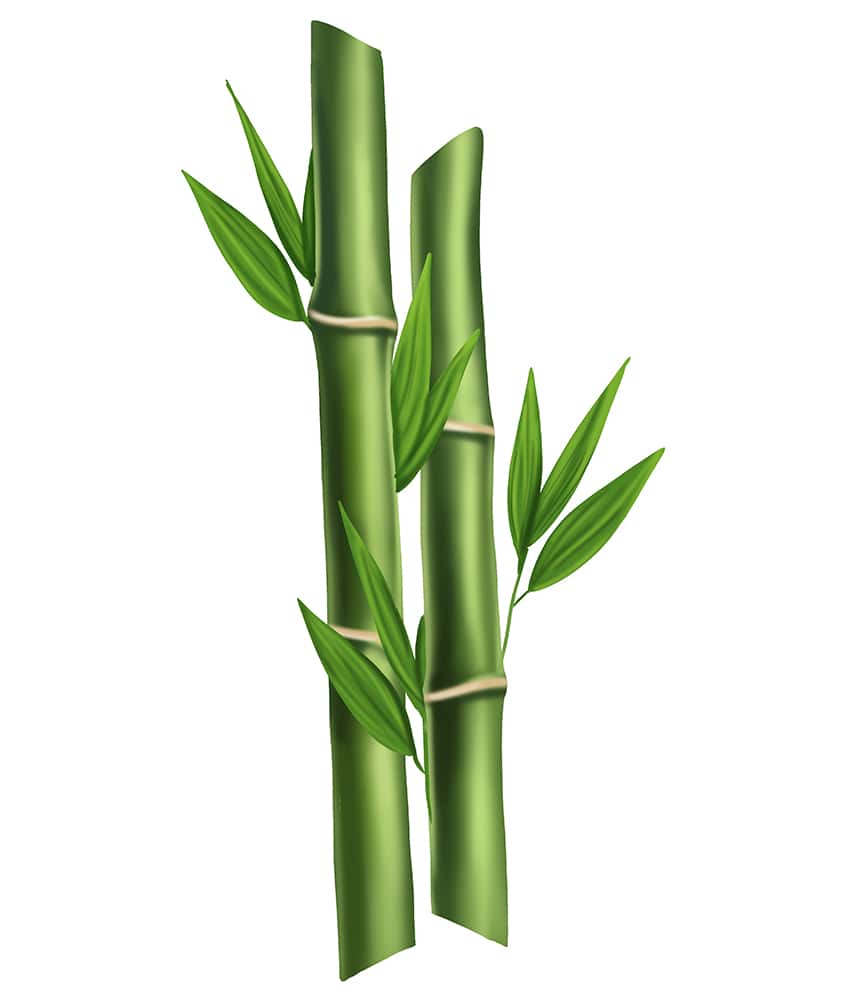
Congratulations on completing your journey in learning how to draw bamboo! Your dedication and effort have paid off, and now you possess a unique skill that can bring the elegance of bamboo to life on paper. Remember that drawing is an ever-evolving art form, so keep practicing and experimenting with different techniques to refine your bamboo drawing abilities. Whether you choose to create vibrant landscapes or intricate bamboo details, your newfound talent will undoubtedly continue to flourish. Enjoy the process, and let your imagination flow like a gentle breeze through a bamboo forest.
Frequently Asked Questions
How Can You Achieve Realistic Shading and Highlights on Bamboo Leaves?
Achieving realistic shading and highlights on bamboo leaves involves careful observation of light and shadow. Begin by identifying your light source; this will determine where highlights and shadows fall. Lightly sketch the leaf’s veins and outline, then use a blend of cross-hatching and stippling techniques to add depth and texture. For highlights, leave the areas hit by light nearly untouched or use an eraser to lighten them. To create shadows, darken areas where the leaves overlap or where they curve away from the light source. Practice and patience are key here, as mastering the interplay of light and shadow will bring a lifelike quality to your bamboo leaves. Check out out easy tutorial on how to draw bamboo for more details on shading and highlighting bamboo.
How Do You Make the Nodes and Segments of Bamboo Look Authentic?
Making the nodes and segments of bamboo look authentic involves attention to detail. Start by sketching the main shape of the bamboo stalk, then carefully mark the locations of the nodes. Nodes typically appear as slightly raised rings around the bamboo. Ensure they are evenly spaced and proportionate to the size of your bamboo. Use shading to create depth around the nodes, as they cast slight shadows. Highlight the segments by applying subtle variations in tone, with some areas being slightly darker or lighter than others. Remember, bamboo isn’t perfectly smooth, so add subtle irregularities and imperfections to make it look natural and authentic in your drawing.
Matthew Matthysen is an educated multidisciplinary artist and illustrator. He successfully completed his art degree at the University of Witwatersrand in South Africa, majoring in art history and contemporary drawing. The focus of his thesis was to explore the philosophical implications of the macro and micro-universe on the human experience. Matthew uses diverse media, such as written and hands-on components, to explore various approaches that are on the border between philosophy and science.
Matthew organized various exhibitions before and during his years as a student and is still passionate about doing so today. He currently works as a freelance artist and writer in various fields. He also has a permanent position at a renowned online gallery (ArtGazette) where he produces various works on commission. As a freelance artist, he creates several series and successfully sells them to galleries and collectors. He loves to use his work and skills in various fields of interest.
Matthew has been creating drawing and painting tutorials since the relaunch in 2020. Through his involvement with artincontext.org, he has been able to deepen his knowledge of various painting mediums. For example, watercolor techniques, calligraphy and lately digital drawing, which is becoming more and more popular.
Learn more about Matthew Matthysen and the Art in Context Team.


