How to Draw an Ice Cube – An Easy Melting Ice Cube Drawing
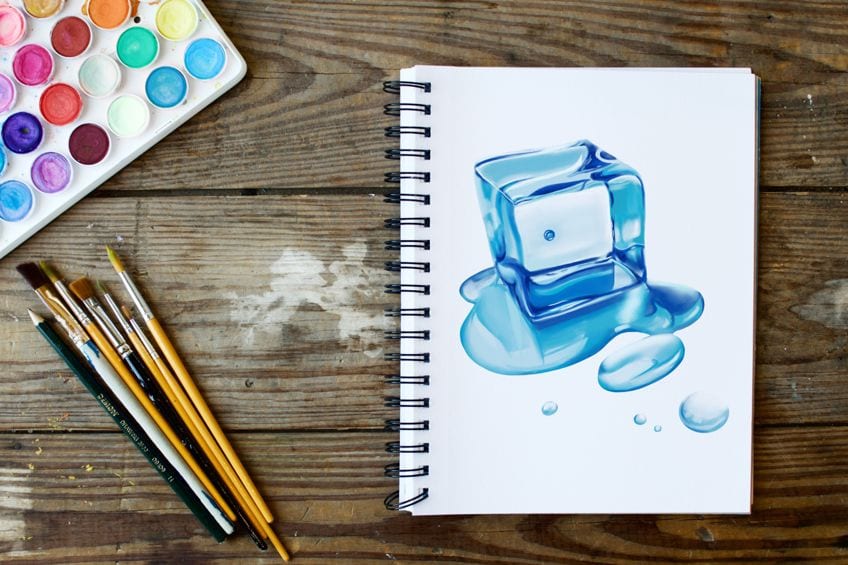
Ice cubes are amazing drawing subjects because they have some challenging properties. Technically, ice is a transparent substance, which poses a challenge for artists who want to capture it. In this easy ice cube drawing tutorial, we show you how to capture all of these properties in a realistic way! If you want to level up your drawing skills, then follow along and create your own ice drawing in only 8 steps.
A Step-by-Step Ice Melting Drawing Tutorial
Our ice cube drawing tutorial appears to be quick and easy, but the shading steps are likely to take you some time. As with all artistic endeavors, it is best to take your time and let the drawing come together slowly and purposefully, rather than rushing through it. You can see an outline of all the steps in the image below, including the construction, detail, and coloring steps.
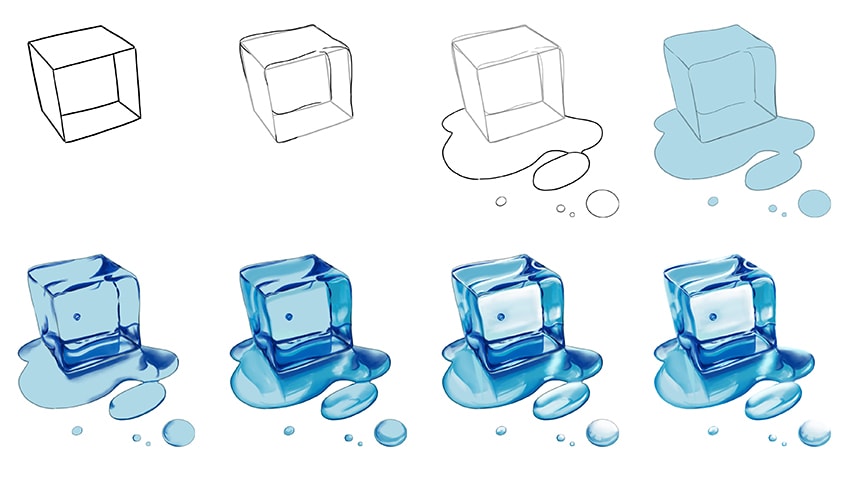
You can see that most of the steps focus on using color to create a realistic melting ice cube drawing. For these steps, you can use any medium that you feel comfortable with. Our instructions are written for a painting medium, but you can also use a digital tablet or coloring pencils.
Gather your supplies, find somewhere comfortable to sit, and let us begin our ice drawing.
Step 1: Construct the Basic Shape of Your Ice Cube
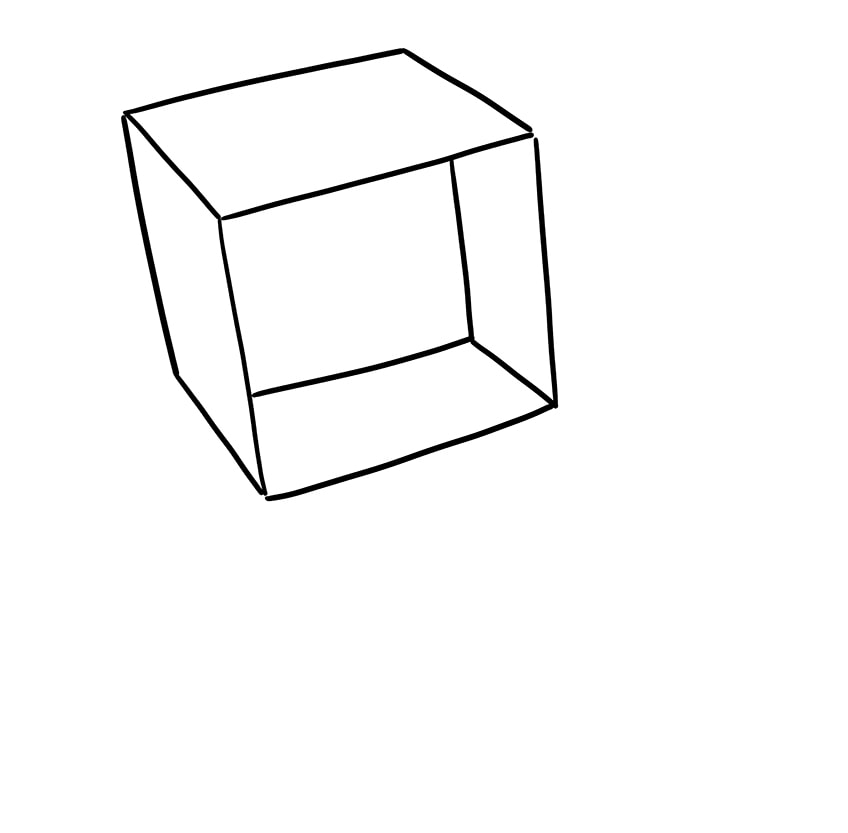
We are going to begin our ice cube drawing by creating a simple cube. In the center of your drawing area, create a three-dimensional and slightly tilted cube.
Step 2: Create a More Realistic Outline
Using the base cube, you can now create a smoother and more rounded ice cube sketch outline. Make each of the corners and sides softer.
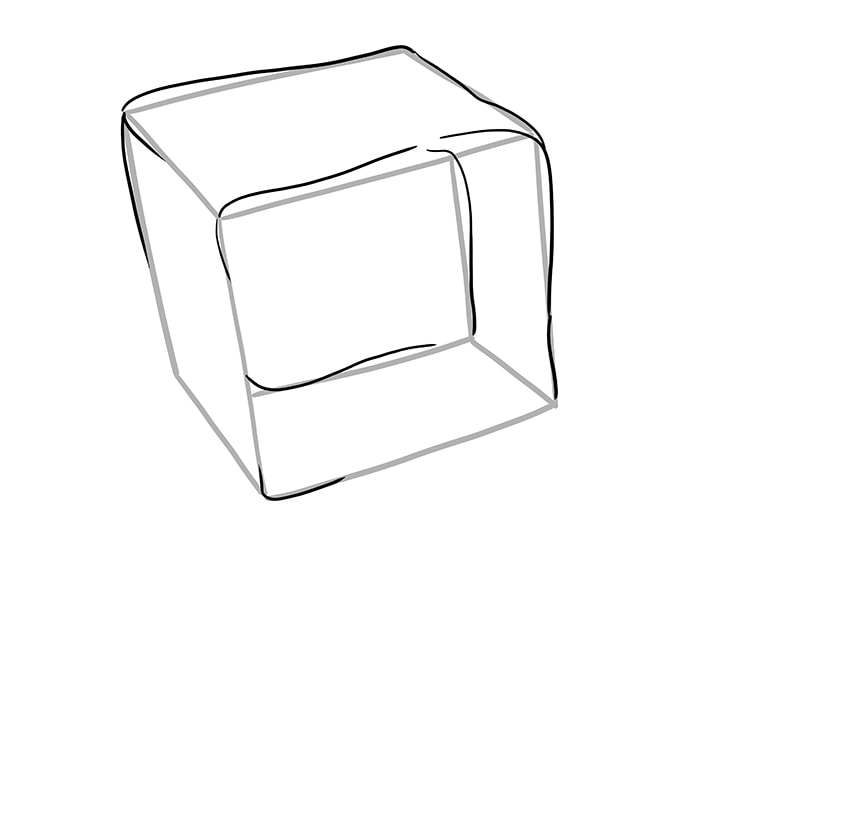
Step 3: Draw the Melting Ice Cube
We are now going to create the ice melting drawing below the cube. Around the base of your ice drawing, create a freehand rounded shape. Begin with one large pool of water, and then add some smaller oval shapes around the edges.
Once you have completed this, you can erase any of the remaining construction lines.
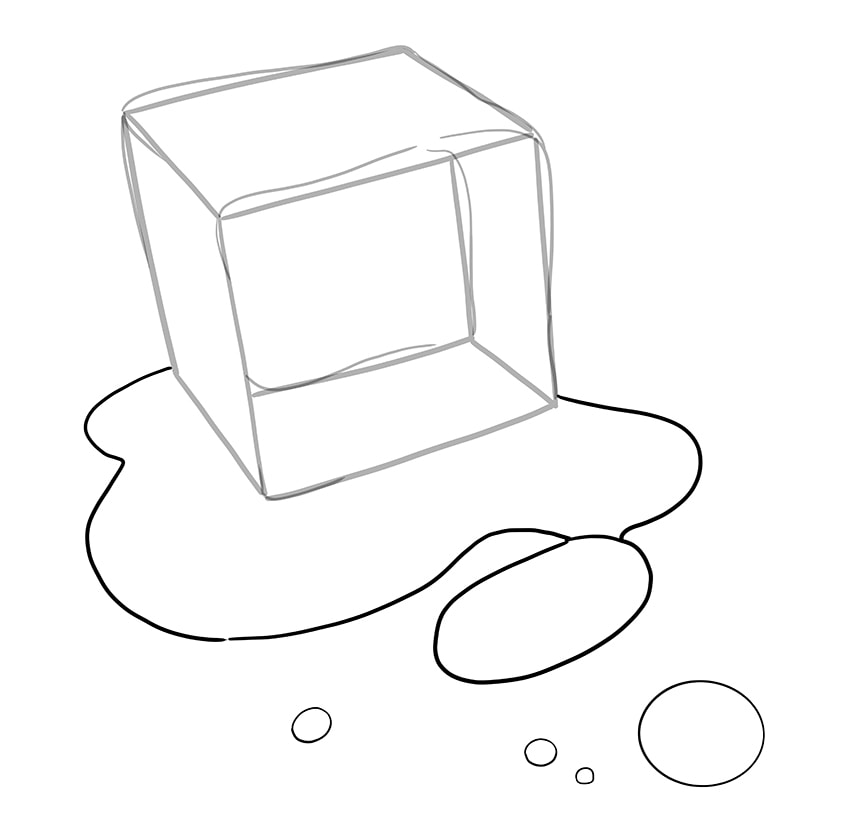
Step 4: Add a Base Color Coat
We are now going to begin coloring our ice cube drawing by applying a smooth base coat. Find a very light shade of sky blue paint and use a regular paintbrush to fill the ice cube and the melted water droplets.
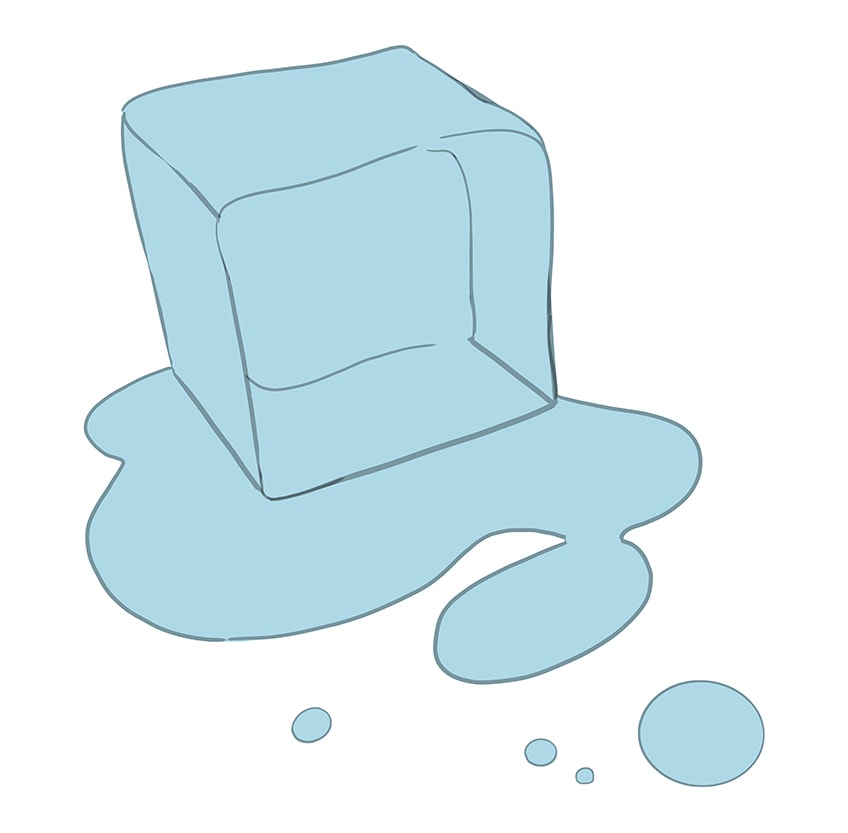
Step 5: Begin Shading Your Ice Drawing
In this step, you are going to start creating some dimension in the ice cube drawing using a slightly darker shade of blue. Use a small blending brush to add some reflection and pattern spots around the ice cube.
Begin by outlining the edges of the cube a little, and then focus on the bottom edge of the cube.
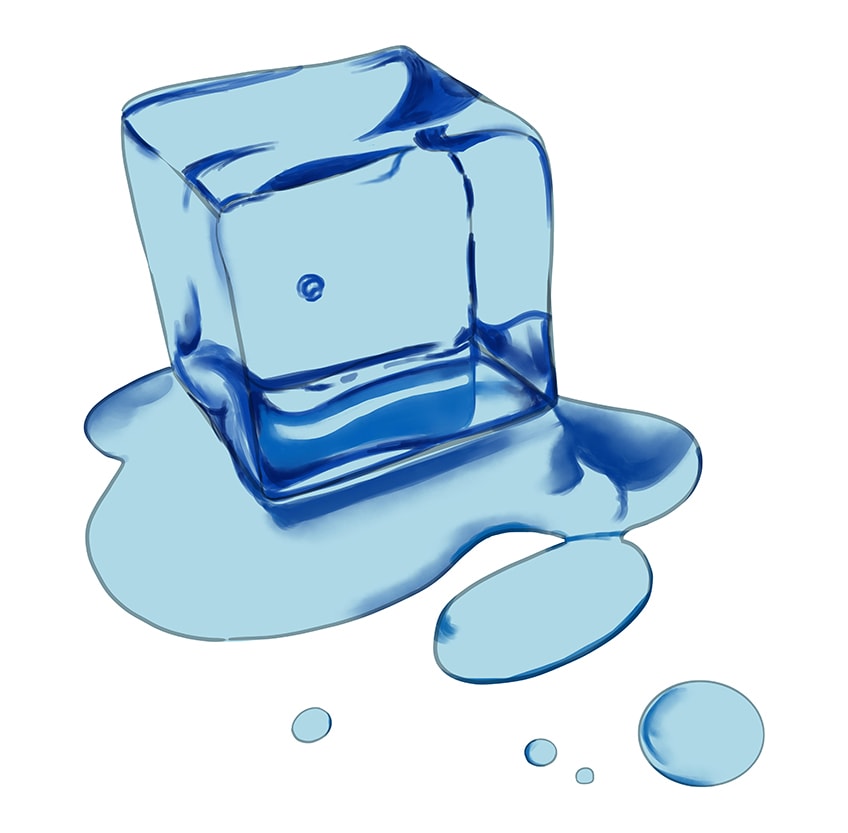
Step 6: Apply a Third Color Coat
For this step, you will need another bright shade of blue and a small blending brush. Use this to apply paint softly between the first and second colors. The previous two color coats should still be visible.
Tip: Make use of a clean blending brush to create a seamless blend between the different colors.
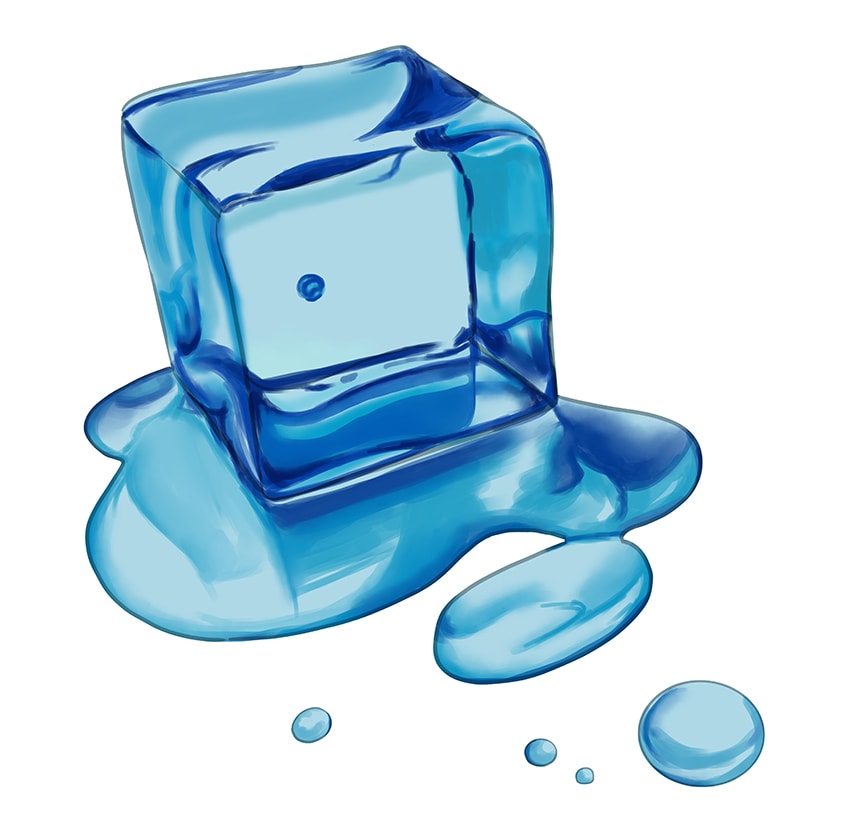
Step 7: Create Highlights in Your Ice Melting Drawing
Now that we have the darker shades applied, we can begin to create some highlights. With a soft blending brush and some white paint, create soft strokes along the edges of the ice cube. Add spots of highlights throughout the melting water and the smaller droplets. Finally, add some fine hairline highlights with a small detailing brush.
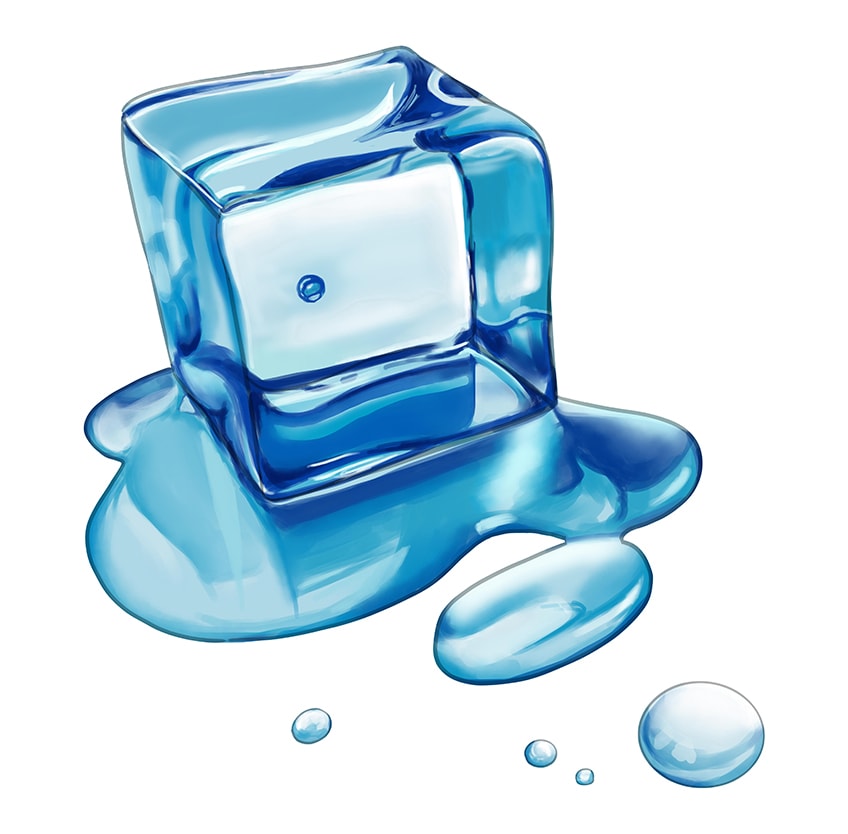
Step 8: Finish Your Ice Melting Drawing
To finish your ice drawing, you are simply going to remove the outlines. If you are using a physical medium, use the same color to trace over the ice cube sketch outline. You will now have a seamless final melting ice cube drawing.
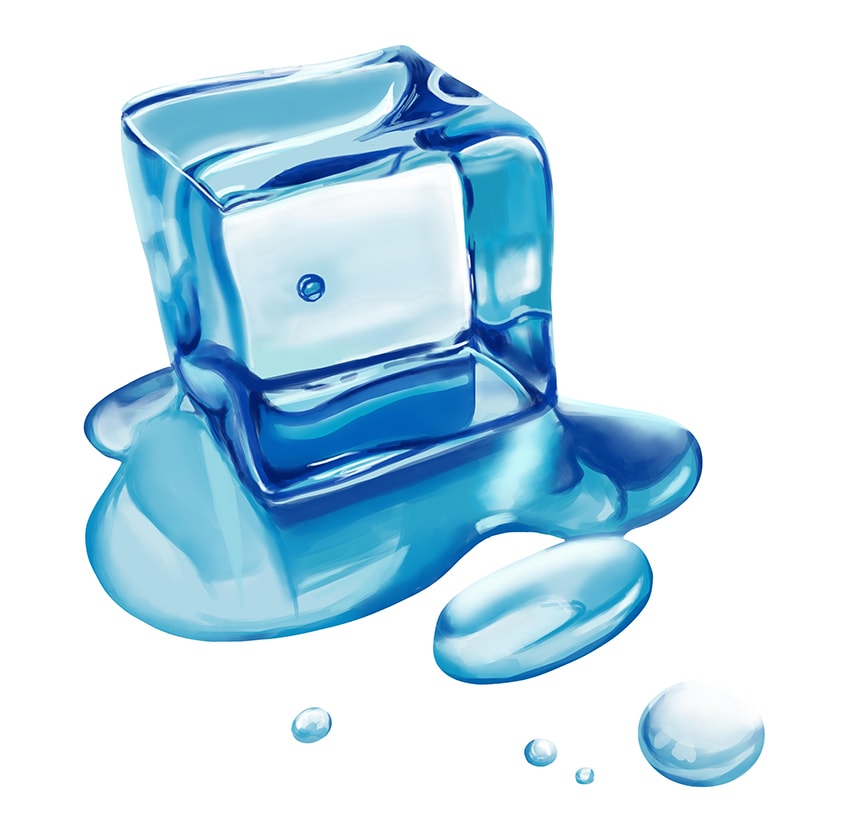
Hopefully, you have enjoyed learning how to drawn an ice cube that is realistic and three-dimensional. You can see how easy it is to create an ice melting drawing that appears to be transparent but uses color. We have many more exciting drawing tutorials that you can try, so we hope to see you soon!
Frequently Asked Questions
How to Create a Realistic Ice Melting Drawing?
The key to creating a realistic ice cube drawing lies in using color to create the effect of transparency. We use different shades of blue to create a melting ice cube drawing that looks like water.
What Colors to Use for an Ice Cube Drawing?
Although it may seem counter-intuitive to use color for a transparent ice drawing, it is the best way to create the realistic dimensions that we are looking for. Using a few different light shades of blue and white, we can create a very realistic ice cube sketch.
Matthew Matthysen is an educated multidisciplinary artist and illustrator. He successfully completed his art degree at the University of Witwatersrand in South Africa, majoring in art history and contemporary drawing. The focus of his thesis was to explore the philosophical implications of the macro and micro-universe on the human experience. Matthew uses diverse media, such as written and hands-on components, to explore various approaches that are on the border between philosophy and science.
Matthew organized various exhibitions before and during his years as a student and is still passionate about doing so today. He currently works as a freelance artist and writer in various fields. He also has a permanent position at a renowned online gallery (ArtGazette) where he produces various works on commission. As a freelance artist, he creates several series and successfully sells them to galleries and collectors. He loves to use his work and skills in various fields of interest.
Matthew has been creating drawing and painting tutorials since the relaunch in 2020. Through his involvement with artincontext.org, he has been able to deepen his knowledge of various painting mediums. For example, watercolor techniques, calligraphy and lately digital drawing, which is becoming more and more popular.
Learn more about Matthew Matthysen and the Art in Context Team.


