How to Draw a Rubber Duck – A Fun Guide to Sketching
Learn to draw a rubber duck with our fun step-by-step tutorial. Capture the whimsy of this iconic bath toy, from its bright yellow color to its charming squeak. Perfect for artists of all ages, this guide makes drawing a rubber duck both easy and enjoyable.
A Full Step-by-Step Tutorial on How to Draw a Rubber Duck
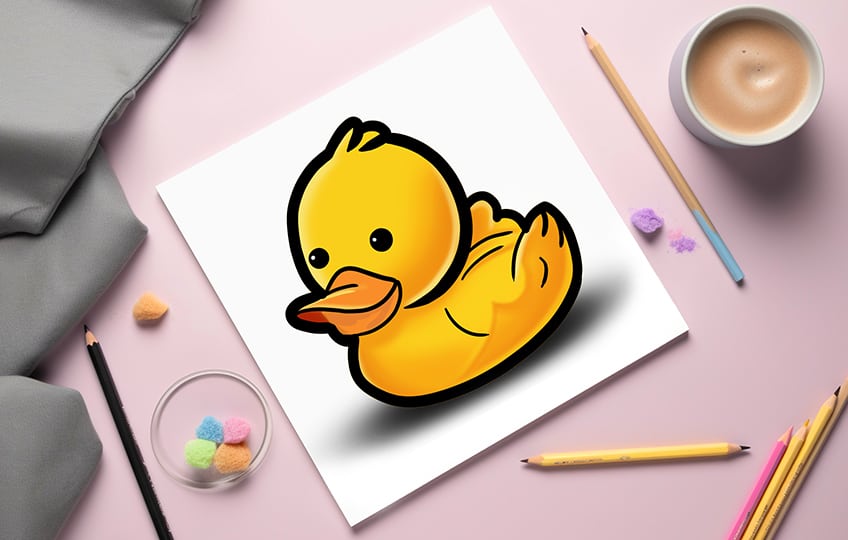
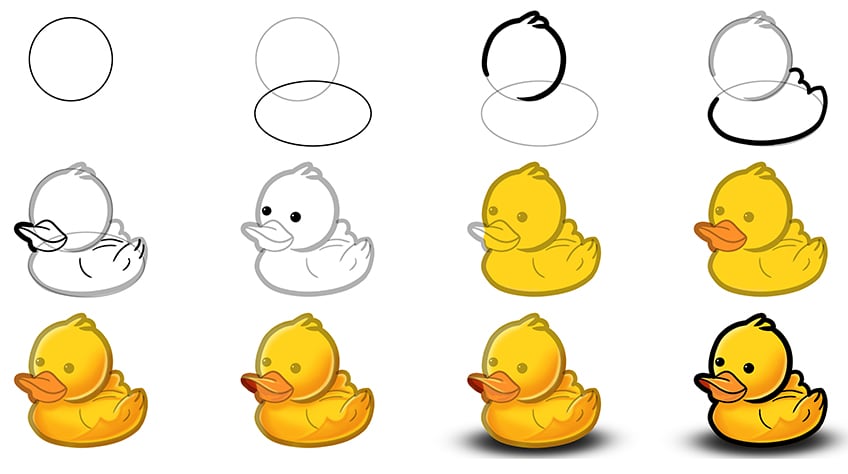
This collage illustrates the step-by-step process leading to the final masterpiece. Follow along, and you’ll effortlessly learn to draw and paint a rubber duck – it’s as simple as quacking your way to creative success!
Step 1: Draw the Head
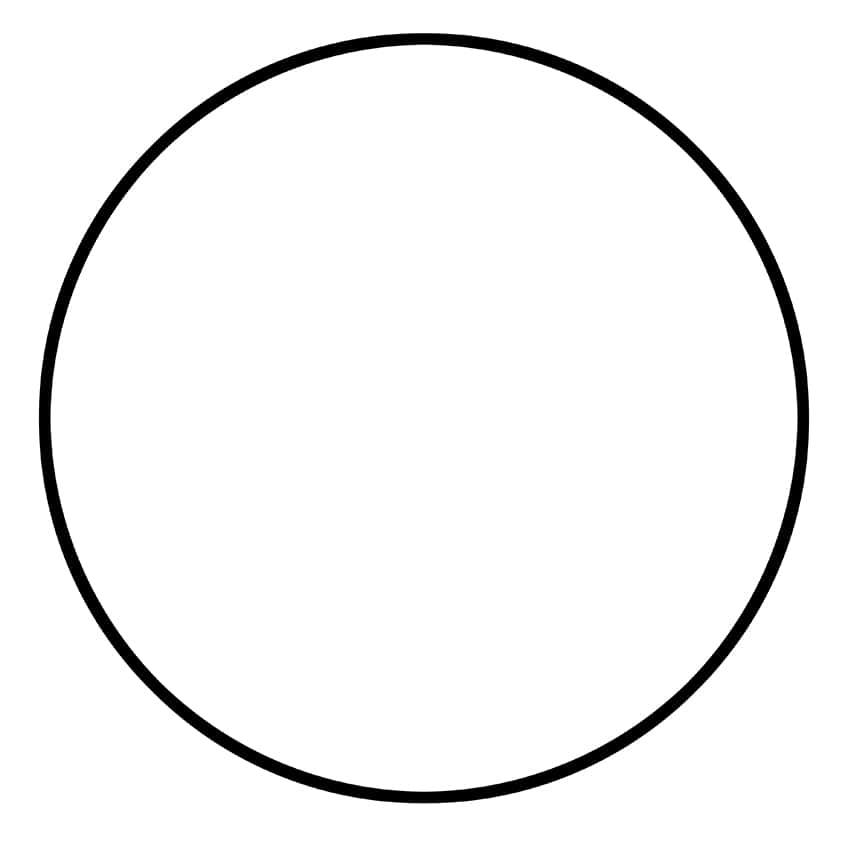
Start by identifying the center of your drawing space; then, draw a circle to depict the duck’s head.
Step 2: Add the Main Body to Your Rubber Duck Drawing
Sketch a horizontally positioned oval shape below the head, ensuring it overlaps with the head to portray the main body of the rubber duck.

Step 3: Outline the Head on Your Easy Rubber Duck Drawing
Utilize the construction lines previously drawn to assist in outlining the rubber duck’s head.

Step 4: Outline the Main Body
Continue to outline the main body and tail of your simple duckling drawing.

Step 5: Draw the Beak
Sketch the beak within the open spaces of the head and main body outlines. Finalize this step by incorporating structure lines along the wing and body of the duck. Clear the drawing of any remaining construction lines and overlapping marks.

Step 6: Outline the Eyes on Your Easy Rubber Duck Drawing
Draw two circles within the face area of the duck and fill them with black paint, leaving a single small circle blank within each eye to show a shimmer.

Step 7: Apply the First Color Coat
Utilize a precise and fine-tipped brush along with yellow paint to uniformly cover the rubber duck.

Step 8: Add the Secondary Color Coat
Using the same brush, continue with orange paint to fill the beak on your simple duckling drawing.

Step 9: Color Blend the Duck
With a soft brush and orange paint, accentuate the details of the duck’s head and body. Carry out the same procedure using a blending brush to gently blend the layers of color. Finally, use a small, soft brush with white paint to introduce highlights around the defined structure.
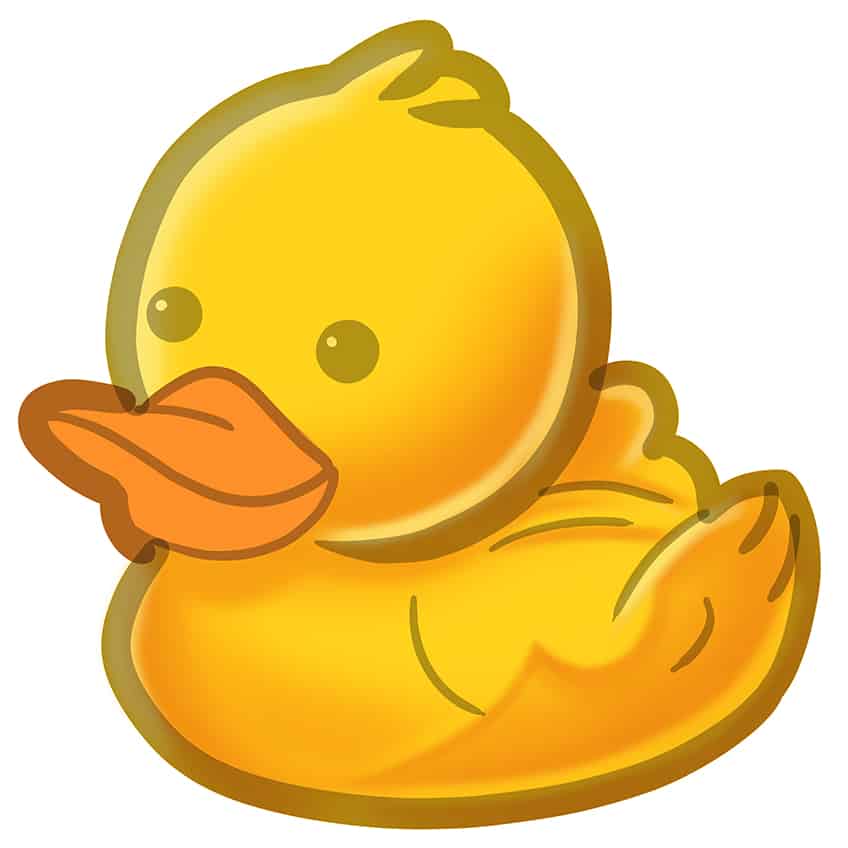
Step 10: Continue to Color Blend Your Easy Rubber Duck Drawing
Apply a small, soft brush with a deeper shade of orange paint to create a darker tone on the upper part of the beak. Repeat this process using red paint along the top edge of the beak. Conclude the step by using a fine, sharp brush with a blend of white and yellow paint to incorporate highlights along the beak’s edge.

Step 11: Paint a Ground Shadow
Take a soft brush dipped in black paint and apply shading beneath the rubber duck. Transition to a blending brush to diffuse and extend the shadow on the ground.
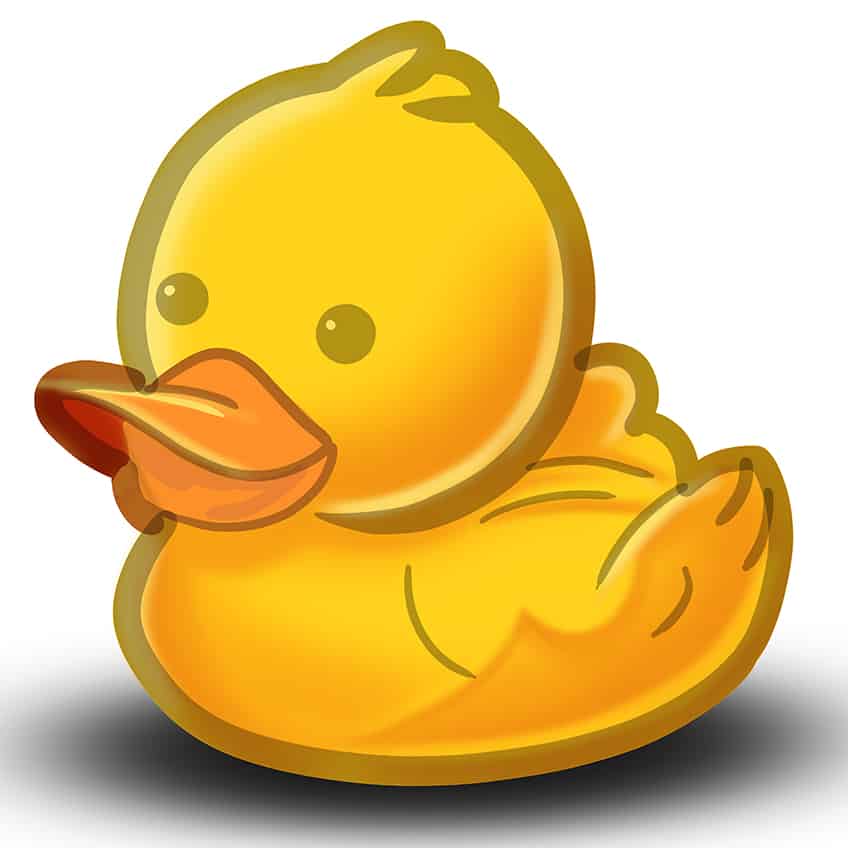
Step 12: Finalize Your Simple Duckling Drawing
Employ a precise, sharp brush and black paint to delineate the intricate details and outlines of the rubber duck, bringing the tutorial to its final stage. Ensure to trace key features, enhancing the overall definition of the drawing.
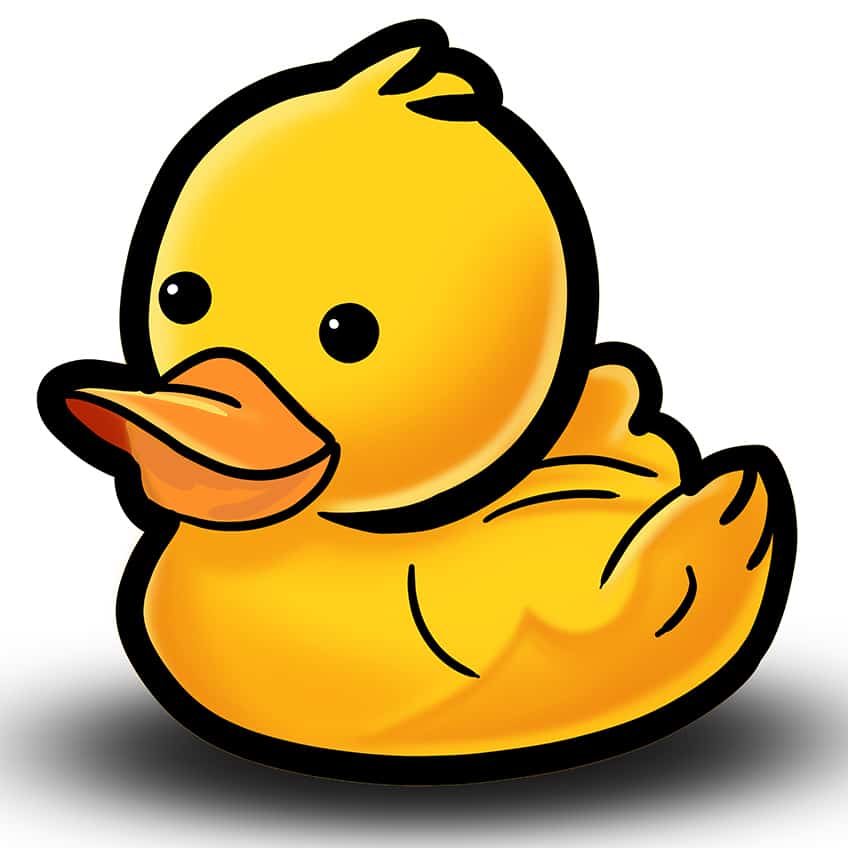
Congratulations on mastering the art of how to draw a rubber duck! Your creativity and attention to detail truly shine through in your rendition. The way you brought the duck to life with vibrant colors and precise lines is remarkable. Your dedication to each step of the tutorial is evident, and it’s inspiring to witness your artistic journey unfold. Keep exploring your artistic talents, and may this rubber duck drawing be just the beginning of many more delightful creations. Well done!
Frequently Asked Questions
What Materials Do You Need to Draw a Rubber Duck?
To draw a rubber duck, you’ll need basic art supplies such as paper, pencils, erasers, and colored markers or paints. Ensure you have a fine brush for detailing and different shades for a vibrant finish. Follow our step-by-step tutorial to learn the process of drawing a rubber duck.
How Do You Ensure Proportion While Drawing a Rubber Duck?
Begin by lightly sketching construction lines to establish proportions. Pay attention to the size of the head in relation to the body and use these lines as a guide throughout the drawing process. Use these initial lines as a guide throughout the drawing process, adjusting and refining them as needed. Practice makes perfect, so don’t hesitate to sketch a few rough drafts to fine-tune your sense of proportion.
Matthew Matthysen is an educated multidisciplinary artist and illustrator. He successfully completed his art degree at the University of Witwatersrand in South Africa, majoring in art history and contemporary drawing. The focus of his thesis was to explore the philosophical implications of the macro and micro-universe on the human experience. Matthew uses diverse media, such as written and hands-on components, to explore various approaches that are on the border between philosophy and science.
Matthew organized various exhibitions before and during his years as a student and is still passionate about doing so today. He currently works as a freelance artist and writer in various fields. He also has a permanent position at a renowned online gallery (ArtGazette) where he produces various works on commission. As a freelance artist, he creates several series and successfully sells them to galleries and collectors. He loves to use his work and skills in various fields of interest.
Matthew has been creating drawing and painting tutorials since the relaunch in 2020. Through his involvement with artincontext.org, he has been able to deepen his knowledge of various painting mediums. For example, watercolor techniques, calligraphy and lately digital drawing, which is becoming more and more popular.
Learn more about Matthew Matthysen and the Art in Context Team.


