How to Draw a Mandala – Create the Indian Patterns Correctly
Mandala art is a unique artistic representation of higher thinking that originates from the Buddhist religion. Mandala art has also been adapted over the past couple of centuries and how to draw this unique pattern has become much easier with modern tools. In today’s digital world, we are provided with applications that can assist us in the creation of such unique mandala patterns. In this tutorial, we will look at how we can create a beautiful easy mandalato draw through the application Procreate. Procreate is a great tool that will assist us in making an easy mandal to draw that would otherwise be difficult, that being said lets get into it.
An Easy Guide on How to Draw a Mandala Pattern
In this tutorial on mandala art for beginners through Procreate, we will look at how to utilize the tools of Procreate, and by doing so, we will be assisted in our drawing process. We will work with the drawing assist tool, which provides us with a radial drawing grid, allowing us to develop circular patterns with ease. As we play with our pattern styles in this easy mandala drawing tutorial, we will find that the process is fun, easy, and enjoyable.
Necessary Materials
This particular easy mandala to draw is done with a digital device, using the digital application Procreate to make a unique mandala drawing. Naturally, mandala drawings can be done without digital drawing assistance, however, this tutorial is aimed at showing you how to utilize a unique digital tool to help you create mandala patterns with ease. The only required tool for this tutorial is an iPad or any digital device that works with Procreate.
Guide on How to Draw a Mandala with Procreate
There are many reasons why technology is useful, and one of them is the exciting space where design tools can be used to create unique artworks. In this tutorial on how to draw a mandala, we will look at some unique features of the Procreate application, and how to utilize them for a mandala drawing. We will start by shaping the mandala drawing, by using some assistance tools within Procreate. Once we understand the tools, we can then play around with unique shapes and patterns that form radially to maintain symmetry. From there we will look at how we can color our Mandala pattern by the use of masking and clipping tools. That being said, let’s get into this tutorial on how to draw a mandala pattern.
Step 1: Setting Up the Drawing Assistance Grid
We start by setting our page format to a square format of 2048px x 2048px. Once we have done that we can then go to the tool setting in the top left, which will give us a canvas tab in the canvas tab, We can then turn on the drawing guide to symmetry.

We then want to set our drawing guide to symmetrical, and then within symmetrical, we can apply the radial effect. This is going to give us a 360 effect on our drawing pattern. Once we have applied these settings, we can begin to draw.

Step 2: Creating the Mandala Drawing
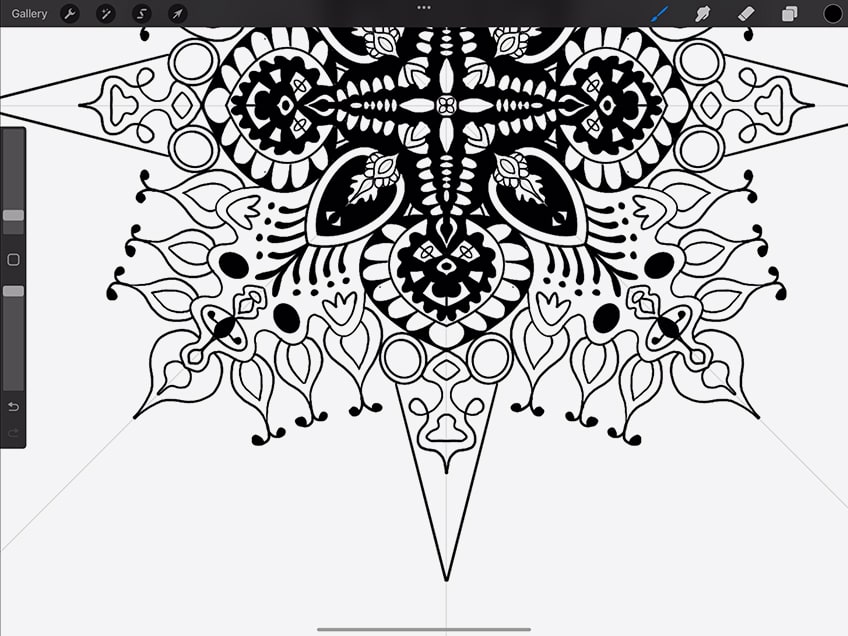
Now that we are set up, we are free to play around with our shapes. You will find that the radial grid leaves a visual line to show the placement of your drawing marks. This is where we can start to consider the flow and form of lines that define the shapes in our mandala drawing.
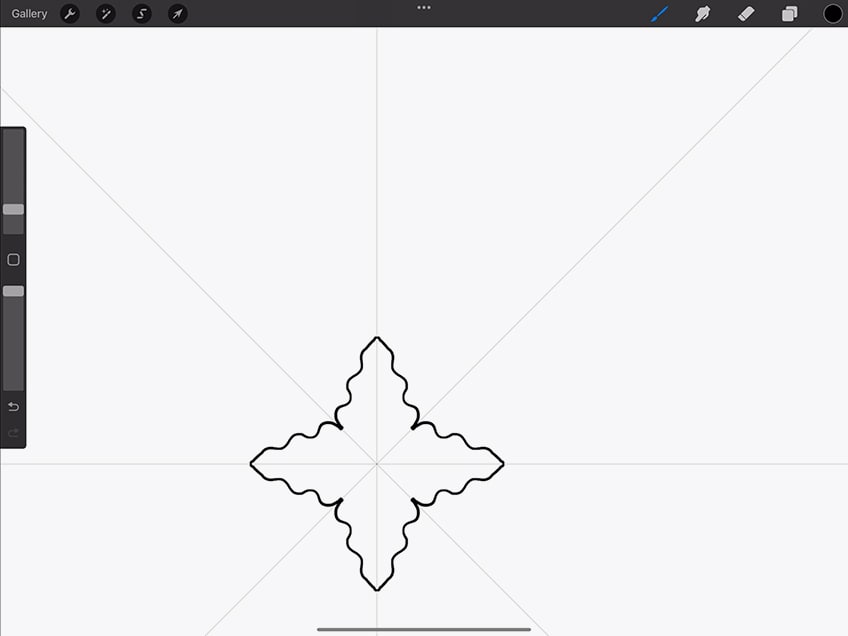
Try to be experimentative by utilizing both traditional linework and some of your design. A mandala doesn’t have to follow a specific form and can flow in your way. however, you do want to always have a recurring quality of the pattern folding in on itself.

In many ways, nature has always inspired mandala drawings due to the radial symmetry found in flora and plant life. Seeking out inspiration for spherical and spearheaded shapes can be found in many flowers.
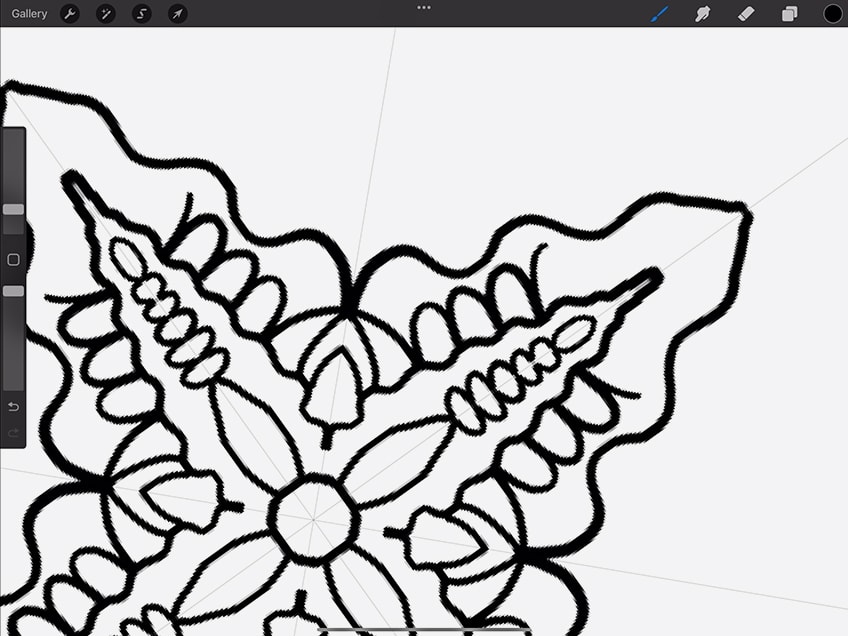
We also want to make sure that as we proceed, we are working from the center outward. Naturally, this will make the process much easier as we will start to follow the flow of the smaller set of patterns drawn previously.

Again, as you work with the radial drawing guide, you will find that it makes the formation of these patterns much easier. What gives the mandala its unique visual quality, is the symmetrical nature of the structure.
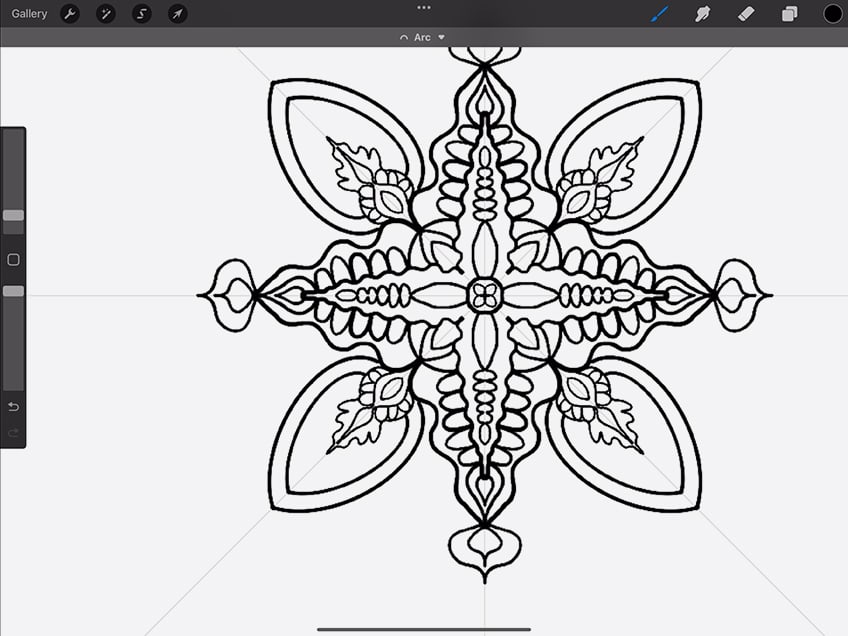
A good suggestion to minimize confusion is to work along one of the lines within the drawing guide. As you zoom in and focus on creating a pattern along one line, the radial drawing guide will assist with the rest.
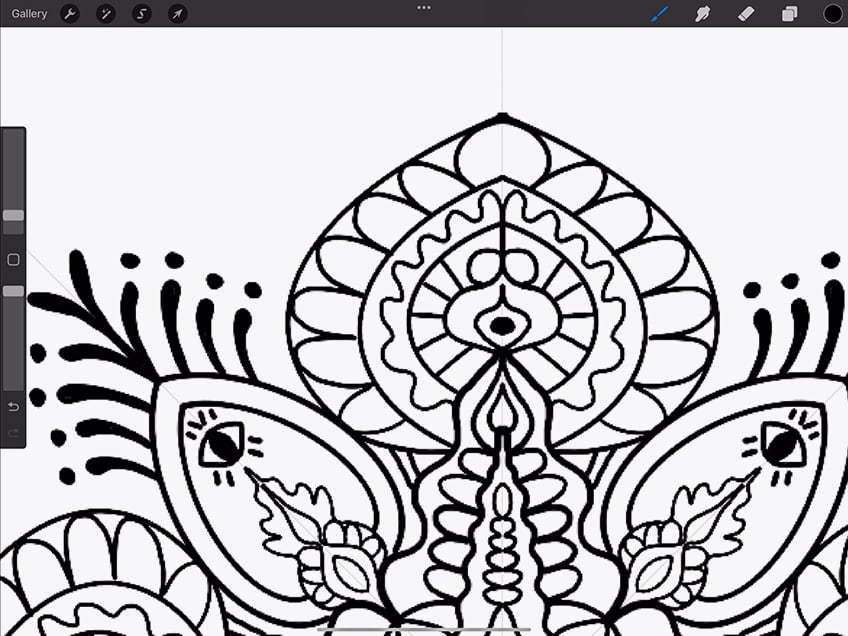
Step 3: Adding Unique Details to the Mandala Drawing
Once again, you should play around with adding in your unique visual qualities. Working along a single guideline can make the process of playing around with your details easier for you to give your mandala pattern unique features.

Think about all types of organic shapes and how to fill in space to provide an overall improvement on the aesthetic of your mandala pattern.

You can also have a more modern approach to your mandala pattern by integrating more rigid geometry into the overall design. This is where straight lines become a unique tool for a different aesthetic.
Step 4: Filling In Patterns
Once you get the hang of integrating shapes into your mandala pattern, you can start to fill in some spaces between different patterns. By doing so you will find that the radial drawing assist will autofill the rest of the corresponding spaces.
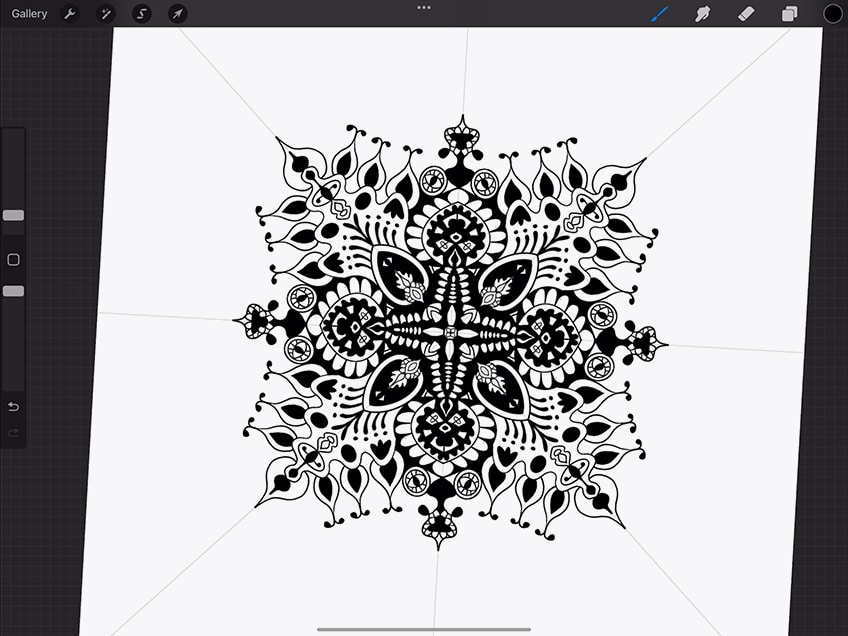
As you fill in some of the patterns, you want to make sure you also keep some spaces empty in between. Keeping some spaces empty and some filled creates a nice balance between the patterns.
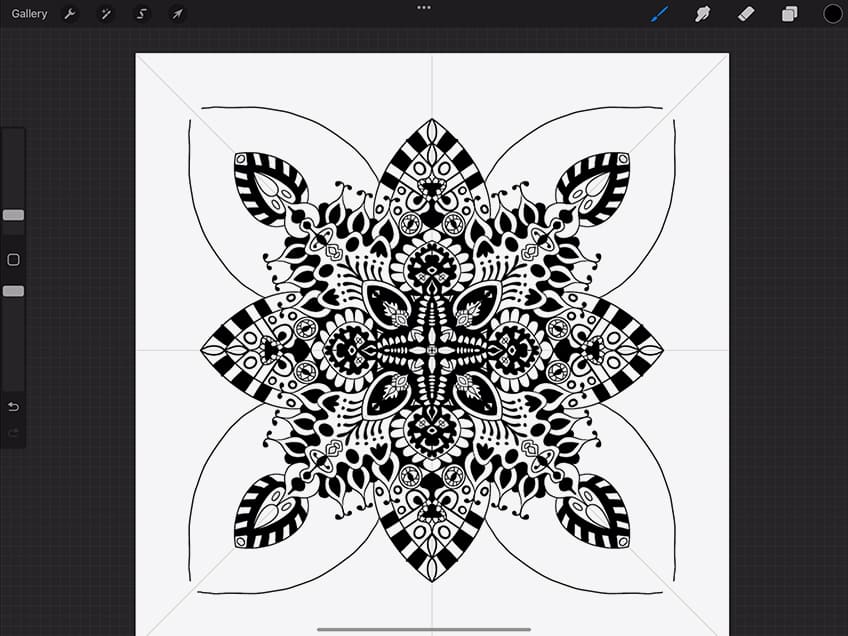
You can also keep the fill-in color black, as we will then change the colors later on with a different set of tools.
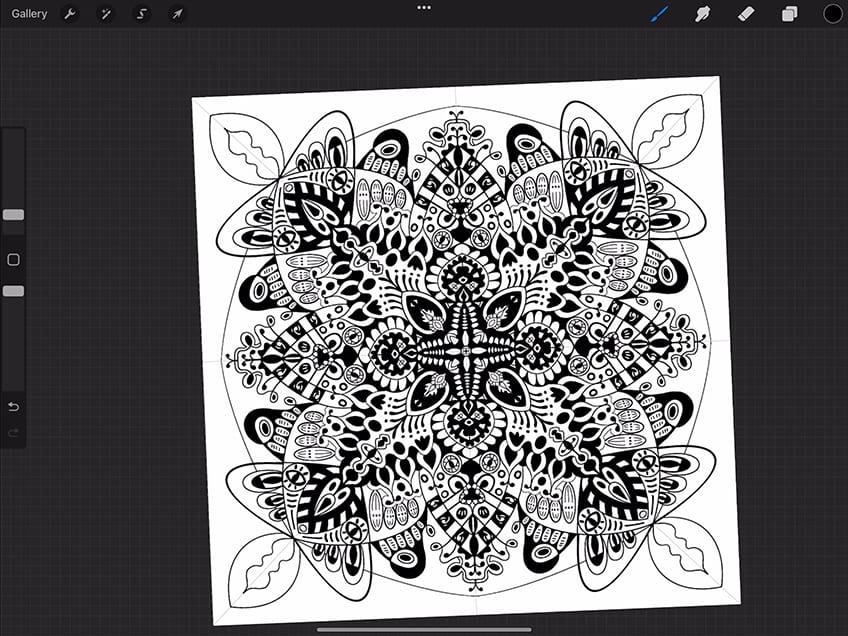
Remember to take your time with even the smallest details, making sure to maintain good balance within the varied shapes in your mandala pattern drawing.

The most important part is also to know when to stop. You want to have a mandala that seems complete in form, meaning you want to have a result with a distinct shape in mind. So take your time with the details and filling in patterns and shapes.
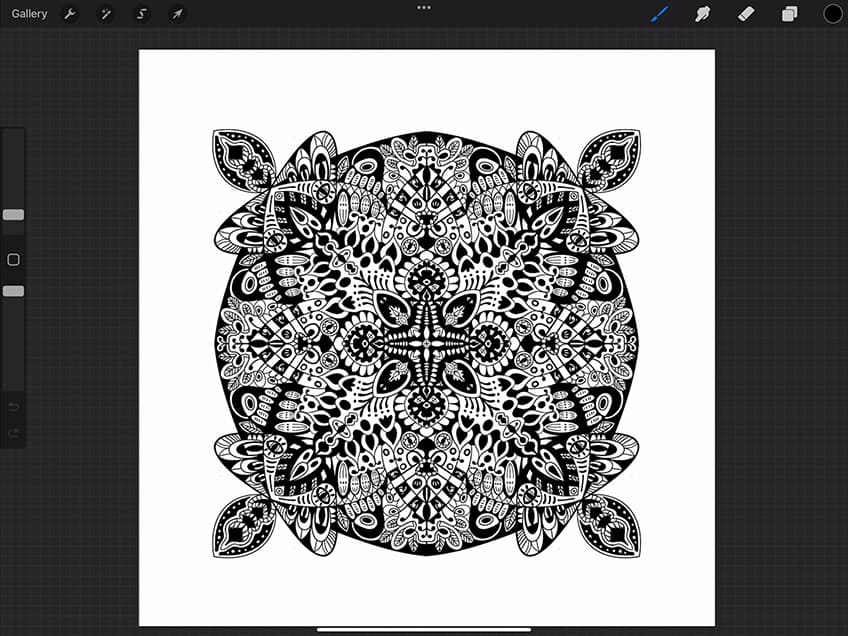
Step 5: Adding Color to the Mandala Pattern
We can now go to the color chart in the top right-hand corner of the application interface. From here, we are going to work with layers, where we paint color over the mandala on a new layer above the mandala drawing.
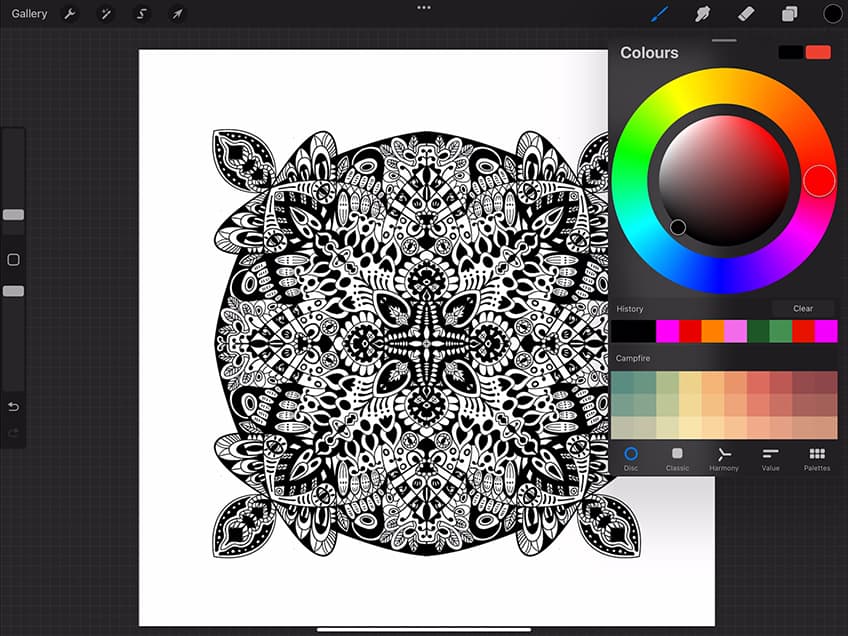
Make sure to add a new layer on the top right-hand corner, where it shows the layer icon. By pressing the + icon, you can add another layer, which should say layer 2. In this layer, we can start to color over our mandala pattern.

You can add many layers of color depending on your preferred color choice. Once we have added color to our second layer, click on the second layer and select the clipping mask.

This will then apply the color scheme to your mandala pattern and integrate the color into the pattern itself, leaving you with a unique colorful mandala pattern
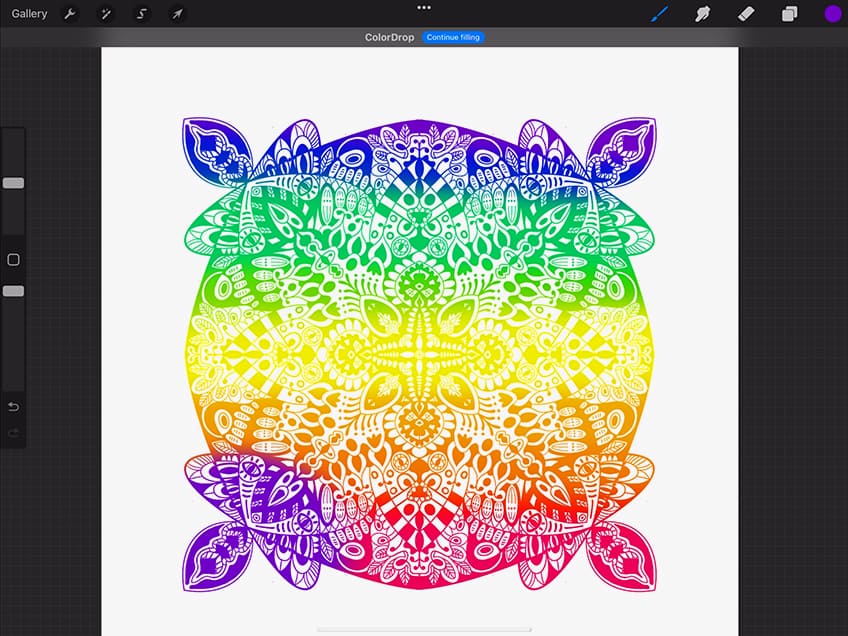
From there you can choose what color scheme you would like, as well as change the background color to suit your mandala drawing. And there you have it! a few simple steps on how to draw a mandala in Procreate.
Tips and Tricks to Remember
- Explore resources on the tools of Procreate. Once you know the tools, using them to create a unique mandala pattern is easy.
- Take your time creating unique shapes. Work with traditional mandala patterns, but also integrate your ideas.
- Play with unique color schemes. Once you know the clipping mask tool, integrating colors is seamless and you can experiment with color choice.
- Have fun. Explore how you can create a variety of different mandala patterns.
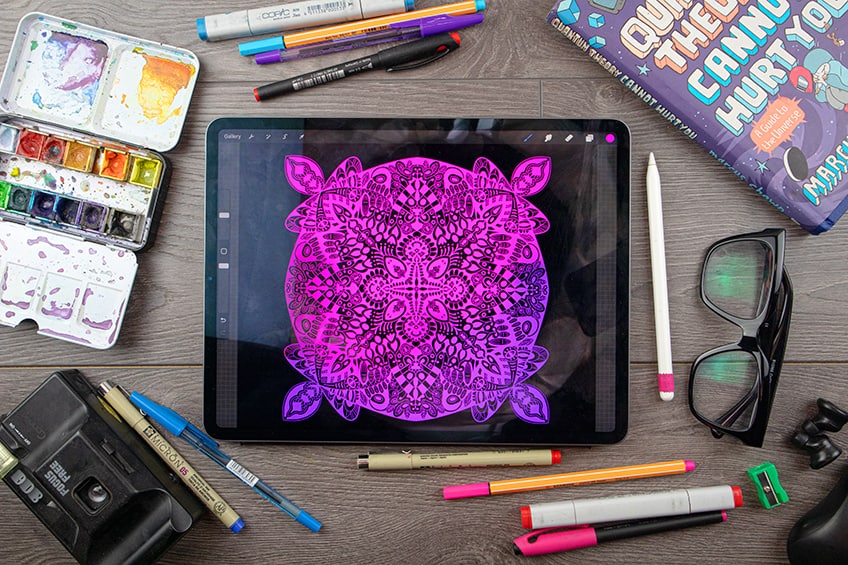
Learning how to draw a mandala pattern with modern digital tools takes away the anxiety around precision and accuracy. Sure, if you are looking to do that specifically with traditional tools then by all means, go ahead! However, if you want to know how to create mandala art for beginners, then this is the tutorial for you.
Frequently Asked Questions
How Do You Start a Mandala Pattern?
Mandala patterns are always started in the center and evolve outwards. This makes it an easy mandala to draw because its simple to then follow the flow of the previously drawn patterns. Always start simple in the center, perhaps with a circle or something simplistic like a floral pattern. From there, you can become more playful with your shapes and patterns, by using the simplified and previously-drawn shapes as a guide. As you continue, you will find that your mandala drawing will naturally evolve. Most importantly, maintain a radial symmetry, which you can do by establishing guidelines before you begin drawing.
How to Draw Patterns in a Mandala?
With an easy mandala to draw, always start with simple shapes, keeping your drawing light. If you work with traditional tools, you want to keep your sketch very light in the beginning. As you establish simple shapes with a light sketch, you can then start to work in more unique organic shapes that move from the center outwards. Naturally, the aim is to maintain symmetry, so you want to make sure you can emulate the same shapes in a radial form. As you work lightly, you can start to create segmentations of leaf-like shapes or spear-head shapes, and then work within each of those little regions by adding unique and smaller shapes to them. Always work with simple forms and then add to those simple forms. This way you can transform those simple shapes into a unique mandala drawing.
Matthew Matthysen is an educated multidisciplinary artist and illustrator. He successfully completed his art degree at the University of Witwatersrand in South Africa, majoring in art history and contemporary drawing. The focus of his thesis was to explore the philosophical implications of the macro and micro-universe on the human experience. Matthew uses diverse media, such as written and hands-on components, to explore various approaches that are on the border between philosophy and science.
Matthew organized various exhibitions before and during his years as a student and is still passionate about doing so today. He currently works as a freelance artist and writer in various fields. He also has a permanent position at a renowned online gallery (ArtGazette) where he produces various works on commission. As a freelance artist, he creates several series and successfully sells them to galleries and collectors. He loves to use his work and skills in various fields of interest.
Matthew has been creating drawing and painting tutorials since the relaunch in 2020. Through his involvement with artincontext.org, he has been able to deepen his knowledge of various painting mediums. For example, watercolor techniques, calligraphy and lately digital drawing, which is becoming more and more popular.
Learn more about Matthew Matthysen and the Art in Context Team.


