How to Draw a Still Life – Step-by-Step Still-Life Drawing Tutorial
Learning how to draw still life is perhaps one of the most important exercises an artist can do, as it develops your observational skills of the real world. There are many objects for still-life drawings that are strange and provide unique challenges. Still-life object drawing makes you wrestle with the process of capturing the quality and surfaces of various objects. There are various still-life objects to draw that offer a variety of different textures, surfaces, and structures which can make for an interesting combination within a single artwork. Both your shading, drawing, and observational skills could not be more developed than through a still-life object drawing exercise.
How to Draw a Still Life
Learning how to draw a still life is so fun because you can use literally any object, however, that kind of freedom for some can seem daunting when figuring out what objects for still, life drawing will look right. In this beginner still-life drawing tutorial, we will break down the process of creating a still life, from choosing objects to arrangement and the drawing process. Even though we will work with simple still-life drawing subject matter, we will find that the processes apply to all types of subject matter. There are many ways to approach a still-life object drawing, but hopefully, this tutorial will help narrow down the process in a digestible way.
Necessary Materials
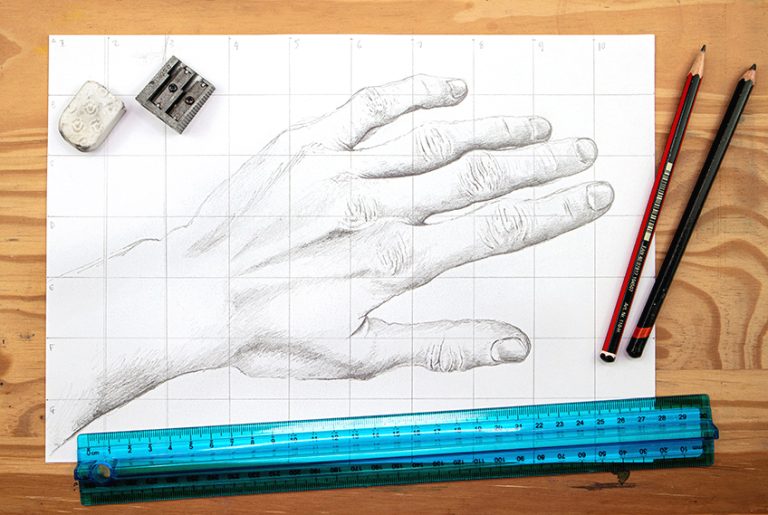
In this beginner still-life drawing tutorial, we will be working out the basic still-life object drawing process with a few simple tools. We will want to make sure we have some good pencils for sketching the still life. We will also want to make sure we have a ruler, eraser, and sharpener for keeping our pencils sharp and working out any mistakes we might make. Other than that, we will need some paper and a space in which we can focus on this tutorial on how to draw a still life without any distractions. All materials can be found through the links below:
- Ballpoint Pen
- Micron Pens
- Ruler
- Pencil
- Paper
A General Guide to Drawing a Still Life
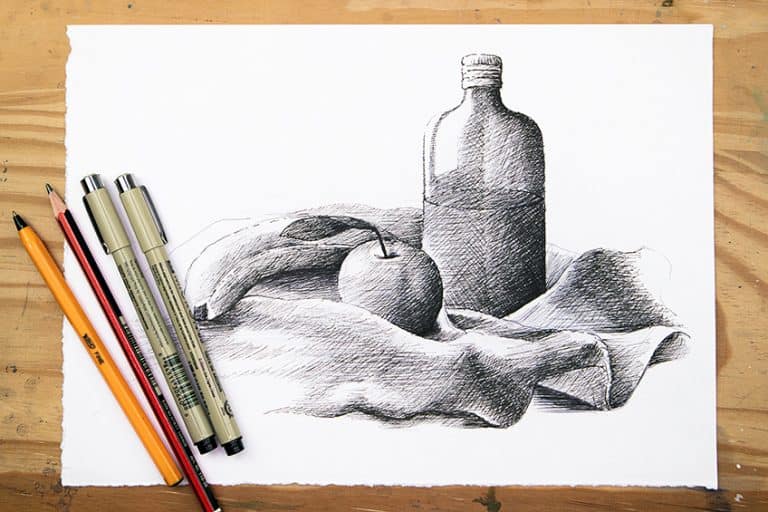
There are two main sections to drawing a still life, the first is the preparations, where we figure out what are the ideal still-life objects to draw. We then work on arrangement and lighting until we are satisfied with the setup for a still-life object drawing. From there, we move on to the drawing process, where we start drawing the actual still life. This is where we break up the drawing process into their fundamental stages, exploring preliminary sketches, light shading, mid-tone shading, and finally dark shading to finalize the still-life object drawing. Now that we know what to expect, let us go through the process of learning how to draw a still life.
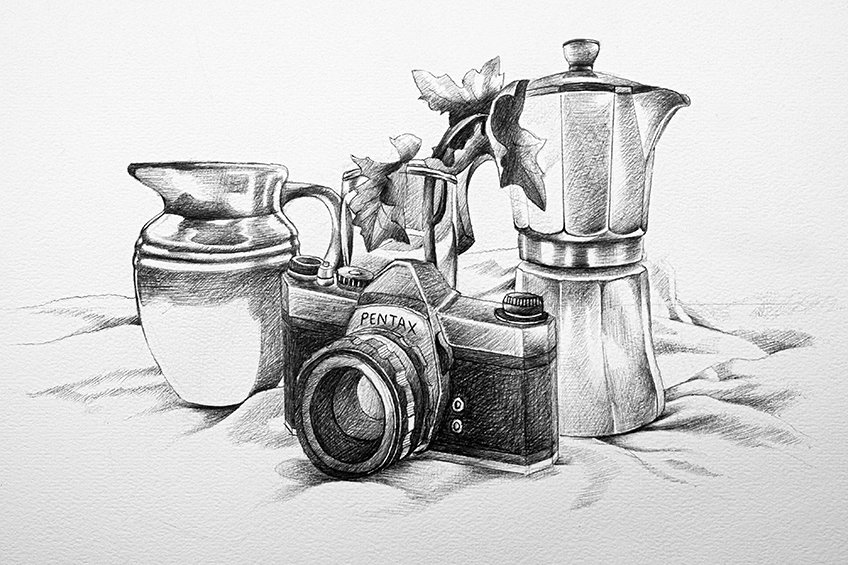
Preparation
Still, life drawing requires good research and preparation. In many ways, it is good to scour the internet for really interesting examples to inspire you beforehand. This will give you a sense of various ways to prepare yourself for a still life. There are so many different objects for still-life drawing, and it can seem quite challenging to find the right arrangement. There are a few ways we can look at the approach to drawing still life, and it starts with the following.
Choosing Items
We start by choosing a few items that we think are interesting and might work well together in a still-life drawing. We want to make sure we choose items that are unique, with different textures and surfaces. Try to include both organic and man-made items, which will provide you with textural differences to explore.
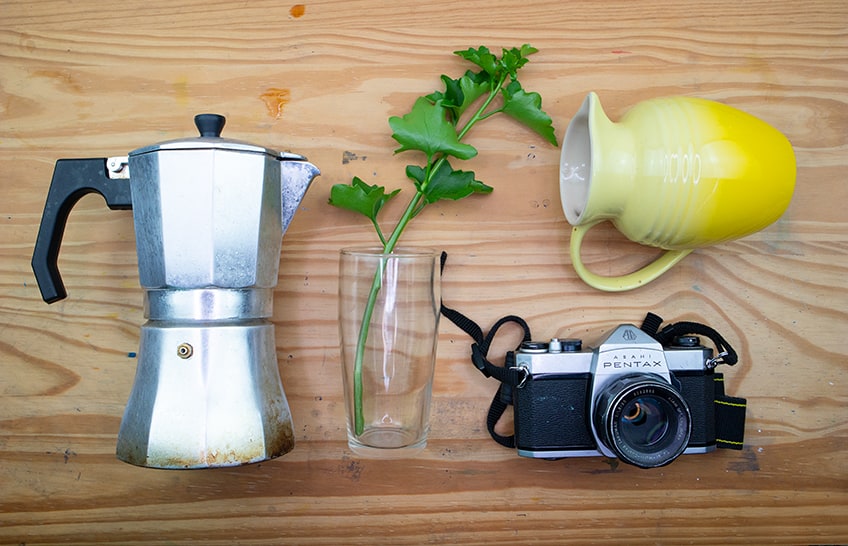
Arranging the Scene
Once we have our items. we want to work on arranging our items within a space, trying to find a good balance between all the objects. A good suggestion is to consider using fabric as a set on which the objects can be placed.
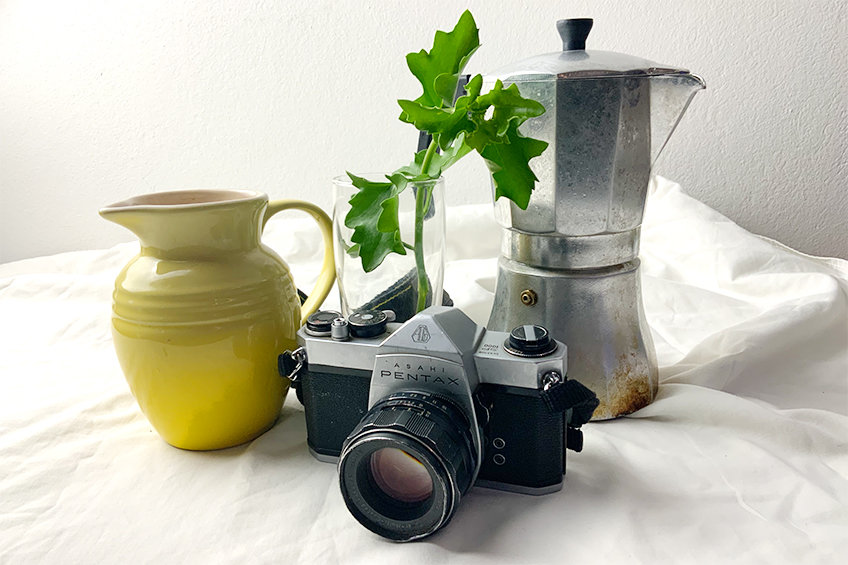
Try to think of different angles from which you will be drawing the still life. Will the still life be above or below you? These are the types of questions you want to ask yourself when thinking through your decisions.
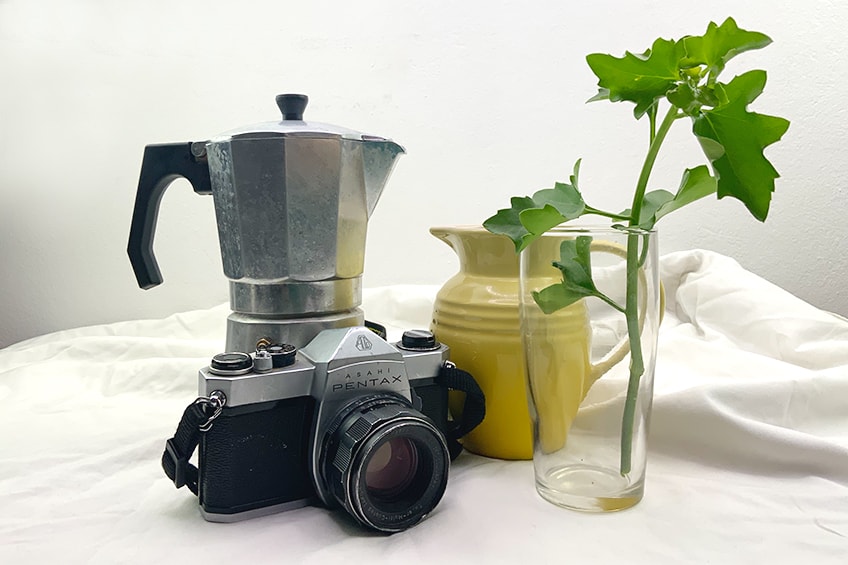
Lighting
Lastly, we want to think about lighting. This is an opportunity to create really vividly contrasted or subtly lit scenes. Playing around with the direction from which the light source is present is going to shift the shadows in small ways that will affect the final outcome of the still-life drawing.

Drawing Process
Once you have selected your items and have arranged them in a space to your satisfaction, we can now move on to the drawing process. As we go through the basic steps of drawing a still life, we will learn that there are always going to be subtle differences in the end result and the objects that are being drawn.
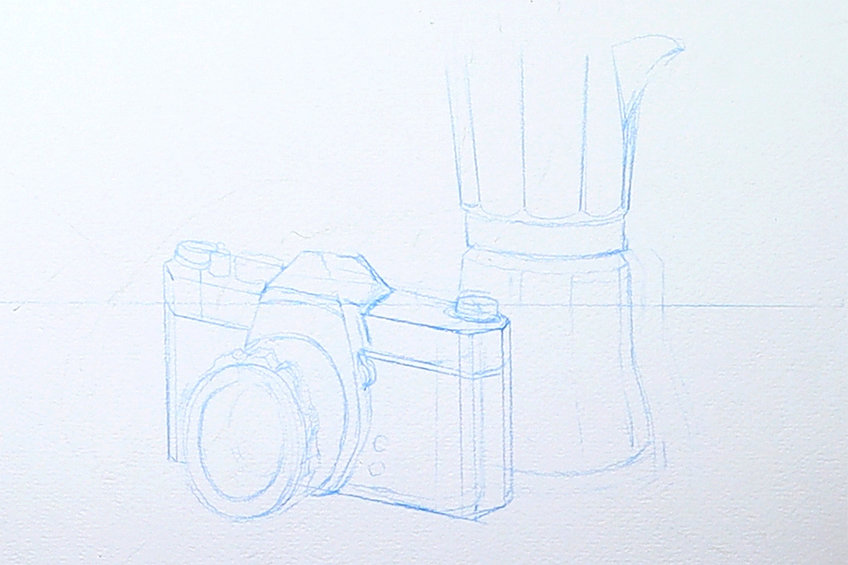
Step 1: Seating and Set-Up for Observation
It is essential that we set up a space to sit and observe the items, this space should remain the same. We want to make sure that we are observing the scene from the same angle all the time. From there, we want to use our pencil to establish a basic horizon line.
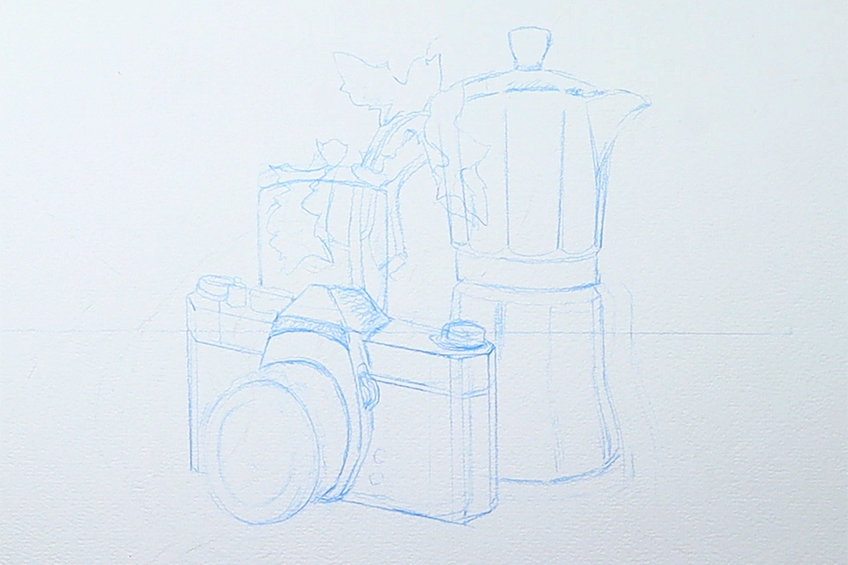
Step 2: Light Sketching of the Scene
We want to take our time sketching out the scene, it is very important to keep the sketch as light as possible. Using a sketching pencil or a light graphite pencil like an H is a good suggestion. Make sure to keep your hand very light.
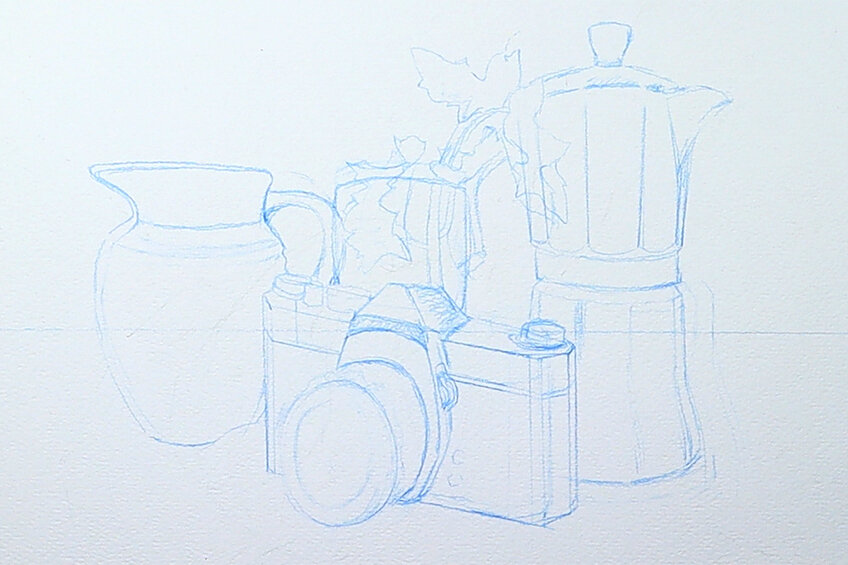
This is the most important part of a still-life drawing because we are drawing from life, which means we are more likely to make mistakes. This is also why we want to retain our viewpoint for drawing. We don’t want to be shifting to different sides, rather we want to draw from a single place.
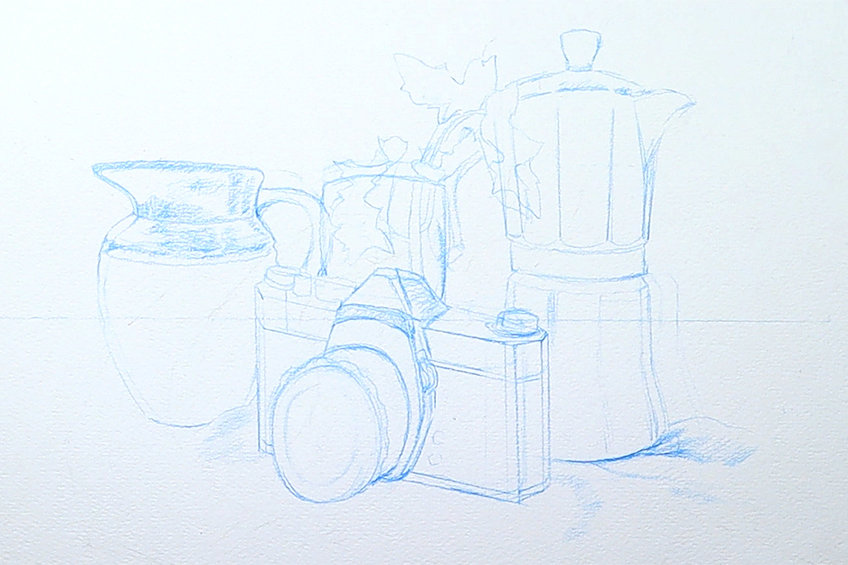
A good suggestion is to start with objects in the foreground which become a reference for scale and positioning once completed. Using the object that stands in the foreground as a point of reference will help you to sketch and align the surrounding objects more accurately.
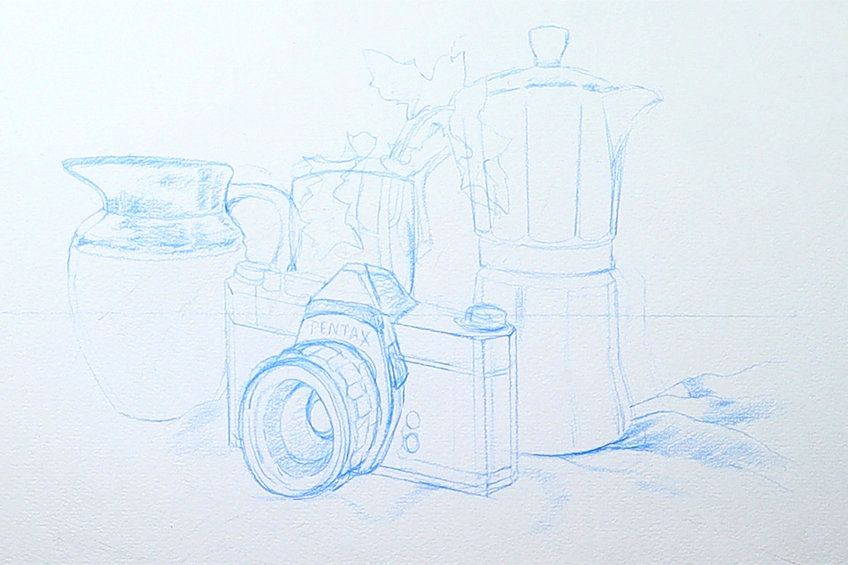
Again, the more complex the items you use the more time you should spend working out the placement of different features. For instance, if you use something like a camera, you want to consider how large the buttons are in relation to the lens. Or does the camera have a diagonal slant from your viewpoint?
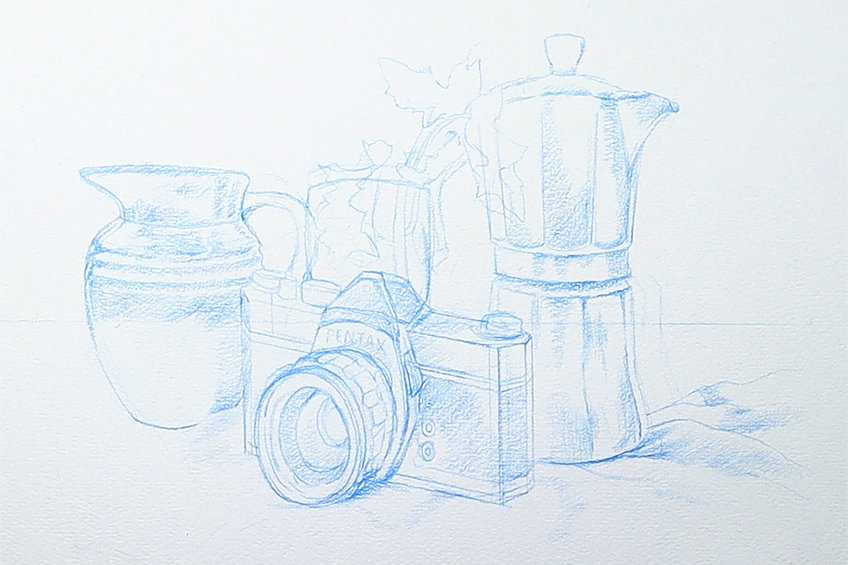
Asking yourself comprehensive questions is a great way to work through a lightly sketched still-life drawing. Objects for still lifes can be difficult when drawing from life, which is why we really want to spend as much time as we can on lightly sketching the scene before committing to adding in shading.
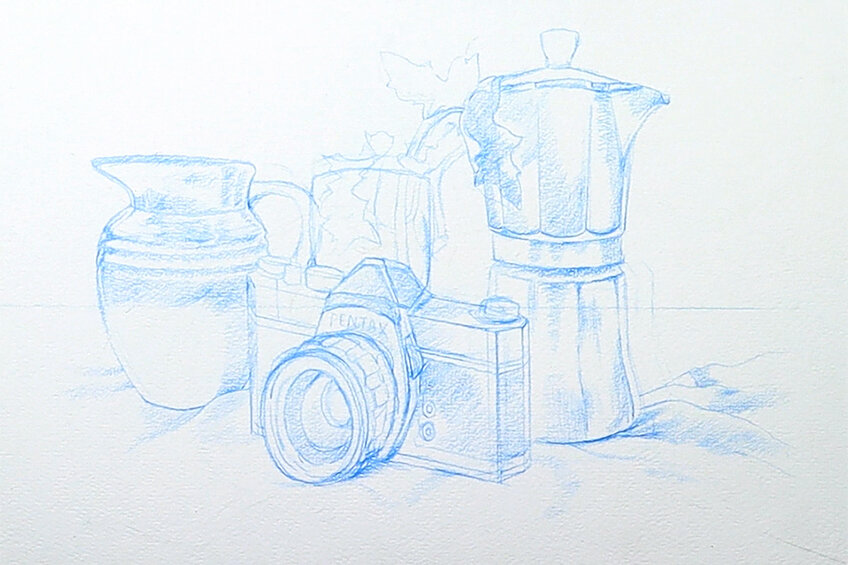
Step 3: Shading the Foreground Object
Once you have established the scene for the still life, you want to start with the object in the foreground. You can use whatever medium you would like to shade in your still-life drawing, but you want to make sure you work from foreground to background.
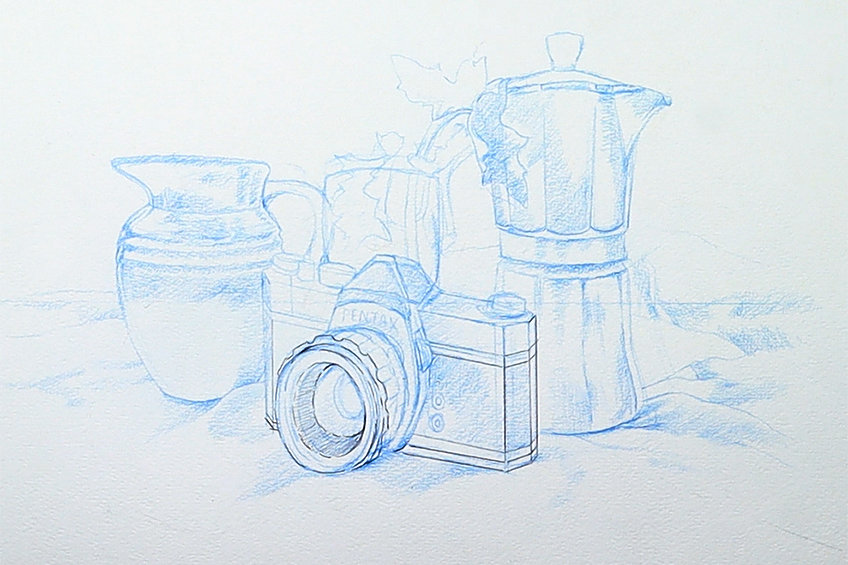
We really want to have established all elements in a light sketch, this will make the shading process more seamless. We want to work through items one at a time, making sure we start with objects in the foreground.
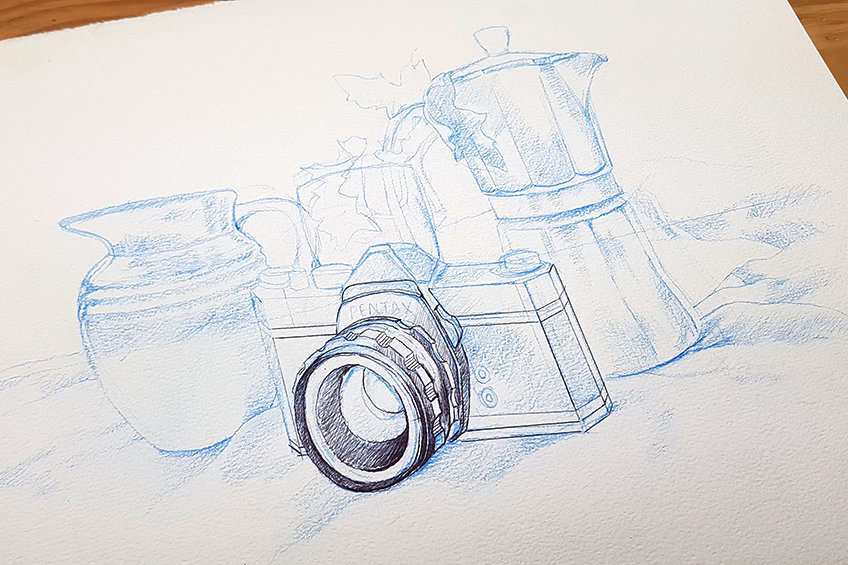
Considering the light source is essential for the shading process, as this will help you to be more intentional with your drawing marks and shading. We will notice that different items will always have different interactions with light.
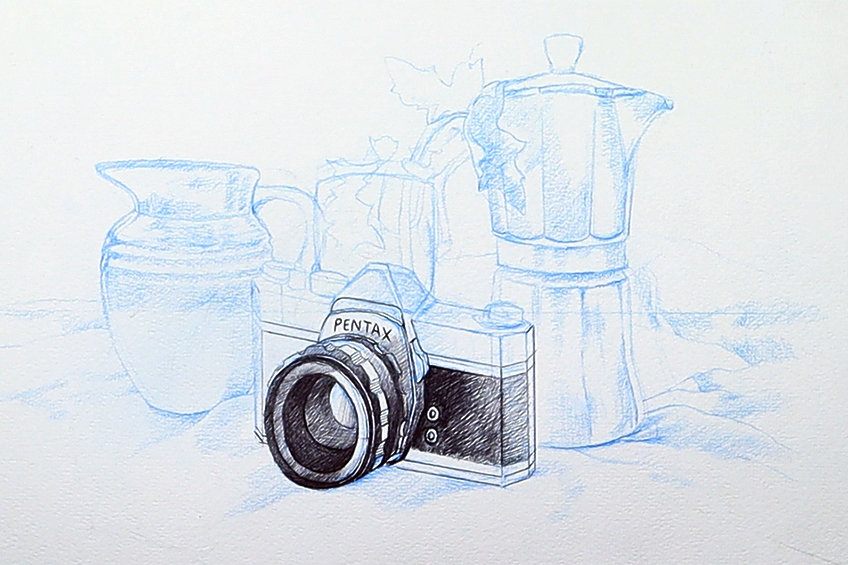
Working on a single foreground object will also help you to define the tone of the scene and how dark and light objects can be drawn in relation to the foreground object.

In many ways, you could also lightly shade the entire still life and slowly add in darker shading, but this method allows you to move through each item one at a time. This is a great way to take pressure off yourself and focus on a single object at a time.
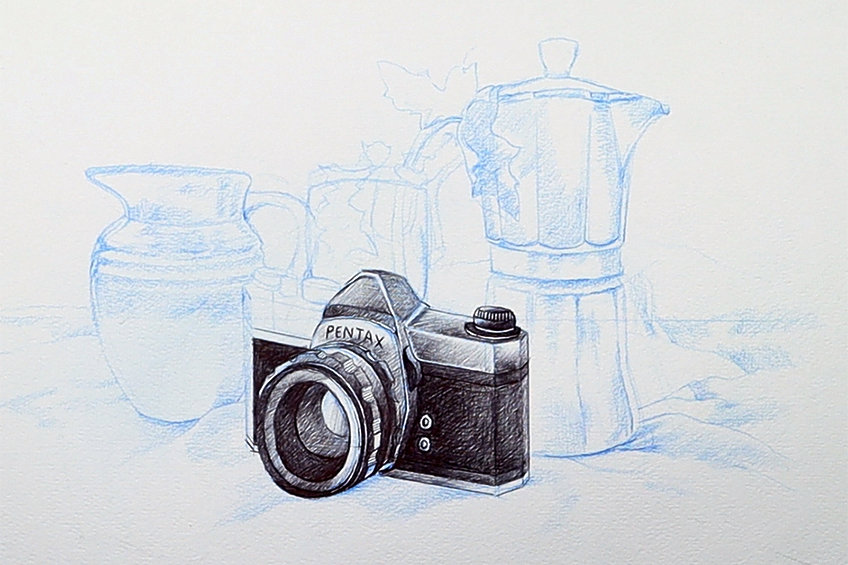
Step 4: Shading the Surrounding Objects
This method also works as a tonal measuring tool, just as the foreground sketch helped with the scale and positioning of surrounding items. Having a single item completely drawn can help to navigate how light and dark surrounding items should be.
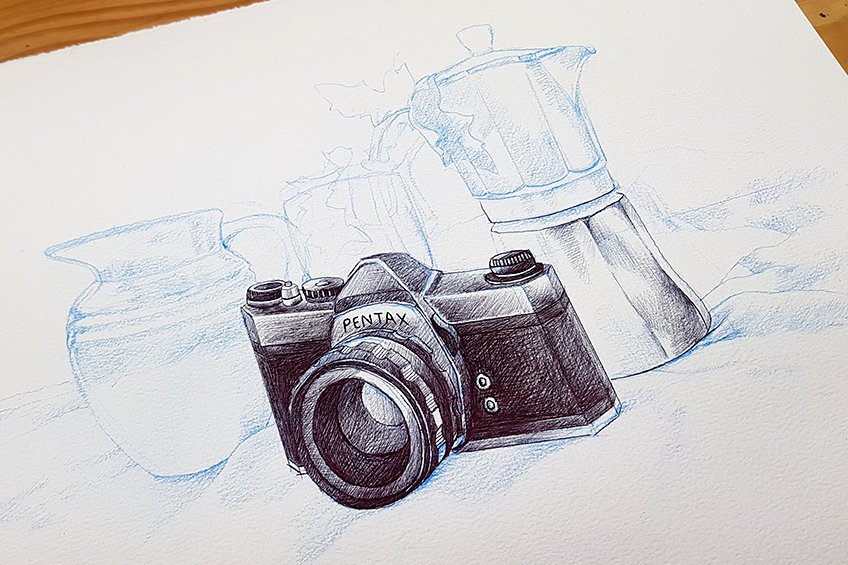
Once you have the foreground item established, you want to start working from one side of the drawing and move through each item. Again, this will help you to work out how dark or light objects should be by the foreground object and the current object you are in the process of drawing as a reference for the upcoming item.
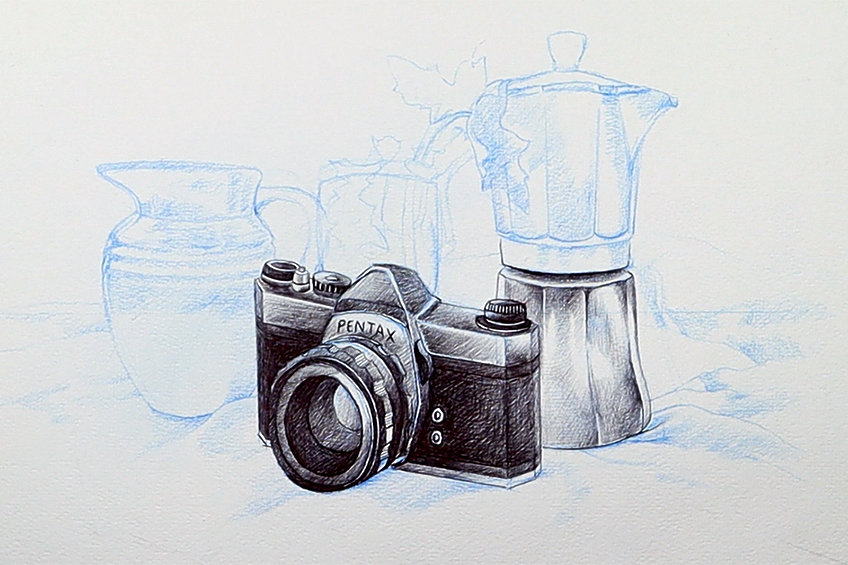
As you move through each item, it’s important that the first drawn item helps to establish the tonal range for the next. This process will continue for each item, with the succeeding item that follows you will then have a reference for how dark or light your shading should be.
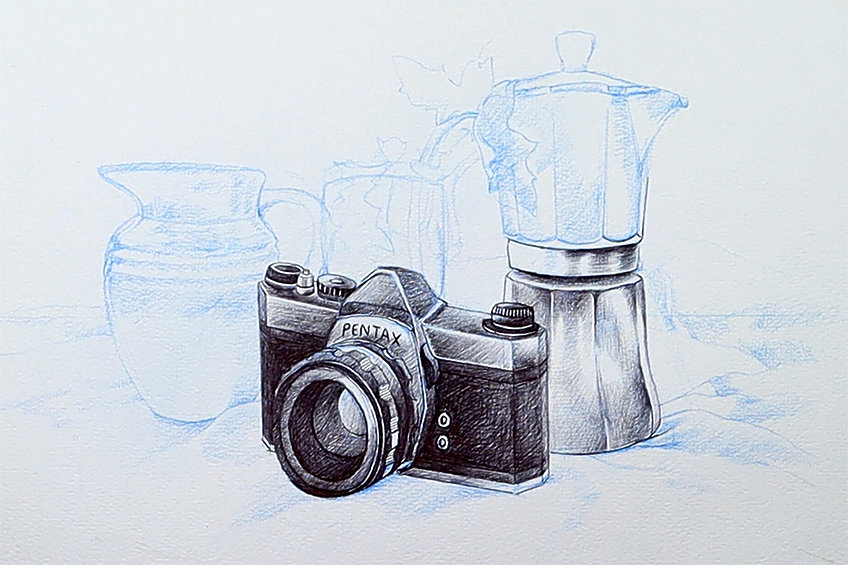
As you shade the surrounding items, you want to work in layers of shading for each object at a time. This means that for each individual item, you must first set a light layer of shading and then darken areas if need be.
Make sure you also notice the differences in surfaces and how they reflect and distort light on their surfaces. We will find that some objects have a matte-like quality, and the light reflections can be more subtle.
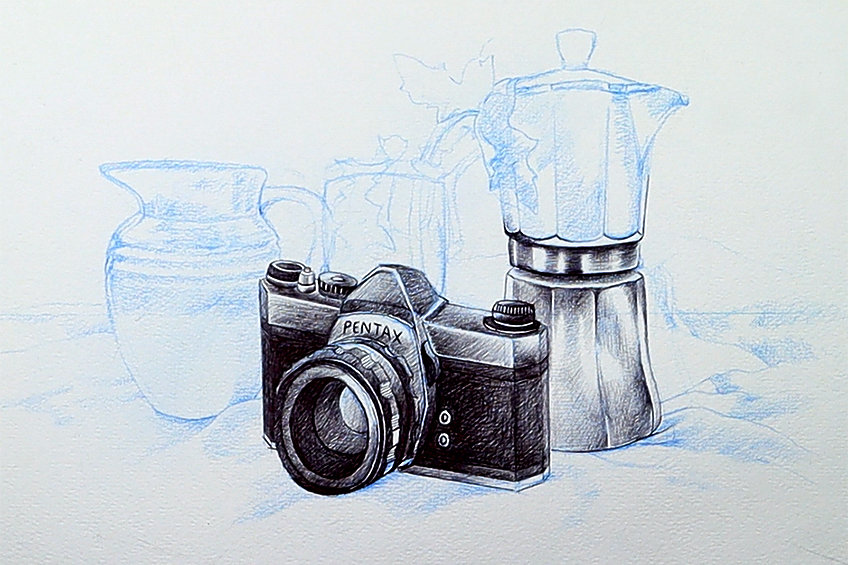
We will also find that as we start sketching surrounding items, we might encounter more intricate overlapping features between the surrounding objects. We can be cautious with shading parts of an object and then focus on the overlapping features of the other object if necessary.
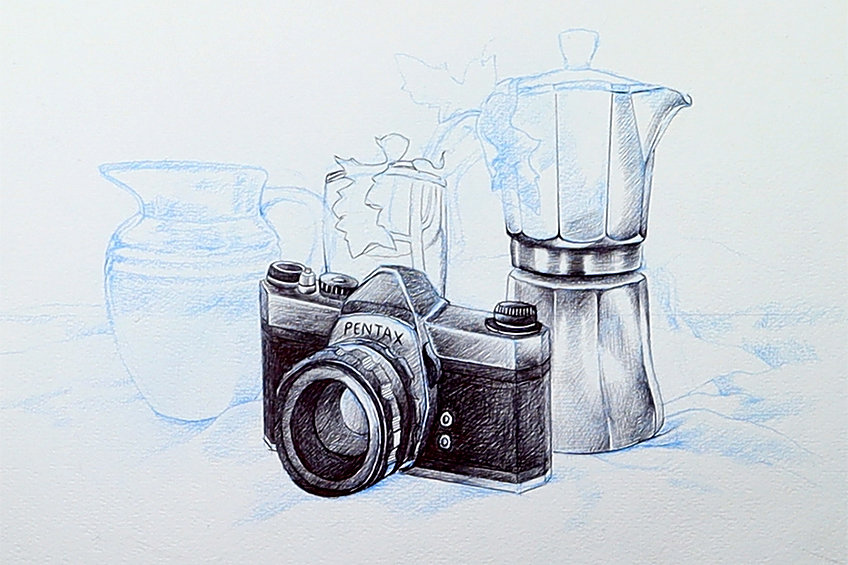
The method of working on items one at a time will help to focus on individual items one at a time, but we will have moments here and there, where we will have to go back and forth between different objects.
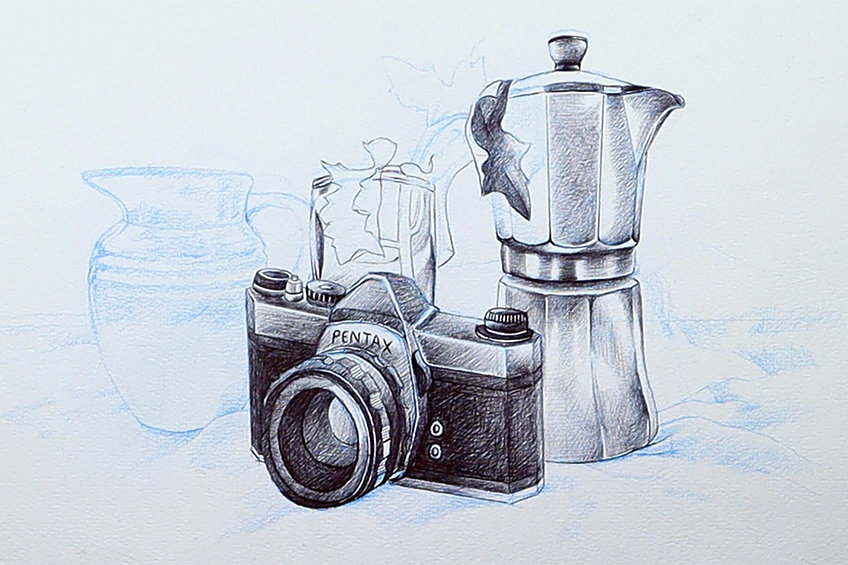
This is why a still-life object drawing is really good for observational skills because it requires you to be attentive to subtle moments like overlapping. This is also particularly true for objects with strange surfaces that distort and change the environment around them.
Working on objects one at a time can also make you more attentive to the details that are actually present in each object. For instance, if we were to work with glass, we would find that the glass is capable of distorting anything that sits around or behind it.
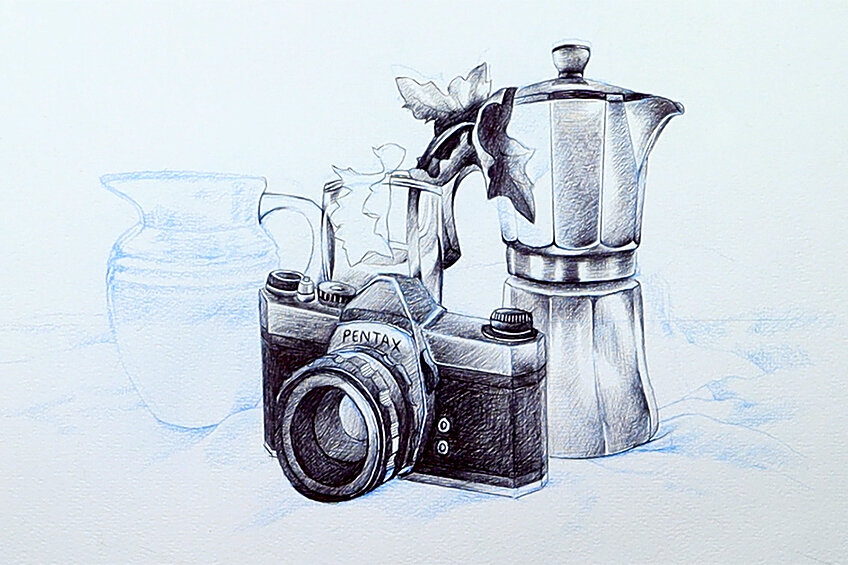
Instead of trying to draw what we think, we can look at each item individually and actually see what details are actually visible. If you incorporate glass into a still life, it works really well as a drawing exercise because of how it changes the surrounding environment.
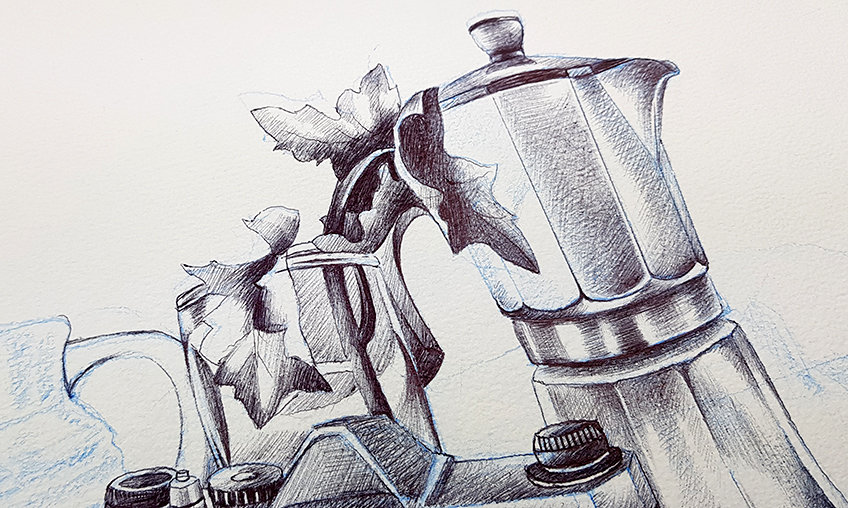
As we move through each item at a time, we will also find that naturally, the scene starts to fall into place, almost as if you were assembling a puzzle. This is particularly true, for tonal values and how you shade in the next object with the previous object as a reference.
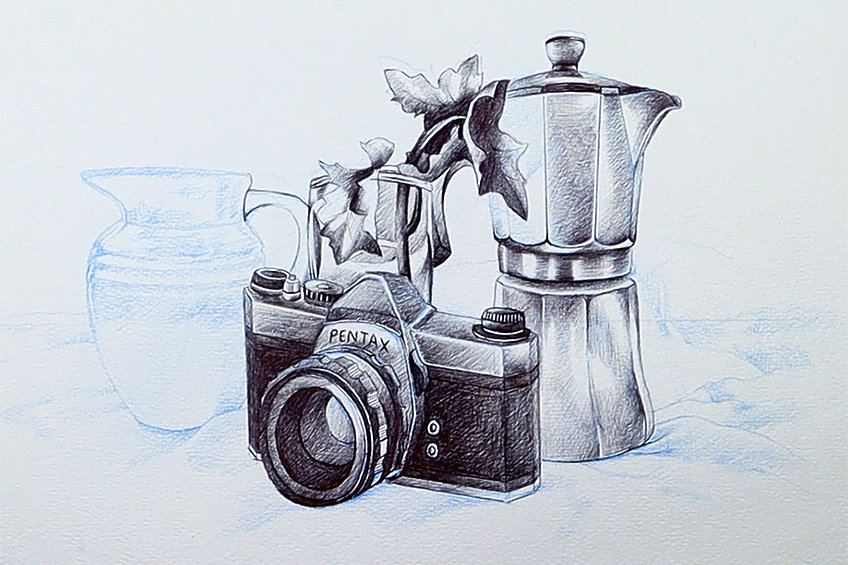
It is really important to take your time and be patient with the drawing process. You want to make sure that you give the objects for your still-life drawing unhindered attention, spending a good portion of time on each item that needs to be drawn.
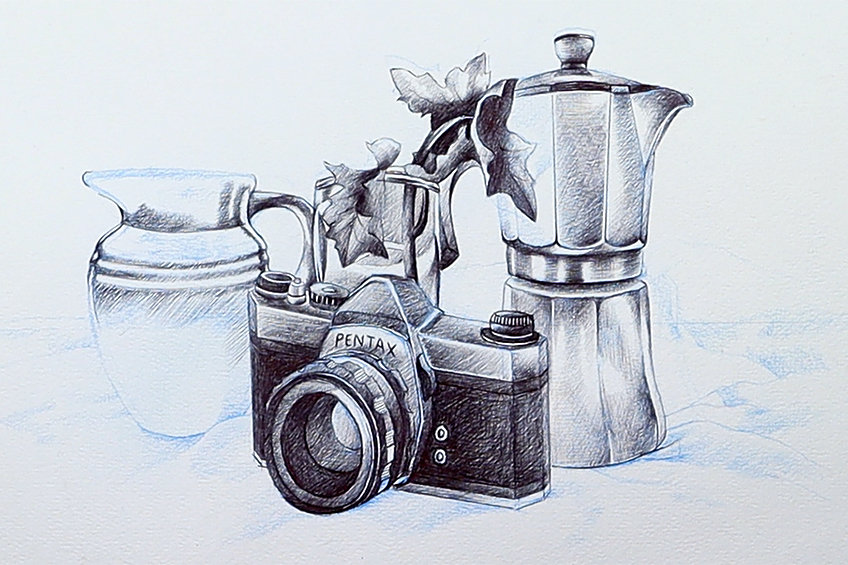
The more attention you give to each object the more likely you are to effectively assemble the object through the shading process. If you find yourself feeling tired, take a break and come back with a refreshed mindset.
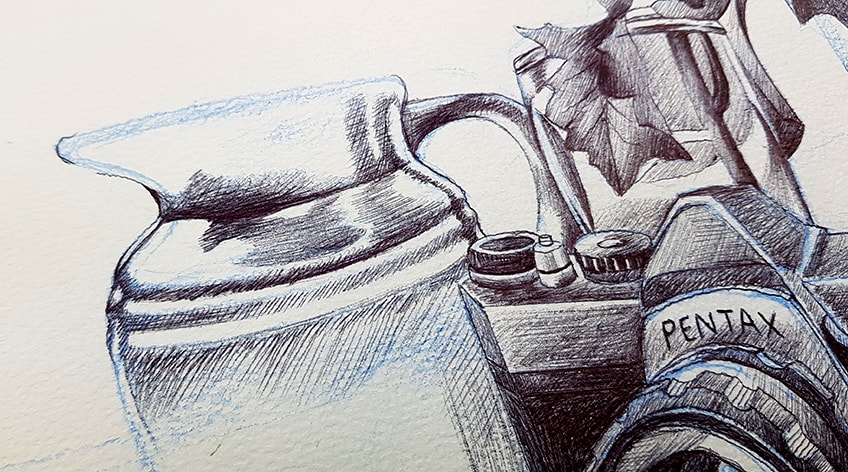
Concepts to Consider
This beginner still-life drawing tutorial has established the basic drawing process for setting up and effectively drawing still life. However, there are some key concepts to consider that are unique to a still-life object drawing.
Shading Styles
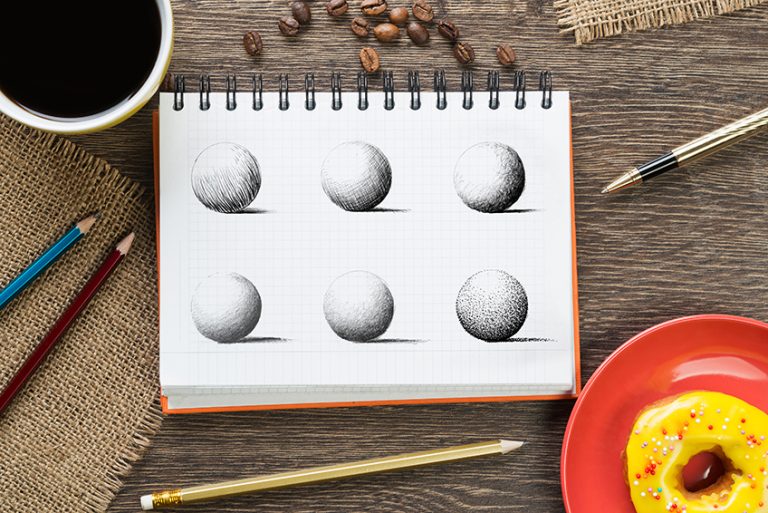
Firstly, think about what kind of medium and shading style you would like to incorporate into your drawing. Consider what different mediums are capable of and how they have different visual effects. Different shading styles also work better with specific mediums, which is important to consider for a still life.
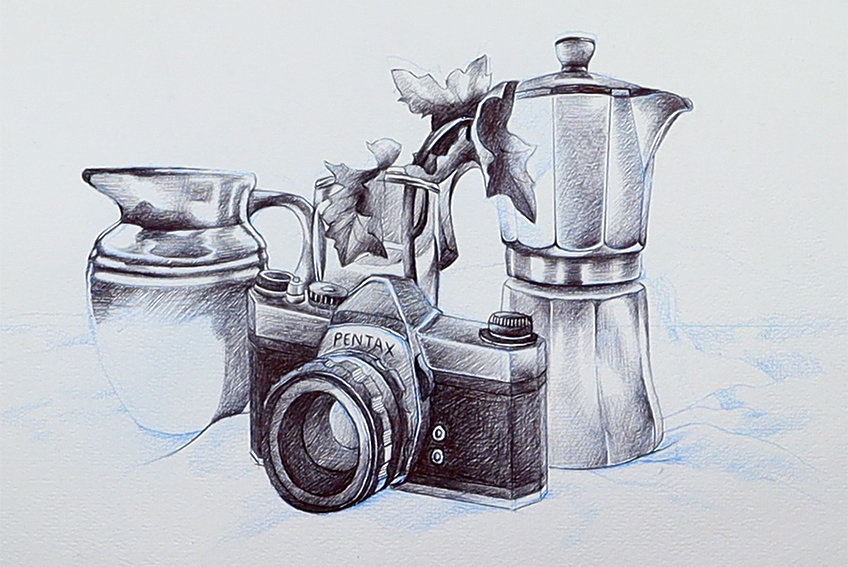
This is particularly necessary for deciding what type of outcome you are aiming for, as pens can have high contrast and sharp lines, whereas pencils can be smoother and softer. So, think about shading style and mediums for what type of outcome you would like to achieve.
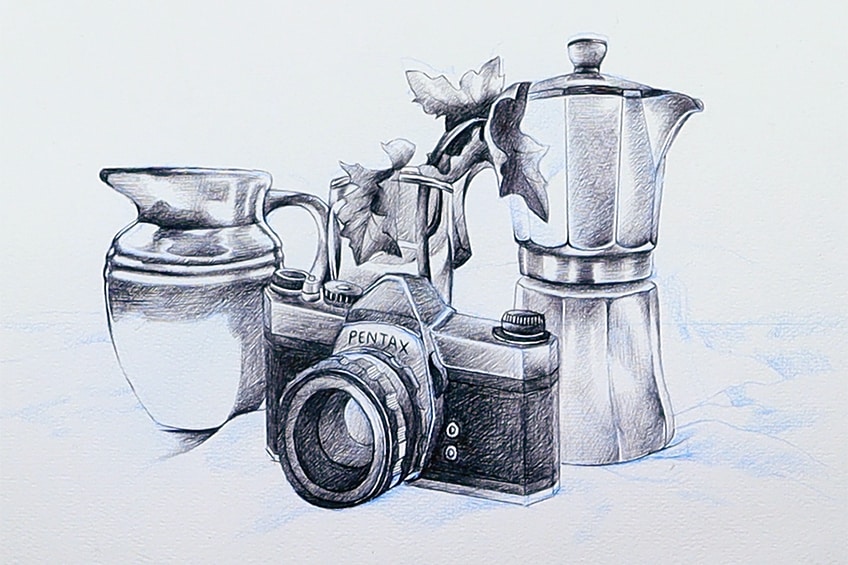
Surfaces
Explore both organic and mechanical/man-made objects for a more enriched and interesting drawing. This will also affect your shading process because it will force you to take note of how different surfaces interact with light.
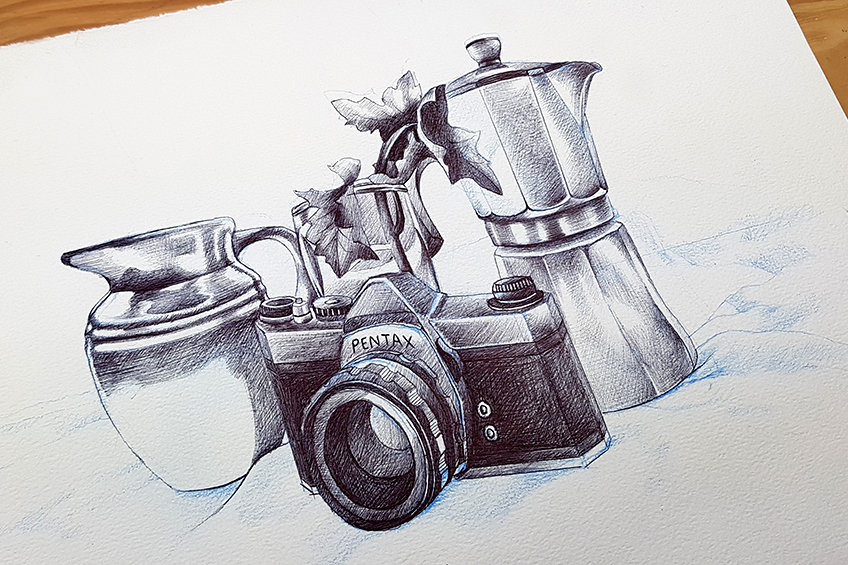
Textures are different between organic and man-made objects, but textures can also be different between various man-made objects. You want to think about glossy, matte, and various other textural qualities in objects and how they respond to light.
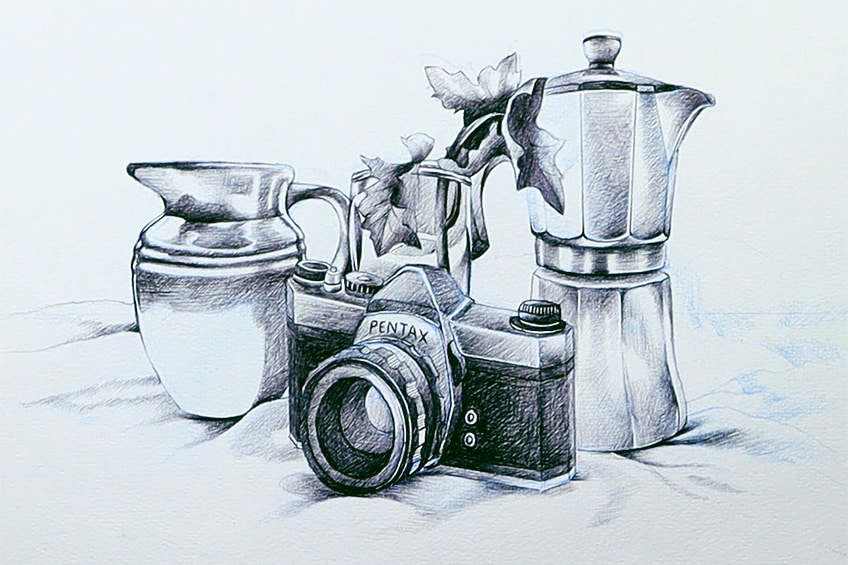
This is also helpful to have in the back of your mind when you think about distinguishing between objects and what type of shading can help to determine this difference.
Knowing When to Stop
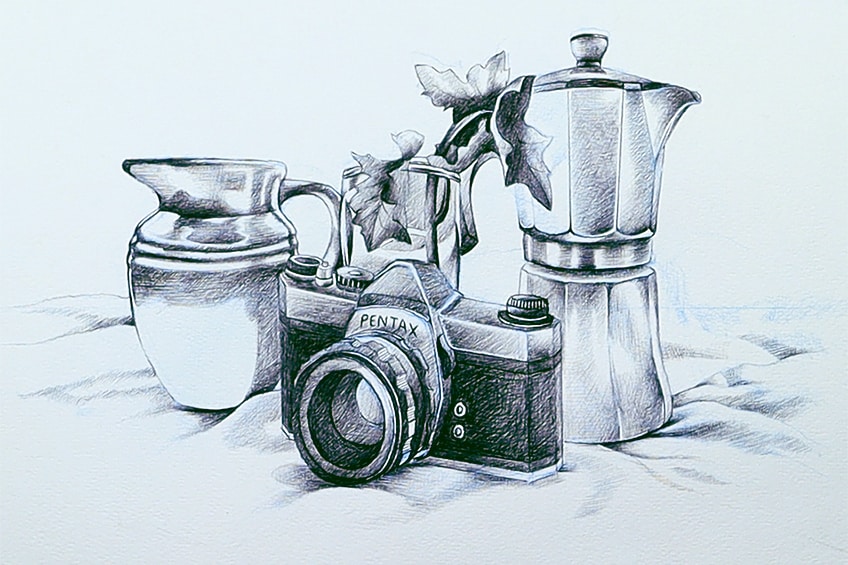
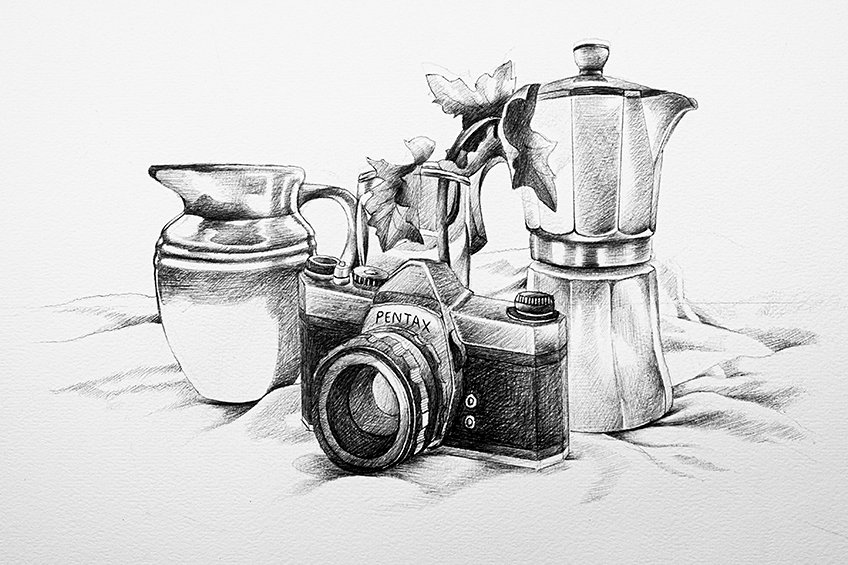
Lastly, and very importantly, is knowing when to stop. We can easily overshade a drawing and over-saturate the drawing by carrying on. In many ways, what makes a still life beautiful is the balance of tone and placement among items, so stop when your intuition tells you to.
Tips and Tricks for Drawing a Still Life
- Consider your arrangement. Objects for still-life drawings should be thought through. Try to create a balance between your objects for your still-life drawing.
- Work on an object one at a time. For each of the still-life objects to draw, each one should be worked on one at a time.
- The early sketch is the most important. For an accurate still-life object drawing, make sure the light sketch is as best as it can be.
- Use items as references for other items. Use each item as a reference for the next for both scale and tonal values.
- Explore using other objects. There are many still-life drawing examples to draw inspiration from, try to create unique still-life drawings with strange objects.
- Be patient. A still-life object drawing is a difficult task, take your time and break it up into digestible stages.
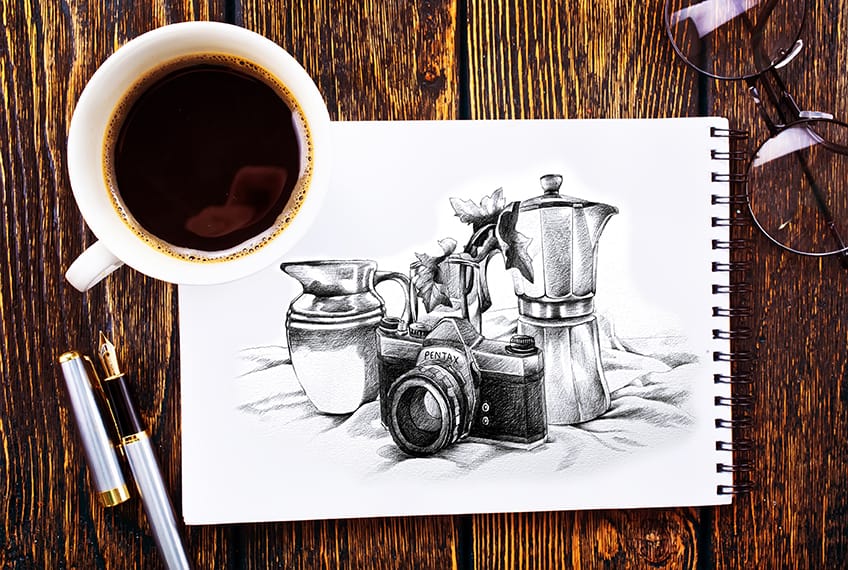
Still-life drawing examples are all over the internet and can be a great resource from which to draw inspiration. This can be helpful for both shading styles, arrangement, and other factors that are involved in the still-life objects drawing process. As long as you find items that are interesting and you take your time, you will most likely be pleased with the end result. This is also an art practice that has existed for centuries and remains an essential practice when looking to master your medium. Try to draw inspiration from ancient and modern still-life drawing examples to give you a good sense of different approaches to the still-life drawing genre.
Frequently Asked Questions
What Are the Main Things to Consider When Drawing a Still Life?
The first thing we want to consider is the objects for still-life drawings. We want to consider what types of objects work well in a single space. A great suggestion is to have a variety of objects, both man-made and organic, which will help you to explore variety in your drawing style and shading style. The next thing is the arrangement: how do they sit in the same space? Is there good flow between objects and do they have different shapes? We want variety in forms, and we want to play around with how we compose the scenario. We also want to consider the setting in which the items are set, which is a significant aspect of arranging the items. Then lastly, we want to consider lighting, we can play around with from which direction the light source is most dominant. These are fundamental concepts to consider and can be the reason that your still life looks professional.
What Is the Purpose of a Still Life?
A still life is an essential drawing exercise that enhances your observational skills. Observational skills are easily neglected in this modern era, as the process of drawing from digital devices has become synonymous with most artists’ drawing practice. When drawing from life, in particular still life drawings, you are forced to do measurements and scaling in real life, using only your attention to detail and your patience. When practiced on a regular basis, a still-life drawing practice exercise can enhance your observational drawing skills for other life drawing pieces. This exercise improves both focus and attention to detail which is essential for improving not only your still-life drawings but your drawing practice as a whole.
Which Mediums Work Well for Still Life Drawing?
What is nice about still life is that there are various still-life examples to draw inspiration from, whether they are done in your preferred medium or not. Still-life drawing can be done with any medium and the process of constructing a still-life artwork is generally the same. Whether it is drawn, painted or even digital, sill life drawing has the same preparation and creation process. This is why it is good to look at still-life drawing examples for inspiration for form, composition, and objects to use as many still-life artworks can be used as a reference for your own. So, when it comes to a medium, allow yourself to use whichever you would like.
Matthew Matthysen is an educated multidisciplinary artist and illustrator. He successfully completed his art degree at the University of Witwatersrand in South Africa, majoring in art history and contemporary drawing. The focus of his thesis was to explore the philosophical implications of the macro and micro-universe on the human experience. Matthew uses diverse media, such as written and hands-on components, to explore various approaches that are on the border between philosophy and science.
Matthew organized various exhibitions before and during his years as a student and is still passionate about doing so today. He currently works as a freelance artist and writer in various fields. He also has a permanent position at a renowned online gallery (ArtGazette) where he produces various works on commission. As a freelance artist, he creates several series and successfully sells them to galleries and collectors. He loves to use his work and skills in various fields of interest.
Matthew has been creating drawing and painting tutorials since the relaunch in 2020. Through his involvement with artincontext.org, he has been able to deepen his knowledge of various painting mediums. For example, watercolor techniques, calligraphy and lately digital drawing, which is becoming more and more popular.
Learn more about Matthew Matthysen and the Art in Context Team.
Cite this Article
Matthew, Matthysen, “How to Draw a Still Life – Step-by-Step Still-Life Drawing Tutorial.” Art in Context. February 26, 2023. URL: https://artincontext.org/how-to-draw-a-still-life/
Matthysen, M. (2023, 26 February). How to Draw a Still Life – Step-by-Step Still-Life Drawing Tutorial. Art in Context. https://artincontext.org/how-to-draw-a-still-life/
Matthysen, Matthew. “How to Draw a Still Life – Step-by-Step Still-Life Drawing Tutorial.” Art in Context, February 26, 2023. https://artincontext.org/how-to-draw-a-still-life/.


Dear Art in Context!
Excellent site, with many very good examples for many ages, degree of drawing, and skill levels. This teaching method by Matthew Matthysen (Still Life) has many good lessons. As well as past episodes, I learned at little something from everything I read.
I am in my late 60’s, and just seriously, in a way, taken to drawing since the beginning of the year. I have draw a few nice ones (not for selling etc…), according to my critics, for my enjoyment and the enjoyment others get from my drawings (especially when I did it for them)! It is all about pleasure!
My preference is pencils only, with some light colouring. I did a cardinal sin by buying this and that without really digesting what I “REALLY” need, which is just nice set of pencils.
As a result of this wonderful and informative site (not just the drawing techniques, but the history etc…)
Please accept my small, but heartfelt donation.
Thank you!
Best Regards!
Daniel
Delta, B.C.
Canada
Hi Daniel
Thank you so much for writing this comment and your donation! It’s great to get feedback for so much hard work and it’s very fulfilling to see that this work is helping people.