How to Draw a Feather – Steps to Creating an Easy Feather Drawing
A feather’s texture is very strange, their interesting structure can seem smooth and silky which makes for fine drawing. Feather drawing is a unique task that helps to enhance your drawing skills, especially the attention to finer details. Feathers are beautiful and often can be associated with mysticism and or fantasy. Feather sketches or more detailed feather illustrations can be a wonderful addition to a drawing. Learning how to draw a feather will help us to understand other objects that might have similar feather shapes and a feathers texture. As we learn how to do a feather pen drawing in this tutorial, we will gain some skills and confidence in our ability to draw finer lines, especially using a medium such as a pen.
An Easy Guide to Drawing a Feather
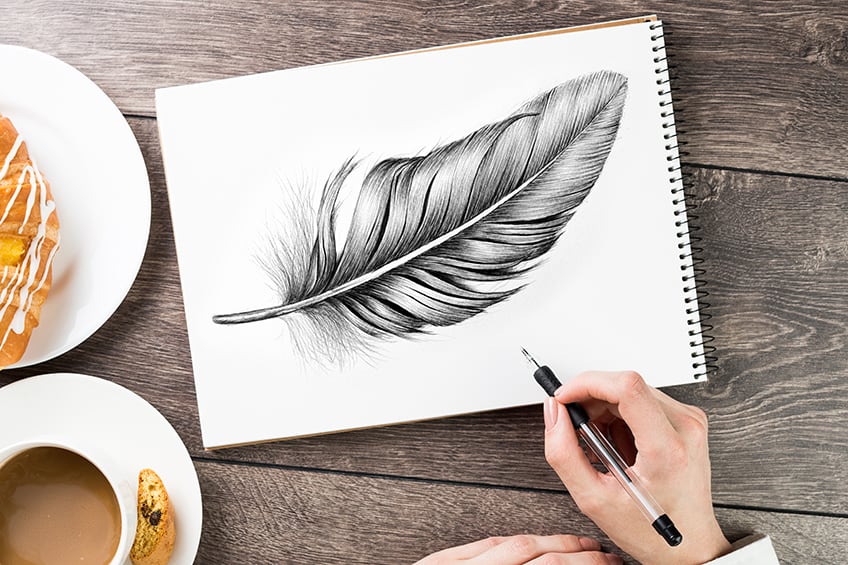
Feathers are complex and can seem quite intricate, however, they are quite a simple structure to draw. In this tutorial on how to draw a feather, we will be looking at how we develop a feather sketch into a more realistic and refined feather illustration.
Feather drawing is a great way to refine pen-drawing skills, as we slowly and attentively develop our feather sketches from pencil to pen.
However difficult feather drawing may seem to be, this tutorial gives you the instructions on how to do an easy feather drawing, by breaking down the drawing process into various digestible steps. Feather illustration or feather sketches can be a great means of understanding other similar structures, such as hair. In this tutorial on how to draw a feather, you will learn drawing skills that you may be able to apply in other artworks. Let us see what materials we will need.
Necessary Materials
Feather drawing is a task that requires a medium that can achieve fine details. The combination of pen and pencil is great for feather illustrations. In this tutorial on how to draw a feather, we’ll be drawing a feather in pencil and pen. We will begin by making a feather sketch which we will then go over in pen for finer details.
A feather pen drawing can make the artwork look more refined and interesting by the nature of the pen as a medium.
- Pencils
- Ballpoint pen
- Eraser
- Sharpener
- Good paper (200 g/m – 250 g/m recommended)
- Source image
Step-by-Step Instructions on How to a Feather
We will be going through a few simple steps on how to draw a feather. We will begin by figuring out the size of the feather by drawing its shaft. We will then proceed with our lightly pencil-drawn feather sketches, figuring out the feather shapes as we refer to the source image for guidance. We will then add some details with our pencils as we add linework and shading. From there, once we are satisfied with our pencil feather sketches, we can then begin to add shading and line work with our pens. We will use the pencil marks to guide us as we draw with our pens.
This is quite an easy feather drawing, in the sense that it only has a few steps. The real challenge is about patience, as we go through each step of this tutorial on how to draw a feather, so let’s get started!
Step 1: Drawing a Shaft
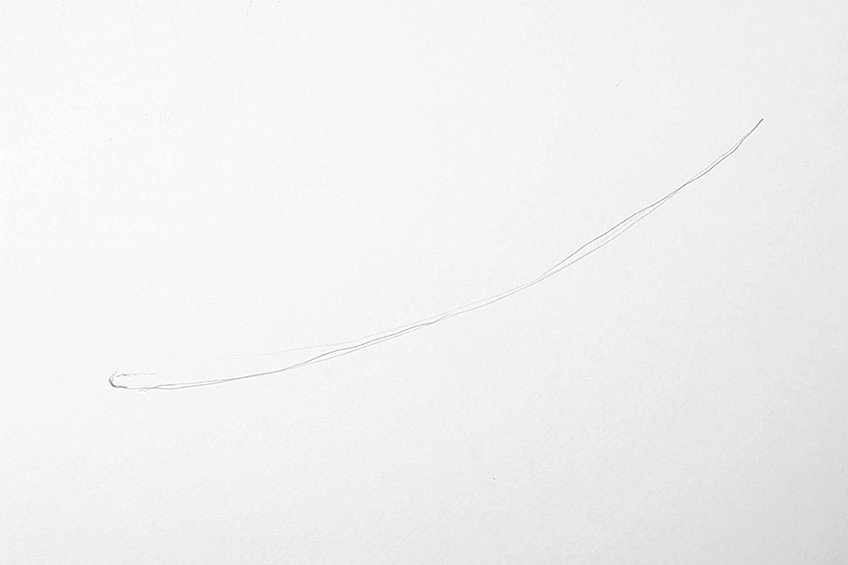
As we start our feather drawing, we want to figure out the size of the feather drawing. We do this by drawing the shaft first using our pencil. We do so by using the source image to guide us in its form.
The shaft has a slight curve to it, so as you draw the shaft notice the gentle curve of the shaft.
Step 2: Drawing the Shape of the Feather
We will now proceed to draw the shape of the feather with our pencils. We want to develop a light pencil feather sketch. Our feather sketches should be light at this point so that we can rectify any mistakes quite easily.
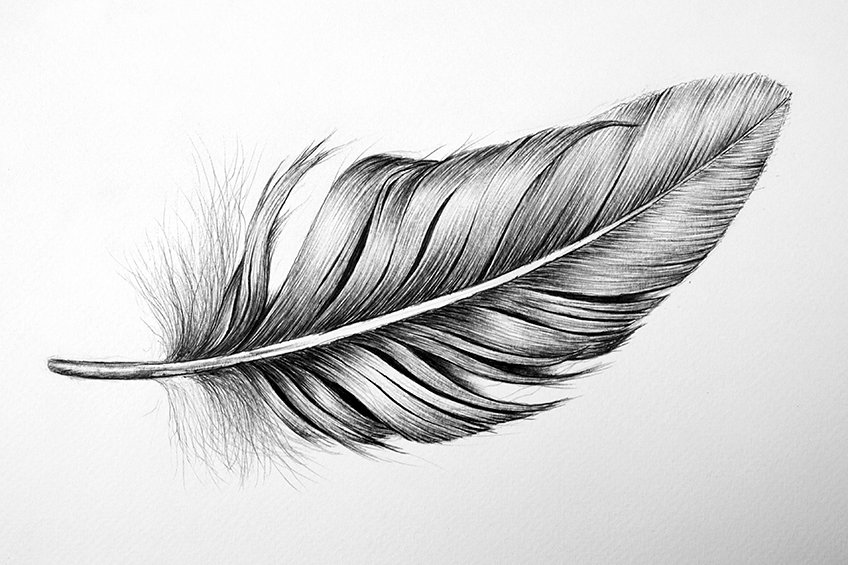
As you refer to the source image, we want our feather shapes to look similar to a narrow spearhead-like shape.
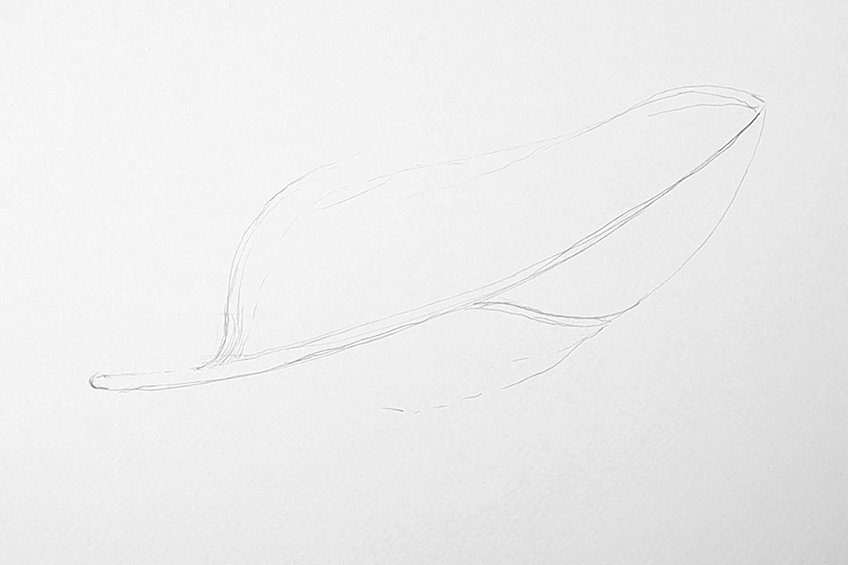
We want our feather shapes to resemble that of the source image.
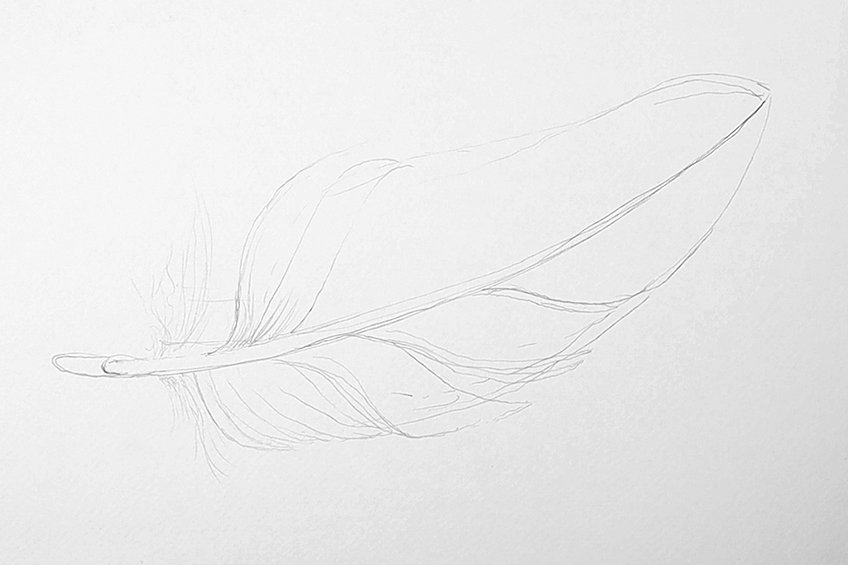
Spend time on this part of the tutorial as you attempt to mimic the qualities of the feather.
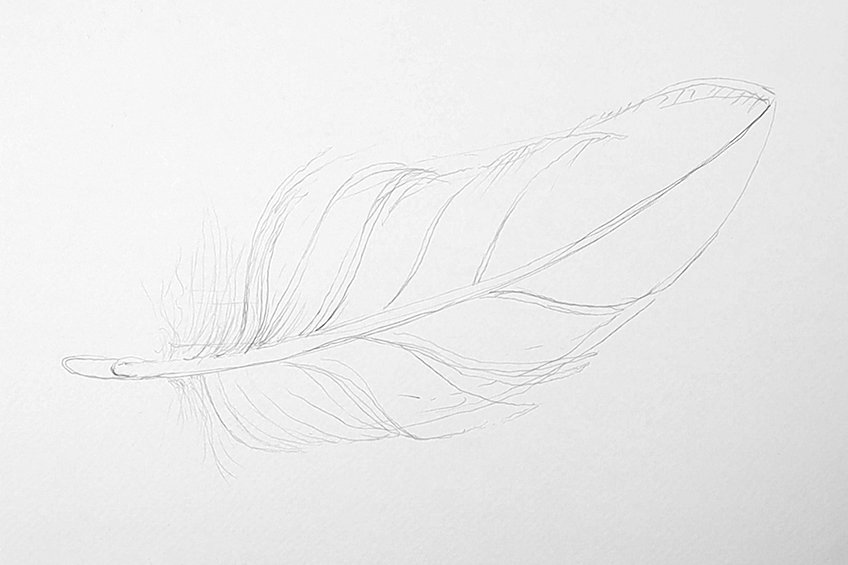
Step 3: Adding Details with Pencil
Once we have drawn the feather’s shape and we are satisfied that it resembles that of the source image, we can proceed to add some details. We want to notice how the strands in the feather are quite straightforward as they move perpendicularly from the shaft.
We want the shape of the feather to demarcate the length of the strands.
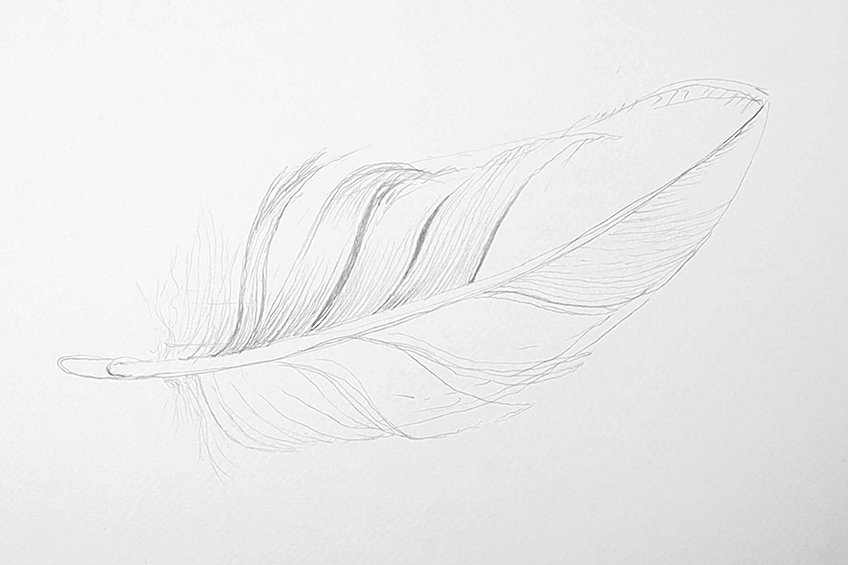
We want them to be close together and compact, as seen in the source image. As we add in details of the feather, let us take a moment to focus on the base of the feather.
The base of the feather depicts a series of fluffy and tufted-like strands. These strands are a unique feature of a feather, which moves quite sporadically in various directions. These tufts sprout from the base as depicted in the source image.
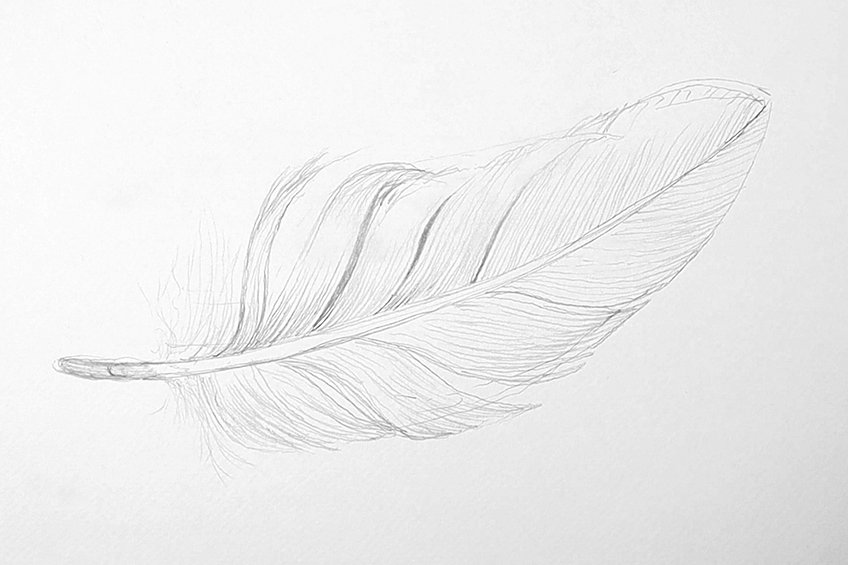
Spend time on this part with your pencil, trying to mimic the feather’s texture to the best of your ability.
Step 4: Adding Pen Details in the Top Strands
Let us start with the top strands, as we begin drawing near the base of the feather. We can start by taking our ballpoint pens, and proceed to add tuft-like strokes to allow the pencil marks to guide us. We can also add pen lines along with the segments near the base of the shaft.
We want the strokes to be darkest near the base and lighten as they move toward the tip of each segment.
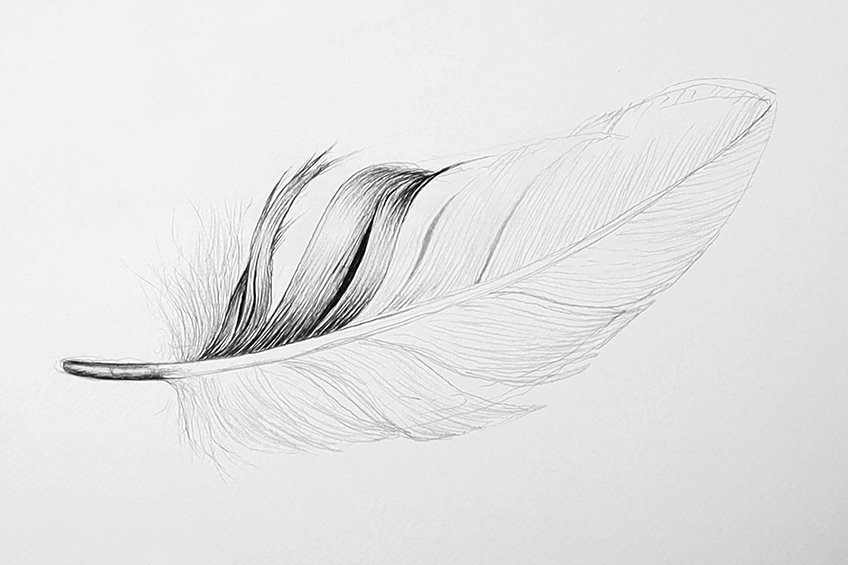
We can also make the strokes darker at the base and tip of each segment of strands. This will create a shine-like effect, making the feather seem smooth.
As we add the fine lines within each segment of the feather, we can also color in the gaps between the segments of the feather. Again, we want the base of the strands and the tips of the strands to be the darkest parts of the strokes in the segments. we can lighten them in the middle of each segment by softening our touch as we make strokes of the pen.
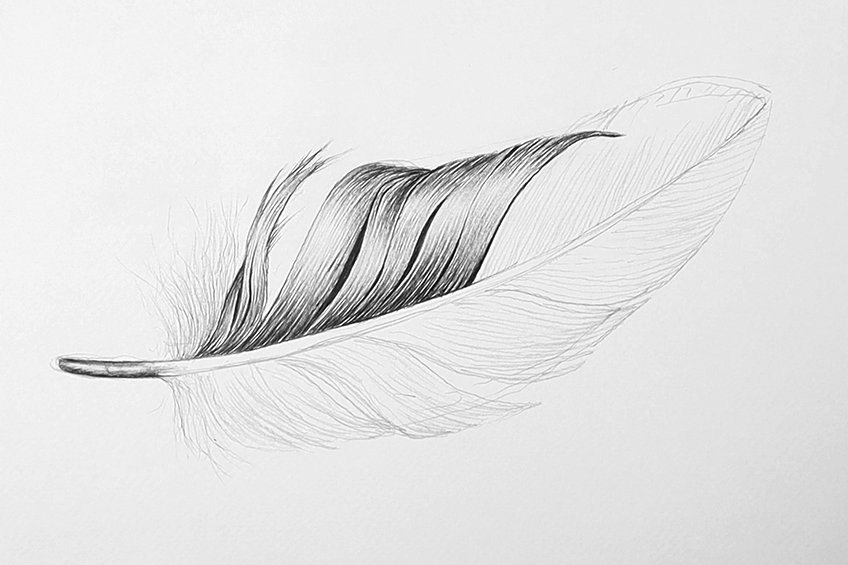
We can do this from the tip of the segments moving downward so that the light moments are within the center of the feather’s strands.
We are aiming to create the shining quality within the feather, trying to mimic the smooth and silky texture of the feather. As we do this feather pen drawing, we want to use the medium to the best of our ability. We do so by paying attention to the pressure that we apply to the pen as we make these strokes.
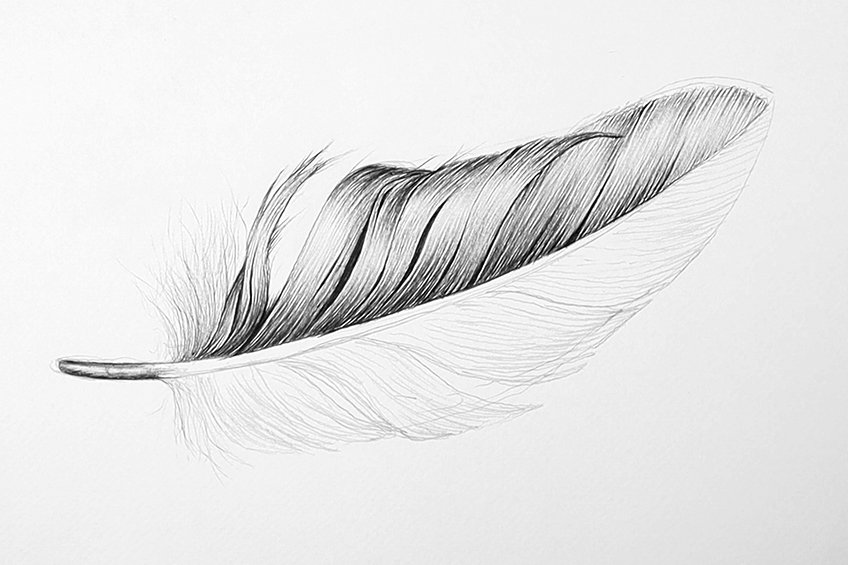
This means we do not want to add darker moments near the edges of the strands near the top, as they would suggest partitions in the strands.
Step 5: Adding Pen Details to the Bottom Strands
Now that we have come to understand the feather’s texture, and how we achieve this within our feather drawing, we can proceed to do the same for the bottom strands. Again, we are creating a series of curved lines, starting at the shaft of the feather.
Let’s start from the top of the feather and move our way down to the base of the feather. We can add the darker colors in moments, where there are gaps between each segment in the feather.
Allowing for the segments to stand out, creating a contrasted quality within the feather. This gives the feather three-dimensionality. We can also add darker strokes at the edges of the strands, as we move closer to the base of the feather.
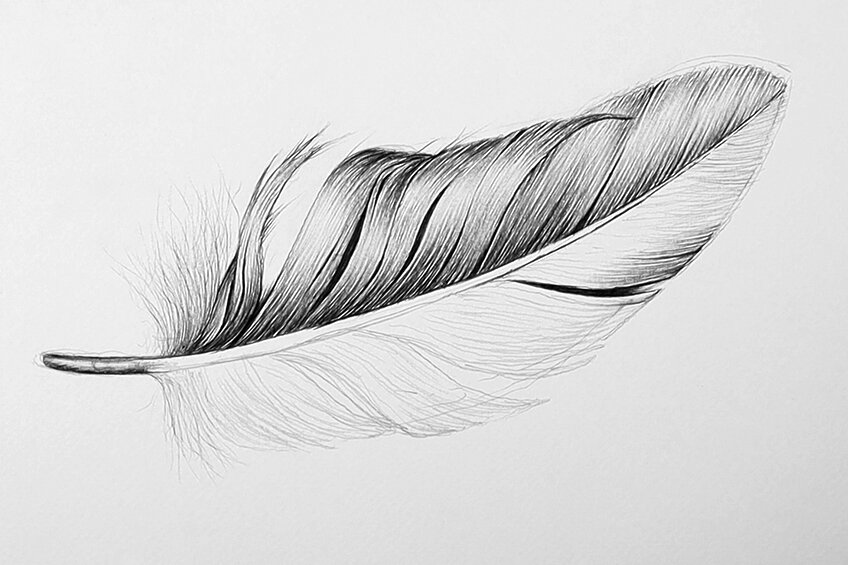
We want the source image to guide the process, so we know how the feather’s texture should look. Be patient with the process and take your time.
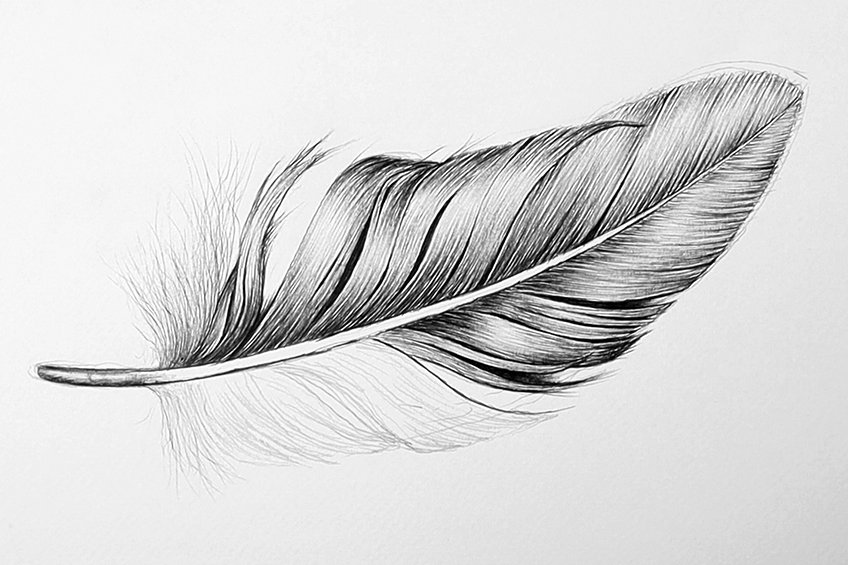
However, we can add darker strokes near the tips of each segment to depict partitions between the strands.
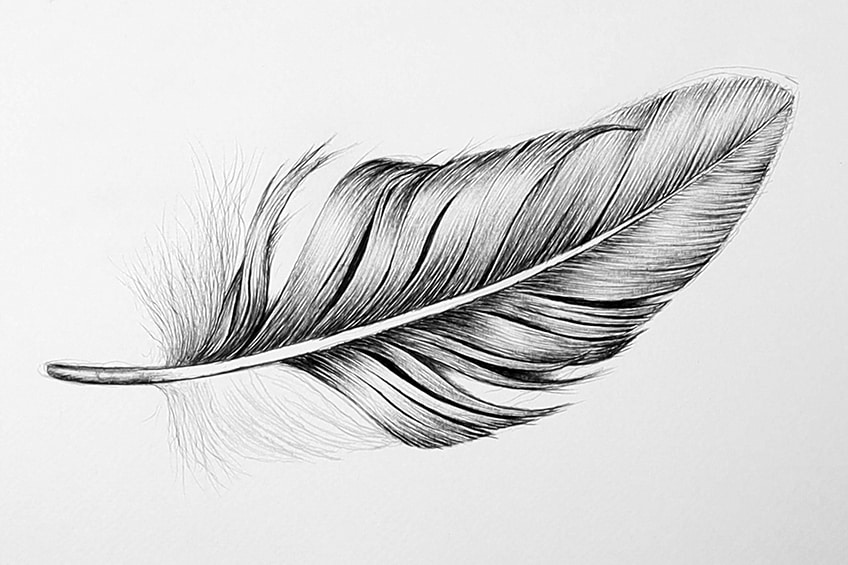
We want to start refining our details and lines here.
Again, take your time with these pen lines. If you need to add more strokes anywhere in any section of the feather drawing, then do so. Lastly, we can add the tufts on the other side of the shaft near the base of the feather as we come to a finish.
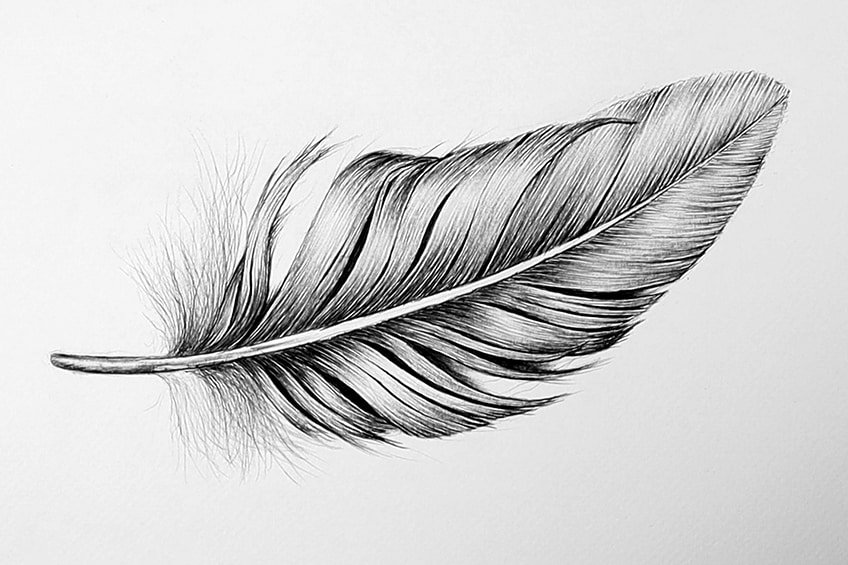
And there you have it, a tutorial on how to draw a feather!
Tips to Remember
- Take your time drawing the various lines. If you feel tired, take a break.
- Don’t worry about the drawing being perfect. See this as a guide that you can always come back to.
- Try to get the pencil part of the tutorial as accurate as possible. This will make it easier for you once you start drawing with a pen.
- Keep a light touch for lighter marks. Always work lighter marks over one another rather than making dark marks, especially when using a pen.
- Keep an eraser nearby, as you’ll have to correct mistakes during the phase of drawing in pencil.
Learning how to draw a feather simply requires patience. Conceptually, it is quite simple, we figure out the feather shapes, we then add in pencil linework and shading which we then finish by adding in pen over the pencil marks. However, the linework is quite fine, which means we want to have patience as we develop the pencil feather sketch into a refined feather illustration with our pens. A feather pen drawing requires a lot of linear strokes of the pen, which means we should take breaks in between the process once we begin to feel tired. A feather’s texture is quite smooth, so the linework is essential for achieving that silky smooth effect. There are various feather shapes, however, this tutorial on how to draw a feather shows quite a classical depiction of what a feather looks like. Now that you have the full guide on how to draw a feather, hopefully, you learned some new skills along the way!
Frequently Asked Questions
How Do You Draw the Shape of a Feather?
The feather shapes are like spearheads. However, it is quite elongated and narrow. This is the general shape of the feather, but one can always be playful with how the strands within the feather deviate in different directions. The feathers’ texture is quite smooth because the strands are quite stiff and closely placed together. In a feather drawing, you can create thinner and much smaller little knife-shaped segments that move outwardly from the shaft of the feather. As you learn how to draw a feather you will find that you can be quite playful with the strands and which directions they move in. Lastly, the feather has softer, fluffy-like strands that move quite sporadically around the base of the shaft. This is the general idea of how to draw a feather.
How to Draw the Strands of a Feather?
The strands of a feather are quite straight and stiff. This creates a shine and smoothness in the feather’s texture. In a feather drawing, we mimic this texture quite literally by drawing a series of lines that move outwardly from the shaft. These lines will move outwardly from the shaft in a perpendicular direction from the shaft of the feather. As they move outward from the shaft, they have a slight curve that curves toward the tip of the feather. We draw a series of lines next to one another, perpendicular to the shaft in both directions. We can also make the strands darker at their base and tip. Leaving a moment of negative space in the middle. Doing so will create a shine-like effect in your feather drawing. These are the basic principles of how to draw the strands of a feather.
What Are the Different Steps to Drawing a Feather?
We start by establishing the scale of the feather by drawing the shaft. Once we have established the shaft of the feather, we then start to draw the lines along each side of the shaft. We do this by drawing a series of curved perpendicular lines that shorten as they get to the tip of the feather. They shorten until they make a spearhead shape that connects at the tip of the feather. We then add various segments in the strands by creating gaps. This gives the feather a more realistic and organic quality. Lastly, we add shading by making darker strokes either with a pencil or pen, starting at the base of the strands. We can also add darker strokes at the tips of the strands, leaving open space in the middle of the strands, thus creating a shine effect. These are the basic steps on how to draw a feather.
Matthew Matthysen is an educated multidisciplinary artist and illustrator. He successfully completed his art degree at the University of Witwatersrand in South Africa, majoring in art history and contemporary drawing. The focus of his thesis was to explore the philosophical implications of the macro and micro-universe on the human experience. Matthew uses diverse media, such as written and hands-on components, to explore various approaches that are on the border between philosophy and science.
Matthew organized various exhibitions before and during his years as a student and is still passionate about doing so today. He currently works as a freelance artist and writer in various fields. He also has a permanent position at a renowned online gallery (ArtGazette) where he produces various works on commission. As a freelance artist, he creates several series and successfully sells them to galleries and collectors. He loves to use his work and skills in various fields of interest.
Matthew has been creating drawing and painting tutorials since the relaunch in 2020. Through his involvement with artincontext.org, he has been able to deepen his knowledge of various painting mediums. For example, watercolor techniques, calligraphy and lately digital drawing, which is becoming more and more popular.
Learn more about Matthew Matthysen and the Art in Context Team.


