How to Draw an Anime Girl – Your Easy Drawing Tutorial
Anime characters are unique because of their androgynous qualities, making it hard to distinguish between male and female characters. However, there are a few ways in which someone can capture feminine qualities that can be enhanced to represent female characters. There are also different anime styles to draw inspiration from, making it a rich space for artistic inspiration. In this tutorial on how to draw an anime girl, we will look at some key ways to define features in a way that best represents feminine qualities!
An Easy Guide on How to Draw an Anime Girl
From manga to anime adaptations, we know that there are many styles of anime character designs. From more realistic to simplified style, there is something noticeable about how characters seem either masculine or feminine. However, we will find that female anime characters are defined through similar visual qualities in various facial features. As we go through this anime girl drawing, we will learn a few simple tricks on how to create a girl anime sketch.
Step-by-Step Guide on How to Draw an Anime Girl
The process of how to draw an anime girl is quite simple, where we start by establishing some guidelines for our anime girl sketch. Once we have set the guidelines, we can work out the anime girl outlines of various features. We can then refine those features, and look at how to feminize them to establish a more feminine anime girl sketch. From there we can work in the hair as a major contextualizing feature and slowly work in some last details into the hair and the overall ani9me girl drawing. Now that we know what to expect, let’s get started.
Step 1: Shaping the Head and Facial Proportions
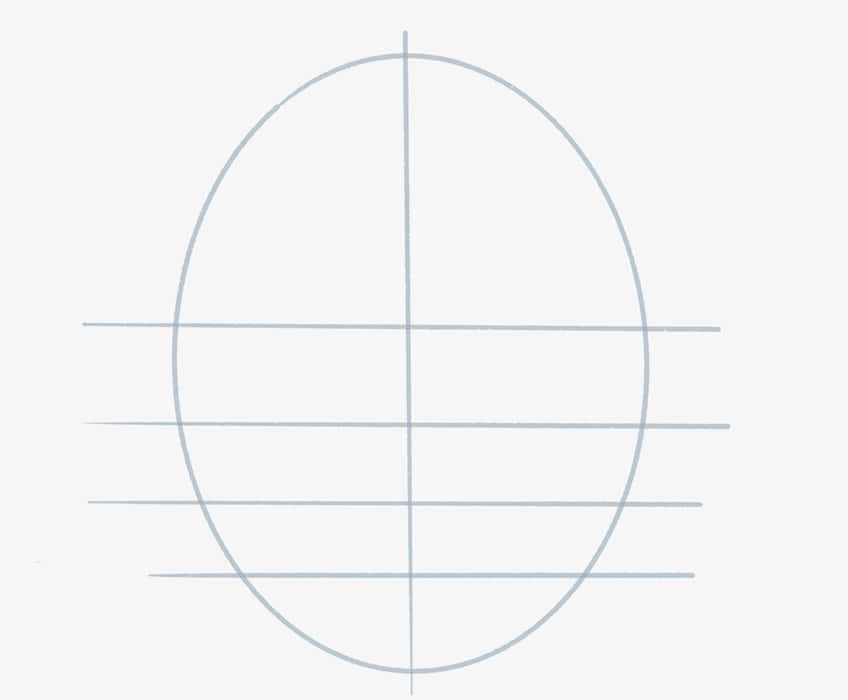
We can start by shaping the head of the anime girl, by establishing a simple elliptical shape with a few guidelines. We can draw a horizontal line through the middle, with three evenly spaced beneath it.
From there, we can move on to working through the different features, starting with the eyes. There are many simplified shapes you can work with, from circles to hexagonal shapes for different expressions in the eyes.
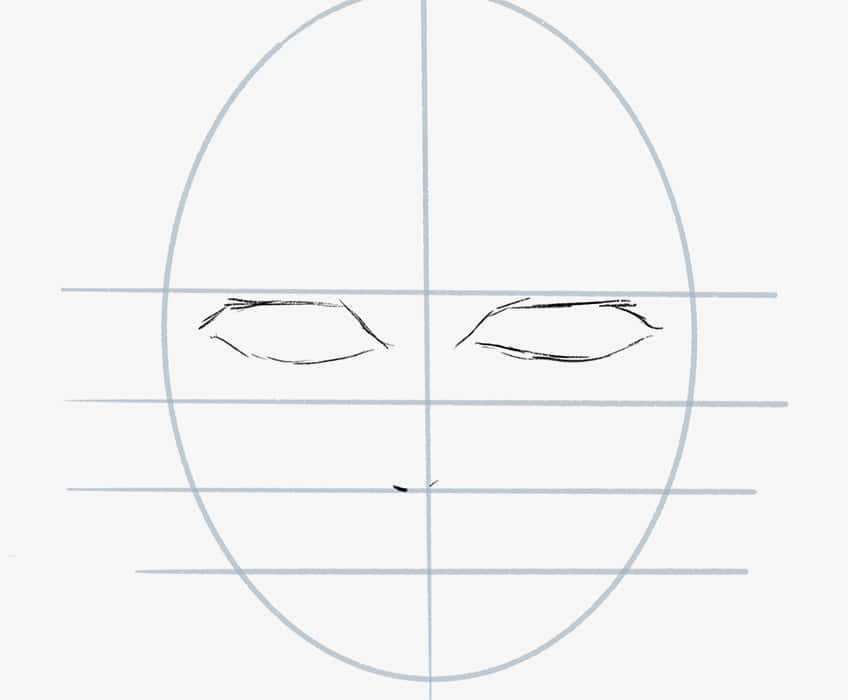
We want to then keep the nose very simple, by establishing two small marks that represent the nostrils. We can also add a structure for the mouth near the last line within the guidelines.

Step 2: Refining the Facial Features
From here we can lightly erase the drawing to leave behind some ghost lines that will assist us in refining the drawing. This is where we can now work in more refined details to give more feminine qualities to the face.
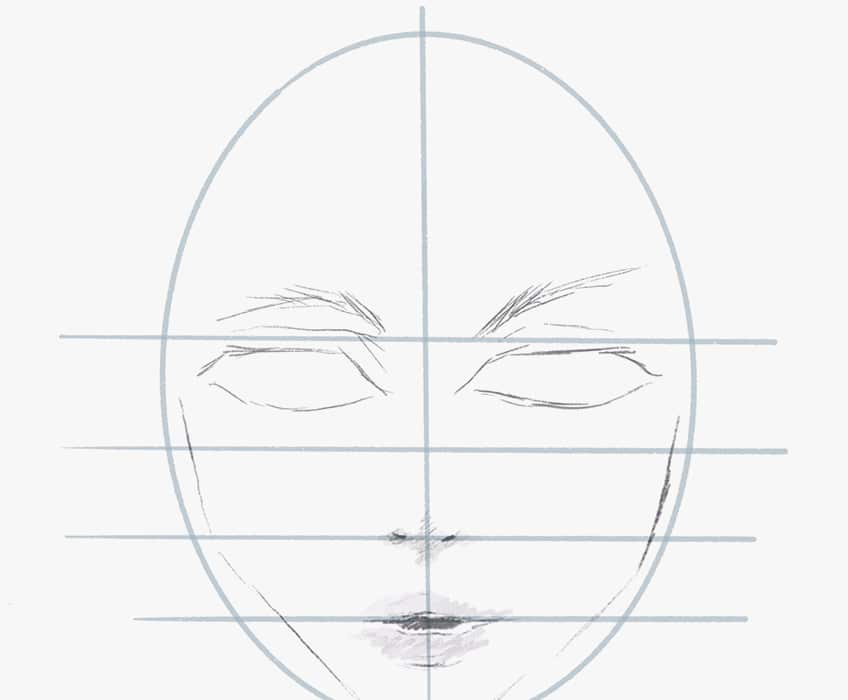
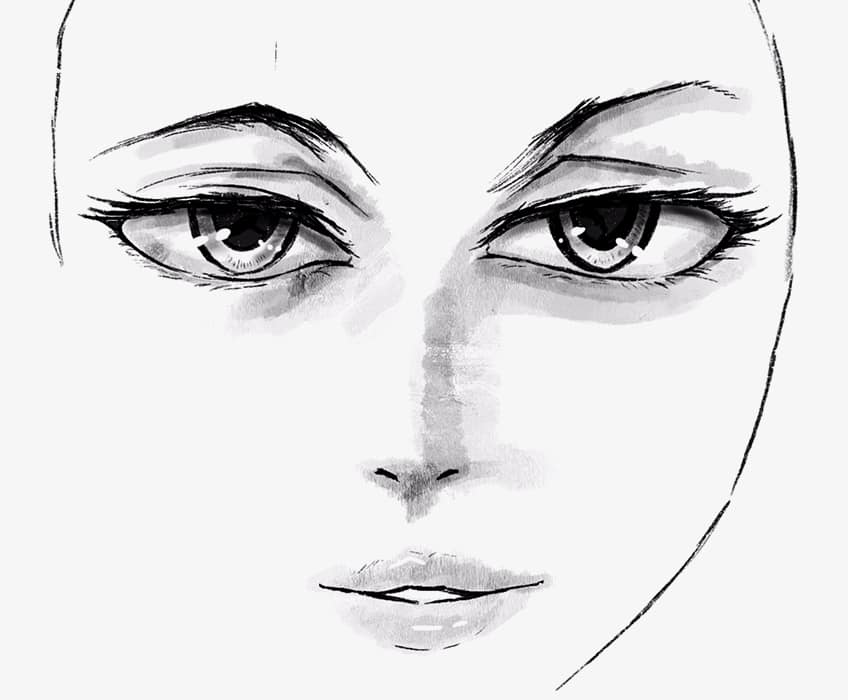
Starting with the eyes, we can embolden the upper eyelids, making them thicker and darker. This is a classic feature of anime girl drawings, which can be enhanced by elongating the eyelashes.
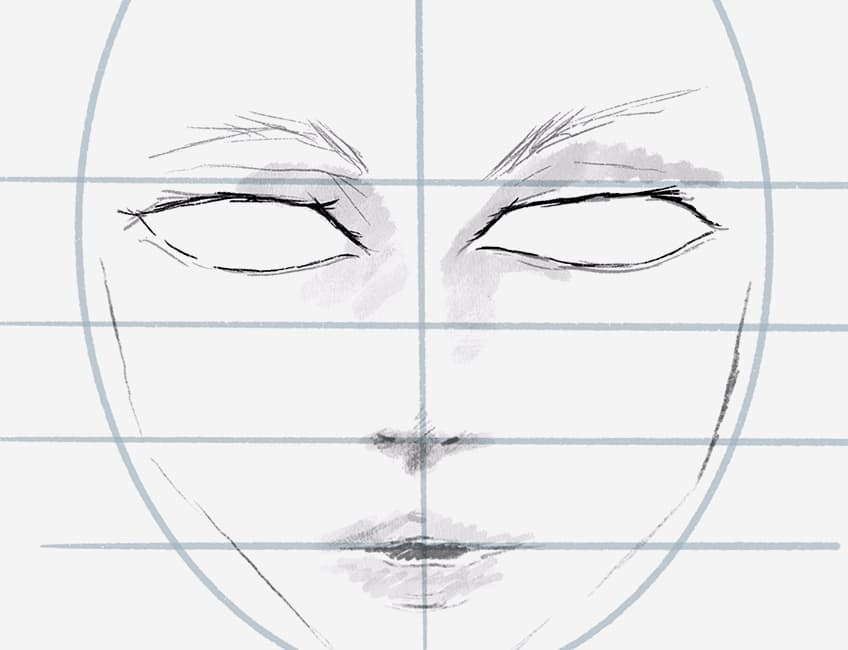
We can also keep the shadowing around the nose lighter than the nostrils in tone. We can also make it triangular in shape to emphasize the pointed quality of the nose.
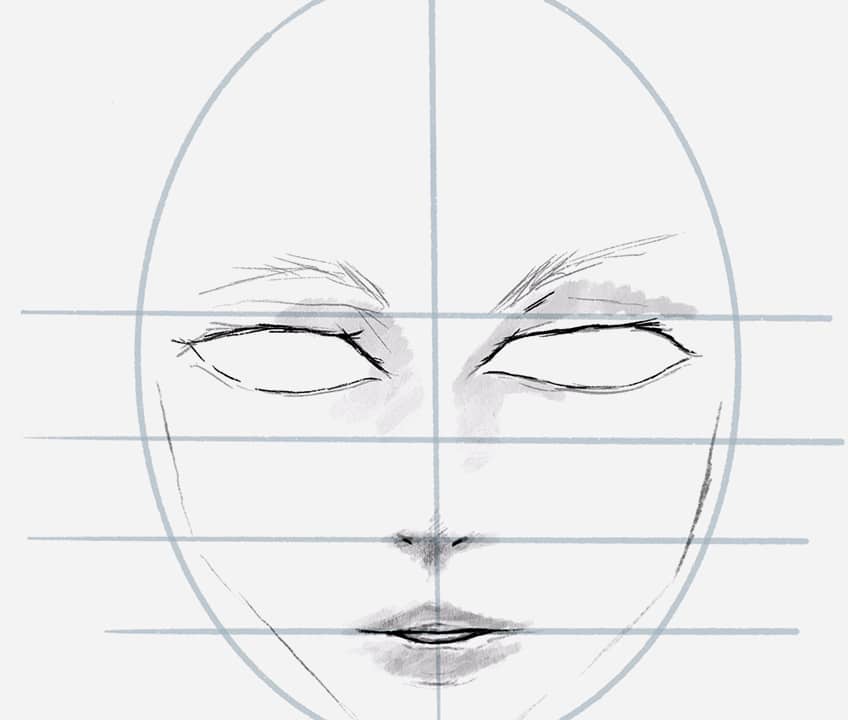
We can do a similar thing around the eyes by adding some light shading to give them more shape and dimension. This can be done around the eyebrows as well to suggest that they are protruding.
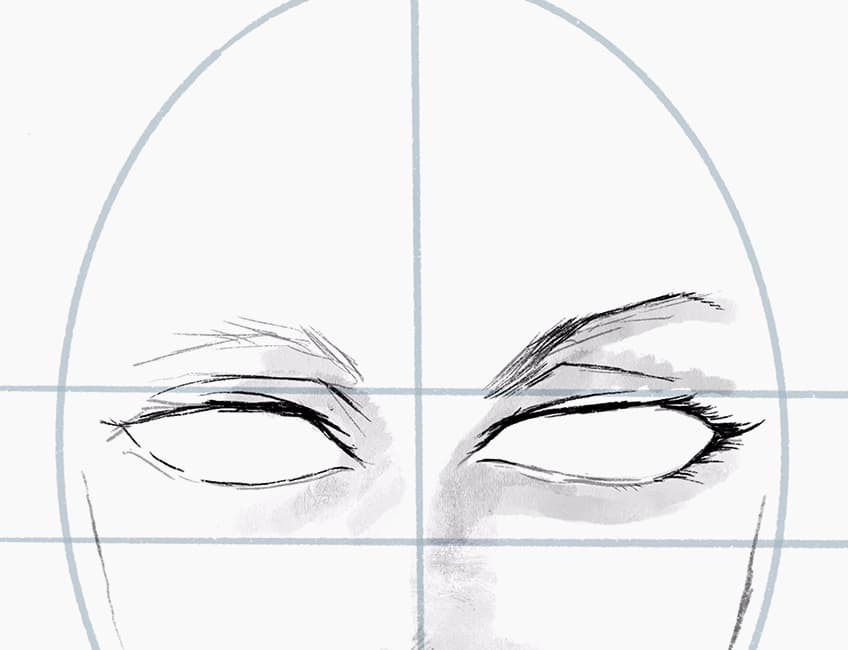
The eyebrows can also be slightly thinner to have a more feminine quality. Another way to feminine the face is to emphasize the lips with more volume, as this makes them more voluptuous.
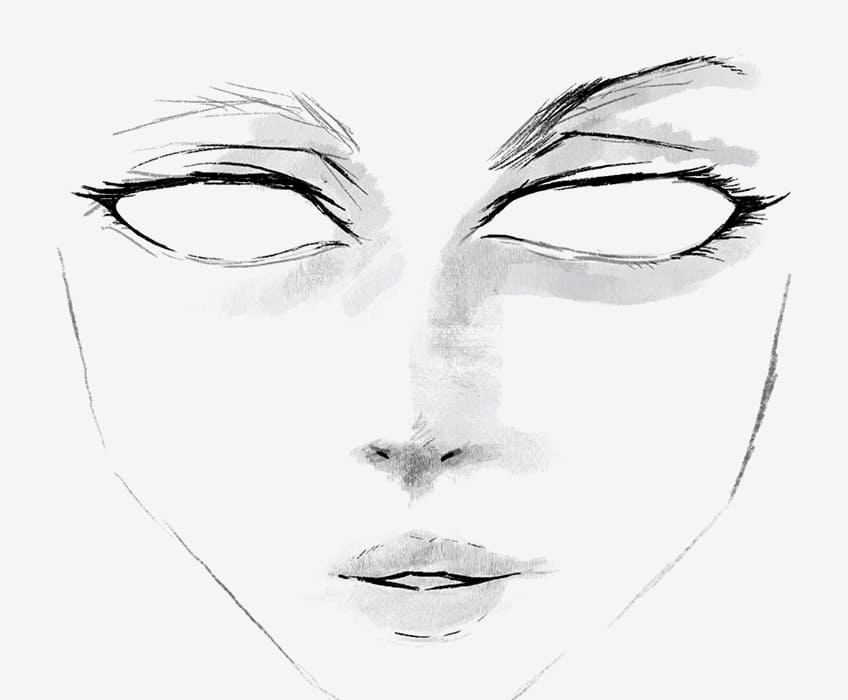
The eyelashes can be quite long and dark in the top eyelid, as this will give a more feminine quality to the eyes. The nose, however, can be very subtle, only defined by slight shadowing through soft shading.
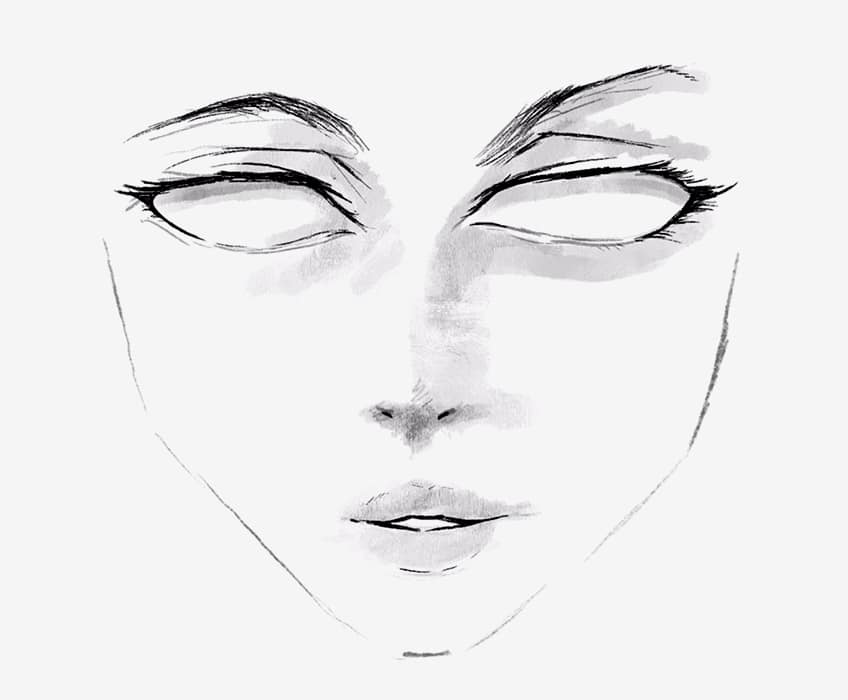
We can start to draw in the iris and pupils as semicircles that curve to the bottom of the eye. We want to imagine that the upper eyelid is hovering over the top of the eye.
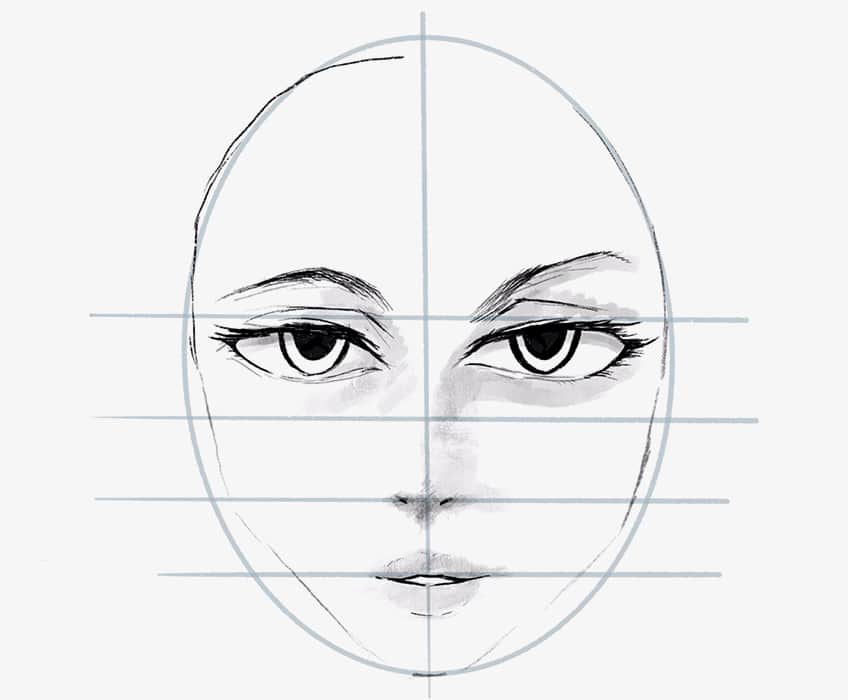
We can also have these strong lines above the eyes to define the structure of the eyelid beneath the eyebrows. We can also draw in more subtle line work to represent the bottom eyelashes to further emphasize the eyes.
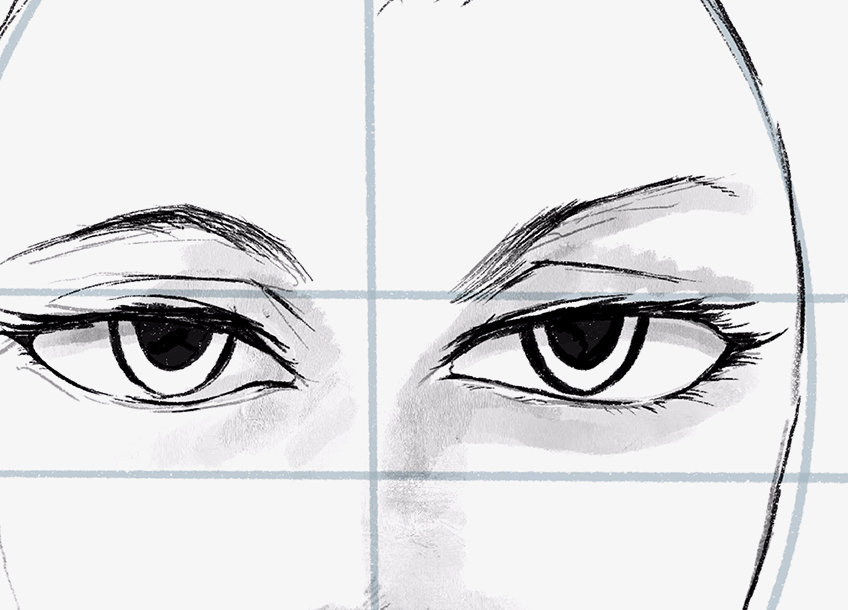
We can then proceed to add in little moments of highlights within the pupils to suggest a reflection of light off of the surface of the eyes.
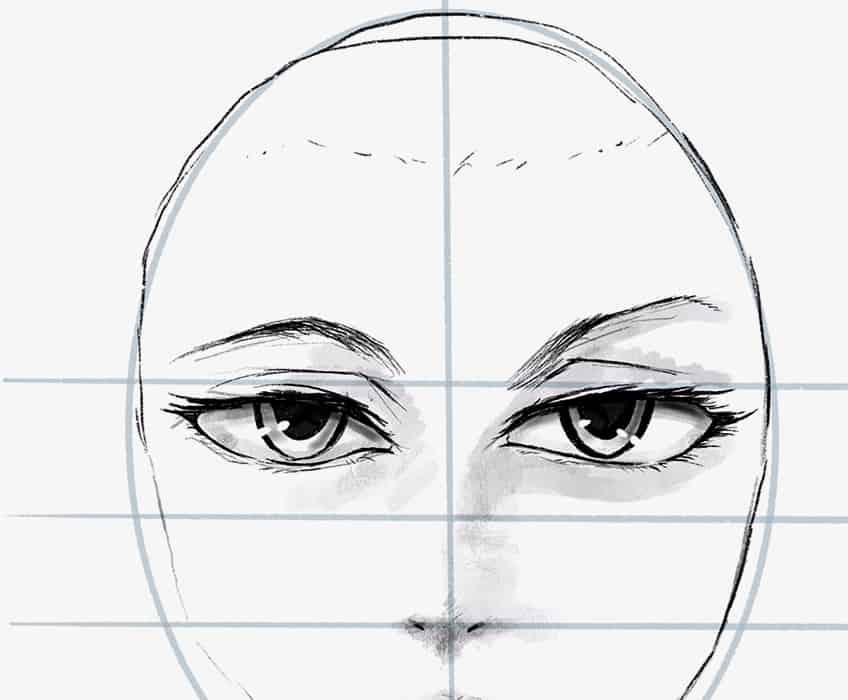
We can also enhance the eyes further by adding some shading along the top section of the eyes, beneath the top eyelids. This will define a quality of overshadowing that is established by the top eyelid.
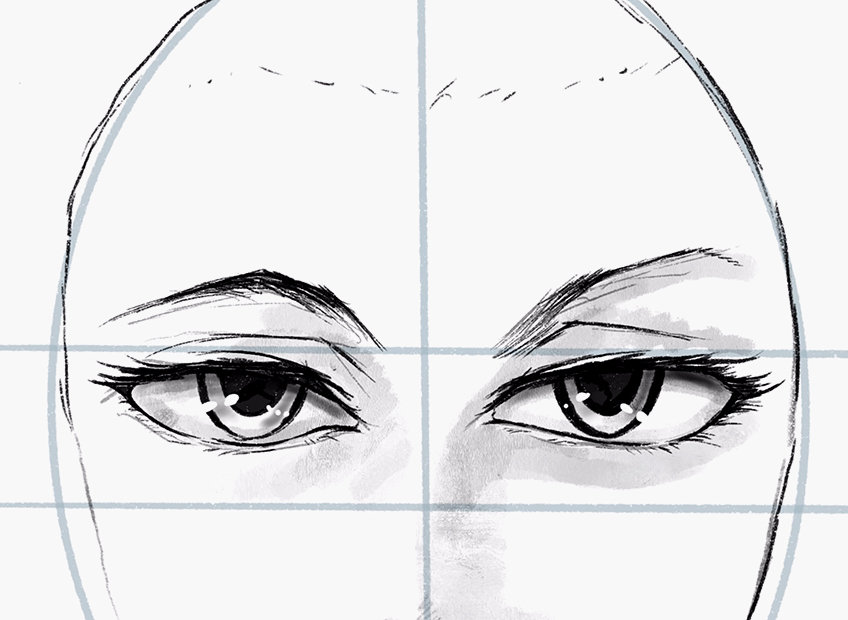
The opening of the mouth can also be established in many ways, depending on what the character is doing. However, we want to make sure we give both top and bottom lip structure and shape, we can also take it further by giving them slight highlights.
Step 3: Shaping the Hair and Head
This is where we can start playing with the structure of the hair and how it forms around the head. We want to make sure that the hair hovers over the head, this way it will suggest more volume.
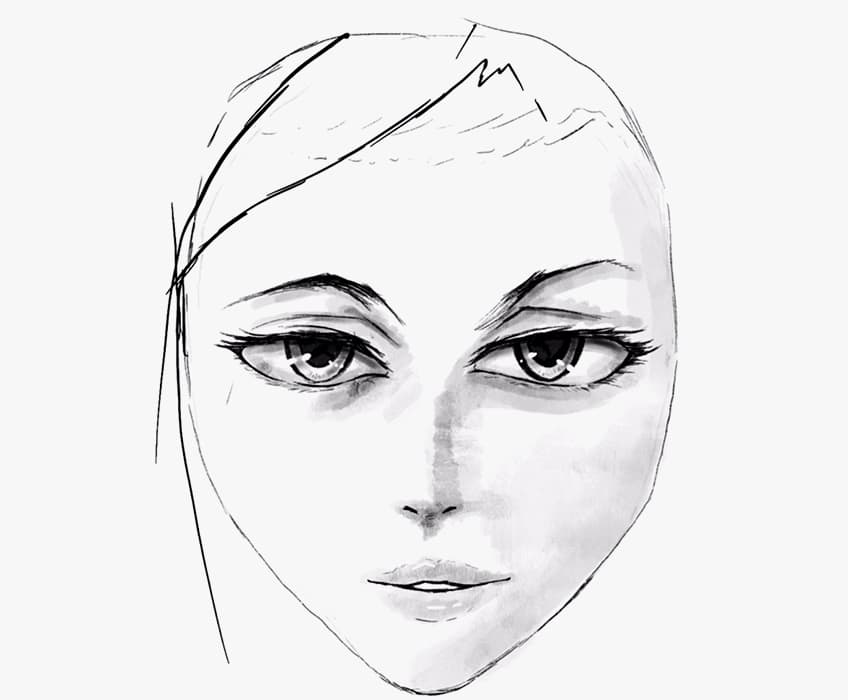
Take your time trying out different structures of hair around the head, you want to think about how the hair will enhance the character. Think about different hairstyles and how it will affect the aesthetic of the character.
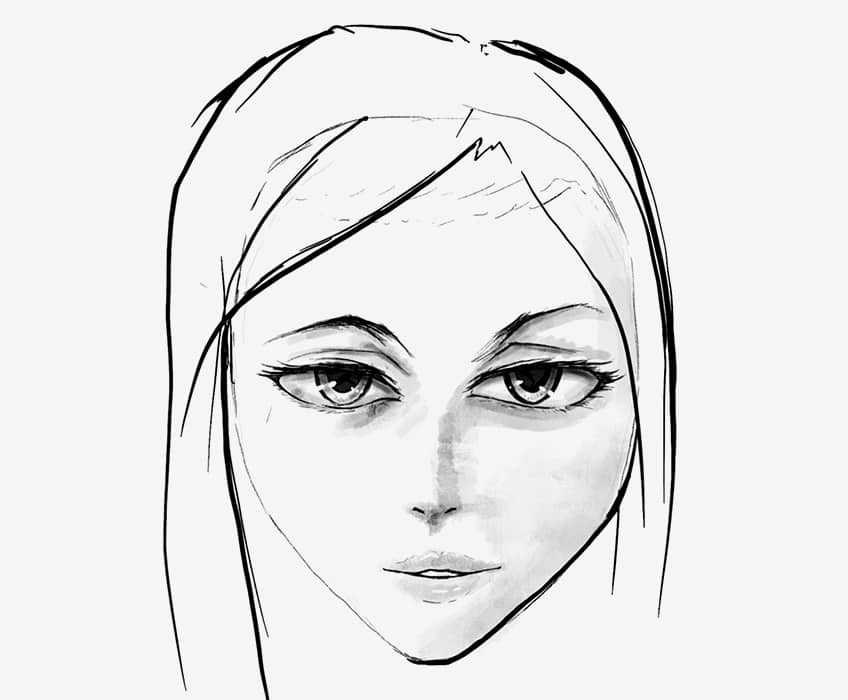
You also want to make sure that before you settle on a hairstyle, make sure that the proportions of the head make sense underneath the hair structure. This will give it a more realistic quality of how it sits on the head of the character.
Step 4: Deciding on a Hairstyle
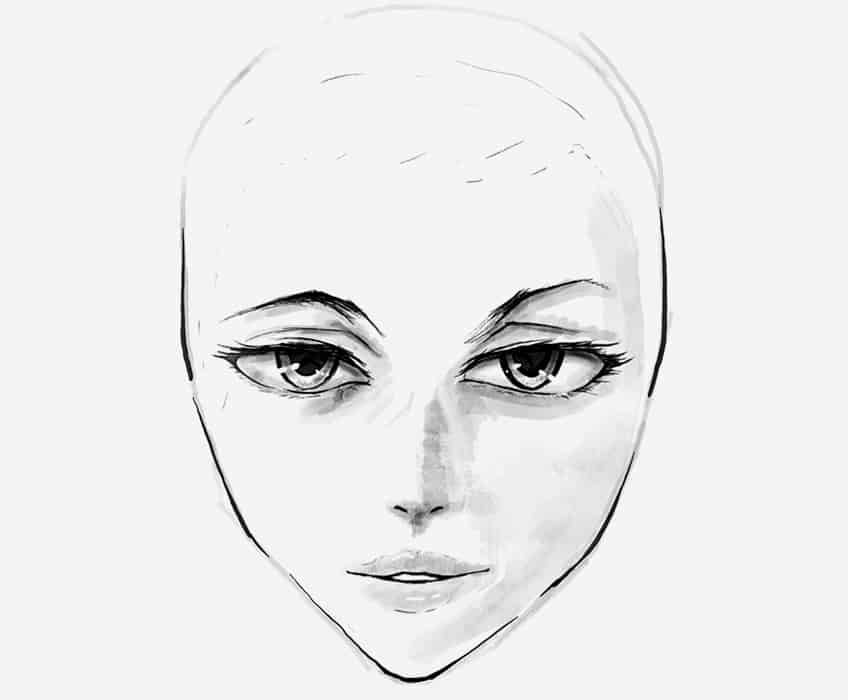
Once you have lightly worked out the shape and proportions with your anime girl drawing, you can then proceed to draw the hair starting with the hairline.
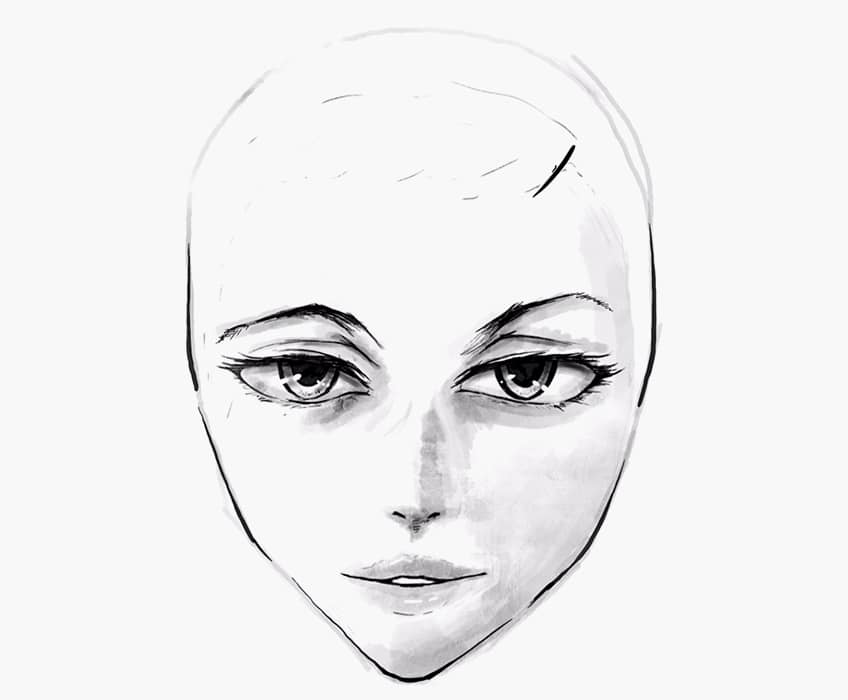
Once you have decided on a shape and hairstyle, you can then start to fill it in, making sure you fill in the entire shape of the hair structure.
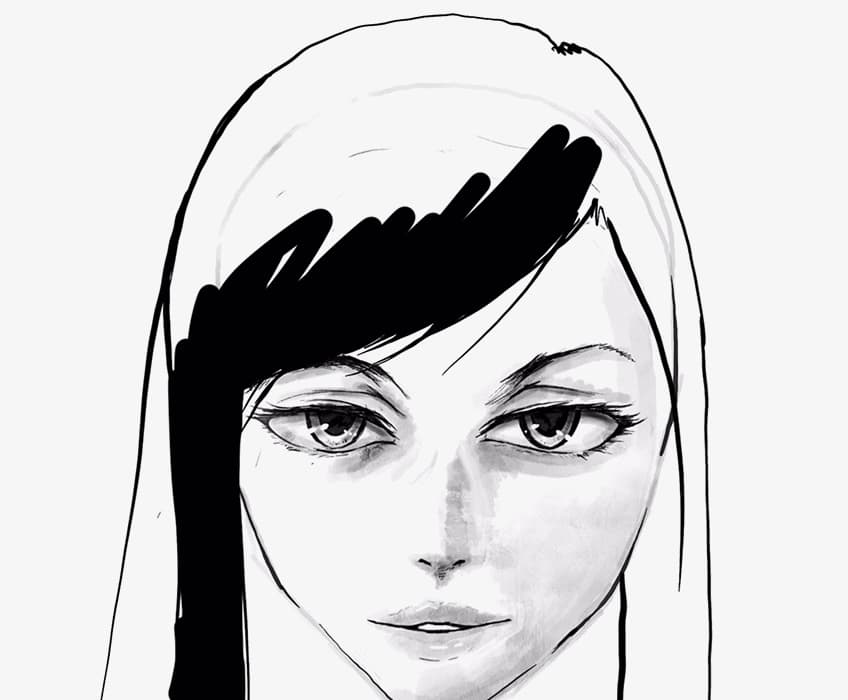
Slowly work through a series of lengths, thinking about where you would like the hair to fall and at what length you would like it to be.
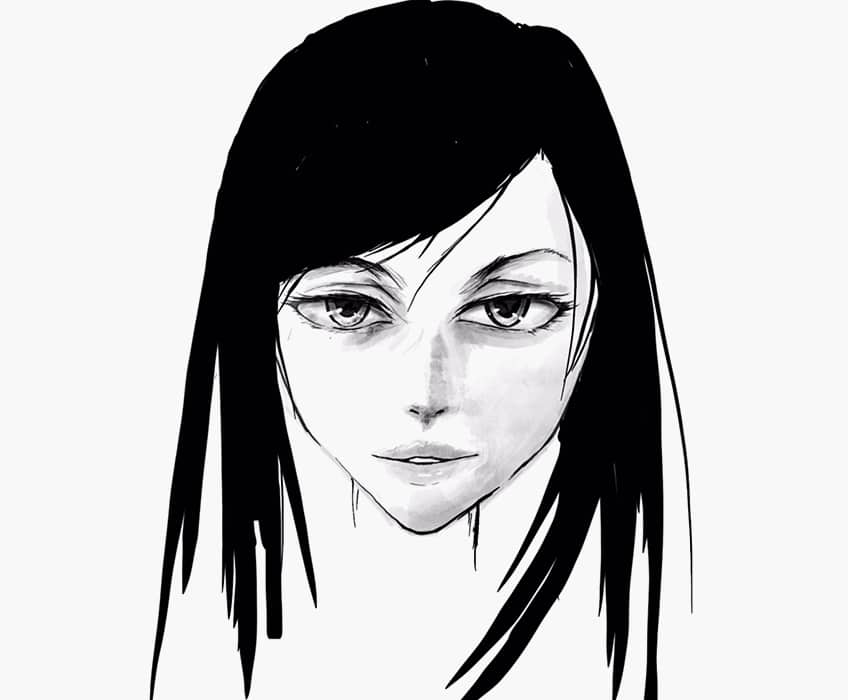
As you continue to fill in the hair, we should start to see how it contextualizes the character a little more effectively. We can also establish some other surrounding features to further contextualize the profile.
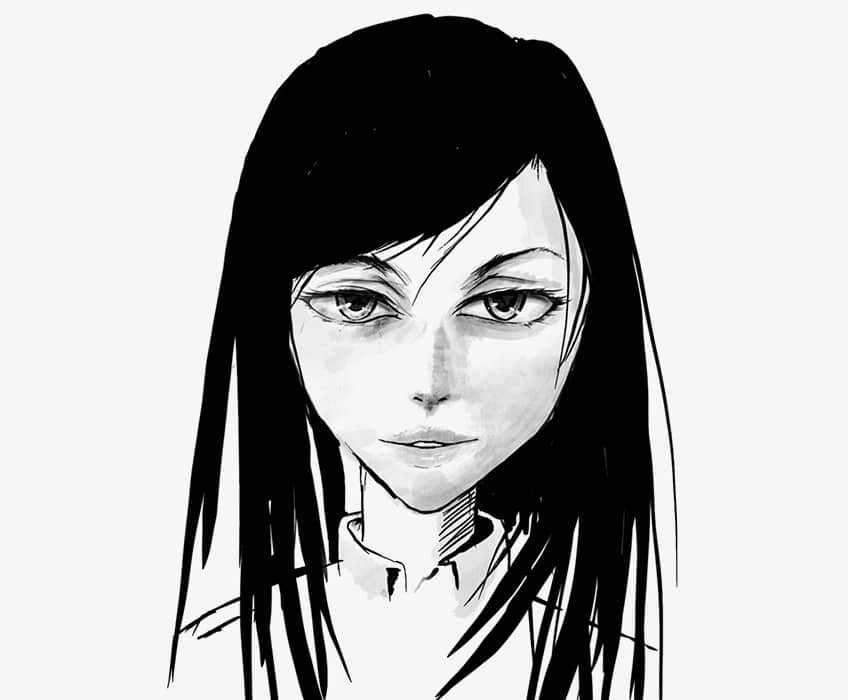
Step 5: Refining the Hair Structure
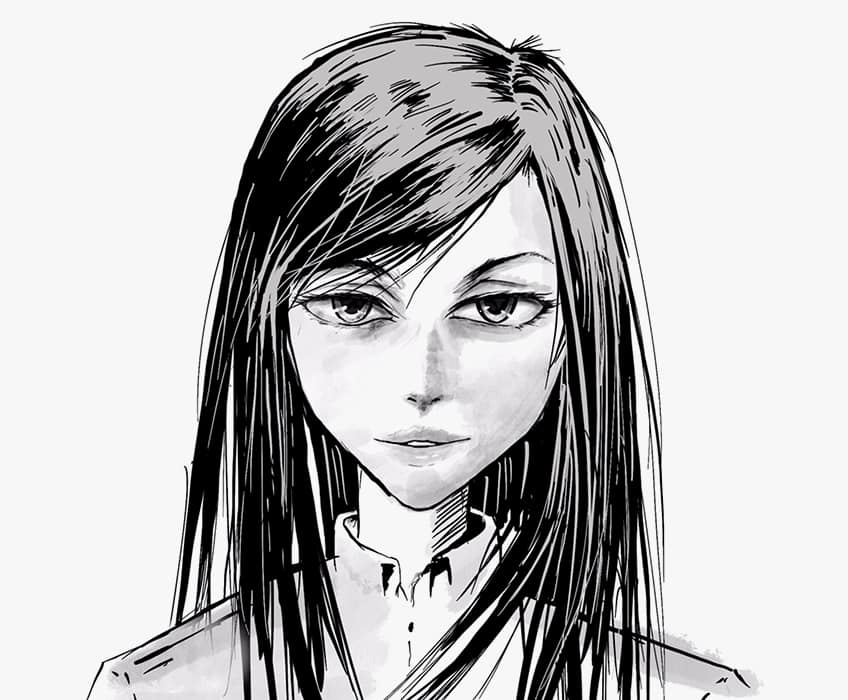
This is where we can now start to enhance the hair by integrating highlights that flow with the structure of the hair. Try using a lighter color to really bring out the quality of highlights within the hair strands.
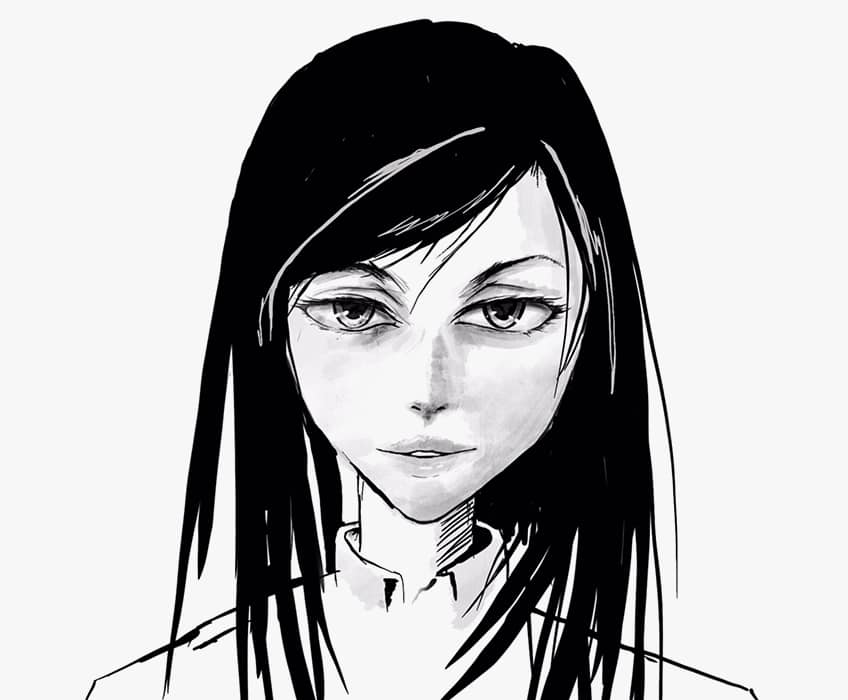
You want to establish these zig-zag patterns along the curved surface area of the hair structure. By doing this, it will give the impression of highlights along the stranded qualities within the hair.
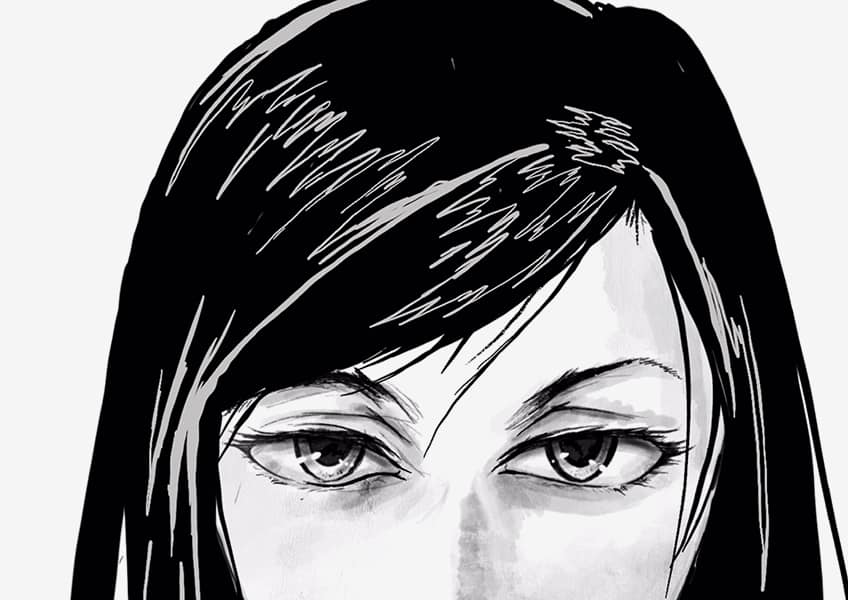
You can take it further by making one side of the hair more illuminated than other areas of the hair, having a juxtaposition between darker and lighter moments in the hair.

These highlights can then become single lines that define strands that move down the hair structure as it falls. You want to have a combination of both darker and lighter moments in the hair.
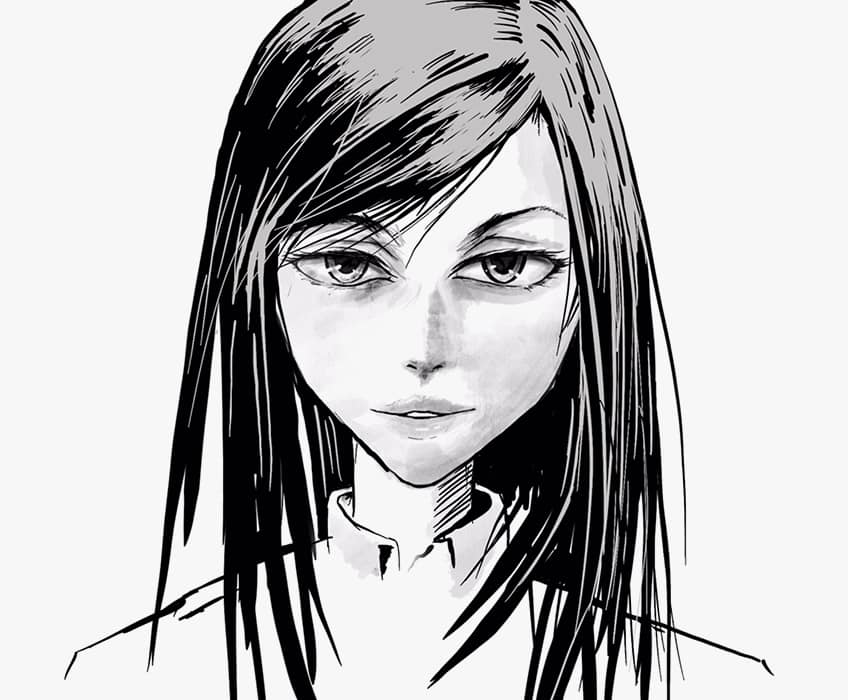
Take your time with both dark and lighter marks, creating thicker bunches of hair with single-strand sections that flow in between. Try to think of how the hair would fall on a real person and apply those concepts to your character.
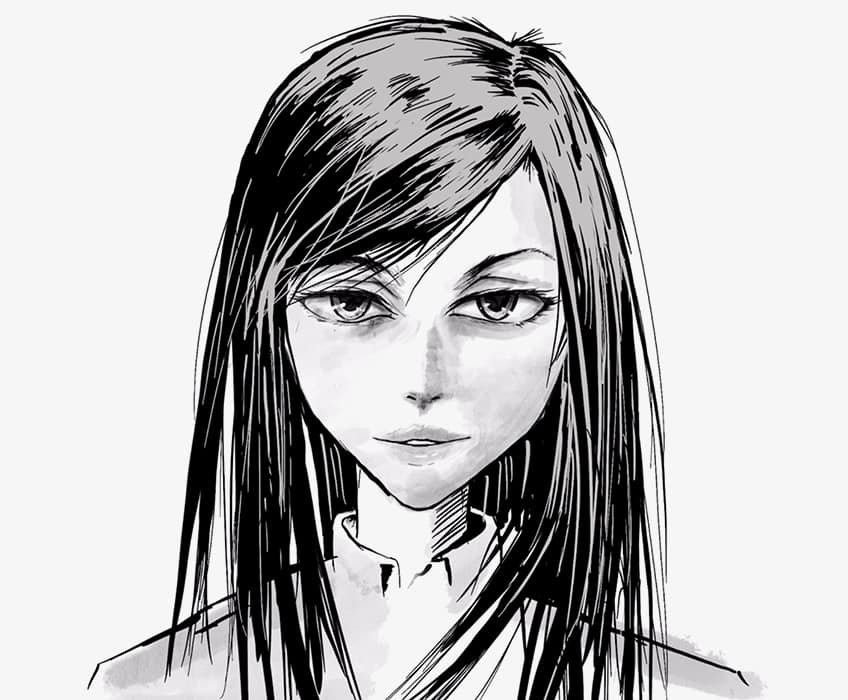
However, if you want a more minimalistic quality to your character design, you can keep the hair structure more uniform. This is providing you with a few options on how to define the flow and placement of hair on the character.
Step 6: Adding Color to Your Character
This step is more of an extra step to think about, but adding color and filling in the character can be a great way to think about the overall design.

This provides you with the option of having a colored version and a monochromatic version of your character. Thinking through color palettes is always a good way to think about the overall design of your anime girl drawing.
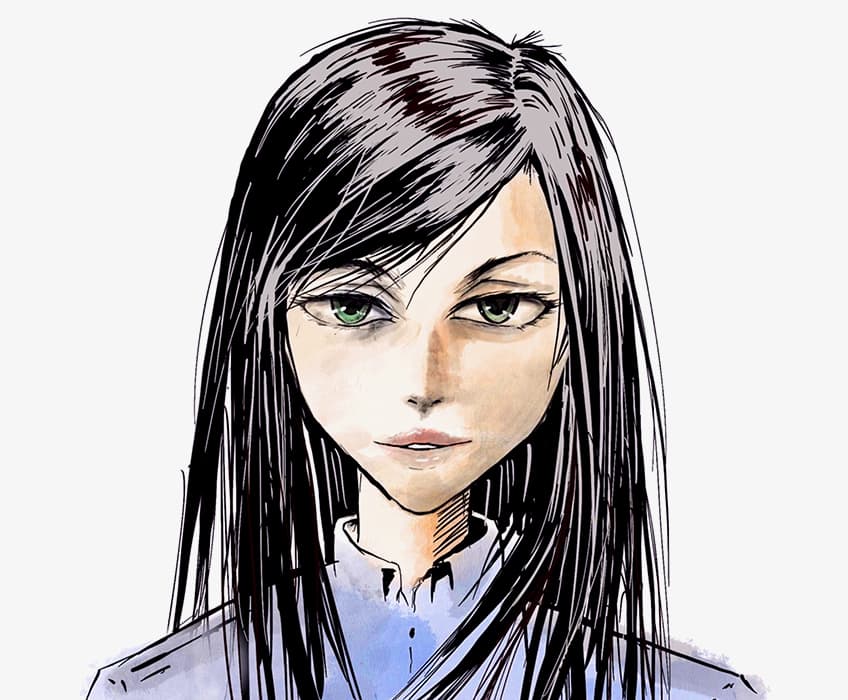
There you have it! A few simple steps on how to draw an anime girl. Anime girl drawings are fun once you understand key principles, allowing you to adapt them for a variety of character designs.
Tips and Tricks to Remember
- Establish some guidelines. Once you have the anime girl outlines of various features, you can then edit and tweak them to your liking.
- Exaggerate proportions for animated qualities. This means that you can think about normal proportions and either minimize or enlarge them for certain effects.
- Work with highlights for texture. Highlights can be a great way to emphasize certain features, especially the eyes, hair, and lips in your anime girl drawing.
- Play around with hairstyles. Think about hairstyles before committing, and lightly sketch a few as if you are fitting them on the character as a trial period.
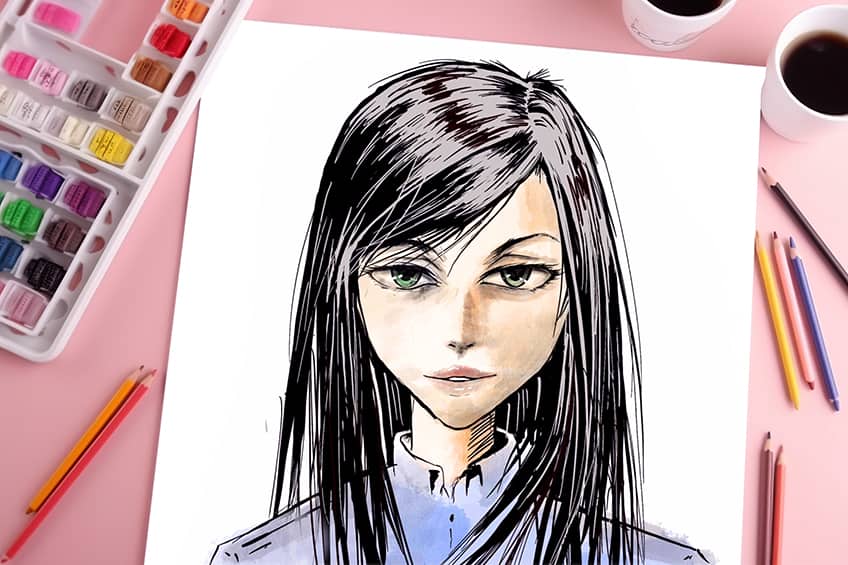
Anime girl drawings can be done in so many ways, and the drawings often shift between realistic and simplified. Depending on your intentions, you will find that some character designs are more simplified than others. However, the fundamental principles on how to feminize features remain the same. Now that you know how to give features a more feminine quality, you can play around with your character designs.
Frequently Asked Questions
How Do You Draw Anime Eyes on a Girl?
Anime characters are interesting because of how their facial features are exaggerated. We will find that the eyes are the most commonly exaggerated features, such as the eyelashes being emphasized to bring more shape and a hard edge to the shape of the eye. Having darker upper eyelashes and elongating them near the outer edges of the eye is a great way to enhance the feminine qualities in the eye. Another great way to emphasize the quality of the eye is to have shading beneath the top of the eyelid to establish shadow along the top of the eye. We can also work in some highlights to represent a quality of reflection off the glossy eyeball. Whether you create enlarged circular eyes or more hexagonal eyes, you will want to make sure that the eyelashes are dark and elongated for a more anime-girl drawing aesthetic.
How to Draw Hair on an Anime Girl?
Hairstyles can be a big distinguishing factor within anime characters that can define them as either masculine or feminine. In a more obvious sense, long hair will have a more feminine quality. However, if you represent the facial features in a feminine way, the hairstyle can be established in many ways, and can be a unique quality of the character. One way to represent anime hair can be done in a very simplified way, where you establish a basic outline of the hair structure. Another way is to establish more of a realistic quality in the hair, where you define the shape, then build up the hair with darker tones while working on highlighting features. Either way, you want to make sure that the hair forms along a realistic hairline that is proportional to the head of the character, and hovers over the scalp to suggest volume.
Matthew Matthysen is an educated multidisciplinary artist and illustrator. He successfully completed his art degree at the University of Witwatersrand in South Africa, majoring in art history and contemporary drawing. The focus of his thesis was to explore the philosophical implications of the macro and micro-universe on the human experience. Matthew uses diverse media, such as written and hands-on components, to explore various approaches that are on the border between philosophy and science.
Matthew organized various exhibitions before and during his years as a student and is still passionate about doing so today. He currently works as a freelance artist and writer in various fields. He also has a permanent position at a renowned online gallery (ArtGazette) where he produces various works on commission. As a freelance artist, he creates several series and successfully sells them to galleries and collectors. He loves to use his work and skills in various fields of interest.
Matthew has been creating drawing and painting tutorials since the relaunch in 2020. Through his involvement with artincontext.org, he has been able to deepen his knowledge of various painting mediums. For example, watercolor techniques, calligraphy and lately digital drawing, which is becoming more and more popular.
Learn more about Matthew Matthysen and the Art in Context Team.


