How to Draw a Diamond – A Fun and Easy Diamond Sketch Tutorial
The hardest substance known to man and a symbol of love and commitment, the diamond is a shining jewel from the innermost workings of the earth. In today’s drawing tutorial, we guide you through the process of creating a realistic diamond drawing in a few easy-to-follow steps. At the end of this tutorial, you will have a stunning, shining diamond drawing in three dimensions, so gather your drawing supplies, and let us jump right in!
Realistic Diamond Drawing Tutorial in 17 Easy Steps
Cut diamonds, like the one we are drawing today, have so many beautiful facets of different shapes. Symmetry is also an essential feature of a diamond sketch like this. This can make creating a diamond drawing intimidating to even the most seasoned artists. Our easy diamond drawing tutorial helps you to nail all of these aspects through the use of construction lines and shapes. Construction shapes help us to map out our diamond drawing before adding any detail and coloring.
You can see an outline of the easy diamond drawing tutorial in the collage below.
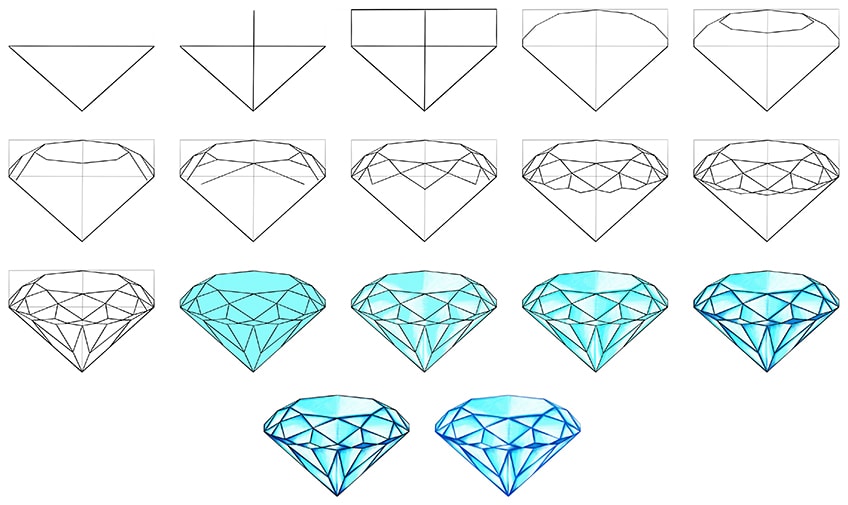
Our tutorial is written for a painting medium, but you can choose any medium for the coloring steps. If you feel more comfortable with coloring pencils, or perhaps a digital drawing tablet, then use that! Whichever medium you would like to use, gather your supplies, and let us get drawing.
Step 1: Draw the Base of the Diamond Sketch
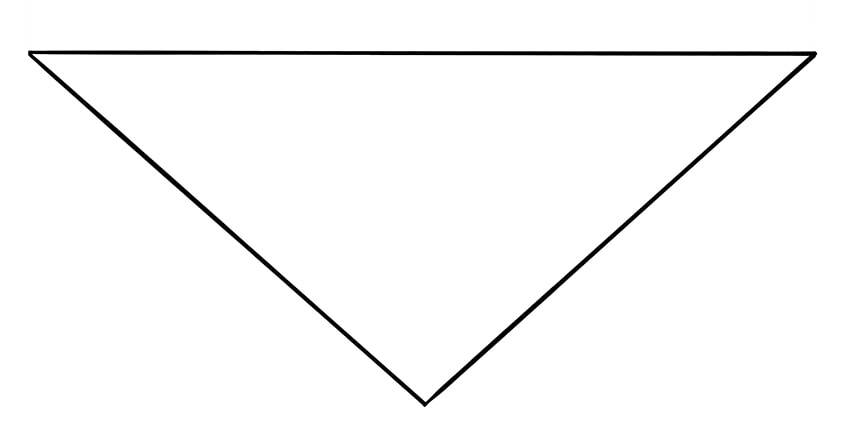
We begin our diamond sketch with a base shape which is an isosceles triangle. Find the very central point of your canvas, and draw a large upside-down isosceles triangle.
This is only the base shape, and we will be building on it on all sides, so make sure that you leave plenty of space around the triangle.
Step 2: Create Divisions in the Base
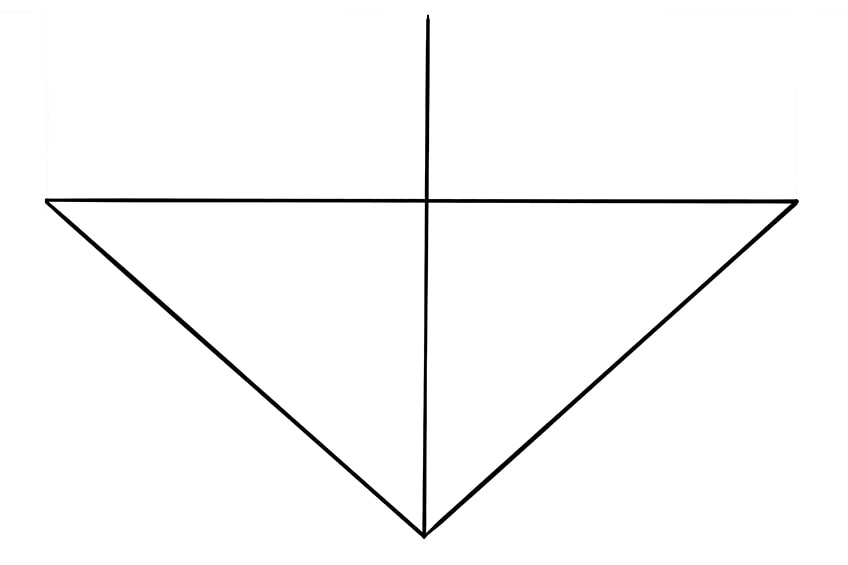
The triangle we drew in the last step will represent the bottom point of your diamond drawing. We are now going to create a division in the center of this triangle, which is the beginning of the facets. Simply draw a vertical line down the center of your triangle shape.
The line should extend up above the triangle a little way.
Step 3: Constructing the Top of Your Diamond Drawing
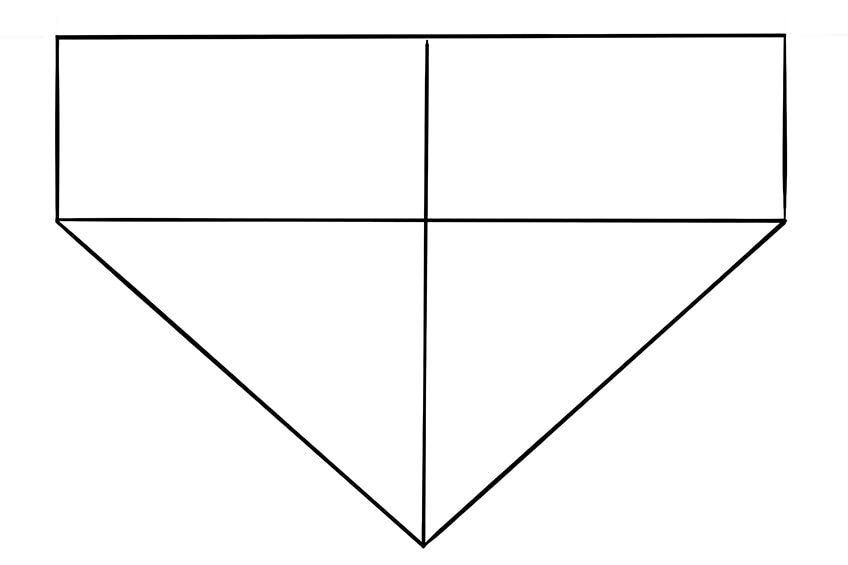
In this third step, we are going to construct the top line of your diamond sketch. Begin by drawing a vertical line on each endpoint of the base triangle. These lines should extend up to be in line with the central division line that you drew in the previous step.
Finish this step by drawing a horizontal line between each of these endpoints to create a rectangular top shape.
Step 4: Shaping the Top Facets
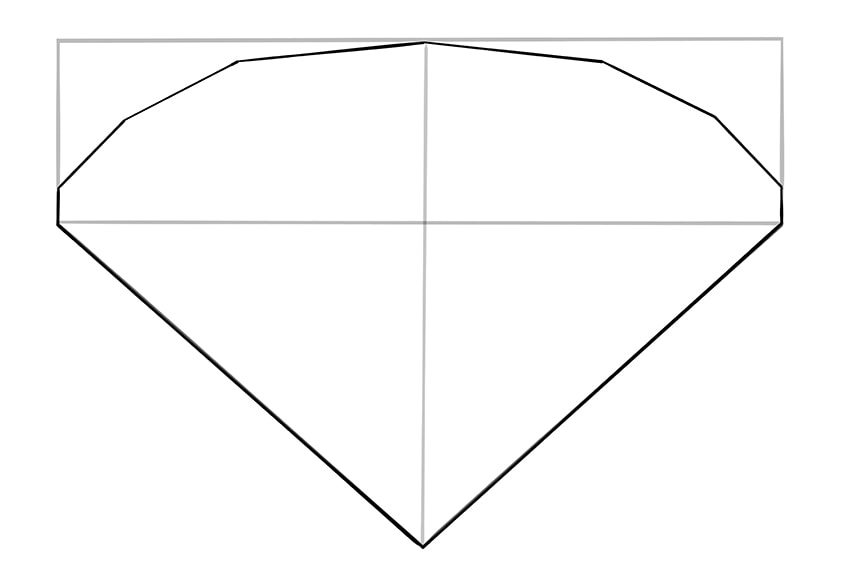
Within the top rectangle of the diamond shape, you are now going to use a series of shorter lines to create the facets of the top of your diamond drawing. Begin at the mid-division line, and use short lines that slope down towards the end.
Remember for the sake of symmetry to ensure that the lines on either side of the division are mirrored.
Step 5: Outlining the Inner Edge of the Diamond Top
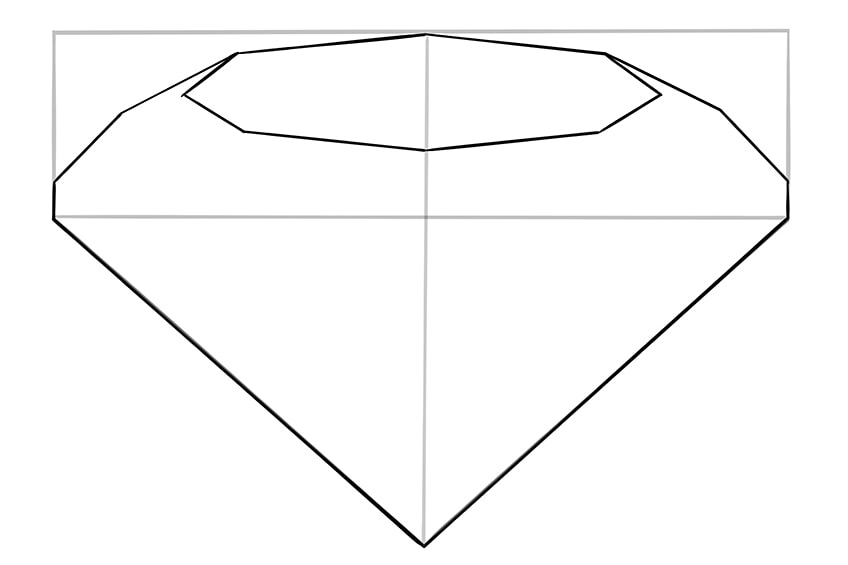
You are now going to make your diamond drawing 3D by creating the top edge of the diamond. From the top edges, you drew in the last step, begin to draw cutting edge lines that are mirrored around the central dividing line.
You want the bottom of this top shape to end just below the halfway mark in the rectangle construction shape.
Step 6: Begin to Create the Facets Throughout the Diamond
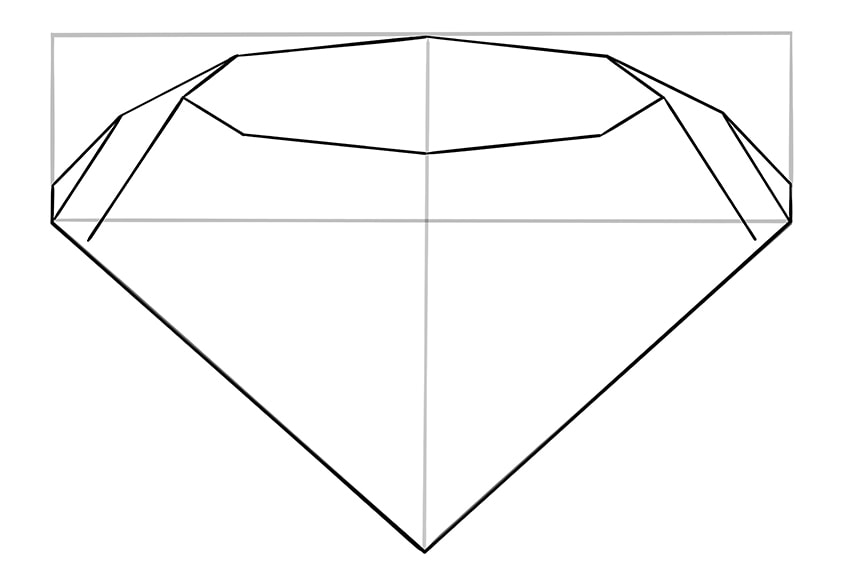
In this step, you are going to start to create the facets throughout the body of your diamond drawing. Using short straight lines begin to create geometrical shapes that extend from the top shape of the diamond to the sides of the triangle.
Take a look at our example below to see exactly where to place these shapes.
Step 7: Adding to the Top Facets
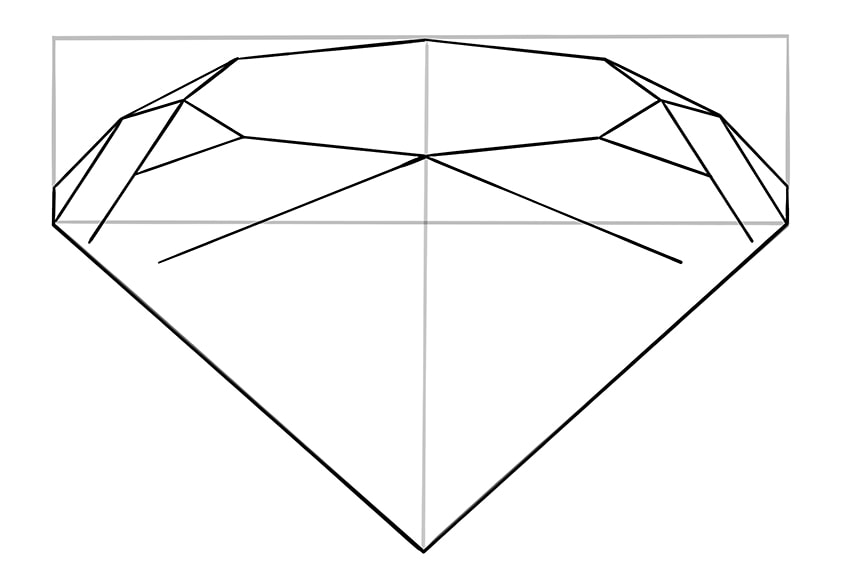
You are now going to draw some more cutting lines to continue creating the top facets of your cut diamond drawing. From the center of the top diamond shape, take two lines down and out towards the side of the triangle shape. These lines should end just before the edge of the triangle. To finish this step, take a line on each side from the top shape to join the lines you drew in the last step.
This should create two little triangles on the side.
Step 8: Finishing the Top Facets of Your Diamond Sketch
In this step, you can now finish the facet shapes at the top of your realistic diamond drawing. Connect each of the cut lines with the edge cuts you drew in the previous step.
You will now have three diamond-shaped facets that overlap the bottom of the top rectangle construction shape.

Step 9: Finish the Mid Cuts
You will need to draw a few lines in this step to connect the bottom of your diamond facets to each other. Begin by taking a line down from the meeting point of your three main diamond-shaped facets, and then use two angled lines to join them together with the bottom points of the facets.
At the end of this step, you should have finished the mid-cut line of your diamond sketch.

Step 10: Finishing the Bottom Cuts of Your Diamond Sketch
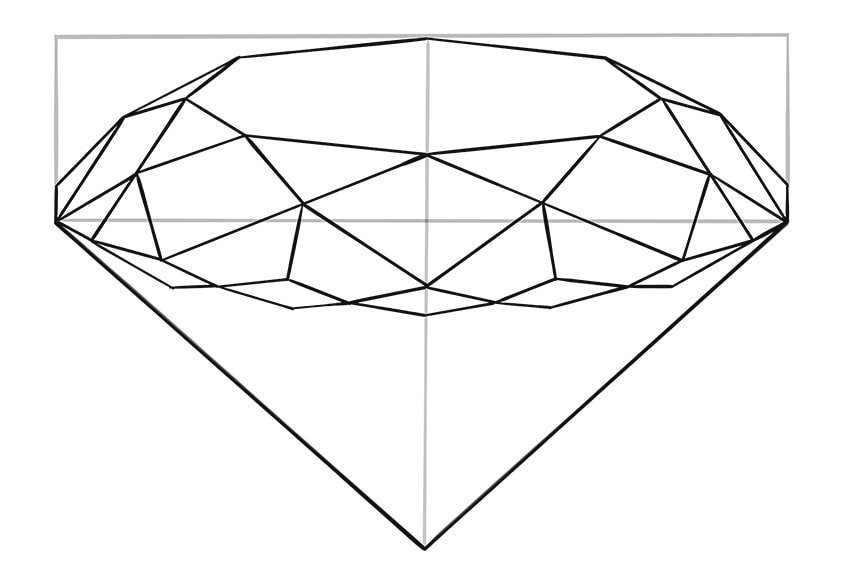
In this step, you are going to finish off the bottom of this last section by drawing five narrow rhombus shapes.
At the end of the step, your diamond drawing should look like our example below.
Step 11: Filling in the Diamond Point
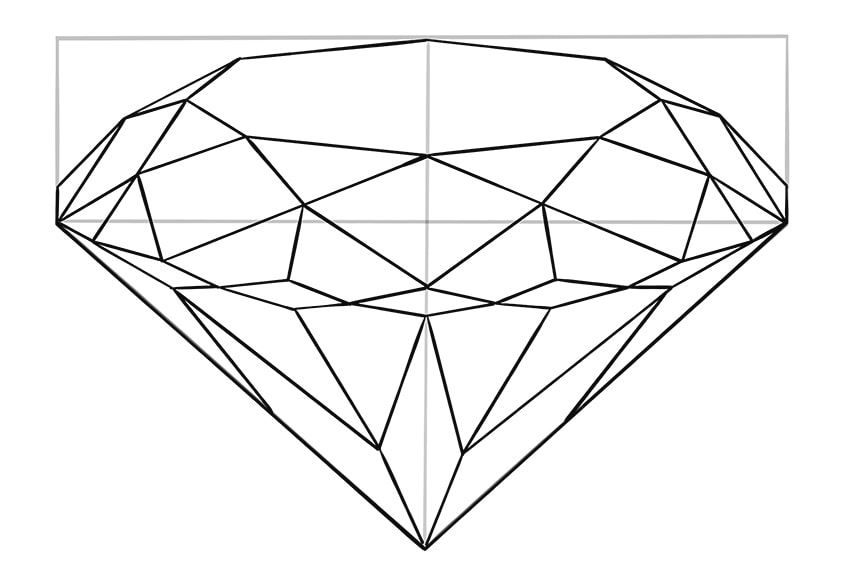
We are now going to finish the facets at the bottom point of our diamond drawing. Begin with two lines that extend down from two of the narrow rhombus shapes from the last step that ends at the bottom point of the diamond sketch.
You can then use a series of angled lines to create several triangular shapes.
Step 12: Let Us Start Coloring!
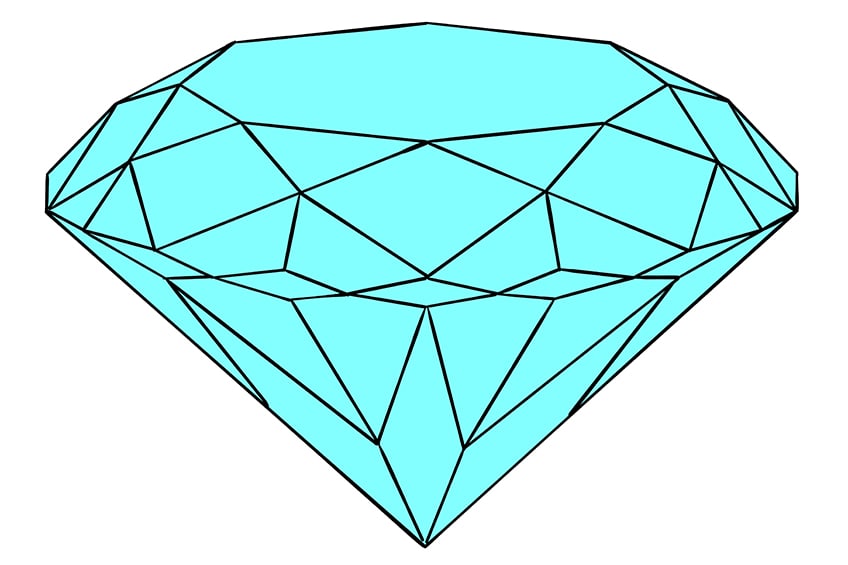
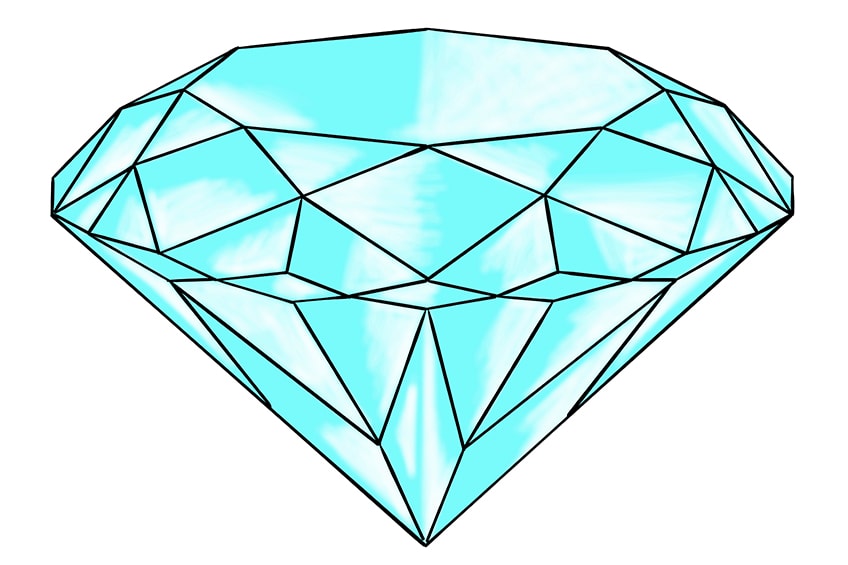
We begin our coloring process using a bright cyan blue shade. Use a regular paintbrush and fill the entire shape of your diamond drawing with this color. The blue may seem an odd color for a diamond, but in the next few steps, we are going to add white to create the effect of a beautiful glinting stone.
Make sure that this base coat is even, without any blotches.
Step 13: Highlighting Your Realistic Diamond Drawing
In this step, you are going to need a soft blending brush and some white paint. Add a generous amount of highlighting to each individual segment of your diamond sketch, covering almost half of each shape.
The highlighted areas should not be purely white, you still want the base color to peek through a little.
Step 14: Adding Contrasting Structure
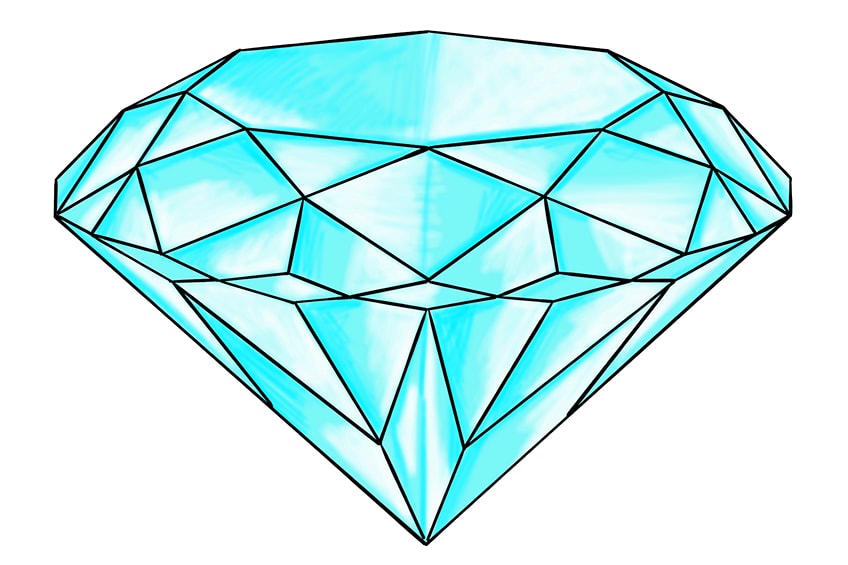
Find a slightly darker shade of cyan paint, and use a small blending brush to add a shadow to the edges of each facet. You want to create definition and structure to the cut shapes of your diamond drawing.
Try to blend the contrast out a little, as you do not want very harsh lines.
Step 15: Adding the Second Color
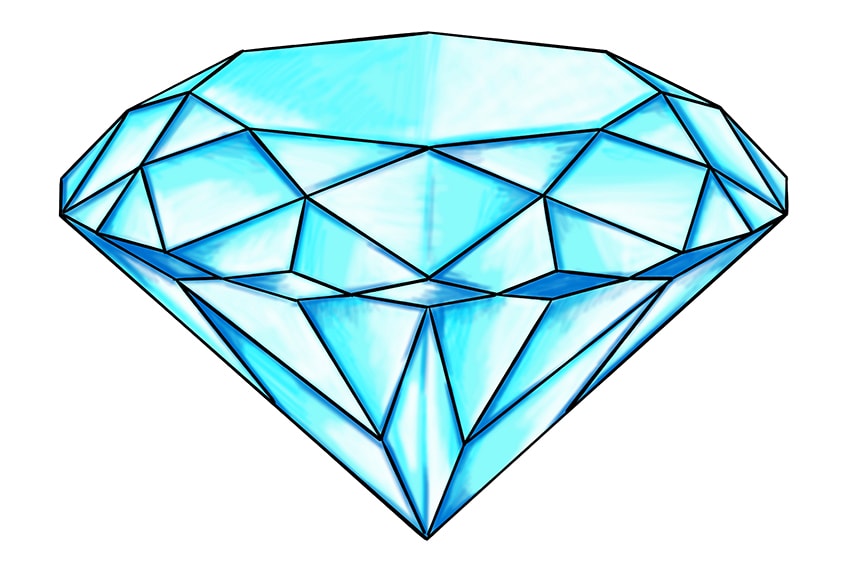
In this step, you are going to require darker blue paint and a small soft brush. Use this color to carefully trace the edges of each cut facet, as you did in the previous step. Focus the darker blue on the bottom of the diamond drawing.
Remember to allow the previous color layers to show through slightly.
Step 16: Deepening the Definition
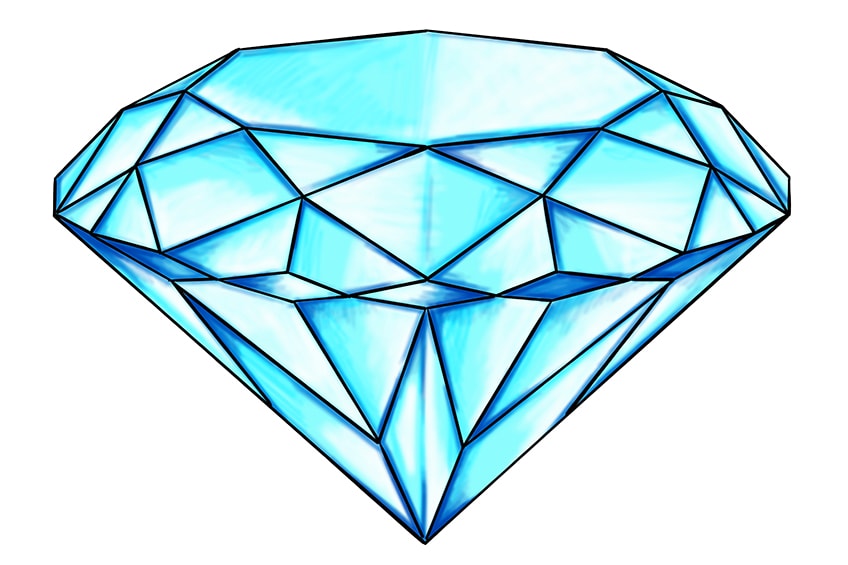
In a similar way to the 14th step, you can now use a small blending brush and your dark blue paint to trace the outlines of each facet. This will enhance the structure.
You also want to create a more realistic blend of color in the structure lines.
Step 17: Finishing Your Realistic Diamond Drawing
To finish your easy diamond drawing, you can now erase the outlines. If you are using a digital tablet, you can simply remove the outline layer. If you are working with a physical medium, use the corresponding color at each point of the outline to carefully trace over the structure.
You should now have a seamless diamond drawing without any visible black outlines.
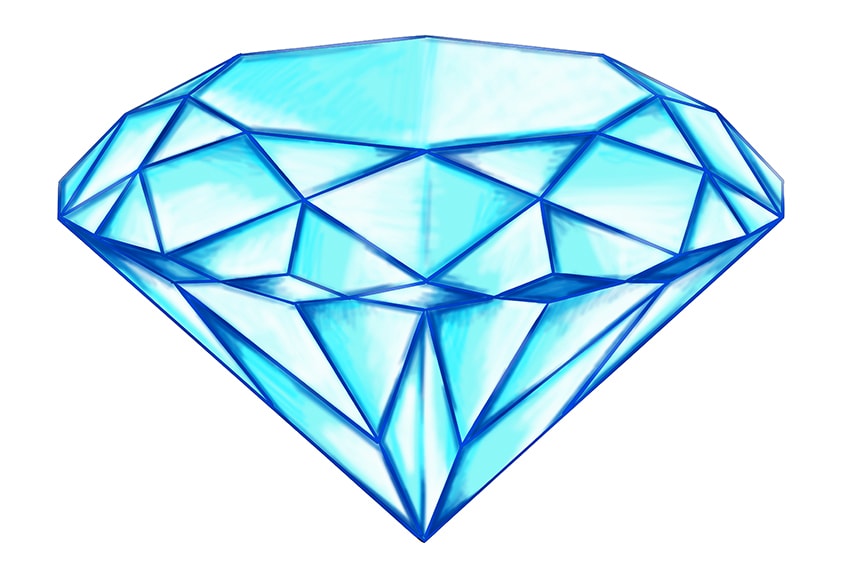
We hope that you have enjoyed the process of creating a three-dimensional and easy diamond drawing. In this diamond sketch tutorial, you have learned how to create a structure using construction lines, how to formulate symmetrically even facets, and how to add realistic coloring to make your diamond drawing 3D.
Frequently Asked Questions
How Can You Make a Diamond Drawing 3D?
In our tutorial, we use construction lines and color to create three-dimensionality in your diamond drawing. Construction lines help you to create symmetry and three-dimensionality in the shape of your diamond, and colors help to add dimension and contours.
How to Draw a Diamond Step-by-Step?
Diamonds can be tricky to draw as they are quite complex. In our tutorial, we make learning how to create an easy diamond drawing simple! In only 17 steps, you will have a beautiful and realistic diamond drawing.
Matthew Matthysen is an educated multidisciplinary artist and illustrator. He successfully completed his art degree at the University of Witwatersrand in South Africa, majoring in art history and contemporary drawing. The focus of his thesis was to explore the philosophical implications of the macro and micro-universe on the human experience. Matthew uses diverse media, such as written and hands-on components, to explore various approaches that are on the border between philosophy and science.
Matthew organized various exhibitions before and during his years as a student and is still passionate about doing so today. He currently works as a freelance artist and writer in various fields. He also has a permanent position at a renowned online gallery (ArtGazette) where he produces various works on commission. As a freelance artist, he creates several series and successfully sells them to galleries and collectors. He loves to use his work and skills in various fields of interest.
Matthew has been creating drawing and painting tutorials since the relaunch in 2020. Through his involvement with artincontext.org, he has been able to deepen his knowledge of various painting mediums. For example, watercolor techniques, calligraphy and lately digital drawing, which is becoming more and more popular.
Learn more about Matthew Matthysen and the Art in Context Team.


