How to Draw a Crystal – An Aesthetic Crystal Drawing
Crystals are fascinating and mesmerizing rock forms. An example of a crystal includes diamonds, and we all know that diamonds are a girl’s best friend! They also come in various shapes and eye-catching colors, making today’s tutorial incredibly exciting! You will be able to unleash your creative side and develop unique tools for creating an aesthetic crystal drawing. Our complete guide will teach you how to draw crystals and gems effortlessly.
An Easy Guide on How to Draw Crystals and Gems
In today’s tutorial, we will be taking you on an easy step-by-step guide to drawing gems. We will assist you with all the fundamental steps needed to achieve your aesthetic crystal drawing!
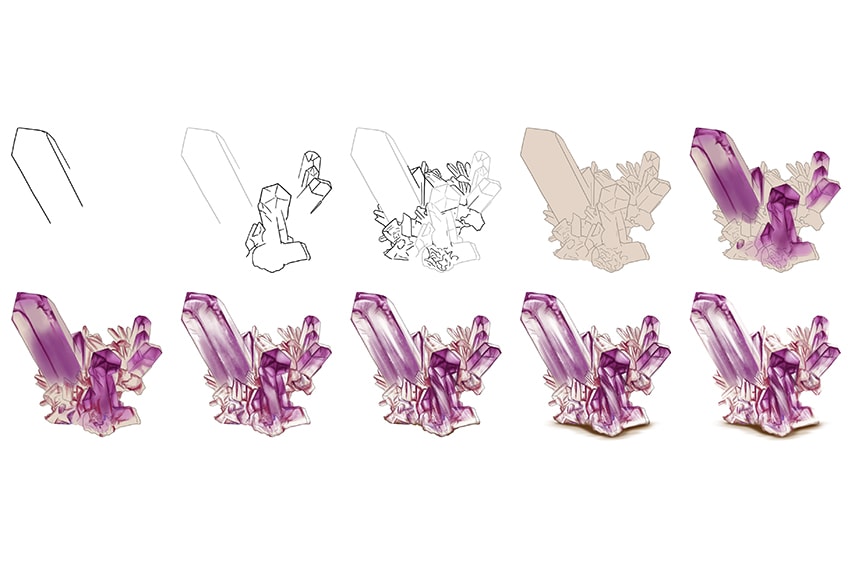
We will cover the entire drawing process for you to create a magnificent crystal drawing! This tutorial is also compatible to draw on either a graphic tablet or even on a plain piece of paper, making it accessible to anyone wanting to learn how to draw a crystal. Follow our 10 easy steps, as shown in the collage below, and in no time you will be able to draw an exquisite crystal!
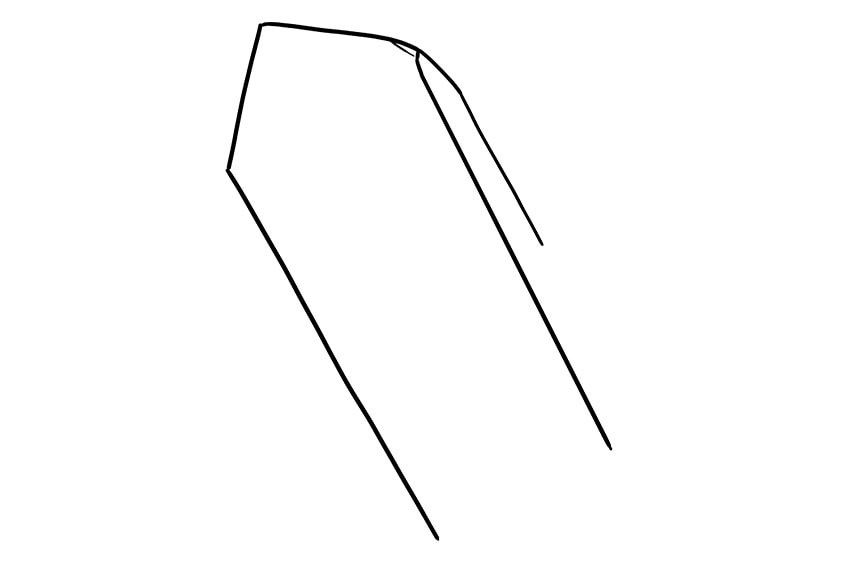
Step 1: Draw the Main Crystal
Begin by locating the center of your page. Once it is located, draw a slightly tilted crystal with a sharp point at the top.
This will become your main crystal for this drawing tutorial.
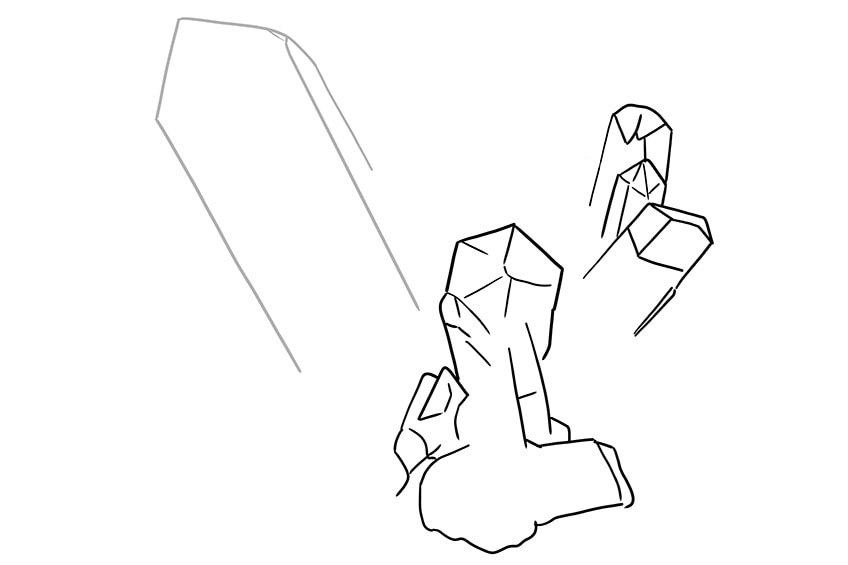
Step 2: Draw the Secondary Crystal
Next to the main crystal, you will draw a secondary clump of crystals. These can be odd shapes and sizes, as a crystal does not have any defined shape, so be as creative as you want!
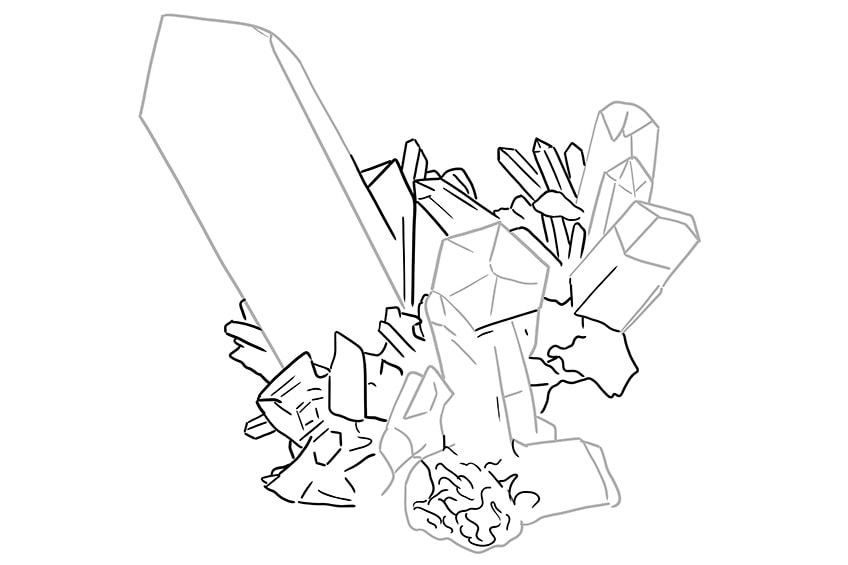
Step 3: Draw Smaller Surrounding Crystals
For this step, begin by filling in the gaps between the main crystal and the secondary clump of crystals with smaller crystals.
These can all be odd shapes and sizes, so let your creativity flow!
Step 4: Apply the First Layer of Color
Make use of a normal paintbrush and tan paint, and begin evenly coloring the entire drawing of the crystal batch.
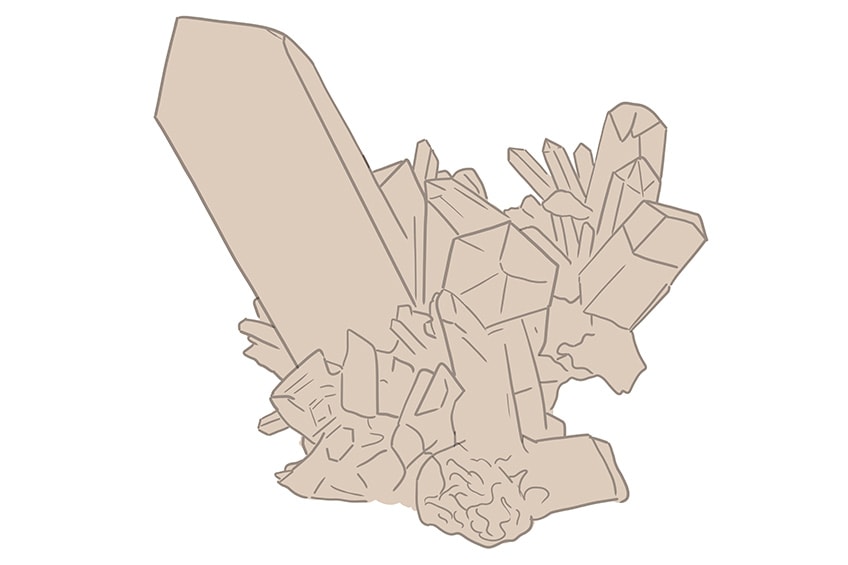
Step 5: Apply the Secondary Color Coat
Begin by using a small, soft brush and purple paint, and add this color to the main and secondary crystals. The tan paint should still be visible.
You are now beginning to add structure to your crystal drawing.
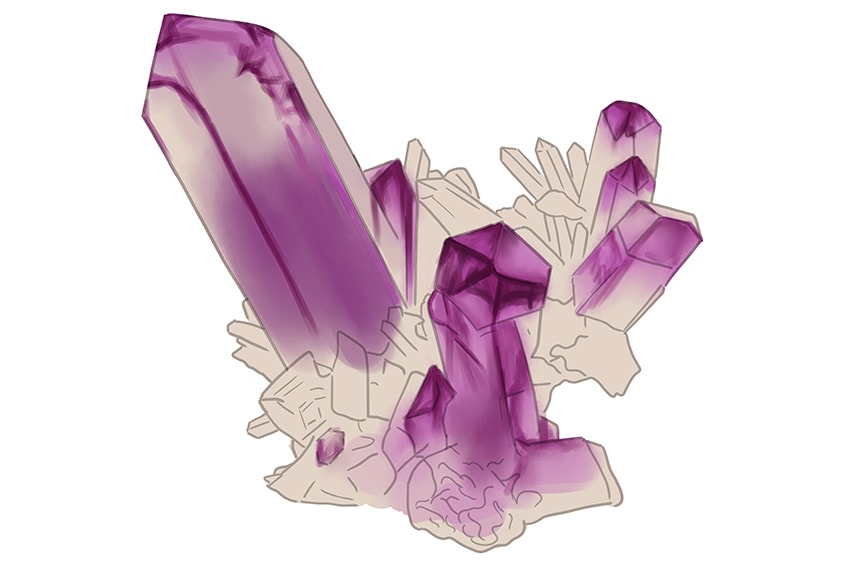
Step 6: Add Structure to the Smaller Crystals
Make use of a fine, sharp brush and a shade of maroon paint, and begin adding fine structure lines within the smaller and surrounding crystals.
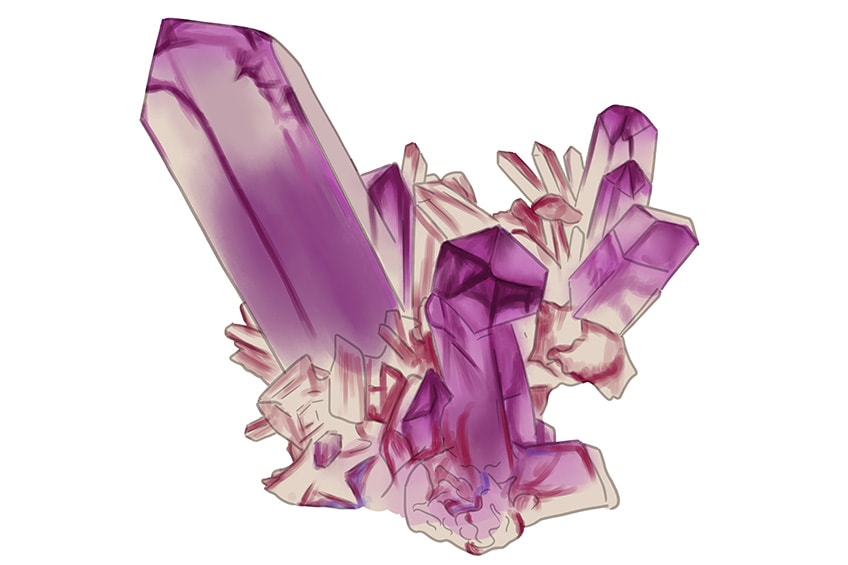
Step 7: Add Highlights to the Crystal Drawing
Make use of a small, soft brush and white paint, and apply soft highlights along the edges of each crystal. Using the same paint but switching to a fine, sharp brush, begin applying sharper highlights along the edges of each structure line.
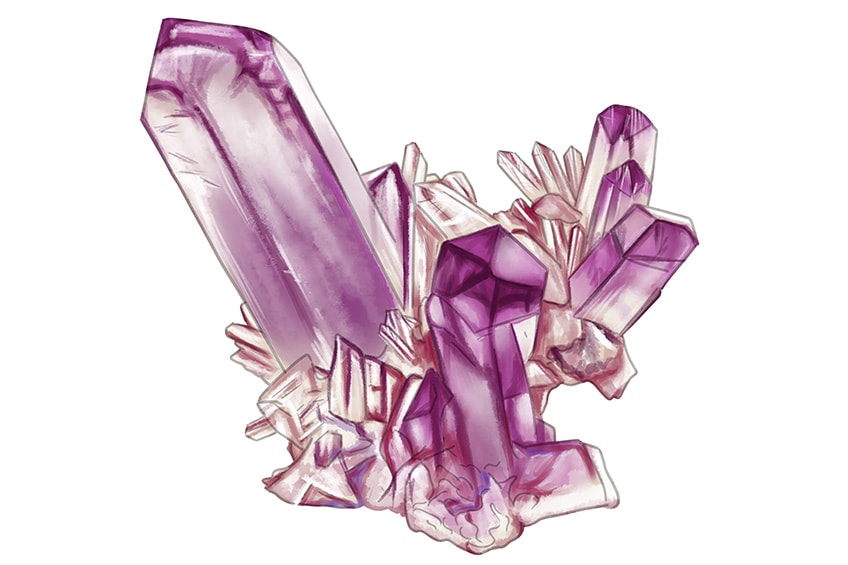
Step 8: Add Shimmer to the Aesthetic Crystal Drawing
Using a fine, sharp brush and white paint, begin adding finer and sharper lines along the sides of each crystal.
In doing this, you are creating a shimmer to your crystal drawing and allowing it to look more realistic!
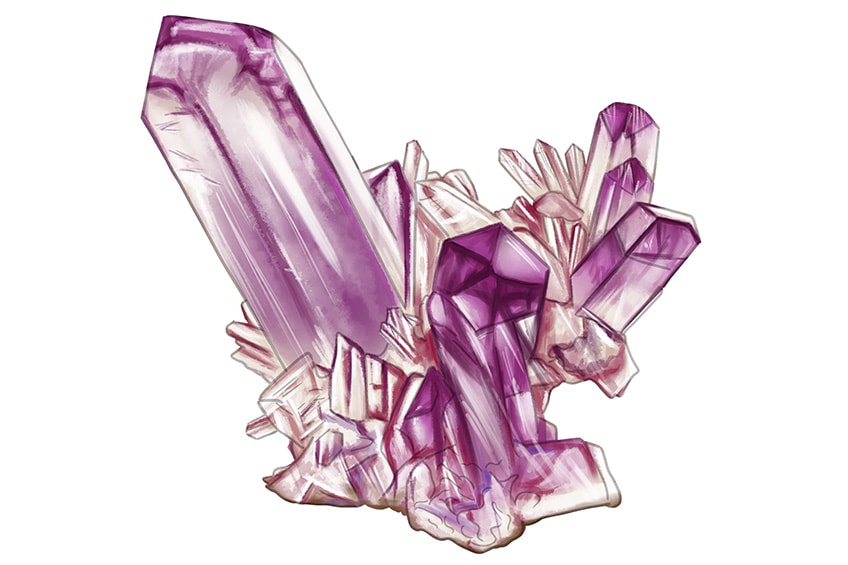
Step 9: Add Shading to the Surrounding Ground
Make use of a small, soft brush and dark tan paint, and add an underline just beneath the clump of crystals. Following this step, make use of a small, soft brush or a blending brush, and begin softening the edges of the shading.
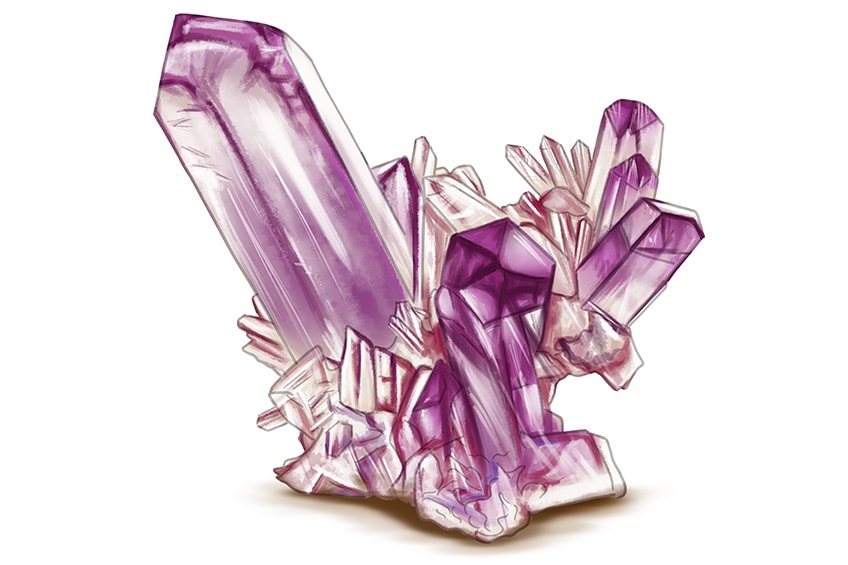
Step 10: Finalize Your Drawing of Gems
Use a fine, sharp brush and the above-mentioned colors, and trace the entire outline of the crystal drawing. Trace over any inner texture lines to create a flawless and perfect final result!
You are now left with a beautifully eye-catching crystal drawing!
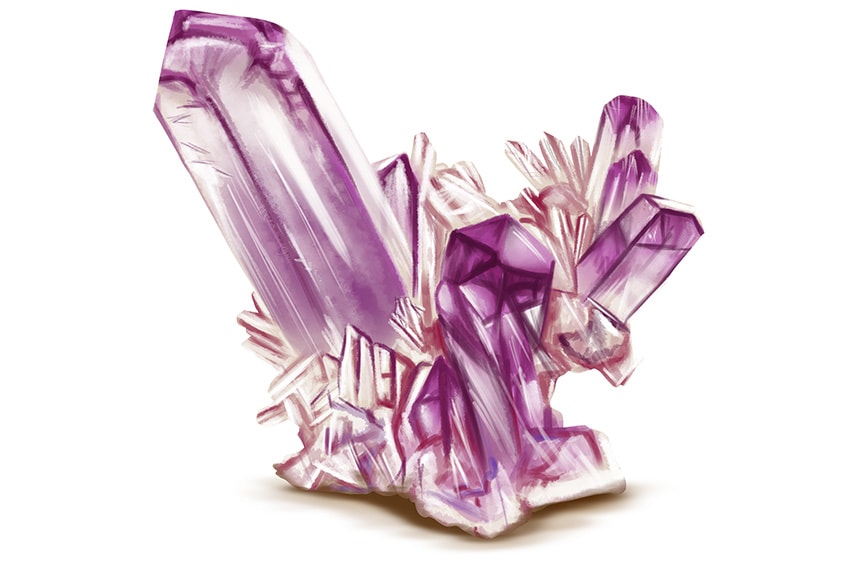
And just like that, you have created an aesthetic crystal drawing in 10 easy steps! We hope you have enjoyed learning how to draw crystals and gems from today’s tutorial. Not only have you learned how to draw a gemstone, but you gained knowledge from the construction steps all the way to the coloring process, and you have successfully created a beautiful drawing of gems!
Frequently Asked Questions
How Do You Draw Crystals and Gems?
In our tutorial, we take you through a step-by-step process on how to create an amazing and aesthetic crystal drawing. We break the steps down for you so it is easy to follow for an effortless journey. Our drawing tutorials include all the necessary steps, from basic shapes to adding colors and texture, and in no time you will know how to draw crystals and gems!
How to Draw a Gemstone That Is Eye-Catching?
The drawing of gems lies in the colors used to make these gems come to life. By choosing rich and vibrant colors such as pink, purple, and even greens and reds, your crystal drawing will not only look realistic, but will be immediately eye-catching!
Matthew Matthysen is an educated multidisciplinary artist and illustrator. He successfully completed his art degree at the University of Witwatersrand in South Africa, majoring in art history and contemporary drawing. The focus of his thesis was to explore the philosophical implications of the macro and micro-universe on the human experience. Matthew uses diverse media, such as written and hands-on components, to explore various approaches that are on the border between philosophy and science.
Matthew organized various exhibitions before and during his years as a student and is still passionate about doing so today. He currently works as a freelance artist and writer in various fields. He also has a permanent position at a renowned online gallery (ArtGazette) where he produces various works on commission. As a freelance artist, he creates several series and successfully sells them to galleries and collectors. He loves to use his work and skills in various fields of interest.
Matthew has been creating drawing and painting tutorials since the relaunch in 2020. Through his involvement with artincontext.org, he has been able to deepen his knowledge of various painting mediums. For example, watercolor techniques, calligraphy and lately digital drawing, which is becoming more and more popular.
Learn more about Matthew Matthysen and the Art in Context Team.


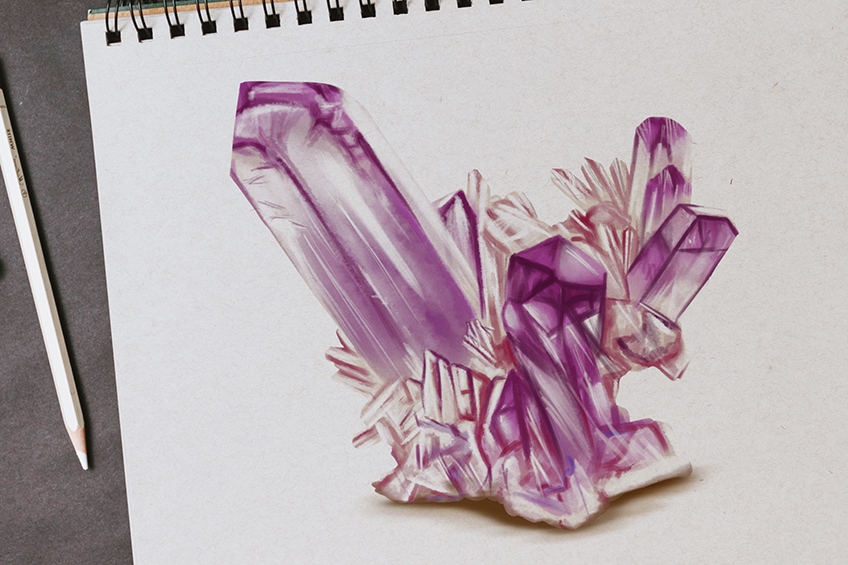



this is the best drawing I have ever seen a amzing