How to Draw a Campfire – Illustrating the Beauty of Firelight
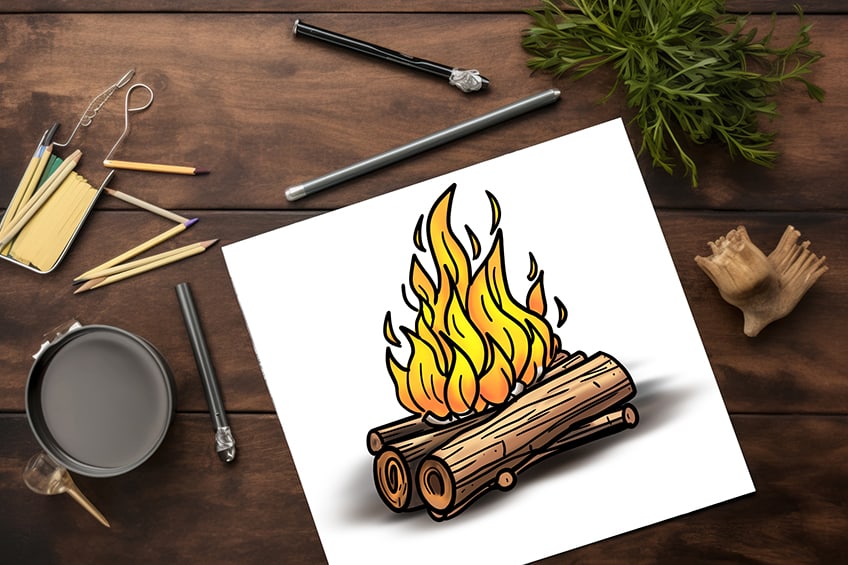
Gather ’round the crackling campfire, where flames dance in harmony with the night sky’s twinkling stars. As the wood snaps and pops, it tells stories of ancient forests and whispers secrets of the wilderness. The scent of roasted marshmallows and the warmth of camaraderie fill the air, creating an enchanting symphony of nature and human connection. In this timeless ritual, under the celestial canopy, we find a place where tales come to life, friendships are forged, and the world’s worries fade into the shadows. Get ready and let the campfire’s glow ignite your sense of adventure and stoke the flames of an unforgettable tutorial on how to draw a campfire!
Ink and Flames: Drawing the Essence of a Campfire
As you embark on this exciting journey into the world of drawing a campfire, prepare to ignite your creativity like never before! Picture yourself sitting by a crackling fire under a starry night sky, and now imagine capturing that enchanting moment on paper. With each stroke of your pencil or brush, you’ll recreate the warmth, the flickering flames, and the cozy atmosphere that makes a campfire so magical. This tutorial is your compass through the artistic wilderness, guiding you step by step to craft your very own campfire masterpiece.
So, grab your tools, embrace the challenge, and let the campfire dance across your canvas with all the brilliance of a starry night. Happy drawing!
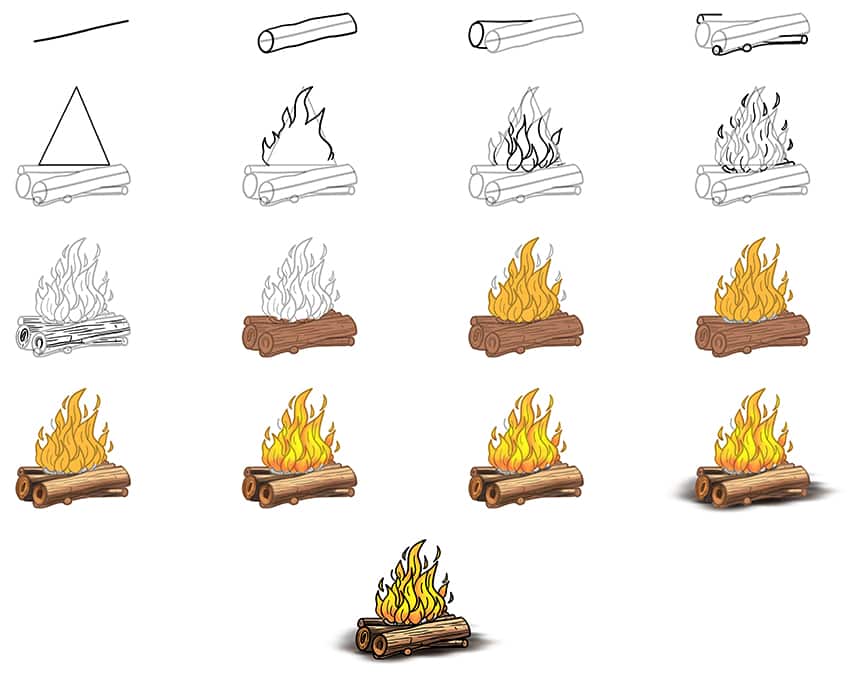
Take a look at the collage below, and simply follow the illustrated steps to create your very own lifelike campfire drawing in no time!
Step 1: Draw the Main Log for Your Campfire Sketch
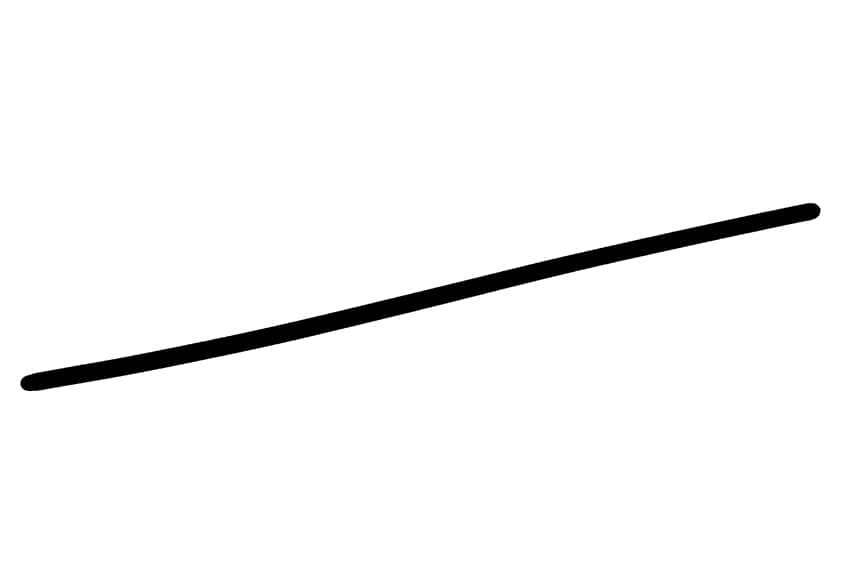
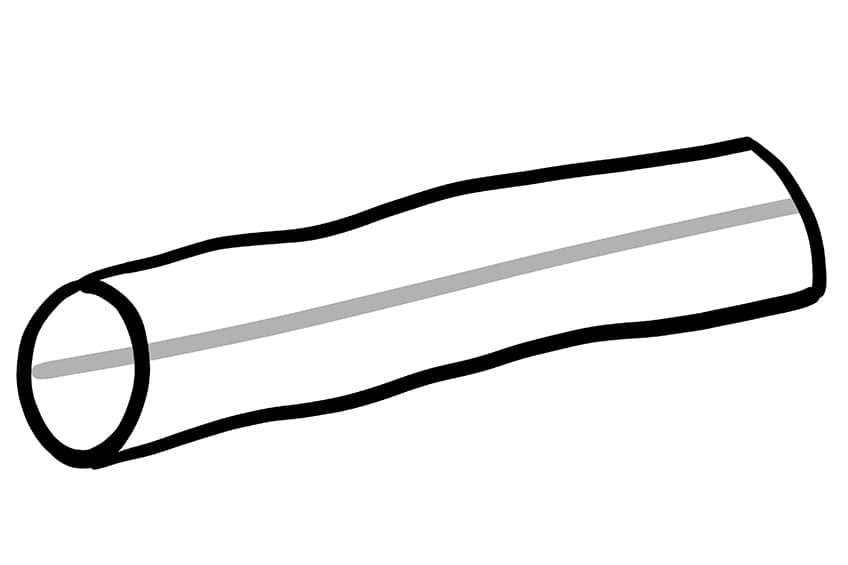
Begin today’s drawing tutorial by drawing the first line of the main log.
Step 2: Outline the Main Log
Utilize the construction line you’ve previously drawn as a helpful guide to outline the initial and central log.
Step 3: Draw the Second Log in Your Easy Campfire Drawing
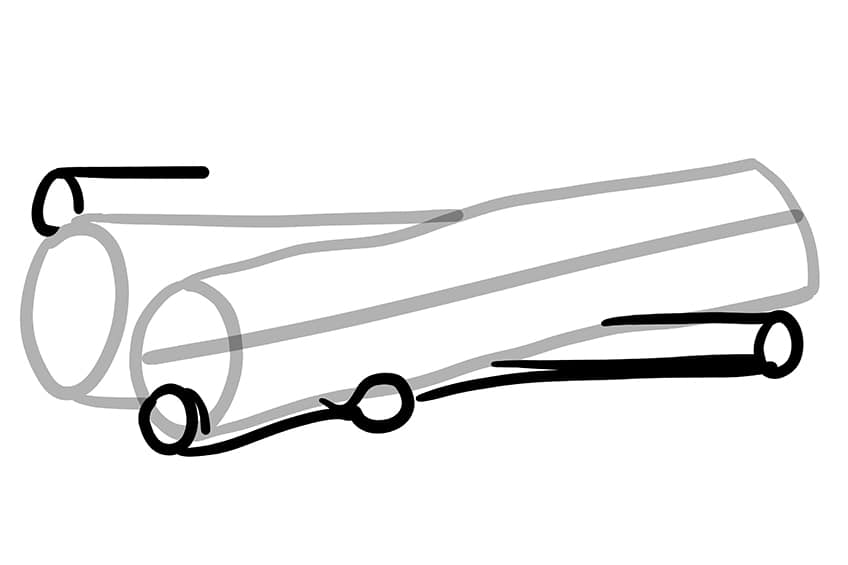
Draw the partially visible second log behind the main log previously drawn.

Step 4: Draw Additional Smaller Logs
Beneath and behind the main logs, now draw the smaller additional logs at random positions.
Step 5: Begin to Draw the Outline for the Fire
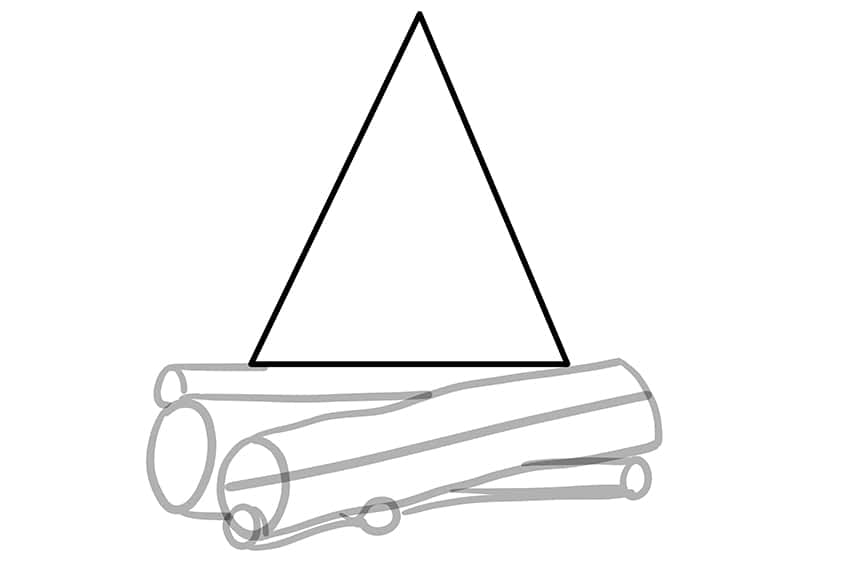
Draw a triangle above the logs to represent the shape you will follow to outline the fire in your campfire sketch.
Step 6: Outline the Fire
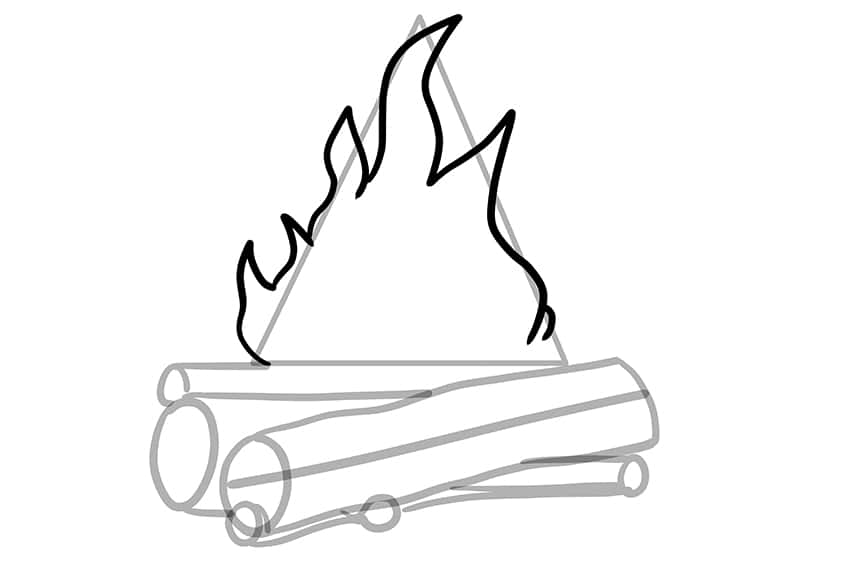
Use the previously drawn triangle to guide you in outlining a somewhat triangle flame.
Step 7: Draw the Inner Flames in Your Campfire Drawing
Inside the flame outline drawn earlier, sketch the smaller individual flames.

Step 8: Begin to Outer Flames
Now, on the sides of the main flames, create the smaller outer flames. Finish this step by adding inner texture lines within each of the main flames.

Step 9: Add Texture to the Logs
Draw fine texture lines within each log, these should be individually drawn and not overlapping. On the main logs draw the visible pit lines on the bark.
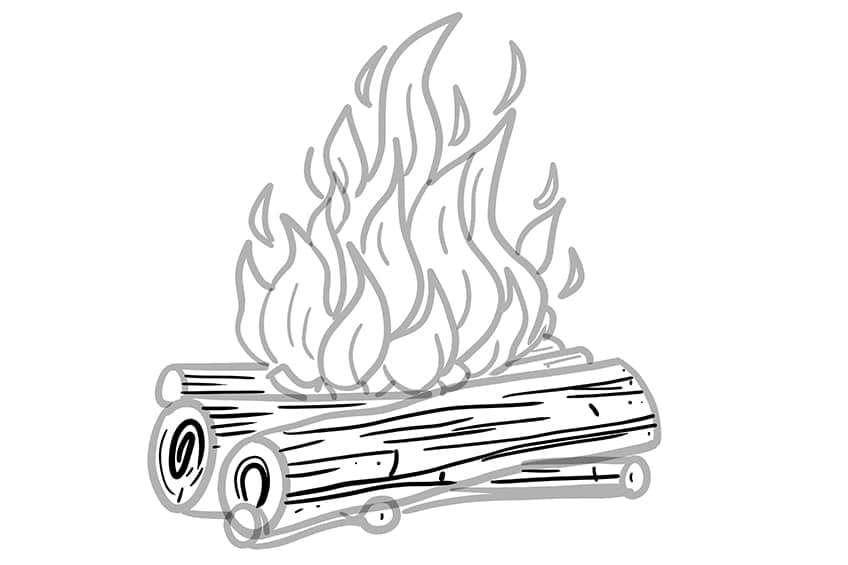
Step 10: Apply the First Color Coat
Take a fine, sharp brush and apply a smooth, even coat of brown paint onto the logs.
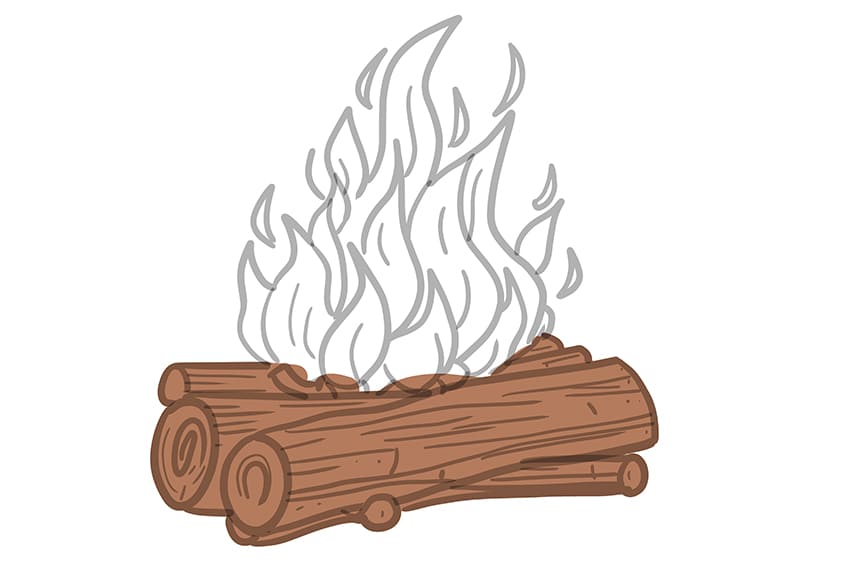
Step 11: Continue onto the Secondary Color Coat
Using the same brush and yellow paint, add color to the main flames in your campfire sketch.
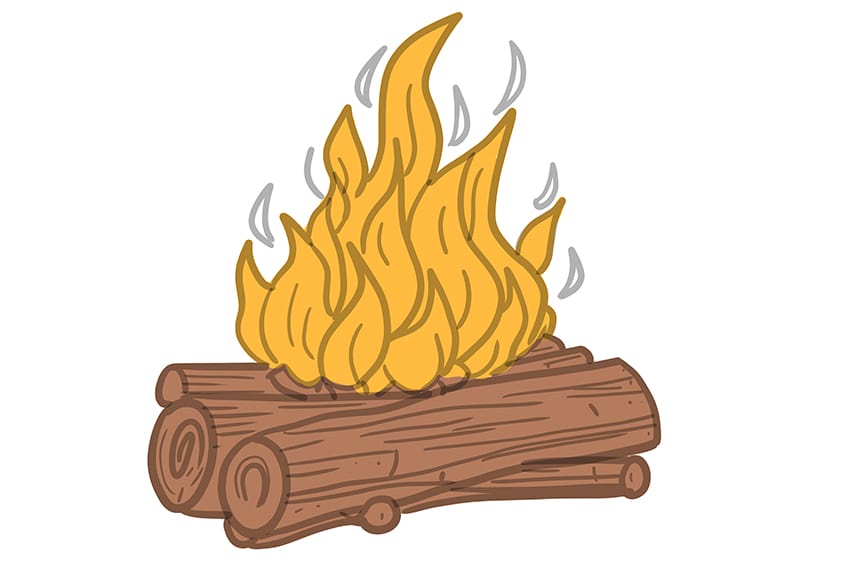
Step 12: Color the Ash
With a precise brush, apply gray paint to color the ash beneath the fire. Finish this step by using the same brush to paint the outer flames with yellow paint.
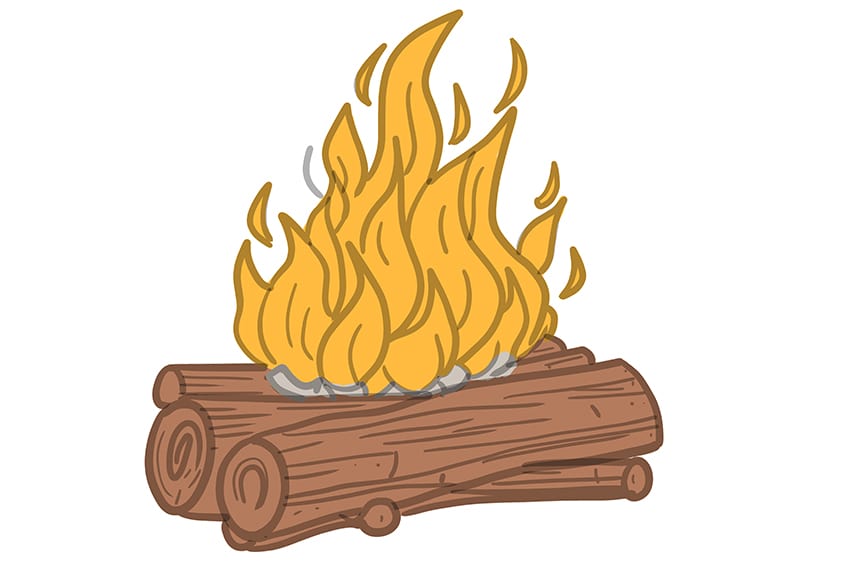
Step 13: Shade and Highlight the Logs
Start by employing a gentle brush and light tan paint to accentuate the edges of every log. Then, using vibrant brown paint, begin to incorporate gentle highlights around the pit lines and bark.
Finish this step by utilizing a small, soft brush and black paint to introduce shading between the lower edges of the logs.
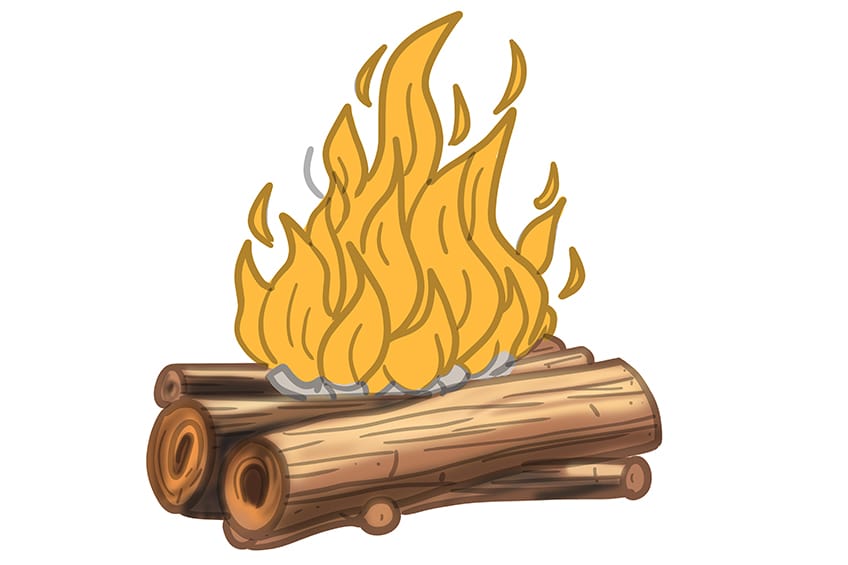
Step 14: Color Blend the Fire in Your Easy Campfire Drawing
With a small, soft brush apply red paint to the lower half of the fire. Repeat this process using bright yellow paint to layer the colors. Enhance the fire’s hues by encorporating a blending brush.
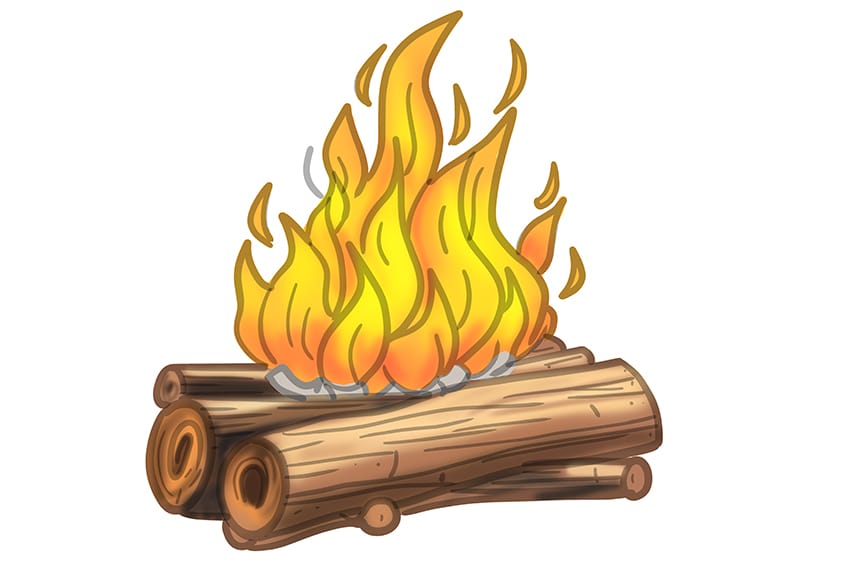
Step 15: Continue to Shade and Highlight the Ash
Continue using the same brush and brown paint, and add soft shading along the ash areas. Repeat using white paint to add soft highlights. Complete the step using a gentle brush and bright yellow paint to highlight the outer flames.
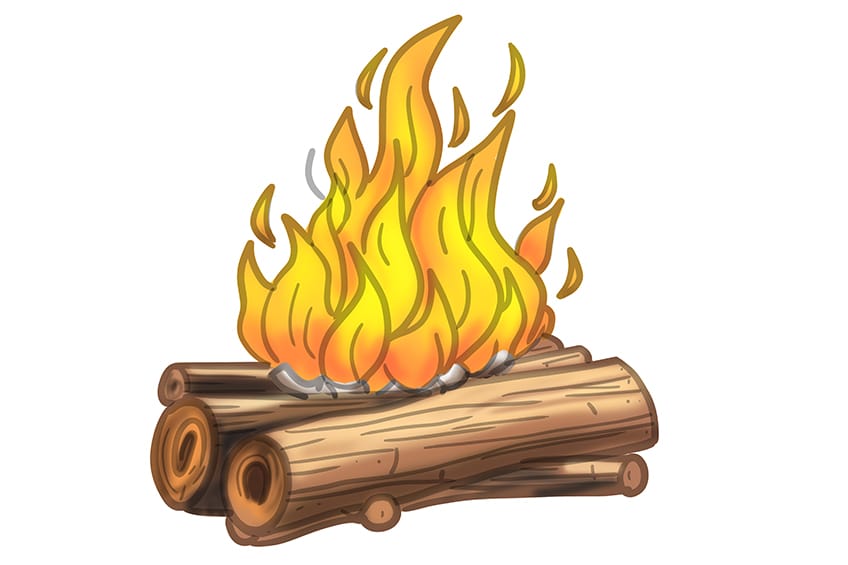
Step 16: Add a Ground Shadow to Your Campfire Sketch
Start by using a small, soft brush and apply black paint beneath the campfire, then add a touch of brown paint. Utilize a blending brush to spread and soften the shading.
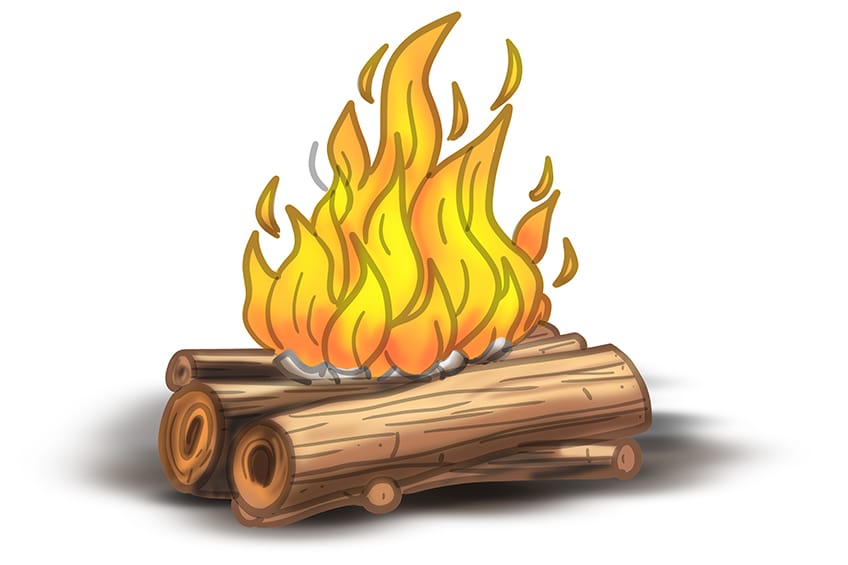
Step 17: Finalize Your Easy Campfire Drawing
Finish off your campfire drawing by utilizing a fine, sharp brush and black paint, and trace the entire campfire outlines.
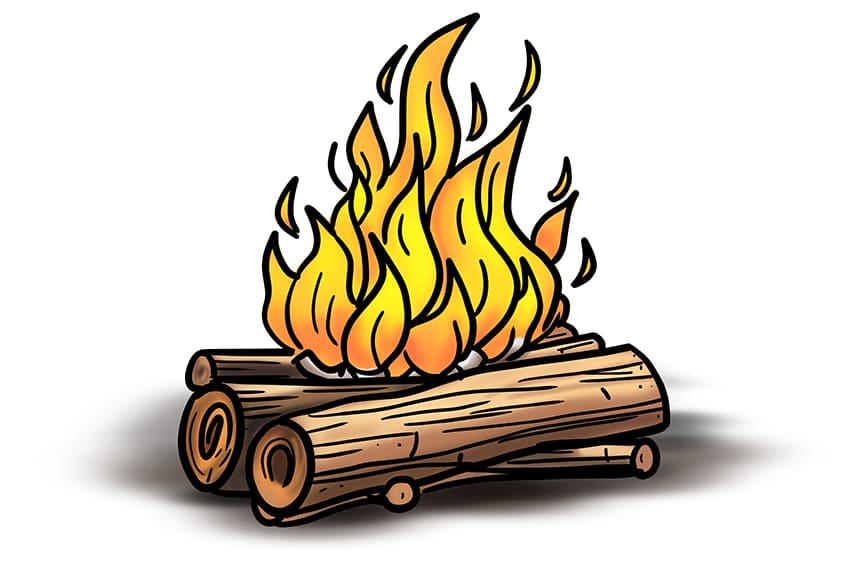
Congratulations! You’ve done an exceptional job completing our tutorial on how to draw a campfire. Your dedication and attention to detail have truly paid off, resulting in a fantastic piece of art that captures the warmth and magic of a campfire. Your progress and commitment to honing your artistic skills are truly commendable. Keep up the fantastic work, and remember that every stroke of the pencil or brush brings you closer to mastering your craft. Your campfire drawing is a testament to your talent and hard work.
Frequently Asked Questions
How Do You Add Shading and Highlights to the Logs to Make Them Look Realistic?
Creating the illusion of glowing embers in your campfire drawing is a great way to add realism and warmth. To achieve this effect, start by using soft pastel colors such as red, orange, and yellow for the embers. Place these colors near the base of the flames and within the log gaps. Next, use a blending tool or your fingertip to gently smudge and blend these colors, creating a soft, hazy glow. You can also add a few tiny, bright white dots or highlights strategically within the ember areas to mimic the intense heat. Additionally, vary the size and intensity of the embers to make the effect more convincing. Remember that subtlety is key when simulating glowing embers, and practice and observation will help you refine this technique over time. If you are unsure of how to do this, take a look at our tutorial on how to draw a campfire.
What Are Some Mistakes to Steer Clear of When Drawing a Campfire?
When drawing a campfire, there are a few common mistakes to be aware of. One frequent error is neglecting the importance of reference images. It’s essential to study real campfires or reference photos to understand the way flames flicker, the colors they exhibit, and the arrangement of logs. Another mistake is over-detailing the logs or flames, which can make the drawing appear cluttered or unrealistic. Instead, focus on capturing the essence and movement of the flames while keeping the logs relatively simple. Additionally, avoid using a single color for the flames or logs; instead, introduce various shades and highlights to add depth and realism to your campfire scene. Lastly, be cautious with perspective and scale; ensure that the elements of your campfire drawing maintain realistic proportions to create a convincing overall composition.
Matthew Matthysen is an educated multidisciplinary artist and illustrator. He successfully completed his art degree at the University of Witwatersrand in South Africa, majoring in art history and contemporary drawing. The focus of his thesis was to explore the philosophical implications of the macro and micro-universe on the human experience. Matthew uses diverse media, such as written and hands-on components, to explore various approaches that are on the border between philosophy and science.
Matthew organized various exhibitions before and during his years as a student and is still passionate about doing so today. He currently works as a freelance artist and writer in various fields. He also has a permanent position at a renowned online gallery (ArtGazette) where he produces various works on commission. As a freelance artist, he creates several series and successfully sells them to galleries and collectors. He loves to use his work and skills in various fields of interest.
Matthew has been creating drawing and painting tutorials since the relaunch in 2020. Through his involvement with artincontext.org, he has been able to deepen his knowledge of various painting mediums. For example, watercolor techniques, calligraphy and lately digital drawing, which is becoming more and more popular.
Learn more about Matthew Matthysen and the Art in Context Team.


