How to Draw a Ghost – A Step-by-Step Guide to a Ghost Drawing
Have you ever felt like you’re being watched, only to turn around and find no one there? Perhaps it’s just your imagination, or maybe it’s something spookier. Ghosts have been a part of human mythology and folklore for centuries, and their stories continue to fascinate and frighten us to this day. Whether it’s the disembodied voices, the eerie apparitions, or the unexplained movements, something about ghosts never fails to capture our attention and send shivers down our spines. So, beware of the things that go bump in the night, because you never know when you might come face to face with a ghost!
Learn How to Draw a Ghost in Today’s Tutorial
Get ready to experience the thrill of drawing a ghost! Don’t fret if you’re feeling a tad jittery or uncertain because our step-by-step instructions will guide you like an expert. With handy tips and clear guidelines, you’ll conjure up a haunting and eerie ghost drawing in no time. Whether you’re a seasoned artist or a beginner, this drawing adventure promises to be enjoyable. So, grab your paper and pencils, and let the ghostly inspiration take hold of you!
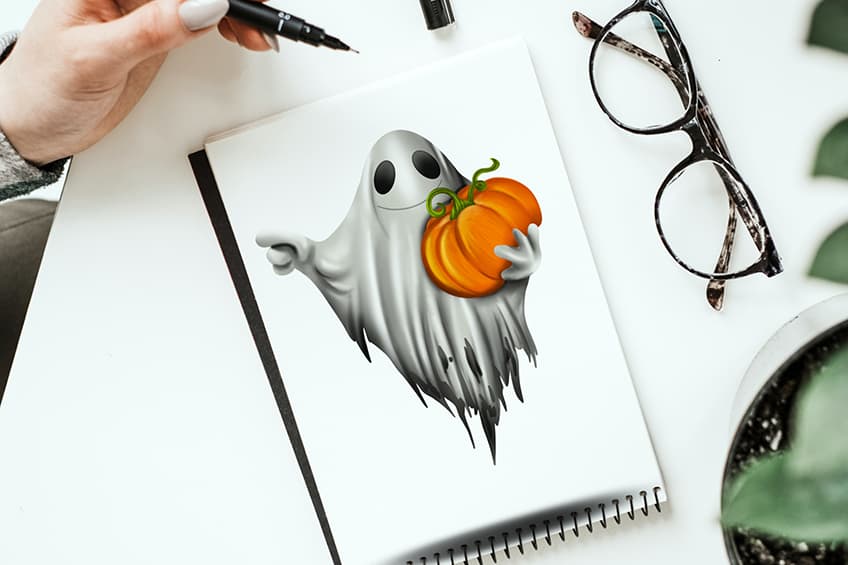
With the simple-to-follow process illustrated in the collage below, you can effortlessly sketch and color a ghost of your own.
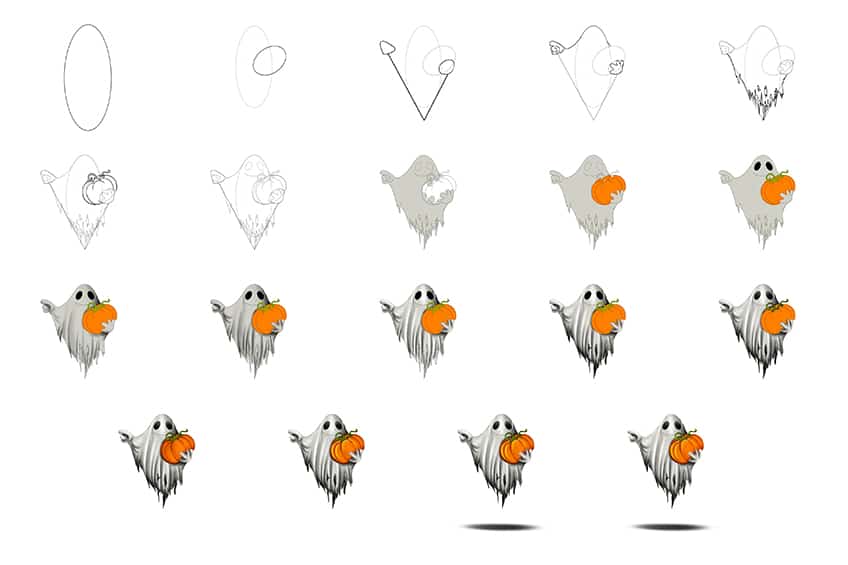
Step 1: Draw the Main Body of Your Ghost Drawing
To begin our tutorial on how to draw a ghost, start by drawing a vertical oval shape. This will represent the main body of your ghost.

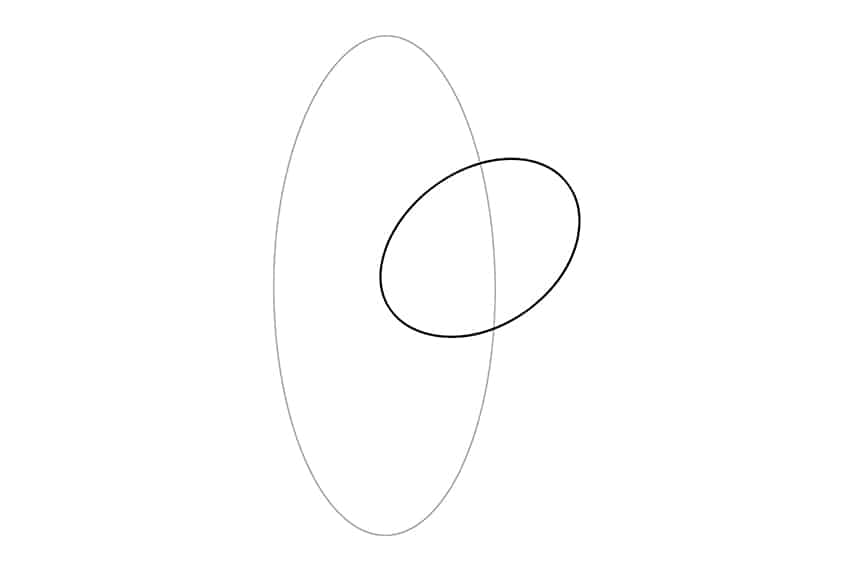
Step 2: Draw the Pumpkin
Draw an additional titled oval overlapping the main body of your ghost.
Step 3: Add the Hand Construction Lines
In this step, draw a ‘V’ shape that splits the main body in half. On the left of the construction lines, it should be drawn higher up than the right side. At the end of each line, draw small ovals to represent the hands of your ghost sketch.

Step 4: Outline the Hands on Your Ghost Sketch
Make use of the previously drawn construction lines to aid you in drawing the right hand attached to the pumpkin. Draw the second hand to the left side with four fingers visible.

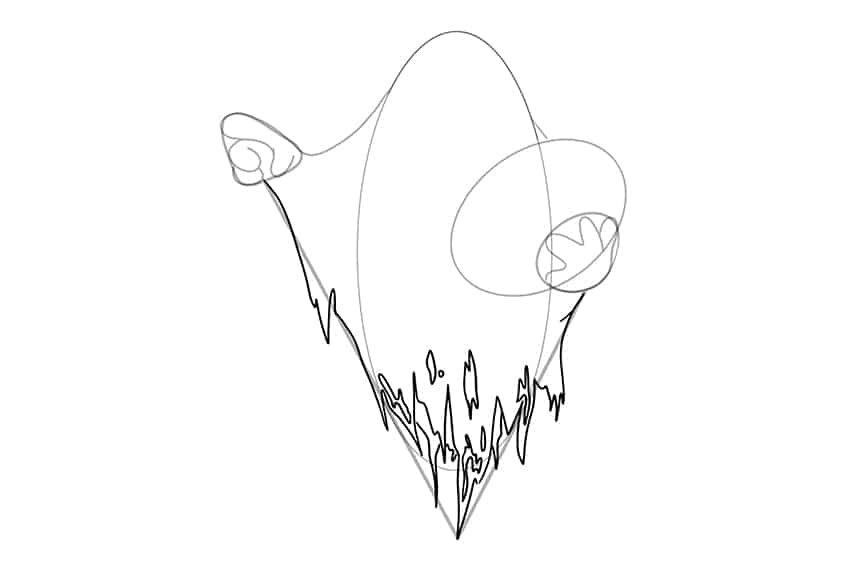
Step 5: Draw the Cloth
Use the ‘V’ construction line to aid you in drawing the ripped cloth of the ghost leading from a wider cloth to a more narrow, and sharp ripped edges. Feel free to draw several holes and cuts within the cloth itself.
Step 6: Add the Pumpkin to the Ghost Sketch
Outline a more realistic pumpkin shape using the previously drawn oval shape. Add in the separation grooves within the pumpkin. Once complete, draw the twirling stem on top of the pumpkin.

Step 7: Draw the Facial Features
Draw two oval shapes, leaning towards each other, on the head to represent the eyes. Complete the step by drawing a large curving line representing the smile of your ghost drawing.

Step 8: Add the First Color Coat
With a regular brush and gray paint, evenly coat the entirety of your ghost sketch.

Step 9: Color the Pumpkin
Continue to use the same paintbrush as previously and switch to bright orange paint, and evenly coat the pumpkin on your ghost drawing.

Step 10: Add Color to the Facial Features
With a thin, sharp brush and black paint, fill in both eyes on the ghost’s face. Switch to green paint and color the stem of the pumpkin.

Step 11: Contour Your Ghost Drawing
In this step, you are going to start defining the structure of your ghost drawing. Begin by selecting a small, soft brush and black paint, and softly add stretches and creases to the main body cloth. Apply soft contour to the edges of the ghost.
Follow this by enhancing certain areas with darker shadows which will be explained in the next step.

Step 12: Add Shading
You are now going to enhance the previously added contour by using a small, soft brush and black paint, and adding a slightly darker layer of shading between the edges of the creases and stretches on the body. Switch to a blending brush to soften and spread the shading.

Step 13: Highlight Your Ghost Sketch
Add highlights along the opposite edges of the creases and stretches, using a soft brush and white paint. Blend and soften these highlights using a blending brush.
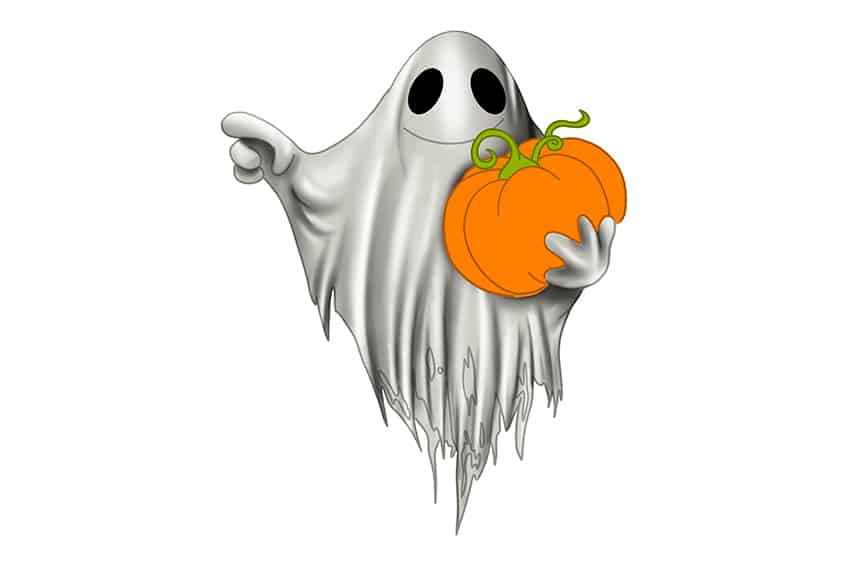
Step 14: Enhance the Shading
With a small brush and black paint, enhance the shading along the bottom edges of the ghost’s cloth. Use a blending brush to smoothen and fade the shading along the creases and stretches. Switch to a fine brush and fill in the ripped holes of the ghost’s cloth.
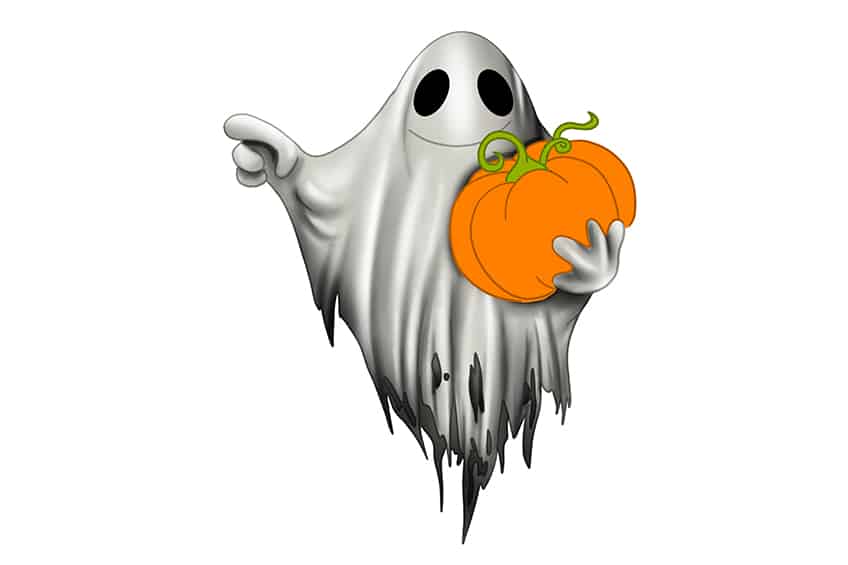
Step 15: Texture the Stem on the Pumpkin
In this step, lightly add textured lines within the stem of the pumpkin, using a soft brush and black paint. Soften the shading with a blending brush. Complete this step by adding a light highlight within each eye using a soft brush and white paint.
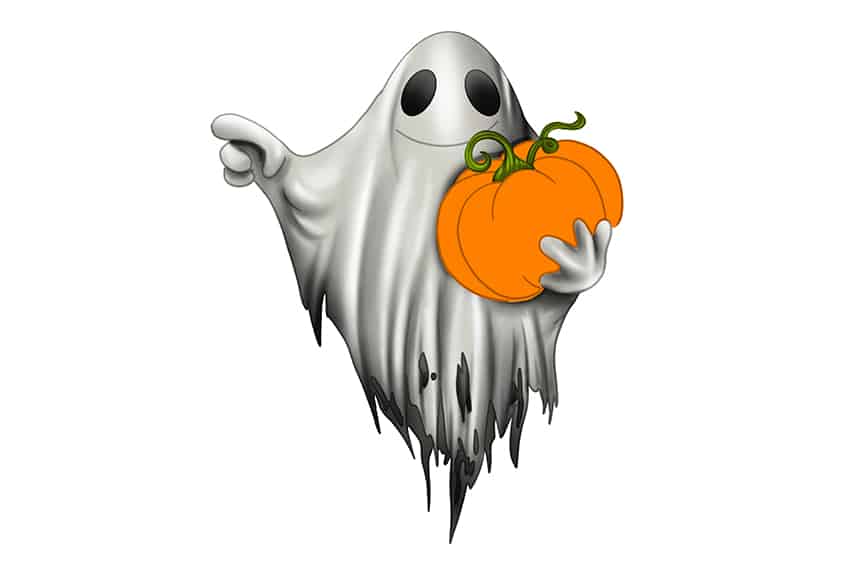
Step 16: Texture the Pumpkin
With a fine, sharp brush and dark orange paint, add subtle brushstrokes within the pumpkin. This will create texture lines, and these strokes should flow according to the curvature of the pumpkin. Complete the step using a soft brush and black paint, and add shadows along the surrounding frame of the pumpkin.
Use a clean blending brush to fade the shading inwards along the structure of the pumpkin.
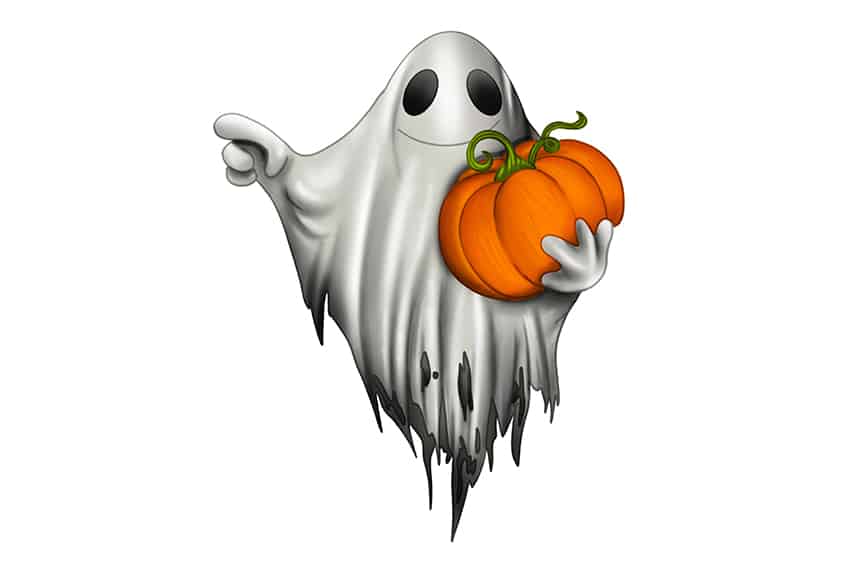
Step 17: Highlight the Pumpkin in Your Ghost Sketch
Add soft brushstrokes along the curvature of the pumpkin grooves, with a soft brush and a combination of yellow and light orange paint. Complete this step using a blending brush and face the color coats.
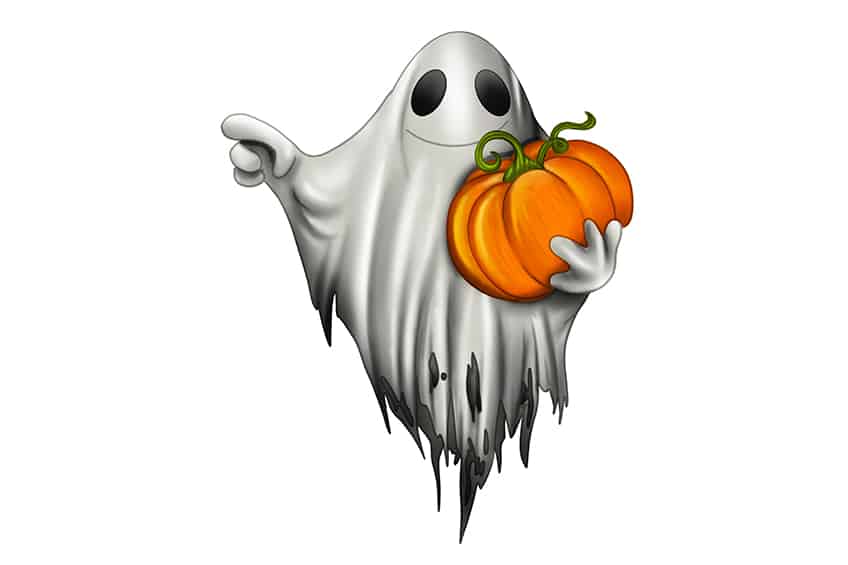
Step 18: Add a Ground Shadow
Use a small brush and black paint to paint a black spot below your ghost drawing. Switch to a blending brush to spread the shadow both ways.
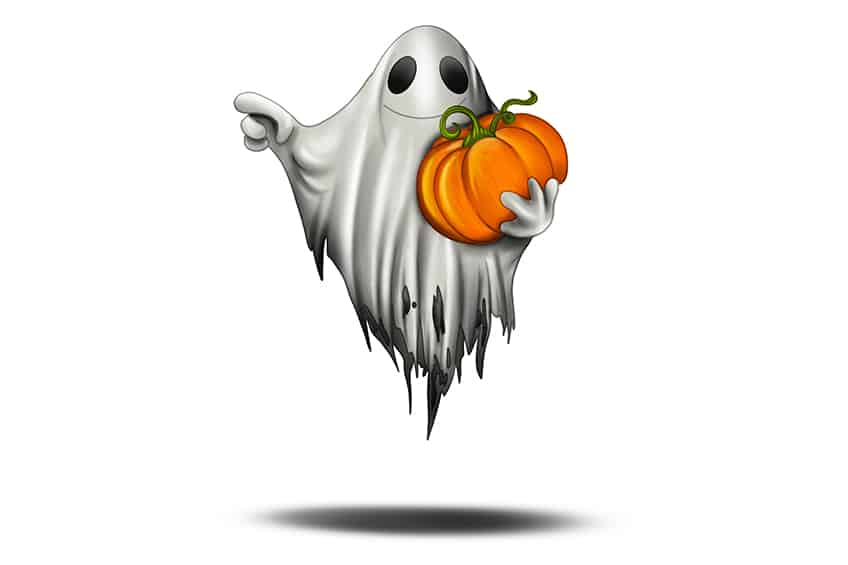
Step 19: Finalize Your Ghost Drawing
For a flawless outcome, utilize a fine, sharp brush, and trace the complete outline of your ghost sketch covering any internal texture lines.
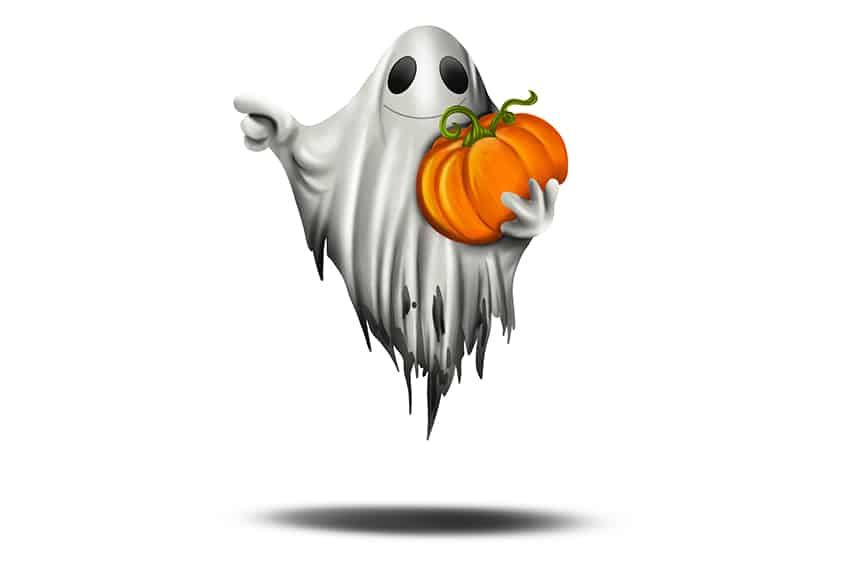
Well done on finishing your ghost drawing! You’ve accomplished an incredible feat by bringing this spooky entity to life on your paper. We hope you had fun during the tutorial on how to draw a ghost, and found it both informative and enjoyable. With these skills, you’ll be able to illustrate and paint anything you desire!
Frequently Asked Questions
How to Draw a Ghost That Looks Spooky and Realistic?
To draw a spooky and realistic ghost, it’s important to pay attention to the details. Start by sketching out the basic shape of the ghost, and then focus on adding intricate details such as the flowing drapery and wispy appendages. Consider the type of ghost you want to draw – will it be a classic sheet ghost or something more specific like a phantom? Play around with different shading techniques to create a sense of transparency, and consider using darker shading around the edges to make the ghost look more ominous.
How Do I Add Extra Details to My Ghost Drawing to Make It More Unique?
To make your ghost drawing stand out and be more interesting, think about adding extra details that give your ghost character and depth. Consider adding details to the facial features, such as a menacing grin or a sad expression. You could also consider playing around with the lighting to create a spooky atmosphere, or adding a background that tells a story or sets the scene. Don’t be afraid to get creative and experiment with different techniques to make your ghost drawing unique and memorable!
Matthew Matthysen is an educated multidisciplinary artist and illustrator. He successfully completed his art degree at the University of Witwatersrand in South Africa, majoring in art history and contemporary drawing. The focus of his thesis was to explore the philosophical implications of the macro and micro-universe on the human experience. Matthew uses diverse media, such as written and hands-on components, to explore various approaches that are on the border between philosophy and science.
Matthew organized various exhibitions before and during his years as a student and is still passionate about doing so today. He currently works as a freelance artist and writer in various fields. He also has a permanent position at a renowned online gallery (ArtGazette) where he produces various works on commission. As a freelance artist, he creates several series and successfully sells them to galleries and collectors. He loves to use his work and skills in various fields of interest.
Matthew has been creating drawing and painting tutorials since the relaunch in 2020. Through his involvement with artincontext.org, he has been able to deepen his knowledge of various painting mediums. For example, watercolor techniques, calligraphy and lately digital drawing, which is becoming more and more popular.
Learn more about Matthew Matthysen and the Art in Context Team.


