How to Draw a Book – An Easy Tutorial for an Open Book
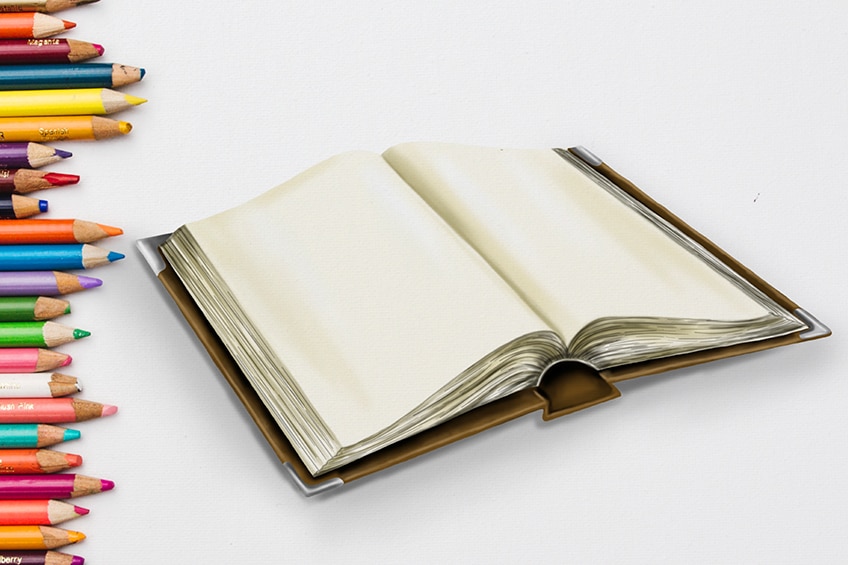
Books are a wonderful part of human life, from books brimming with knowledge to pages of romance and fantasy. In today’s drawing tutorial, we show you how to draw an open book. We begin by constructing the basic shape of the book drawing, and we will then begin to create a detailed outline. Finally, we show you how to color a realistic drawing of a book in our easy book drawing tutorial!
How to Draw a Book Step by Step
A book is a fairly easy object to draw, making this tutorial suitable for artists of all levels. For artists just beginning their journey of creativity, we have included a series of construction steps at the start of the tutorial. These steps help us to create a symmetrical and correctly proportioned base for our book drawing. We then create the final outline, add details, and finally finish by creating realistic coloring.
You can see an outline of the whole easy book drawing tutorial below.
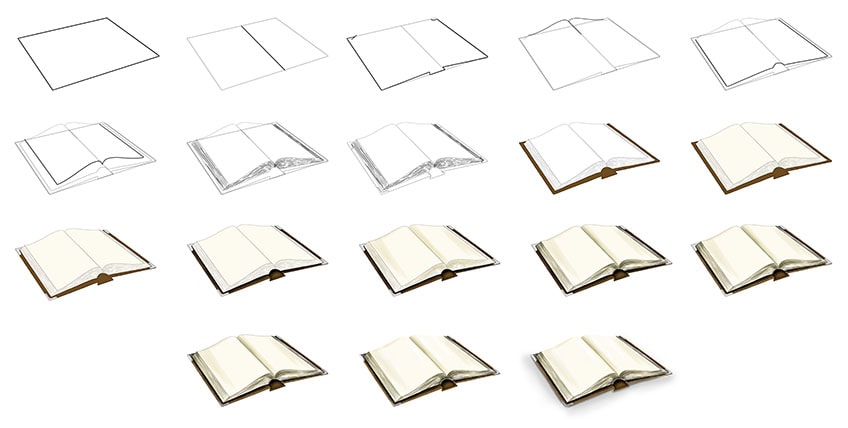
For the coloring steps, there is an endless array of options. You are welcome to use any medium you choose for your own drawing of a book. The instructions are written for a painting medium, but you can use a digital tablet, coloring pencils, or markers if you feel more comfortable.
Step 1: Outlining the Base of Your Book Drawing
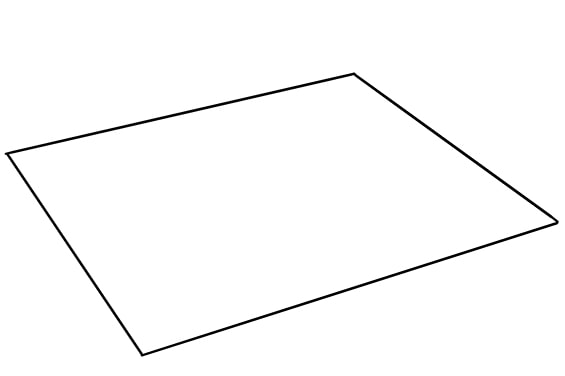
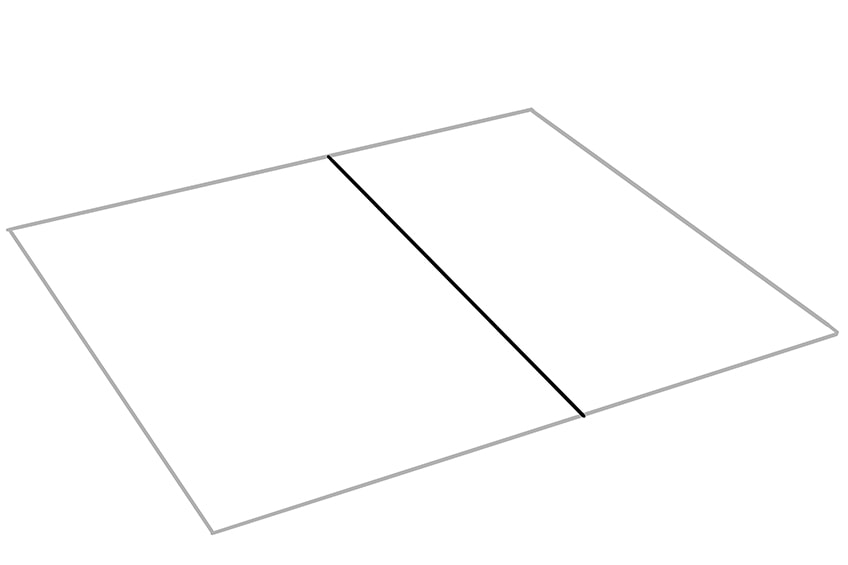
Begin your drawing of the book by finding the central point of your drawing canvas. Once you have found the center, draw a large angled rectangle. This shape will represent the base frame of your book, and we will use this to create the final outline in later steps.
Step 2: Add in the Dividing Line
In this second step, you can simply draw a line down the center of your main frame rectangle. This line will represent the central spine of the book drawing.
Step 3: Shaping the Outer Edge of the Pages
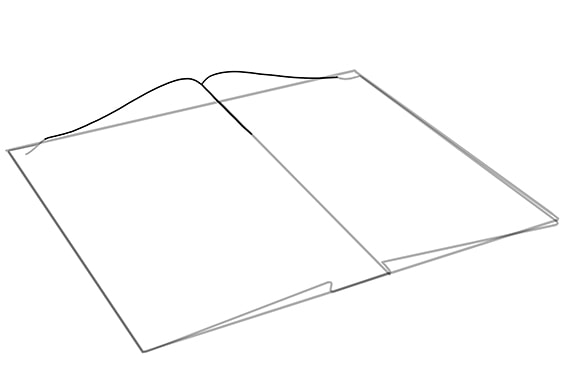
We are now going to outline the outer frame of the book with a little more detail. Use the base rectangle from the first step as your foundation for this step. Begin by outlining the sides of the book, with a couple of nooks on the top corners.
Around the base of the dividing line, create a little indent to represent the spine of the book cover.

Step 4: Shape the Top Curve of Book Pages
Along the top of your drawing of a book, draw two curving shapes that extend out from the dividing line of the base rectangle. These curves should curve up and then swoop down to the edges of the book drawing. This shape represents the open leaves of the pages.
Step 5: Outline the Bottom of Your Book Drawing Pages
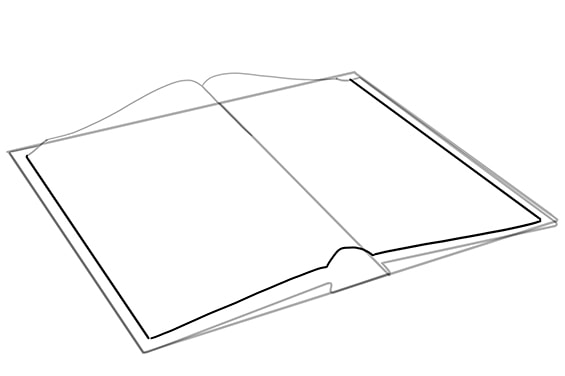
In the previous step, we outlined the top of the upper layer of pages in our easy book drawing. We are now going to finish outlining this top layer of pages by completing the bottom section. Following down from the edges of your upper curve, take two straight lines down just inside the edge of the base rectangle. Just before the bottom of the base rectangle, you can then take these lines in towards the dividing line.
When you get to the dividing line on the right side of your book drawing, create a little hump, and connect it to the bottom of the left page.
Step 6: Draw the Top Pages of Your Book Drawing
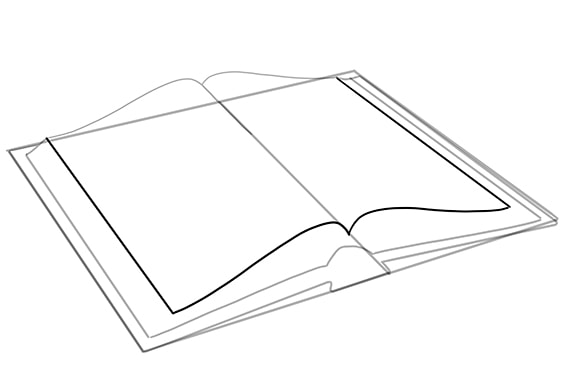
We are now going to outline the very top page spread of your book drawing. In the same way as you drew the pages in the last step, you can take two lines down from the upper curve. On the right side of your drawing of a book, this line should be closer to the other lines, while the line on the left side of your book drawing should be further away. This difference will highlight the perspective of our drawing of a book. To finish this step, Use two curving lines that mirror the upper curving lines to create the bottom of these upper pages.
Step 7: Add Page Layer Details to Your Book Drawing
We are now going to begin adding details to your drawing of a book, starting with the page layers. Between the inner layer that you drew in step five and the top layer from the previous step, use fine lines to create a block of realistic pages on either side and at the bottom.
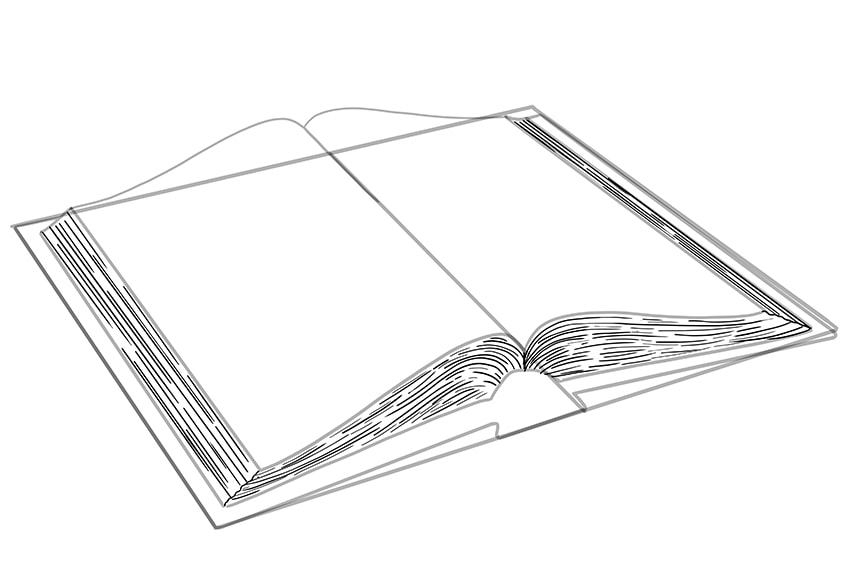
Step 8: Creating the Final Outline of Your Book Drawing
In this step, we are now going to create the final outline of our drawing of a book. Begin by drawing the four edge corners of the book, adding a little curved detail. Next, finalize the outer line of the book cover, adding two small dividing lines within the bottom line of the spine.
Finally, erase any of the still visible or overlapping construction lines.
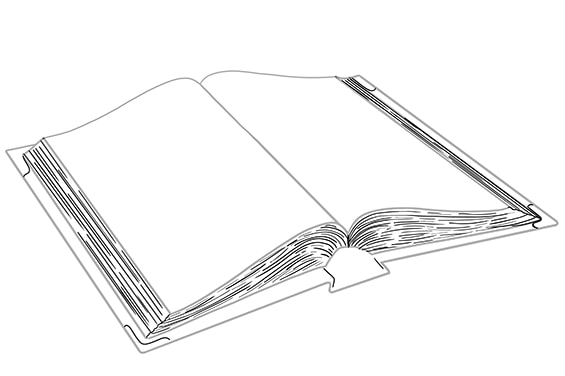
Step 9: Adding the Base Color Coat to the Book Cover
We begin the coloring process of our book drawing tutorial by coloring the book cover. Find a brown shade of paint, and use a fairly small brush to apply an even layer of color to the area of the book drawing around the pages.
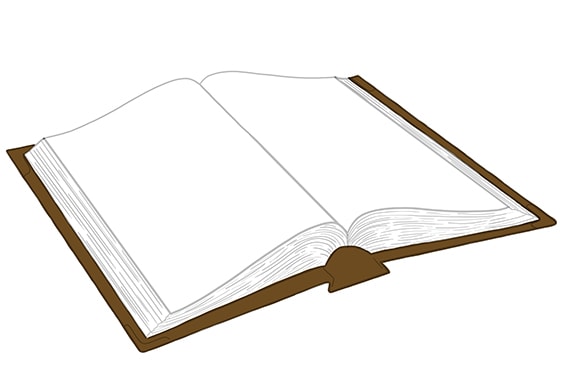
Step 10: Applying a Base Color to the Pages
For the pages of your book, you are going to use a light cream color as the base shade. Using a regular brush, apply an even coat of cream color to fill the rest of your book drawing.

Step 11: Adding Color to the Metal Edge Details
We are now going to apply some color to the edge details on the corners of your book drawing. With a regular brush and a shade of light gray paint, apply a little color to each of the detailed edges.
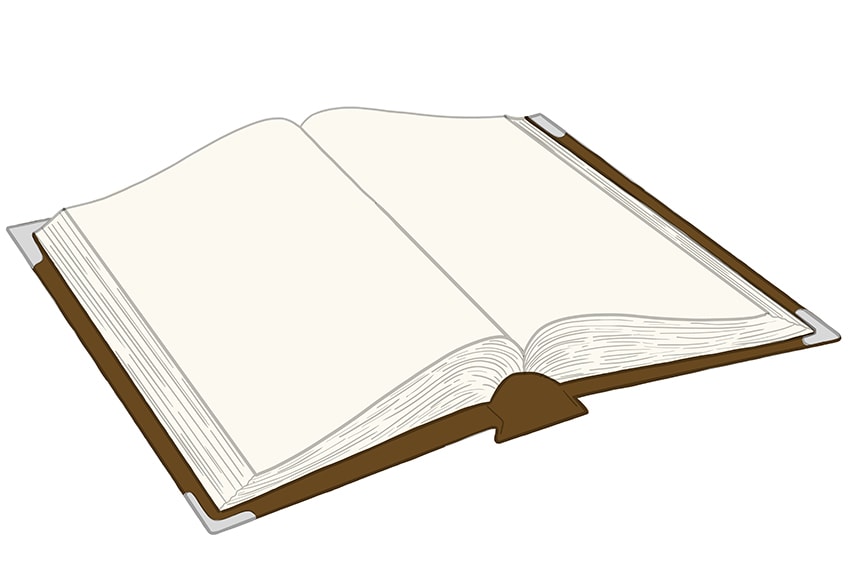
Step 12: Shading the Book Cover
Now that we have the base colors for each separate element of our book drawing, we can begin to add some definition and dimension using shadows and highlights. Let us start with the brown book cover. Using a very small amount of black paint and a small blending brush, add a light layer of shading around the inner edge of the book drawing. Shadows around the edges of the pages will give a more 3D effect.
Make sure, however, that you do leave the first color coat visible.

Step 13: Contouring the Pages of Your Book Drawing
We now move on to adding shadows to the pages of your easy book drawing. We are going to apply more structure and realism to the pages using a darker shade of cream paint and a small blending brush.
You want to focus the contouring on the right side of the central line, along the edges of the upper pages, and along the outer edges of the page block.
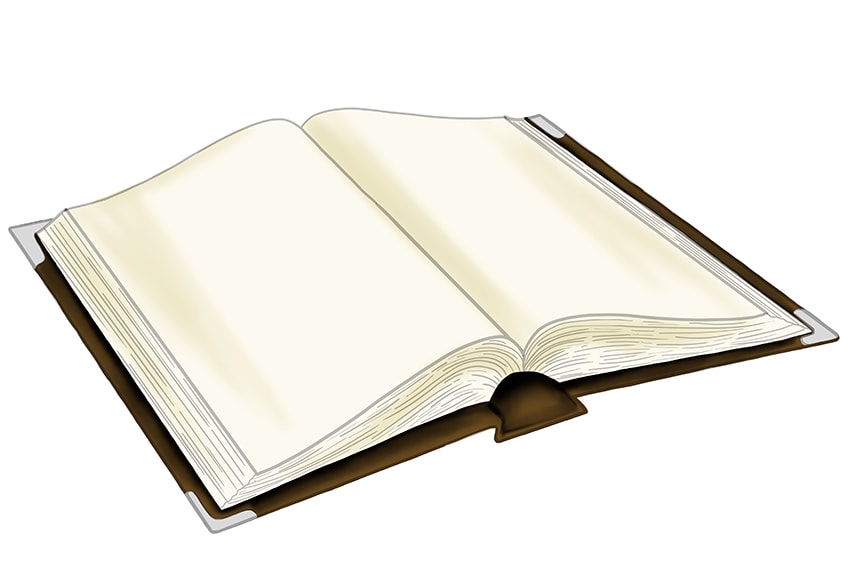
Step 14: Deepening the Shading of the Pages
You can now add a darker shadow to the pages using a touch of black paint and a soft blending brush. Darken the shading along the central divider between the pages and in the corners of the outer page block.
Tip: gently stroke with the brush in the direction of the pages to create individually looking shaded layers.
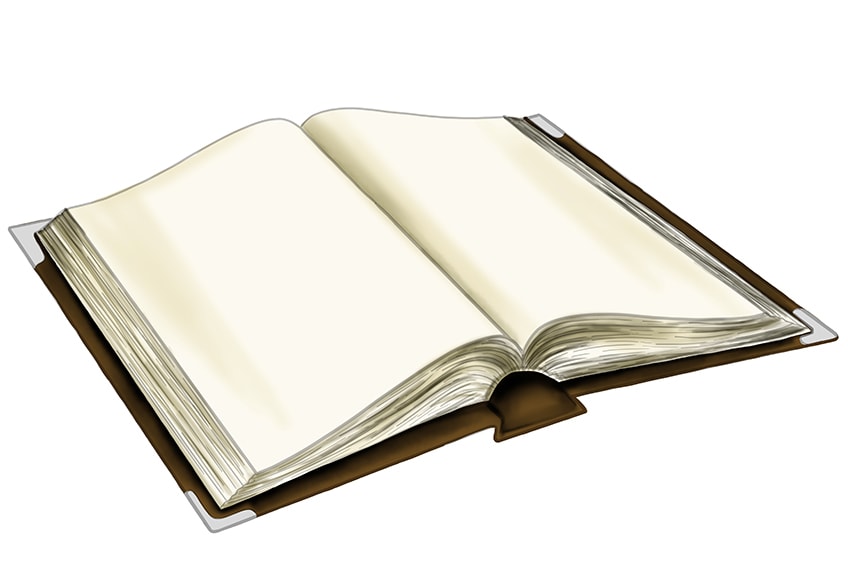
Step 15: Highlighting the Book Cover
We are now going to highlight the cover of your book drawing. Use a small blending brush and a light caramel shade of paint. Add a highlight shade along the very edges of the book cover.
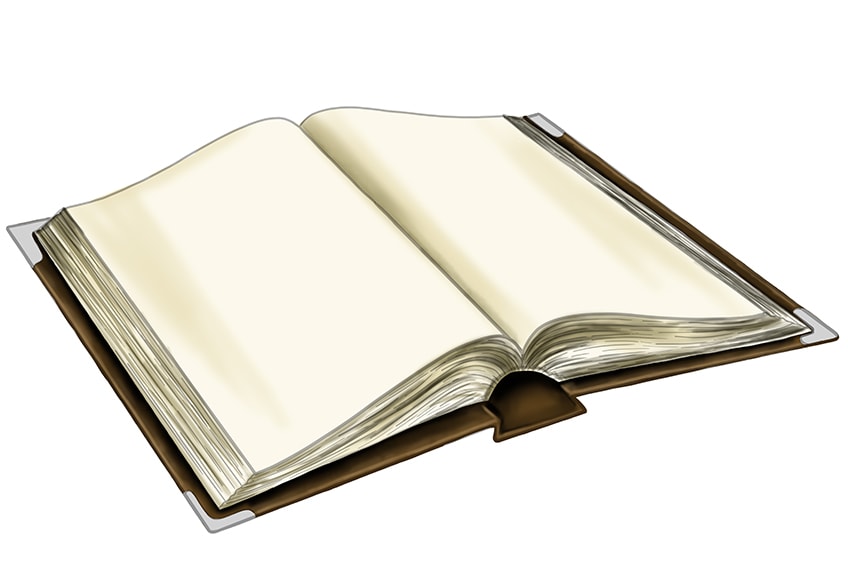
Step 16: Shading the Corner Details
Let us now add some shading to the corner details, to increase the realism of our easy book drawing. Use a small blending brush and a small amount of black paint to add a shadow to the outer edges of the corner details.
Remember that when using black for shading, it is best to start gently, adding more if necessary.
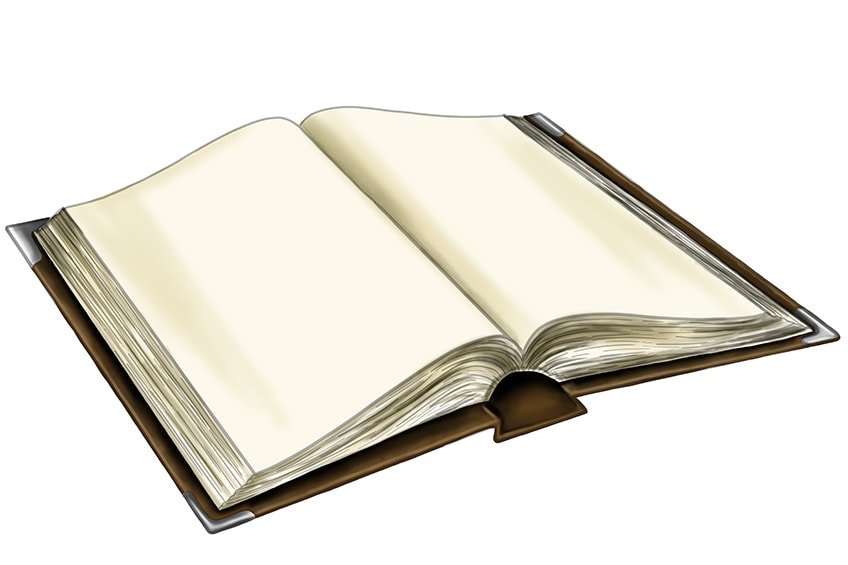
Step 17: Finishing Your Drawing of a Book
We have now come to the second last step of our tutorial for how to draw a book step by step. In order to create a seamlessly finished book drawing, we are going to remove the outlines. If you are using a digital drawing tablet, you can simply remove the outline layer. If you are working with a physical medium, carefully trace over the outlines with the matching color at each point.
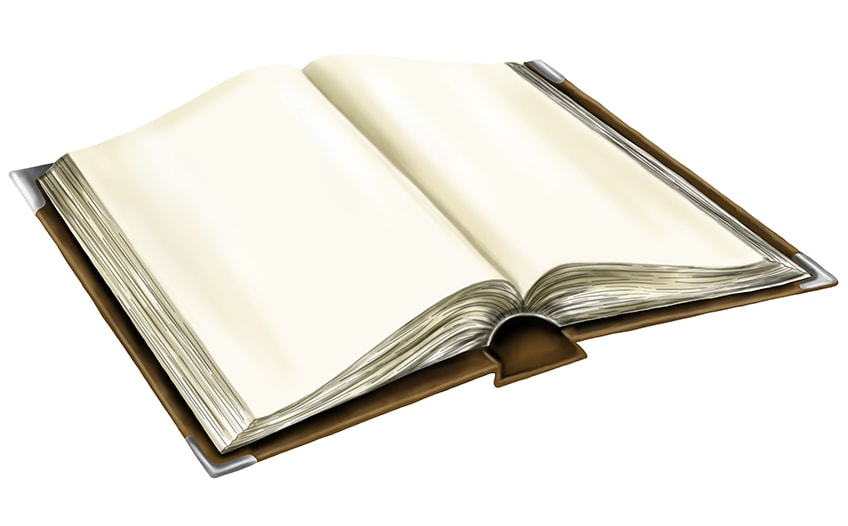
Step 18: Adding a Shadow Around Your Easy Book Drawing
For the final realistic touch, use a soft blending brush and some black paint to create a casted shadow around your book drawing.
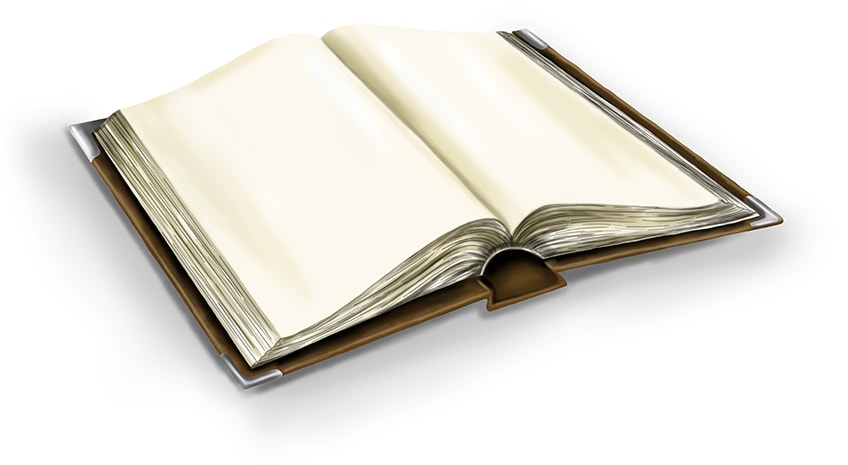
Well done for finishing your very own easy book drawing! In this tutorial, we have shown you how to draw a book step by step, from creating the outline to adding color and realistic contouring. You can now create many realistic book drawings, with different colors and even with writing details.
Frequently Asked Questions
Is It Difficult to Learn How to Draw a Book?
Learning how to draw a book step by step has never been easier than with this book drawing tutorial. We help you create the base shape, add realistic page details, and color your easy book drawing in only 18 simple steps.
What Colors Should You Use for a Drawing of a Book?
You can use any color you like for the cover of your easy book drawing. For the pages, however, we suggest sticking to a light cream or white shade, as this is the most realistic.
Matthew Matthysen is an educated multidisciplinary artist and illustrator. He successfully completed his art degree at the University of Witwatersrand in South Africa, majoring in art history and contemporary drawing. The focus of his thesis was to explore the philosophical implications of the macro and micro-universe on the human experience. Matthew uses diverse media, such as written and hands-on components, to explore various approaches that are on the border between philosophy and science.
Matthew organized various exhibitions before and during his years as a student and is still passionate about doing so today. He currently works as a freelance artist and writer in various fields. He also has a permanent position at a renowned online gallery (ArtGazette) where he produces various works on commission. As a freelance artist, he creates several series and successfully sells them to galleries and collectors. He loves to use his work and skills in various fields of interest.
Matthew has been creating drawing and painting tutorials since the relaunch in 2020. Through his involvement with artincontext.org, he has been able to deepen his knowledge of various painting mediums. For example, watercolor techniques, calligraphy and lately digital drawing, which is becoming more and more popular.
Learn more about Matthew Matthysen and the Art in Context Team.


