Resin Craft Ideas – Our Top Epoxy Projects to Make at Home
Resin craft has been practiced for many years by people with a real knack for creativity. The possibilities and techniques you can achieve with resin are entirely endless. This is what attracts most artists and hobbyists to this wonderful art form. Once you have prepared the necessary equipment and workspace needed, you will have all you need to experiment and familiarize yourself with the world of resin arts and crafts, including jewelry, furniture, décor, molds, and much more!
What Exactly Is Resin?
Resin is a synthetic or natural mixture, which is initially in a two-part liquid form. They are most likely brownish or yellowish in color and sometimes used as glues and adhesives. Once mixed and dry, resin transforms into solid matter or a substance with high viscosity (thickness). Most resins, such as epoxy, convert into rigid polymers through this curing or drying process. It is versatile, relatively affordable, and extremely durable. It is for this reason that many artists, crafters, and hobbyists commonly work with the medium to produce a range of resin craft ideas.
What Is Natural Resin?
Natural resins are normally collected from trees, such as firs and pines, where resin is formed on the surface of the bark after the tree has been damaged by natural causes. The harvesting of natural resins is an ancient preparation traditionally made by the Chinese, Japanese and Egyptian peoples and is often used as lacquer or varnish.
In this article, we will look towards understanding synthetic resins, which are more commonly used today.
What Is Synthetic Resin?
Synthetic resins are more commonly used in our modern industry. These synthetic resin types can be separated into two classes, thermoplastic resin, which can melt under heat after curing, and thermosetting resins, which keep their form and remain solid under heat once cured.
Which Type of Resin Is Best for Beginners?
Resins are incredibly versatile and prepared in various mixtures. DIY resin can be quite intimidating for beginners at first, but this is usually the case when attempting to pick up a new skill! Synthetic resins are ideal for all levels of practice.
These types of resins include epoxy resin, polyurethane resin, polyester resin, polyethylene resin, phenolic resin, acrylic resin, alkyd resin, polypropylene resin, polycarbonate resin, polyamide resin, silicone resin, and polystyrene resin. Epoxy, polyurethane, and polyester resins are more widely used for beginner resin crafts and are highly recommended by advanced resin artists and crafters.
What Are the Characteristics of Epoxy, Polyurethane, and Polyester Resins?
If you are a beginner in the world of DIY resin, it is really important to make sure you know what qualities to look for within these resin types. This very much depends on what you are wanting to create – how quickly it needs to dry and if you would like to return to the project.
Below is a list of the characteristics of epoxy, polyurethane, and polyester resins to help guide you towards the ideal resin type for your project:
| Characteristics | Epoxy Resin | Polyurethane Resin | Polyester Resin |
| Long-Lasting Shelf Life | ✔ | ✘ | ✘ |
| Affordable | ✔ | ✔ | ✔ |
| Quick Drying | ✔ | ✔ | ✘ |
| Transparent Once Dry | ✔ | ✔ | ✔ |
| Environmentally Friendly | ✔ | ✔ | ✘ |
| High Heat Resistance | ✔ | ✔ | ✘ |
What Is the General Difference Between Other Resins and Epoxy?
Epoxy is technically a synthetic resin that has a quicker drying time. Both are required to be mixed before being used. Other types of resin can take up to eight to ten hours to dry, while epoxy resin can dry between six minutes to an hour – which makes it much quicker to work with than other resin types. It is for this reason that it is so popular with artists working and practicing from home.
Where You Can Find Epoxy for Crafts
You can purchase epoxy at most hardware and superstores, as well as certain arts and crafts warehouses, such as Michaels, Walmart, Hobby Lobby, and Home Depot. You can also purchase epoxy online through stores and websites, such as Amazon.
It is recommended to call in and enquire about the availability of stock for DIY resin because of its popularity and high demand.
How to Choose the Right Epoxy Resin for Your Project
Epoxy resins can vary according to the viscosity (or thickness) of the liquid during preparation. Epoxy that is slightly thinner in consistency (low viscosity) is a great option for artists and crafters that use molds with intricate details; however, the drying period is much longer. A slightly thicker epoxy mixture (higher viscosity) will dry quicker within the molds.
This also means that there is less time for the resin to settle into the deeper parts of the prepared mold. Epoxy resins with a higher viscosity will work well for artists looking to produce work quickly and consistently, whereas low viscosity resins are ideal for detail-oriented artists and crafters that enjoy working rather gradually with the medium.
Resin Safety Guidelines
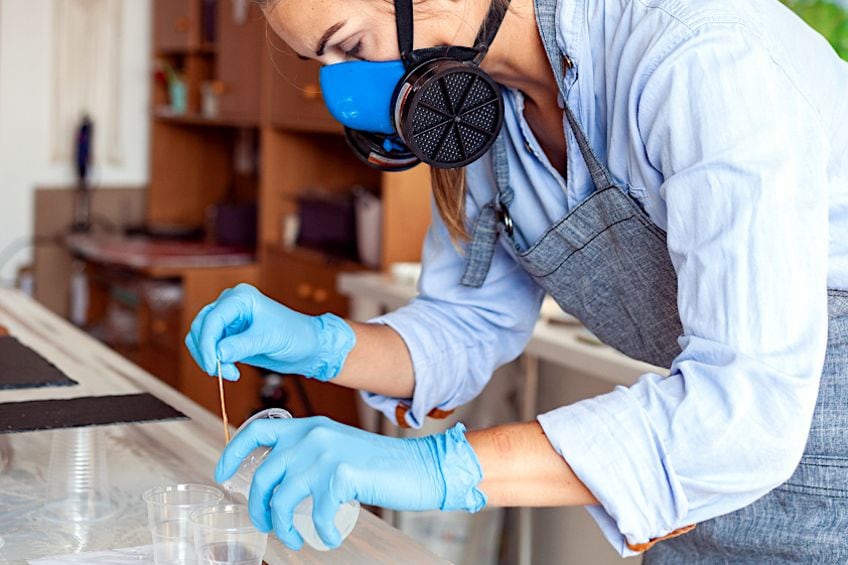
Resins can be extremely toxic if the necessary protective equipment is not prepared. The gasses and vapors that are emitted during the chemical reaction could affect and harm your eyes, skin, and lungs. Resin is also highly flammable. It is recommended to work in a well-ventilated room. You should wear goggles to protect your eyes, gloves to protect your skin, old clothing with long sleeves, and keep a respirator on hand to be extra careful.
Once you have taken care of yourself – let the fun begin!
How to Clean Spilled Resin?
Resin is extremely sticky. If you have ever accidentally come in contact with strong glue or adhesive, you will know what it is like to handle resin – except it may even be ten times worse. Once resin dries, it is essentially a super glue that hardens and can damage or ruin most surfaces, let alone your skin!
How to Remove Resin From Working Surfaces?
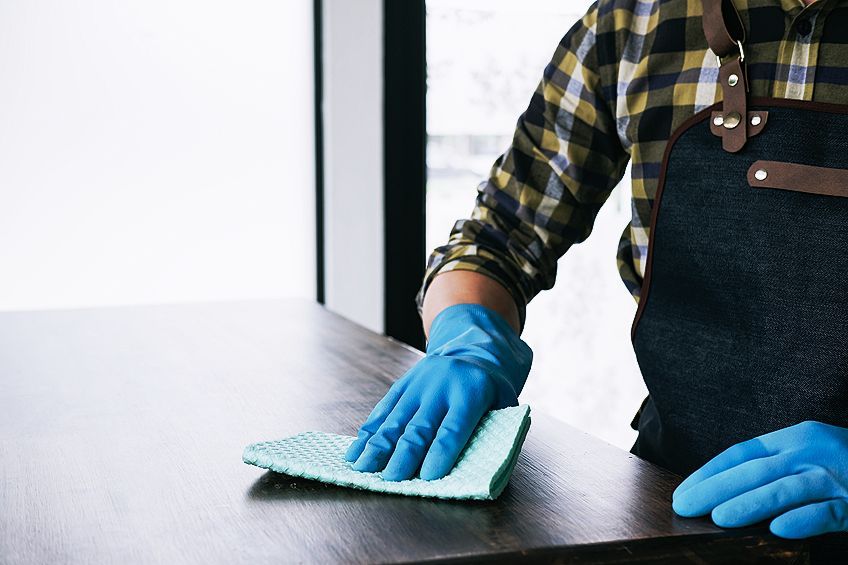
Epoxy resin can bond with specific surfaces, especially porous surfaces like wood. If the resin is accidentally spilled or dripped onto a surface, you can certainly remove it with a small amount of acetone on a cloth. Ideally, you should remove it as soon as possible or while the resin is still wet. Once it is dry, it is still possible to remove the resin with acetone but with a bit more elbow grease.
You can also try and chip away the resin with a scraper tool, however, this might damage your working surface.
How to Remove Resin From Your Skin?
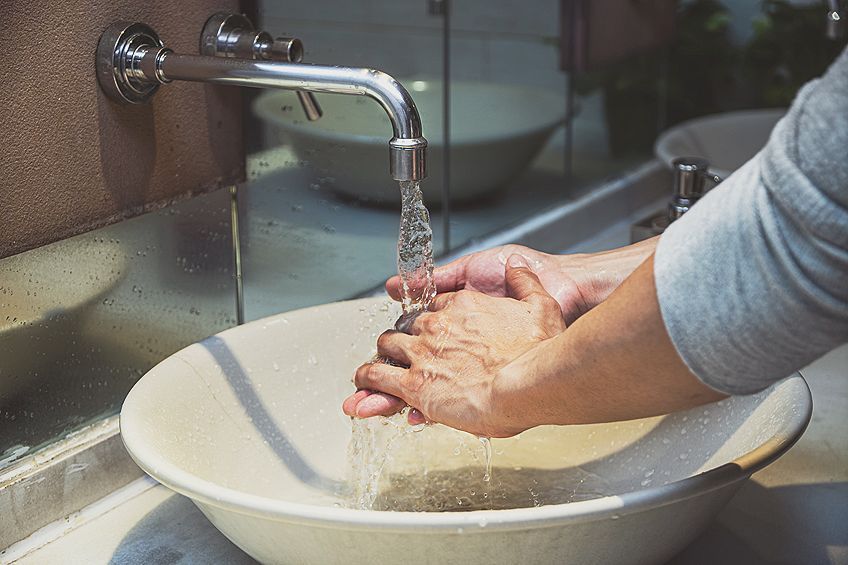
The best way to remove resin from your skin is to instantly wash and scrub up with soap and warm water. If this does not work, you can also try to dip your hands into baking soda and rub them together for a moment. The resin should clump together and eventually come off of the skin.
Equipment Needed for Epoxy Resin Crafts
It is key that you have all of your supplies prepared before creating your small epoxy resin projects. Before you jump right in, you should be equipped with all the tools you need to work with DIY resin and set up the ideal workspace before mixing. Here is a list of basic materials needed for epoxy resin crafts:
- Epoxy resin mixture
- A covered or protected workspace
- Protective gloves
- Old clothing
- A silicone mat
- Disposable measuring cups
- Stirring stick or a popsicle stick
- Various grit sandpaper
- A heat gun or lighter
- A level (optional)
- Molds (if using)
- A respirator (for sensitive creators)
Materials You Can Work With for Epoxy Resin Crafts
The most incredible thing about working with DIY resin is that it can be mixed with a variety of materials – almost anything is possible! Often these materials are objects that can be found right in the space of our homes or are readily available at local crafts stores. Some of these materials include:
- Seashells
- Candy and sweets
- Dried flowers and leaves

- Gold leaf
- Glitter
- Dyes, pigments, and food color
- Small toys and accessories
- String lights
Surfaces You Can Pour Resin Into
Once you have discovered what is possible with resin mixtures and what can be solidified within resin, you can start experimenting with different working surfaces. Some of these surfaces include:
- Wood
- Concrete
- Metal
- Stone
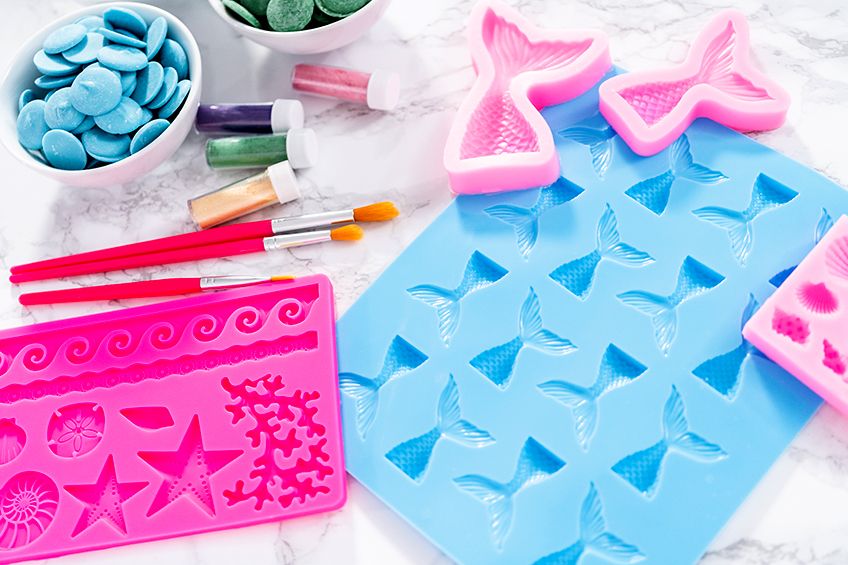
- Silicone molds
- Silly putty
- Canvas
- Photographs and prints
- Paper
- Cookie cutters
- Textured tiles
- Textiles
How to Make DIY Resin
Once you have all your equipment, tools, and materials gathered, you can begin producing your resin art ideas and bring them all to life! But just before you begin, you must follow the basic process of mixing preparation.
How to Mix Epoxy for Crafts
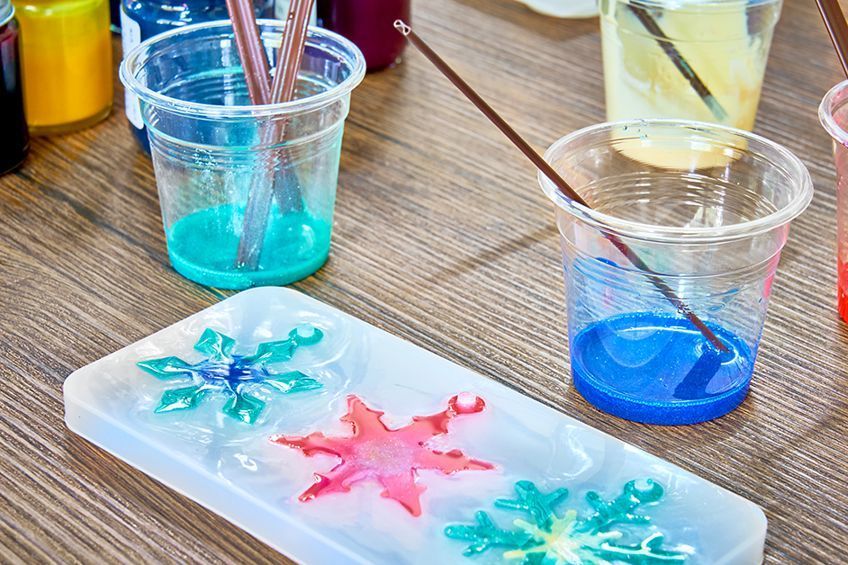
Epoxy mixtures are generally available as pre-packed kits. This mix is made up of two components – the resin and the hardener. When they are combined in a 1:1 ratio, a chemical reaction takes place. Once you have shaped your project to the point at which you can allow the resin to dry, the epoxy will gradually solidify and harden. The result of this leaves you with a beautifully robust, transparent, and glossy surface.
Below is a basic guideline for mixing and pouring epoxy for crafts.
Prepare All Your Materials and Equipment
Make up your workspace and gather all the necessary equipment and safety gear before mixing your DIY epoxy. Ensure that the space you are working in has low humidity and is clean and tidy. Prepare all your materials including gloves, old clothing, the epoxy mixture kit, disposable measuring cups, a stirring stick, a level, and a respirator if needed. Once you are fully set up, you can plan your project and begin the next step.
Read the Resin Mixture Instructions Carefully
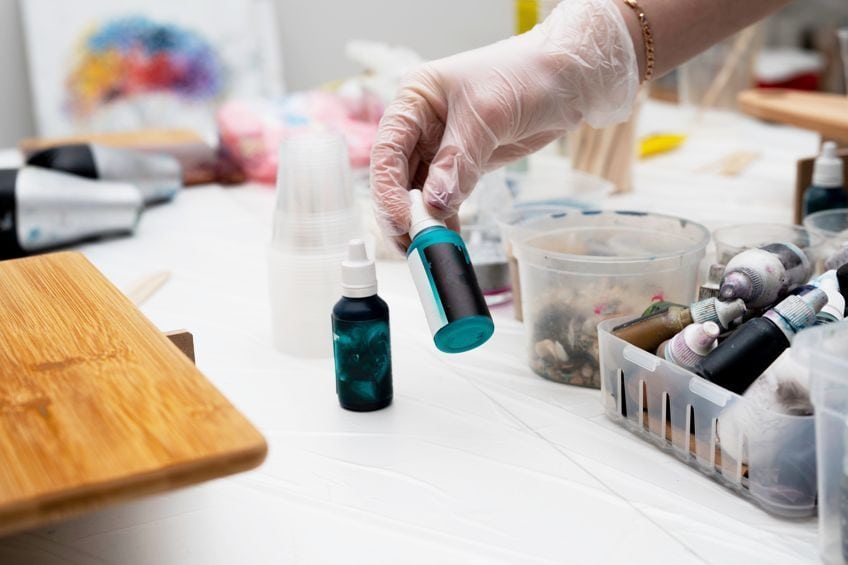
The best advice resin artists and crafters have for mixing and pouring epoxy is to simply read the instructions carefully and take your time. Be patient and attentive to the guidelines. Warm your resin and molds – if used – by placing the sealed bottles and mold containers in warm water. This preparation will reduce the number of bubbles during the pouring process. The two components – the hardener and resin – can be combined to a 1:1 ratio within the measuring cups.
Following your choice of the small epoxy resin projects and the guidelines below, you can soon begin pouring, casting, or molding your resin art ideas.
Measure Your Resin
Before you open the two components of the resin mixture, make sure to wear protective gloves. Open and ensure you measure each part separately and methodically. Always place the lids back on the bottles. Follow the instructions on the box accordingly however, the 1:1 ratio mixture is often a standard outline with epoxy resin crafts.
Mixing Your Resin
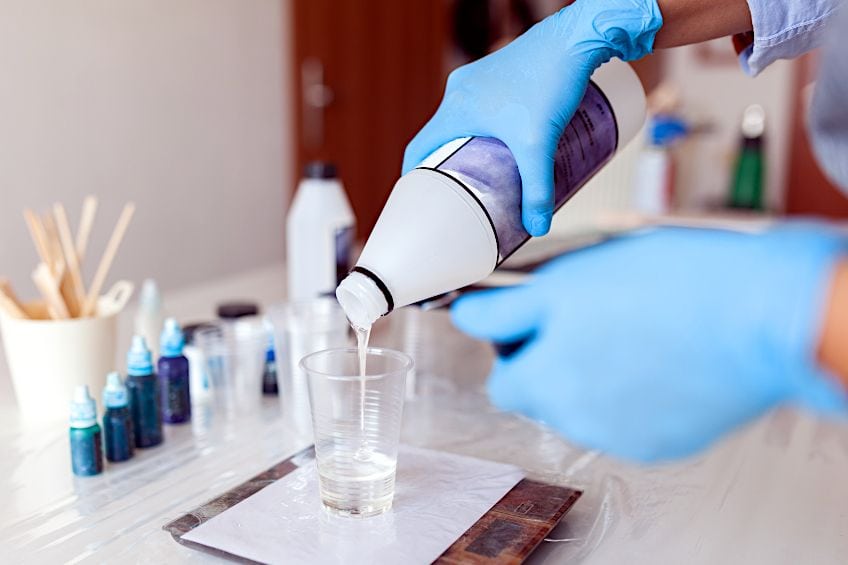
When you are fully prepared and ready to mix, you can pour both mixtures into a measuring cup and mix them. Again, follow the instructions that were given on the back of the resin mixture packaging. Mix it slowly for up to three minutes to avoid bubbles. If there are specific timings for your resin states, you should follow the times allocated for mixing.
Leave the mixture to stand for a few minutes.
Adding Color to Resin
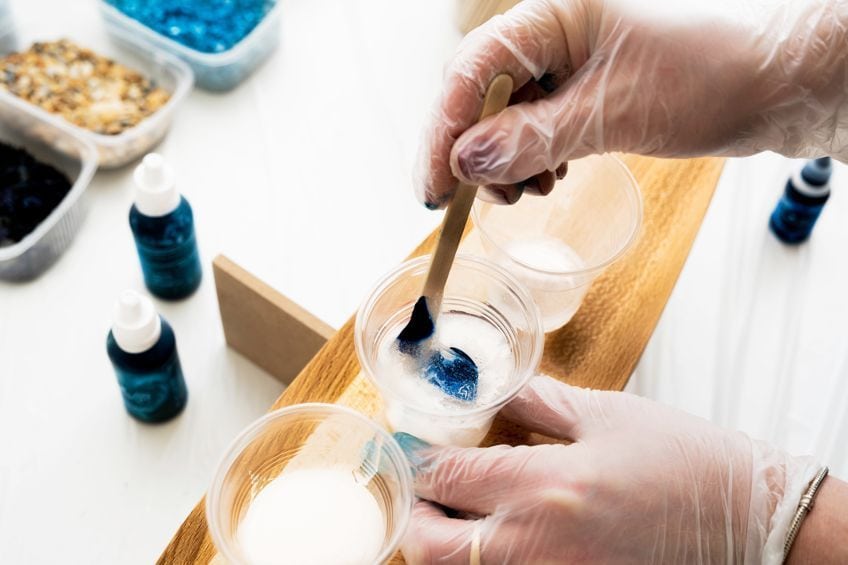
You can add color to your resin craft ideas with alcohol inks, mica powders, food coloring, or any liquid pigment. Follow the guidelines on the packaging of these inks and powders to add the appropriate amount of color to your DIY resin. Make sure your artwork is thoroughly mixed. Avoid water-based pigments as this could stop your resin from curing properly.
Pouring DIY Resin and Removing Bubbles
Resin often tends to pour out quicker than you are ready for and so the best tip is to take your time with your process and observe carefully. If you are generally unsteady or shaky while working, you could use plastic syringes or droppers for more direct accuracy.
The best way to remove bubbles is to use a heat gun over the surface of your small epoxy resin projects while it is in the process of drying and curing.
Another option is to use a “bubble-popper”. This can be used immediately after pouring while the substance is still in its purest liquid form, however, be cautious not to disrupt the shape of your epoxy resin crafts.
Adding Embellishments to Your DIY Resin (Optional)
This is where you can truly add your personal touch to your resin artwork before it starts curing. You can add various details such as dried flowers, glitter, beads, paper, or anything non-porous. As items are added, you may need to remove bubbles with a toothpick or sharp object.
Curing Your Resin Art Ideas
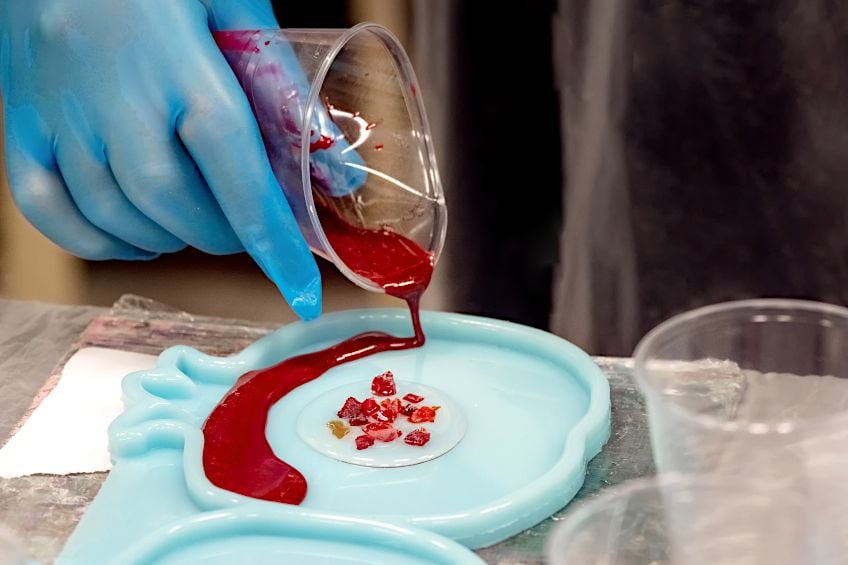
The curing times for resins vary greatly according to the resin type. Epoxy for crafts requires a room temperature that does not change or fluctuate. About 70 degrees Fahrenheit (about 22 degrees Celsius) is the typical temperature required for curing. Try and keep your project away from extremely cool or hot positions to prevent it from misshaping, or not drying at all.
Lastly, ensure that your work is covered with a cardboard box or a large cover of some kind to keep debris from falling into the resin while it is curing and drying.
Remove Resin From the Mold or Working Surface
When the resin has cured properly, and you are fully satisfied, you can remove the resin carefully from the mold or surface onto which it is placed. And place it somewhere safe. Alternatively, you can begin sanding the sharper areas if needed.
How to Sand DIY Resin to Be Smooth
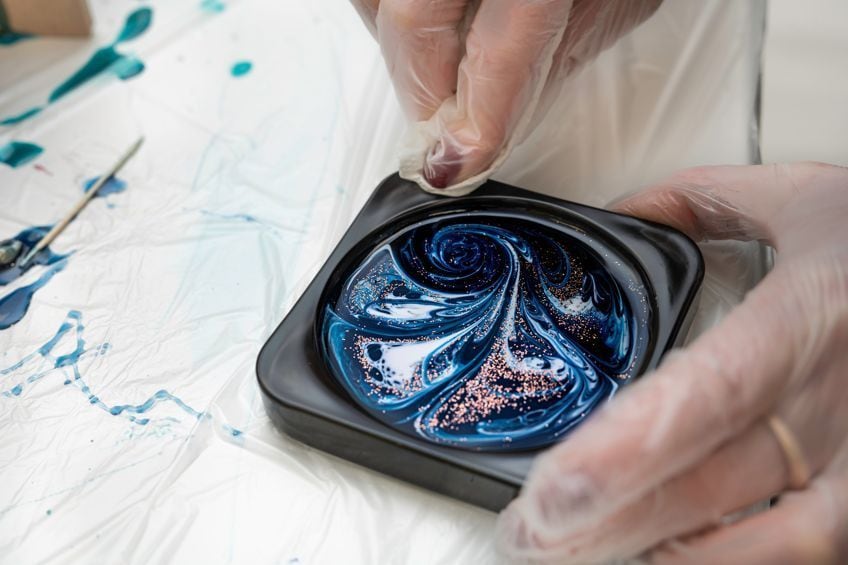
Sanding your resin craft ideas is an optional step but is often followed by resin artists with an eye for precision. Your resin artworks will most likely cure with sharp edges. If you are looking for a smoother form, it is recommended to sand the edges.
To do this you can follow these few next steps.
Wet the Sandpaper and Gradually Sand the Surface of Your Artwork
Pour a bit of water onto the sandpaper (about 150 grit) and wet the artwork itself. In a circular motion, consistently rub the wetted sandpaper over the sharp edge you want to smoothen out, right up until that edge is dulled or flat. There will be a slightly milky fade in the area that you have worked, which will gradually become clear with more sanding.
Increase Sandpaper Grit
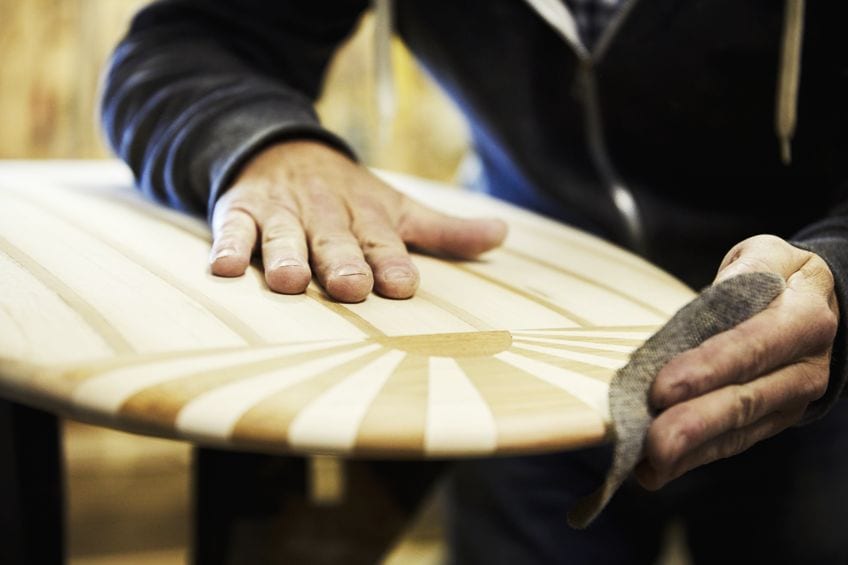
Here, you should change up your sandpaper up to 400 grit, working even more consistently, and eventually up to 1000 or even 2000 grit. Sanding resin can take quite a bit of time but genuinely can improve the quality of your DIY resin projects.
Small Epoxy Resin Projects You Can Create at Home
Epoxy resin projects become endless once you open up yourself to the world of making DIY resin. A few of these smaller projects are commonly practiced amongst keen resin artists and crafters. These include a variety of exciting materials and working surfaces. Let us have a look at some of these resin craft ideas:
Jewelry and Accessories
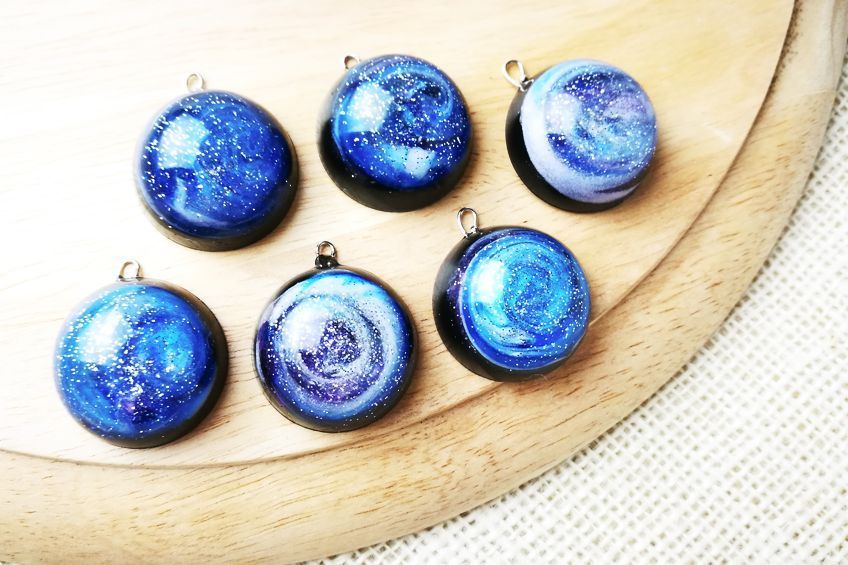
There is something wonderful about handmade resin jewelry. You can encase a variety of materials, objects, and pigments within resin jewelry and accessories.
This will lead you to want to keep discovering more combinations and techniques.
Necklaces and Pendants
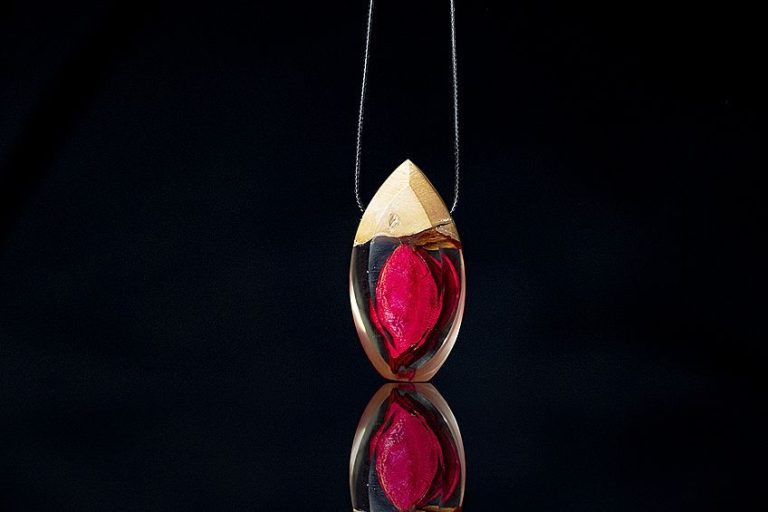
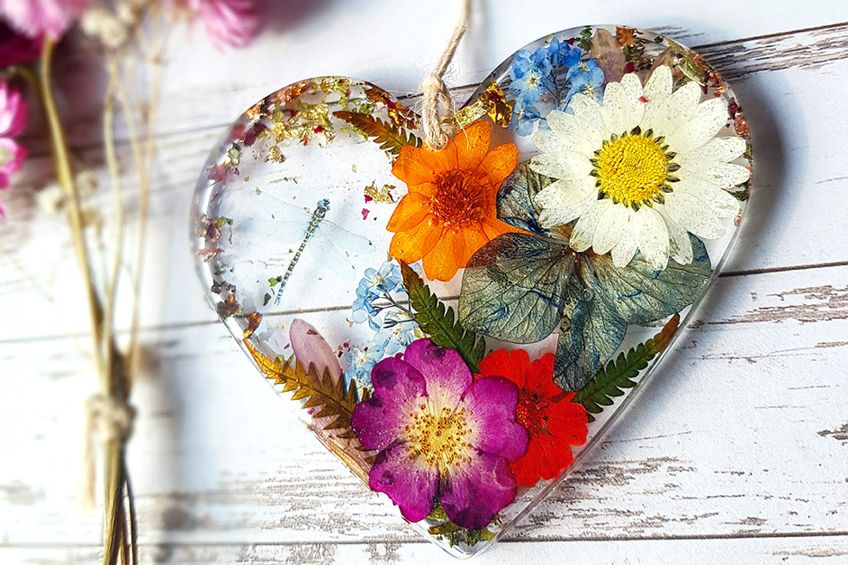
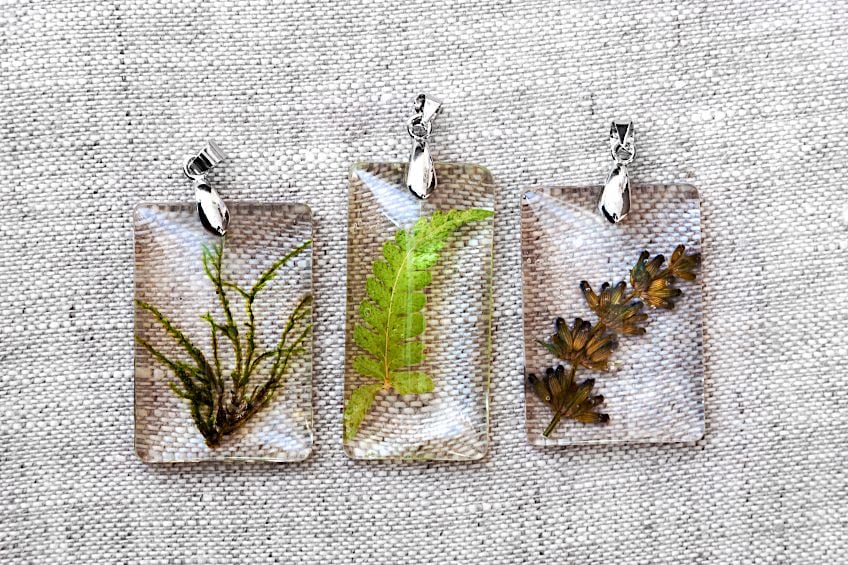
Resin necklaces and pendants are incredibly lovely and rather simple to make. Here, you can use an empty pendant frame or an open bezel pendant to create beautiful resin designs. You will most likely need a mold to pour your resin into however, if you do not have molds, you can easily make organic shapes directly onto your working mat. You could also insert pressed and dried flowers, gold leaf, glitter, and color pigments to create a range of detailed resin jewels.
Bracelets and Bangles
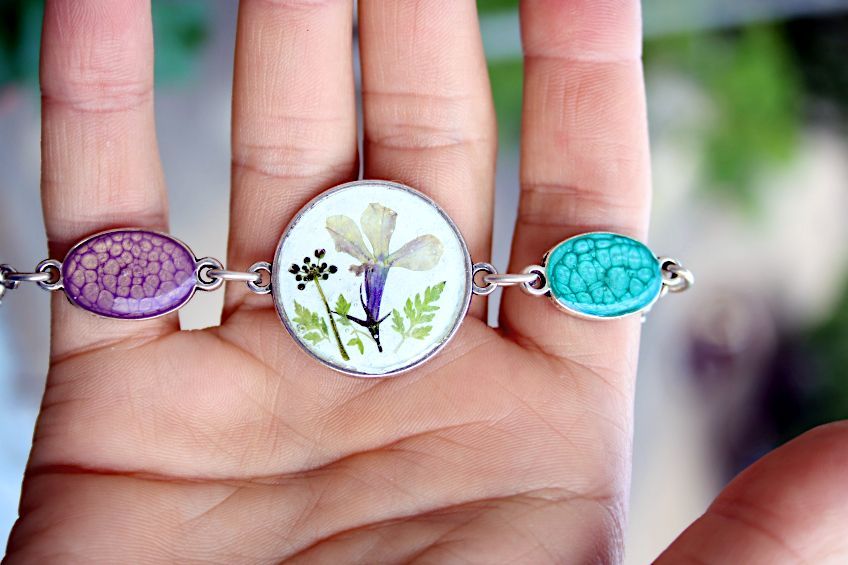
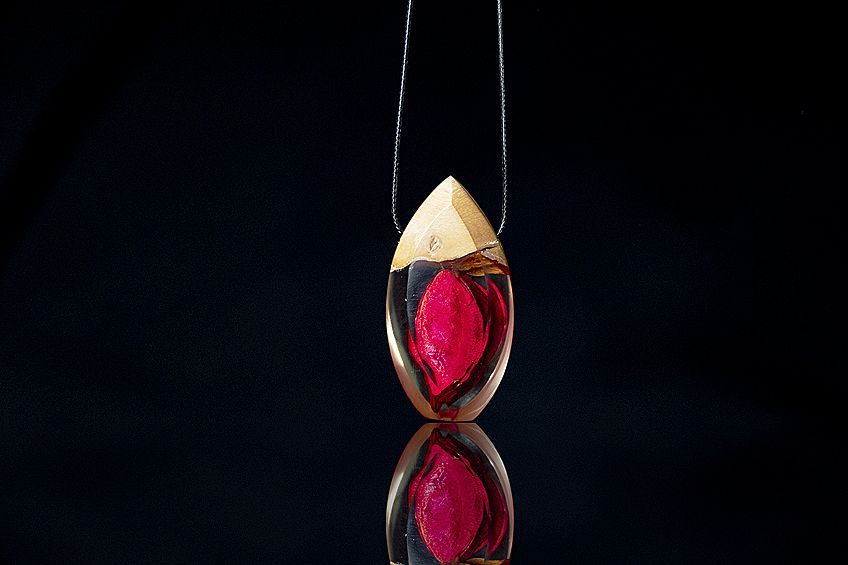
Creating resin bracelets and wrist bangles is just a whole lot of fun! You can use a variety of colorful alcohol ink mixtures and pastel paints within a mold to create elegant bracelets of different sizes and textures. You will need to either construct a mold to make bracelets or bangles.
Alternatively, you can purchase some to your preferred sizes and shapes.
Rings and Earrings
Crafting resin rings and earrings can be a great space for beginners to experiment with resin techniques and a variation of materials. Besides the fact that rings and earrings are stunning accessories, they are a great place to start for beginner resin crafts. You will need a ring casting mold with a range of sizes to make multiple rings.
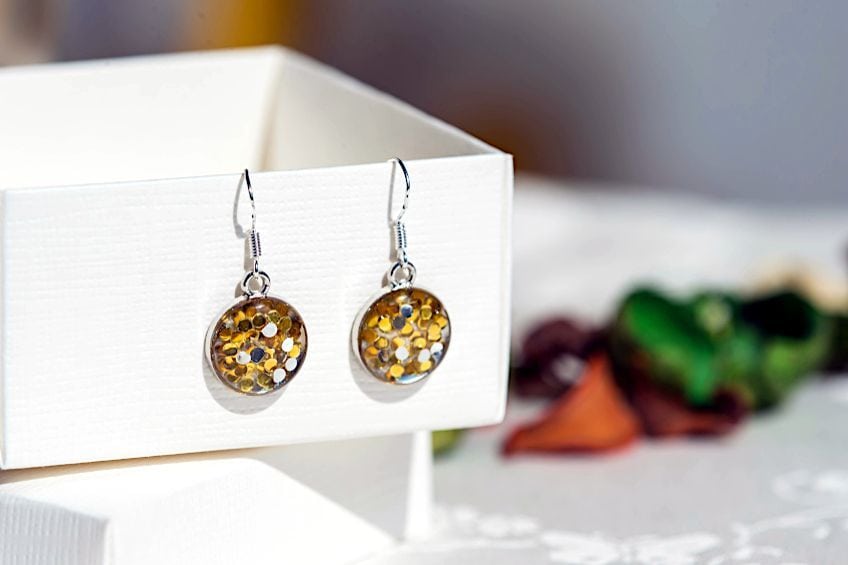
You can make your own ring mold by mixing a small amount of the two resin mixture components (1:1 ratio) and rolling the substance into a ball. Then flatten and insert a ring into the putty to form a mold. Allow it to sit for at least 25 minutes before removing the ring and allow it to sit for at least 48 hours before using it as a ring mold.
Jewelry Boxes and Combs
Resin-based jewelry boxes and combs are both durable objects you can create with epoxy resin for everyday use. Often these kinds of useful objects are quite expensive to purchase directly from the shops, and so this is a great alternative for working crafters looking for cheaper alternative materials to work with. You can spruce up an old jewelry box with layers of resin or start from scratch and make your own, however, you will need various molds to make your own.
Combs can also be coated with resin but, again, if you would like to make it from scratch, you will need to produce a comb mold.
Home Décor and Furniture
There are several useful objects, décor, and furniture you can make with epoxy resin. Often these projects require quite a bit of attention to detail and take time to come together. However, the result of these slightly more complex resin craft ideas comes with great reward. The outcome is usually superb and also comes at a low cost when compared to normal market prices.

Tables, Trays, and Coasters
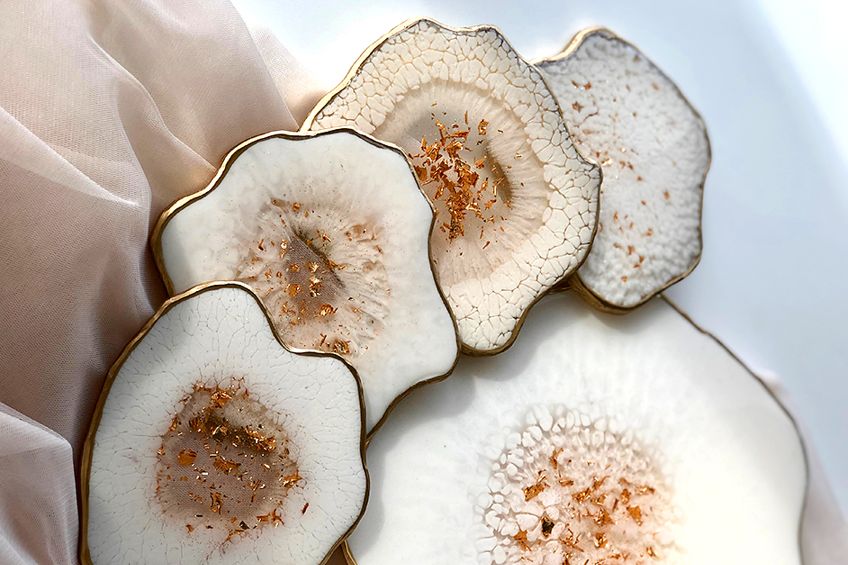
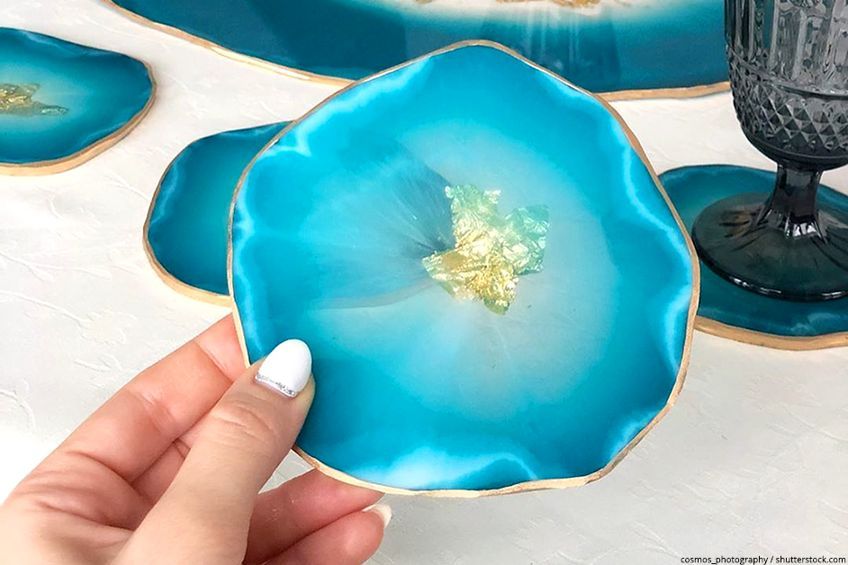
Tables, trays, and coasters are all home décor objects that are entirely useful and popular within households. You can make a variety of tables combining wood, pigments, fabrics, and other objects. Trays and coasters are slightly smaller epoxy resin projects to cover, and you can use similar techniques as you would for resin tabletops. You can include a variety of materials and objects, such as glitter, seashells, pressed flowers, and gold or silver leaf. When you begin pouring and sealing resin mixture onto the tabletop, tray, or coasters, make sure to fill any indents or flaws on the surface with a foam brush.
Continue pouring until the whole surface is coated in glossy resin.
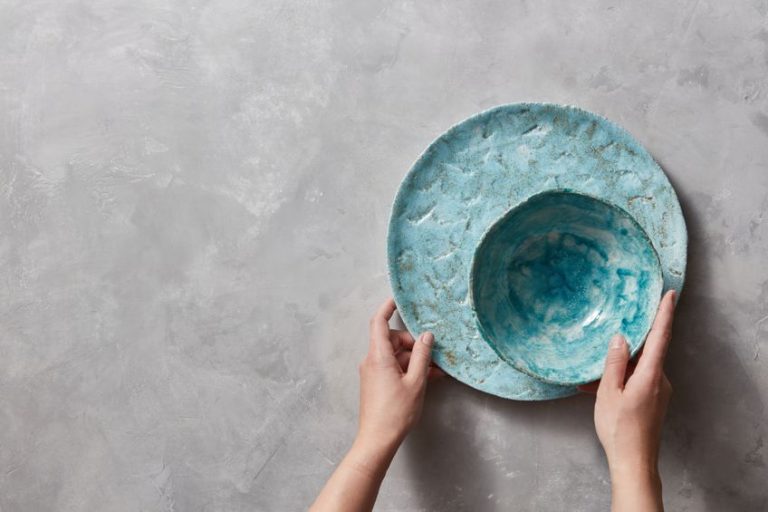
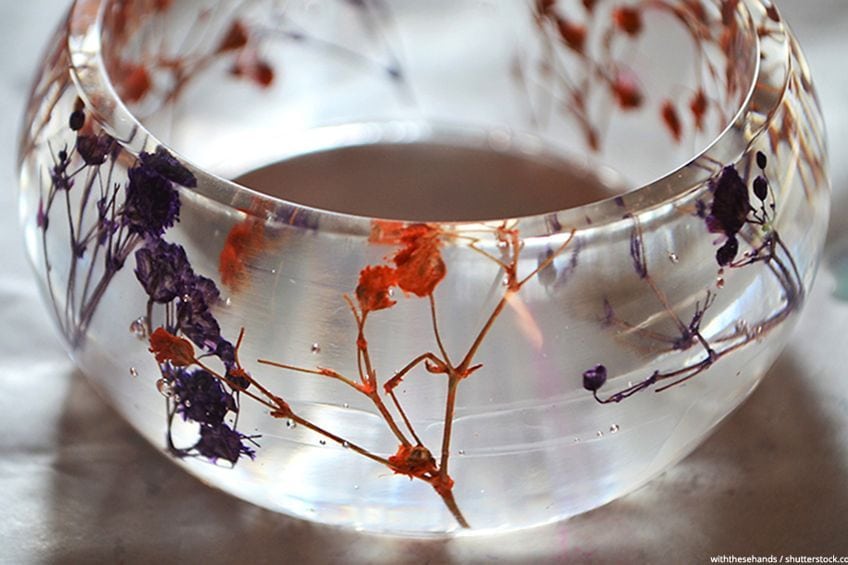
Tumblers, Bowls, Wooden Spoons, and Napkin Rings
These are all great everyday objects that can take the turn towards being more fun and spunky features within your kitchen and household. This is also a suitable place to experiment with varying techniques and materials by creating useful objects with striking elements. You can experiment with dipping and soaking objects into resin to create interesting, personalized décor. When you are mixing your resin and adding color, be aware of the effects and streaks you can create with the paint before applying it to seal the tumblers, wooden spoons, and napkins rings.
Doorknobs and Drawer Handles
Often the smallest details within your home are the most excellent qualities that make it uniquely yours. Who needs plain, ordinary doorknobs and drawer handles when you can make your very own? You can include dried flowers and leaves, paper designs, glitter, and anything small and detailed enough to fit within the confines of your new doorknob or handle.
You will need to construct your own molds according to the doorknob and drawer handle sizes you wish to replace.
Lamps, Clocks, Frames, and Photo Art
There are more examples of furniture and décor that you could work into resin craft ideas. A few more examples could be lamps that contain resin-coated string lights, wooden clocks with resin seals, frames that can be made using Lego pieces, and almost any photograph or print can be sealed in resin for display purposes.

Sculptures and Wall Art
Resin, as an art form, is an incredibly versatile medium that attracts many artists and crafters to create sculptural works. It can be used as a central element in a sculpture, and as a binder for hollows and gaps in the wood.
Resin can also be used to create evocative textures and color blends onto working surfaces such as canvases, wood, and board.
Resin Paintings, Canvases, and Sealed Images
Resin paintings can be a whole lot of fun when you discover how many materials you can work into the surface of a board or canvas. Canvases can be easily embedded with many different objects, textures, and color pigments, including sea sand, shells, dried plants and flowers, paints, and a range of multimedia. You can also print large-scale images and seal them with resin to use as ornate wall art. This can also be a tricky process because of the number of bubbles formed when sealing flat surfaces, make sure you have a heat gun on hand and toothpicks to pop any stray bubbles.

Using Silicone Molds and Wood Filler
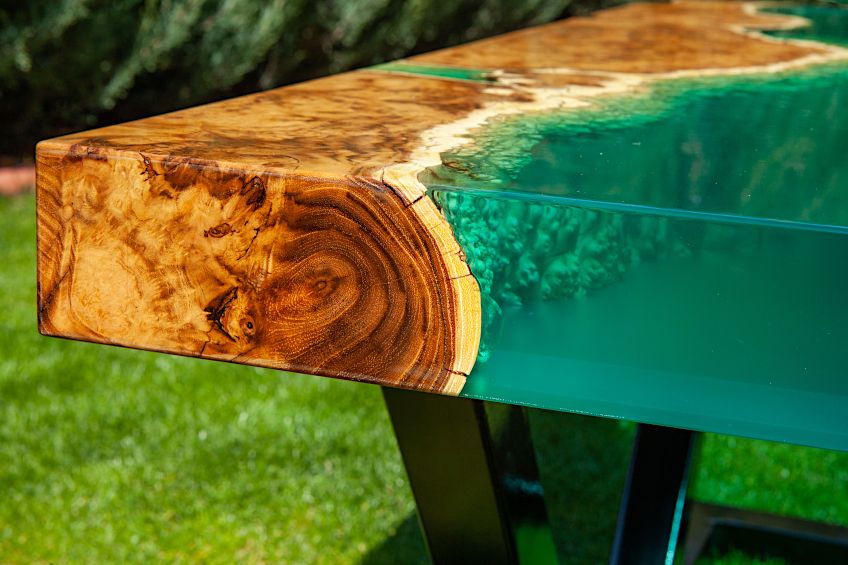
Resin can be used to fill space. You can use silicone molds to cast resins into customized shapes and sizes and you can collect these molds over some time as you begin to experiment with different objects, materials, and techniques. Resin can also be used to fill gaps and hollows in wood.
This can add a wonderful effect to wooden tabletops, counters, trays, and other wooden décor pieces.
Paperweights and Cubist Design
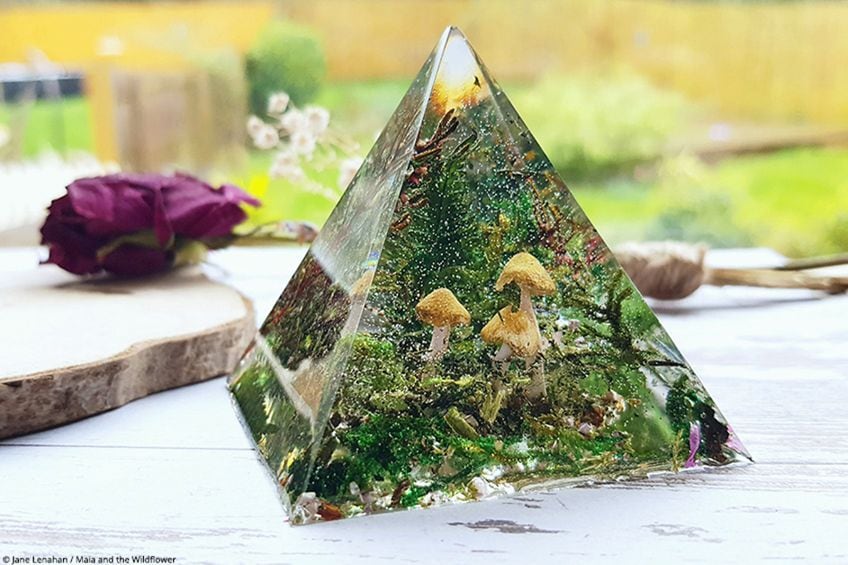
These small sculptures are great for encasing objects, dried plants, and flowers, game pieces, sweets and candy, small toys, and other objects. You can make a paperweight either using round, triangular, or square silicone molds and you can encase all sorts of trinkets. This is a great option for beginners looking to make more sculptural resin work. These paperweights and cubist sculptural designs also work as great office accessories.
Acrylic Paint Pour and Doodle Craft
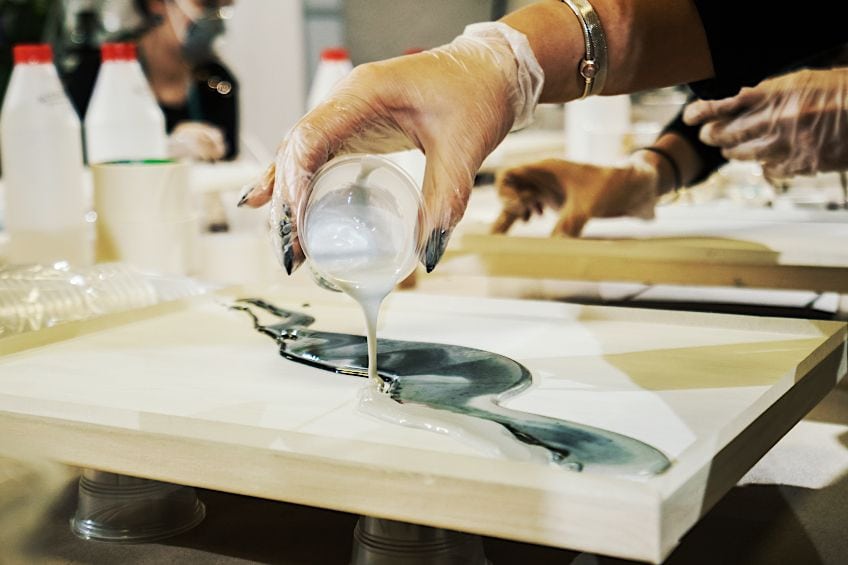
Resin paint pours, also known as DIY fluid art, are a great place to start for beginner resin crafts. You will find yourself learning how to mix and pour resin through the experimentation of paint pouring. Doodle craft is the embellishment of doodles, drawings, and designs onto a working surface and is sealed with resin. Working in this way shows the possibilities of working onto a surface before sealing your artwork with resin. You can draw, paint, and collage your designs before the paint pour.
The resin essentially works like a varnish over your doodles and sketches.
Miscellaneous and So Much More
You will constantly surprise yourself with the amount of resin craft ideas you can bring to life. You may even discover something completely new and untouched in the process. Here are a few examples of other trinkets and useful objects you can create with epoxy for crafts.
Coated Fabrics and Buttons
As you would seal photographs and prints, you can also seal a variety of fabrics and even buttons. You can use fabrics as a base for resin-sealed tabletops, trays, and other wall art. You will follow a similar process to pouring your resin over the fabric consistently to create a flat surface.
Buttons can be coated with embellishments and tiny objects, or they can be made from scratch using a button mold.
Keychains, Bookmarks, and Faux Crystals
A common creation for beginner resin crafts is to make keychains, bookmarks, and faux crystals. These all follow relatively simple processes and can be great as personalized gifts to others. To make faux crystals, you will follow the process above and pour your resin into crystals molds and leave to cure for at least 24 hours. You can include a variety of materials that are non-porous, such as glitter, dried flowers, and pigments that fit well within the space of your resin mold.
A Suncatcher
A suncatcher is an exceptionally simple project amongst the other small epoxy resin projects. This suncatcher is a mobile made up of a fishing line and long strips of colored resin, which can be displayed in direct sunlight to project dazzling reflections of light dancing around your room.
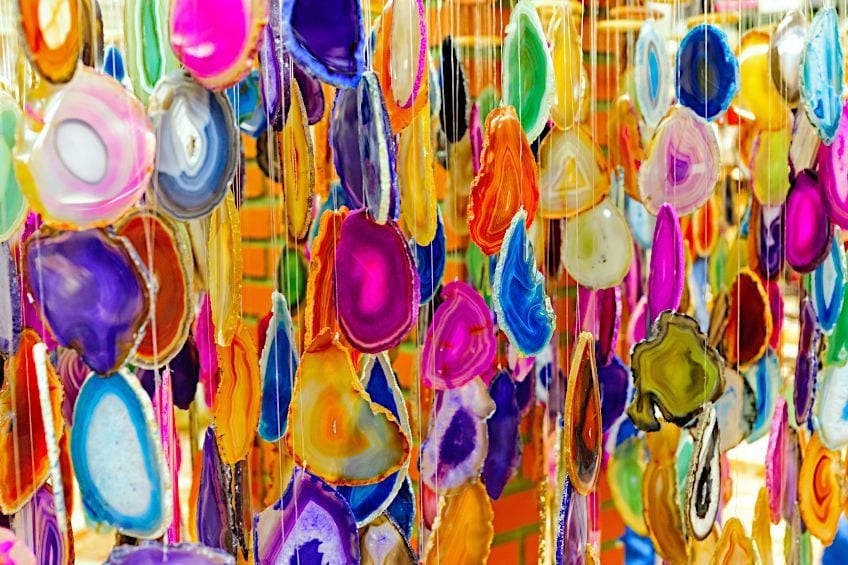
To make this suncatcher, you do not necessarily need a mold. You could construct any organic shape and you can add food color to your resin mixtures to create a range of colorful resin pieces.
We can learn a lot about working with resin. Although it may seem like an intimidating craft to treat with caution, it is greatly diverse, durable, and useful to many practicing resin artists and crafters. Most resin craft ideas start small and simple. Your small epoxy resin projects can eventually grow into larger-scale resin artworks with complex techniques and methods. But for now, just go ahead and pick your favorite DIY resin project, and begin – slow and steady!
Take a look at our resin art ideas webstory here!
Frequently Asked Questions
Is Resin Art Easy?
Resin art can be quite simple and easy, as long as you are equipped with the necessary protective gear and the instructions are followed carefully. It is almost like working with a basic cooking recipe – with the ability to be able to work with your selection of materials and surfaces. It is suggested by advanced resin artists to start by working on small epoxy resin projects and work your way towards larger projects until you have a real feel for the medium.
Is Resin Dangerous?
When the resin is mixed, a chemical reaction takes place, and the resin will release fumes during the drying and curing process. The vapors and gasses emitted from the resin can irritate the eyes and the skin can be aggravated if you make any contact with the resin. It is recommended that sensitive creatives wear protective gloves, eyewear and keep a respirator on hand when working with DIY resin. Resin is also highly flammable. Be sure to use caution around heat sources and flames.
Can You Place Fresh Flowers and Leaves in Resin?
It is not recommended to add objects that could decay within the resin. If you are wanting to include flowers, it is suggested to first dry or press flowers over some time before inserting them into your DIY resin project.
How Strong Is Resin?
Once dry, the resin is strong. It becomes quite difficult to damage, crack or break however this is very dependent on the sculptural quality of your resin craft ideas. As an example, if your resin project has sharp edges and falls from a height, it may crack or chip in the area that made a direct impact on the floor.
What Happens if Your Resin Shrinks or Collapses?
Often when resins cure, they can shrink in the middle section and the resin can dip down into the mold. You can rectify this by pouring a small layer of clear resin to fill this dip in the center.
Is DIY Resin Expensive?
Resin craft ideas can be on the expensive side of arts and crafts. Resin mixtures are prepared as two separate parts within a pre-packed mixture kit and packaged by highly trained individuals. Containing the mixture in this way is what makes it relatively expensive when compared to other creative materials, such as single tubes of paint. In fact, this convenient preparation of resin makes it well worth the expense. You will also manage to generate multiple small epoxy resin projects that will only gain in value once produced and cured.

Demi Bucklow is an independent artist and photographer living in Cape Town, South Africa. Since graduating from the University of Cape Town in 2018 from Michaelis School of Fine Art with a degree specializing in fine art photography, she currently works as a freelance artist, content creator and writer. Demi’s particular interests explore a range of multimedia illustration, collage art, photography and videography, darkroom processing and stop-motion animation. Her work is an exploration of nature and its phenomenon – somewhere between art and space.
Artistic practice presents the ability to communicate a vision. It is through techniques of pointillism and realism that form, and substance are explored as a metaphor for matter; super-imposing a thousand marks and points until an image is formed before our eyes. From illustrations to surrealist landscapes, Demi translates corporeality – mixing the obtuse and vacuous with the astute and expressive which leads to a mixture of irrevocable pondering over what is and what could be.
Learn more about the Art in Context Team.
Cite this Article
Demi, Bucklow, “Resin Craft Ideas – Our Top Epoxy Projects to Make at Home.” Art in Context. March 8, 2022. URL: https://artincontext.org/resin-craft-ideas/
Bucklow, D. (2022, 8 March). Resin Craft Ideas – Our Top Epoxy Projects to Make at Home. Art in Context. https://artincontext.org/resin-craft-ideas/
Bucklow, Demi. “Resin Craft Ideas – Our Top Epoxy Projects to Make at Home.” Art in Context, March 8, 2022. https://artincontext.org/resin-craft-ideas/.


