How to Polish Epoxy Resin – The Ins and Outs of Polishing Epoxy Resin
Epoxy resin is one of the most versatile substances on the face of the planet. These days, it’s used in pretty much every industry on the face of the planet, in fact, more and more applications are being discovered for this miracle substance every single day! It can be really challenging to work with though, different brands and even different types of resin can produce different finishes, even the mold you use can obscure your finish. This being said, let’s have a look at epoxy resin polishing, what it is, how it works, how you can use it to resurface and maintain the finish of your resin workpieces.
What Is Epoxy Resin Polishing?
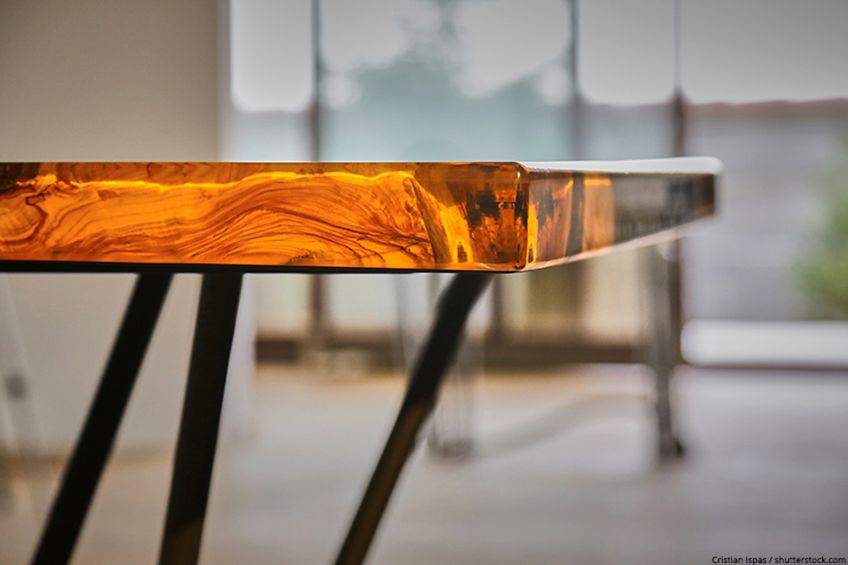
As we mentioned previously, there could be instances where you would want or need to polish epoxy resin workpieces, but what is the act of polishing resin? Well, as the name suggests it involves polishing a resin surface, but why would you need to do this? Epoxy resins surfaces aren’t always as reflective or even as clear as you would like them to be once they have been removed from the mold or applied to the surface of a workpiece.
The purpose of polishing pretty much any surface is to obtain a clear surface finish, this is why metal objects like brass, silver, and even gold are polished to maintain a pristine aesthetic appearance. Does the same principle apply to epoxy resin? Well, yes it does. Besides things like the molds and the quality of resin you use, simply sanding your workpiece to get rid of excess material can leave the surface murky and scratched up. This is where the practice of polishing your resin workpieces comes into play.
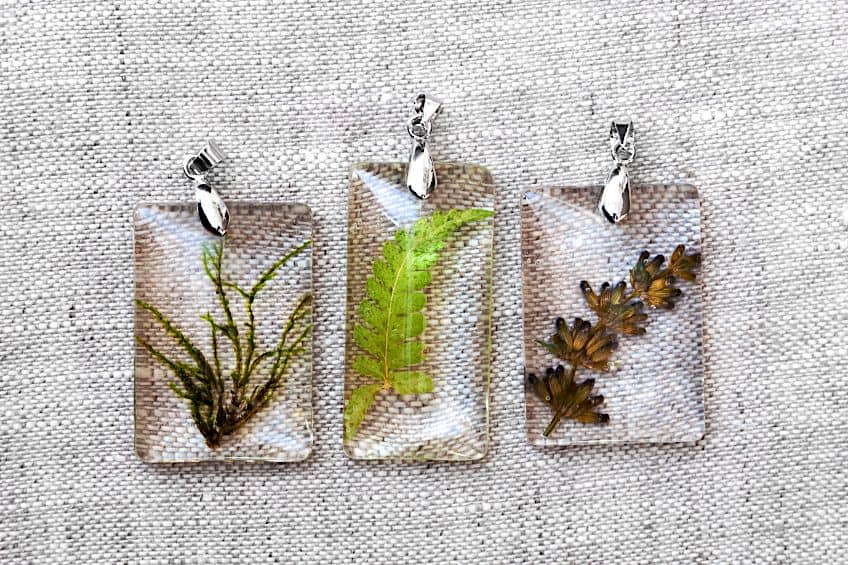
Even resin workpieces that have been around for while can be polished for maintenance purposes, after all the last thing you’d want is for your precious works of art to look like they’ve seen better days. The process is pretty simple too, all that you need to do is prepare the surface you intend to restore, apply your polish of choice, and use some elbow grease to get the job done!
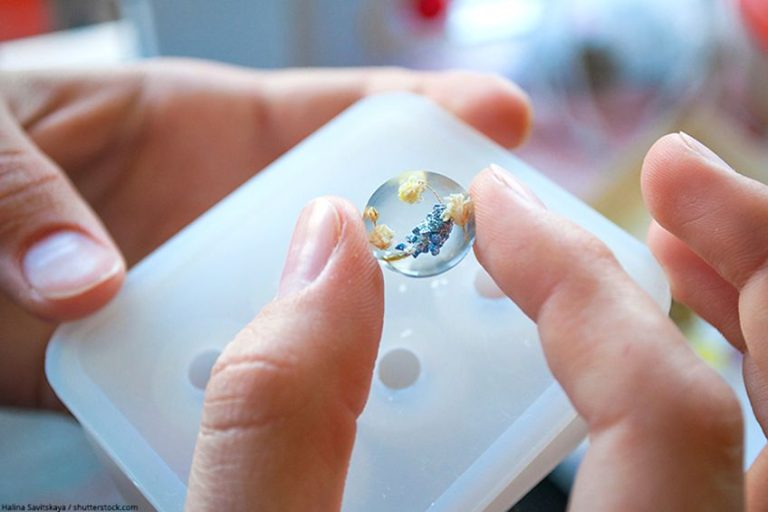
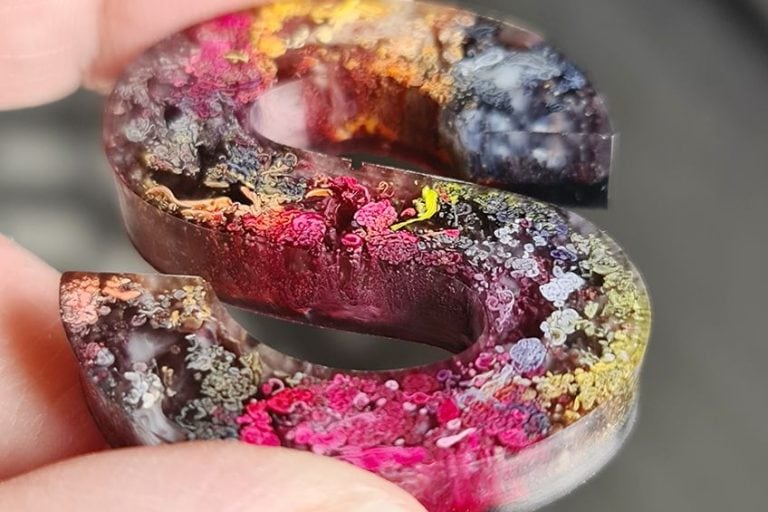
Polishing epoxy resin isn’t exclusively for large workpieces either, things like resin jewelry, protective coatings, and even toys can be polished to maintain or improve their existing finish. In fact, polishing epoxy resin is almost exclusively reserved for smaller workpieces because when things like resin jewelry lose their finish it is instantly noticeable, which ultimately ruins the overall aesthetic of the entire workpiece.
Polishing resin doesn’t just come in handy when you’re applying or restoring finish, this technique can also be used to save your workpiece from mistakes. Sanding or cutting away mistakes with resin is easy, but it will more than likely leave you with a glaring inconsistency in the form of your workpiece.
Polishing can help assimilate the affected area into the existing aesthetic of your workpiece. After all, if it’s all nicely polished, who’s to say it isn’t just part of the design? As you’ve probably pieced together by now, this is just one of the many benefits polishing your resin workpieces can afford you, so let’s have a look at how best to go about it.
How to Polish Epoxy Resin
Wondering how to polish epoxy resin? The process of polishing epoxy resin is pretty much the same one you would follow when polishing any other surface, and it even uses similar (if not the exact same) polishing products that you would use when polishing things like wood and metal. This being said, let’s have a look at what you need to do to ensure that you get the best finish possible when polishing your epoxy resin workpiece. Here are some of the things you will need:
- Polishing compound
- A vice or similar device to secure your workpiece
- An electric drill or a Dremel with polishing attachments
- A set of microfiber cloths
- Water
- Sanding paper
Prepare Your Surface by Sanding
Whether you’re working with wood, plastic, metal, or epoxy resin, preparing your surface is one of the most important steps in the polishing process. While the processes used to prepare these surfaces are different, they’re essential to a good-looking finish. How do you prepare a resin workpiece for polishing though?
When preparing a resin for good polishing you need to ensure that it has been sanded. Why do you need to sand resin before you polish it? Well, sanding ensures that the surface of your workpiece is level and that any dust has been removed from the surface you’ll be polishing. It also works to ensure that your polish adheres to the surface of your workpiece correctly and won’t be contaminated by any debris sitting on the surface.

When sanding epoxy resin, you’re going to want to do it either by hand with a sanding block, sanding paper, or with an orbital sander. If you’re working with a larger workpiece, the orbital sander might be the better choice considering the amount of elbow grease you’re about to sink into this process. We do not recommend using a belt sander as it will chew up your workpiece.
Once you’ve settled on which sanding method you’d like to go with, pick a grit anywhere between 120 to 1000 and start sanding. One of the best ways to go about sanding resin is by working in a circular motion, this will ensure that no lines or accidental recesses are created during the sanding process. Once you’re happy with your sanding job, ensure that your surface is flat before moving on to the next step in the process.
Tips for Wet Sanding
What is wet sanding? Well, it’s pretty much exactly what it sounds like. It involves using water and sanding paper graded for use on wet surfaces to prepare your resin workpieces. All that you need to do is ensure that your workpiece or sandpaper is wet and ensure that you follow the same process we mentioned previously.
After every pass, ensure that you wipe away any of the milk-like residues that have built up on your workpiece. Once you are happy with the job you’ve done sanding the surface, ensure that all the residue has been removed. Your surface should be completely dry before any polish has been applied to the surface of your workpiece.
When wet sanding the idea is to use progressively finer grits of sandpaper until the grit that you’re using is so fine that it leaves behind virtually no evidence of sanding. You could start with 400 grit, then move to 600 grit, then to 800 grit, and then eventually to 1000 grit. Wet sanding is usually reserved for larger resin surfaces as it reduces the amount of dust produced in the sanding process, or at the very least ensures that it doesn’t become airborne.
Polish Your Workpiece
Polishing your workpiece is a bridge you’ll have to cross if you’re looking to get that perfect finish for your resin castings. This being said, there are a few ways you could go about polishing your workpiece, you could either polish it by hand or you could use a Dremel if you’d really like to get the job done quickly. Let’s have a look at the best way for you to get your workpiece as shiny as possible.

How to Polish Resin with a Dremel
Wondering how to polish resin with a Dremel? Using a Dremel is one of the fastest ways to ensure that your resin workpiece is polished quickly, but it will take some skill to pull off. Dremel’s are typically used to polish resin jewelry because they can polish a resin surface faster than if you were to use a cloth, not to mention that this method ensures that you’re able to polish lots of little workpieces quickly.
To get started, apply some polishing compound to the surface of your freshly sanded resin workpiece.
Once the polishing compound has been applied, use the Dremel to make quick but consistent passes over the surface of your workpiece, this will ensure that you get the best coverage and that you don’t overshine a particular area of your workpiece. Do not keep any one facet of your resin workpiece completely still over the Dremel brush for too long, as the trick is to have your workpiece constantly moving.
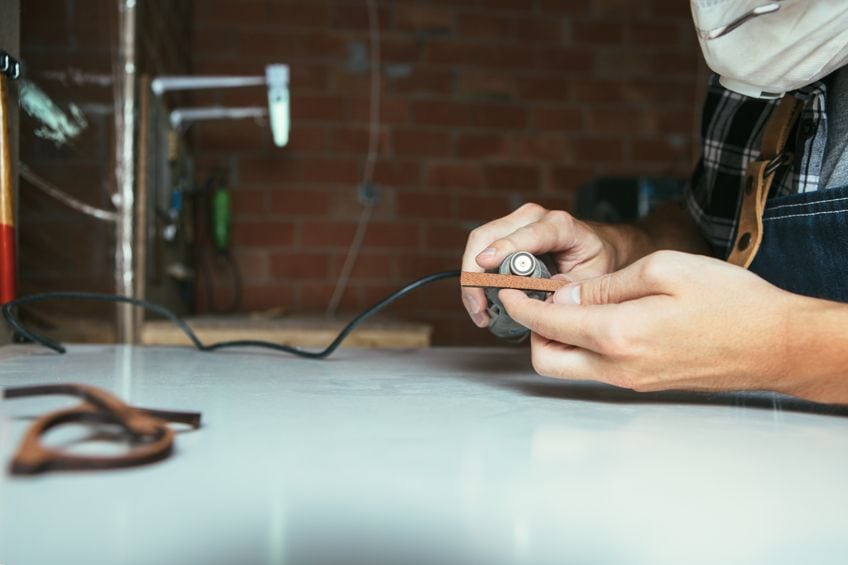
Once you’re satisfied with the job you have done, ensure that you wipe any residual compound off your workpiece with a microfiber cloth. If you have missed any spots, you can simply touch them up by hand later, but most of the surface should have been adequately polished by the Dremel at this step in the polishing process.
How to Polish Resin Using the Manual Process
This is how to polish resin after sanding the old-fashioned way. This technique might take a bit more elbow grease, but it is one of the most trusted methods regarding how to polish resin after sanding because it provides you with the opportunity to feel the surface you are sanding and correct any inconsistencies on the fly.
Just as you would do when polishing resin with a Dremel, ensure that you have applied sufficient polishing compound to the surface of your workpiece.
Once the compound has been applied, use a microfiber cloth to rub the resin into the surface of the workpiece in a circular motion. If you see any particularly scuffed-up surfaces, ensure that you cover those first as these areas will need to be blended in with the rest of the surface for the polishing process to begin.

Wondering how to make resin shiny? Well, if you’re looking for the kind of shine usually reserved for pearls, you could use a simple polishing fixture attached to a drill. You can either use this attachment to polish the surface of your stationary workpiece or secure your drill and work the resin surface over the polishing tool attached to your drill.
Once you’re satisfied with the job you’ve done, use a microfiber cloth to remove any excess polishing compound from the surface of your workpiece. Once the excess has been removed, give the workpiece a thorough once over with the microfiber cloth again. This repetition is the key to how to make resin shiny without the use of a Dremel.
What Is the Best Polishing Compound for Resin?
What is the best polishing compound for resin? This is a bit of a tricky question to answer considering that most polishing compounds, whether they have been specifically designed for use with resin or not, tend to do a pretty good job. This being said, using an epoxy resin polish will do an objectively better job, create less residue, and produce a superior sheen finish. We think that this product nails down all of these characteristics and even a bit more.
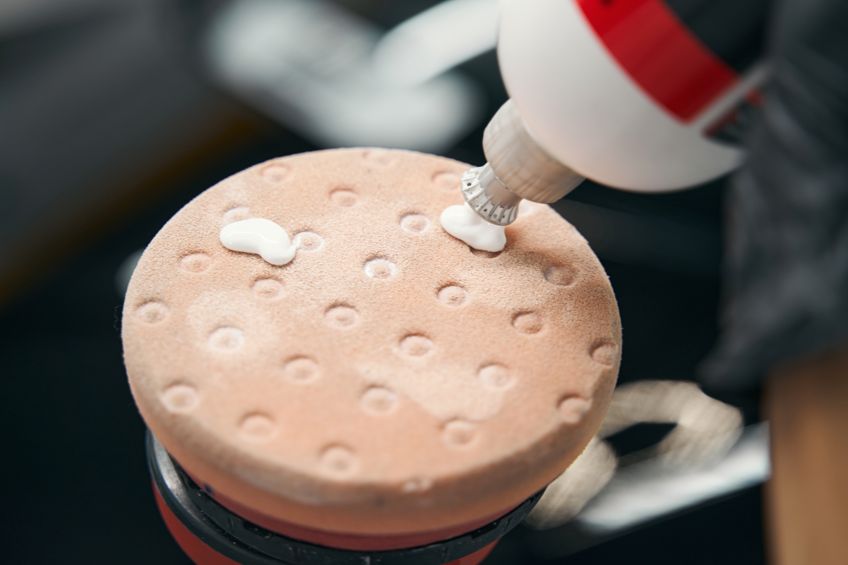
Best Polish for Resin: INCREDIBLE SOLUTIONS Premium Polishing Compound & Cleaner Kit
If you’re in the market for a resin polishing kit that is both easy to use and ensures that you will always have the best finish possible, we think that you’ll like the premium polishing compound for resin from the Incredible Solutions team. Incredible solutions have been around for around 25 years and have created a whole host of crafting products that are considered to be top of the range by many industry professionals.
What makes this resin polishing kit so special though? Well, it produces one of the finest finishes around, and since it’s specifically designed for use on epoxy it doesn’t produce a crazy amount of residue during the polishing process. The Incredible Solutions team claims that this polish for resin is specifically designed for use with resin jewelry and similarly sized workpieces.
Considering that polish for resin is typically used to improve the finish of resin jewelry you’ll appreciate this resin polishing kit’s easy-to-use spray nozzle applicator which allows you to apply the polishing paste and cleaning compound directly to your workpiece without the need for an applicator or cloth.
You don’t have to use this kit in resin jewelry alone though. Feel free to use this polishing kit on all manner of resin surfaces including resin countertops, figurines, containers, fixtures, and even protective coatings can be given a beautiful shine treatment with this resin polish from the Incredible solutions team!
[su_shadow style=”simple”][su_panel]- Versatile
- Easy to use
- Ideal for use on jewelry
- No applicator needed for initial application
- Comes with polishing compound and cleaner
- Produces a sheen finish
- Suitable for beginners and professionals
- Expensive
- Sold in limited volumes
- No microfiber cloths included
- Contains volatile organic chemicals
- Finishes can vary depending on polishing method
Which Resin Objects Can Be Shine Polished?
As we mentioned previously, resin is used all over the world in a number of different industries for various applications. However, not all of them require resin to be polished up and looking its best all the time, so let’s have a look at a few of the most common resin workpieces that you might find yourself needing to polish up on your resin crafting journey.
- Resin castings
- Resin jewelry
- Resin coatings on interior/exterior flooring
- Epoxy resin art
- Resin and wood hybrid crafts
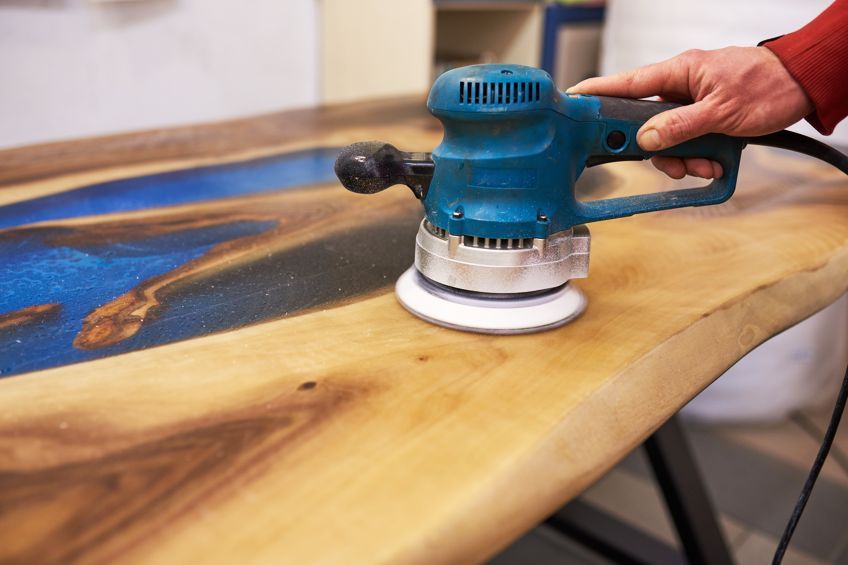
- Tables and counters coated with epoxy resin
- Stone sealants
- Resin coasters
- Resin coated cutting boards (Resin must be fully cured to be considered food safe)
Now that you know what resin polishing is, why you would want to polish objects coated with resin, how to prepare and polish any workpiece made of resin, what one of the best polishes for resin on the market are, and which resin objects typically need to be polished, it’s time for you to get out there and put your newfound knowledge to the test. Remember to always wear the appropriate personal protective gear when working with resin and to always work in a well-ventilated area when working with aerosolized substances.
Frequently Asked Questions
Can Epoxy Resin Be Polished?
If you’re wondering if epoxy resin can be polished the answer is yes. Epoxy resin resembles glass once it has had a chance to cure completely. Like glass, with the right polish and the right tools, you can be epoxy resin practically reflective given enough time and effort.
What Do I Use to Polish Resin After Sanding?
Wondering how to get your epoxy resin workpiece to shine after you’ve sanded down all of the rough edges? Well, you could use pretty much any buffing or polishing tool, or you could simply do it by hand. This often depends on the size of your workpiece and whether your project is time-sensitive.
Do You Sand Resin?
Sanding resin often happens when you need to remove excess resin that has managed to cure completely while going completely unnoticed. All you need to do is ensure that your resin is fully cured and then use a sanding block or sandpaper to ensure that your resin surface is nice and even.
In 2005, Charlene completed her Wellness Diplomas in Therapeutic Aromatherapy and Reflexology from the International School of Reflexology and Meridian Therapy. She worked for a company offering corporate wellness programs for a couple of years, before opening up her own therapy practice. It was in 2015 that a friend, who was a digital marketer, asked her to join her company as a content creator, and this is where she found her excitement for writing.
Since joining the content writing world, she has gained a lot of experience over the years writing on a diverse selection of topics, from beauty, health, wellness, travel, and more. Due to various circumstances, she had to close her therapy practice and is now a full-time freelance writer. Being a creative person, she could not pass up the opportunity to contribute to the Art in Context team, where is was in her element, writing about a variety of art and craft topics. Contributing articles for over three years now, her knowledge in this area has grown, and she has gotten to explore her creativity and improve her research and writing skills.
Charlene Lewis has been working for artincontext.org since the relaunch in 2020. She is an experienced writer and mainly focuses on the topics of color theory, painting and drawing.
Learn more about Charlene Lewis and the Art in Context Team.
Cite this Article
Charlene, Lewis, “How to Polish Epoxy Resin – The Ins and Outs of Polishing Epoxy Resin.” Art in Context. April 30, 2022. URL: https://artincontext.org/how-to-polish-epoxy-resin/
Lewis, C. (2022, 30 April). How to Polish Epoxy Resin – The Ins and Outs of Polishing Epoxy Resin. Art in Context. https://artincontext.org/how-to-polish-epoxy-resin/
Lewis, Charlene. “How to Polish Epoxy Resin – The Ins and Outs of Polishing Epoxy Resin.” Art in Context, April 30, 2022. https://artincontext.org/how-to-polish-epoxy-resin/.


