How to Draw a Warthog – African Wild Pig Drawing Lesson
For many people in the northern hemisphere, the warthog is most well-known as being one of the best characters in the Lion King. These fun and strange-looking creatures are native to the southern parts of Africa and make fantastic drawing subjects for experienced and novice artists. In this easy-to-follow warthog drawing tutorial, we make drawing this unique and fantastic animal easy!
How to Draw a Warthog in 19 Easy Steps
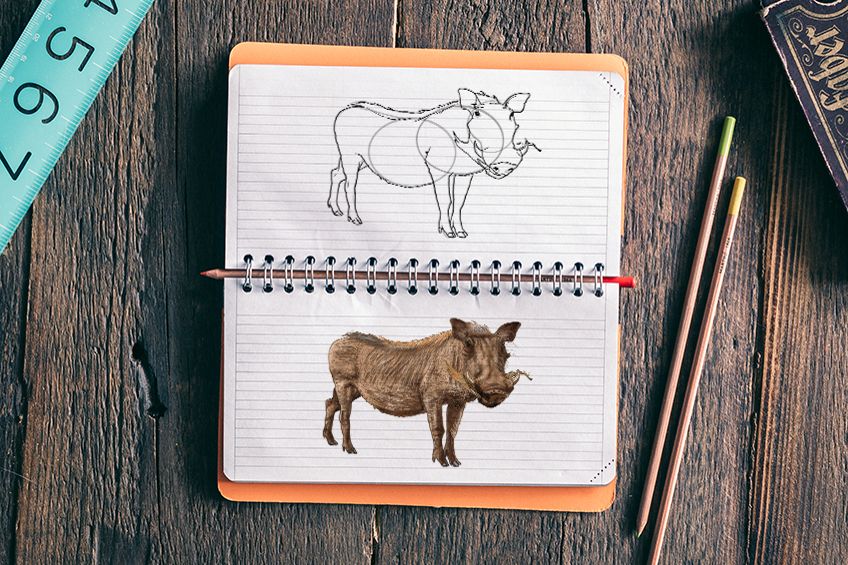
In this quick and easy tutorial, we show you how to draw a realistic warthog from scratch. We will lay down the basic shape of the warthog sketch before moving on to add realistic paint coloring. You can see from the image below, that we are drawing the warthog from a very interesting angle, where it is not quite side-on and not quite face-on.
Do not be intimidated by this unique angle!
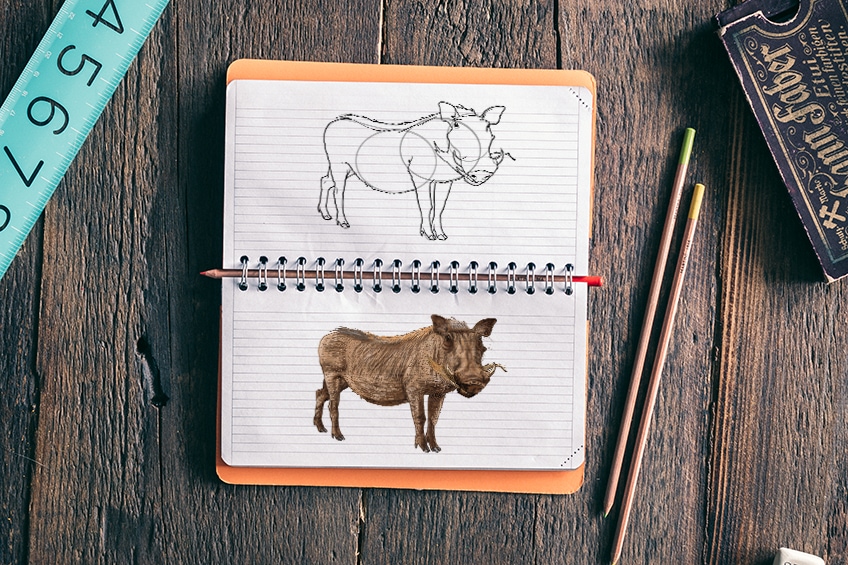
This perspective can prove a little tricky if you were to jump right into creating the final outline. To combat this, in the first 10 steps, we use a series of construction shapes and lines to map out the basic shape. You can see an outline of the whole tutorial in the collage below. In this easy-to-follow warthog sketch tutorial, we make it easy for any artist to nail the construction, texture, and coloring of a warthog.
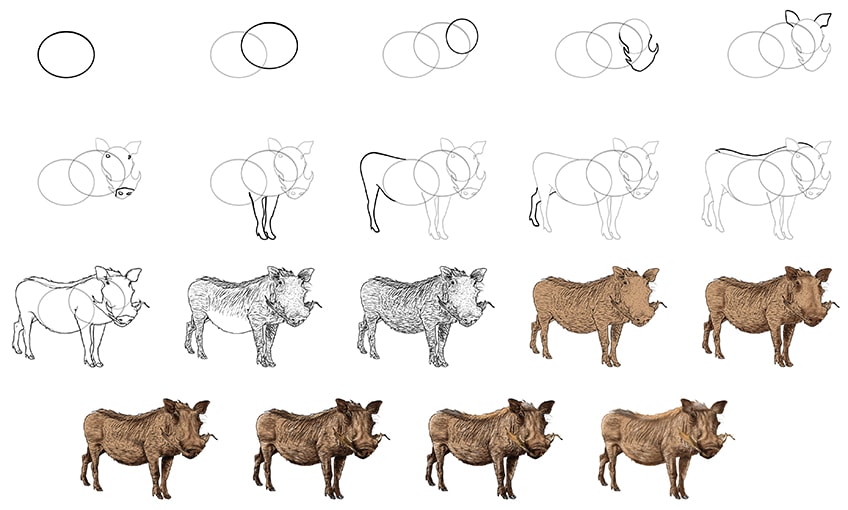
The last 7 steps focus on creating realistic coloring for the warthog drawing. The tutorial is written for the use of a physical paint medium, like acrylic or gauche. This does not mean that you need to use the same coloring medium for your own warthog drawing. The coloring steps can be adjusted to suit whichever medium you prefer to use, whether you are a graphic artist or you prefer to use coloring pencils. For the construction steps, we suggest using a very light and easily erasable pencil, as you will need to erase them later.
If you are using a drawing tablet, you can simply construct the warthog drawing on one layer, and then add the rest of the drawing on subsequent layers.
Step 1: Beginning to Construct the Main Body Shape
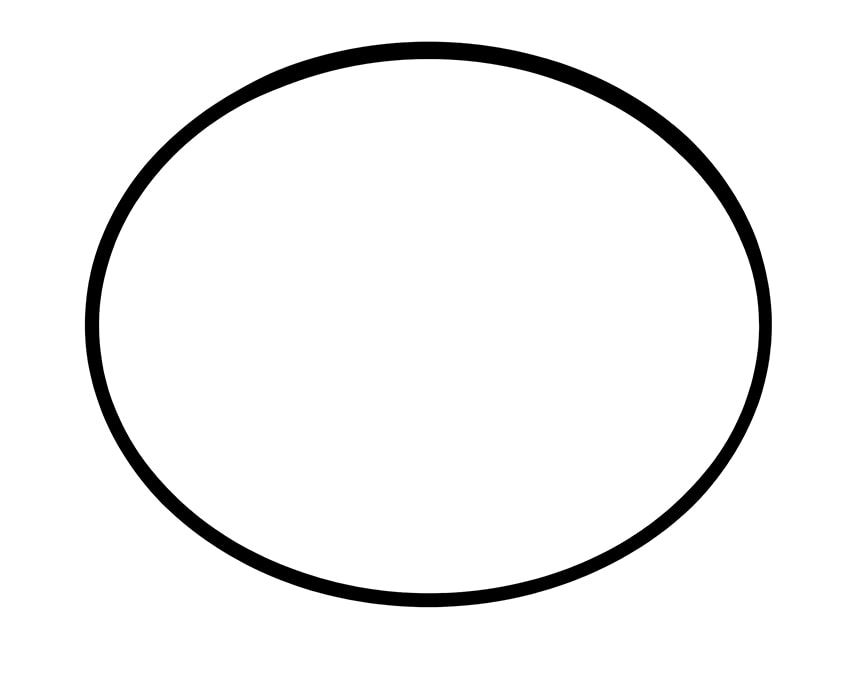
The best place to begin constructing an animal drawing is with the largest part of the body. In most cases, and certainly in this case, the torso is the largest part of our warthog sketch. To represent this main body shape, we are going to use a large fat oval shape. Find the central point of your canvas, and draw this large oval lying horizontally.
Remember to leave a great deal of space all around this first shape for the other parts of the warthog’s body.
Step 2: Shaping the Neck Area
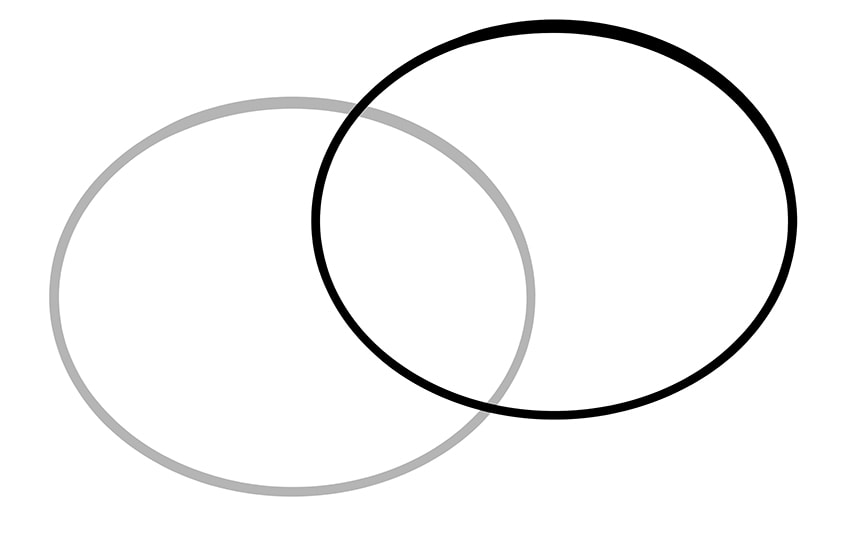
In this second step, you are going to draw another similarly-sized oval shape to represent the neck area of the warthog. At this early stage, it may be difficult to see how the warthog will come to life, but faith will carry you a long way. On the right side of the main body shape, draw the neck oval overlapping it. This neck oval should sit slightly higher than the main body one.
In later steps, this shape will be used as a base for the neck, head, and upper chest areas.
Step 3: Shaping the Head of Your Warthog Drawing
For the head of your warthog drawing, you are going to draw a smaller, vertical oval shape. At a higher point than the previous two ovals, draw the head oval overlapping the neck oval from the previous step.
In the next step, we will use this head shape as a base for the snout.
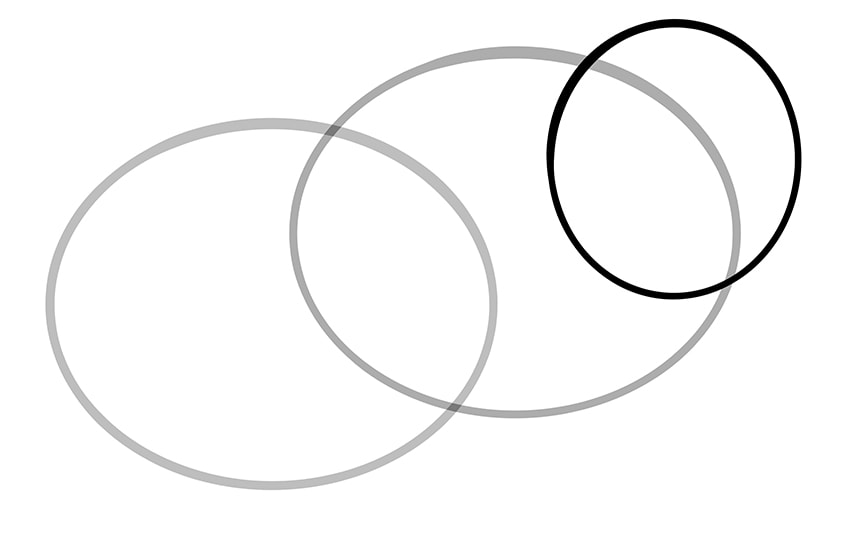
Step 4: Outlining the Snout
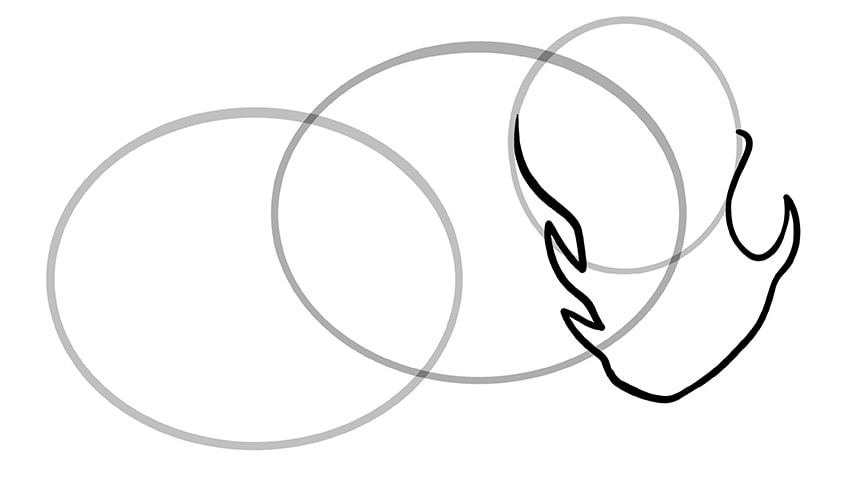
The first three steps have used easy shapes, but this step is the first freehand drawing shape. Extending from the head oval, draw a long snout that has flame-like extensions upwards. On the left side of the circle shape, you want the snout to overlap the circle. On the right side, the snout should extend on the outside.
You want there to be two flame-like extensions on the left and one on the right.
Step 5: Drawing the Ears of Your Warthog Sketch
In this step, you are going to create the basic shape of the ears of your warthog drawing. On each side of the head oval, draw two ears that end in a slight point.
The right ear should be slightly curved downwards.

Step 6: Adding Basic Facial Features
Now we are going to lay down the placing of the basic facial features for your warthog drawing. Begin at the end of the snout, creating a curved outline of the nose, and then add two almond-shaped nostrils.
For the eyes, create two more almond shapes just below the ears.

Step 7: Constructing the Front Legs of Your Warthog Sketch
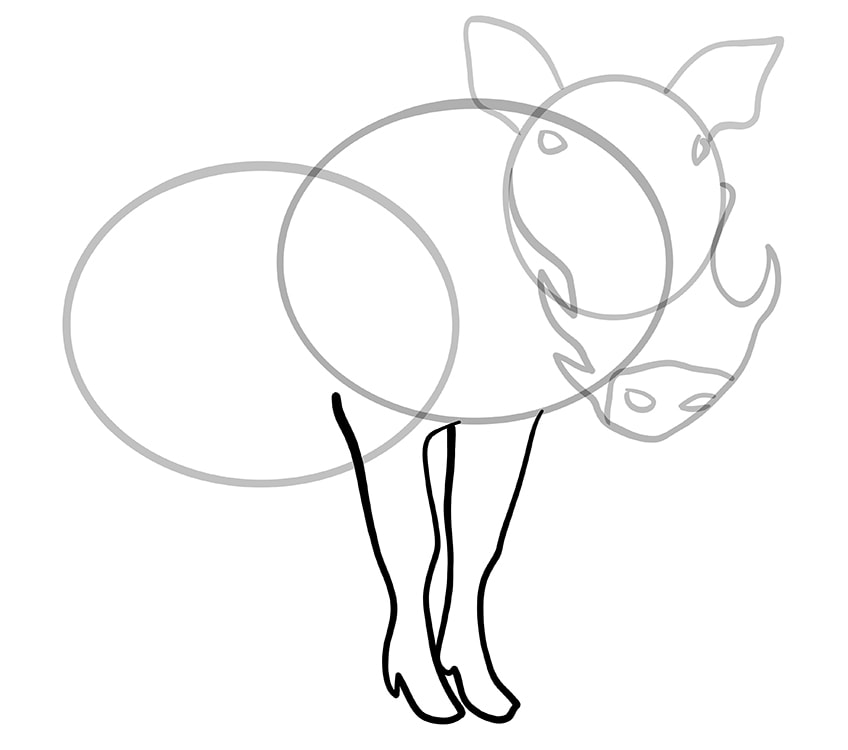
We are now going to lay down the shape of the two front legs. From our perspective, both legs are equally visible. Begin with the left leg, starting with a line inside the main body oval. Take this line down and slightly forward, ending the leg with a hoof that looks a little like a high-heeled boot. You can then finish this leg by bringing the line back up to meet the bottom of the neck oval.
Begin the second leg from this point, taking the line straight down, creating the hoof shape, and then taking the line back up to join the bottom of the neck oval.
Step 8: Shaping the Rear Body and Back Leg
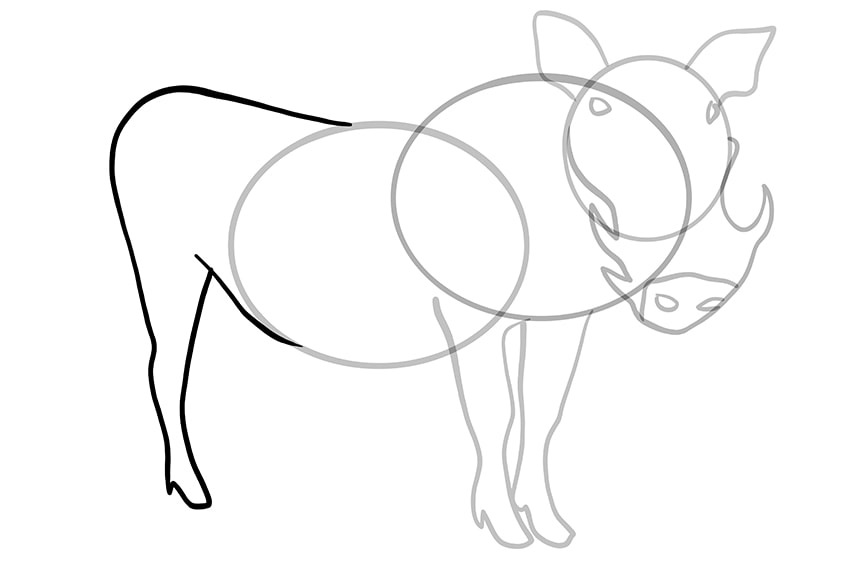
In this step, you are going to shape the rear part of the warthog’s body and then draw the one back leg. Begin the rear body shape by taking a line from the top of the main body oval up and back to create a rounded rump. Continue to take this line down and forwards, creating a hoof and then taking the line back up again.
You can then create a small curved line that joins the top of the leg line and joins the bottom of the main body oval.
Step 9: Adding in the Second Back Leg
This second back leg is only going to be partly visible as it is on the other side of the warthog’s body. Begin the back leg from the back of the leg you drew in the last step, curving it back and then straight down ending in the hoof.
You can then complete this leg by drawing a small line between the first back leg and the belly.

Step 10: Drawing in the Warthog’s Mane
Believe it or not, but warthogs have a mane of short stiff hairs that extends all the way down their backs. In this step, we are going to draw the upper line of this mane, which we will use to help us draw the hairs later. Begin a curved line from the top of the head circle, just behind the right ear. After the left ear, you can then curve this line all the way down the back of the warthog sketch, following the curve of the body.
End this mane with a sharp point.

Step 11: Drawing the Final Outline of Your Warthog Drawing
We are now going to tie together all of the construction shapes and lines by creating the final outline of the warthog sketch. Begin with the outline of the hear, starting with the ears, adding a line of short hairs at the base of each. You can then outline the eyes, color them in black while leaving a few blank spots.
Continue to outline the face, creating hair-like points around the snout construction lines.
Outline the nostrils and snout, adding a mouth shape with a few little teeth. Just above the nose, add two upwardly curving tusks that end with a sharp point. As you continue down the body of your warthog sketch, do not use a smooth line, but rather use a rougher outline to represent the hairy coat. You can follow the construction lines fairly closely, adding a lump or bump here and there to create a more realistic outline. For the main, use some long hairlines to follow the construction line. At the base of the hooves, draw two little toes on the front part, and a third, smaller one on the back.
Once you are happy with the final outline of your warthog drawing, you can erase any of the remaining visible construction lines.

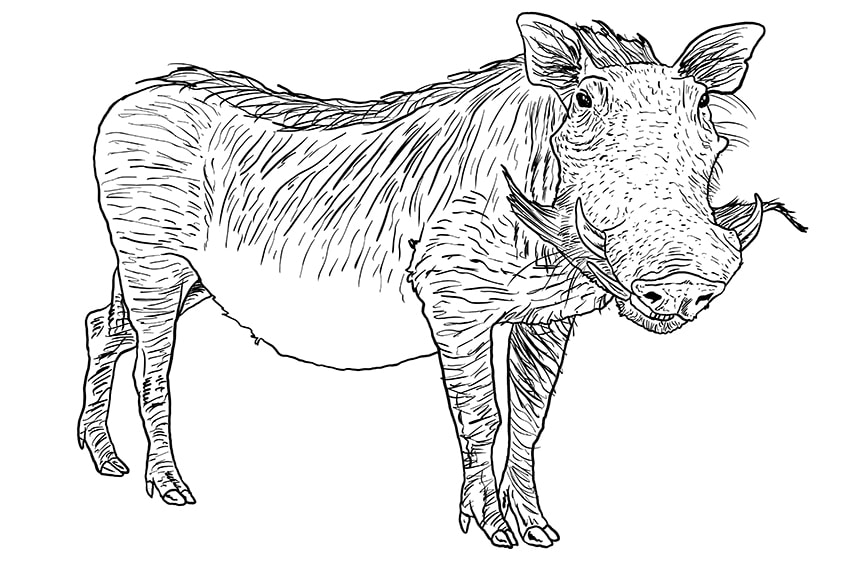
Step 12: Beginning to Add Texture to Your Warthog Sketch
Now that we have our outline in place, we can begin to do the exciting work of adding texture and color. Let us start with the face of the warthog, using short curved lines to create a circular pattern around the eyes. You can then continue to fill the face of the warthog with short lines scattered throughout the facial features. Next, fill the ears with long hairlines. You can do the same for the parts of the snout that protrude. On the chin, you can create short hairlines, and fill the tusks and nose with some additional textural lines.
For the mane of the warthog drawing, use long curved lines to fill it.
Use a range of long, slightly curved vertical lines to fill the upper body of the warthog. When you get to the rear part of the body and the legs, these lines can become a little more horizontal. For the finishing touches, draw some long whiskers from the cheek.
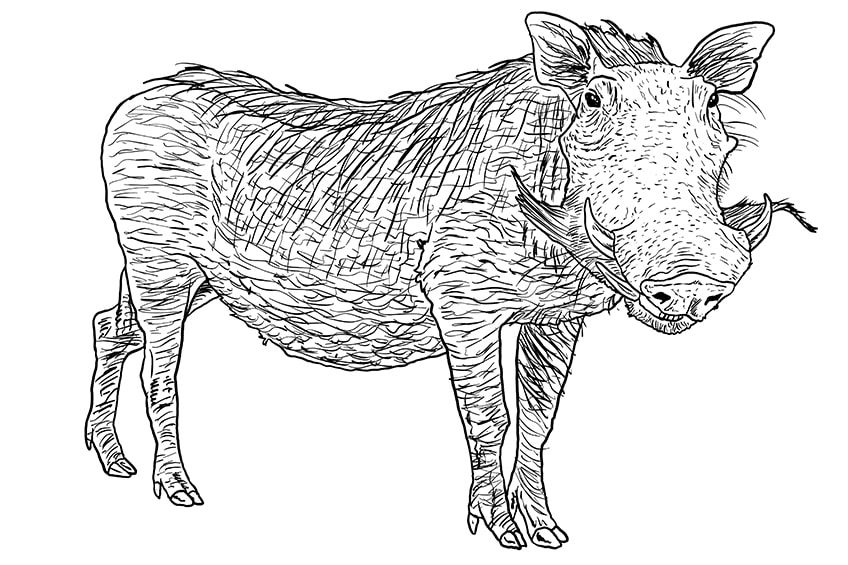
Step 13: Finalizing the Hair Textures
To finish the texture of the warthog’s skin, use a combination of horizontal wavy lines to fill in the rest of the body, creating a mesh-like texture.
You can do the same on the legs with a little less intensity.
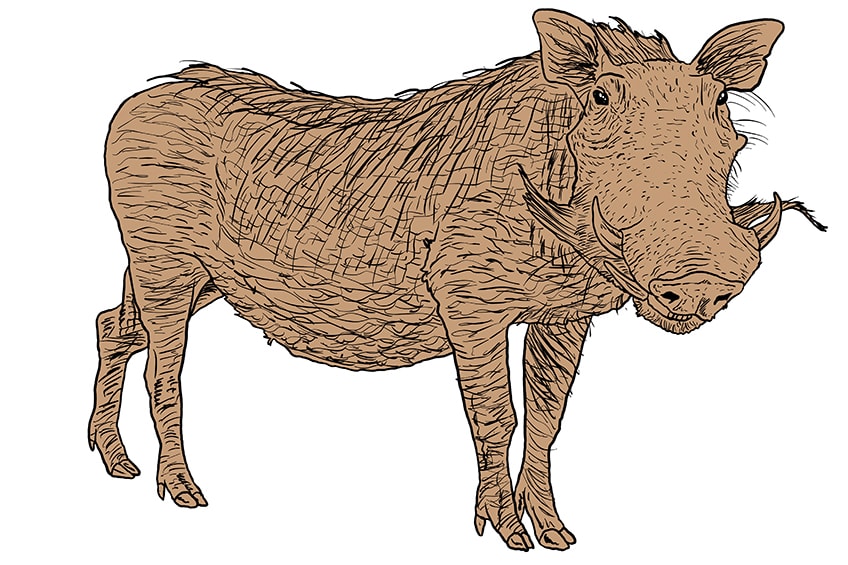
Step 14: Applying the Base Coat of Color
Although warthogs appear to be just brown, their coats actually contain quite a lot of color variation. In order to capture this realistic variation in color, we are going to build up the color in a few different layers. We begin the first coloring step by applying a base coat of color. Find a light peanut brown shade, and use this to fill the entire body of the warthog, except the eyes.
Whichever medium you are using, make sure that this base coat is smooth and even.
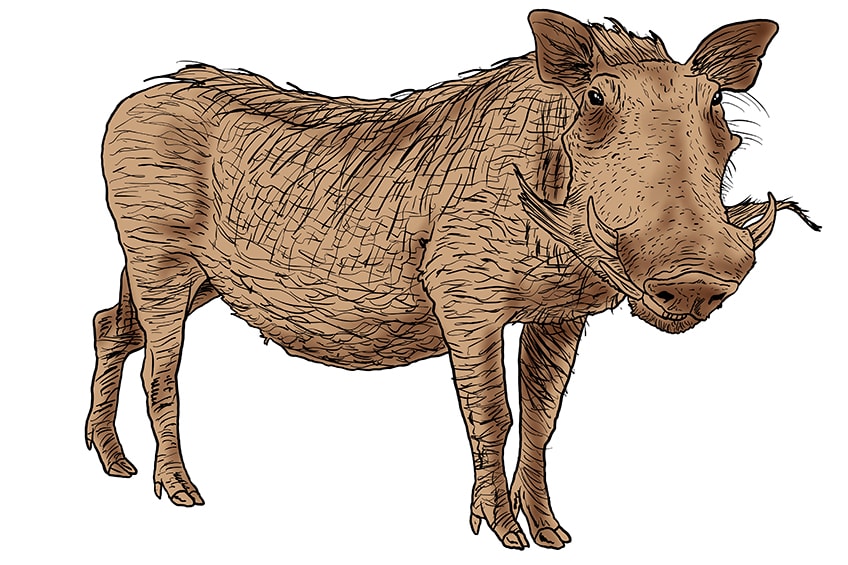
Step 15: Adding a Second Color
In this step, you are going to use a slightly darker shade of brown to color to add definition to certain areas. In theory, this is a shading step, where we are going to add some contouring to the shape of the warthog. Use a soft blending brush to gently apply patches of this darker color along the outer edge and center of the snout. Add this same color inside both ears, and around the bottom of the eyes.
Continue to blend this darker shadow onto areas that would be naturally sunken or hidden from the light, including the bottom of the main, between the legs, and along the belly.
Step 16: Darkening the Contouring
In this step, you are simply going to darken the areas of contour from the previous step. Use a smaller soft blending brush and a touch of black paint to contour between the second color coat, adding more definition and structure. Begin on the face, creating a more defined facial structure and shadows that flow down the center of the forehead onto the nostrils and the base of the tusks.
Darken the contours around the eyes, within the ears, and along the belly and legs.

Step 17: Shadows and Highlights
We begin this step by enhancing the shadows and contours yet again. Intensify the structure of your warthog sketch with a small blending brush and some black paint. To create a realistic flow between the different layers of shading, focus the new layer of shadows at the central point of the shaded areas, leaving the outer areas still visible.
Next, to contrast the shadows, you can use a little white paint and a small blending brush to add touches of highlight throughout the body.
Focus the highlights on the face around the shaded areas, on the top of the forehead, on the tip of the nose, and on the tusks. Continue throughout the rest of the body, adding soft white highlights to all the points of the body where light would naturally hit. To smooth out all of the shadows and highlights, use a clean blending brush to blend it all together.
To finish this step, use a small blending brush and some gray paint to fill in the hooves.
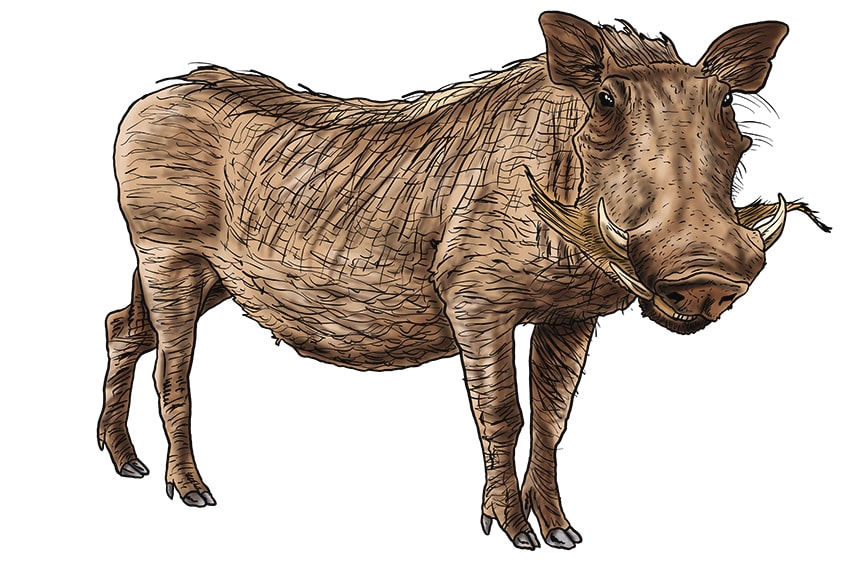
Step 18: Painting in Hair Details
In this step, you are going to use a very small sharp brush and a light shade of tan paint to add a layer of hairline details and textures throughout the body, legs, and face. Next, use the same small brush and some gray paint to add hair strokes on the front and back of the main.
For the center of the mane, use a combination of white, tan, and orange paint.

Step 19: Adding the Finishing Touches to Your Warthog Sketch
To finish off your realistic warthog drawing, you can now simply erase the outlines to create a seamless look. If you are using a drawing tablet, you can simply remove the outline layer. If you are working with a more physical medium, you can use the corresponding color at each point to trace over the outline.
Finally, use a sharp brush and a touch of white paint to add the highlights in the center of the eye.
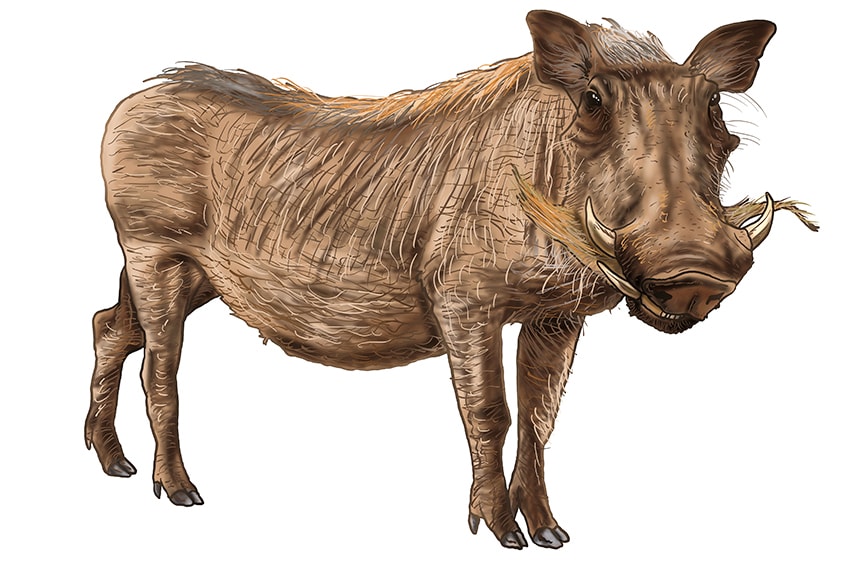
Just like that, you have completed your very own unique and realistic warthog drawing! By using construction lines, adding texture, and building up realistic color, you can easily create a realistic warthog sketch in only 19 steps.
Frequently Asked Questions
How do You Make a Warthog Sketch Realistic?
In our warthog drawing tutorial, we use a range of different drawing techniques to create realism and three-dimensionality. We begin by creating a realistic perspective using construction shapes, and then we begin to add realistic texture and coloring. Finally, for a seamless finish, we remove the outlines to create a realistic warthog drawing.
What Makes Learning How to Draw a Warthog Difficult?
Figuring out how to draw a warthog may seem like an intimidating task, but our tutorial makes creating a realistic warthog drawing easy enough for the most novice artist. Warthogs have a very unique shape, and this is probably the hardest aspect of creating a warthog sketch. Luckily, we use construction lines and shapes to lay down the foundations of the warthog shape before adding details and textures.
Matthew Matthysen is an educated multidisciplinary artist and illustrator. He successfully completed his art degree at the University of Witwatersrand in South Africa, majoring in art history and contemporary drawing. The focus of his thesis was to explore the philosophical implications of the macro and micro-universe on the human experience. Matthew uses diverse media, such as written and hands-on components, to explore various approaches that are on the border between philosophy and science.
Matthew organized various exhibitions before and during his years as a student and is still passionate about doing so today. He currently works as a freelance artist and writer in various fields. He also has a permanent position at a renowned online gallery (ArtGazette) where he produces various works on commission. As a freelance artist, he creates several series and successfully sells them to galleries and collectors. He loves to use his work and skills in various fields of interest.
Matthew has been creating drawing and painting tutorials since the relaunch in 2020. Through his involvement with artincontext.org, he has been able to deepen his knowledge of various painting mediums. For example, watercolor techniques, calligraphy and lately digital drawing, which is becoming more and more popular.
Learn more about Matthew Matthysen and the Art in Context Team.
Cite this Article
Matthew, Matthysen, “How to Draw a Warthog – African Wild Pig Drawing Lesson.” Art in Context. November 19, 2021. URL: https://artincontext.org/how-to-draw-a-warthog/
Matthysen, M. (2021, 19 November). How to Draw a Warthog – African Wild Pig Drawing Lesson. Art in Context. https://artincontext.org/how-to-draw-a-warthog/
Matthysen, Matthew. “How to Draw a Warthog – African Wild Pig Drawing Lesson.” Art in Context, November 19, 2021. https://artincontext.org/how-to-draw-a-warthog/.


