How to Draw a Truck – Create a Sleek and Modern Truck Drawing
Trucks are the workhorses of the road, carrying goods and materials across vast distances and through challenging terrain. From towering big rigs to nimble pickup trucks, these vehicles are essential to industries ranging from construction and agriculture to shipping and logistics. But trucks are more than just utilitarian machines; they also capture the imagination with their size, power, and unmistakable presence on the road. Whether you’re a fan of classic pickup trucks or the latest high-tech haulers, there’s no denying the enduring appeal of these four-wheeled beasts of burden. Let’s jump straight into today’s straightforward tutorial on drawing a truck. We’ll walk you through each stage of the process to produce an impressive truck illustration!
How to Draw a Truck Step-by-Step
If you’re about to start a tutorial on how to draw a truck, you’re in for a fun and rewarding experience! Drawing a truck requires attention to detail, a good sense of proportion, and an understanding of the different parts that make up these impressive machines. Before you begin, take some time to familiarize yourself with the different types of trucks and their unique features. Are you drawing a big rig or a pickup truck? What kind of cargo does it carry, and what kind of terrain does it traverse? Once you have a clear picture in your mind, gather your materials, including pencils, brushes, erasers, and paper. Then, following our tutorial step by step, take your time to ensure that each line and curve is just right. With patience and practice, you’ll soon be able to create detailed and realistic truck illustrations that are sure to impress!
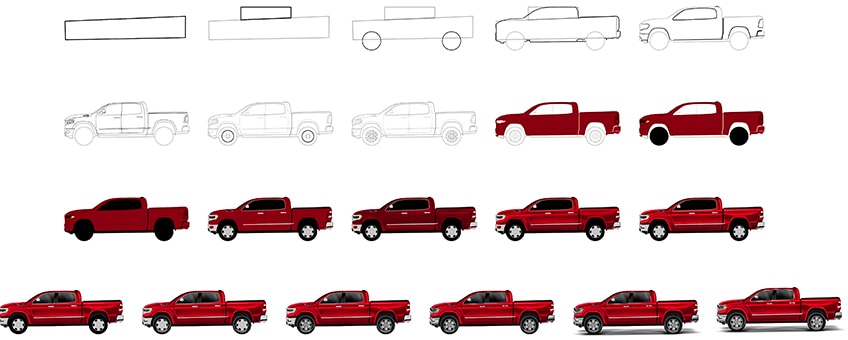
By referring to the below collage, you can see the step-by-step process you will follow to draw and paint your very own realistic pick-up truck!
Step 1: Draw the Main Body of Your Truck Sketch
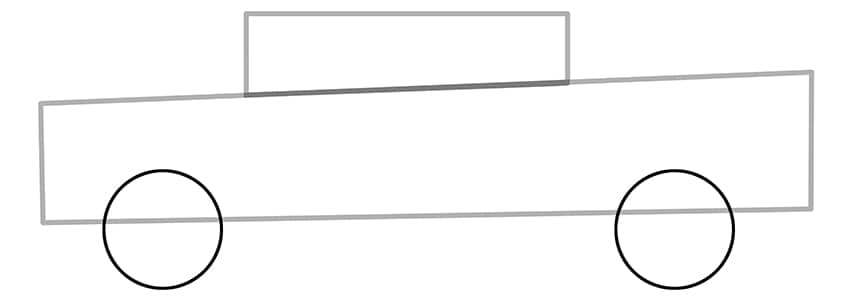
Begin by drawing a sloped rectangle to represent the main shape of your truck drawing.

Step 2: Draw the Cab
Above the main body, draw a smaller sloped rectangular shape to represent the main sitting cab.

Step 3: Draw the Wheels
Draw a circle nearing each end of the truck’s main body. These circles will represent the wheels of your truck drawing and may overlap the main body lines.
Step 4: Outline the Body of Your Easy Truck Drawing
Use the previously drawn construction lines to aid you in outlining a more realistic truck body, with more rounded corner edges. Include the outline for the front and rear bumpers for your truck sketch.

Step 4.1: Add Guidelines to Your Truck Sketch
This step is optional. You can also add guidelines that will aid you in drawing and placing the details symmetrically. In the following steps, the guidelines will not be visible in the images, however, should you feel the need you may keep the guidelines on till step six is complete.

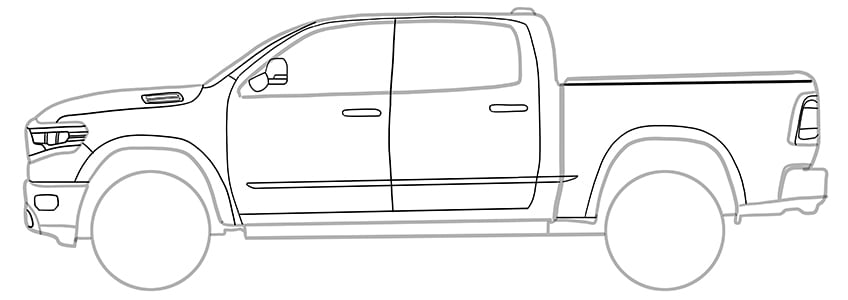
Step 5: Outline the Inner Body
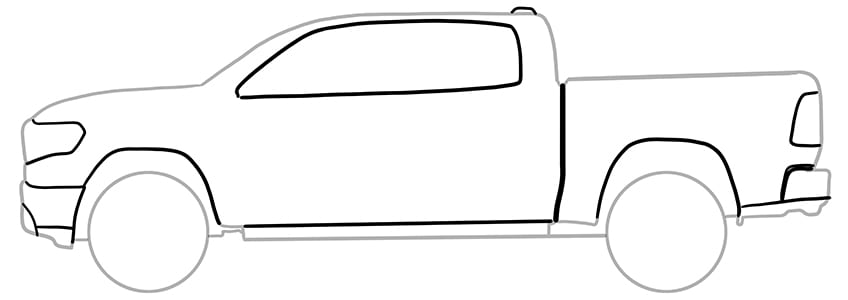
Within the cab area, outline the cab window, the front, and rear wheel arches, the center body line, and the front and rear lights. Above the cab draw the small hitch.
Step 6: Add the Details to Your Easy Truck Drawing
Draw the inner details which include; the headlights, rear tail lights, body panels, wheel arches, windows, mirror, doors, and door handles. Note! For your reference, we have placed an image of the added guidelines from step four to aid you in drawing the inner details.
Once you have completed adding in all the details, you are now ready to erase any overlapping construction or guidelines that are still visible.

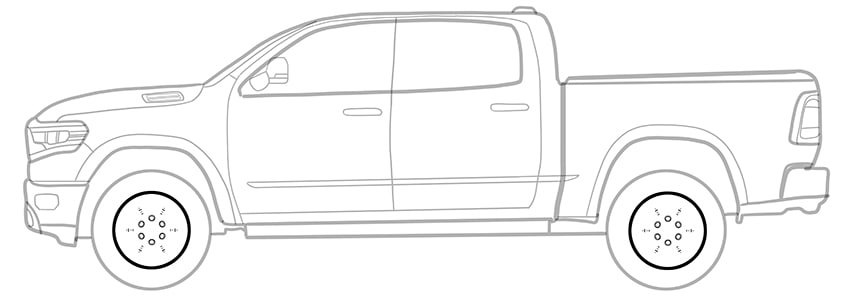
Step 7: Draw the Rims on Your Truck Sketch
Within each wheel, draw a second smaller circle. Within each circle, draw six additional small circles to represent the lug nut holes with visible break streaks between each hole.
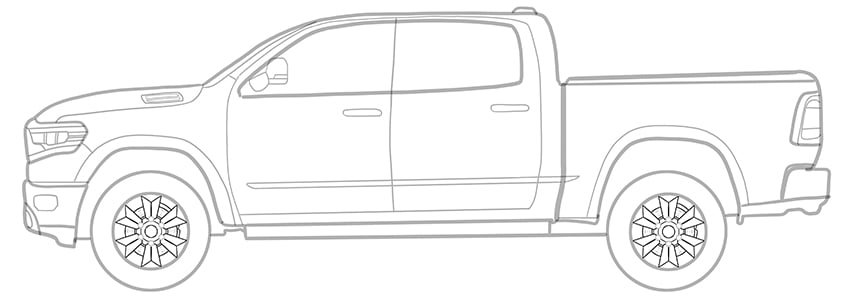
Step 8: Complete the Rim Spokes
In this step, draw six-star spokes surrounding the inner circle within each wheel. Between the spokes, draw the brake wheel which should attach all spokes but not overlap. Finish the step by drawing an additional small circle within the center of the rim to represent the hubcap on each wheel.
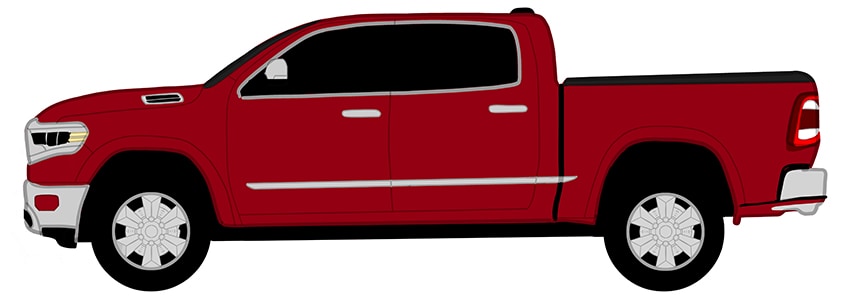
Step 9: Apply the First Color Coat
Select a fine, sharp brush and shade of maroon paint, and evenly coat the truck, leaving the windows, mirror, front headlight, wheels, and wheel arches blank. Continue using a darker shade of maroon paint and paint the rear brake lights. Include the cabin separation line.

Step 10: Color the Wheels
Use the same brush as previously and black paint, and evenly coat both wheels. Follow this by filling the top roof hitch and the inner front portion of the front headlight. Complete the step using light yellow paint, and fill the remaining headlight area.

Step 11: Add Color to the Windows of Your Truck Sketch
In this step, evenly coat the windows using a thin brush and black paint. Continue to evenly fill the lower body panels and gaps.

Step 12: Color the Accents on Your Truck Drawing
Begin to trace the outline of the cabin windows with a fine, sharp bruh and gray paint. Continue to paint the mirror, the door handles, the lower trim piece, front, and rear bumpers, and trace the hood trim piece. Following this, fill the front headline and create a separation of block-like shapes where the black paint was filled within the front headlight.
Use a fine, sharp brush and bright red paint, and paint the inner layer of the rear brake lights. Within the gaps, use white paint. Complete the step using gray paint to evenly color both rims.
Step 13: Shade the Body of Your Easy Truck Drawing
With a small, soft brush and black paint, apply soft brushstrokes within the body of the truck. The first color coat should still be somewhat visible.

Step 14: Highlight the Truck’s Body
Add horizontal highlighted body lines, using a soft brush and a light shade of pink paint. Make sure that the shading is still visible. Continue to apply soft brushstrokes to enhance the contouring of the truck.

Step 15: Continue to Enhance the Structure of the Truck’s Body
With a fine, sharp brush and white paint, add fine highlight streaks on the edges of the previously added highlights. This will sharpen and enhance the structure of the truck body lines. Between the highlights and the structure lines, apply soft shading using a small, soft brush and black paint. Finish this step using a blending brush to spread the shading for a more realistic fade.
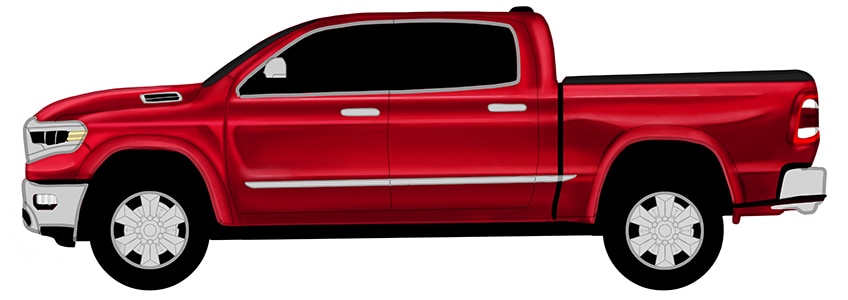
Step 16: Add Highlights to the Windows
Before we begin with the highlights, select a thin brush and black paint and evenly separate the pillar on the front and rear windows from the rest of the window frame. Continue by using a small, soft brush and gray paint to add soft diagonal brushstrokes within the windows and pillar frames. Repeat using white paint. Switch to a blending brush to soften and blend the coats diagonally.
Finish this step using a small, soft brush and gray paint, and softly add highlights within the wheel arches and lower body panels.
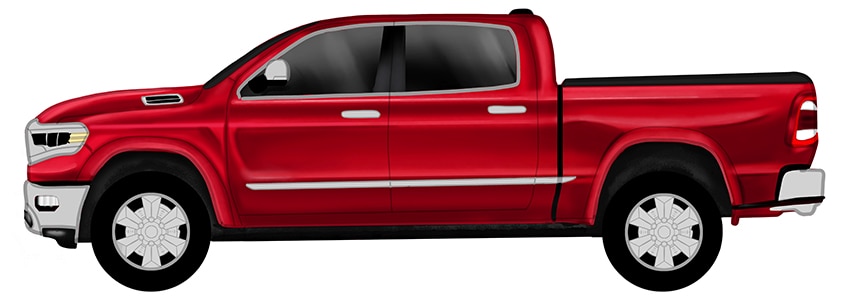
Step 17: Highlight the Wheels
In this step, add fine brushstrokes around the outer wheel with a fine, sharp brush and gray paint. Repeat this process on the second wheel. Continue by using a small, soft brush and white paint, and lightly add highlights around the bottoms of each wheel edge. Use a blending brush to soften and fade the color coats in a circular motion. Finish this step using a thin brush and white paint, and add fine highlights onto the front headlight lamps.

Step 18: Shade the Rims
With a thin brush and dark gray paint, fill the top edge of each rim spoke. Repeat using a small, soft brush and softly shade the right side of each spoke halve. Continue to outline the lug nuts with a fine, sharp brush and black paint. Switch to a dark gray paint and fill the center hub cap. Repeat this process on the second rim.
Select a soft brush and black paint, and add soft shading to the brake disc. Finish this step using a fine, sharp brush and white paint, and add fine highlight brushstrokes within each rim spokes.
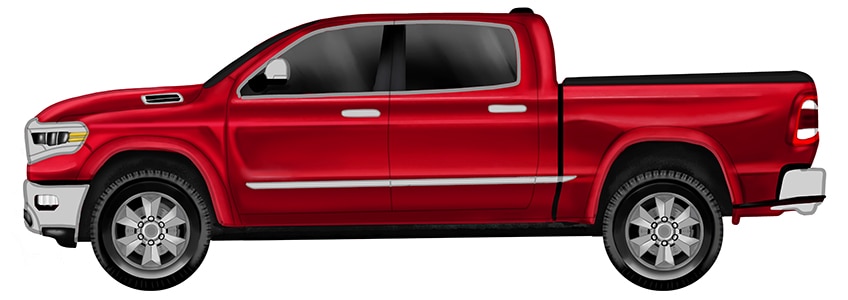
Step 19: Continue to Shade and Highlight the Details
Begin to outline the side mirror using a thin brush and black paint. Continue using a small, soft brush and a darker shade of gray paint, and add soft shading around the mirror. Follow this using white paint to softly add a highlighted reflection to the front windscreen. Continue to add subtle shading streaks to the trim of the window frames, door handles, hood trim, bumpers, and headlights using a soft brush and black paint. Complete the step with a thin brush and white paint, and add the final highlights within the front headlight between the shading lines.
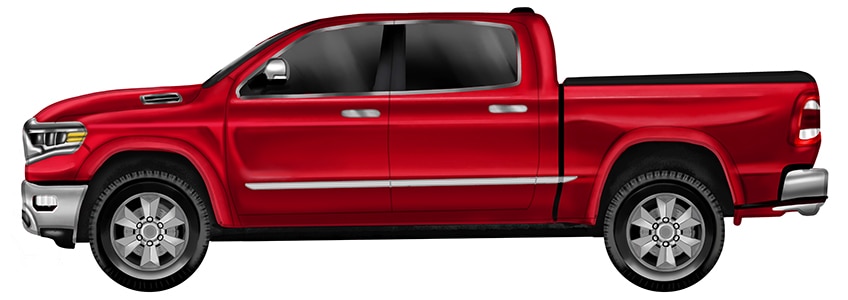
Step 20: Add a Ground Shadow
Make use of a small, soft brush and black paint, and add a ground shadow below the truck. Continue to add a darker shading between the edges of the wheels and the ground. Switch to a blending brush to evenly spread and soften the shading.
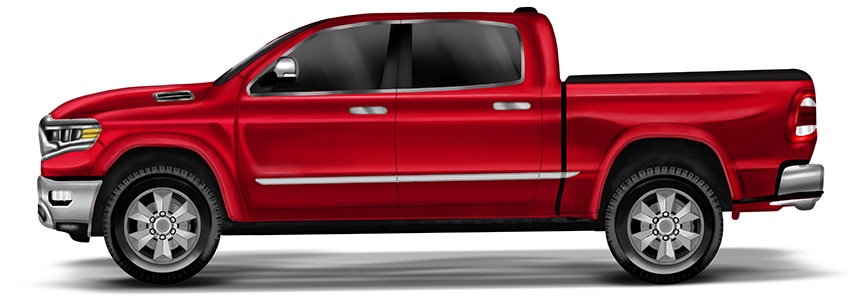
Step 21: Finalize Your Easy Truck Drawing
You are one step closer to finalizing your truck drawing! To do this, erase any harsh outlines that are still visible. If this is not possible, select a fine, sharp brush and the corresponding colors and trace these harsh outlines to achieve a realistic and seamless result!

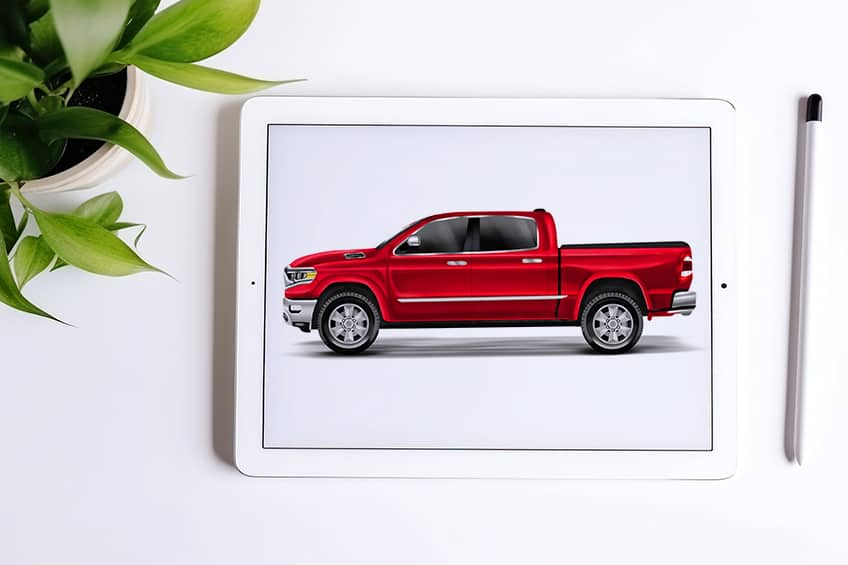
Congratulations on finishing our tutorial on how to draw a truck! Drawing a truck is no small feat, but with practice and patience, you’ve created a realistic and impressive illustration. Take some time to admire your work and appreciate the details that you’ve included, from the wheels and body to the cargo bed and grille. You’ve gained a valuable skill that you can continue to hone and develop over time. Try experimenting with different types of trucks, from classic pickups to modern big rigs, and explore different angles and perspectives to add depth and dimension to your drawings. Keep practicing, and who knows, you might even become a professional truck illustrator one day!
Frequently Asked Questions
How to Add Details to a Truck Drawing?
Adding details is an important step in making your truck drawing look realistic. Start by sketching the grille, headlights, and taillights. Then, add the door handles, side mirrors, and windshield wipers. Don’t forget to add the logo or emblem of the truck brand on the grille. For the wheels, add details like the tire tread and the hubcap. If you’re drawing a pickup truck, add details like the cargo bed and tailgate. Look at reference images of the type of truck you’re drawing to get an idea of what details to include. Adding details can be time-consuming, but it’s worth it for a more polished and realistic-looking truck drawing.
How Can You Shade a Truck Drawing to Make It Look More Realistic?
Shading is an important technique for adding depth and dimension to your truck drawing. Start by identifying the light source and creating shadows accordingly. Use a brush to create light, feathery strokes to shade in the areas where the shadows fall. Pay attention to the texture of the truck’s surfaces and shade accordingly to create a more realistic effect. Practice shading in different ways to see what works best for your drawing!
Matthew Matthysen is an educated multidisciplinary artist and illustrator. He successfully completed his art degree at the University of Witwatersrand in South Africa, majoring in art history and contemporary drawing. The focus of his thesis was to explore the philosophical implications of the macro and micro-universe on the human experience. Matthew uses diverse media, such as written and hands-on components, to explore various approaches that are on the border between philosophy and science.
Matthew organized various exhibitions before and during his years as a student and is still passionate about doing so today. He currently works as a freelance artist and writer in various fields. He also has a permanent position at a renowned online gallery (ArtGazette) where he produces various works on commission. As a freelance artist, he creates several series and successfully sells them to galleries and collectors. He loves to use his work and skills in various fields of interest.
Matthew has been creating drawing and painting tutorials since the relaunch in 2020. Through his involvement with artincontext.org, he has been able to deepen his knowledge of various painting mediums. For example, watercolor techniques, calligraphy and lately digital drawing, which is becoming more and more popular.
Learn more about Matthew Matthysen and the Art in Context Team.


