How to Draw a Moon – A Step-by-Step Realistic Moon Drawing Tutorial
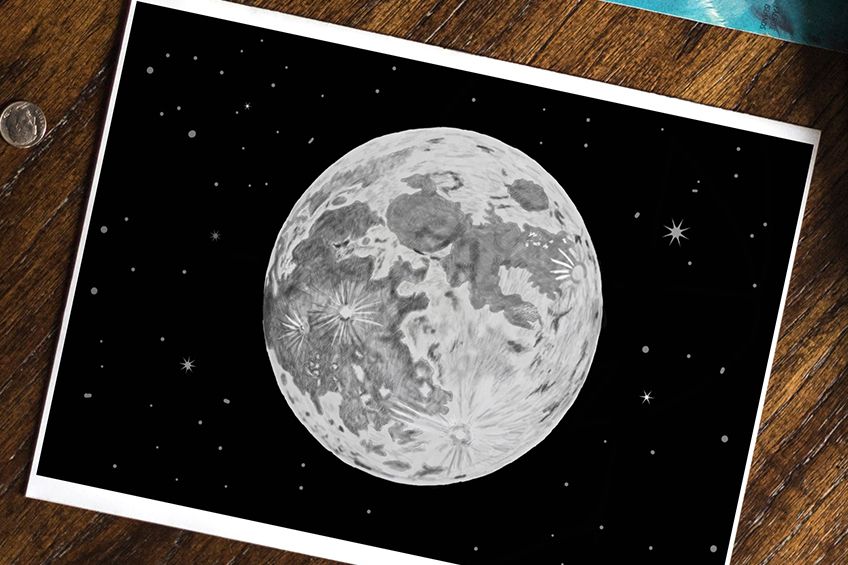
The moon is a central part of life on earth and it is also an object of marvel and mysticism throughout the world. In this tutorial, we take you step-by-step through the process of creating a realistic moon sketch. At the end of this moon drawing tutorial, you will have a beautiful and detailed drawing of the moon on a dark background. If you have wanted to know how to draw a moon that is not cartoonish, then you have come to just the right place. Gather your drawing supplies and let us begin creating our drawing of the moon!
The Best Realistic Moon Drawing Tutorial
Many moon drawing tutorials focus on a more stylized depiction of the space rock, but our tutorial will take you through the process of creating a realistic moon sketch. As with all realistic drawings, we cannot simply jump right into creating details. Often when we dive straight into the deep end, we can end up needing to erase everything and start again.
We prefer to construct our moon drawing with a few simple steps, which you can see in the collage below.
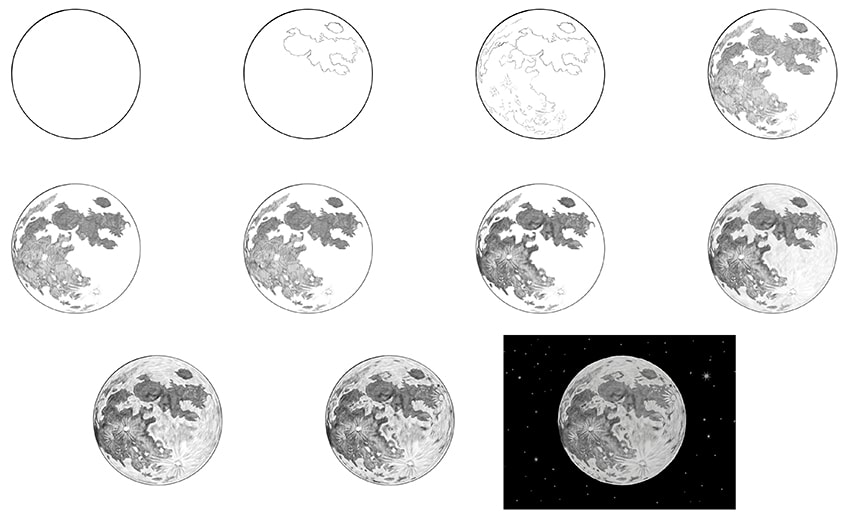
Although our moon drawing is in black and white, you still have a wide range of options for the coloring steps. This moon drawing tutorial is suitable for artists of any medium.
Digital artists and pencil artists alike can easily adapt the steps to suit their own needs.
Step 1: Creating the Base Shape of Your Moon Sketch
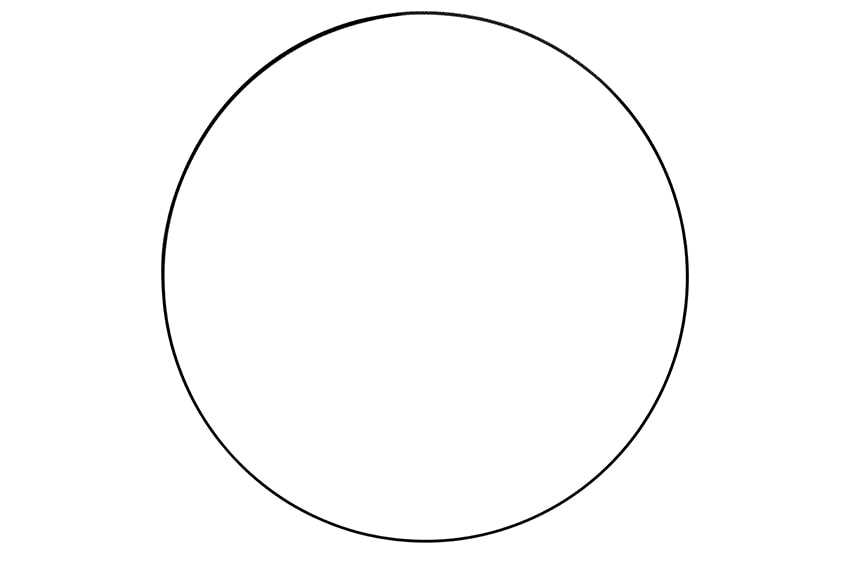
This first step is very simple and quick. We are drawing a full moon, so you simply need to draw a circle shape in the very center of your canvas.
Try to make this circle as round as possible, but remember that the moon is a rock with lumps and bumps, so do not be disheartened if it is not perfect.
Step 2: Begin to Draw the Moon Pattern
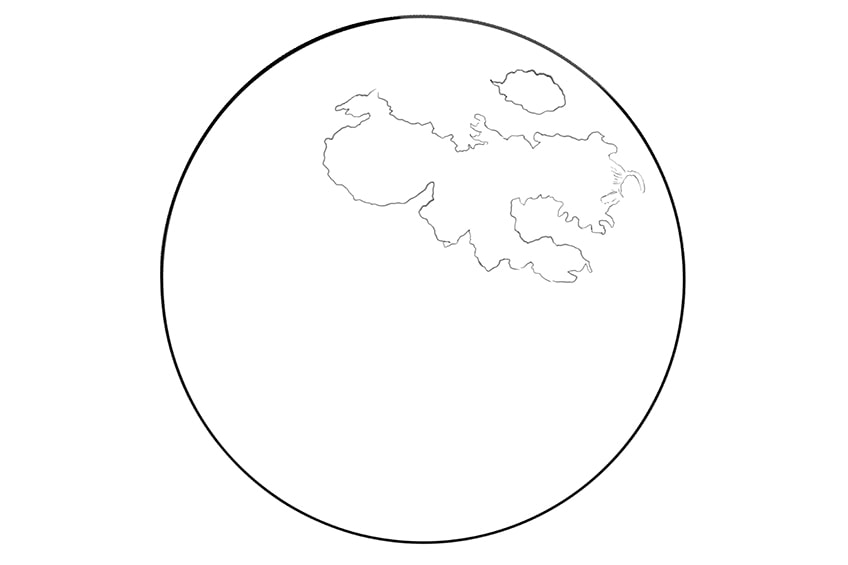
The surface of the moon is full of craters and other indent patterns. In this step, we are going to begin to create some of these realistic patterns. In the upper-right section of your moon sketch, create some jagged patterns that look a little like the continents of the earth.
These shapes should be drawn freehand and there is no correct shape, this is your moon drawing so let your imagination run wild.
Step 3: Finishing the Pattern of the Moon Sketch Surface
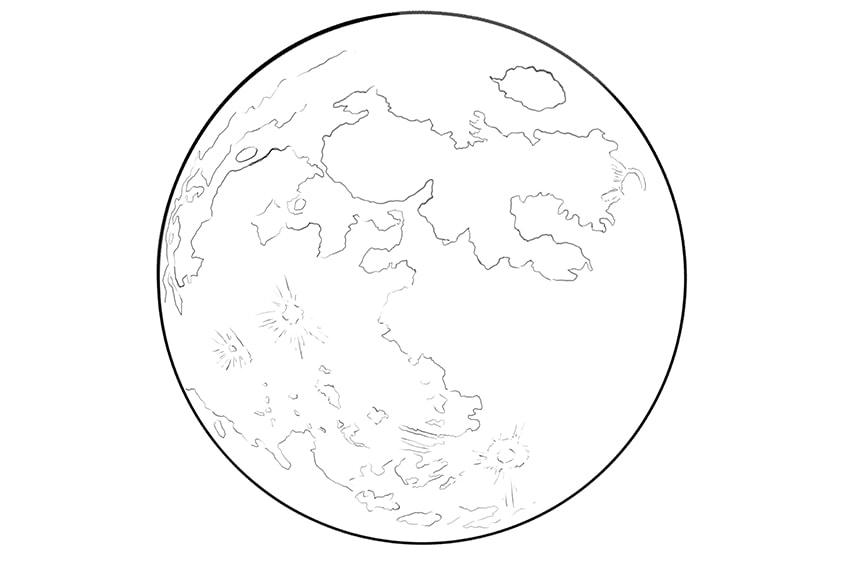
You can now complete the rest of the pattern on the surface of the moon, creating a large island shape and a few smaller shapes that curve with the outline. You can add as much or as little detail as you like in this step, creating some crater patterns.
One tip for this step is not to fill your realistic moon drawing with too many patterns. Instead, leave a little blank space, as this will add to the realism of your moon drawing.
Step 4: Adding Color to Your Drawing of the Moon
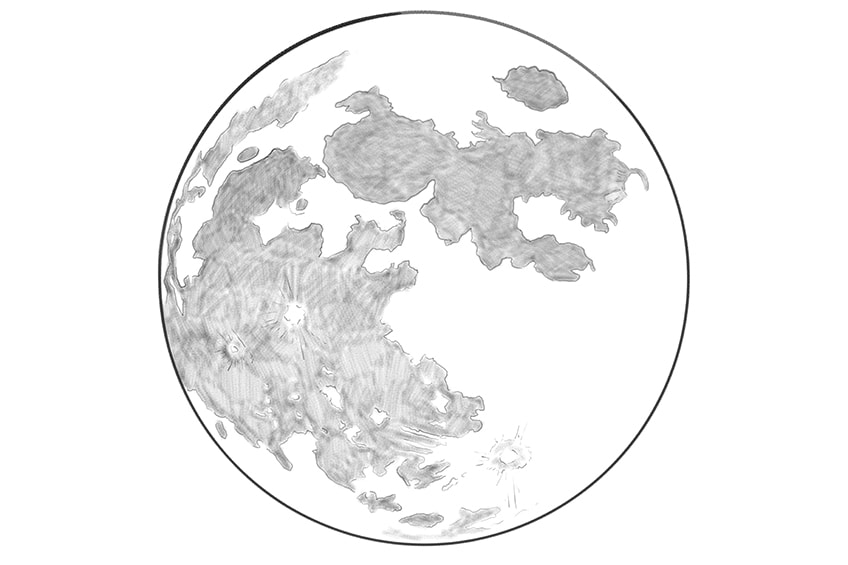
It is time to break out your coloring medium as we begin to add some color definition to our moon sketch. If you are working with a pencil, find an HB pencil, or you could use some light gray paint. Fill the entire body of the patterns you just created with a light coloring.
For additional realism, you can make the colors darker around the edge of the moon shape, as this will help create a three-dimensional appearance.
Step 5: Adding More Shading and Texture
In this step, you can simply repeat the coloring process from the previous step, darkening your coloring and adding a rougher texture. You can keep your shading a little patchy to add a little more realism.
At this stage, you also want to make sure that you leave a few blank spots and some areas of lighter shading within the islands.
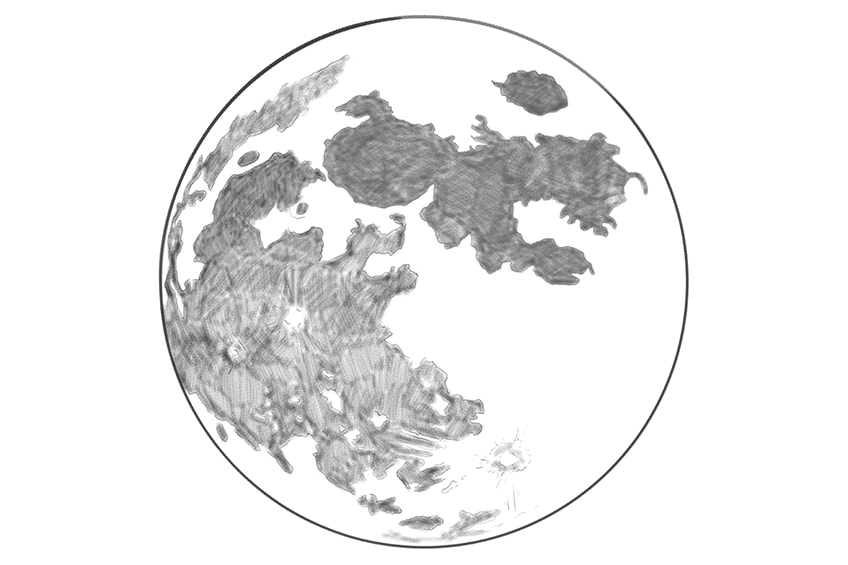
Step 6: Finish Shading Your Moon Sketch
In this final shading step, continue to darken your shading, focussing on the edges of your island patterns. Create some texture lines around the craters and blank spots.
To increase the effect of the craters, use a sharp eraser (or white paint) to brighten the center of the blank spots and add some texture strokes extending out from the center.
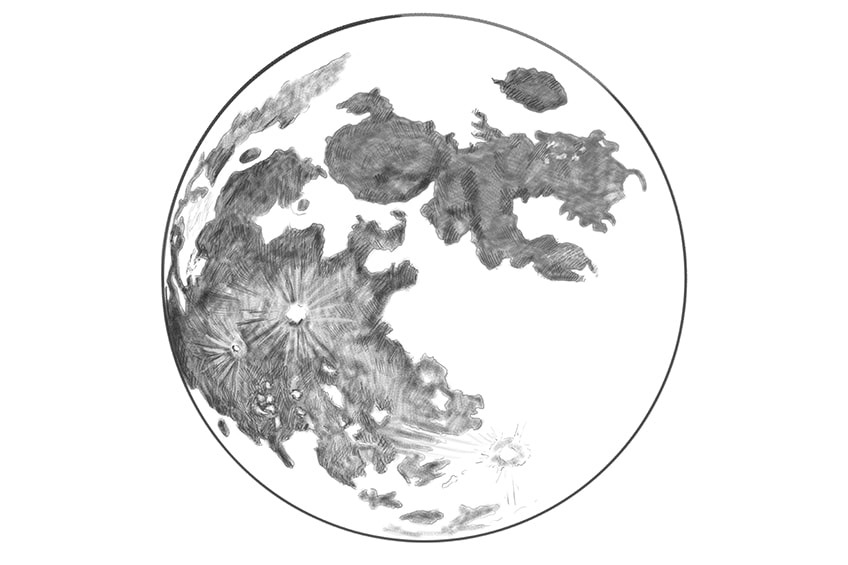
Step 7: Adding Color to the Rest of Your Moon Drawing
Now that you have completed the coloring of the surface patterns, you can add a light layer of color to the rest of the moon’s surface. Use a light gray color to gently fill the rest of your realistic moon drawing.
Remember that you do not need to make the coloring smooth and uniform, some patches will only increase the realism of your moon sketch.
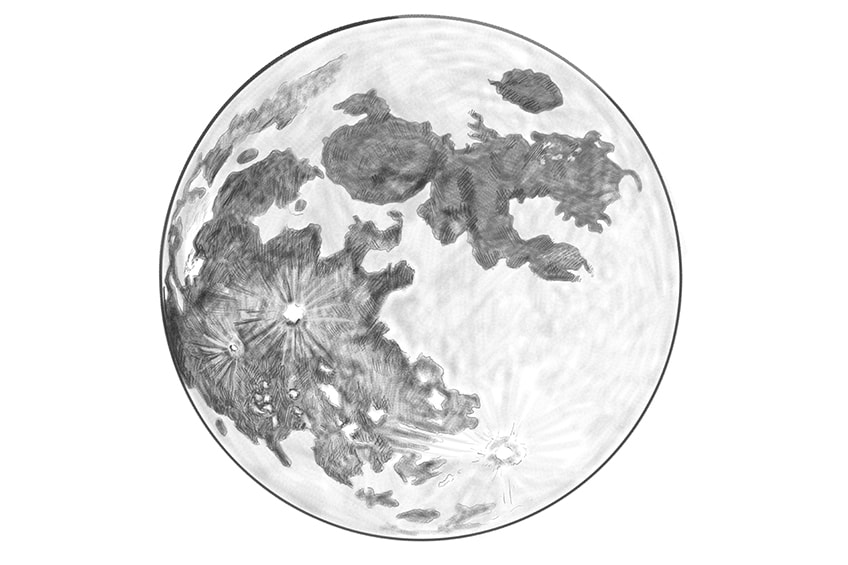
Step 8: Creating Texture on Your Drawing of the Moon
In this step, you are going to darken the color of the moon’s surface and add some texture. Use fine strokes that follow the curvature of the moon’s shape to create a darker texture.
These texture marks should be ever so slightly darker than the base surface color.
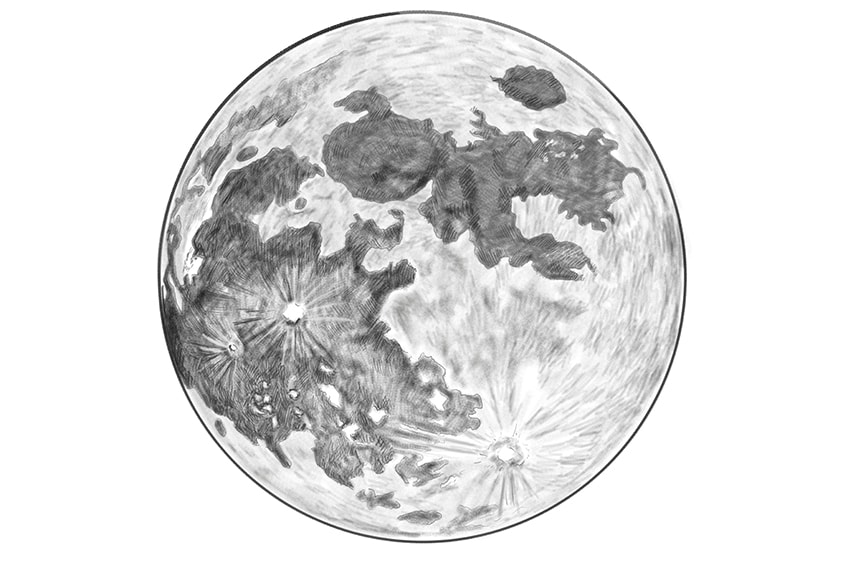
Step 9: Shading Your Moon Sketch
You can now use a slightly darker gray color to shade some parts of the surface texture. This will help emphasize the dimensions of your moon and create a more interesting and realistic texture.
Remember to follow the curvature of the moon’s shape.
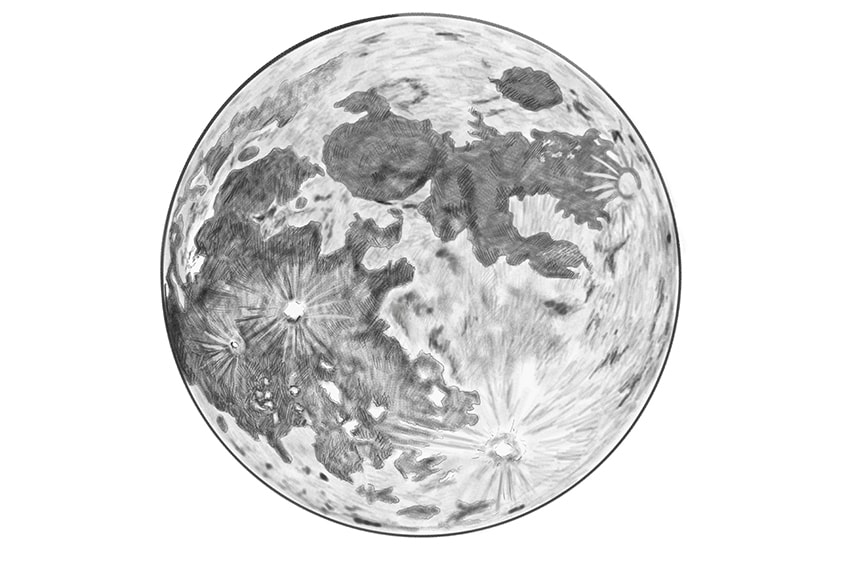
Step 10: Finishing Your Realistic Moon Drawing
To finish your drawing of the moon, you can color the canvas around your moon black. Then, using a sharp brush and some light gray paint, create a splash of stars and dots throughout the sky. You can then repeat this step with some white paint, creating a few stars that sparkle brightly.
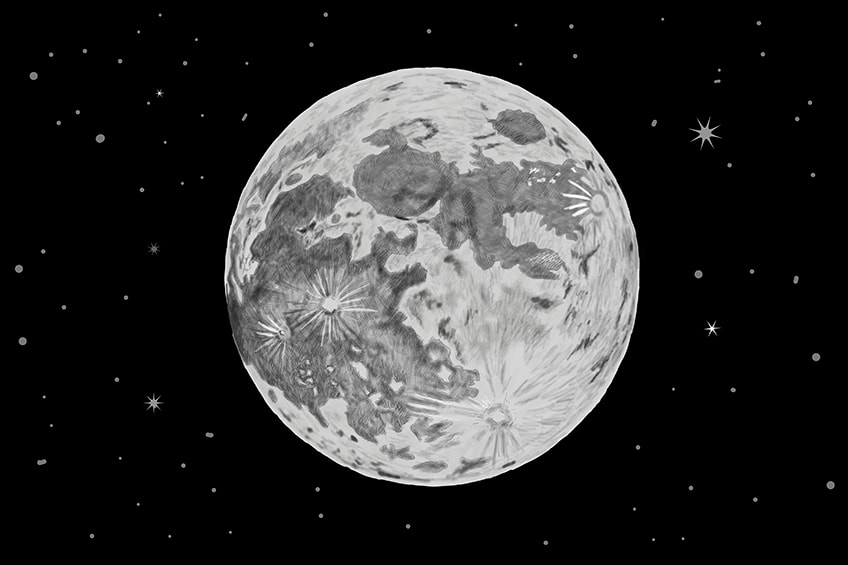
Congratulations on finishing your very own realistic moon drawing! Now you have all the knowledge and skills necessary to create beautiful moon sketches. You can experiment with changing the patterns up to draw a different side of the moon. You can also create crescent and half-moon drawings using the same techniques. Good luck and happy moon drawing!
Take a look at our moon drawing webstory here!
Frequently Asked Questions
What Is the Best Way to Create a Drawing of the Moon?
When it comes to creating your own unique drawing of the moon, there is actually a lot of freedom. The patterns of shading and crater texture can shift and change as much as you like. All you need is a canvas, some gray color, and the will to create a beautiful realistic moon sketch.
How to Make a Moon Sketch Realistic?
The realism of a moon drawing comes down to the surface textures that you create. Using shading and texture marks, we show you how to create a realistic moon drawing with craters sitting among the starry sky.
Matthew Matthysen is an educated multidisciplinary artist and illustrator. He successfully completed his art degree at the University of Witwatersrand in South Africa, majoring in art history and contemporary drawing. The focus of his thesis was to explore the philosophical implications of the macro and micro-universe on the human experience. Matthew uses diverse media, such as written and hands-on components, to explore various approaches that are on the border between philosophy and science.
Matthew organized various exhibitions before and during his years as a student and is still passionate about doing so today. He currently works as a freelance artist and writer in various fields. He also has a permanent position at a renowned online gallery (ArtGazette) where he produces various works on commission. As a freelance artist, he creates several series and successfully sells them to galleries and collectors. He loves to use his work and skills in various fields of interest.
Matthew has been creating drawing and painting tutorials since the relaunch in 2020. Through his involvement with artincontext.org, he has been able to deepen his knowledge of various painting mediums. For example, watercolor techniques, calligraphy and lately digital drawing, which is becoming more and more popular.
Learn more about Matthew Matthysen and the Art in Context Team.
Cite this Article
Matthew, Matthysen, “How to Draw a Moon – A Step-by-Step Realistic Moon Drawing Tutorial.” Art in Context. December 27, 2021. URL: https://artincontext.org/how-to-draw-a-moon/
Matthysen, M. (2021, 27 December). How to Draw a Moon – A Step-by-Step Realistic Moon Drawing Tutorial. Art in Context. https://artincontext.org/how-to-draw-a-moon/
Matthysen, Matthew. “How to Draw a Moon – A Step-by-Step Realistic Moon Drawing Tutorial.” Art in Context, December 27, 2021. https://artincontext.org/how-to-draw-a-moon/.


