How to Draw a Lion – A Fun and Ferocious Lion Drawing Tutorial
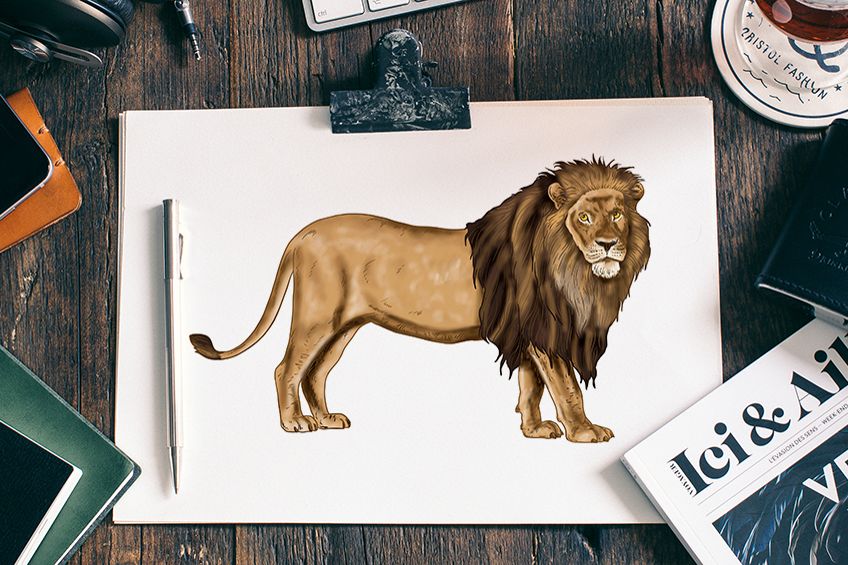
The king of the jungle and African plains, the noble lion is one of the most fearsome creatures to roam the earth. Although deadly, these large cats are beautiful and remind many of their less ferocious household companions. Today, we take on the mighty lion by making the process of how to draw a lion easy for artists of any level. We take you through a step-by-step process to help you create a realistic lion sketch.
How to Draw a Lion Easy Step-by-Step Tutorial
The most common question people ask about how to draw a lion is quite simply, where to start? With so many elements and so much detail, it can be overwhelming to put pen to paper. We make answering this question very simple. All of our drawing tutorials begin with the use of construction shapes and lines. Using basic lines and shapes to lay down the general shape of your drawing before you begin adding intricate details helps you save time and effort. In the collage below, you can see an outline of all the steps in this lion drawing tutorial.
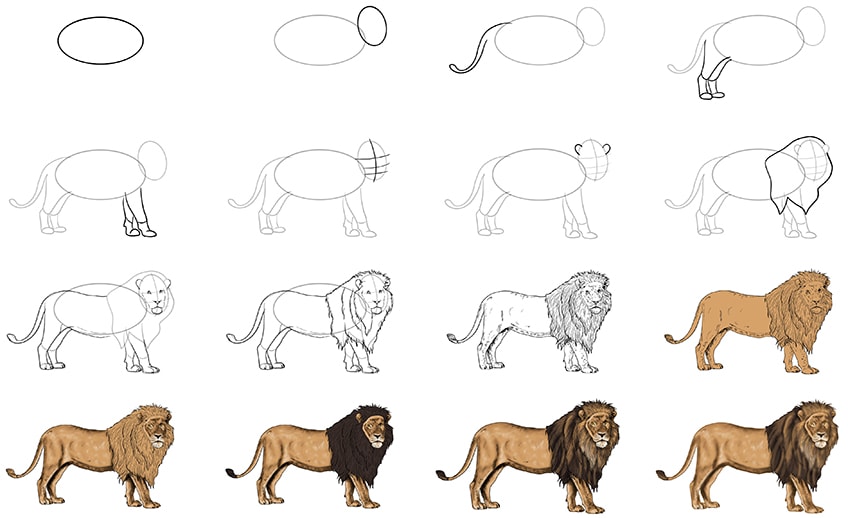
The second most common question we get is what medium is best for the tutorial. Our answer to this question is just as straightforward; whatever medium you feel most comfortable using.
We have designed this tutorial to be accessible for everyone, so whether you prefer to use coloring pens, acrylic paint, or a drawing tablet, we have you covered.
Step 1: Creating the Shape of the Main Body
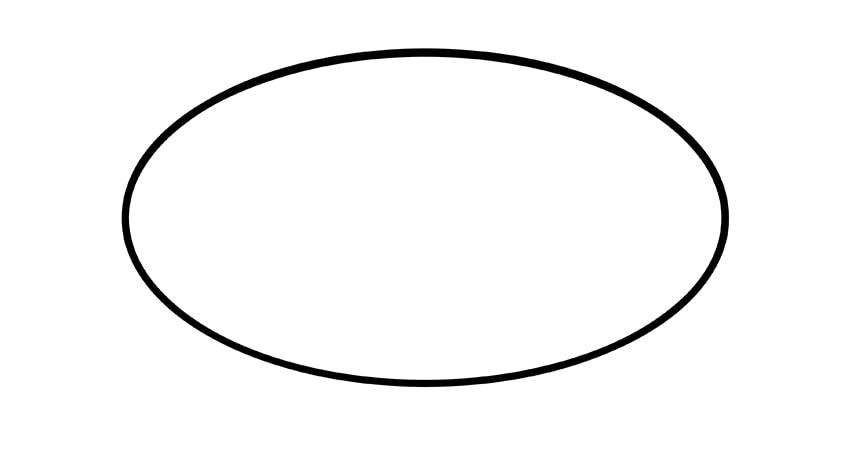
To begin your lion drawing, create a large and elongated oval shape that lies horizontally on your canvas. Our top tip for this first step of your lion drawing is to place the main body oval in the very center of your canvas.
You also want to make sure that there is plenty of space on all sides of the main body where you are going to draw the limbs and head.
Step 2: Starting the Lion Head Drawing
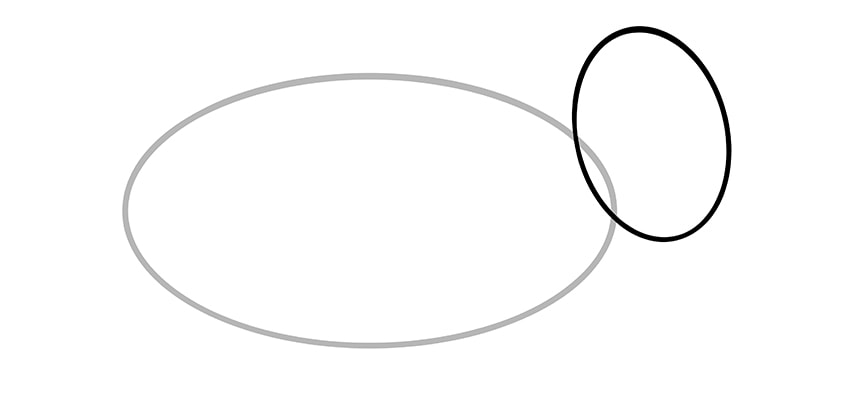
Once again, we are going to use an elongated oval shape to construct the shape of your lion’s head. The head construction oval should be significantly smaller than the main body one.
You want the head oval to be almost vertical but slightly tilted to the left.
Step 3: Planning the Lion’s Tail
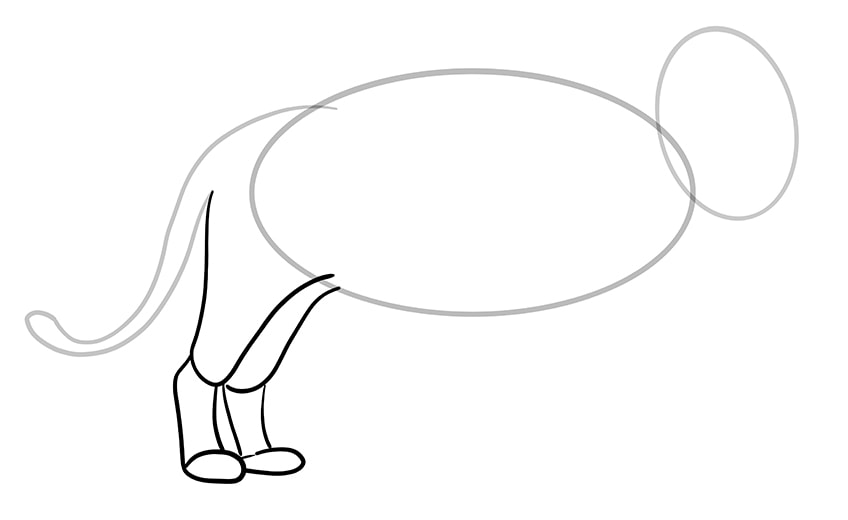
To create the basic shape of the tail in your lion sketch, draw a curved shape that begins on the top of the main body oval.

Step 4: Shaping the Back Legs
Our lion appears to us as if side-on, so the two legs (one front and one back) that are on the other side of the lion will be partially obstructed. This difference in perspective is why construction lines can be so useful. Begin by drawing the upper thigh of the lion’s leg that is closest to us. One end of the curvy line should begin at the bottom end of the tail. Below this thigh, draw the lower part of the leg facing slightly forward, and then add an uneven oval to represent the foot.
For the second back leg, simply repeat these steps, but remember to keep the back half of the leg obstructed behind the other.
Step 5: Constructing the Lion’s Front Legs
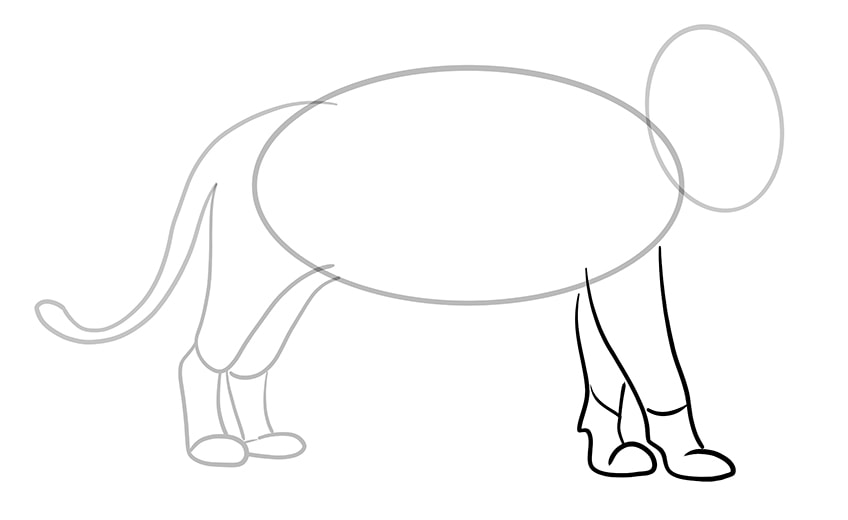
If you look at the image below, you will see that the front legs of the lion are very different in shape from the back ones. Begin by drawing the leg closest to you, drawing two slightly curved lines that extend forward. Add a separation line just above the bottom of the leg and then add an uneven oval to represent the paw of your lion sketch.
For the second leg, repeat this process but this one should extent straight down, and it should be partially obstructed by the other front leg.
Step 6: Constructing the Details of the Lion Head Drawing
In this step, you are going to use four lines to provide a base structure for the facial details. These lines will help you when you want to know how to draw a lion face. Begin with a large vertical line that runs through the center of the lion head drawing and curves toward the front of the canvas. Next, draw three horizontal lines that curve towards the bottom of the canvas.
The two bottom lines which will help you place the nose and mouth should be closer together near the bottom of the head oval.
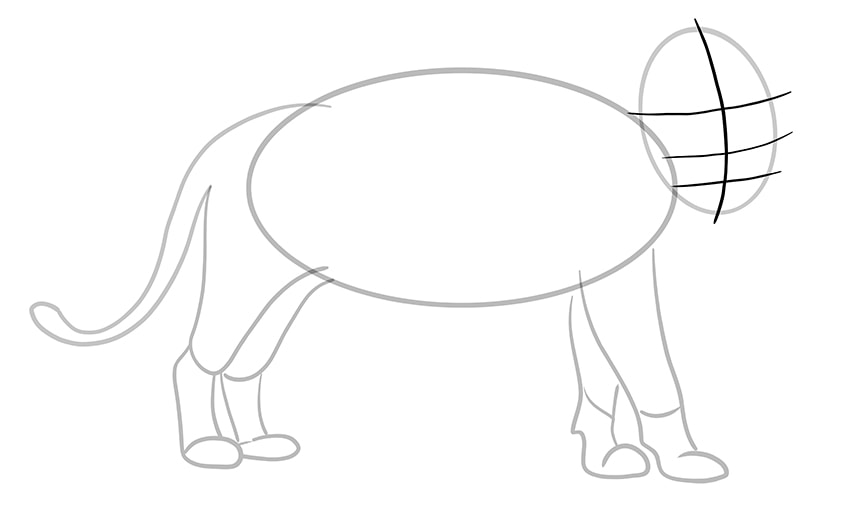
Step 7: Outlining the Shape of the Ears
This step is very easy and quick. All you need to do is place an incomplete oval shape on either side of the head oval shape.
These two ears should sit above the top face construction line.

Step 8: Shaping the Lion’s Mane
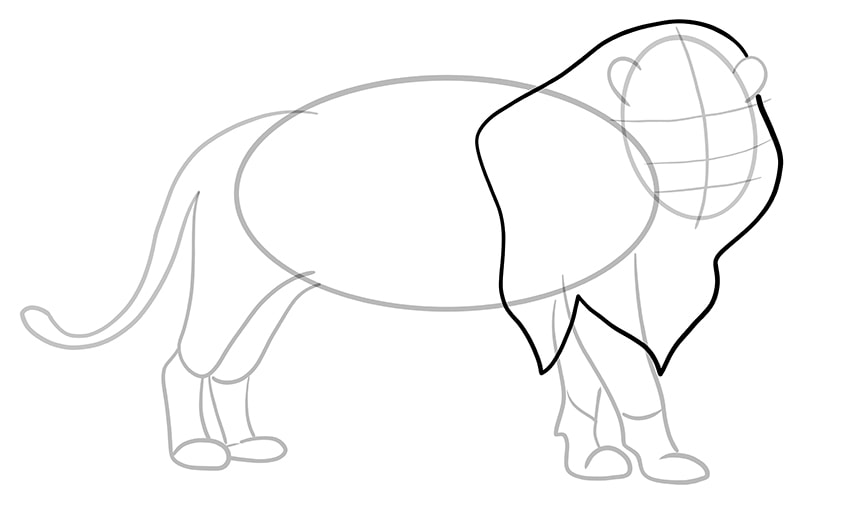
The lion’s mane is very luscious and detailed. In this step, we are simply going to create the outline of the mane with a single line.
Draw the mane shape around the head, flowing down towards the floor and covering a significant part of the forelegs and main body oval.
Step 9: Creating the Final Outline of Your Lion Sketch
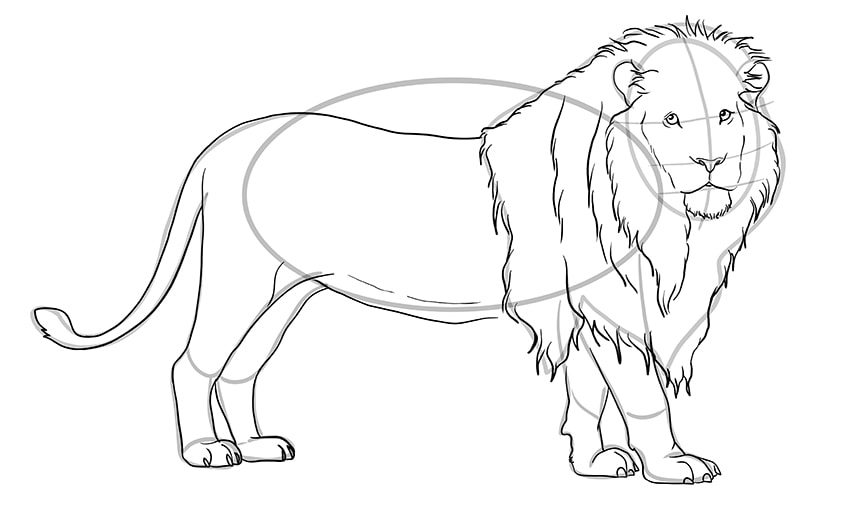
Now that you have drawn all of your construction lines, it is time to put them to use to create the final outline of your lion drawing. Begin by outlining the ears and using the face construction lines to place the features. On the top horizontal line, drawn eye on either side of the vertical line. On the middle horizontal line, draw the nose with the center running down the vertical construction line. On the bottom horizontal construction line, draw the mouth. Finish the facial details by using short strokes to shape the outline of the lion’s face and chin.
As you move down the body, do not outline the mane shape as we will do this in the next step. You also do not want to outline anything within the mane shape, beginning your body outlines after it ends.
Curve the lion’s back down and then up to join the tail outline. You can outline the rest of the body by sticking fairly closely to the construction lines. When you get to the legs, use small curved lines to create the toes of your lion sketch, and add a small nail to each toe.

Step 10: Shaping the Lion’s Mane
In this step, you are going to use the mane construction shape to help you create the final outline. When outlining the lion’s mane, you want to use short wavey strokes to create the impression of fur. Towards the bottom, you want to bring the mane to little points, that resemble flames. You want all of the lines to flow in the same downward direction. Add additional lines and layers of fur within the broader mane shape.
When you have completed this step and you are happy with your mane, you can erase any of the construction lines that are still visible.
Step 11: Adding Textural Detail to Your Lion Sketch
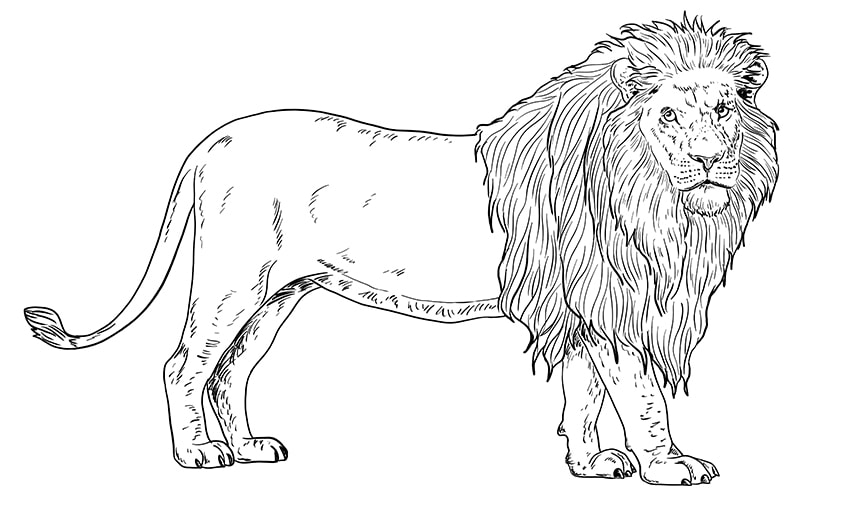
Now comes the exciting step in our “draw a lion” tutorial. In this step, you are going to use a range of short and long lines to create fur texture throughout the lion’s body. Begin by giving texture to the mane by using long flowing lines. You want to make sure that all of your lines follow the curve of the mane shape. On the face, use a combination of dots and short lines to add texture around the mouth, nose, eyes, and ears. While you are here, add some contouring to the face shape to make it more three-dimensional.
As you move onto the body, use short strokes to contour the legs, the belly, and the rear end of the lion’s body.
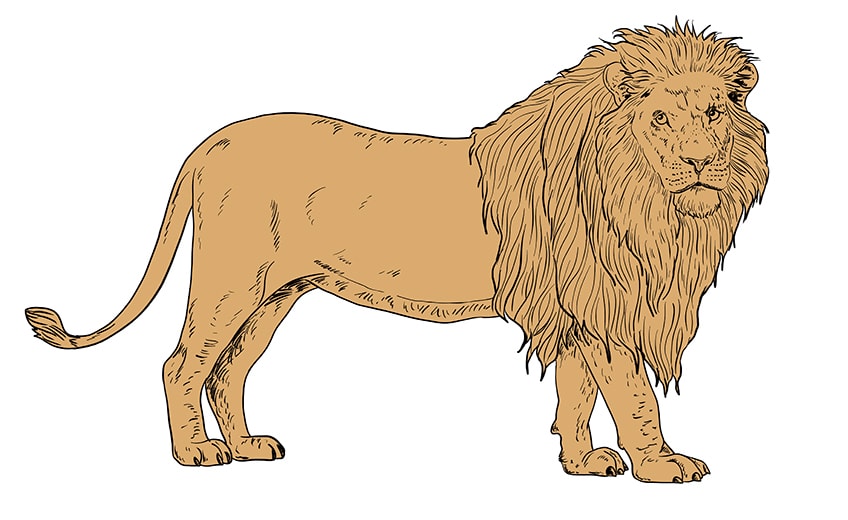
Step 12: Adding the First Coat of Color
In order to create a realistic coloring in your lion drawing, you are going to need to build up the color in various layers. To begin with, use a light brown or tan shade to color the entire body of the lion.
Whichever medium you are using, make sure that you create a smooth and even coat without any big blotches.
Step 13: Creating Dimension with Shading and Highlights
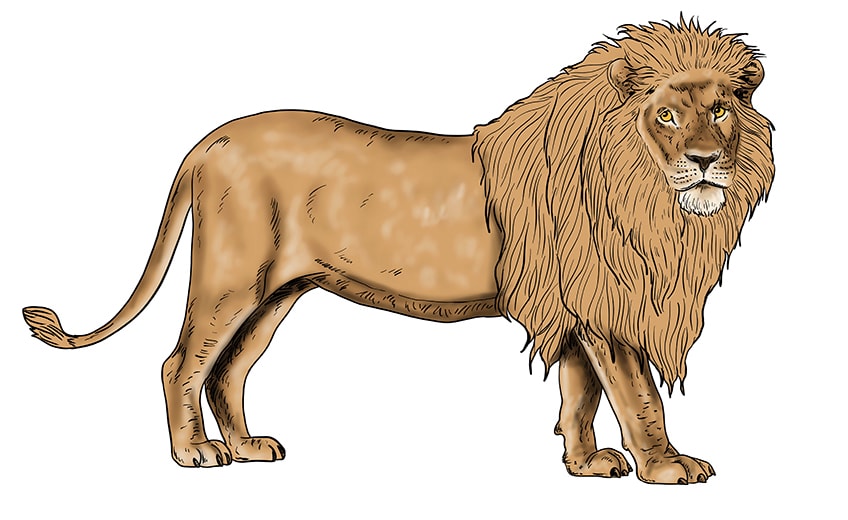
Now you are going to breathe some life into your lion sketch by adding some highlights and shadows. Begin by creating the shading with a touch of black and a soft brush. Use this black color to shade the frame of the lion, including the upper back, tail, belly, and between all the legs.
For all your shadows, go gently with the black and try to blend it out as smoothly as possible. You can always add more shading but it is impossible to take it away once it is on.
Add some shading to the facial structure, around the nose, on the forehead, inside the ears, the nostrils, and within the lower lip. To finish this step, use a touch of white paint to create highlight points throughout the body. Focus the white on the lower half of the lion’s face, just below the eyes, on the front of the back legs, and dabbled throughout the body.
Step 14: Painting Details in the Mane
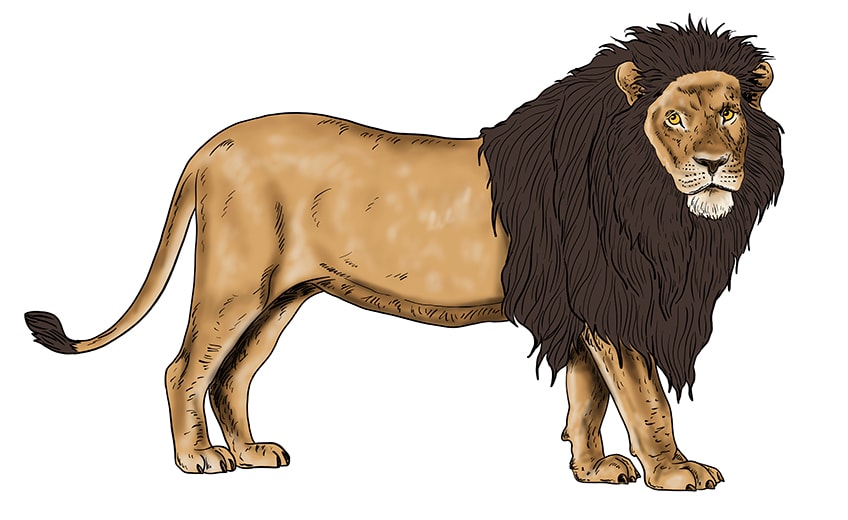
The base color for the lion’s mane is a deep chocolate brown shade. Use this shade to fill the shape of the mane and to color the tip of the tail.
Step 15: Adding the Final Touches of Highlight
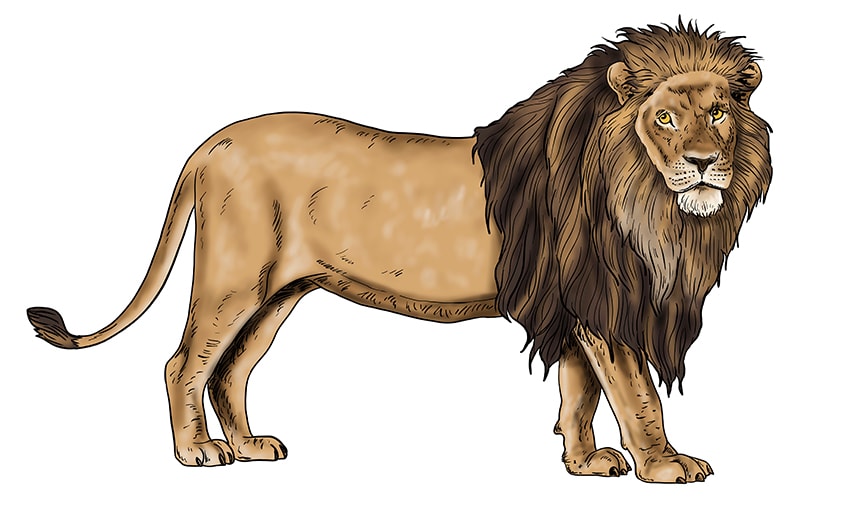
Now that we have the base color of the lion’s mane, it is time to flesh it out with some highlights. Using a small soft brush and a light shade of beige, add a fade to the lion’s mane. Beginning at the outer edge of the mane, add more of the light brown highlight as you get closer towards the lion’s face. Finish the mane highlights by adding a touch of gray to the mane just below the chin.
You can now repeat this highlighting process on the small fluffy end of the lion’s tail.
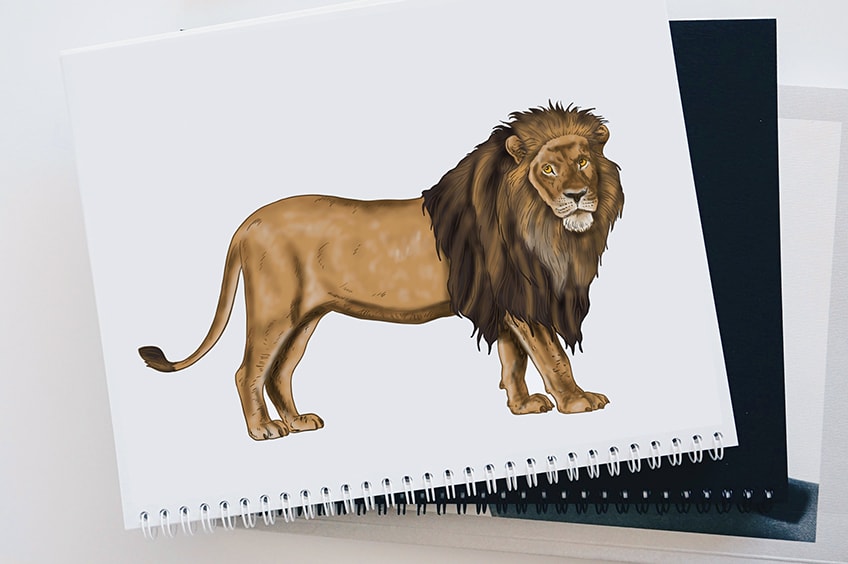
Step 16: Finishing Your Lion Drawing
You have almost completed your lion drawing, and we have come to the final step. This step is optional, simply providing a more seamless finished piece. You can achieve this by erasing the outlines of your lion sketch. If you are using a drawing tablet, this is very easy for you. If you are using a physical medium, simply use the corresponding shade at each point to trace over it.
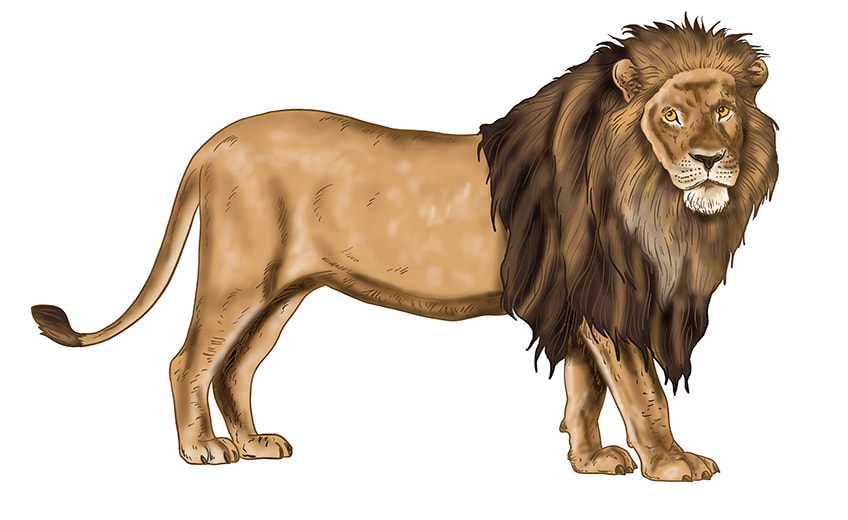
If you came into this tutorial wanting to know how to draw a lion, we hope to have answered this for you. You now know how to draw a lion face and body the easy way and how to create realistic coloring. Hopefully you have enjoyed this lion drawing tutorial, and you feel more confident creating realistic lion drawings.
Video for our Lion Tutorial
Frequently Asked Questions
Will This Tutorial Show me How to Draw a Lion Face?
Absolutely! In our how to draw a lion easy step-by-step tutorial, we show you how to construct all parts of the lion’s body including the face and body.
Is It Difficult to Draw a Lion?
When you first look at the lion, it may seem challenging to draw. When you break it down and use construction lines, however, it is actually very easy to create a realistic lion drawing.
Matthew Matthysen is an educated multidisciplinary artist and illustrator. He successfully completed his art degree at the University of Witwatersrand in South Africa, majoring in art history and contemporary drawing. The focus of his thesis was to explore the philosophical implications of the macro and micro-universe on the human experience. Matthew uses diverse media, such as written and hands-on components, to explore various approaches that are on the border between philosophy and science.
Matthew organized various exhibitions before and during his years as a student and is still passionate about doing so today. He currently works as a freelance artist and writer in various fields. He also has a permanent position at a renowned online gallery (ArtGazette) where he produces various works on commission. As a freelance artist, he creates several series and successfully sells them to galleries and collectors. He loves to use his work and skills in various fields of interest.
Matthew has been creating drawing and painting tutorials since the relaunch in 2020. Through his involvement with artincontext.org, he has been able to deepen his knowledge of various painting mediums. For example, watercolor techniques, calligraphy and lately digital drawing, which is becoming more and more popular.
Learn more about Matthew Matthysen and the Art in Context Team.


