How to Draw a Four Leaf Clover – A Fun Shamrock Drawing Tutorial
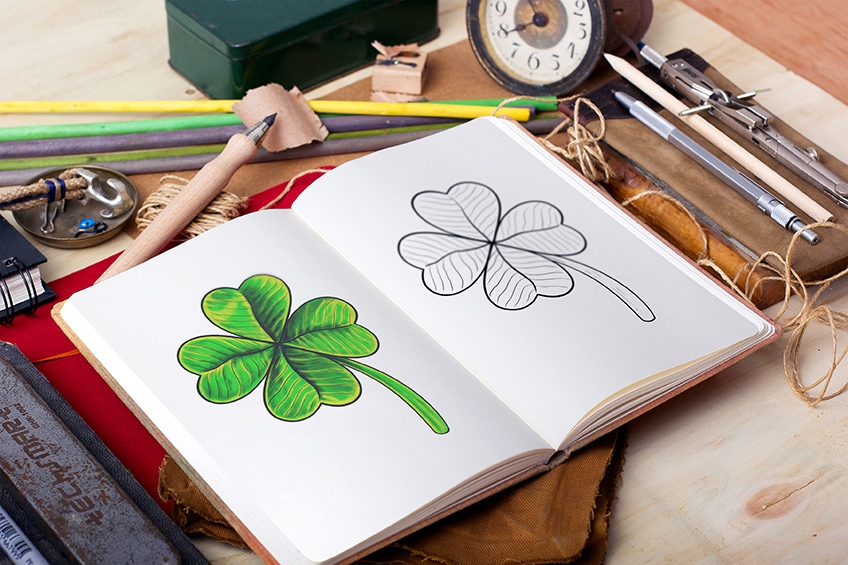
In today’s tutorial, we are going to learn how to draw a shamrock, also known as a four-leaf clover. This lucky leaf is the emblem of St Patrick’s day and represents hope, love, faith, and luck. This four-leaf clover drawing tutorial takes you step-by-step through the process of creating a detailed and colorful clover drawing. Follow along with us as we learn how to draw a shamrock in 12 easy steps!
Step-by-Step Clover Drawing Tutorial
Symmetry is the name of the game when it comes to creating a realistic clover drawing. In order to make sure that you can get the symmetry perfect, we take you step-by-step through the process of how to draw a shamrock, beginning with construction shapes. Construction lines and shapes are a great tool to use when creating any drawing, as they help us to set out the basic shapes of the object before adding too much detail or color that you do not want to remove.
Below, you can see a quick outline of the tutorial, including the construction, detail, and coloring steps.
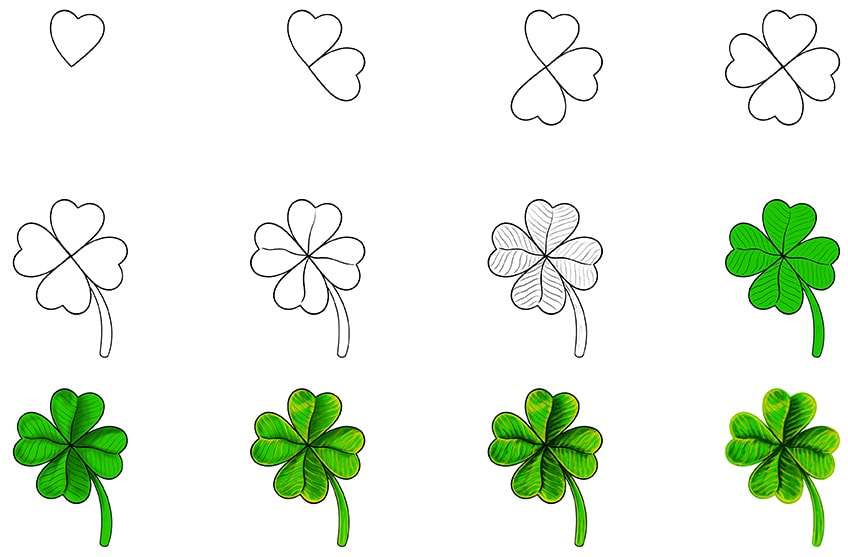
For the coloring steps, you have a lot of choices. Our tutorial is written for a painting medium, but the coloring steps of our shamrock drawing can be easily adapted to suit almost every medium.
You could use a digital drawing tablet, or you could use coloring pens or pencils.
Step 1: Begin by Drawing a Heart
We begin constructing the leaves of your clover drawing. Each leaf is shaped like a heart, so we are going to draw four of these, with the points meeting at the center.
Begin by drawing the first heart-shaped leaf slightly off-center and tilted to the right.

Step 2: Outlining the Second Leaf
Just below to the right of the first cloverleaf, draw a second heart-shaped leaf.
The bottom of the heart should be attached to the bottom of the first one.

Step 3: Adding the Third Leaf to Your Clover Drawing
For the third leaf of your shamrock drawing, you want to draw a heart shape that sits directly opposite the first one.
Make sure that all of the edges at the bottom of the leaves are touching.

Step 4: Finishing the Leaves of Your Clover Drawing
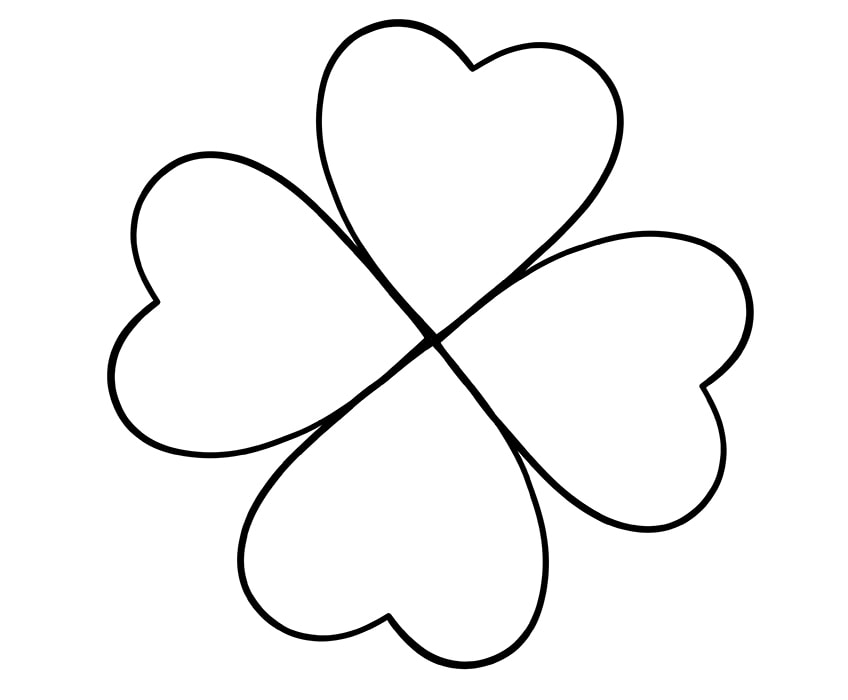
To complete the four leaves of your shamrock drawing, add in the final heart so that it fits snuggly in between the others.
You now have the outline of your four leaf clover drawing!
Step 5: Outlining the Stem of Your Four Leaf Clover Drawing
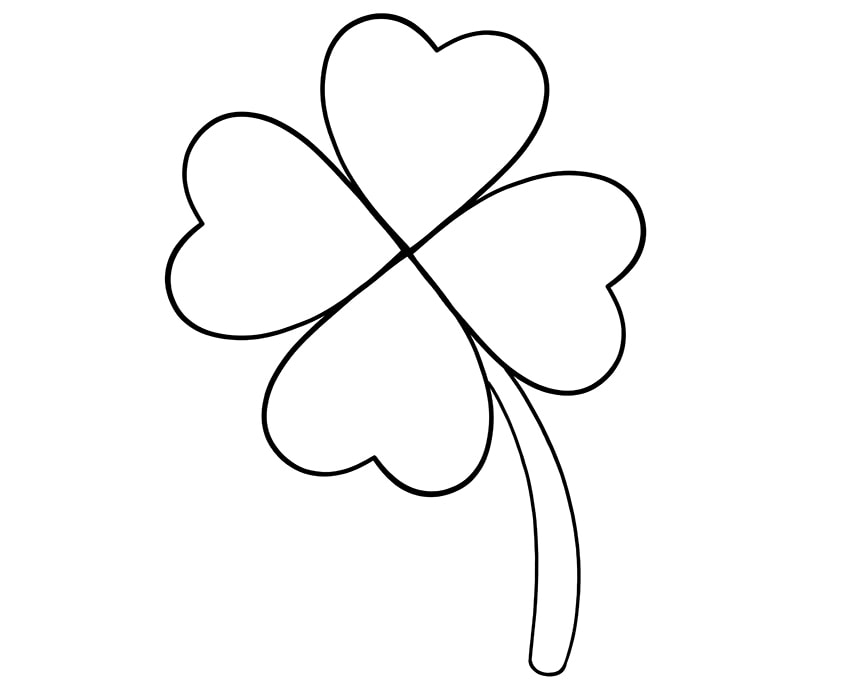
For the stem of your shamrock drawing, draw a fairly thick and curved shape that begins in between the two lower leaves.
The bottom of the stem should be a little thicker than the top, and it should also have a curved base.
Step 6: Start Adding Detail to Your Clover Leaves
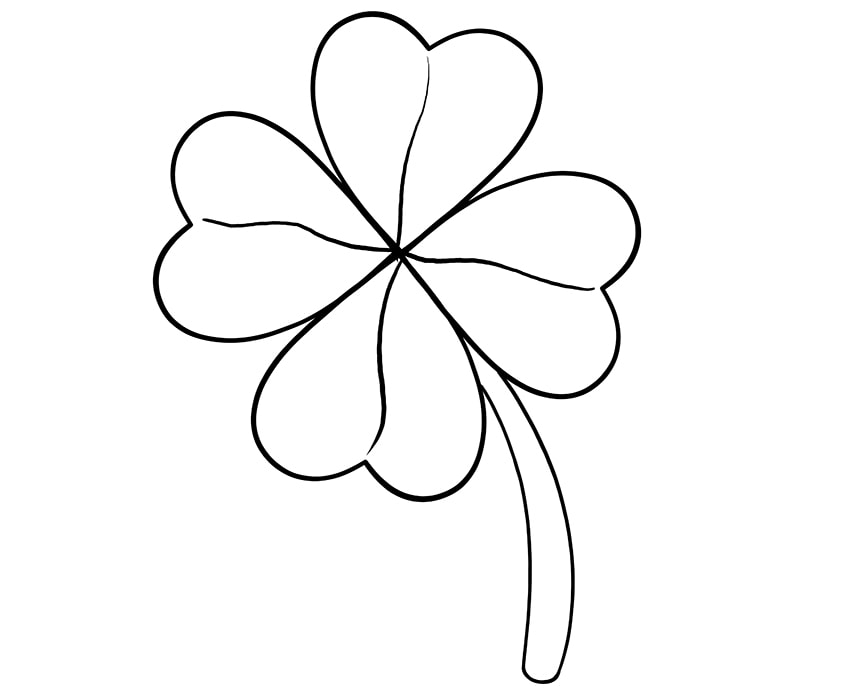
In this step, you are simply going to add a centerline to each leaf of your clover drawing. Begin on each leaf at the center, and draw a line that curves to the base point of each heart.
The curves do not need to be consistent or perfect as every clover is unique.
Step 7: Adding Texture to Your Clover Drawing
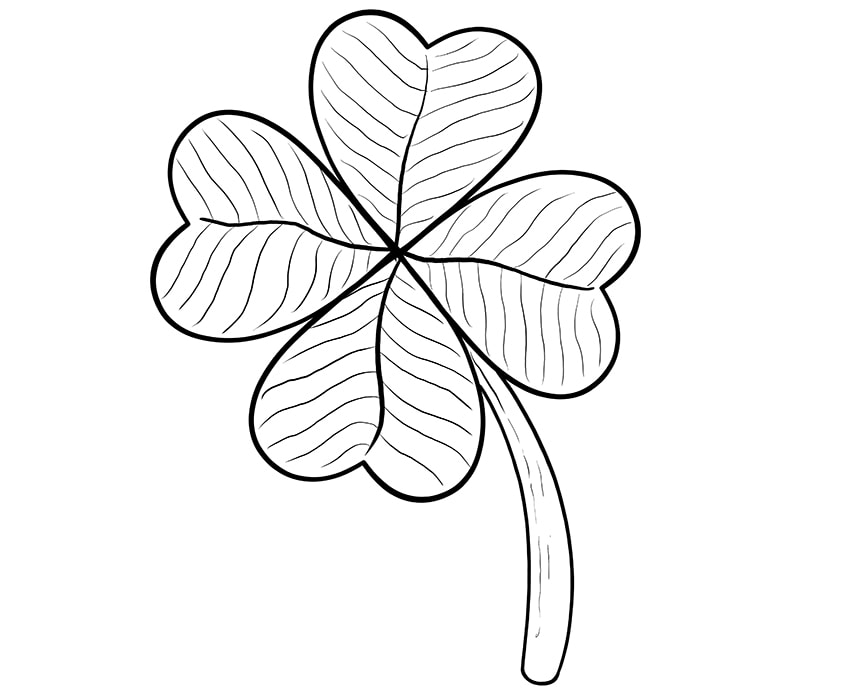
This step is the final one before we begin adding color. Begin by filling each leaf with flowing lines that curve upwards and outwards from the central lines. These lines can be curvy and drawn free-hand. Again, there is no need for perfection. To finish this texturizing step, draw several fine lines down the stem shape.
These stem textural lines should flow with the curvature of the stem.
Step 8: Applying the First Coat of Color
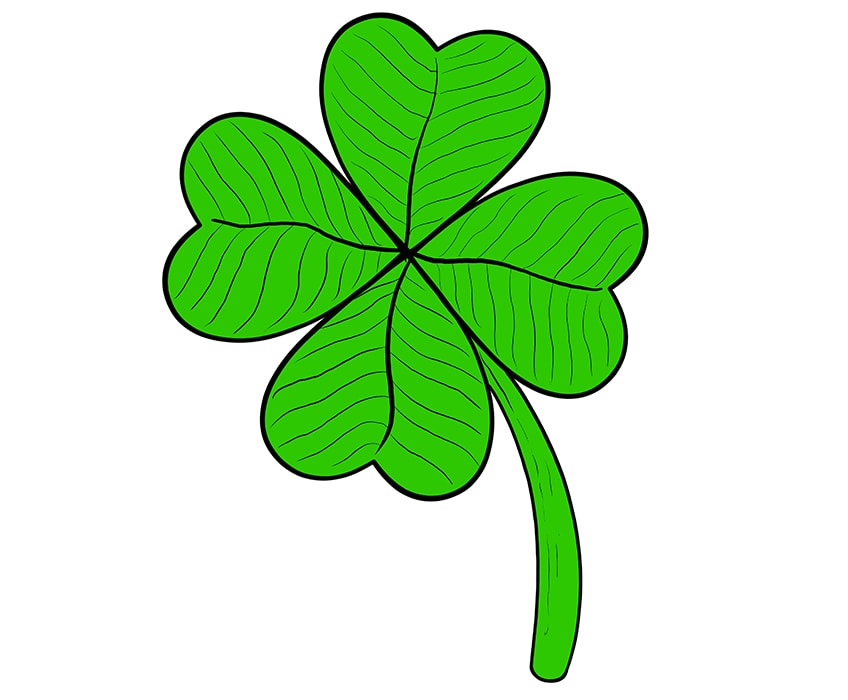
To build a realistic coloring for your four leaf clover drawing, you need to use several different layers. For this first layer, find a bright green shade and use a regular brush to fill the leaves and stem with an even coat.
Whatever your chosen medium, make sure that this coat is even and does not have any blotches of darker color.
Step 9: Creating Depth with Contouring
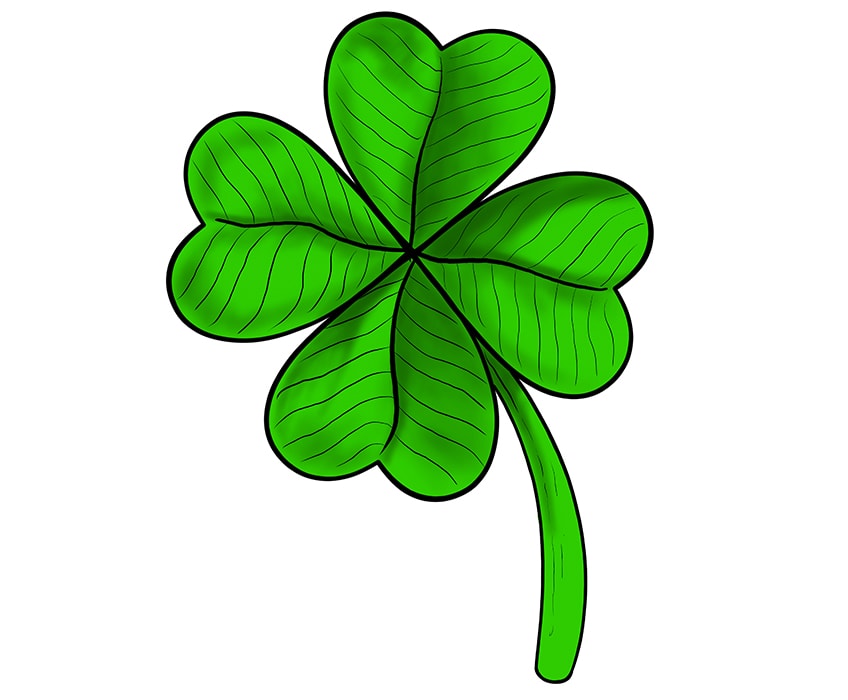
To increase the realism of your shamrock drawing, you can now use a blending brush and a touch of black paint to add more structure and depth to the leaves and stem. Focus the shading on the areas that would naturally be hidden from the light source and be more sunken.
These areas include along the center lines and at the top of the stem.
Step 10: Adding a Second Color
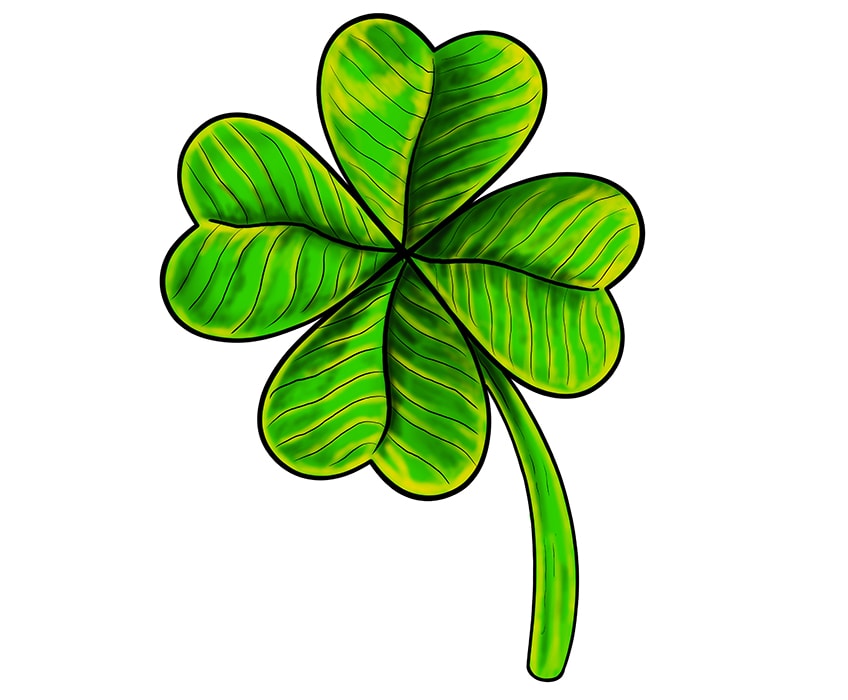
No plant, however perfect, is a pure green shade. In this step, you are going to add a little more interest to your clover drawing with a little yellow paint. Use a small blending brush and apply a touch of yellow to each of the texture lines and around the edges of the leaves.
You can also add a few streaks within the stem to create a little highlighting.

Step 11: Emphasizing the Shading
As we begin adding the final touches to our clover drawings, we are going to add a little more shadow definition throughout. Use a small blending brush and some black paint to enhance the contoured center lines, and add some more shading within the texture lines of the leaves. You can also add a little more shading along the texture lines within the stem.
For a smooth blend, you can use a dry blending brush to smooth the layers of paint into each other.
Step 12: Adding the Finishing Touches
To finish your clover drawing, you can now erase the outlines and inner texture lines to create a more seamless finish. Use a sharp brush and the corresponding color for each area of the outline, and carefully trace the outlines.
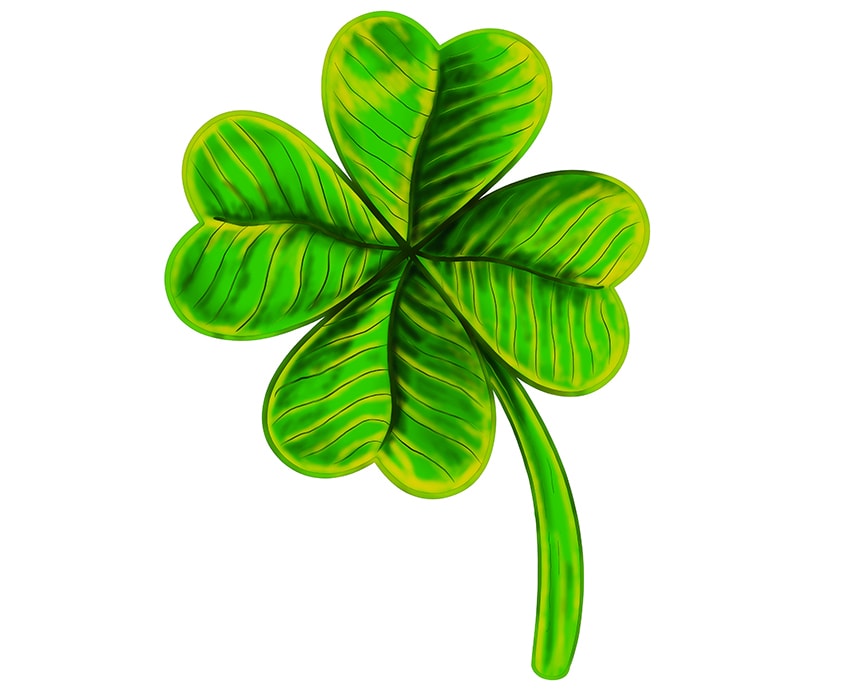
Well done for finishing your very own lucky charm four leaf clover drawing! Hopefully this tutorial has shown you how to draw a shamrock in easy-to-follow steps, and we hope that you will continue to create and share the luck with your loved ones.
Take a look at our four leaf clover drawing webstory here!
Frequently Asked Questions
Is It Difficult to Learn How to Draw a Shamrock?
Thanks to their symmetry, four leaf clovers are actually very easy to draw when you break them down into manageable steps. Our shamrock drawing tutorial shows you exactly how to create a realistic clover drawing in only 12 steps!
What Colors Should I Use for my Four Leaf Clover Drawing?
Although clovers appear to be simply green at first, if you look closely, you will see that there are many different and unique shades. We use green, yellow, and black to create a realistic and dimensional coloring for our clover drawing.
Can This Tutorial Show Me How to Draw a Four Leaf Clover?
For everyone who wants to learn how to draw a four leaf clover, we have designed this easy-to-follow tutorial. In only 12 steps, we show you how to construct, detail, and color a realistic clover drawing.
Matthew Matthysen is an educated multidisciplinary artist and illustrator. He successfully completed his art degree at the University of Witwatersrand in South Africa, majoring in art history and contemporary drawing. The focus of his thesis was to explore the philosophical implications of the macro and micro-universe on the human experience. Matthew uses diverse media, such as written and hands-on components, to explore various approaches that are on the border between philosophy and science.
Matthew organized various exhibitions before and during his years as a student and is still passionate about doing so today. He currently works as a freelance artist and writer in various fields. He also has a permanent position at a renowned online gallery (ArtGazette) where he produces various works on commission. As a freelance artist, he creates several series and successfully sells them to galleries and collectors. He loves to use his work and skills in various fields of interest.
Matthew has been creating drawing and painting tutorials since the relaunch in 2020. Through his involvement with artincontext.org, he has been able to deepen his knowledge of various painting mediums. For example, watercolor techniques, calligraphy and lately digital drawing, which is becoming more and more popular.
Learn more about Matthew Matthysen and the Art in Context Team.
Cite this Article
Matthew, Matthysen, “How to Draw a Four Leaf Clover – A Fun Shamrock Drawing Tutorial.” Art in Context. December 6, 2021. URL: https://artincontext.org/how-to-draw-a-four-leaf-clover/
Matthysen, M. (2021, 6 December). How to Draw a Four Leaf Clover – A Fun Shamrock Drawing Tutorial. Art in Context. https://artincontext.org/how-to-draw-a-four-leaf-clover/
Matthysen, Matthew. “How to Draw a Four Leaf Clover – A Fun Shamrock Drawing Tutorial.” Art in Context, December 6, 2021. https://artincontext.org/how-to-draw-a-four-leaf-clover/.


