How to Draw a Cell Phone – Create an Advanced Cell Phone
Cell phones have become an essential part of modern life, revolutionizing the way we communicate, work, and connect with the world. From the iconic flip phones of the early 2000s to the sleek and sophisticated smartphones of today, cell phones have undergone a remarkable transformation. With just a few taps on a screen, we can access a world of information, stay connected with loved ones, and capture precious moments. However, with great power comes great responsibility, and as our reliance on cell phones grows, so does the need to use them mindfully and responsibly. So, get ready for today’s tutorial where we teach you how to draw a cell phone step-by-step!
How to Draw a Mobile Phone in Today’s Easy Tutorial
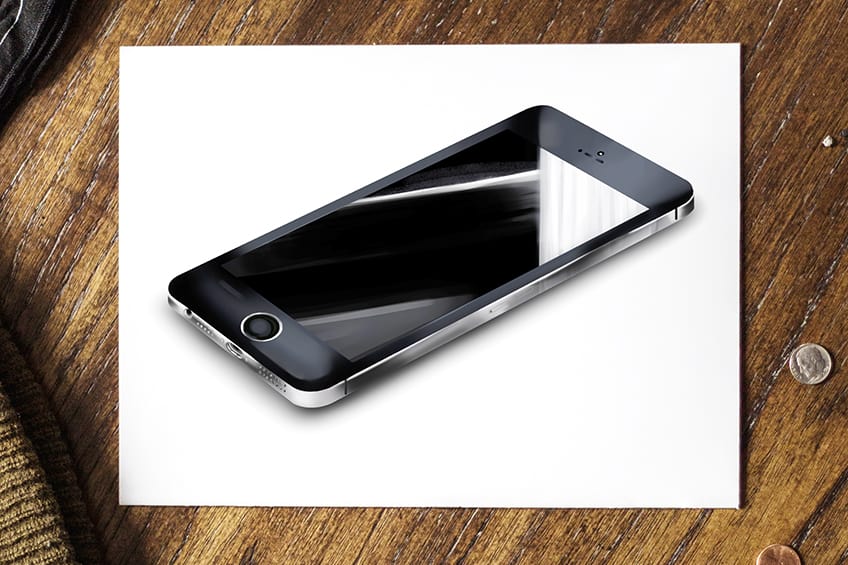
Learning how to draw a mobile phone can be a fun and rewarding experience. To begin, start by sketching out the basic shape of the phone, paying close attention to its proportions and size. Next, add details such as the buttons, camera lens, and any other features unique to the specific model you’re drawing. Don’t forget to include the speaker and microphone, as well as any branding or logos that may be present. For a more realistic look, add shading and highlights to create depth and dimension. Remember, practice makes perfect, so don’t be afraid to try different techniques and styles until you find what works best for you. With a little patience and dedication, you’ll be drawing lifelike mobile phones in no time.
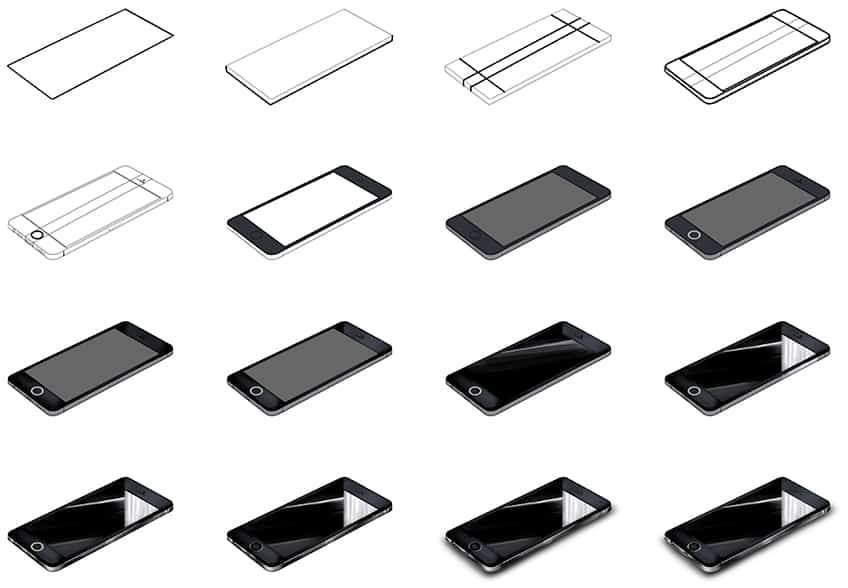
Take a look at the below collage showcasing each step of the process, and soon you’ll be able to draw and paint your own realistic cell phone with ease!
Step 1: Draw the Main Shape of Your Cell Phone Drawing
Begin your drawing by drawing the main shape of the cell phone represented by an angled rectangle.

Step 2: Add the Second Dimension
Draw the second dimensions leading to the outer outline previously drawn in step one.

Step 3: Draw the Center Lines
Draw two vertical lines leading from the top of the phone and bending onto the front edge wall of the cell phone. Complete the step by drawing two horizontal lines on each end of the cell phone drawing.

Step 4: Outline Your Phone Sketch
Use the previously drawn construction lines to aid you in outlining a more realistic and rounded-corner-looking smartphone. With the previously drawn center lines, draw a screen in the middle of your phone sketch.
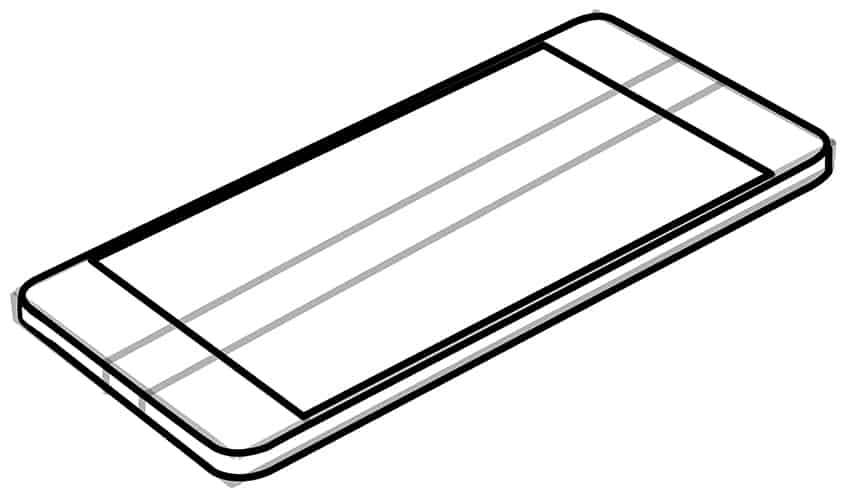
Step 5: Add the Details
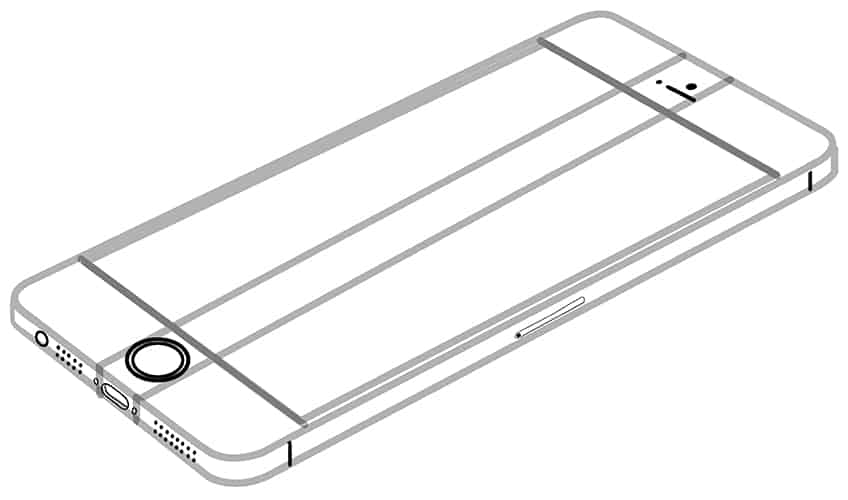
In this step, you are going to add more detail to your mobile phone drawing to create a more realistic look to your drawing. Begin at the top of the cell phone, between the two horizontal center lines and slightly above the screen, and draw the speaker line and camera. At the bottom of the cell phone and between the two horizontal center lines, draw the touch button represented by a circle within a circle.
On the center edge of the cell phone, between the two center lines, now draw the charging port and the small screw hole on each side of the charging port. Complete the step by drawing the mesh-like speaker pattern on opposite sides of the charging port including the headphone jack.
On the sidewall of your phone sketch, draw the two-body frame line. Continue along the center and draw the narrow sim card slot. Once you have completed the above steps, you may simply erase any overlapping or construction lines that are still visible.
Step 6: Apply the First Color Coat
Select a fine, sharp brush and dark gray paint, and trace the outline on the top portion of the phone. Finalize this step using dark gray paint and a regular brush, and apply an even coat to the face of the smartphone but leaving the screen blank.
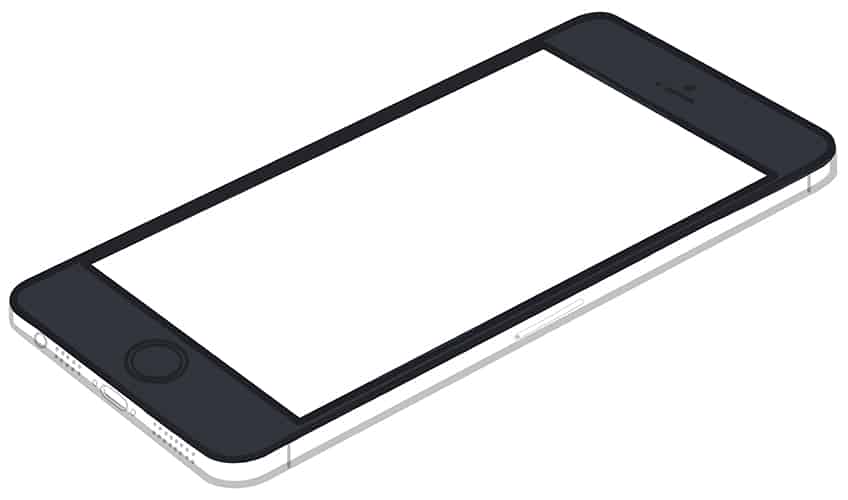
Step 7: Continue to Color Your Mobile Phone Drawing
With a regular brush and a lighter shade of gray paint, apply an even coat on the screen of your cell phone drawing. Switch to a thin brush and matte gray paint, and evenly coat the side wall of the phone.

Step 8: Color the Details of Your Mobile Phone Drawing
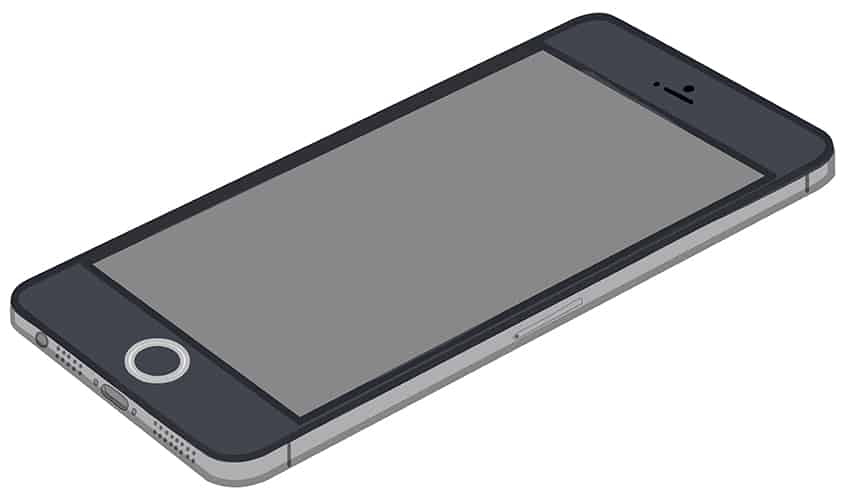
Begin by tracing the touch button rings using a fine, sharp brush and bright gray paint. Following this, fill the space between the two rings using white paint. Continue using black paint to retrace the speaker and front camera.
To finish this step, choose a light shade of gray paint, and paint the charging port, headphone jack, speaker grill holes, and the side sim slot.
Step 9: Shade the Top Portion of Your Phone Sketch
With a small, soft brush and black paint, apply soft dabs along the edges of the top portion of your cell phone drawing. Make sure that the first coat of color is still visible.
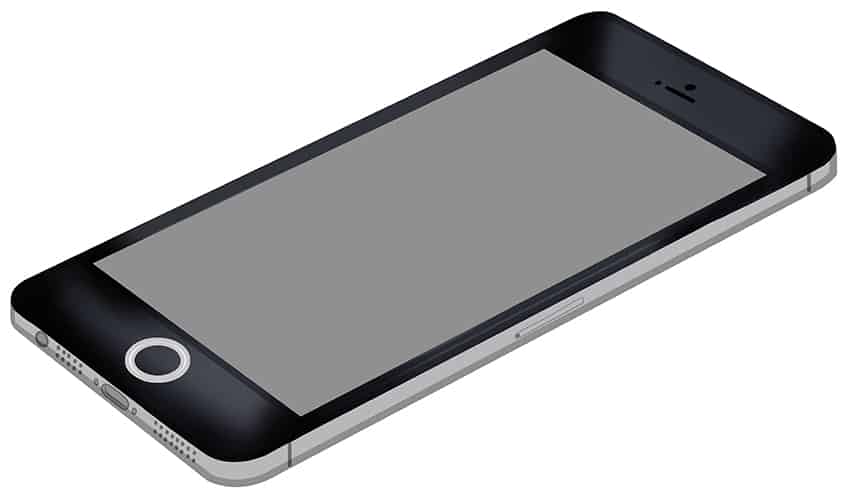
Step 10: Highlight the Top Portion of Your Cell Phone Drawing
Begin by adding light shading to the touch button using a soft brush and black paint. Repeat using light gray paint to soften this area. Continue using white paint, and add gentle dabs of white touches along the top and bottom parts of the cell phone.
Finish off this step with a blending brush to soften and blend the coats.
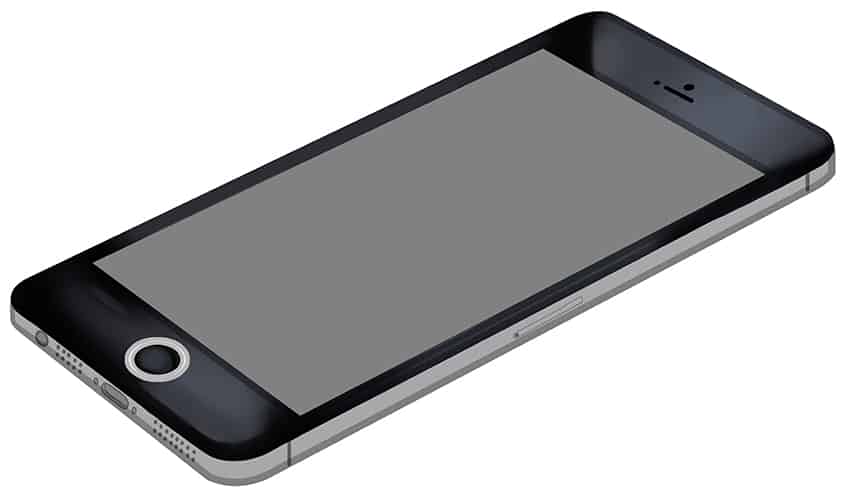
Step 11: Continue to Shade Your Mobile Phone Drawing
Select a fine, sharp brush and black paint, and evenly coat the screen area. Follow this by using dark gray paint to add a sharp, angled line across the screen.
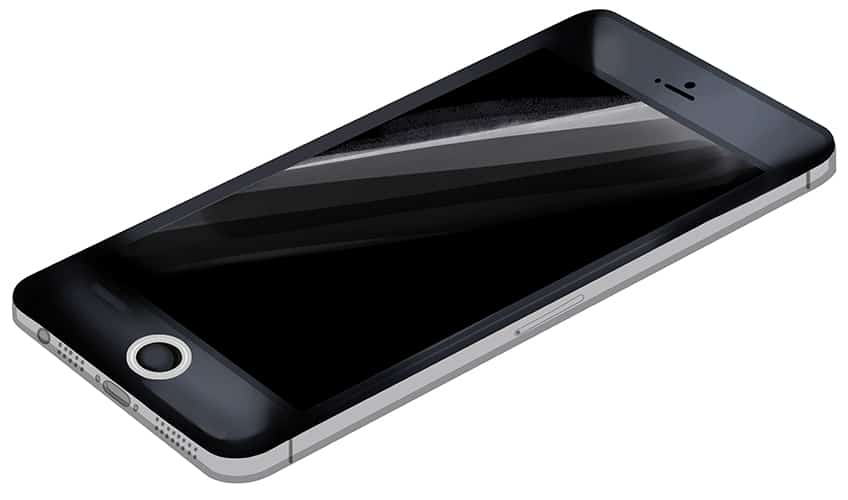
Step 12: Highlight the Screen
Before you begin this step, use a blending brush to evenly spread the black paint across the screen. Continue with this step by selecting a fine, sharp brush and white paint, and add a fine, vertical line within the screen. Repeat along the edges of the screen.
Switch to a small, soft brush and continue to add the fine, vertical lines. Carry this reflection onto the side wall of the cell phone drawing.
Use a thin brush and white paint, and apply a fine, sharp streak along the angled horizontal line within the screen. With dark gray paint, add a second horizontal line on the bottom corner of the screen. Repeat using a blending brush to create a realistic reflection of your phone sketch.
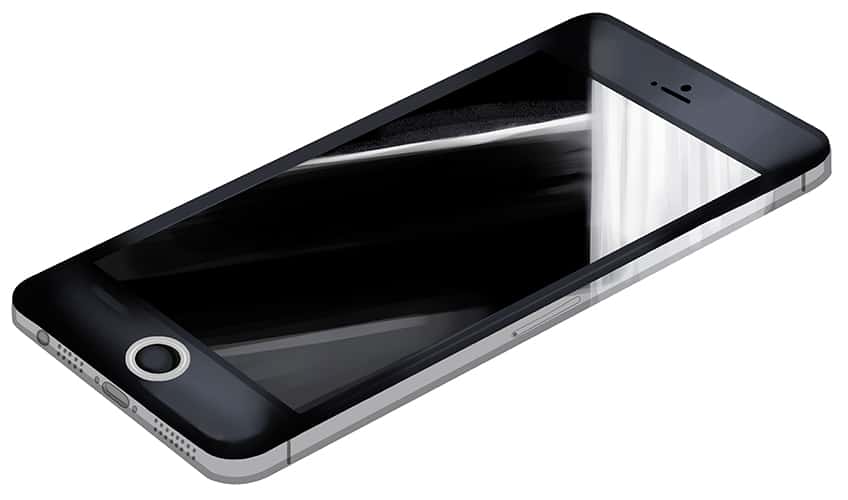
Step 13: Shade and Highlight the Side Wall
In this step, add subtle patches of highlights along the side wall using a soft brush and white paint. Continue by using black paint to add light shading between these coats. Complete the step using a thin brush and white paint, and add fine brushstrokes along the edges of the sidewalls.

Step 14: Continue onto the Details
Add gentle shading within the charging port, speaker grill holes, headphone jack, sidewall separation lines, and slim slot using a thin brush and black paint. Repeat this process using a combination of gray and white paint, and add contrasting highlights. Add a dot within the front camera and a light streak along the top speaker, using a fine brush and white paint. Finalize this step by applying shading within the touch button with black paint.
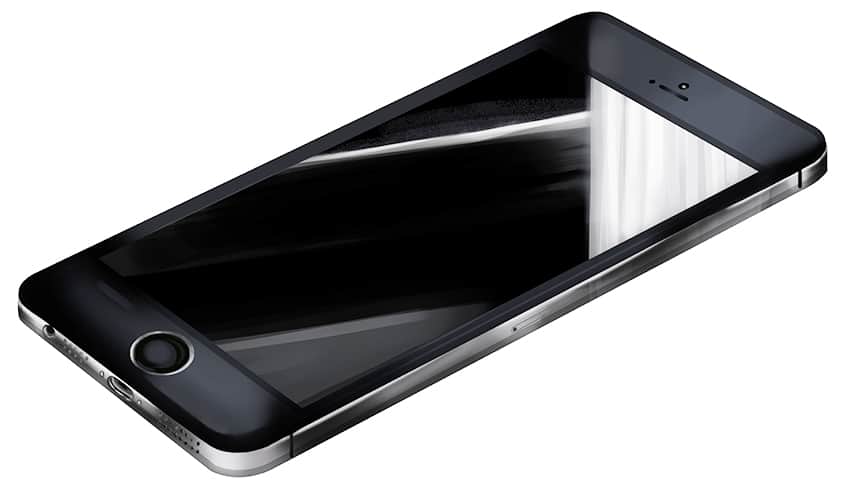
Step 15: Add a Ground Shadow
With a small, soft brush and black paint, add light brushstrokes along the edges of your cell phone drawing. Follow this by using a blending brush to spread the black paint outwards, and to fade and soften the shading to create a more realistic casted ground shadow.
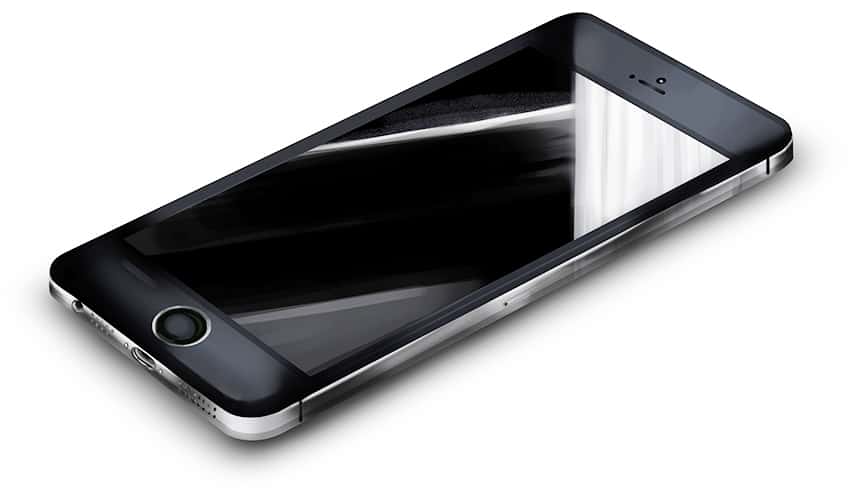
Step 16: Finalize Your How to Draw a Mobile Phone Drawing
This last step aims to achieve a seamless and realistic outcome! To do this, use a fine, sharp brush with the corresponding colors, and trace any remaining harsh outlines or inner texture lines.

Congratulations on completing your journey of learning how to draw a mobile phone! Drawing a cell phone can seem daunting at first, but with practice and patience, you have achieved a remarkable feat. Now that you have a good grasp of the basic shapes and proportions, try experimenting with different designs, models, and perspectives to further hone your skills. Consider adding a background or context to your drawing to give it more depth and meaning. Don’t forget to keep refining your shading and highlighting techniques to create a more realistic look. Above all, continue to enjoy the process of creating and expressing yourself through art. Keep up the great work!
Frequently Asked Questions
How to Add a Three-Dimensonal Look to a Cell Phone Drawing?
To make a cell phone drawing look realistic and three-dimensional, it’s important to pay close attention to the shading and highlights. Start by identifying the direction and source of light in the drawing, and use shading to create the illusion of depth and form. Use a lighter touch for areas that are closer to the light source, and gradually build up the shading for areas that are farther away. It’s also important to use highlights to create a contrast between light and shadow, and to make certain parts of the drawing pop. By incorporating these elements, you can create a cell phone drawing that looks realistic and dynamic.
What Are Some Common Mistakes to Avoid When Drawing a Cell Phone?
One common mistake to avoid when drawing a cell phone is not paying attention to its proportions and scale. Cell phones come in various sizes and shapes, and it’s important to accurately capture these details to make the drawing look realistic. Another mistake to avoid is forgetting to add shading and highlights, which can make the drawing look flat and two-dimensional. Additionally, be mindful of any visible harsh outlines or inner texture lines, which can make the drawing appear less polished. By paying close attention to these details and using proper techniques, you can avoid these common mistakes and create a more lifelike cell phone drawing!
Matthew Matthysen is an educated multidisciplinary artist and illustrator. He successfully completed his art degree at the University of Witwatersrand in South Africa, majoring in art history and contemporary drawing. The focus of his thesis was to explore the philosophical implications of the macro and micro-universe on the human experience. Matthew uses diverse media, such as written and hands-on components, to explore various approaches that are on the border between philosophy and science.
Matthew organized various exhibitions before and during his years as a student and is still passionate about doing so today. He currently works as a freelance artist and writer in various fields. He also has a permanent position at a renowned online gallery (ArtGazette) where he produces various works on commission. As a freelance artist, he creates several series and successfully sells them to galleries and collectors. He loves to use his work and skills in various fields of interest.
Matthew has been creating drawing and painting tutorials since the relaunch in 2020. Through his involvement with artincontext.org, he has been able to deepen his knowledge of various painting mediums. For example, watercolor techniques, calligraphy and lately digital drawing, which is becoming more and more popular.
Learn more about Matthew Matthysen and the Art in Context Team.


