How Do Cameras Work? – Tips and Tricks to Working Cameras
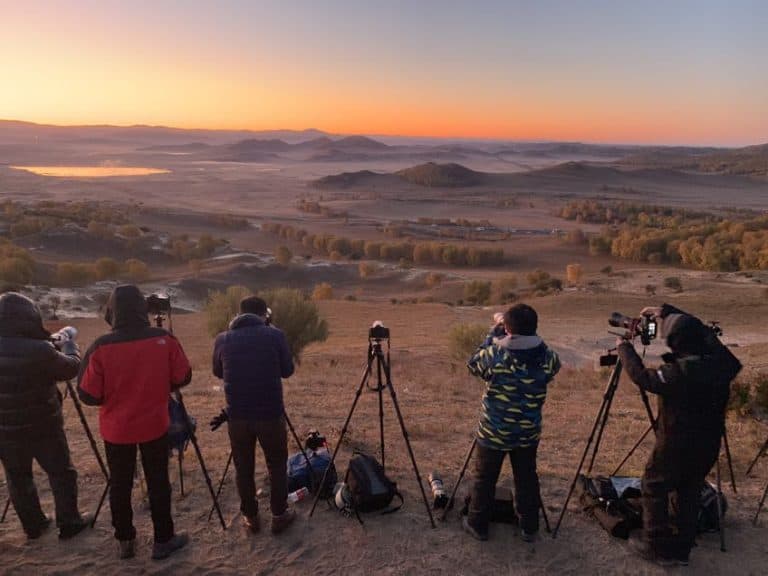
Cameras may be a regular part of our lives, but how do cameras work? In today’s article, we will be looking at the ins and outs of cameras and find out exactly what they do. With almost two billion photos taken every day and uploaded to the internet, it is a huge field, and one that deserves to be understood if you wish to get involved in photography. Let us explore how cameras function and address questions such as, “how did the first camera work?”, and “how does a digital camera work?”.
How Do Cameras Work?
Photography is both a science and an art, but many people are unaware of what occurs when they press the shutter button on their camera. So, exactly how does a camera work? Here’s what happens when you push the button, as well as how to operate a camera to capture better photos.
How Did the First Camera Work?
Assume you’re in the center of a room that has no windows, doors, or any sort of lighting. What do you notice? Nothing, since there is no light. Now picture taking out a torch and turning it on. The torch’s light travels in a straight direction. When that light beam strikes an object, it reflects off of it and into the lenses of your eyes, enabling you to see what’s inside the room.
All light travels in a straight path, exactly like that torch.
However, light also reflects off of objects, enabling us to see and capture them. When light reflects off a certain object, it proceeds in a straight path but returns at the same angle at which it entered. This means that light beams are practically bouncing around in all directions. The initial camera was little more than a chamber with a tiny hole in one side wall.

The light would enter through the hole, and because it is reflected in straight lines, the picture would be displayed upside down on the wall opposite the hole. While such devices appeared long before actual photography, it would not be until someone chose to put light-sensitive material at the rear of the space that photography emerged.
When light struck the substance, which ranged from glass to printed matter over the span of photography’s history, the chemicals reacted, imprinting a picture on the surface.
DSLR Cameras
The DSLR’s most distinguishing feature is a reflex system that makes it possible for you to view precisely what you want to shoot through the viewfinder. You’ll see a little bump on the exterior of the camera, under which is an array of mirrors. The light beams that pass through the lens strike a mirror in the camera’s rear.
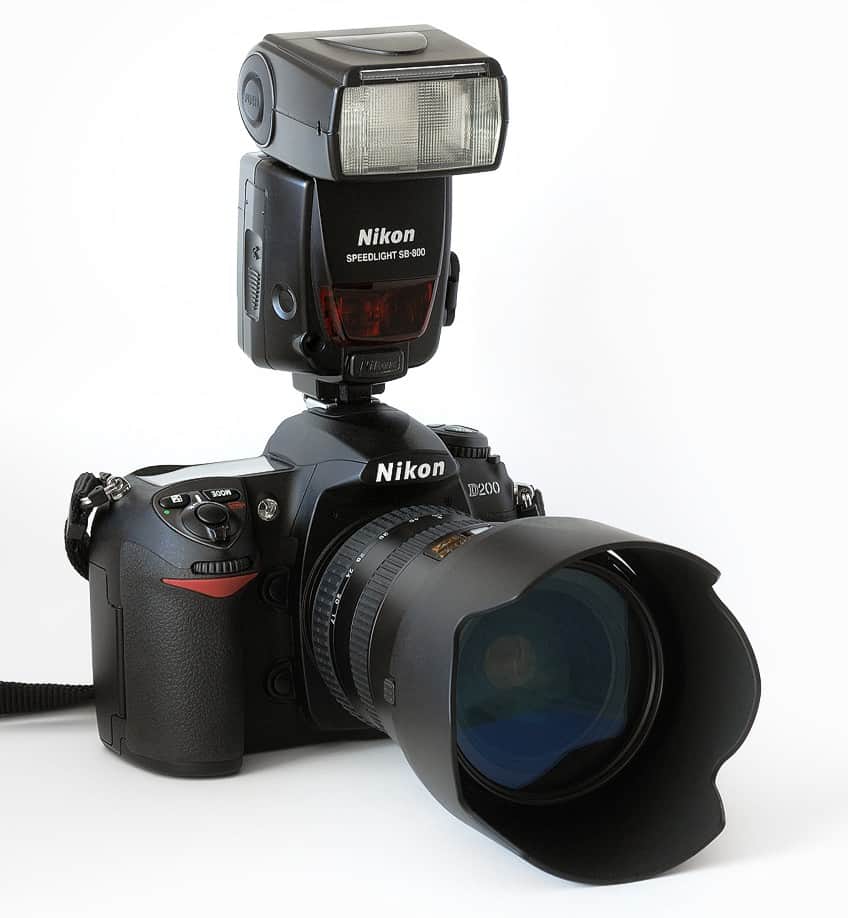
This mirror is angled such that the light is reflected up towards a pentaprism, from where it bounces toward the viewfinder. When you press the DSLR shutter button, the mirror opens, allowing light to flow across to the sensor. That’s the reason why you are unable to see anything via the viewfinder during a DSLR exposure.
Mirrorless Cameras
Mirrorless cameras, as the name seems to imply, lack a mirror in front of the sensor. Mirrorless cameras are very new and a few years ago, they were deemed unprofessional due to the poor image quality they produced when compared to DSLRs.
Mirrorless cameras now contain full-frame sensors, exactly like DSLRs, therefore the major difference is the size, with mirrorless cameras often being much smaller than DSLRs, and the viewfinder.
Because mirrorless cameras lack the mirror employed by DSLR technology, there is no “true” viewfinder picture; rather, higher-end mirrorless cameras provide a stream of images to the camera sensor so you are able to preview the image, while some entry-level cameras lack a viewfinder entirely. In the latter situation, the image may be previewed on the back LCD panel. Both optical and electronic viewfinders have their pros and cons.
Point and Shoot Cameras
A point-and-shoot camera is a type of still camera that is designed for ease of use. Most employ autofocus lenses, automated systems for adjusting exposure settings, and built-in flash systems. They are ideal for vernacular photography by individuals who are not thinking about professional photography but need simple cameras for taking photos of parties, vacations, reunions, and other gatherings. Point-and-shoot cameras, as opposed to camera phones, have been by far the most popular sort of camera.
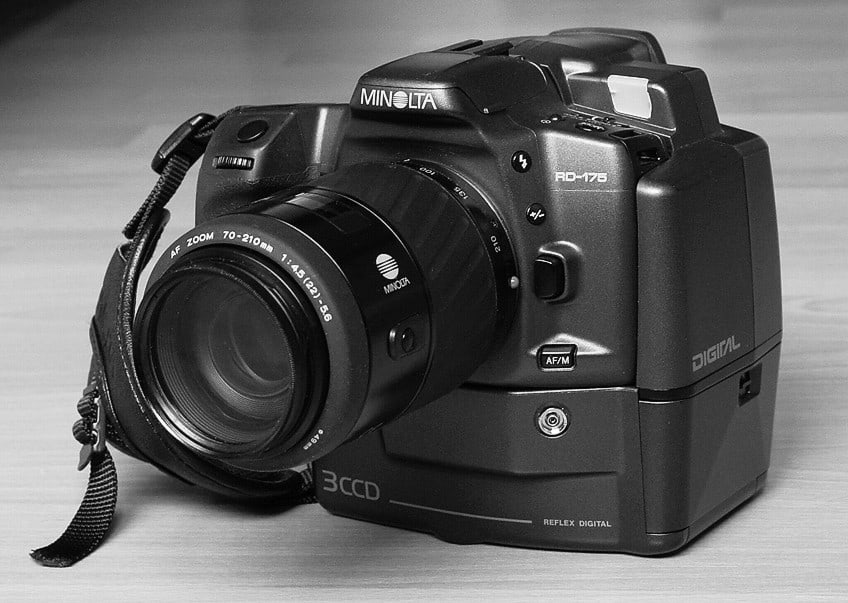
However, sales of these kinds of cameras fell after roughly 2010, as smartphones surpassed them in such applications. To combat the market decline, compact camera makers started manufacturing higher-end models with fashionable metal bodies. The most affordable point-and-shoot film cameras are comparable to disposable cameras, except they can be reloaded. These versions feature fixed aperture lenses with no focus. Versions with flash have no method of changing their exposure because of the fixed apertures. As a result, flash photographs must be taken at a close range to the subject.
Film Cameras
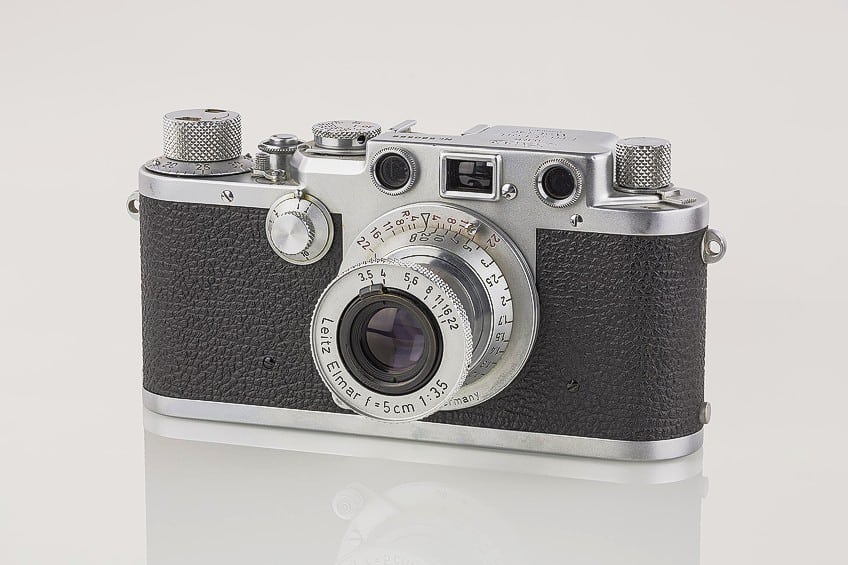
A roll of light-sensitive film is put into a film camera. When the shutter is opened, light reaches the camera via its lens and imprints the picture onto the film’s surface. The camera film is then rolled ahead, leaving an unexposed part of the film awaiting your next photograph.
A “double exposure” is created when a photographer rotates the film backward, stacking pictures on top of each other to create a ghost-like appearance in the shot.
Choosing the best 35mm camera for your first foray into film photography is never simple. Although we aren’t here to endorse specific camera models, we do urge that you do a lot of study on the features, functions, and settings to ensure they are appropriate for where and what you’re shooting.
Camera Settings and Modes
Above, we mentioned the most popular types of cameras and how they function. Next, we will be looking at the various camera settings and modes that are most commonly used. This will help further your knowledge of how cameras work.
Auto Mode
A camera’s auto mode option enables the camera to make many modifications automatically so that it can take a well-exposed and sharp picture without the user having to make any manual adjustments. In auto mode, the camera evaluates the situation using its in-built light meter before deciding on settings for things such as the focus, shutter speed, white balance, and ISO sensitivity. The internal algorithms of the camera analyze elements like the amount of light present, the level of brightness of the subject, the color temperatures, and the degree of movement.

The camera chooses the best settings to provide a picture that is correctly illuminated and sharp based on this analysis. Auto mode is intended to be user-friendly, particularly for newcomers or in circumstances where it might not be possible to manually change the camera’s settings. Even though the auto mode is easy, it takes away any control you have over particular creative decisions and may not always yield the intended results in difficult or unusual shooting settings.
Program Mode
Program mode is a semi-automatic photography mode that provides photographers with a balance of ease and control. In program mode, the camera chooses the best combination of shutter speed and aperture settings according to its internal algorithms and scene metering. Other parameters, like ISO and autofocus, are still under the photographer’s control.
Program mode differs from auto mode in that it enables the photographer to change various settings to personalize the image to their liking.
For instance, you may modify the ISO sensitivity to reduce the white balance or image noise to obtain the desired color temperature. Furthermore, exposure compensation may be used to overrule the camera’s metering and deliberately darken or brighten the image. One impressive aspect of program mode is that it keeps a fixed exposure value even when the shutter speed and aperture settings are changed. This implies that when you change one of these settings, the camera adjusts the other to keep the same exposure. This adaptability enables fast changes while keeping a consistent exposure value.
Aperture Priority Mode
Aperture Priority mode is a semi-automatic photography mode that enables regulation of the aperture setting while the camera adjusts the shutter speed for optimal exposure. In this mode, you specify the appropriate aperture value, and the camera adjusts the other exposure parameters, such as shutter speed and occasionally ISO, to produce a properly exposed image. Aperture Priority setting is very beneficial when you need to control the depth of focus for artistic purposes.
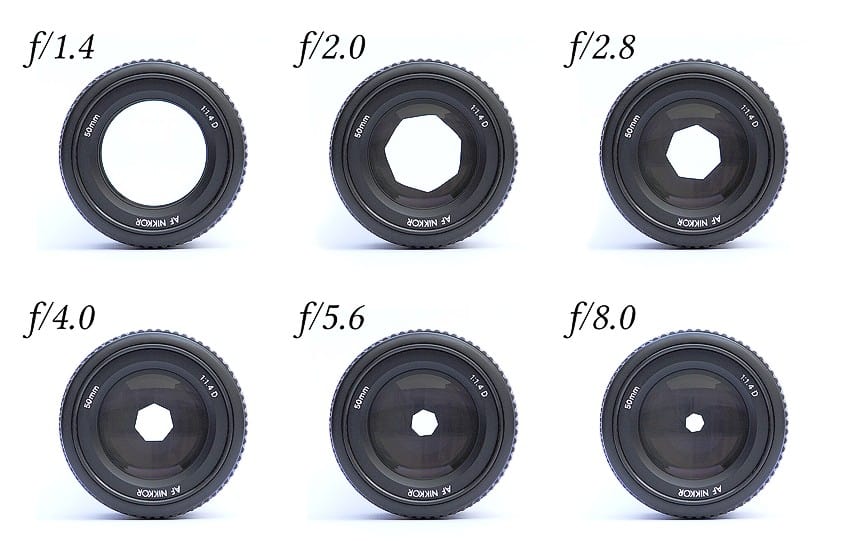
When photographing portraits, for instance, you might want to use a wide aperture to generate an unclear backdrop that emphasizes the subject. A small aperture is generally recommended for landscapes or group shots to maintain clarity throughout the image. By selecting Aperture Priority mode, you retain creative control over the depth of focus while letting the camera manage the remaining exposure parameters to achieve optimal exposure.
It’s a popular option among photographers who seek creative freedom while streamlining the process of modifying exposure settings for particular photographic circumstances.
Shutter Priority Mode
You can control the shutter speed in the Shutter Priority mode while the camera determines the associated aperture setting for the right exposure. In this particular mode, you choose the desired shutter speed, and the camera makes necessary adjustments to the ISO and/or aperture to produce a properly exposed image.
With shutter speed under your control in shutter priority mode, you’re able to purposefully stop or slow action to suit your artistic vision. To maintain a decent exposure, the camera automatically changes the aperture.
Yet, keep in mind that the camera may approach the upper limit of the allowed aperture range and not be able to capture the scene properly at the chosen shutter speed in some circumstances if the lighting conditions are harsh. In situations when controlling motion is essential, such as action, sports, or any circumstance where you want to accentuate or control the motion inside the picture, shutter priority mode is especially helpful.
Manual Mode
You may precisely adjust the exposure in Manual mode by individually setting the shutter speed, aperture, and ISO. Experienced photographers who are familiar with how these parameters work together and how they affect the final image usually utilize this mode. Maximum control and flexibility are offered by manual mode, but using it demands both a solid grasp of exposure theory and the capacity to react quickly to shifting lighting circumstances.
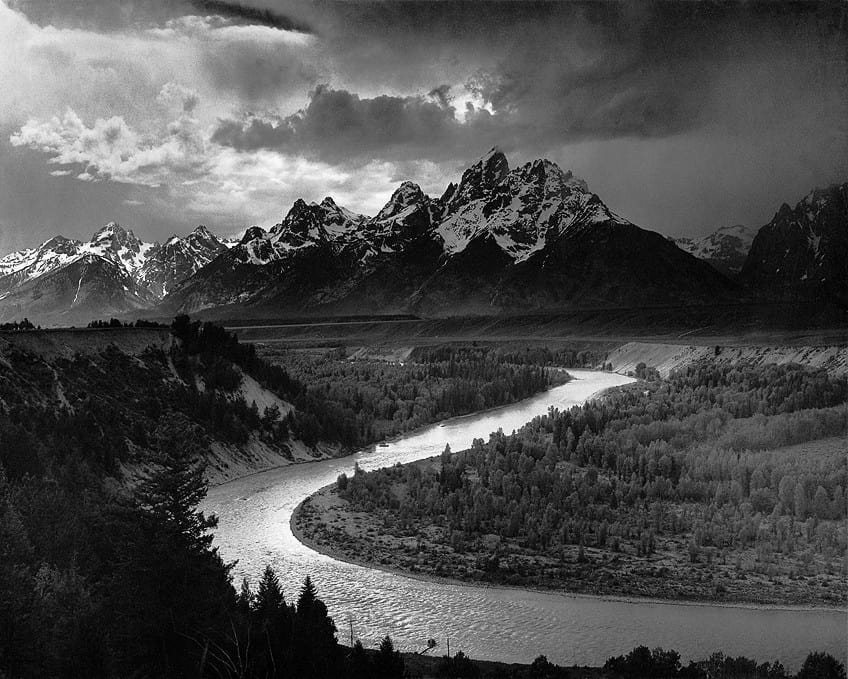
It can be used in circumstances when the photographer wishes to have total artistic control over the picture, such as in studio or landscape photography, or circumstances where the lighting is consistent. While manual mode might be difficult for novices, it provides the most versatility and enables photographers to get their desired effects with precision.
ISO
ISO is traditionally related to film sensitivity, or its capacity to gather light. The higher the ISO value, the better the film’s capacity to capture photos in low-light conditions. High ISO film was referred to as fast film because it needed a shorter exposure time than low ISO film. The degree of sensitivity – the signal gain – of the sensor in the camera is referred to as ISO in digital photography. The setting for ISO is one of three exposure controls, the other two being shutter speed and f/stop.
Most of the time, manually adjusting the shutter speed and f/stop, or utilizing one of the camera’s automated exposure adjustments, will suffice.
However, when the scenario necessitates a narrow depth-of-field and, as a result, a wide lens aperture or a quick shutter speed, this combo may not enable enough light to reach the sensor. For example, when shooting a concert, the widest lens opening and slowest hand-held shutter speed may not allow sufficient illumination to reach the sensor. The remedy in both cases is to increase the ISO to improve the sensor’s responsiveness to light.
White Balance
Understanding the notion of white balance and the way it works is critical in digital photography since wrongly adjusting it can spoil a shot by adding any number of unwanted color casts and making skin tones seem extremely unnatural. White balance, as the name implies, regulates the color temperature in the photograph. How does it accomplish this? In an attempt to return the color temperature to neutral, it adds the opposing color to the picture.
After successfully white-balancing an image, whites should look white rather than orange or blue. In layman’s terms, white balance in digital photography refers to changing colors to make the image appear more realistic. We go through the process of correcting colors to remove color casts and strive to match the colors in our photographs to reality. The good news is that altering the white balance is simple. It can be done with both your camera and post-processing software.
Exposure Compensation
Under typical conditions, your camera is going to detect scene brightness and enter its predicted exposure settings if you have it set to one of the modes mentioned above. But here’s the catch: While your camera does a decent job most of the time, it can sometimes fail to capture the exposure properly.
I’ll get into the technicalities later, but there are several scenarios when your camera’s meter will continuously fail.
Fortunately, you can train yourself to foresee wrong exposure values, in which case you may use positive exposure compensation to lighten up the photo or negative exposure compensation in order to tone it down. When you use exposure compensation, your camera modifies the exposure settings to offer you a brighter image. So exposure compensation has the same effect on your photographs as if you manually adjusted the shutter speed, aperture, or ISO.
Image File Formats
Image file formats are used for the storage and organization of digital photographs that are standardized. They specify how picture data is organized, compressed, and coded within a file, enabling optimal image storage, transfer, and presentation on various software applications and devices. These file formats serve a variety of functions, such as balancing picture quality and file size, keeping color accuracy, enabling transparency, and ensuring lossless data integrity.
JPEG
Utilizing lossy compression, JPEG, a popular file format, may shrink files without sacrificing sufficient image quality. The majority of people share and view photos in this format on the internet and on digital devices. JPEG compression reduces file size but with a modest loss in image quality by discarding some image data.
In order to balance file size and image quality, the level of compression can be changed.
RAW
RAW is more of a file type that stores minimally processed, uncompressed picture data that was obtained straight from the camera’s image sensor than it is a true file format. RAW files provide the most flexibility for post-processing since they preserve all of the original data that the camera acquired. They are rich in detail and color information, enabling photographers to alter white balance, exposure, and other settings in great detail after the fact.
TIFF
TIFF is a versatile picture file format that offers lossless compression. Workflows for graphic design and professional photography usually use it. A lot of picture data, including a high bit-depth, several color channels, and different compression techniques, may be stored in TIFF files.
TIFF files, in contrast to JPEG, do not lose picture information during compression, resulting in higher file sizes while keeping the highest level of image quality.
PSD
PSD, which stands for Photoshop Document, is a particular file format for Adobe Photoshop, the industry-standard program for editing and manipulating images. Multiple layers, channels, masks, and other pieces of information are contained in a PSD file and maintain the various components of an image composition made in Photoshop.
PSD files support layers, which let you overlay different graphics, pictures, and effects on top of one another. Layer masks may be stored in PSD files, allowing for selective editing and mixing of distinct sections inside a layer. Masks establish zones of transparency or opacity, allowing for precise control over an element’s appearance and blending.
Image Processing
Taking a photo may be the first step in the photographic process, but it is by no means the last. Once the picture is taken, there is still a load of processing that can be done. Let’s find out more about these various processes in the chapter below.
Image Compression
In photography, image compression is the process of shrinking a picture’s file size while aiming to preserve an acceptable degree of image quality. Image compression mostly comes in two different forms. Lossless compression methods shrink a picture’s file size without affecting the data or image quality.
These methods reduce the size of the picture data by identifying and removing redundant information.
Lossy compression techniques produce greater compression ratios by eliminating visual data that is thought of as less significant or apparent to the human eye. It’s critical to strike the correct balance between image quality and file size when utilizing lossy compression. Photographers sometimes utilize multiple compression levels or formats based on the image’s purpose.
Noise Reduction
Image noise is described as the emergence of unwanted traces and changes in your image’s brightness or hue. These random errors make your picture blurry, lowering its quality. Shot noise and digital noise are the two forms of noise. Shot noise is created by random photons in the captured scene, whereas digital noise is generated by the camera sensor.
Despite their diverse origins, these forms of noise are highly similar and practically indistinguishable. Low-light conditions have an effect on your signal-to-noise ratio, injecting noise into your image. The signal here relates to the data that will be captured. The goal is to collect enough of a signal to dominate the background noise in order to achieve the greatest image quality. Photographers can compensate for poor lighting by using a longer shutter speed, a high ISO setting, or a bigger aperture.
Image Sharpening
Image sharpening is an effective tool for enhancing texture and grabbing the viewer’s attention. It is also necessary for any digital photo at some time, regardless of whether you are conscious of it or not. Digital camera lenses and sensors, for instance, constantly blur an image to some extent, which needs rectification.
Yet, not all sharpening methods are equal. Sharpening artifacts may develop if the process is carried out too vigorously.
Sharpening, on the other hand, may frequently increase perceived image quality even more than upgrading to a high-end camera lens when done properly. The majority of image-sharpening software solutions function by adding an “unsharp mask”, which, unlike its name suggests, actually sharpens a picture. It works by increasing the brightness difference along the edges of a picture.
Color Correction
In photography, color correction is the act of changing the colors of a picture to create realistic and visually satisfactory results. It entails adjusting the tones, color balance, and saturation levels in order to fix any color errors or inconsistencies that happened during the capturing of the image or to improve the overall visual appeal.
Color correction may be done using a variety of techniques and software tools, both in post-production and in-camera. Specific colors or regions of a picture may look overly saturated or drab at times.
You may use selective color correction to improve the balance and brilliance of particular color channels. This can be accomplished by adjusting hue, saturation, and brightness for individual colors or by utilizing specialized adjustment tools such as the HSL panel in editing software. Photographers regularly employ color grading techniques to improve the aesthetic or mood of an image in addition to resolving color errors. Colors are manipulated to achieve a certain appearance or style.
In today’s article, we have explored how various kinds of cameras work and the settings that will result in the best picture possible. We have learned about the various terms associated with the camera’s functions, as well as the different types of image formats available to use. We also had a look at the various types of image processing that you can use to improve the appearance of your photos. Now, go out there and take some incredible photos!
Frequently Asked Questions
How Did the First Camera Work?
The camera obscura, or first camera, was a basic optical instrument used to project pictures onto a surface. It was a dimly lit chamber or box with a tiny opening or aperture on one side. The light that entered the aperture created an inverted and reversed picture of the outside environment on the opposite wall. The way light travels in straight paths inspired this idea. By catching the picture, the camera obscura functioned as a forerunner to contemporary cameras, but it lacked the ability to permanently store the image. It was a crucial step in the evolution of photography.
How Does a Digital Camera Work?
A digital camera captures and processes digital pictures by combining optical, electrical, and computational components. When the button that releases the shutter is pressed, light reaches the camera via the lens and is focused on an image sensor. The image sensor then turns incoming light into electrical impulses that represent the pixel’s intensity and color information. An analog-to-digital converter then converts these analog impulses into digital data.
Jordan Anthony is a film photographer, curator, and arts writer based in Cape Town, South Africa. Anthony schooled in Durban and graduated from the University of the Witwatersrand, Johannesburg, with a Bachelor of Art in Fine Arts. During her studies, she explored additional electives in archaeology and psychology, while focusing on themes such as healing, identity, dreams, and intuitive creation in her Contemporary art practice. She has since worked and collaborated with various professionals in the local art industry, including the KZNSA Gallery in Durban (with Strauss & Co.), Turbine Art Fair (via overheard in the gallery), and the Wits Art Museum.
Anthony’s interests include subjects and themes related to philosophy, memory, and esotericism. Her personal photography archive traces her exploration of film through abstract manipulations of color, portraiture, candid photography, and urban landscapes. Her favorite art movements include Surrealism and Fluxus, as well as art produced by ancient civilizations. Anthony’s earliest encounters with art began in childhood with a book on Salvador Dalí and imagery from old recipe books, medical books, and religious literature. She also enjoys the allure of found objects, brown noise, and constellations.
Learn more about Jordan Anthony and the Art in Context Team.
Cite this Article
Jordan, Anthony, “How Do Cameras Work? – Tips and Tricks to Working Cameras.” Art in Context. August 8, 2023. URL: https://artincontext.org/how-do-cameras-work/
Anthony, J. (2023, 8 August). How Do Cameras Work? – Tips and Tricks to Working Cameras. Art in Context. https://artincontext.org/how-do-cameras-work/
Anthony, Jordan. “How Do Cameras Work? – Tips and Tricks to Working Cameras.” Art in Context, August 8, 2023. https://artincontext.org/how-do-cameras-work/.


