How to Use Oil Pastels – A Guide on the Best Oil Pastel Techniques
Using oil pastels is fun and easy to do, and is something that can be done by both the young and old, beginner and professional. However, just like everything else you need to learn a few techniques and practice until you can create a good art piece. Do not give up on your first try! Oil pastel painting can be rewarding once you get the hang of it. Not only that, but the oil pastels themselves are affordable, easy to transport, simple to use, and easy to keep clean. With a little practice, you will be producing wonderful art that has texture and beautiful colors.
What are Oil Pastels?
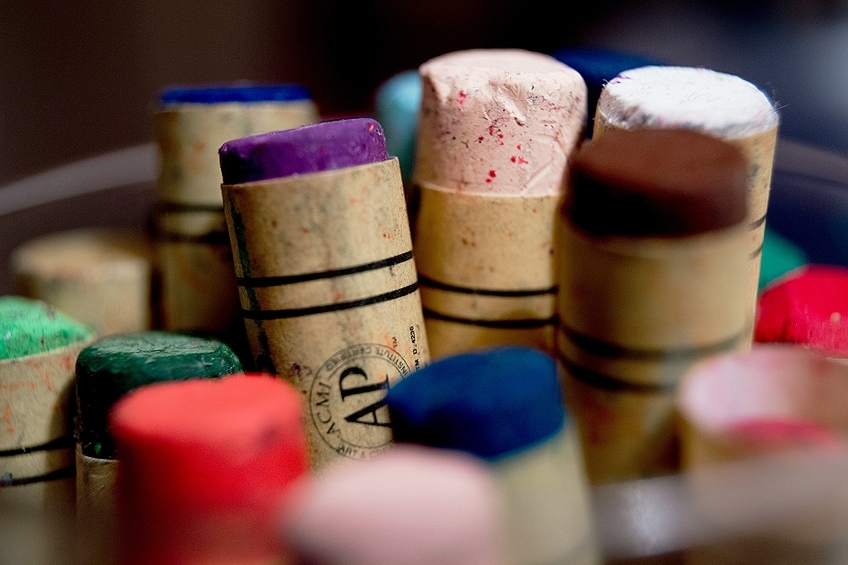
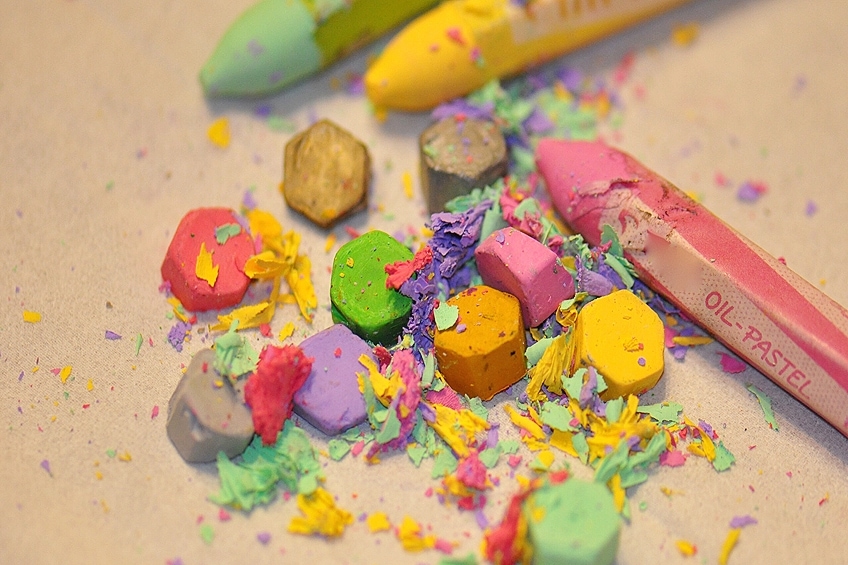
Oil pastels come in a crayon or stick form and are made of pigments combined with a binder. The binder is a mixture of waxes and mineral oils, so you get a type of soft and slightly somewhat greasy stick that does not dry. There are other similar drawing mediums like crayons and pastel sticks. There are also different types of pastels including soft pastels (or pastel sticks), hard pastels, pencil pastels, and pan pastels. The differences between oil pastels, wax crayons, and pastel sticks can be seen in the table below.
| Oil Pastels | Wax Crayons | Pastel Sticks |
| Consists of a pigment and a non-drying wax/oil binder (Smooth consistency) | Made without the oil and only has a wax binder (Wax consistency) | Made up of a pigment and gum or methylcellulose binder (Powdery consistency) |
| Blends well with other oil pastel colors. Good for larger work applications | Crayons are harder and do not mix or blend well | A soft pastel’s powdery texture blends well with itself and other pastel types. Good for detailed work |
| Realistic intense colors that add texture | Plain colors lacking in texture | Provides an intense wide range of colors |
| Can be applied to a variety of surfaces | Only works on paper | Can also be used on a variety of surfaces |
Why Oil Pastel Painting?
Oil painting takes a bit of preparation and requires a variety of materials to get started, whereas using oil pastels is quick and easy and does not require any brushes, solvents, or other items apart from some paper and the oil pastels themselves. Oil pastels are, therefore, great to travel with, with no mess and no fuss. Oil pastels are also more affordable than many other art mediums. Below are a few more advantages of using oil pastels.
[su_shadow style=”simple”][su_panel]- You can use oil pastels on canvas, paper, and wood.
- These pastels can be used for a variety of techniques
- Oil pastels can be scratched off, built up, blended, used to look like wet paint, or used dry.
- You can use the oil pastels immediately and they are easy to use.
Guidelines When Purchasing Oil Pastels
If you have just begun delving into painting with oil pastels, there might be a few things you need to take into account if you decide to buy your own. Even though oil pastels are affordable, you still want to make the best choice, and sometimes the choices can be confusing and overwhelming. Some of the following guidelines can help with your decision.
Student- versus Artist-Grade Oil Pastels
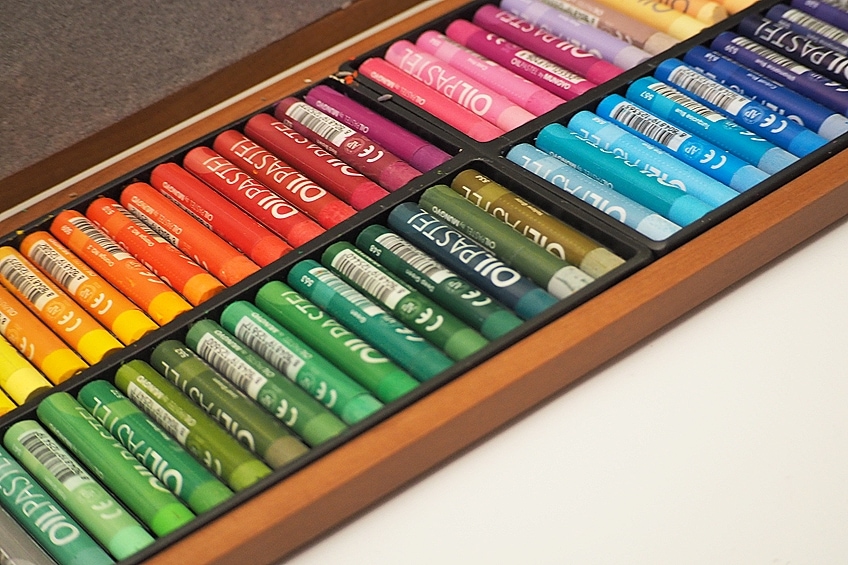
Student-grade oil pastels are best for beginners, as they are more affordable and can still offer vibrant colors and great effects. The main difference between the cheaper student-grade oil pastels and the more expensive artist-grade varieties is the amount of pigment.
The artist-grade pastels have a much higher pigment load, which offers more vibrant colors. The binder is also of a higher quality and the consistency is smoother, making them perfect for professionals who want to show off their work, although it does come at a price.
The student-grade oil pastels, on the other hand, are harder and may not be as vibrant in color. They also do not have the same smoothness when oil pastel painting as with artist-grade pastels. The cheaper, student-grade pastels are perfect for beginners and children learning to draw.
Single Oil Pastels versus Oil Pastel Sets
When purchasing oil pastels, you can either purchase them as a single color or in a set. Beginners should go for an affordable set to start, as this provides a wide variety of colors to work from. Also, it will help when following oil pastels tutorials, as you can then apply more techniques.
The main issue to consider here is the brand, as some companies provide individual colors for purchase and others do not. If you do need to replace an oil pastel color in your set, this will be difficult if the brand you bought does not sell single colors. Buying another brand might be an option, but you might not get the precise color you want.
Oil Pastel Texture
When it comes to oil pastel texture or consistency, what you plan on drawing and creating will determine what oil pastel product you purchase. Some pastels are soft and creamy and it is almost like lipstick when using them, whereas others are harder or more rigid. The softer oil pastels tend to blend better, while the harder pastels can produce finer lines and detail. So, plan and understand how to use pastels before going out and purchasing.

Oil Pastel Costs
If you are looking for artist-grade pastels but do not want to pay the full price, you can always try to look for specials or discounts on products. Maybe think about purchasing a single oil pastel and trying it out first before committing to an expensive set.
Buying the most expensive oil pastel products will not make you a better artist, but many recommend that you buy the best quality you can afford. To start, rather purchase an affordable product that still produces good results. Cheap oil pastels do not blend well, and you may as well purchase kids’ crayons instead. If you are a professional artist, you will already have discovered what works for you and what does not.
Surfaces and Oil Pastel Painting
When painting with oil pastels, you have a choice in the surface or substrate you use. You can use oil pastels on paper, cardboard, and even on glass, plastic, and wood. Many also prefer to use oil pastels on canvas. Just remember to take into account that oil pastels never really dry, so smudging can be an issue. You also get paper that is specifically for pastels, which have a bit more tooth than smoother paper. This provides a better surface for the oil pastels to grip onto.
In some cases, a surface might need to be primed before drawing on it. For example, metal is prone to oxidation and should be sealed with a primer or clear acrylic gesso before using oil pastels. The primer also provides a surface that the oil pastels can stick to.
Best Oil Pastels
If you are a professional artist looking for high-quality oil pastels, then you can expect to pay more. However, there are oil pastel products that come at a more affordable price while still offering great results. Students and beginners do not have to break the bank to get good-quality oil pastels. Below are our two recommendations for both artist-grade and student-grade oil pastel sets.
Best Artist-Grade Oil Pastels: SAVOIR-FAIRE Sennelier Oil Pastels
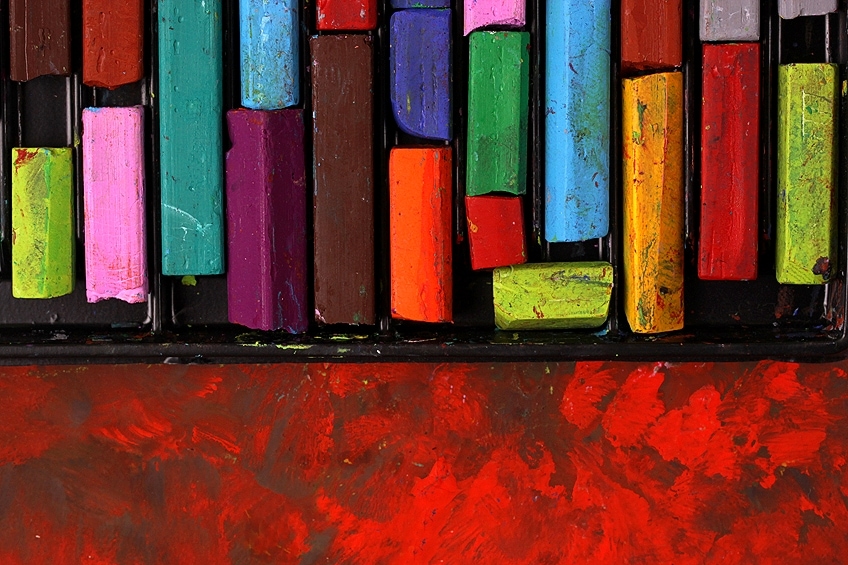
The Sennelier oil pastel set contains 24 highly pigmented oil pastels. These oil pastels can be used on many surfaces including paper, canvas, stone, metal, glass, and wood. These pastels are also great to use for multi-media effects over watercolors, acrylics, oil, and other pastels.
- 24 highly pigmented oil pastels
- Works on a variety of surfaces
- Create multi-media effects over oil, acrylic, pastel, or watercolor
Pros
- The set includes 24 beautiful, vibrant colors.
- These oil pastels work on different surfaces.
- This is a well-known and respected brand that offers quality products.
- The pastels blend well and offer good coverage.
- The oil pastels are soft and smooth when used.
Cons
- The pastels can be messy to work with.
- Some of the pastels may be toxic.
- This is an expensive set.
Best Student-Grade Oil Pastels: PENTEL ARTS
Pentel offers a popular 50-color set of oil pastels that provide vibrant colors to be used by young and old alike. You can easily create blends, color mixes, and great results at a reasonable price. These acid-free pastels can be used on paper, canvas, and board and provide long-lasting effects.
- Brilliantly colored and durable pastels
- Apply smoothly and blend easily
- Acid-free and ACMI-certified
Pros
- These pastels are easy to use and can apply different techniques.
- This set is affordable.
- The set offers a wide range of vibrant colors.
- The colors are long-lasting and resistant to humidity.
- The pastels are acid-free and certified by the ACMI.
- This set is great for both the beginner and professional.
Cons
- The pastels can feel a bit rough to start with.
- They may have an unpleasant odor.
How to Color With Oil Pastels
All forms of art have a learning curve, and understanding the various techniques is important. This goes for how to use oil pastels as well. How to color with oil pastels and how to blend oil pastels is something you need to practice and experiment with before you can create realistic drawings. There are various ways to learn how to color with oil pastels. A few examples of tools you can use to blend colors include the following:
- Your fingers
- Tortillions or stumps (tightly wound paper in the shape of a pencil)
- Paintbrushes
- A chamois or soft leather piece
- Pliable eraser
- Cotton tips
- Fabric
- Paper towels
Oil Pastel Techniques
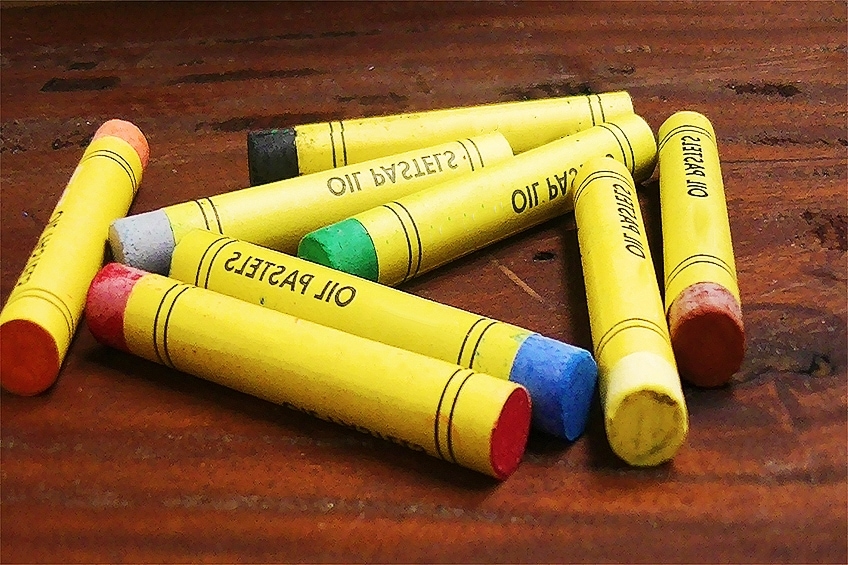
There are quite a few oil pastel techniques, so we will be listing only a few of the basic techniques you can try out. To become confident in these techniques and to experiment with colors, it might be a good idea to start with a still life object. Once you have a clear idea of what you want to draw, try using a pencil to draw a light outline your drawing. This can help to prevent any mistakes and guide you when using the oil pastels.
Overlaying
Different color hues can be achieved by layering oil pastels. Add your first color layers of pastel and follow up with another layer using a different color. You may want to use a primary color for your first layer. Keep applying layers until you get what you are looking for. How to blend oil pastels while overlaying? You can also consider heavy-pressure or light-pressure blending for different effects.
Scumbling
This is an easy technique where you apply controlled scribble marks across the surface. Choose at least two different colors, but you can use more. Take your first color and draw scribble marks across the surface, then take your second color and follow the same process. Overlap the different colors at various points and continue until you accomplish the textured look you want.
Blending with Oil
You can blend the oil pastels by pre-blending in a palette or directly on the paper of canvas. Apply colors next to each other on the canvas, and then take a brush or cotton tip and dip it into some oil in order to blend the colors.
Sgraffito
This is a great way to use contrasting colors. Draw several layers of differently colored pastels, making sure that the last layer is a dark color. Take a sharp object like a paper clip or the tip of a knife and scrape your design into the layers of pastels.
Masking
Another simple way to create designs is by using masking tape. Tape the areas you do not want to color in and use the oil pastels in the spaces between the tape. Remove the tape when done and you will have a unique design with perfect lines and angles.
Tips and Tricks on How to Use Pastels
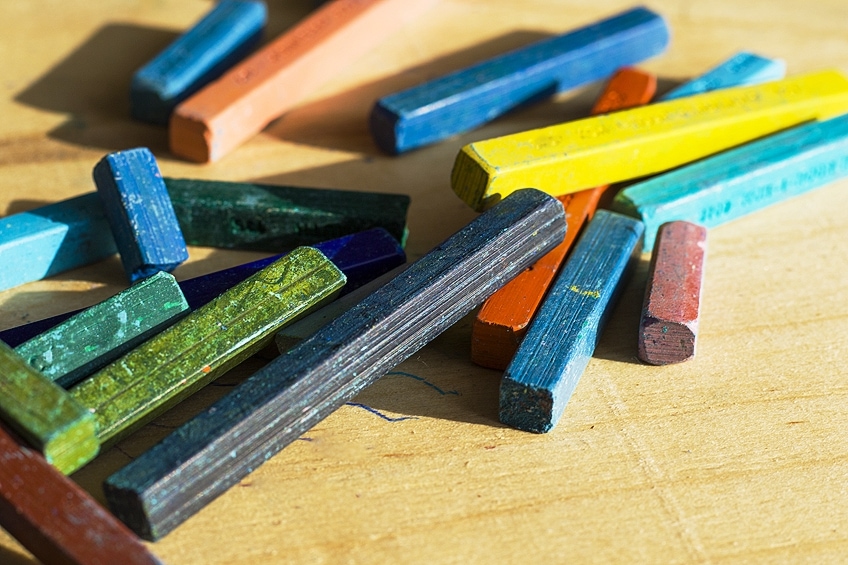
When learning how to use oil pastels, it is always a good idea to consider looking at some oil pastel tutorials. Tutorials can teach you tips, tricks, and the basic techniques you need to know to create good artwork. To help you along on your art journey, we have gathered a few tips on how to use oil pastels.
- Pastel hardness can vary between brands. Thus, you should try and test out various brands to discover different effects.
- Temperature can affect the hardness of oil pastels. They become softer when wam and firmer when cooled.
- Do not get discouraged; it will take time and experimentation to develop your skills.
- Be creative and experiment on different surfaces.
- You can pre-blend oil pastels to see the exact color you will be using before application.
- Use a stencil for more precise shapes.
- Try not to rest your hand or palm on the paper while using the pastels so as to avoid smudging when working in different areas. You can also place a piece of folded paper between your hand and the already colored areas.
- Use a piece of scrap paper to clean off the oil pastel tips when blending colors.
- Oil pastels on paper can be placed in plastic file folder sheets to protect them from smudging. This can also be made into a folder with all your artworks nicely protected.
- Keep some paper towels or cloth nearby to wipe off your hands.
- When framing, do not push the paper up against the glass. Always leave a space so as to avoid smudging.
Finishing Off and Cleaning Up
Oil pastels are so popular because they are so easy to use. However, they can get all over your hands. This can easily be remedied by wiping the pastels off with wet-wipes or by using some baby oil and a paper towel. When you are finished with your oil pastel art piece, however, what is the best way to keep it from smudging?
- First, it is not advisable to varnish the surface. This is because pastels contain oils and waxes, which do not work well with varnish. The best you can do is to frame the art piece behind some glass.
- There are also oil pastel fixatives. However, these can affect the colors, so it is best to test it out before using it on your actual art piece.
- Do not store or display your artwork where it will be exposed to high temperatures, as the pastels can start bleeding. So, if you forget your drawing in a hot car over a long period, you might just find a bit of a mess when you take it out.
Frequently Asked Questions
Is a Sealant Necessary for My Oil Pastel Painting?
Oil pastels never dry, so it might still feel sticky or wet over time. However, you do not need to apply a sealant. To protect your work, the best way is to frame it behind some glass.
What Surfaces Is Best for Oil Pastels?
This is governed by the artist and what they want to achieve. You can easily experiment on various surfaces to find the best one for yourself. Many do use pastel paper or canvas as their chosen surface for oil pastels. Remember, it is best to prime certain surfaces before using oil pastels.
How Do I Apply Colors When Blending?
In most cases, first apply the lighter colors and then darker colors, thereby creating a smoother transition between colors. When applying the sgraffito technique, a darker color should be applied last. When you scrape the darker color, the light colors will come through and produce a design or shape.
Can You Make a Thicker Paint Blend Using Oil?
Yes, you can take your chosen pastel colors and mix them on a palette, and then make the combined colors thicker by adding some oil. By blending your colors like this you can also see what the blended color will be before applying it to the surface.
Can You Use More Than Three Colors When Blending?
Yes, you can use as many colors as you like until you have the effect you want.
In 2005, Charlene completed her Wellness Diplomas in Therapeutic Aromatherapy and Reflexology from the International School of Reflexology and Meridian Therapy. She worked for a company offering corporate wellness programs for a couple of years, before opening up her own therapy practice. It was in 2015 that a friend, who was a digital marketer, asked her to join her company as a content creator, and this is where she found her excitement for writing.
Since joining the content writing world, she has gained a lot of experience over the years writing on a diverse selection of topics, from beauty, health, wellness, travel, and more. Due to various circumstances, she had to close her therapy practice and is now a full-time freelance writer. Being a creative person, she could not pass up the opportunity to contribute to the Art in Context team, where is was in her element, writing about a variety of art and craft topics. Contributing articles for over three years now, her knowledge in this area has grown, and she has gotten to explore her creativity and improve her research and writing skills.
Charlene Lewis has been working for artincontext.org since the relaunch in 2020. She is an experienced writer and mainly focuses on the topics of color theory, painting and drawing.
Learn more about Charlene Lewis and the Art in Context Team.







Love it
Thank you Salluvvx for your kind feedback.
This is what I needed to start. Thank you!
You’re welcoe Ashley
I received some as a gift..never used them before….thanks for this information on how to use them…
You are welcome Cathy!