How to Seal Acrylic Paint on Wood – Learn About Sealing Paints
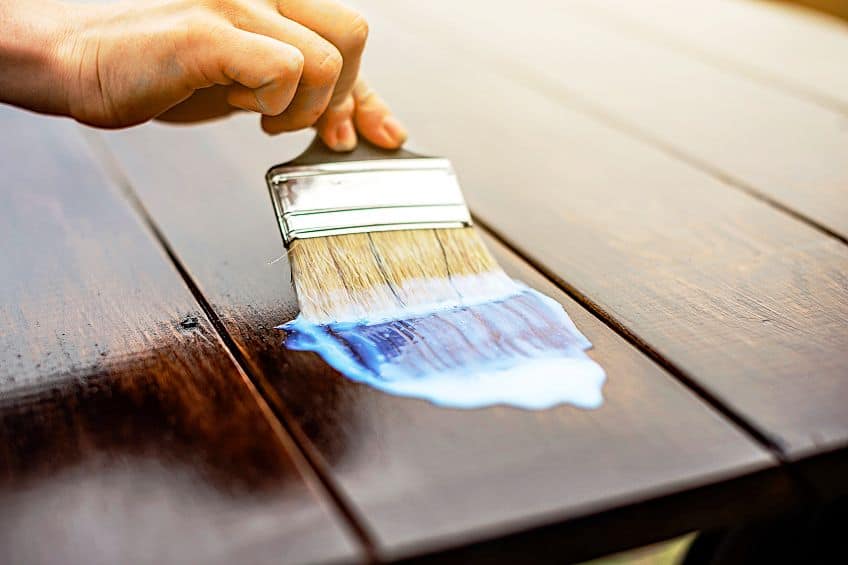
Knowing how to seal acrylic paint on wood is a great place to start when it comes to preserving paint or artwork, as it will enhance the longevity of the paint itself. With different types of sealers available and a complete process that should be followed, we have taken the liberty to teach you the best way of sealing acrylic paint on wood. Furthermore, we have included plenty of information regarding this process, along with everything else that you would need to know!
Understanding Acrylic Paint
Acrylic paints are popular among painters for a reason. They are all that those before them (oil paints) were not: quick to clean, simple to use, less expensive, and, most significantly, environmentally friendly. As ubiquitous as these paints are for canvas artwork, many people are unfamiliar with their use of wood. You could be among those who are unsure whether acrylic paints can be applied to wood.
Sealing acrylic paint on wood is the next step now that you have an elementary understanding of acrylic paint.

Types of Acrylic Paint
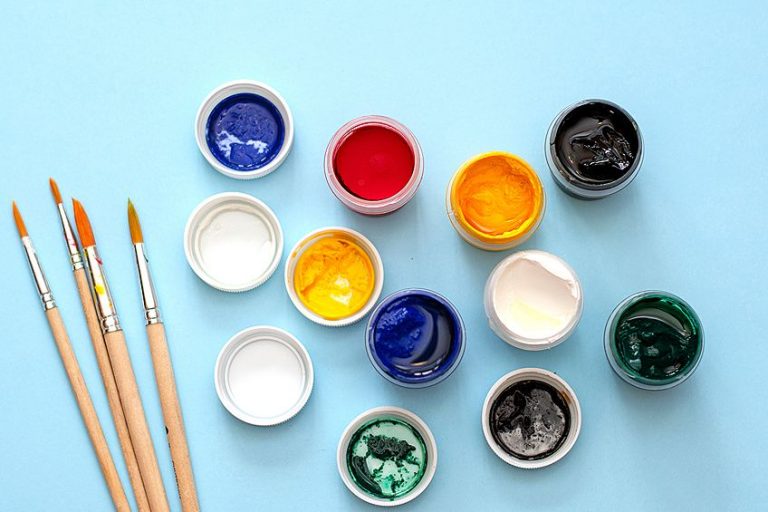
While incredibly versatile, acrylic paints are available in different forms, and this can make it difficult to decide which type should be used on wood. While acrylic paint is generally found in three categories, namely students’ quality, artists’ quality, and house paints, these can further be broken down into more categories that focus on the viscosity of the paint along with the level of pigment. For now, we will be looking at the two main categories.
Student-Quality Acrylic
Acrylic paints for students are widely available these days. Sometimes you may find them at general merchandise stores. They are typically heavy-bodied; however, some companies offer delicate-bodied paints. Students’ quality paints are advantageous since they are cheaper than professional-grade variants.
They are additionally available in larger quantities, so you won’t have to worry about how much you use.

They are made to last, so students’ quality paints will not fade with use unlike craft and home paints. Given the filler-to-pigment ratio, students’ quality paints do not often go far. They have a more translucent appearance, and they may also be less consistent when it pertains to color blending.
Professional-Quality Acrylic
Professional acrylic paints are often purchased in an art store. They will be found in the acrylic area, then separated by brand. In their acrylic range, one brand’s paint may come in a variety of viscosities. Acrylic paints for professionals are created with painters in mind. You can dilute them with water or polymers and achieve decent pigmentation.
They blend smoothly and do not easily form muck.

One of the biggest challenges with professional quality paints is the cost. They are pricey. So, if money is an issue, wait for deals and work using a constrained palette, combining your own secondary and tertiary colors. It may take a little practice before you feel comfortable applying a great deal of color.
House Paint
House paints are available at any hardware or general goods shop. A tester can or a quart can be purchased. House paint is available in a plethora of attractive ready-to-use colors. Artists appreciate the creamy smoothness of house paint as well as its accessibility.
If you understand that the container of paint will set you back a few dollars, you get a sense of abundance.
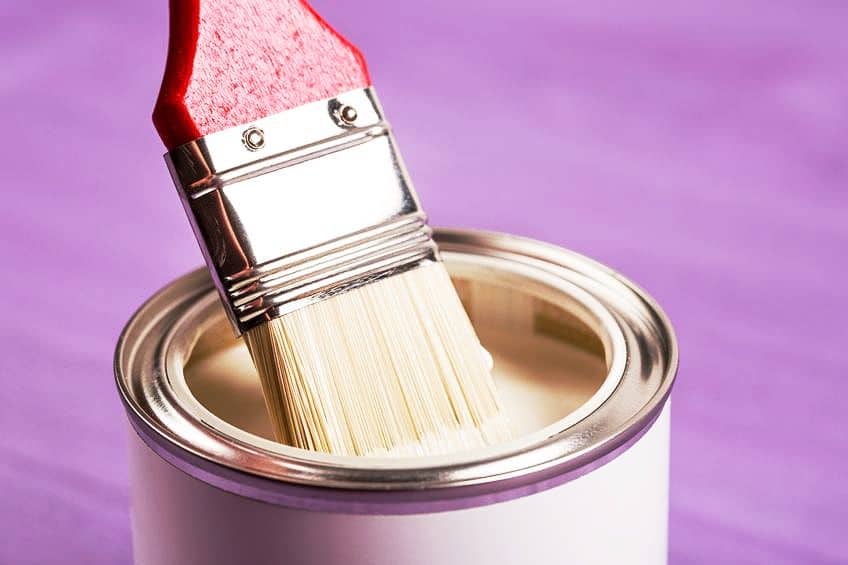
It splashes and drips beautifully, and there are numerous shades available, which means that there is no need to mix your own. House paints, compared to professional and student-quality acrylic paints, are only supposed to last roughly 10 years. Paints fade faster than conventional acrylic paints, which means that you will need to use an acrylic paint sealer.
Why Should Acrylic Paint Be Sealed?
Before you can learn how to seal acrylic paint on wood, you will need to understand the reason for it. When painting wood using acrylic paints, a sealant is essential. Although it is not needed, if you have any concerns about the aesthetic and endurance of the painted wood, you ought to coat it. Sealant not just preserves your paint against cracking or scuffing but it also adds a new visual depth to the painted surface.
Depending on your preferences, it can change the quality of the paint job to satin, matte, glossy, or semi-glossy.
Wood Protection
The main purpose for sealing painted wood is to keep it safe. Sealants protect acrylic paint against factors including water, wear and tear, chemicals, and UV radiation that may quickly destroy the paint layer. Once dried, an acrylic-painted surface has a powdery texture to it. They do not include solvents because they are water-based paints. Simply put, it is a dye in a water solution.
If you touch it or clean it with a moist cloth, it will leave a colored residue. This simply implies that it is subject to quick deterioration unless it is sealed.
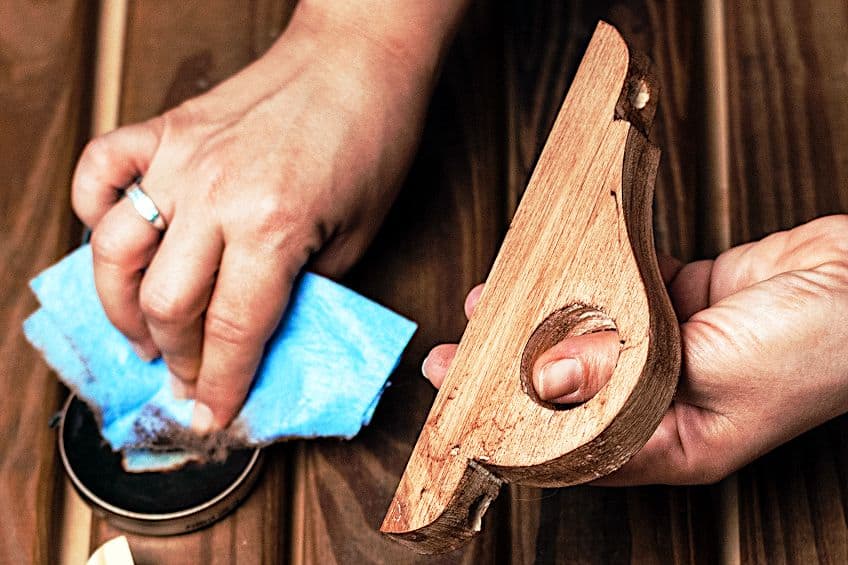
For practical items such as chairs and cupboards, more solid wood sealants that provide a strong protective covering are preferable. They reduce wear and tear brought on by spills, scuffs, and scratches. Sealing painted wood is one of the best methods of protecting wood and increasing its lifespan.
Different Types of Paint Sealers
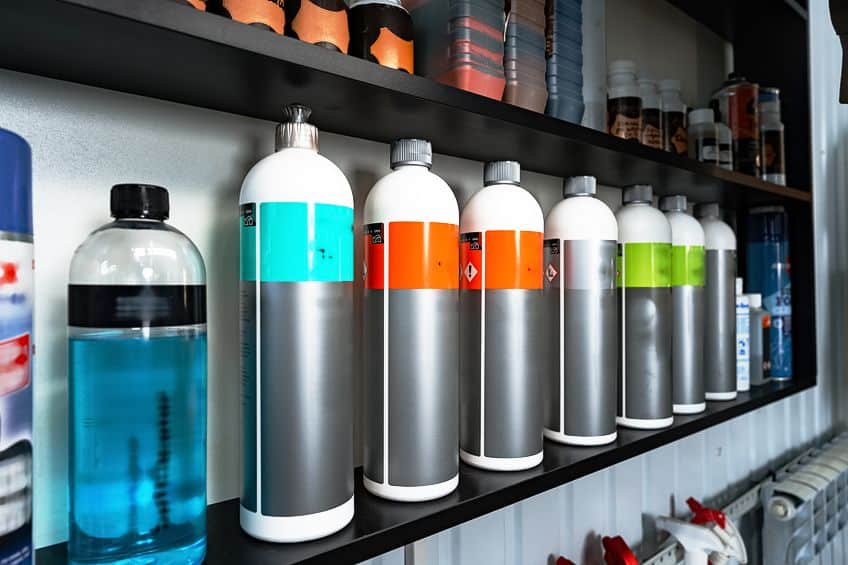
Paint sealers are designed to render a porous area non-porous. They are also used to hide mildew and knots, so they are not visible beneath the finish coats. There are oil-based sealers as well as responsive epoxies and resins. The majority of these goods can be cleaned using powerful petroleum solutions. Whether you are looking for an acrylic sealant spray or a waterproof acrylic sealer for crafts, you are bound to find something that meets your requirements.
We have provided a table below that will give you a quick overview of what you can expect when using different products, along with a few pros and cons.
| Type of Sealant | Pros | Cons |
| Micro Glaze | ● Easy to use ● Acid-free ● Water-resistant ● A great clear sealant for wood | ● It will leave a layer of oil |
| Wax | ● Plenty of available options ● Color can be changed ● Great protection ● Easy to use | ● Has the potential to discolor a surface ● Expensive |
| Clear Sealant Spray | ● A great option to seal acrylic paint ● Different finishes are available ● Decent protection ● Is also available as an acrylic sealant spray | ● Requires a specific technique
|
| Mod Podge | ● Can easily be tinted ● Keeps fingerprints away ● Easy to use ● Different finishes are available ● Great waterproof sealer for crafts | ● Visible brushstrokes can be seen |
| Gel Medium | ● Has adhesive qualities ● Excellent protection ● Very easy to apply | ● Visible brushstrokes can be seen |
Brush-On vs. Spray-On Sealant
This is an age-old debate when it comes to any aspect of DIY projects, and it can easily be narrowed down to preference. However, when learning how to seal acrylic paint on wood, you will need to be certain that you are using the right product. So, let us take a look at the options that are available to us.
Brush-On Sealant
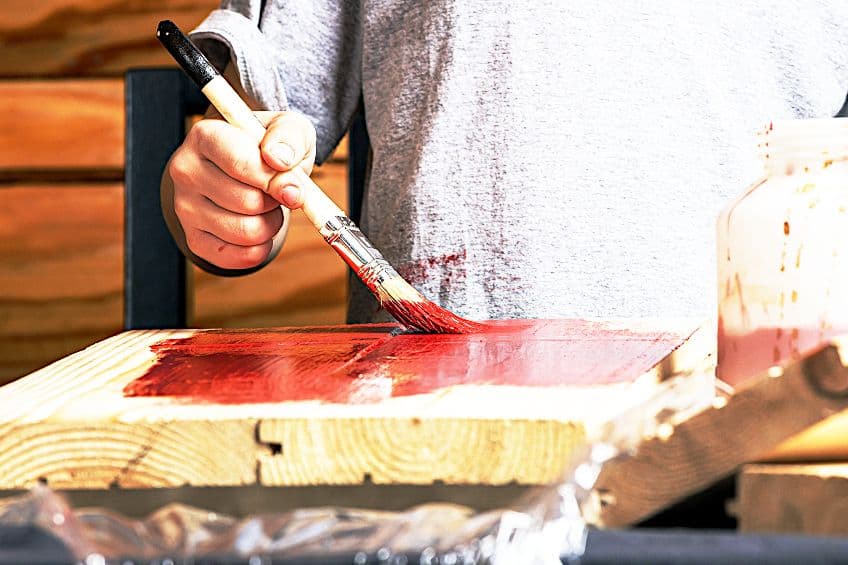
Brush painting provides superb control, adherence, and even, consistent coverage. It takes longer than spraying and frequently requires two layers. This is the preferred choice for veteran DIY enthusiasts; however, it requires a consistent technique, and you will also need to be mindful of the type of brush that you are using to prevent leaving behind brushstrokes.
Spray-On Sealant
Spraying with transparent sealant spray speeds up the sealer application process. Spraying requires practice to perfect; else, you risk producing inconsistent coverage. That is why we propose applying multiple thin layers in opposing horizontal and vertical directions.
If you are looking for a way to seal your furniture or crafts without using brush strokes, this is a good alternative as a clear sealant for wood.
Different Finishes
It is also important to consider the finish that you are getting, and this generally comes down to matte and gloss. If you are looking for a great shine with the natural color of the paint being enhanced, you will need to use gloss. However, for minimal glare with emphasis on the design, matte is the better option.
Sealing Wood After Applying Acrylic Paint
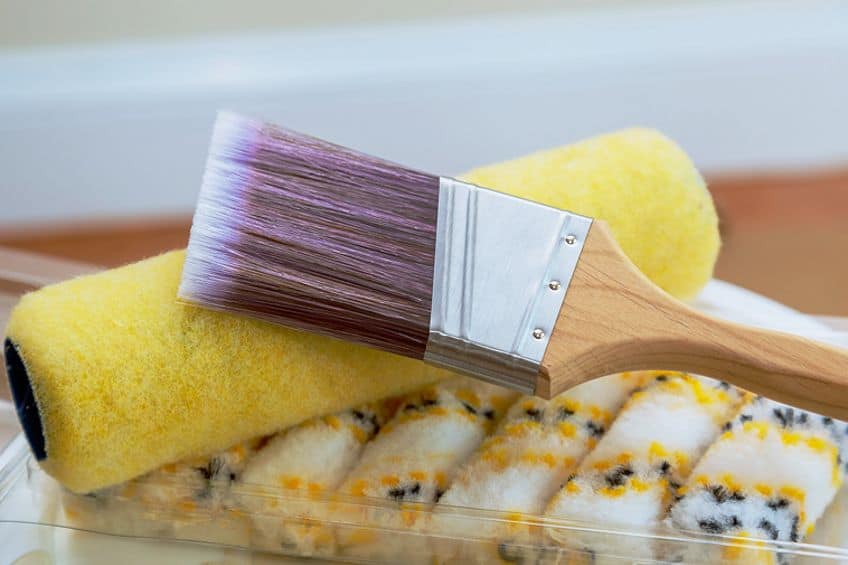
Learning how to seal acrylic paint on wood is not a complicated process, in fact, it is very satisfying. However, you will need to stick to the process that we have provided to ensure that you get the best possible results. To get started, you will need the following materials and tools:
- Microfiber cloths
- Sponges, paintbrushes, or rollers
- Acrylic paint
- Primer
- Sealant (this can also be an acrylic paint sealer spray)
- 220-, 180-, and 140-grit sandpaper
Step One: Sand the Surface
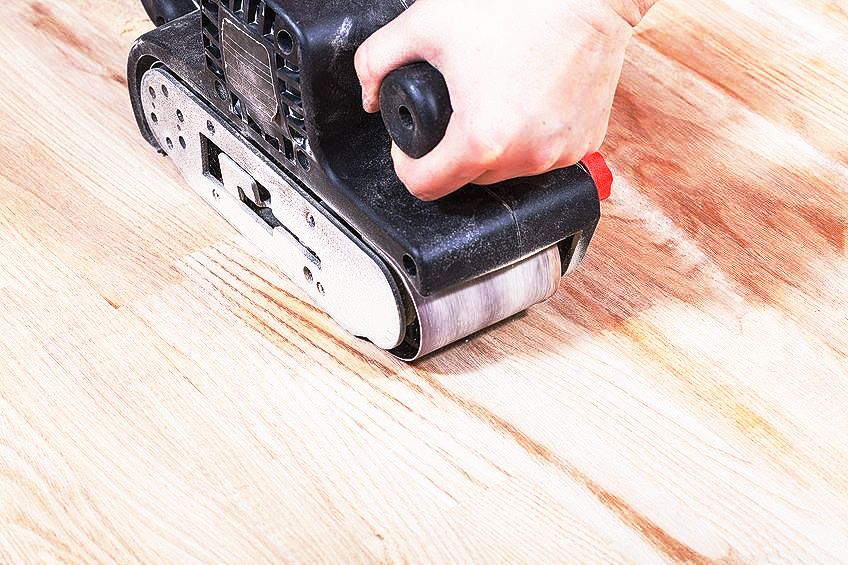
If the wood has not already been sanded, begin by fine sanding it. You should always begin working on a smooth wooden surface. Start with the medium grit sandpaper, going in the same orientation as the wood grain. The wood grains are lateral streaks that travel in the same direction across the wood. For the smoothest finish, sand using a fine grit sandpaper.
Step Two: Clean the Surface
With the microfiber cloth, clear away the debris and dust. A slight dampening of the fabric captures every last particle. Let the wood surface dry completely. Make sure that you do not use a lot of water as this will wet the wood. Excess moisture requires additional drying time. On the other hand, you might buy a tack cloth. It features an adhesive that easily collects the finest dirt and ensures that the surface is clean without the need for water.
Any type of dirt impairs the sealant’s adherence and future coats of paint.
Step Three: Apply the Sealant
Apply the sealer next, ensuring sure it reaches the surface, borders, and any areas you want to paint. Begin with the initial coat and let it dry as directed by the supplier. Then, for further security, apply a second layer. Allow 24 hours for natural drying. Work in little sections at a time, moving carefully to ensure that all of it is coated.
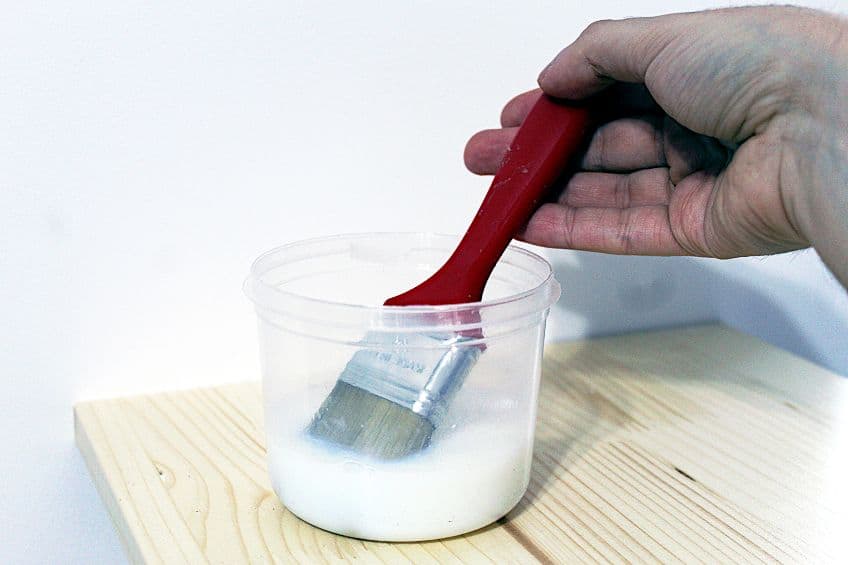
Step Four: Apply a Primer
A primer prepares the surface for the paint and aids in its adhesion. That is not the same thing that a sealer provides. You can use a spray-on or a brush-on wood primer. Use one or two primer coats, allowing for total drying in between.
Step Five: Paint the Surface
The wood should now be painted with your favorite acrylic paints. Use two to three coats of paint, allowing for adequate curing time in between. After the first coat has dried, gently scuff it to increase adhesion to the succeeding layer.
Allow the paint to cure, which can take anywhere from a couple of hours to a few days according to the weather as well as other conditions.
Step Six: Seal the Paint
The acrylic paint has become prepared to be sealed after it has dried. Wipe off the surface to remove any collected dust that you do not want to be trapped under the sealer. To keep the color vibrant, use a clear sealant. For big flat areas such as wood panels, spray the sealer or apply it using a brush or roller.
When producing furnishings or crafts using curved shapes, sponge application is great for hard-to-reach, tight places.
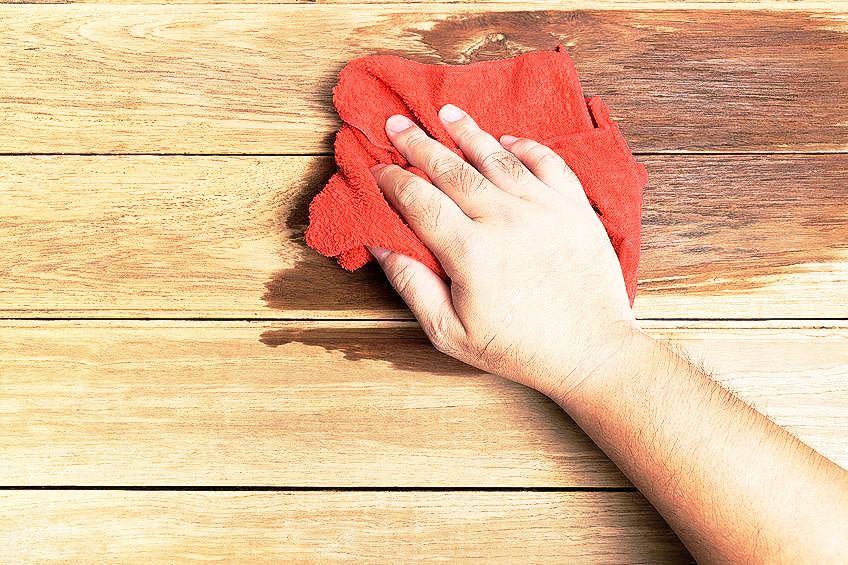
At this point, pay close attention to the quality of the brushes. Any bristles that fall off will become entangled in the sealant, which is the last finishing touch you want to be faultless. You should also apply numerous applications but keep them thin. This facilitates fast drying, avoids an overly thick coating, and reduces unattractive brush strokes. You should also use acrylic paint sealer spray when looking for the quickest way to seal your acrylic paint.
Indoor and Outdoor Sealing
Naturally, you will need to take a different approach when sealing acrylic paint indoors when compared to outdoors. The sealant itself will need to be switched depending on where you are sealing the paint. For instance, you will need a durable paint sealer for outdoor sealing, whereas for indoor sealing you can focus on the aesthetic. Below, you will find information on both of these.
Indoor Sealing
Indoor sealing requires a less durable product as the wood will be indoors. Here you will be able to prioritize the aesthetic over the protection of the paint; however, you will need to ensure that you use a sealant that can be cleaned and will not be worn off.

Outdoor Sealing
If you want to know how to seal acrylic paint on wood for outdoors, there are a few things that you should know. The wood should be prepared thoroughly so that the acrylic paint on the surface of the wood does not peel and chip over time. It is critical for the color of the wood to be protected from moisture and stress.
Understanding how to seal acrylic paint on wood is useful, particularly if you would like to preserve the paint on furniture. However, the options are endless and you will more than likely find a way to incorporate what you have learned here in a variety of other projects that involve the use of acrylic paint. Ultimately, we encourage you to have fun with the project and focus on the potential beauty of it.
Frequently Asked Questions
Is It Necessary to Add Primer to Wood Before Acrylic Painting?
This comes down to the type of wood that is being used. For raw wood, we would always recommend using a primer; however, for upcycled wood, it is not necessary.
Will Acrylic Paint Stick to Wood?
Yes! There are many different types of acrylic paint that will stick to wood. This includes heavy and soft-bodied acrylic paints, as well as acrylic-based gouache.
Is It Possible to Put Sealant on Acrylic Paint?
Yes, this is usually done to protect your painting and it also makes it easier to clean. This is the reason for it being important to know how to seal acrylic paint on wood for outdoors and indoors.
In 2005, Charlene completed her Wellness Diplomas in Therapeutic Aromatherapy and Reflexology from the International School of Reflexology and Meridian Therapy. She worked for a company offering corporate wellness programs for a couple of years, before opening up her own therapy practice. It was in 2015 that a friend, who was a digital marketer, asked her to join her company as a content creator, and this is where she found her excitement for writing.
Since joining the content writing world, she has gained a lot of experience over the years writing on a diverse selection of topics, from beauty, health, wellness, travel, and more. Due to various circumstances, she had to close her therapy practice and is now a full-time freelance writer. Being a creative person, she could not pass up the opportunity to contribute to the Art in Context team, where is was in her element, writing about a variety of art and craft topics. Contributing articles for over three years now, her knowledge in this area has grown, and she has gotten to explore her creativity and improve her research and writing skills.
Charlene Lewis has been working for artincontext.org since the relaunch in 2020. She is an experienced writer and mainly focuses on the topics of color theory, painting and drawing.
Learn more about Charlene Lewis and the Art in Context Team.
Cite this Article
Charlene, Lewis, “How to Seal Acrylic Paint on Wood – Learn About Sealing Paints.” Art in Context. July 28, 2023. URL: https://artincontext.org/how-to-seal-acrylic-paint-on-wood/
Lewis, C. (2023, 28 July). How to Seal Acrylic Paint on Wood – Learn About Sealing Paints. Art in Context. https://artincontext.org/how-to-seal-acrylic-paint-on-wood/
Lewis, Charlene. “How to Seal Acrylic Paint on Wood – Learn About Sealing Paints.” Art in Context, July 28, 2023. https://artincontext.org/how-to-seal-acrylic-paint-on-wood/.


