What Is Mod Podge? – The Many Varied Uses for Mod Podge
If you are new to arts and crafts, then you may want to find out about mod podge. What can you do with mod podge? Can you make your mod podge, among other questions? Mod podge is a very versatile product, and as such, has many uses, and is by far one of the more popular crafting supplies on the market. In this article, we are going to help you understand the purpose and uses of mod podge, and help you to achieve the very best results with all your crafting projects.
What Is Mod Podge?
So, what is mod podge used for, and can mod podge be used as glue? Yes, it is an all-in-one glue as well as a finisher and sealer. Mod podge is used mainly in decoupage, which is a craft where you can glue paper or fabric to many different surfaces. As a finisher and sealer, it can be used to add the finishing touches and protection to your project.
Mod podge has its own formulation and is not some watered-down white school glue. What is great about the product is that it is also non-toxic, water-based, and comes in gloss or matte finishers. Below are the three basic purposes of mod podge:
- Glue: Mod podge can be used to glue many items to different surfaces, including porous surfaces.
- Sealer: It gives a protective coat over the paint on your project, sealing it from damage.
- Finish: Provides a finish to your project, depending on its formulation.
What is mod podge made from? It is a polymer that contains polymerized polyvinyl acetate and can be described as a type of synthetic resin, and is similar to other adhesives and paints. When opened, it has a creamy white color with a medium viscosity, but some mod podge products can be much thicker. Once applied, the mod podge dries clear. The product was invented in 1967, more than 50 years ago by Jan Wetstone, who was from Atlanta.
She created mod podge as a water-based decoupage medium that still has many uses today.
What Is Mod Podge Used For?
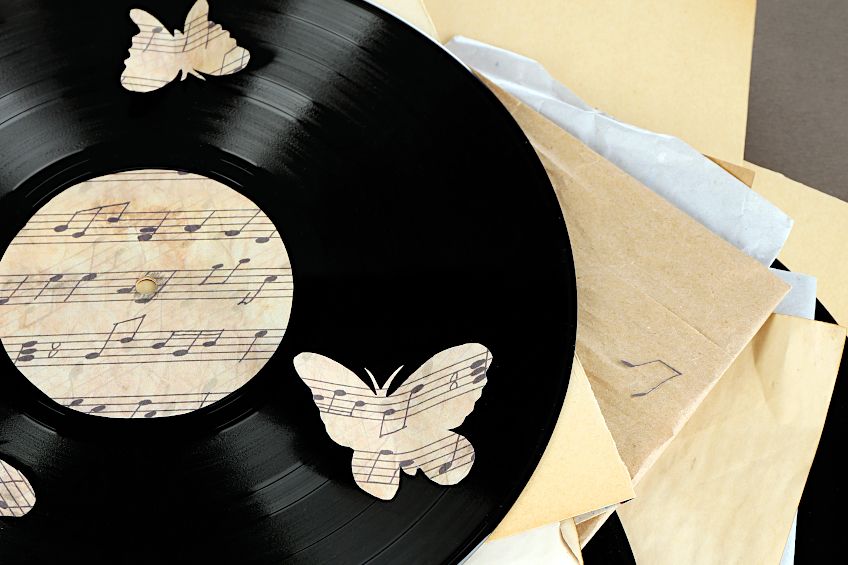
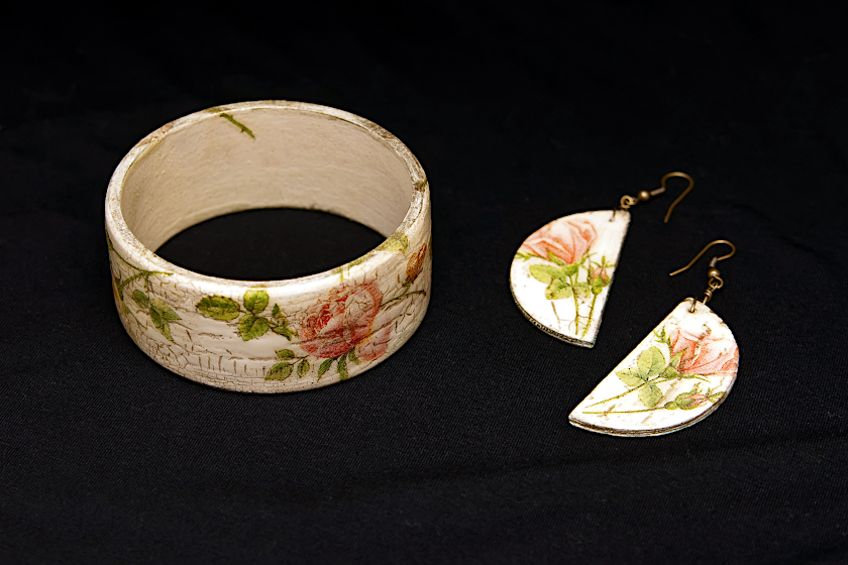
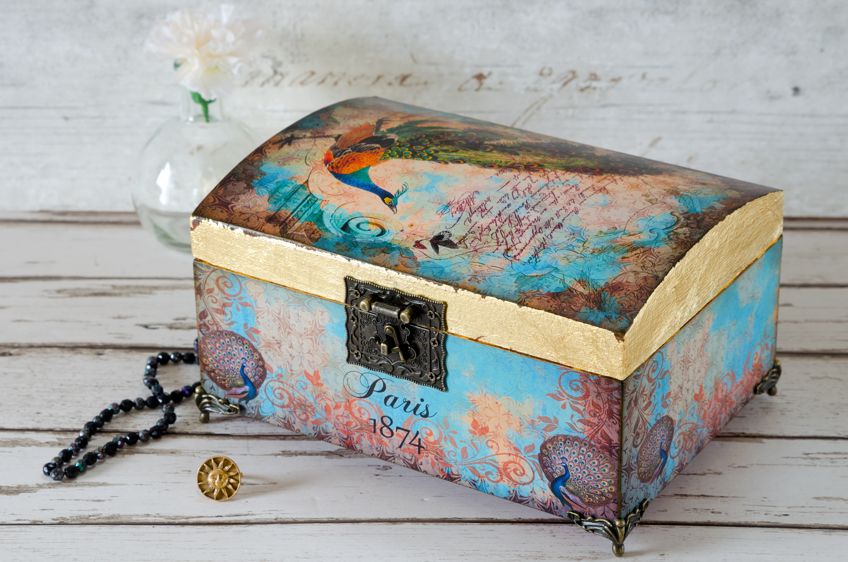
One of the most popular uses for mod podge is to decoupage items. Decoupage is when different shapes and forms are cut out using fabric or paper. This is then glued onto surfaces like glass, other fabrics, ceramics, painted wood, metal, and even some plastics. The mod podge secures the shapes to the desired surface as well as protects them from permanent damage. There are many projects that you can use mod podge for like jewelry, fashion, handmade gifts, furniture, and home décor. Let us now consider, in more detail, the uses for mod podge.
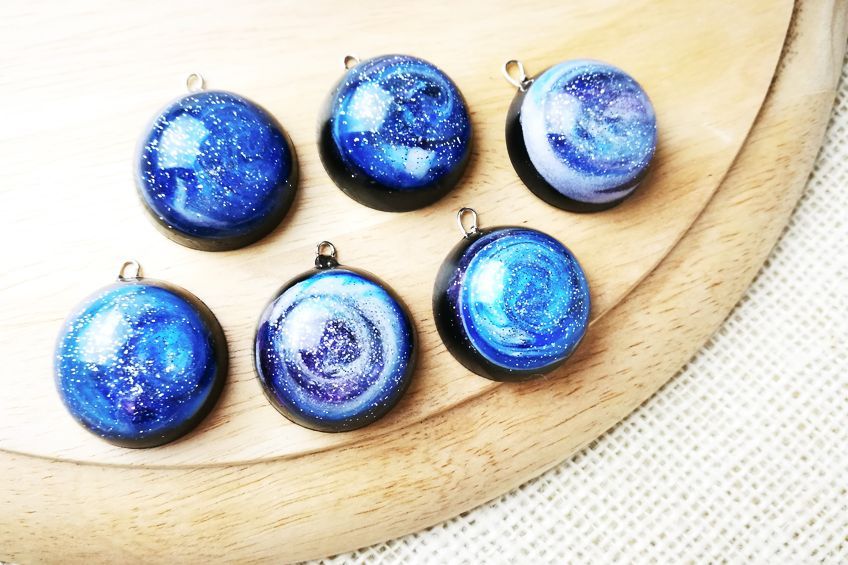
Applying Mod Podge to Fabric
You can use mod podge if you want to stick fabric to fabric, or if you want to stick fabric to wood. Applying mod podge to the fabric is the same process as applying mod podge to glass, and you simply follow the same steps. You need to be careful where you apply the mod podge, as the outline of the decoupage medium may be visible around the fabric patch.
Remember, that once you have applied the mod podge, it is there to stay.
Applying Mod Podge to Glass
Mod podge on glass gives an amazing effect, however, you need to take extra care when applying it because if it dries in an area where there is no paper or cutout, then you will be able to see it. This means that if you are using the entire surface of the glass, you do not have to be careful, but if you are sticking a photo onto a vase, then you need to apply the mod podge only where the photo is going to be. If you do end up with mod podge in unwanted areas, you can remove it by scrapping it off with a razor blade or knife. Here are the steps you need to follow for a perfect project on your glass items:
- To prepare the glass surface, you need to clean it first using soap and water and allow it to dry.
- Cut out your photos or items you want to decoupage the glass with.
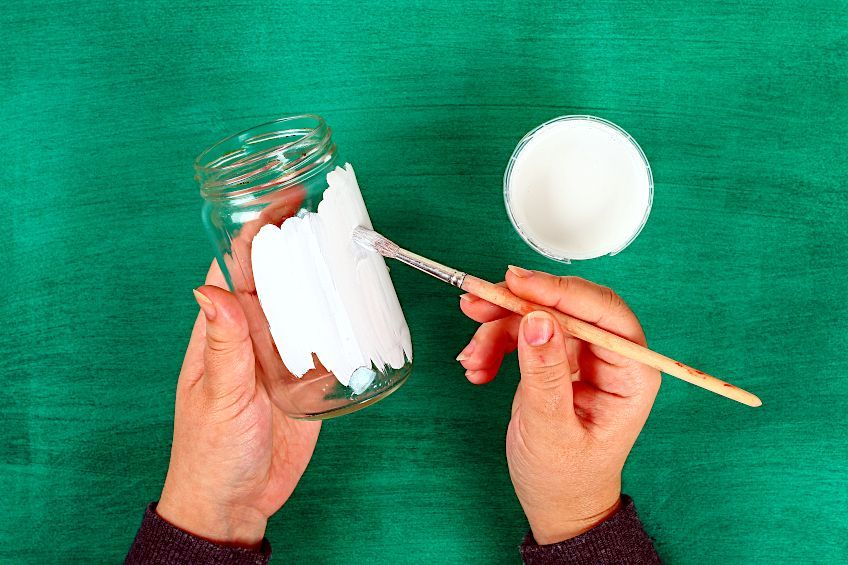
- Apply the mod podge onto the back of the photo or shape and smooth it down on the glass surface.
- Make sure you remove any unwanted mod podge and allow it to dry for about 15 to 20 minutes.
- Apply your topcoat and repeat for two or three coats, then wipe off any excess, and your project is done!
Applying Mod Podge to Canvas
Wall art is one of the best ways to apply mod podge to canvas, and the process is very similar to that of wood and glass. However, the canvas is porous, so you will have to use a lot more mod podge to complete the project. Due to the flexibility of the canvas, it is better to turn the canvas over and smooth the item out on the back, which provides the necessary resistance needed from the canvas.
Here are the steps you need to follow for a perfect project on your canvas items:
- Prepare the canvas first by using some acrylic paint and allow it to dry.
- Cut out the items or shapes you want to decoupage.
- Liberally apply the mod podge to the canvas as well as the back of your item and smooth the item down on the canvas
- Wipe any excess mood podge away and set aside for about 20 minutes to dry.
- Now apply the topcoat with two to three coats and allow it to dry.
Applying Mod Podge to Wood
There are many projects where you can apply paper or fabric to a piece of wood, it may be a cupboard you want to change, a shelf, a table, or chairs that need a makeover. You can completely change the appearance of your furniture by applying some shapes or forms you have cut out of paper or fabric.
- The wood surface needs to be prepared, which means sanding and making sure the wood is clean. Many decoupage wooden cutouts are ready to paint and decorate.
- You can also paint the wood beforehand with acrylic paint for a color background.
- Cut your shapes or forms out of the paper or fabric that you want to decoupage with.

- Apply the mod podge to the wood surface, you can also apply some mod podge to the back of your cutouts.
- Use a sponge to smooth out the surface and set aside for about 20 minutes to dry.
- Add your topcoat of mod podge and allow it to dry, repeat this process giving it about two to three coats.
- You might have to add extra protection if the item sits outside. You will need to apply an outdoor polyurethane sealer.
Is Mod Podge Waterproof?
No, mod podge is not waterproof and there are no versions of mod podge (including the outdoor mod podge) that are completely waterproof. However, the mod podge might not be completely waterproof, but it is water-resistant. If left outside for a long time, or falls into the pool, your project will be destroyed. If you find a few small drops of moisture on your mod podge, there is no need for alarm, use a slightly damp cloth and remove the moisture droplets.
If you want to preserve your mod podge project from spoiling, we suggest you use an enamel or acrylic sealer on top of the mod podge.
Are There Different Types of Mod Podge?
Mod podge is made using different formulas, and some of the formulas are not suitable for decoupage projects, so, yes, there are different types of mod podge, and depending on your specific project, you will need to decide which mod podge to use. The first thing to understand is that the basic mod podge formulas are the same. This means they all glue, seal, and finish, so even if the formulas are different, they all are capable of performing these three things. As regards the finish, they all fall under these three headings, gloss, satin, and matte finish. Let us now consider what different types of mod podge formulas are available and which mod podge to use.
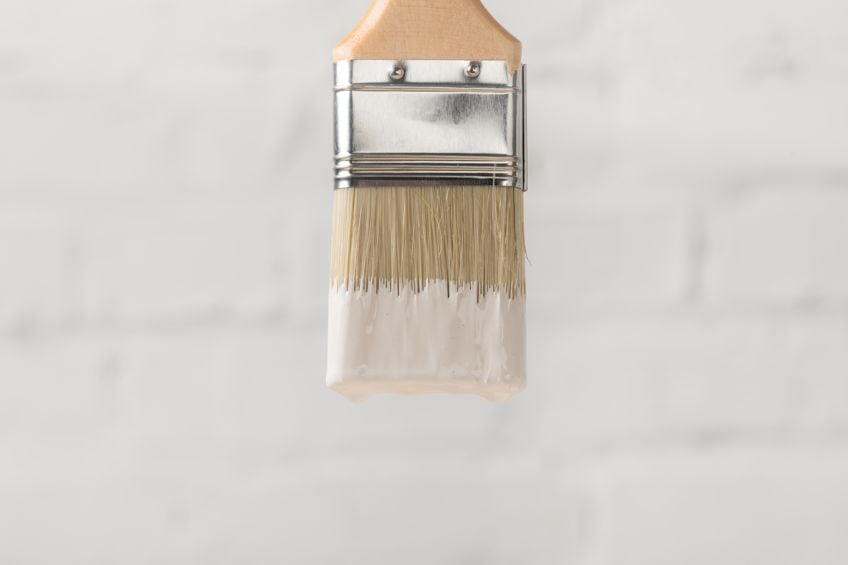
Dishwasher-Safe Mod Podge
You can now get a mod podge formula that is dishwasher safe, and it was only released In January 2014. This formulation still does the three basic principles of gluing, sealing, and finishing, but it is now also dishwasher safe, and you can apply it to all those plates, glasses, and mugs you want to decorate. However, you need to make sure you keep it away from any food, and your mouth, which means you need to keep the top of the glass or mug clear of mod podge for about three-quarters of an inch from the top rim.
You also need to allow the mod podge about 28 days to dry properly before using the item.
Brushstroke Mod Podge
If you want to create a poster that looks like a painting, then you can use brushstroke mod podge. The final result is a highly textured finish that provides interest. So, if you touch the surface, it is not flat. This type of mod podge formula comes in matte and gloss finishes.

Fabric Mod Podge
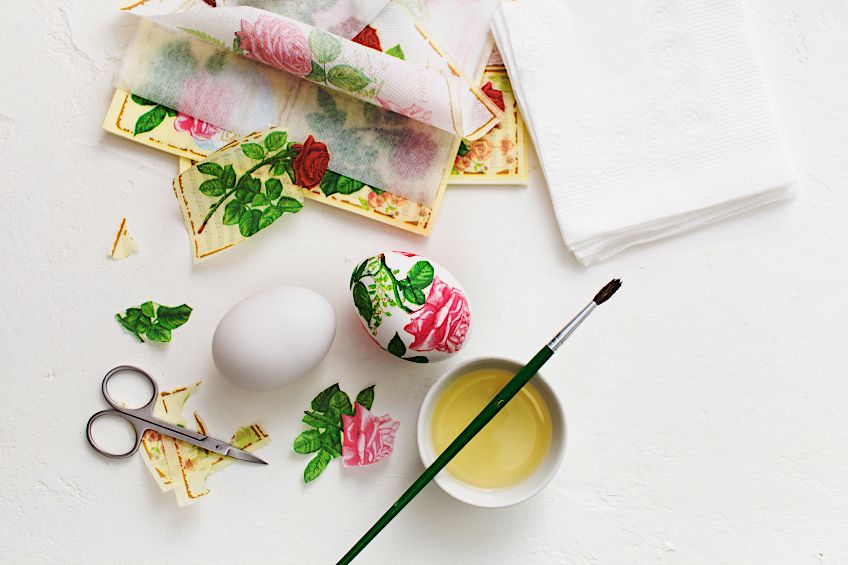
The fabric mod podge was specially formulated to attach fabric to fabric, and it remains washable as long as the fabric used is also washable. If you want to decoupage a fabric cut-out item to another piece of fabric, you can prepare the cut-out by lightly brushing it with mod podge and allowing it to dry, this will prevent any fraying. You can also use the fabric mod podge to attach fabric onto any other surface. For example, fabric onto furniture, or fabric onto your accessories like shoes.
The formulation remains very durable and there are many fabric craft ideas you can use the fabric mod podge for.
Extreme Glitter Mod Podge
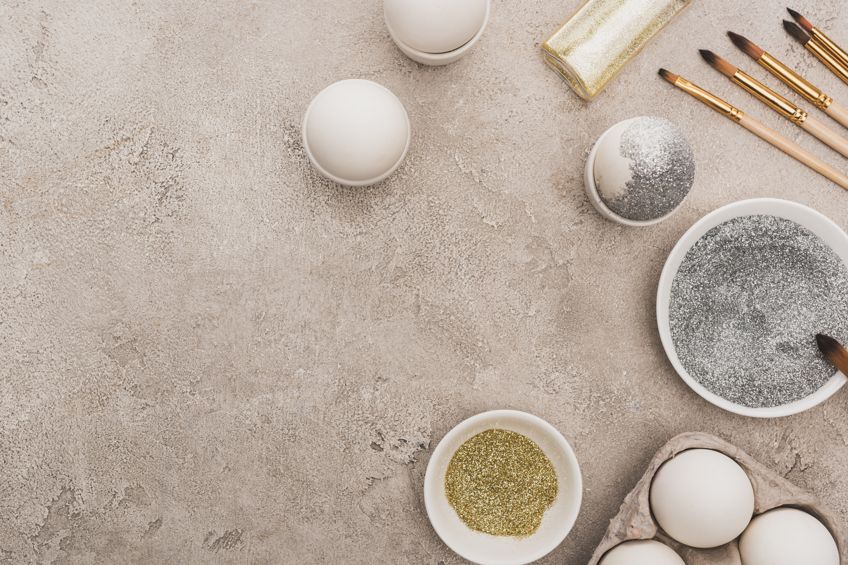
Are you looking for a sparkle in your mod podge, then this formulation is for you as it contains a lot of ultra-fine glitter pieces. It looks amazing on any color surface, but its best result is when it is applied to a darker-colored surface, and looks stunning when applied to a glass surface. You also need to take care when applying it over fabric or paper and try not to hide or conceal any fine details.
Furniture Mod Podge
The furniture mod podge formulation has been specially developed for use on furniture items. Since you will require more mod podge than usual, it comes in 16-ounce bottles instead of the normal eight-ounce bottles. You can create some amazing makeovers for your old furniture by using this formulation.
You can also get the product in gloss, matte as well as a satin finish.
Hard-Coat Mod Podge
This mod podge formulation has been specially designed to give a super durable and tough finish. The product provides extra protection for items that are frequently used and often handled. It is ideal for furniture items like dressers, tables, and chairs and comes in a gloss or matte finish.
Glow-in-the-Dark Mod Podge
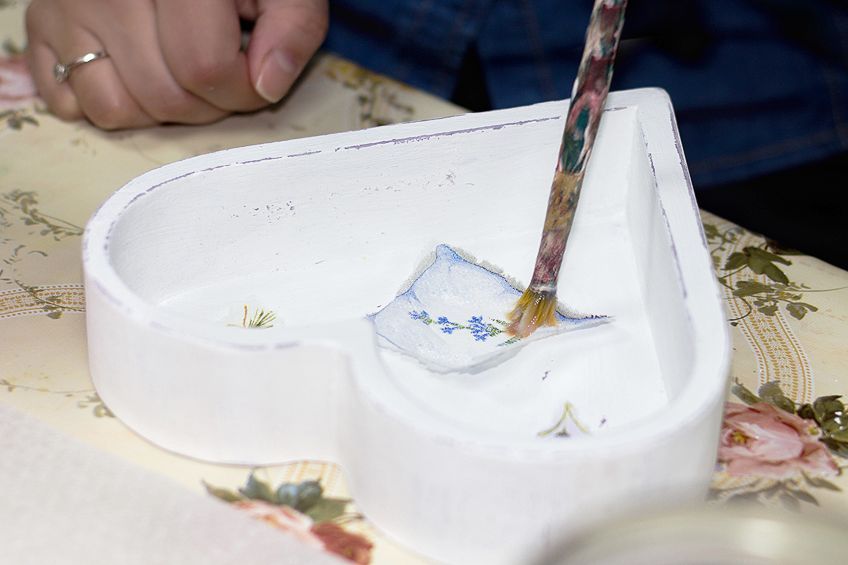
You will have to apply several coats if you wish to arrive at the glowing effect you want. This glow-in-dark mod podge is a favorite with kids’ projects, and the real effect can be seen and appreciated when the lights go out.
However, it must be exposed to light first to recharge.
Outdoor Mod Podge
The outdoor mod podge can help protect your outdoor projects from the elements and moisture and is ideal for all your clay pot projects that stay outside. It is not a requirement, but we do recommend that you also apply a sealing coat over your mod podge to give it added durability for outdoor exposure.
Paper Mod Podge
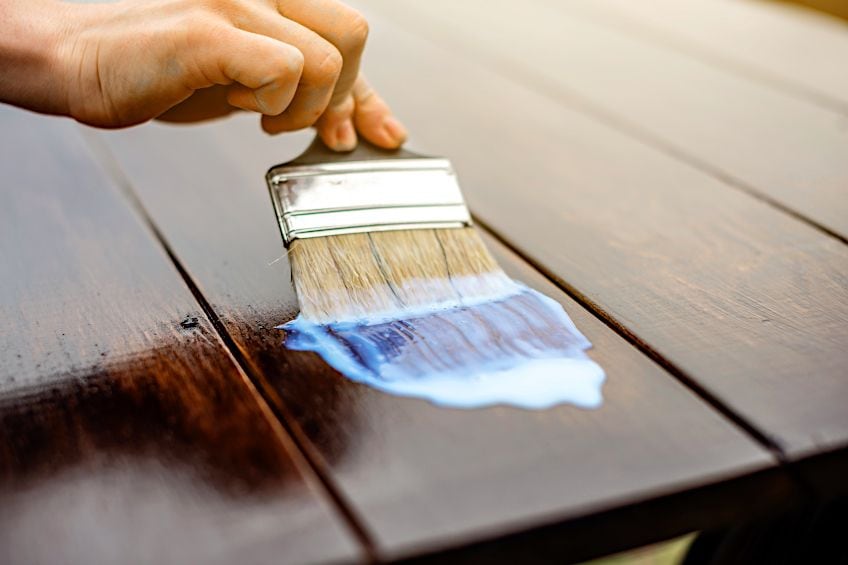
This can sound very confusing as we all automatically assume that there is a regular mod podge that is meant for use on paper. This is true, however, there are crafters out there that are involved with advanced paper projects like scrapbooking, which means that their projects are meant to be archival and need to last for a very long time. This means that the glue needs to be of the same quality to keep photos and other documents and pictures from yellowing.
Paper mod podge has these qualities and comes in a matte and gloss finish.
Puzzle-Saver Mod Podge
To seal a puzzle you assembled, you will not need a full eight-ounce bottle of mod podge, as manufacturers have put together a product that only has a two-ounce bottle that also comes with its own brush. However, there is still a product that has eight ounces for use by the more serious and industrious puzzlers, and the product comes in a gloss finish.
Ultra-Matte Chalk Mod Podge
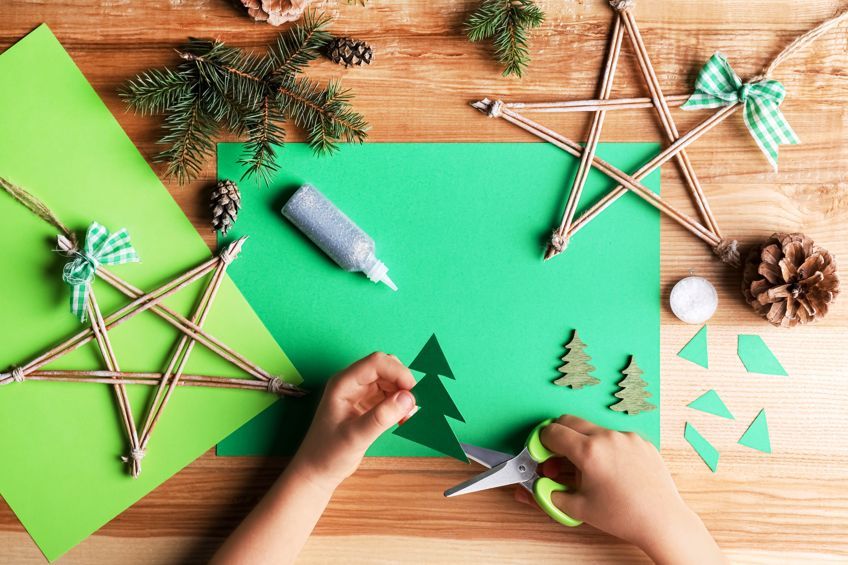
The chalk paint finish seems to be the rage in the paint world today, and with this formulation, you will be able to have that same luxurious finish as the chalk paint offers. The finish is unbelievable and can only be appreciated by feeling the surface. It is an ideal product for restoring your furniture, giving it that vintage look and offering you protection.
This formulation with comes in a flat finish, has no shine, and there are no brush strokes visible.
Dimensional Magic Mod Podge
All the conventional resins leave you with a hard, varnish-type finish, which is also very toxic and needs to be mixed before being used. However, this formulation gives you the same epoxy-like finish, and once dry it is clear, it is ideal for those paper and jewelry projects. The dimensional magic mod podge can be applied in layers, but each layer needs to dry properly before applying the next layer. This formulation is produced in glitter as well as a clear finish.
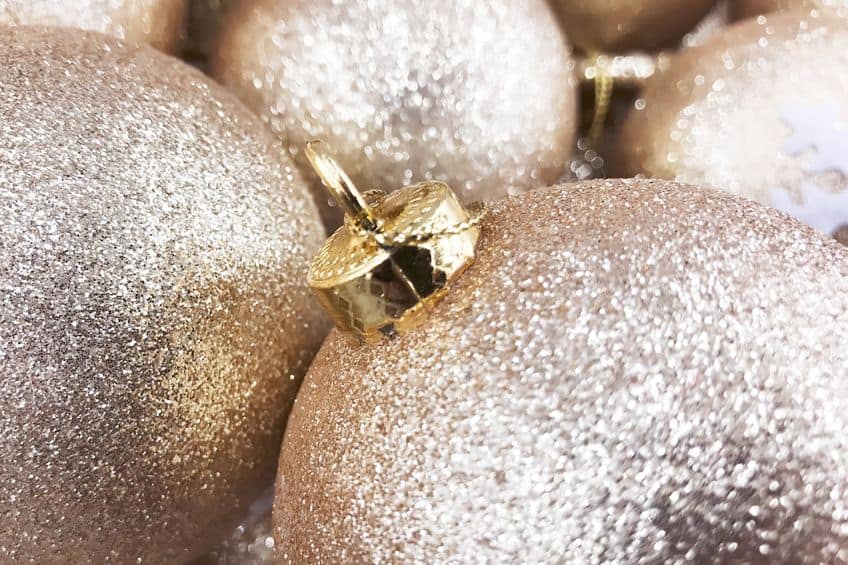
Photo-Transfer-Medium Mod Podge
This formulation can be used to create appliques and decals using any of your original photos and is also able to transfer images onto wood or fabric. It may take some time for you to master the use of this mod podge, but once you have, the sky is the limit to what you can transfer.
However, you need to understand that this formulation will not dry clear, and whatever you transfer will have a white background. You can also decoupage over the transfer.
Clear Chalkboard Topcoat Mod Podge
This is a special mod podge formulation that is not meant for gluing but is rather used as a special finish or topcoat on top of your decoupage products. It will turn your project into a chalkboard and has an amazing effect. However, you can only use genuine chalk on it and not any other marking pens or chalk sticks. This formulation comes in a clear matte finish.
Stiffy Mod Podge
This product does exactly as the name implies, it stiffens your fabric. However, this formulation is not for use in gluing or decoupaging an item, nor is it to be used as a top or sealing coat. The product is simply used for stiffening your item. All it requires is for you to dip your item into the stiffy mod podge, and it comes out stiff.
It is ideal for use when making doily bowls and there are many other ideas you can come up with for this type of mod podge.
Super Thick Gloss Mod Podge
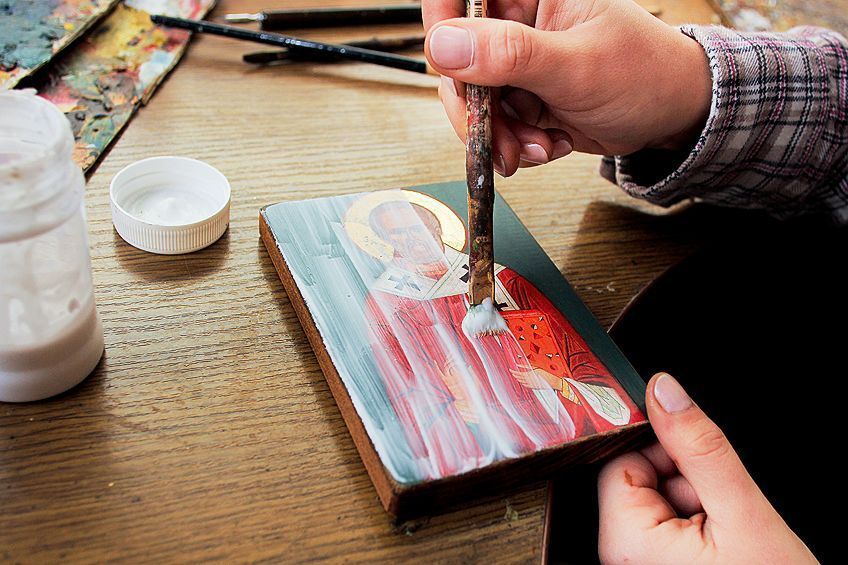
This formulation is not meant for gluing, but when applied as a topcoat, it leaves you with a smooth and epoxy-like finish that gives the best results when applied over a large area. You need to first glue your items using ordinary mod podge, and then use the super gloss mod podge over the top. You will notice it is thicker than the ordinary mod podge. The product is self-leveling and leaves you with a clear shiny finish similar to epoxy.
Ultra Mod Podge
This formulation advances the standard decoupage medium to an entirely new level. Now, it also comes in a spray bottle, making it easier to apply. However, it can also be brushed on and comes in a matte and gloss finish. All these features are possible for you to achieve:
- Non-tacky finish
- Can be used on multiple surfaces
- Leaves no brush strokes
- Is self-leveling
- UV- and water-resistant
- Very durable
How to Use Mod Podge: A Tutorial
What is mod podge used for? There are hundreds of ideas and projects you can do, as well as many different surfaces you can apply the mod podge on, making it impossible to write a tutorial for each one. So, we have decided to do our tutorial using canvas as our base material. By using other types of surfaces to apply your mod podge, the process may differ slightly, but the basic principles are mostly the same.
Magazine Collage Art Project
In this tutorial, you will learn how to create a magazine collage on a canvas using any design you choose. The process requires no skills at all, which means even if you have never done decoupage before, you will find this project very easy to complete.
Most of us have plenty of old magazines lying around the house, cluttering up our rooms, taking up unnecessary space, and just collecting dust.
With this tutorial, you will be able to have fun creating a magazine collage on a canvas, an easy craft for adults as well as teens. However, there are a few things to consider first.
- Will the magazine paper bleed ink? If it is a popular regular magazine, there should be no bleeding as these magazine pages have been coated to avoid such a problem.
- Will the magazine paper wrinkle? To avoid wrinkling, make sure you cut your paper pieces small as the bigger they are the more are they prone to wrinkle.
- What type of paint must be used on the canvas? You can use acrylic paint, spray paint or chalk paint, the only paint you must not use is latex paint as it causes the mod podge to bubble.
- Can you use collage art on other surfaces? Yes, you can use it on glass, terra cotta, wood, and also on fabric.
- What type of Mod Podge must be used? Any formula can be used, it all depends on what finish you are looking for, so you can use gloss, matte, or satin.
Materials and Tools Needed
You need to prepare the workspace you are going to work in, and this also includes the supplies that you need. Make sure you have all the tools and supplies ready at hand, so you do not have to run around looking for materials halfway through the project. Here is a list of the materials and tools you will need for the project.
- Canvas – about 12 x 16 inches
- Gloss mod podge
- Acrylic paint
- Several colorful magazine pages
- Paint brushes
- Scissors
- Craft knife
- Pencil
- Object shape for tracing
Instructions and Process
Start by placing the canvas onto your working surface and cover the entire surface with your acrylic paint. Next, begin to draw the design you intend to decoupage, and if you have an object that is difficult to draw, use an object with the same shape and put it onto the canvas, and draw the shape around it.
You can also use a pencil and trace the shape of the object onto the canvas where you want it to be.
Applying the Design Details
Before you start to decoupage, you must make sure you have drawn all the details of your design on the canvas, ensuring that the details are clear. Now that you have prepared your design on the canvas, you need to decide on what colors you want to use to complete the design.
Selecting Magazine Pictures and Colors
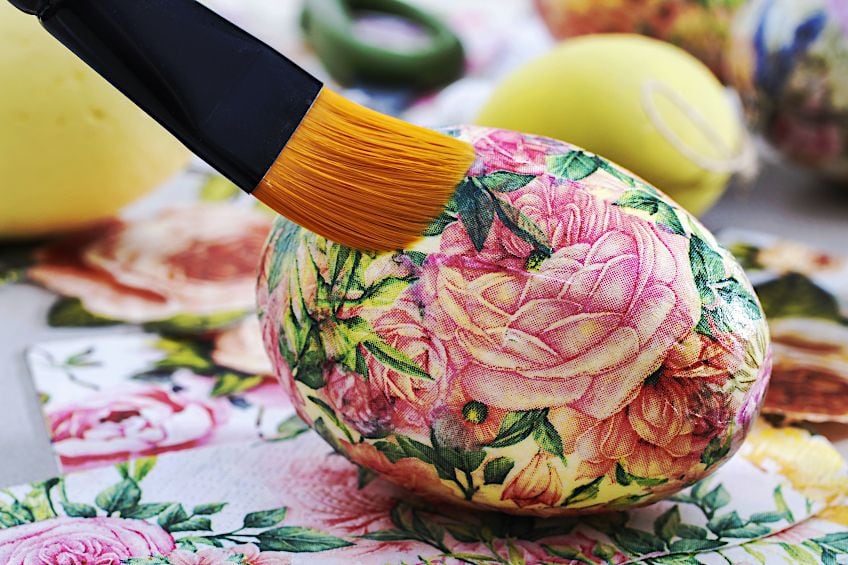
The next step is to go through your magazines and select different pages that show the colors you have chosen. Now you can begin to cut different shapes from the magazine pages that match your color palette, like squares, rectangles, and even circles.
The pieces should not be too big, only about half to one inch in size.
Applying the Mod Podge and Pages
Select a specific area on the canvas where you want to start and try to work in sections. Complete one section at a time, and do not try to tackle the whole canvas in one go. Decoupage the cut-out magazine pieces to the selected area on your canvas using the three-step method. This means that you first apply the mod podge to the selected area on your canvas, then apply some mod podge to the cut-out magazine pieces and apply them to the canvas, making sure you place them wet-side-down. Press gently down onto the canvas and smooth them out, making sure you remove any bubbles and wrinkles.
Final Steps
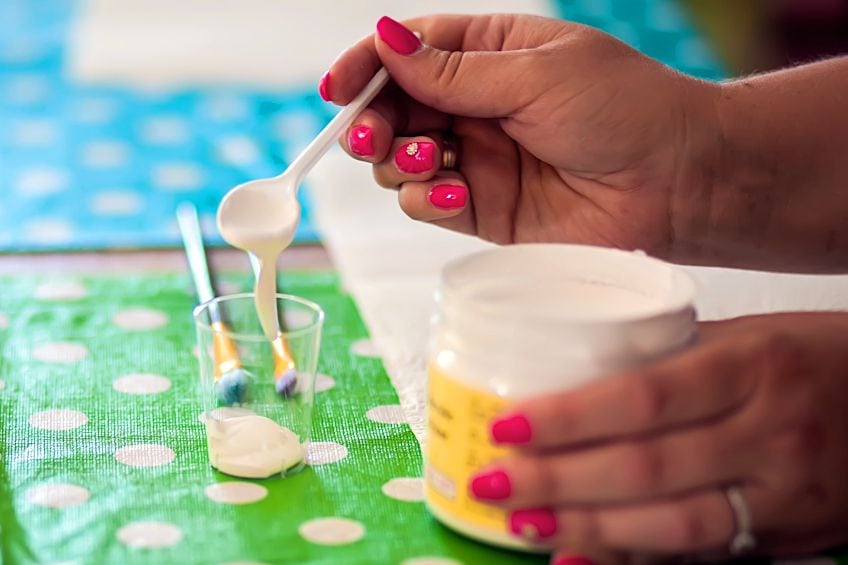
Wipe away any excess mod podge with the brush and allow it to dry for at least 20 to 30 minutes before you continue. Continue with this process until all the colors of your design are in their rightful place, and apply several layers of topcoat mod podge over the entire surface of your canvas, and allow it to dry properly.
Trim the edges of your canvas with a knife and your magazine collage art project is ready to hang.
How to Make Homemade Mod Podge
The brand of mod podge you buy in the store can be pricey, so why not make homemade mod podge? Let us now consider two of the more popular versions of homemade mod podge, making use of common ingredients that everyone has at home, namely glue and flour.
How to Make Homemade Mod Podge Using Glue
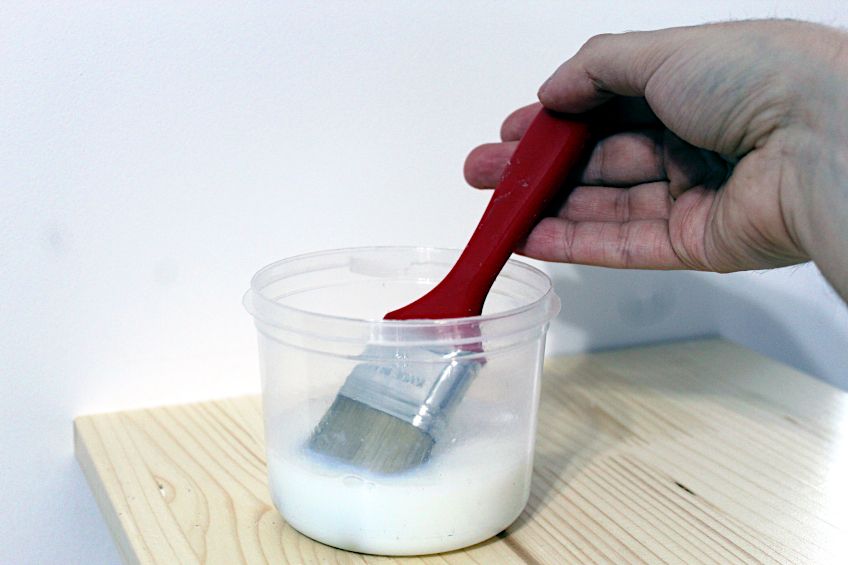
Is mod podge glue? In this case, not only can mod podge be used as glue, but it can be made from glue. The process is fairly easy, and it is just a matter of taking glue and water and combining them to form your homemade mod podge. The mod podge ingredients are as follows:
- 225 ml white crafting glue
- 5 ml water
If you want a glossy finish to your project, add one tablespoon of water-based varnish. Also, if you want a glitter finish, add two tablespoons of super-fine glitter. Find a clean glass or plastic jar that can hold around 355 ml, and ensure it has a very tight-fitting lid.
If you want a glossy or glitter finish to your mod podge, you need to select a slightly larger jar.
Take your white crafters glue and measure out 225 ml, if you use the white glue that the kids use at school, it is already 225 ml, so there is no need for measuring. You can also make use of an acid-free scrapbooking glue that will not yellow over time, or even use Elmer’s white glue, which should also do the job perfectly.
Pour the Glue Into Glass Jar
Pour the glue into your glass or plastic jar and ensure that all the glue is drained from the bottle. If the white glue is too thick, then add a small amount of boiling water, which will soften the glue so that you can pour it out easily. You can also put the glue bottle in the microwave for around 30 seconds, which should also help to thin the glue, making it easier to pour out.
Add Water
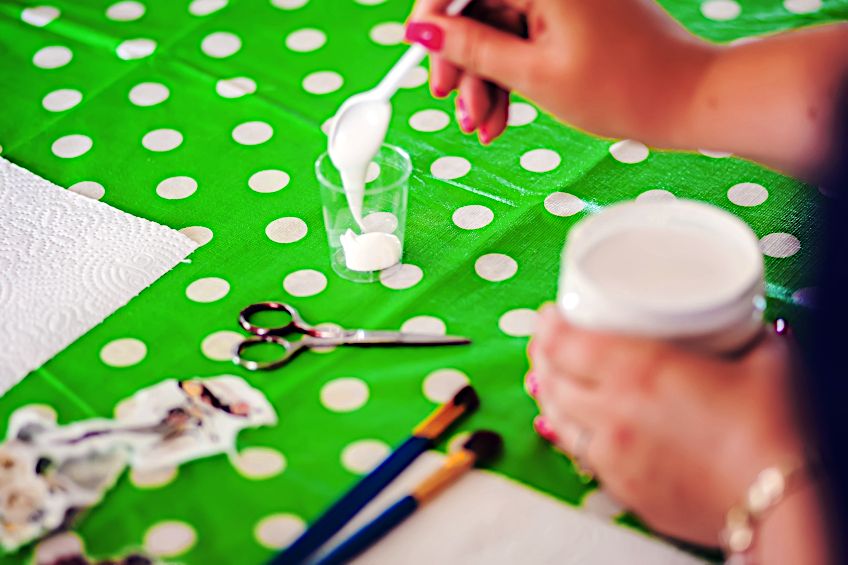
After your glue has completely drained into the jar, you can add the 112.5 ml of water and stir well until the two ingredients are properly combined. This homemade mod podge will produce a matte finish. So, if you want it to be glossy, you can add the varnish to the mixture or add the glitter if you want a glitter finish.
Place the lid on and ensure it is tight, then shake it until all the ingredients are completely mixed. Take note, if you have used the white crafter’s glue or acid-free scrapping glue, it will not yellow over time, but Elmer’s glue will.
How to Make Homemade Mod Podge Using Flour
If you have kids that love and enjoy arts and crafts, then the homemade mod podge using flour is ideal, as all the ingredients are safe to use. However, if you are a professional artist, it is best to use the genuine mod podge you buy in the store. The mod podge ingredients are as follows:
- One and a half cups of flour
- Quarter cup (56.25 ml) of granulated sugar
- One cup of cold water
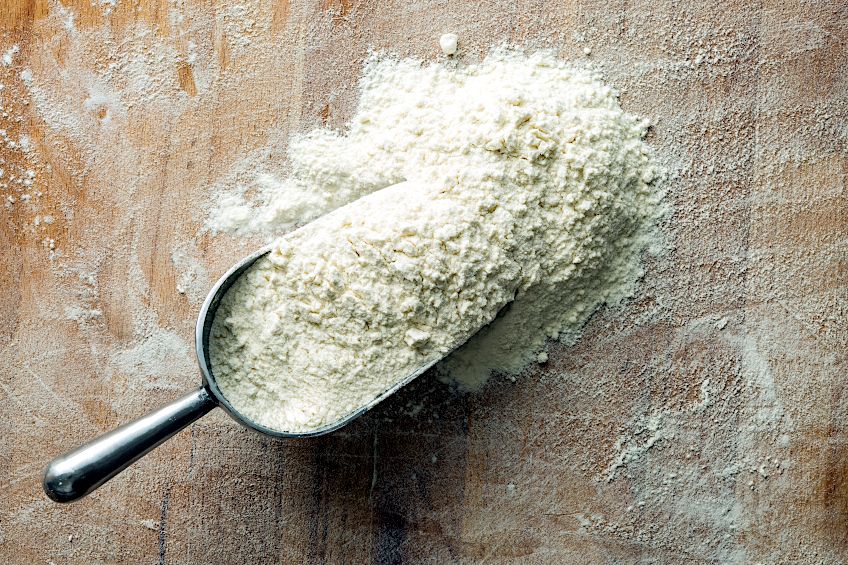
You will also need a quarter teaspoon of olive oil if you want a slightly glossy finish, and a quarter teaspoon of vinegar if you want to avoid any mold developing. Find a clean glass or plastic jar that can hold around 355 ml, and ensure it has a very tight-fitting lid.
Since you are using flour and sugar to make the mod podge, the finish you will get will have a slightly grainy texture, which may pose a problem if you are going to use the mod podge as a sealer.
Sifting the Flour Into a Pot
Combine the flour and the sugar by sifting them into a pot, but do not put the pot on the stove just yet. Now you can add the cold water into the pot and beat briskly ensuring you remove any clumps, then you can add the oil if you want a slightly glossy finish.
Heating the Pot
Put the pot on the stove, and using medium heat, bring the contents to a boil, making sure that you finally have a thick glue-like texture, and if the mixture appears to be too thick add more water. Once you are satisfied with the thickness of the mixture, you can remove the pot from the stove and place it onto a heat-resistant surface.
If you want to add the vinegar to prevent mold from developing, make sure you only add it after you have removed the pot from the stove, and stir one more time.
Final Step
Allow the mixture to cool down completely, or it may cause the mod podge to start fermenting. You can now pour the cooled-down mixture into your jar and give it a final stir. Close the lid of the jar and ensure it is properly sealed.
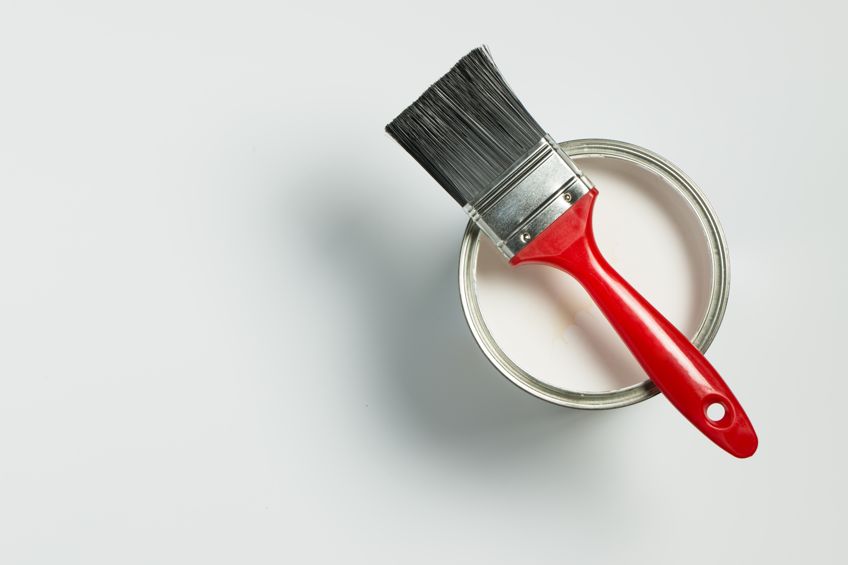
Since you used natural ingredients for your mod podge, you need to store the jar in the refrigerator, and it needs to be used within two to three weeks. If you detect any mold, then discard the mixture. Another recipe that works well is cornstarch mixed with water, sugar, gelatin, and vinegar.
Mod podge is an amazing product for all your crafting projects, and because of its versatility and affordability, it has become very popular for all ages. You can choose what finish suits your project, and it can be used for decoupaging, home décor, and jewelry making, among other ideas.
Frequently Asked Questions
Is Mod Podge Glue?
No, mod podge is not the same as glue, even though it is used for sticking things down. Mod podge has a lot more ingredients than glue, making it not only an adhesive but also a sealer and a finisher. However, can mod podge be used as glue? Yes, in the long run, it is much stronger than white glue.
Is Mod Podge Food Safe?
No, mod podge is not food safe, even though it is non-toxic, it does not comply with the FDA food regulations, as it is intended only for decoupage and crafting. However, you can use it on mugs, but ensure you leave a small section on the lip of the cup open, so it does not come into contact with your lips.
What Is the Curing Time for Mod Podge?
Mod podge can feel dry to the touch in about one hour, but it is best to leave for about 24 hours. The recommended drying time for mod podge is 72 hours, especially for use on furniture.
In 2005, Charlene completed her Wellness Diplomas in Therapeutic Aromatherapy and Reflexology from the International School of Reflexology and Meridian Therapy. She worked for a company offering corporate wellness programs for a couple of years, before opening up her own therapy practice. It was in 2015 that a friend, who was a digital marketer, asked her to join her company as a content creator, and this is where she found her excitement for writing.
Since joining the content writing world, she has gained a lot of experience over the years writing on a diverse selection of topics, from beauty, health, wellness, travel, and more. Due to various circumstances, she had to close her therapy practice and is now a full-time freelance writer. Being a creative person, she could not pass up the opportunity to contribute to the Art in Context team, where is was in her element, writing about a variety of art and craft topics. Contributing articles for over three years now, her knowledge in this area has grown, and she has gotten to explore her creativity and improve her research and writing skills.
Charlene Lewis has been working for artincontext.org since the relaunch in 2020. She is an experienced writer and mainly focuses on the topics of color theory, painting and drawing.
Learn more about Charlene Lewis and the Art in Context Team.
Cite this Article
Charlene, Lewis, “What Is Mod Podge? – The Many Varied Uses for Mod Podge.” Art in Context. November 29, 2022. URL: https://artincontext.org/what-is-mod-podge/
Lewis, C. (2022, 29 November). What Is Mod Podge? – The Many Varied Uses for Mod Podge. Art in Context. https://artincontext.org/what-is-mod-podge/
Lewis, Charlene. “What Is Mod Podge? – The Many Varied Uses for Mod Podge.” Art in Context, November 29, 2022. https://artincontext.org/what-is-mod-podge/.


